| |||||||
Loading
 |
| | LinkBack | Thread Tools | Display Modes |
| |||||||
 |
| | LinkBack | Thread Tools | Display Modes |
| | #1 |
| Newbie Join Date: Dec 2016 Location: Cressona
Posts: 36
|
So I ended up with a used SCX10 for $150. I decided I'd like to do a hard body Hilux so went with the RC4WD Mojave body. Researching and asking questions on here led me to getting the Dinky cantilever rear suspension, Pit Bull Hardcore tires, and parts to make my own links as many know the wheelbase is shorter on the Mojave body. After getting everything i started by first positioning the body how I thought it should be. This ended up with the front needing less link adjustment than the rear. I used the front shock towers for mounting the body just infront of the window mounts. I also relocated the battery and electronics to fit under cab area while also installing rear cantilever shocks. [IMG] 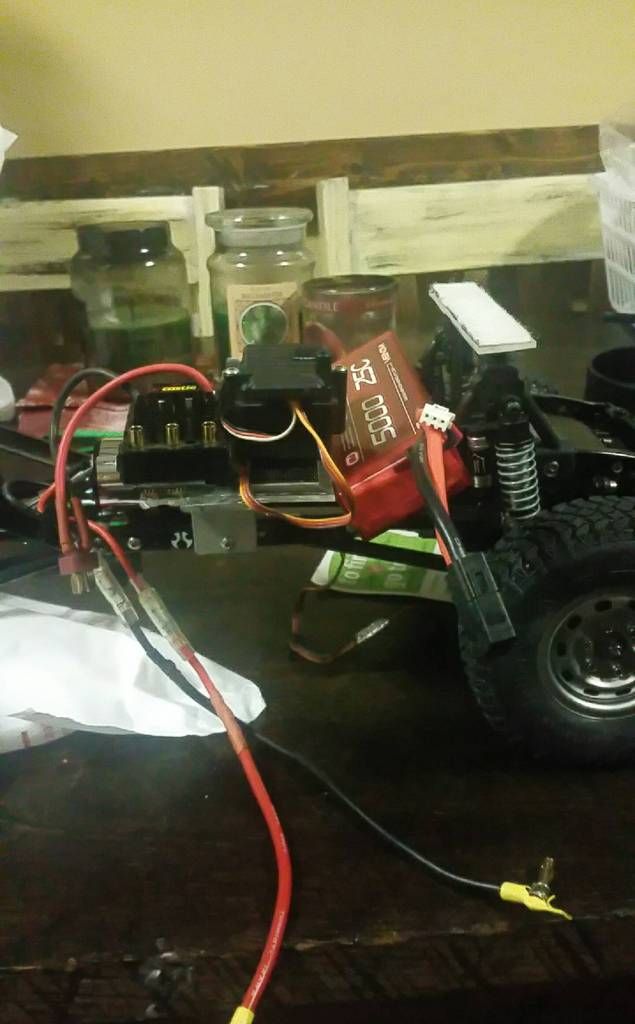 [/IMG] [/IMG][IMG] 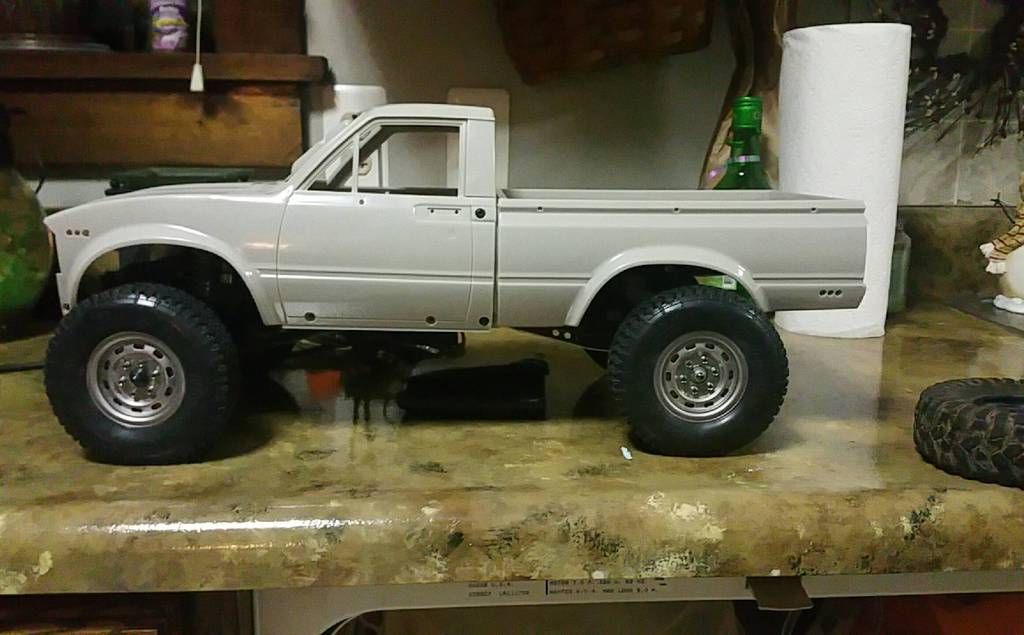 [/IMG] [/IMG]This is what I ended up with after adjusting links on day 1..... [IMG] 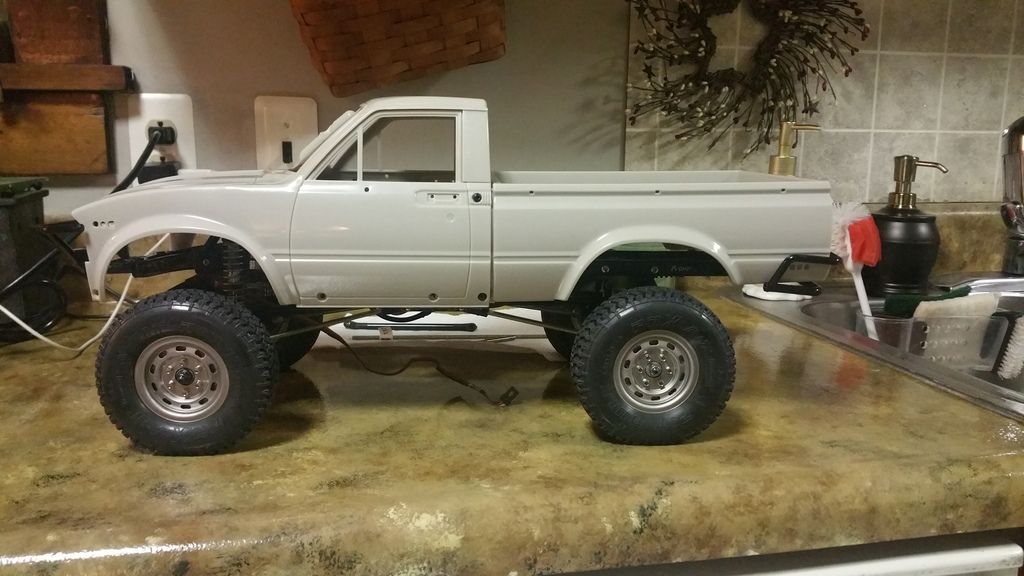 [/IMG] [/IMG]I'll post Day 2 issues later on. I am new to this and crawling so probably going about this the wrong way. Any tips would be greatly appreciated. More to come... |
| |  |
| Sponsored Links | |
| | #2 |
| I wanna be Dave Join Date: Jul 2014 Location: Deep South
Posts: 3,444
|
I'm interested as well since I've been tossing around a hardbody build idea like this.
|
| |  |
| | #3 |
| Newbie Join Date: Dec 2016 Location: Cressona
Posts: 36
|
Going to shoot for a blue that closely resembles Toyotas blue they used on the Hilux. So the links are made from 8/32 all thread, traxxas 5347 ball ends, and 1/4 inch brake line to cover all thread. In the rear I only had to do lower links as the top links had spacers that I removed making them short enough to work with the shorter bottom links. [IMG] 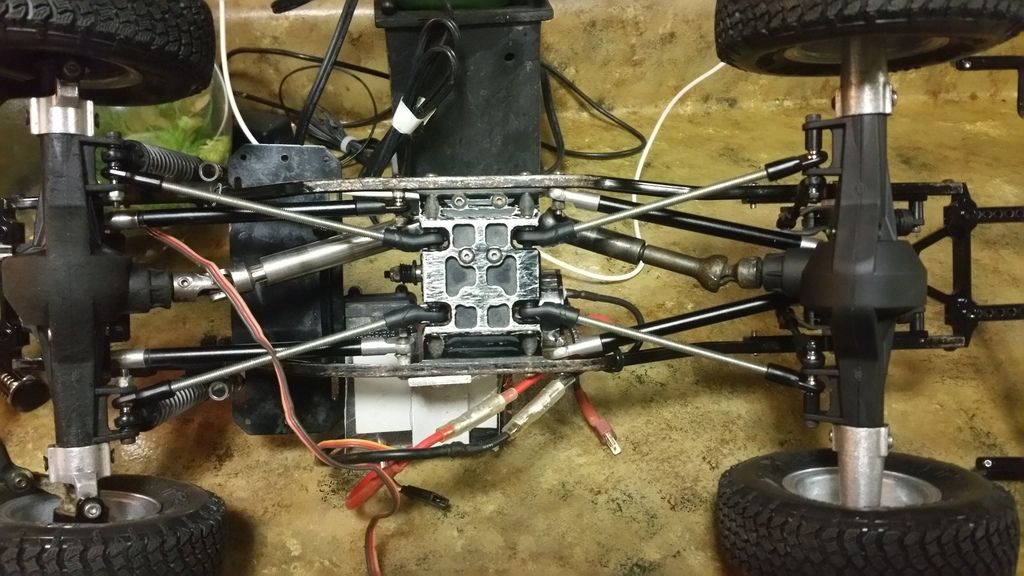 [/IMG] [/IMG]In the photo you can see the driveshaft ended up being the first issue I ran into. It can no longer compress as the suspension is compressed causing a bind. Being a budget build I decided to dremel a little from both sides to make the MIP drive work. [IMG] 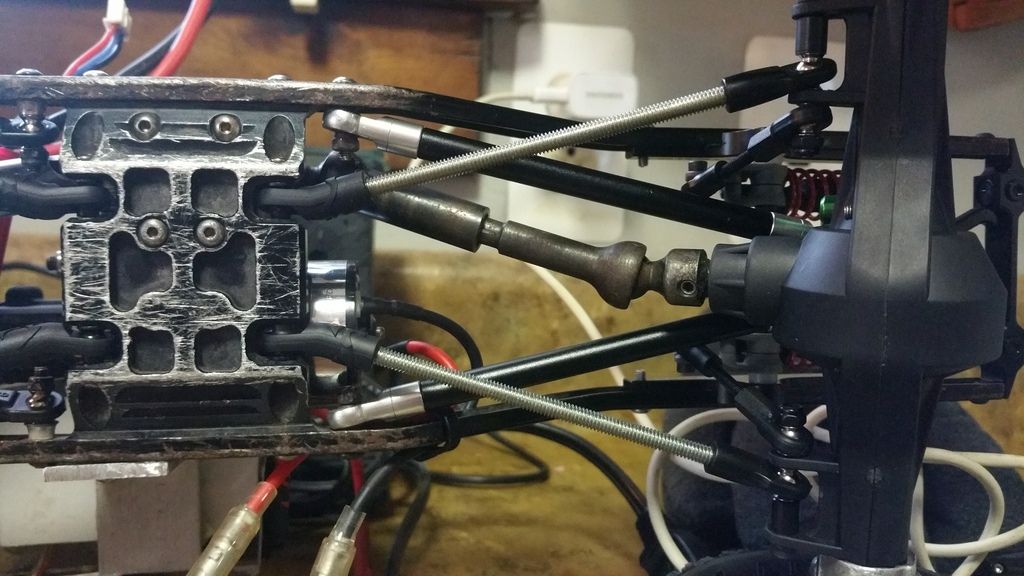 [/IMG] [/IMG]After that was done I then had to move the Dinky Cantilever shocks forward to keep them from hitting the axle. Now I have full motion in the rear with all problems solved. [IMG] 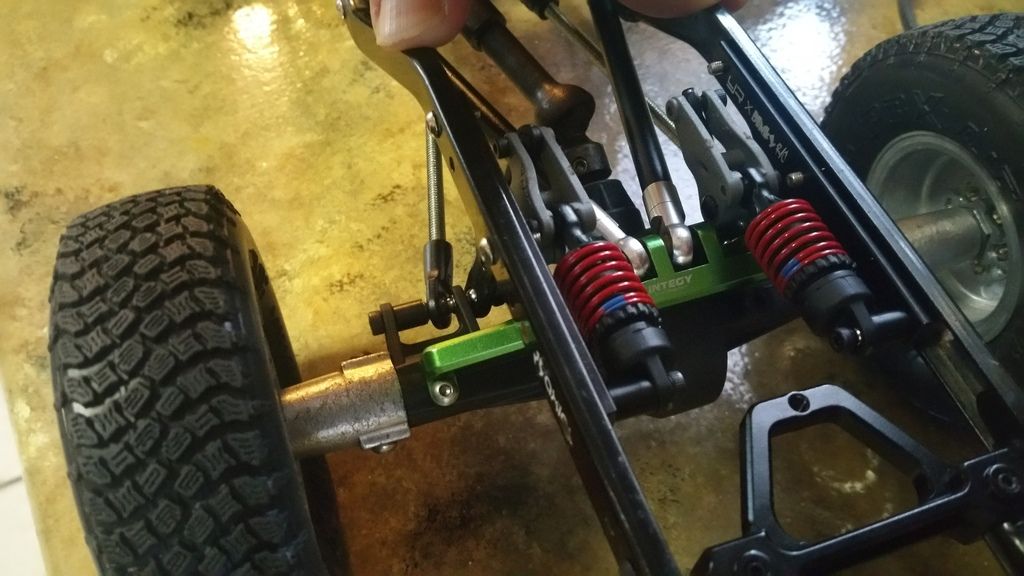 [/IMG] [/IMG]The problem in the front was mainly steering. The top links didn't have spacers and I ended up needing to make the top links along with the bottom links. Without making shorter top link the steering was messed up due to the axle clocking. Not a big issue, just more work. I do not have a photo of axle before I made top links but I needed shorter links up top to bring axle back to stock alignment. Next will be getting the brakeline on the links to finish them up before doing rear body mount. Photos checking articulation. I have a bit more in the front than rear. Maybe due to shorter links in rear or Cantilever shocks or both. Everything is functioning great after all this so I am not too worried. I tried getting body as low as I could and still use the stock plastic bumpers from trailfinder 2 and allow for max articulation without wheel rub. I may need to cut a little off front grill to fit front bumper but rear works perfect. [IMG] 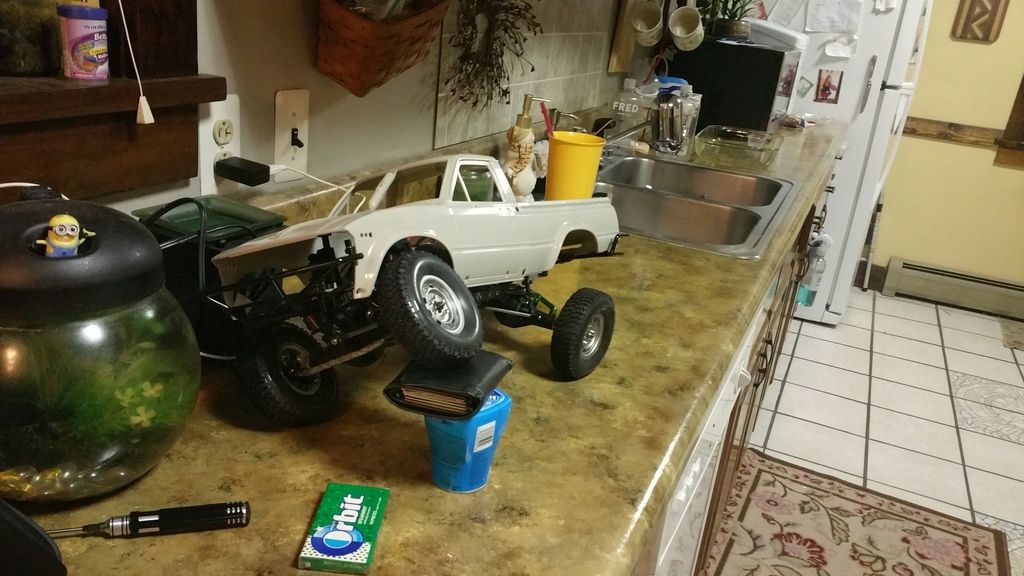 [/IMG] [/IMG][IMG] 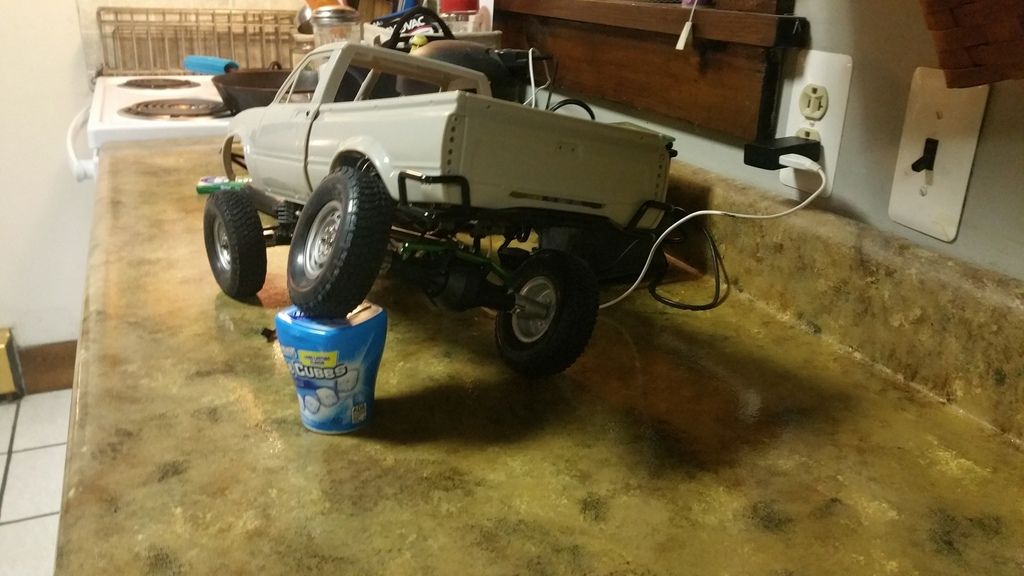 [/IMG] [/IMG]
Last edited by THX_138; 01-06-2017 at 08:52 AM. |
| |  |
| | #4 |
| Newbie  Join Date: Aug 2016 Location: Seal Beach
Posts: 34
|
Nice work. I like the Dinky suspension.
|
| |  |
| | #5 |
| Newbie Join Date: Dec 2016 Location: Cressona
Posts: 36
|
I finished up the links and went onto the final fitment of electronics battery and body. 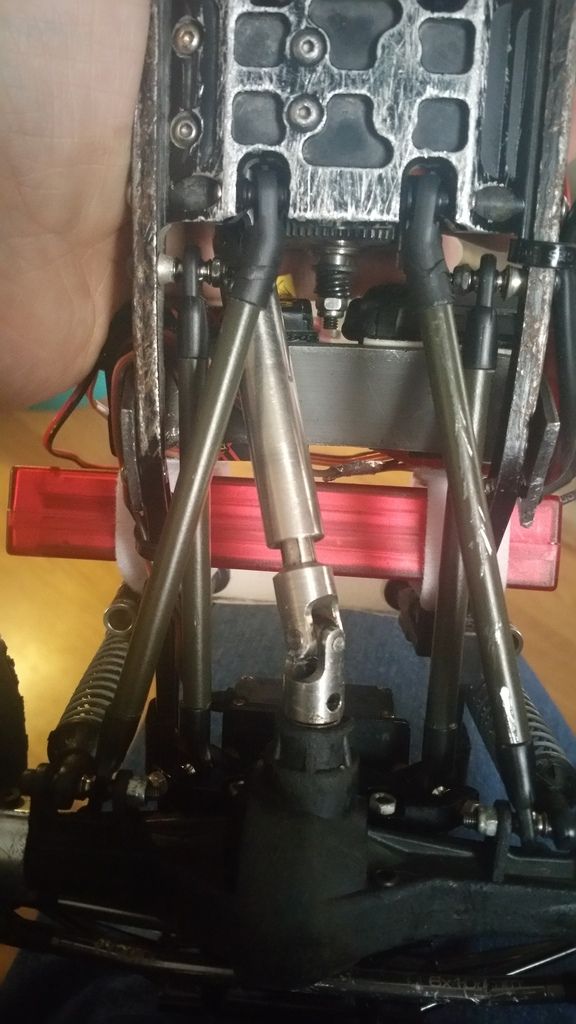 I really didn't like the electronics where I originally put them so I did some research. Here is what I came up with after more research... 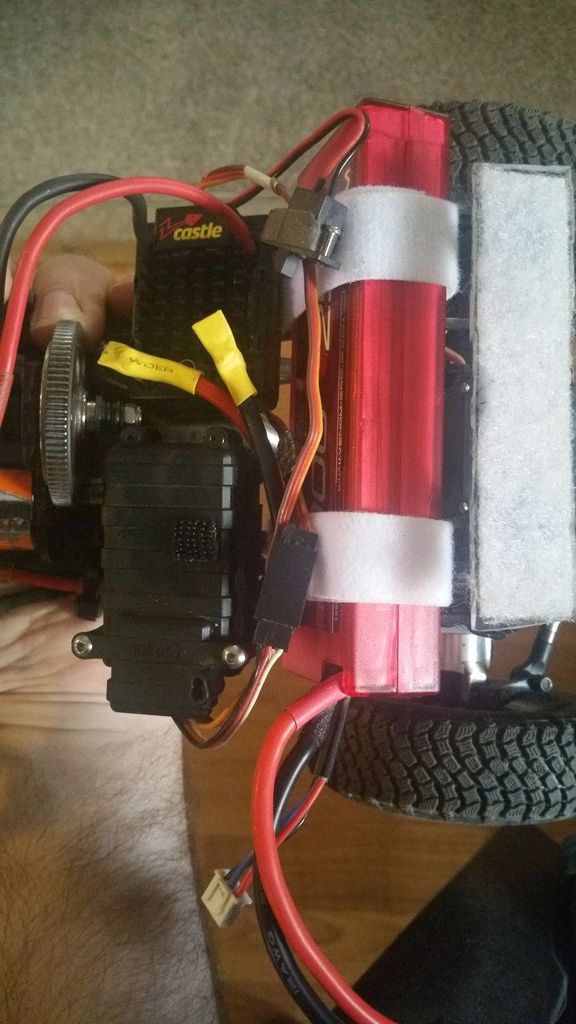 Now if I ever want to install an interior I have room. I ended up cutting my old shock towers and using the tops to make a mount for the rear. Worked out pretty good. Nice and solid mounting using velcro in the front and rear. Strong enough to pick truck up by body without it coming off, but easy enough to remove when I want to. 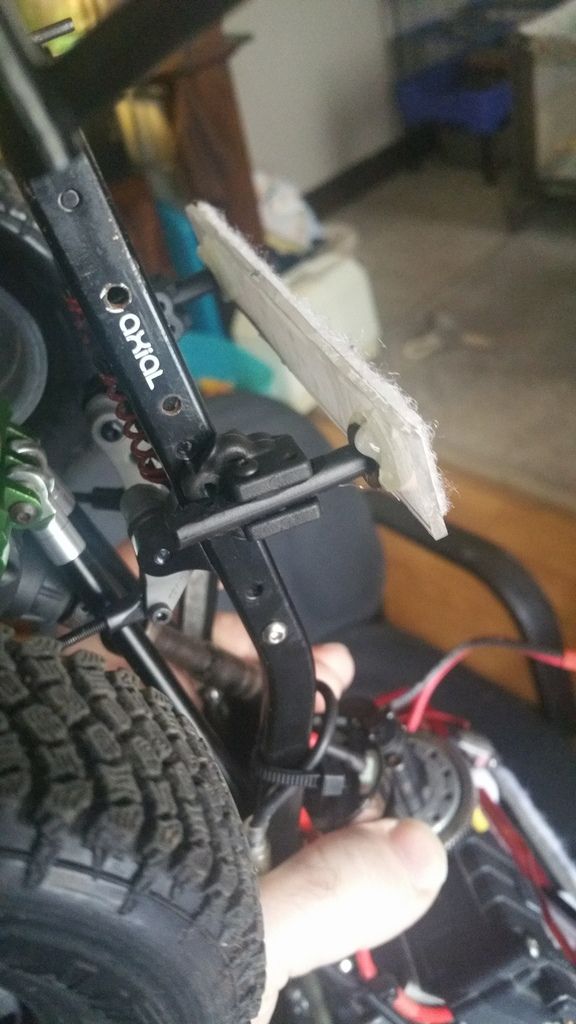 This is what I was going for and I am happy with it for now. It might be awhile until I paint because it's so cold here. Looks like I'm done for now. Here is a final shot of final ride height and fitment. I can get body lower but would get wheel rub during flex and have to forgo bumper guards. 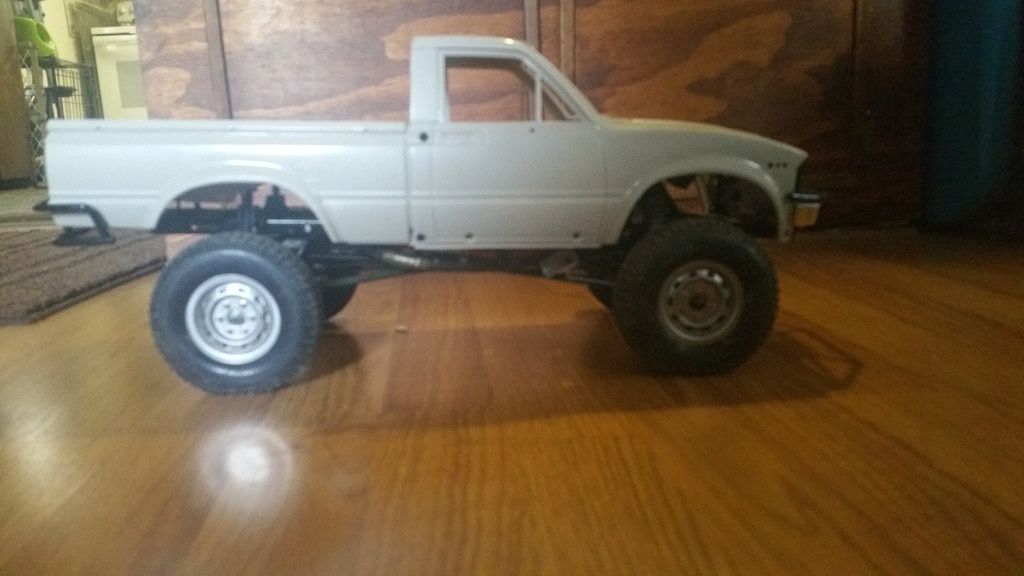 |
| |  |
| | #6 |
| Newbie Join Date: Dec 2016 Location: Cressona
Posts: 36
| It seems there are 2 blues that were used on the old Toyota pickups, a light and a dark metallic. I want to do the decals and the dark metallic with the silver side decals would look great. I matched it up the best I could from pictures and it looks like the Tamiya silver leaf base coat and racing blue works pretty good at replicating the color. I may not wait for warm weather and just do it in the attic. I'd really like to get it finished soon.
|
| |  |
| | #7 |
| Newbie Join Date: Dec 2016 Location: Cressona
Posts: 36
|
OK I finished up the build and had it out trailing with some rocks. Got dinged up pretty bad. Guess I was being to picky on the paint job. I might do rusting eventually. I am happy with it. Goes pretty good even with the lower ground clearance. My wife offered to make a tonneau cover for the bed and it turned out pretty good for a 15 minute job. Some bracelet elastic cord, vinyl, and some thread. I opted for the Tamiya grille and Emblems. Only thing I'm waiting on is the Toyota Decal for the tailgate. 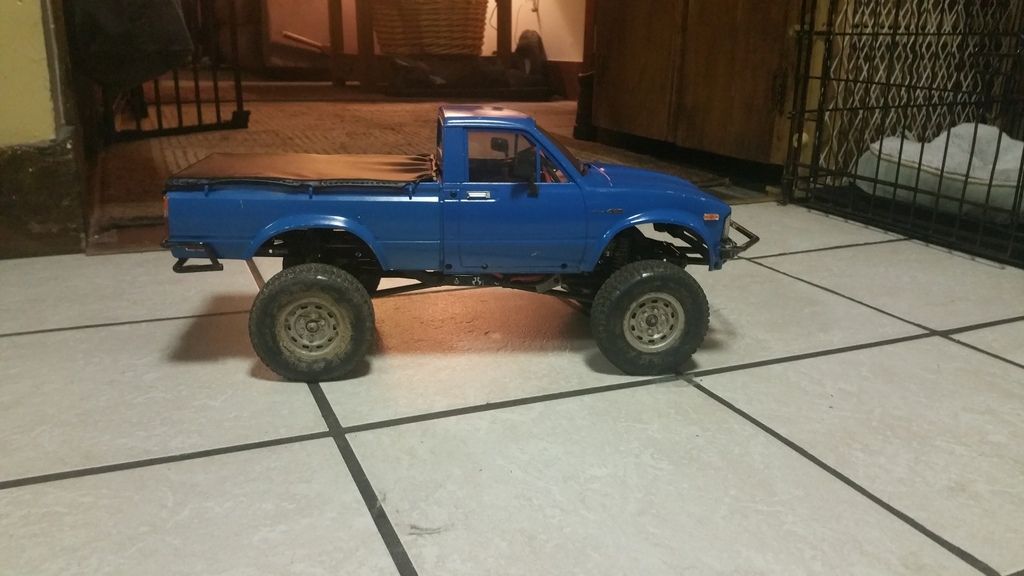 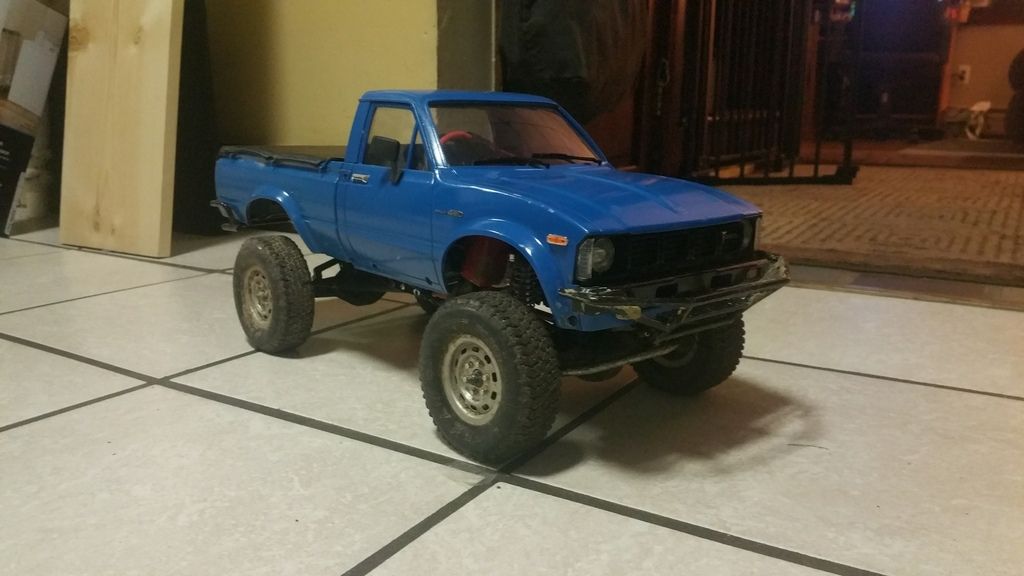 |
| |  |
| | #8 |
| Newbie  Join Date: Aug 2016 Location: Seal Beach
Posts: 34
|
I like it. I use to wheel with some full size Yota's that looked like that.
|
| |  |
 |
 Budget Hilux from old SCX10 - Similar Threads
 | ||||
| Thread | Thread Starter | Forum | Replies | Last Post |
| Budget SCX10 Jeep build | dr.dirty | Axial SCX-10 | 2 | 06-07-2016 03:51 PM |
| SCX10 budget build | The Jimmy James | 1.9 Scale Rigs | 12 | 04-22-2013 10:53 PM |
| |