| |
| |||||||
 |
| | LinkBack | Thread Tools | Display Modes |
 10-08-2011, 09:55 PM
| #1 |
| Quarry Creeper Join Date: Oct 2005 Location: Bryant, AR
Posts: 463
|
Here is my Axial Wraith with Jeep Cherokee inspired body panels. Mods: Traxxas Big Bore shocks, long in the rear and x-long in the front with Losi white springs. Traxxas Velineon motor and ESC Hitec 625mg servo STRC knuckles and c-hubs Aluminum tierod Revo push rods with Jato tierod ends at one end, for lower links Modified MIP 2wd Slash CVDs for center driveshafts Spektrum sr300 reciever Thunder Power 65c 5300 mah 2s lipo Now for the pictures, up first is how I modded the Slash CVD's. Start by cutting the CVD bone in half and grind a nice bevel in them. Then take a length of 3/16 brake line (I think I used 1.5 inches). Press the two halves into the brake line until you reach the desired length. 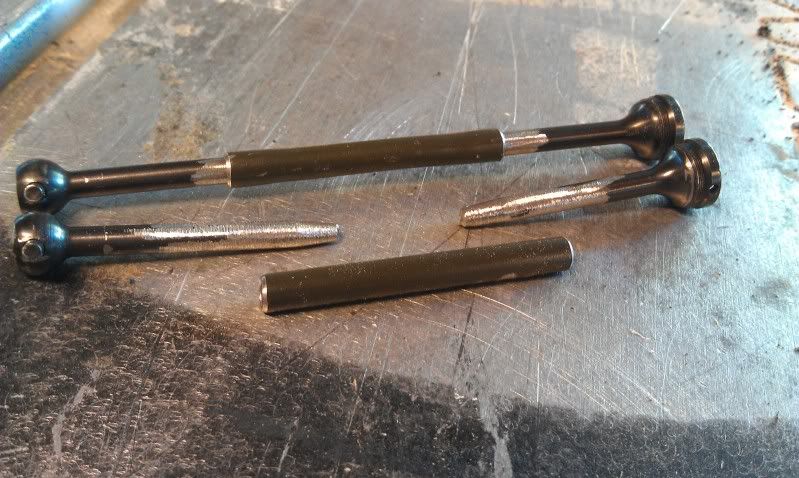 Here is a picture of the test fit. You may notice that I am running the stock Axial CV outputs along with the MIP shafts. When trying to remove the screw pins I, like many others, broke off the tip of my allen wrench. Since I am now unable to remove the output without cuting it off, I decided to see if it would work with the MIP parts. To my supprise, the two parts worked together. 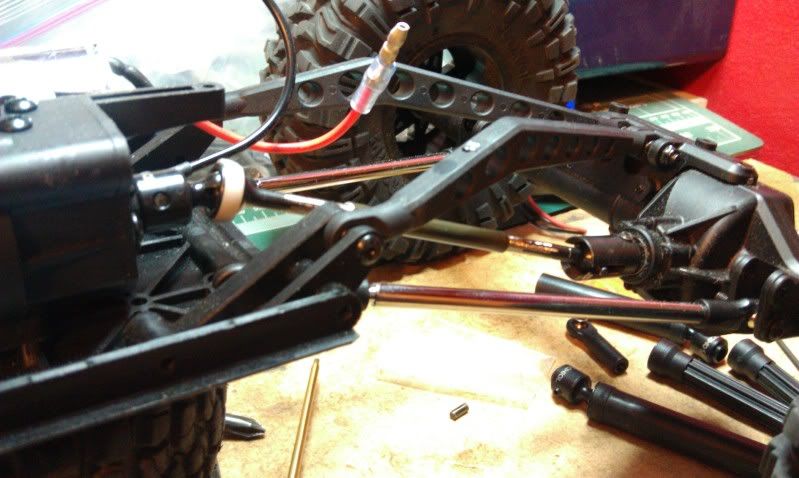 Here you will see the finished drive shafts, ESC location, and the lower links.  Now onto the Cherokee panels. I didn't like the way it looked when I tried to cut up a Proline Cherokee body to make panels, so I decided to make my own. I used the stock panels as the base and layered styrene to achieve body lines similar to a Jeep Cherokee. I also hated the stock location of the tail lights, so I moved them up into the body panels. 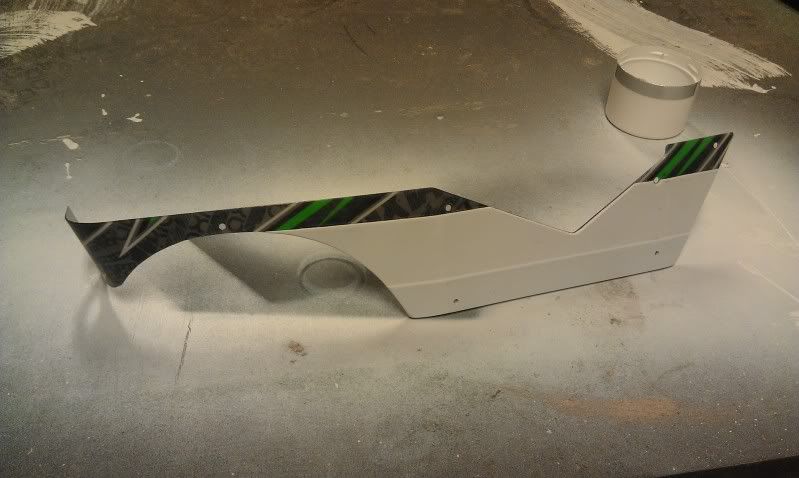 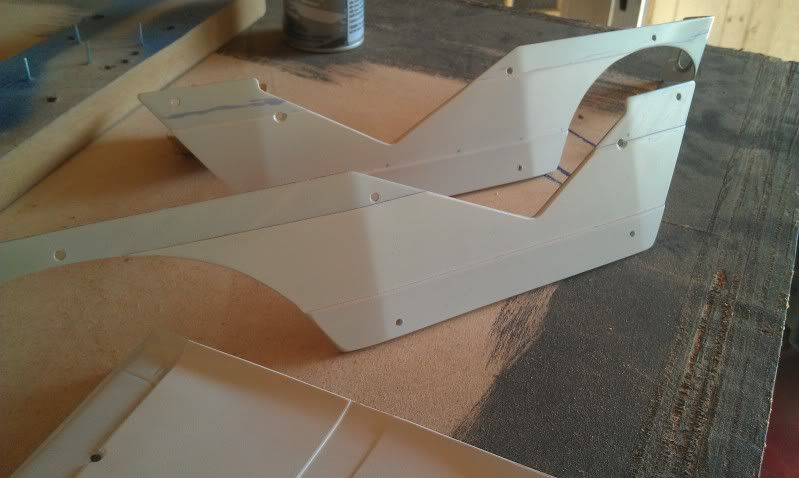  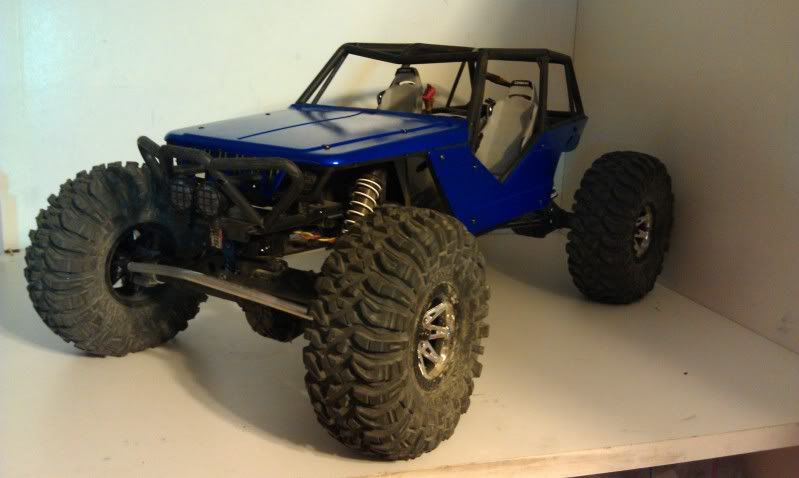 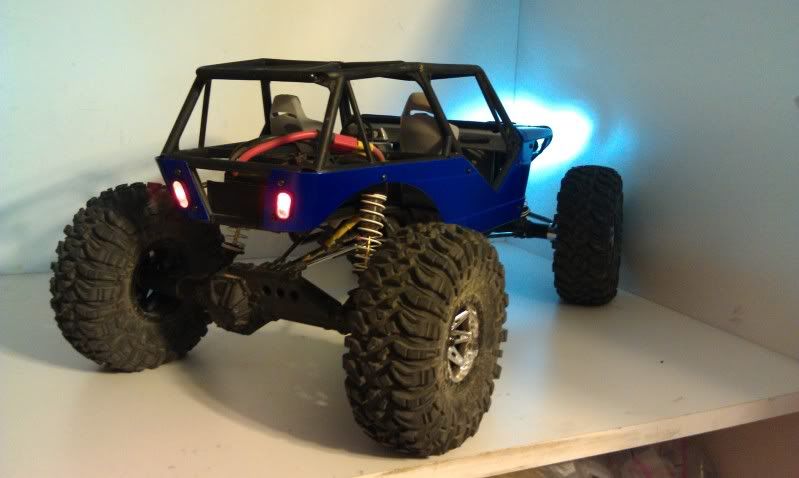 |

|  |
| Sponsored Links | |
| | |
|
10-08-2011, 09:59 PM
| #2 |
| Pebble Pounder Join Date: Aug 2011 Location: schererville
Posts: 169
|
exactly how do those drive shafts expand or contract with suspension movement if theyre soldered solid?
|
|
| |
|
10-08-2011, 10:00 PM
| #3 |
| Quarry Creeper  Join Date: Mar 2010 Location: murrieta
Posts: 390
|
NICE....  |
|
| |
|
10-08-2011, 10:03 PM
| #4 | |
| Quarry Creeper Join Date: Oct 2005 Location: Bryant, AR
Posts: 463
| Quote:
| |
|
| |
|
10-08-2011, 10:48 PM
| #5 |
| Newbie Join Date: Mar 2004 Location: Bend
Posts: 26
|
give us updates on how the driveshafts work
|
|
| |
|
10-08-2011, 10:54 PM
| #6 | |
| Quarry Creeper Join Date: Oct 2005 Location: Bryant, AR
Posts: 463
| Quote:
| |
|
| |
|
10-09-2011, 06:11 PM
| #7 |
| I wanna be Dave Join Date: Mar 2007 Location: roland,ar
Posts: 5,981
|
nice gianni! trust me guys.. if it survives gianni's punishment.. its good. looks good man..look forward to climbing some hills here soon. |
|
| |
|
10-10-2011, 07:30 AM
| #8 |
| I wanna be Dave Join Date: Sep 2011 Location: Douglassville, PA
Posts: 4,227
|
I made a shaft like that as well, and was worried about the durability of the press fit. So before pressing them together, I coated the shafts with JBWeld - helped them "slide" together better, and then hardened up nicely. Running it with no issues at all.
|
|
| |
|
10-10-2011, 08:27 PM
| #9 | ||
| Quarry Creeper Join Date: Oct 2005 Location: Bryant, AR
Posts: 463
| Quote:
Quote:
**BREAKAGE REPORT** Well I did some light (for me, look a couple posts up) bashing on 3s at my house Sunday evening. I ended up killing the HS-625....twice....in about 3 hours. So, I picked up a new servo today. Maybe this one will last a little longer. 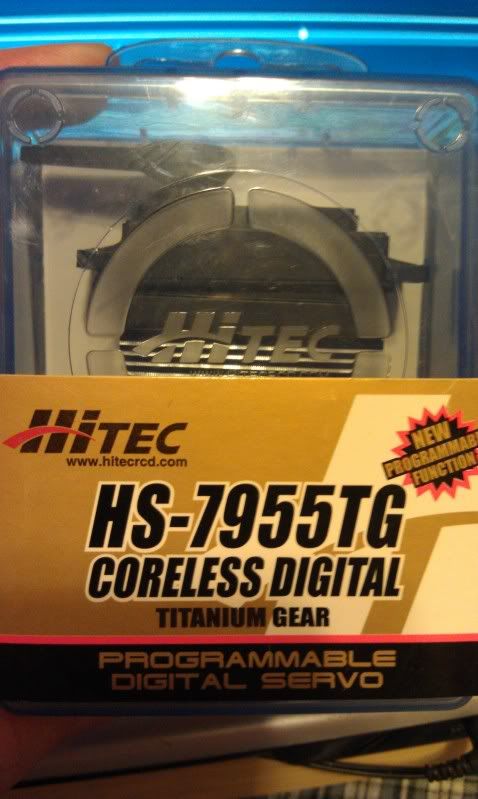 | ||
|
| |
|
10-10-2011, 08:35 PM
| #10 |
| Gold Star Baby Momma! Join Date: Feb 2004 Location: Maumelle, Ar
Posts: 713
|
Baller, look at this guy!!!!! I just replaced my stock servo with a 645!!!! Looks like I should have gotten my degree and made bank like you!
|
|
| |
|
10-10-2011, 09:07 PM
| #11 | |
| Quarry Creeper Join Date: Oct 2005 Location: Bryant, AR
Posts: 463
| Quote:
| |
|
| |
|
10-10-2011, 09:31 PM
| #12 |
| Gold Star Baby Momma! Join Date: Feb 2004 Location: Maumelle, Ar
Posts: 713
|
I look at that place everyday that I drive into work, but I haven't been there with the rigs cuz I look at that place every time I drive into work!!!!!!
|
|
| |
|
10-20-2011, 07:33 PM
| #13 |
| Quarry Creeper Join Date: Oct 2005 Location: Bryant, AR
Posts: 463
|
Here is a video of the "place" and a picture of the damage that occured. 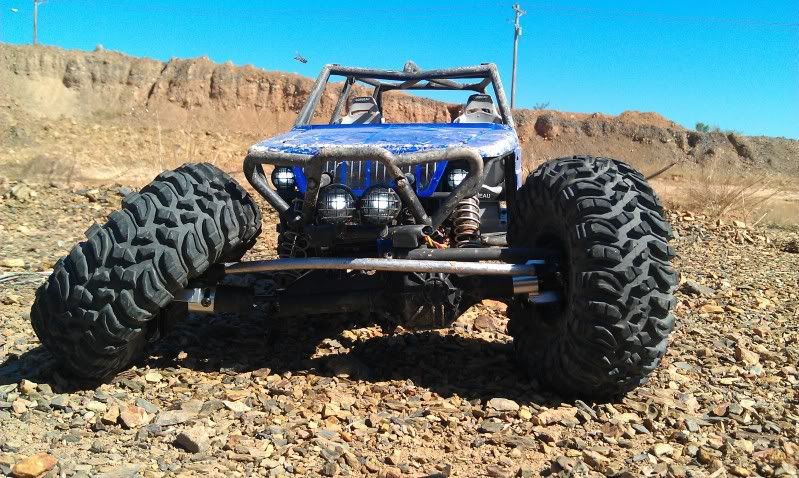 |
|
| |
|
10-20-2011, 07:48 PM
| #14 |
| Rock Crawler Join Date: Nov 2009 Location: poteau
Posts: 996
|
dam. your hard on equipment |
|
| |
|
10-20-2011, 08:02 PM
| #15 | |
| Quarry Creeper Join Date: Oct 2005 Location: Bryant, AR
Posts: 463
| Quote:
| |
|
| |
|
10-20-2011, 08:32 PM
| #16 |
| Rock Crawler Join Date: Oct 2009 Location: Michigan
Posts: 895
|
SC trucks and skate parks.......  Last time I took my Slash to a skate park, I almost pissed my pants laughing, so awesome!!!! Last time I took my Slash to a skate park, I almost pissed my pants laughing, so awesome!!!!The Wraith is cool too, a little fast for me....but cool |
|
| |
|
10-21-2011, 05:44 AM
| #17 |
| I wanna be Dave Join Date: Mar 2007 Location: roland,ar
Posts: 5,981
|
yeah... abuse isnt the word for it... its almost a sick fetish for destruction.. |
|
| |
|
10-21-2011, 06:03 AM
| #18 |
| TN State Champ 11,12,13  Join Date: Oct 2008 Location: KTM Talk.com
Posts: 1,796
|
Drive it like you stole it |
|
| |
|
10-21-2011, 06:51 AM
| #19 |
| Rock Stacker Join Date: Sep 2011 Location: Twinsburg
Posts: 51
|
i suprised you slash is in one piece lol
|
|
| |
|
10-22-2011, 06:24 PM
| #20 |
| Quarry Creeper Join Date: Oct 2005 Location: Bryant, AR
Posts: 463
|
AXLE TUBE BEEF!!!! I got my tubing in for beefing up the axle housings. It is 316 Stainless Seamless tube, .375" OD x .083" wall x .209" ID. I haven't actually measured it, but according to the dimensions, the ID of the tube is about .012" bigger than the bearing surface of the front axle shafts. I had to drill the tube out to have an ID of .250" for the rear axle but there is still plenty of material left. To get the tubing to fit into the housings I had to drill them out. On the front I drilled with a 3/8" drill bit and then used a file to open up the hole a little more to achieve a tight fit for the tubing. On the rear, I drilled out the housing with a 25/64" bit. This didn't provide as tight of a fit as on the front housing, but its not so loose that the tubing just falls out. Another thing that I did with the tubing was to drill and tap holes for the screws that hold on the truss, c-hubs and lockouts. Now I can loctite those screws in and not have to worry about them comming out. Now for the pictures. 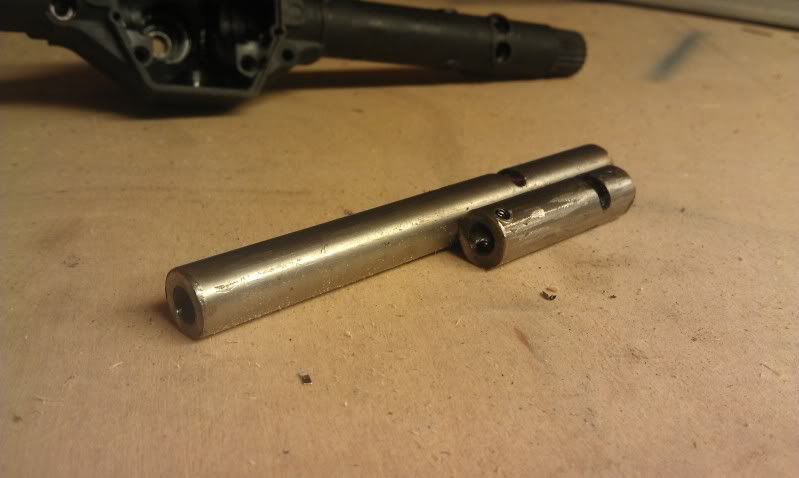 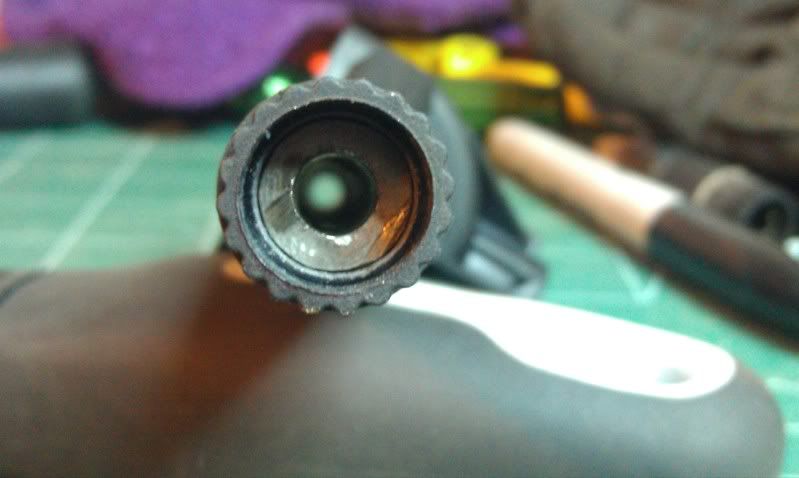 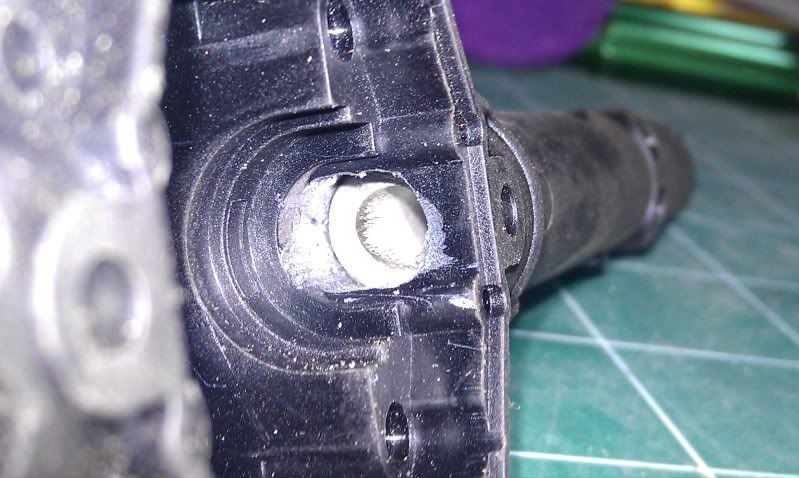 |
|
| |
|
| |


 Linear Mode


