| |||||||
Loading
 |
| | LinkBack | Thread Tools | Display Modes |
| |||||||
 |
| | LinkBack | Thread Tools | Display Modes |
| | #21 |
| Quarry Creeper Join Date: Aug 2014 Location: holland
Posts: 253
|
didn't have much playtime lately. But i did manage to rebuilt the shocks. also since I had the suspension taken apart I lowered the car by flipping the lower shock mounts (front) and upper mounting (back). This, combined with a set of monster truck wheels improved the hi-speed handling dramatically. Then i stumbled across a plot of road works... and a pile of sand is hard to resist with a Wraith at hand. long story short: 10min of improvised FOFF-ing later the wraith came to a grinding halt. https://youtu.be/aVusCeZSiOo Funny (in a way) to see every upgrade mentioned here (of which I thought:"right! I'm not thŕt hard on stuff!) seams to wait it's turn. HR steel gears are on their way... |
| |  |
| Sponsored Links | |
| | #22 |
| Quarry Creeper Join Date: Aug 2014 Location: holland
Posts: 253
|
HR gear set arrived from overseas. Let‘s do the things I actually don’t have time for: Transmission taken apart: 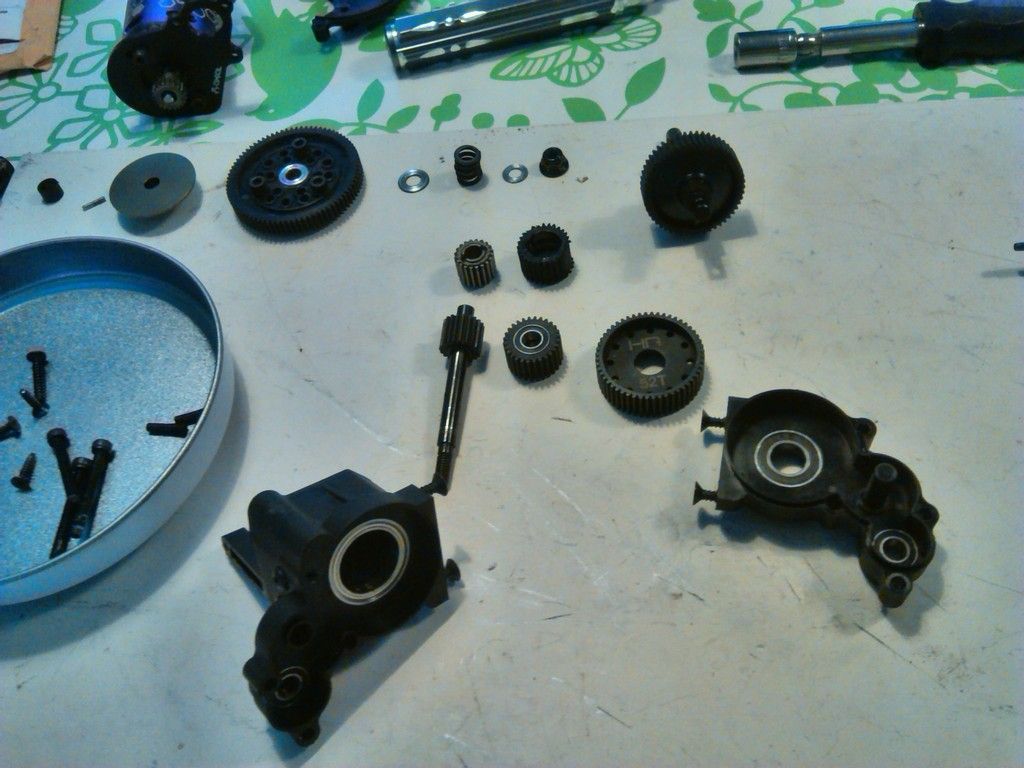 Yep, that’s eaten! 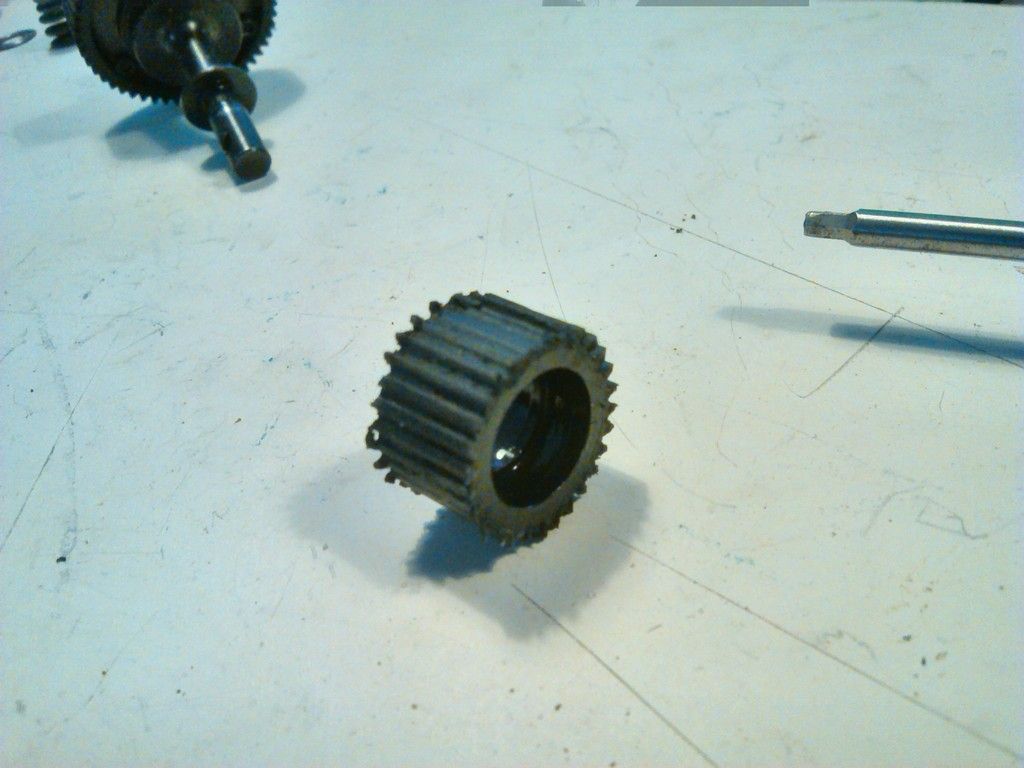 HR stuff fits nicely. 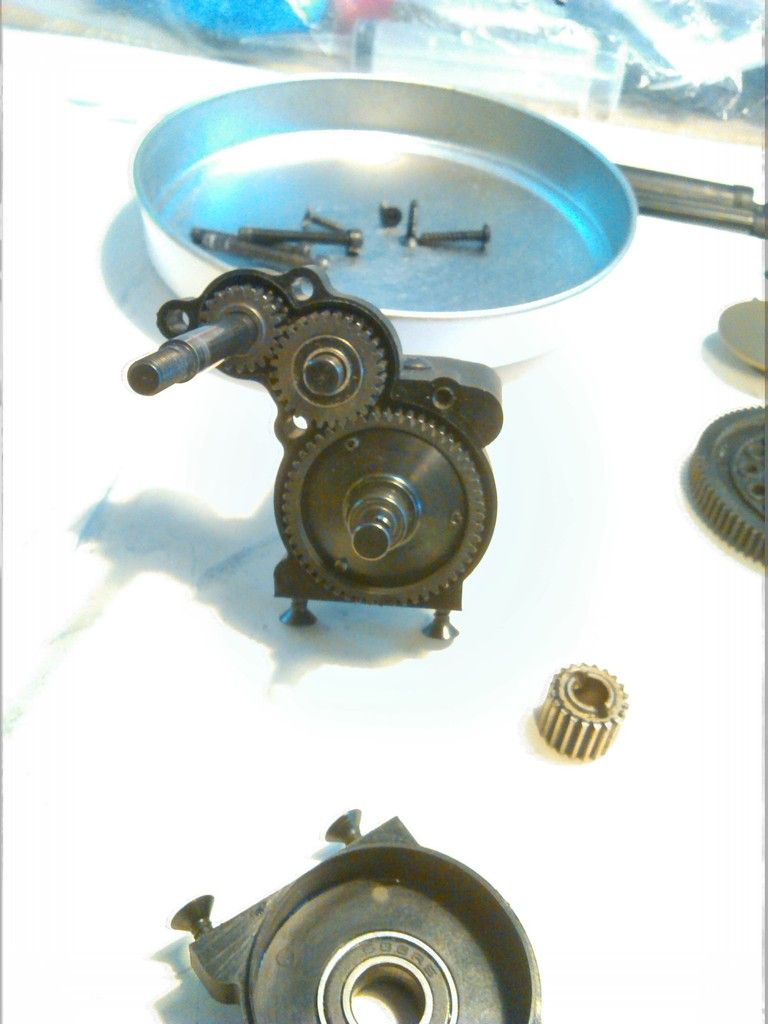 Cleaned the lot of leftover grease. Stuffed the tranny with blue Marine grease. Total transmission feels havier (duh.) but it also runs smoother then it has done from the get go with the plastic gears. I guess the casting residu found during the built did cause some resistance. Back on track for now! |
| |  |
| | #23 |
| Quarry Creeper Join Date: Aug 2014 Location: holland
Posts: 253
| |
| |  |
| | #24 |
| Quarry Creeper Join Date: Aug 2014 Location: holland
Posts: 253
| |
| |  |
| | #25 |
| Quarry Creeper Join Date: Aug 2014 Location: holland
Posts: 253
|
Waterproofing. take 1: Remember: Let the Dip cure all the way before turning your ESC on!.... (yep, ‘the hard way’) I was too eager to find out if the contacts still worked after the tape came off during spraying. I switched the ESC on with the Plastidip 'dry to touch'(not cured full). 'squeek' and 'poof'. Kind of reluctant to spray the next $80 ESC. I assume it to be user error, still have confidence in Plastidip.... Any tips? Tape on (female) connectors? Or put fitting plugs in? Got a spray can here. I don’t know if that’s the best choice. Servo: 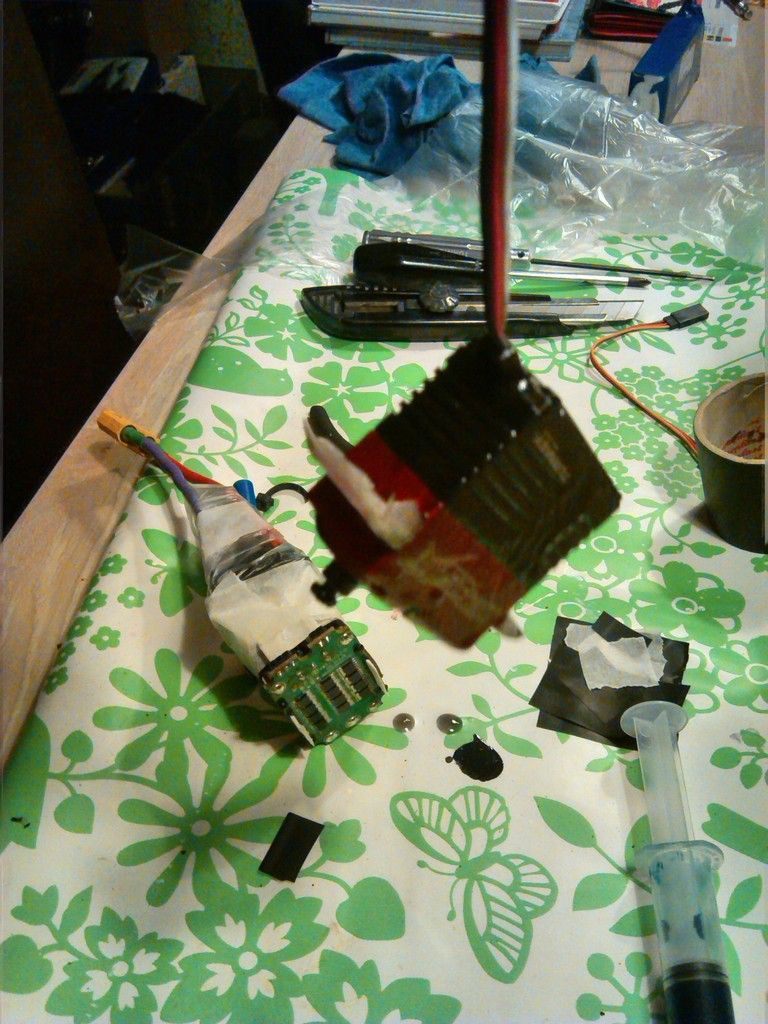 Lower print of the ESC (the one with the lost stickers): 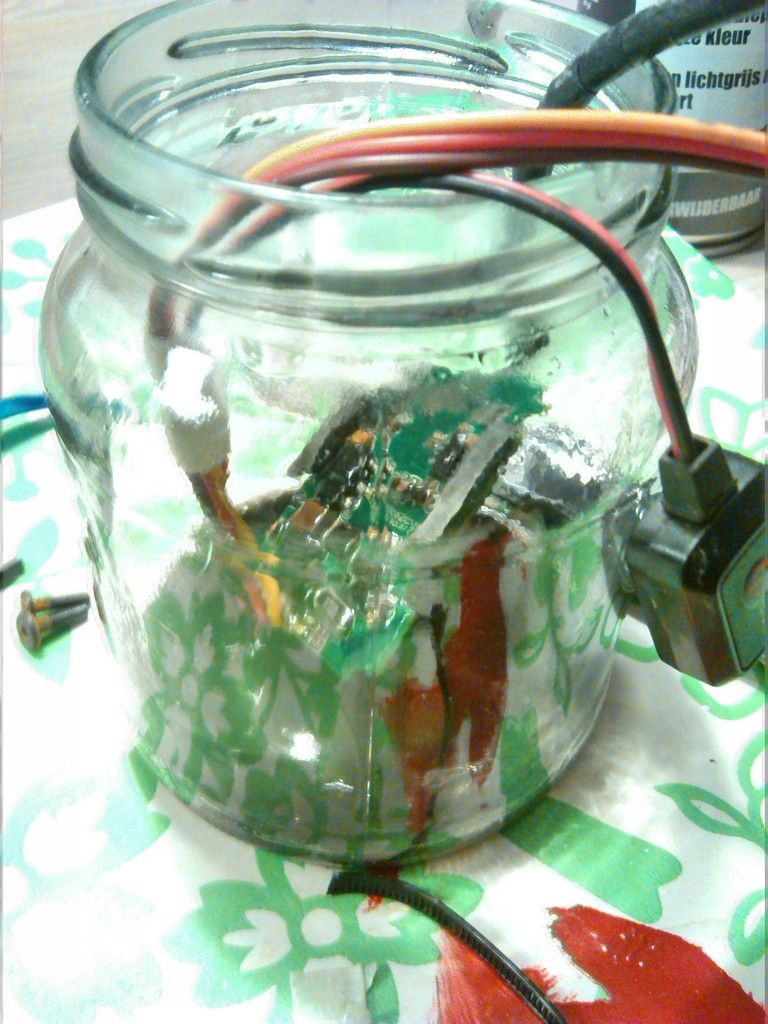 ESC (minutes before dead) pressed into its connectors 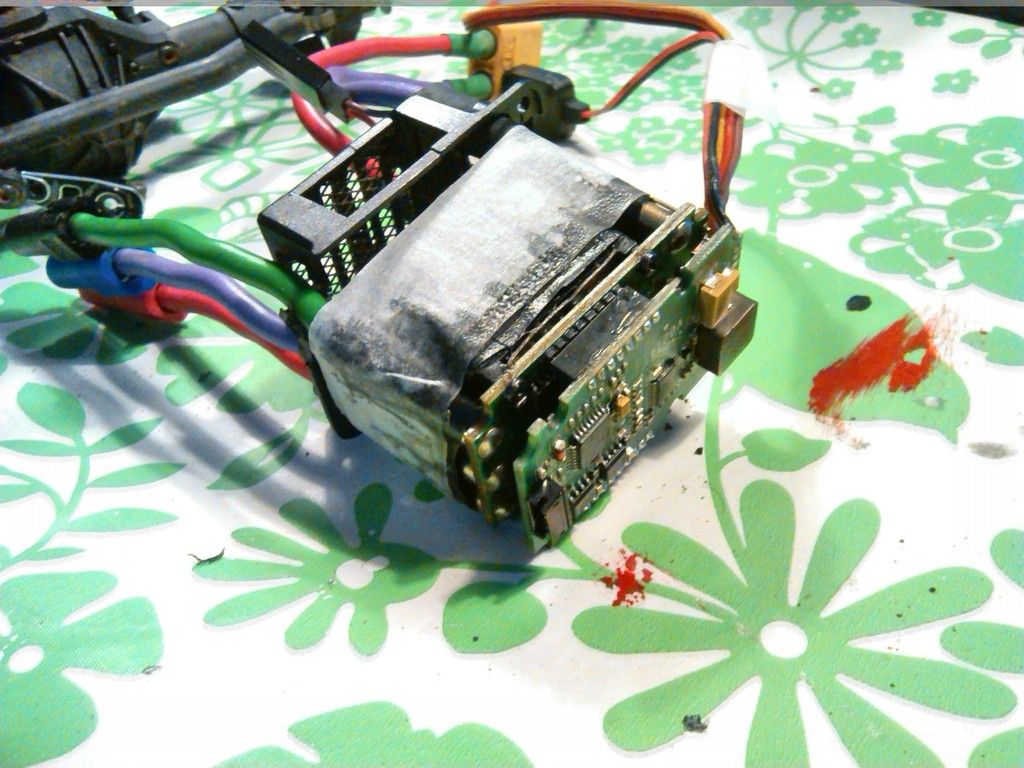 |
| |  |
| | #26 |
| Quarry Creeper Join Date: Aug 2014 Location: holland
Posts: 253
|
Last weekend I mounted the new ESC. 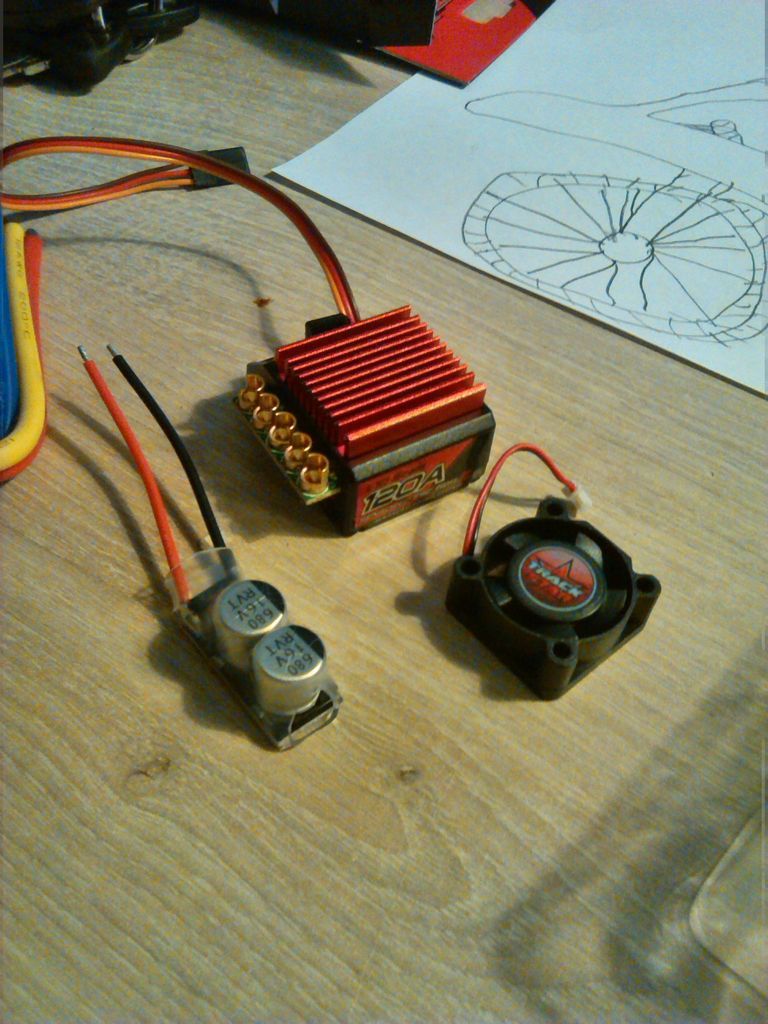 Connected to a PC. 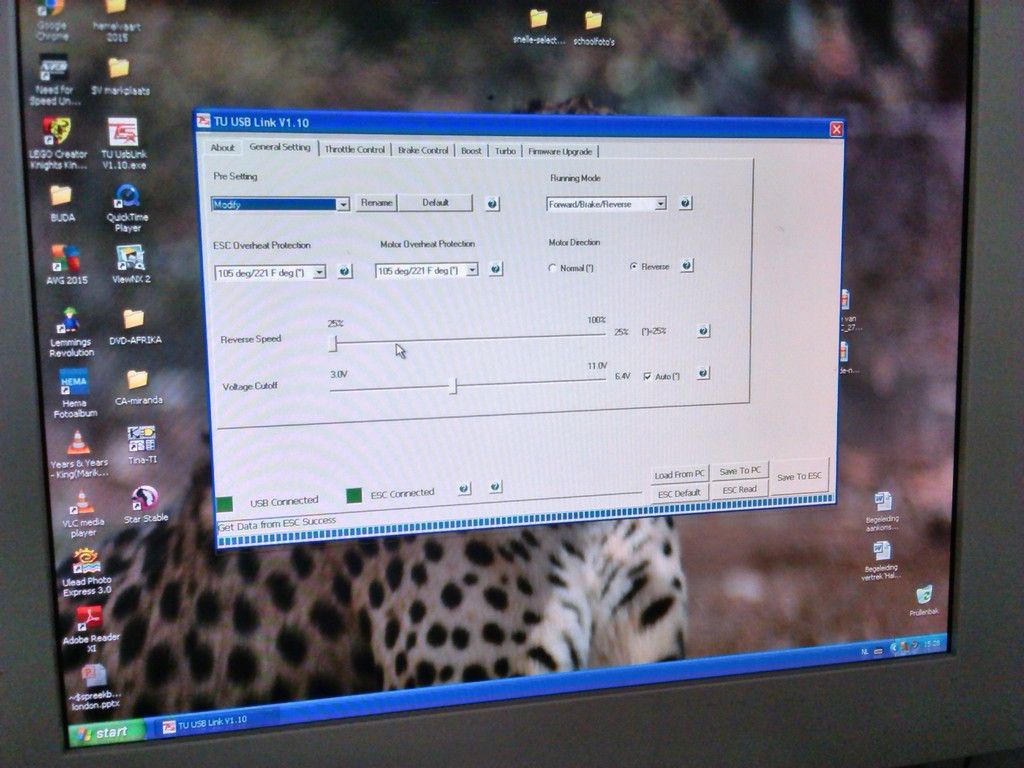 100% dragbreak on the PC, not on the ESC. It just rolls of ... bummer. 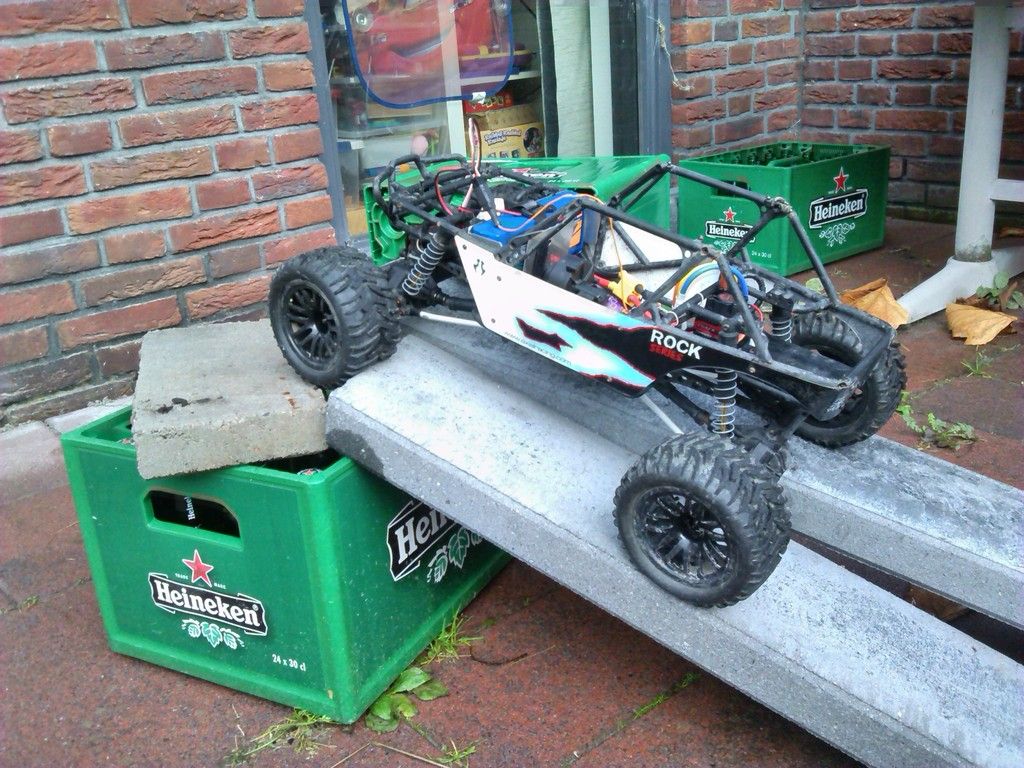 I got a real cable tray in my Wraith. haha 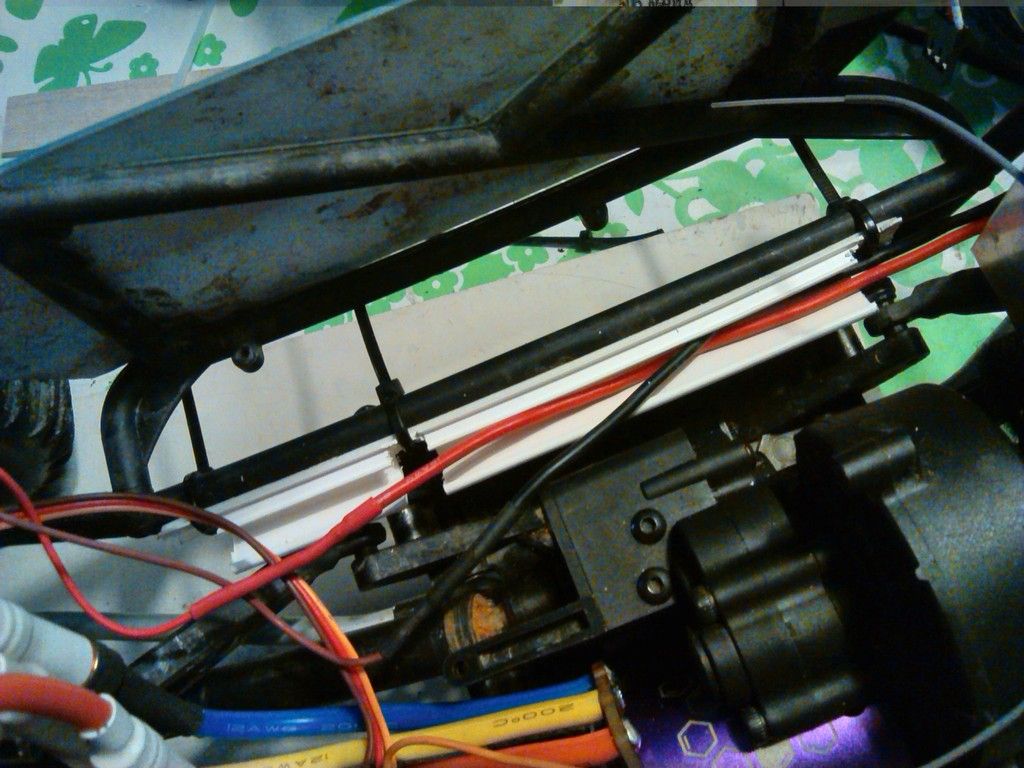 Experimented a bit more with the LEDs. 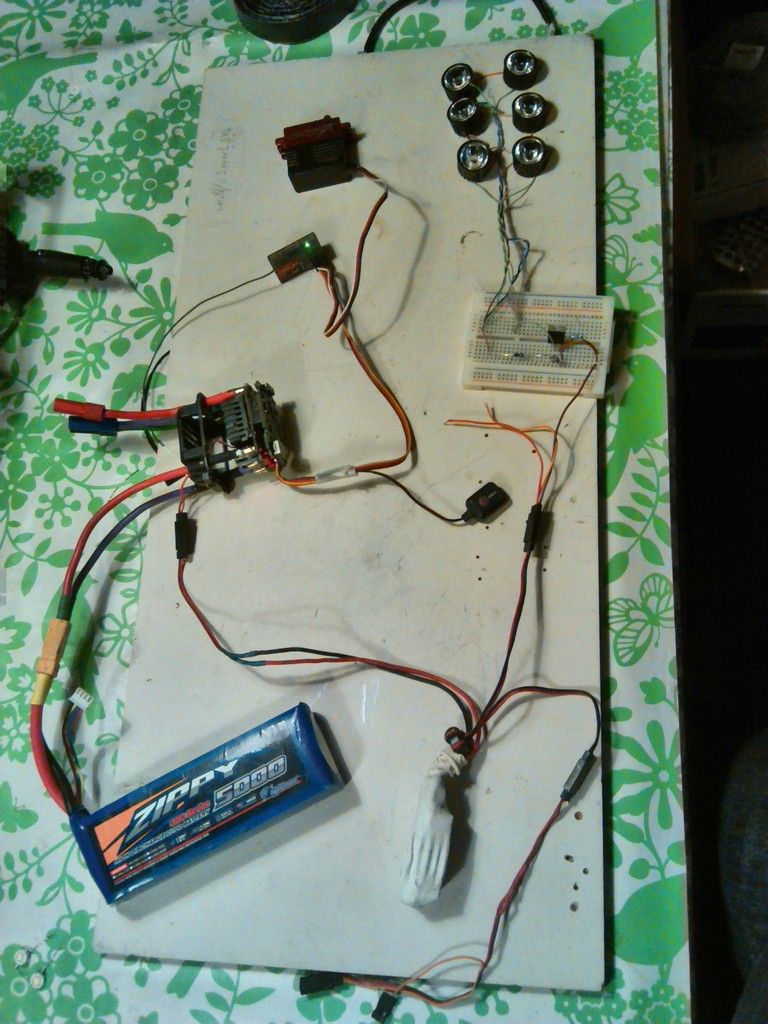 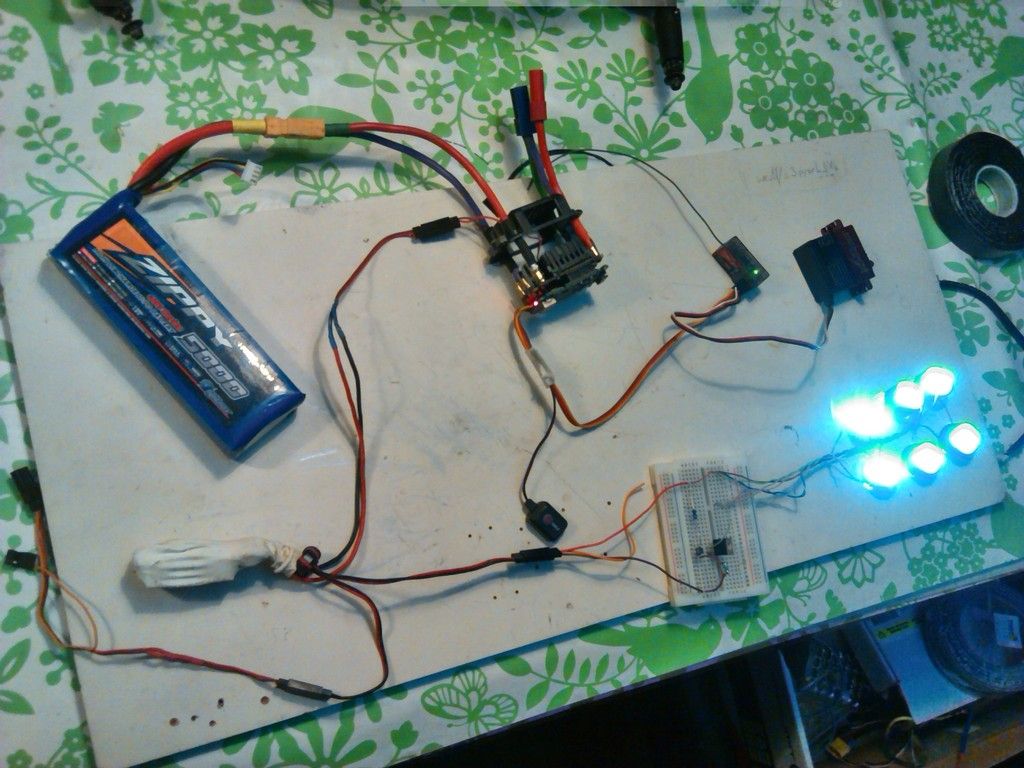 LEDs do fit in/on standard Axial buckets 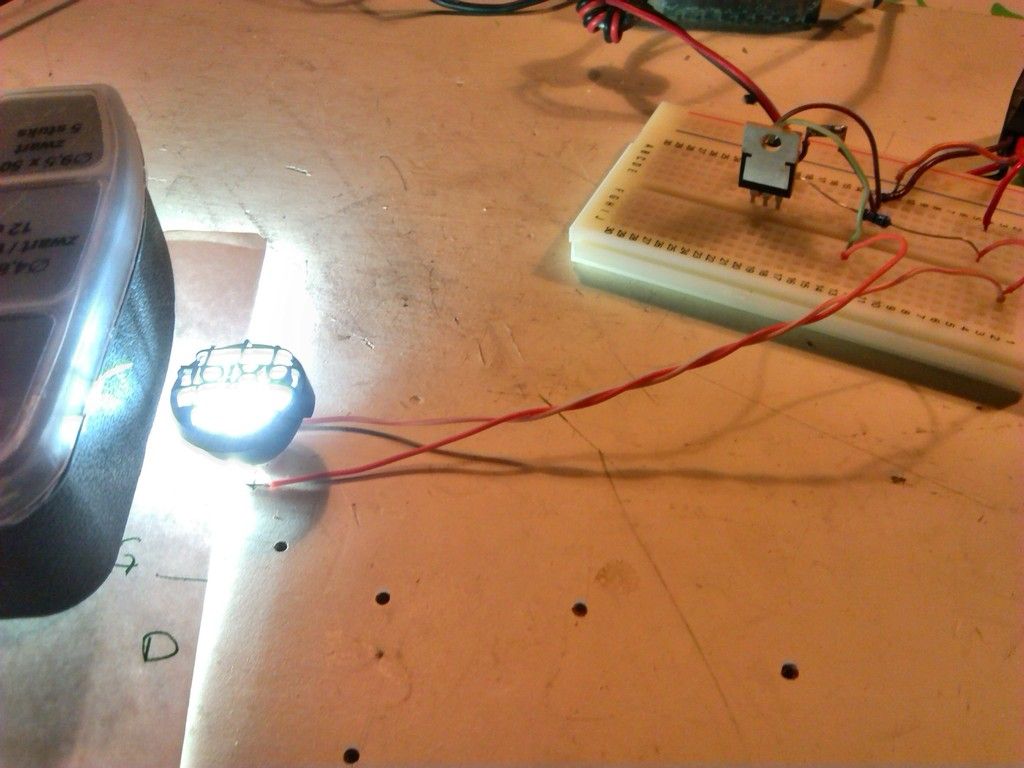 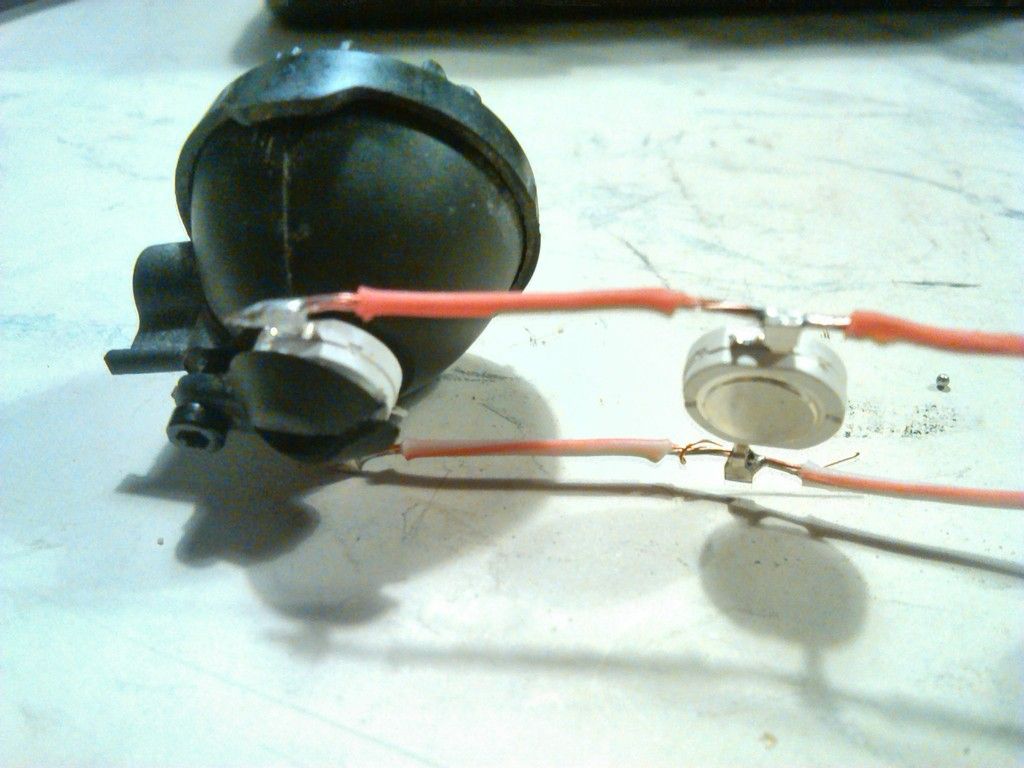 testfit: 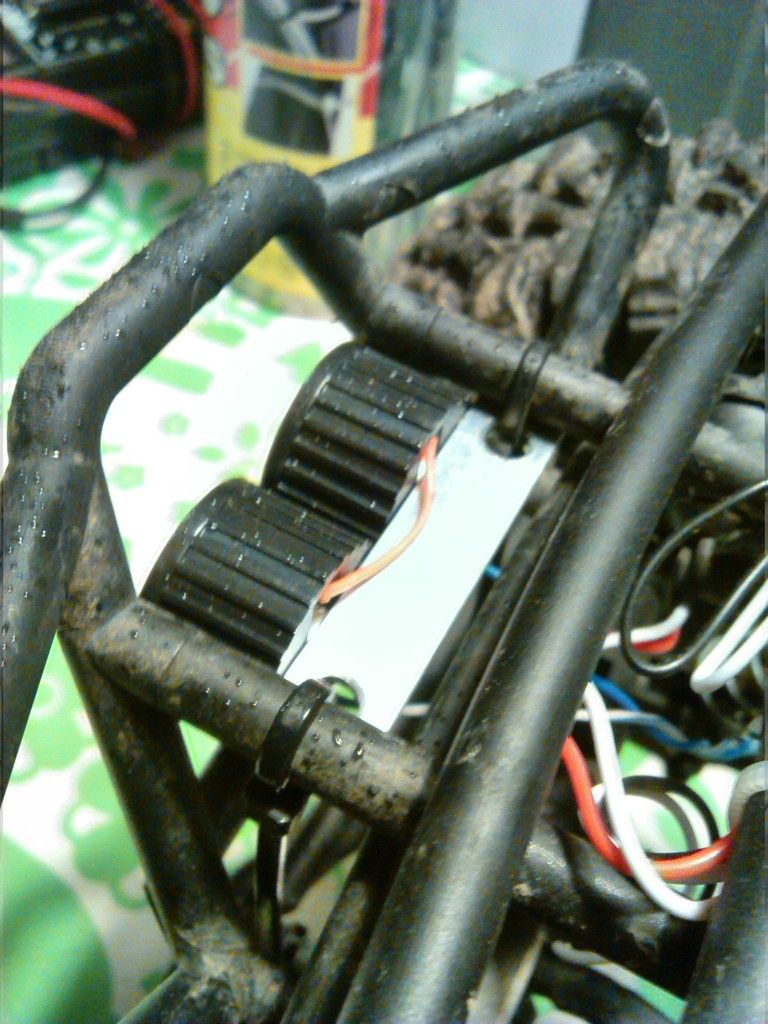 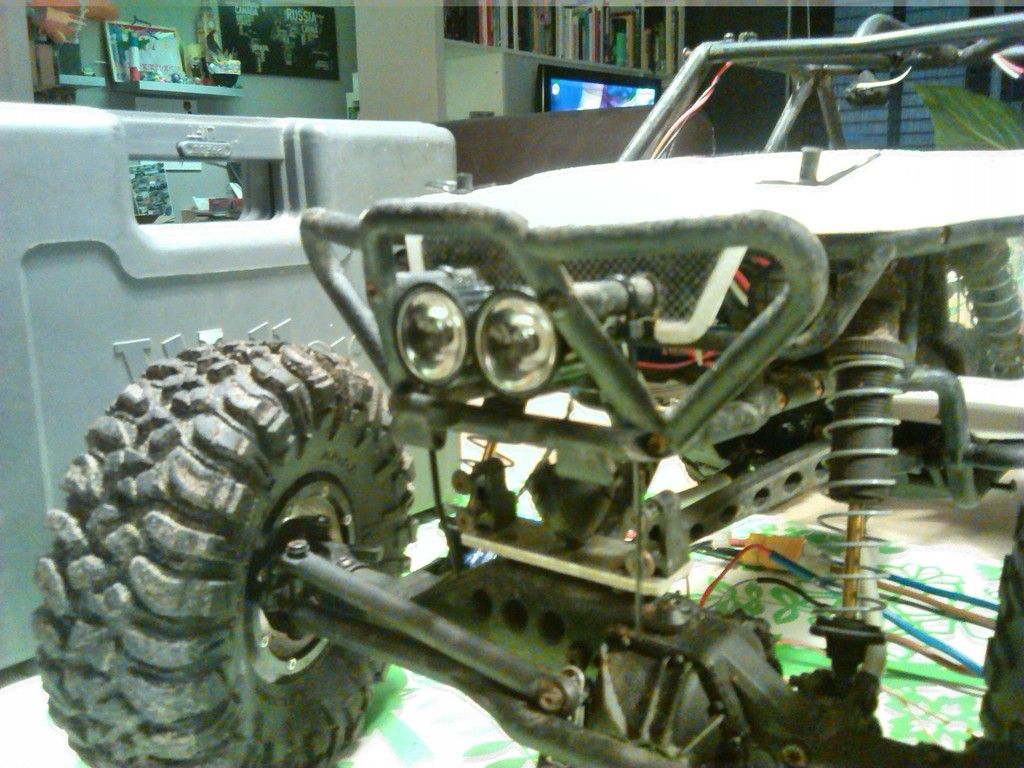 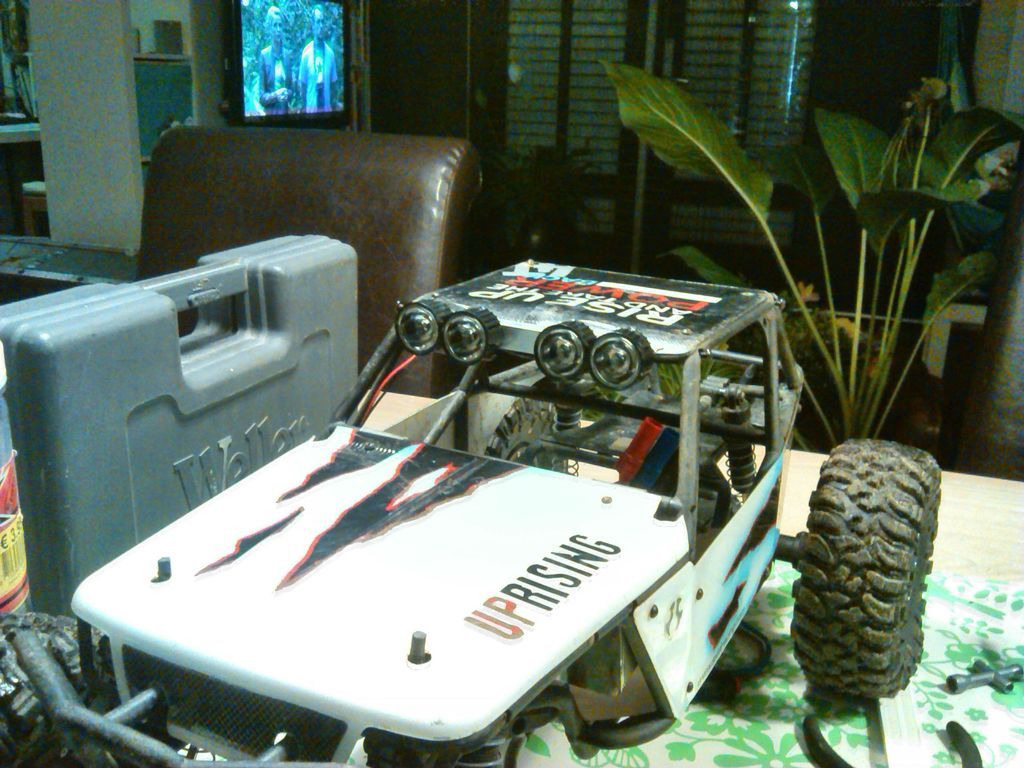 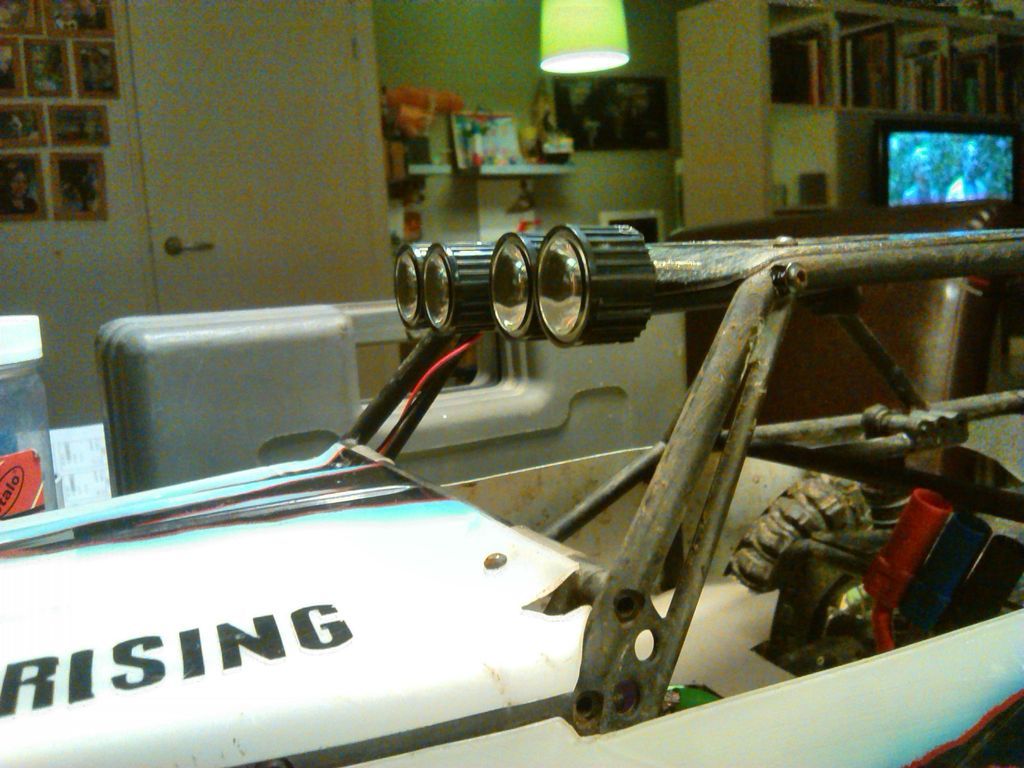 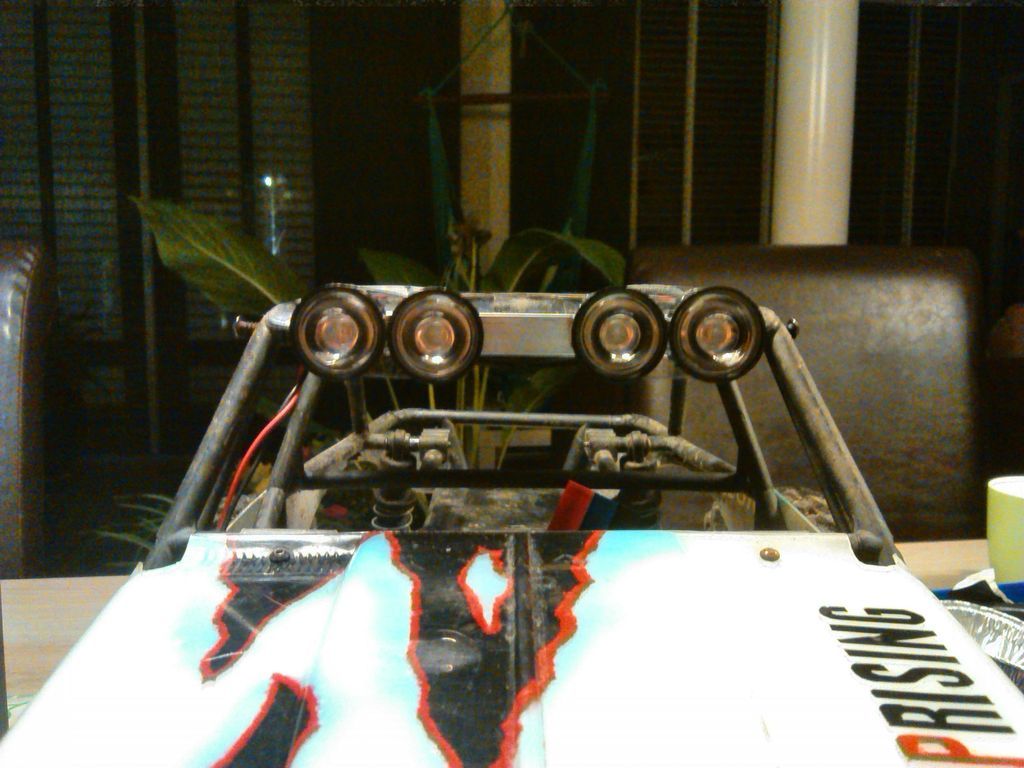 Reaction of one of my buddies: "reminds me of little yellow guys in blue pants...." "thanks Dirk! You ruined it now" haha. 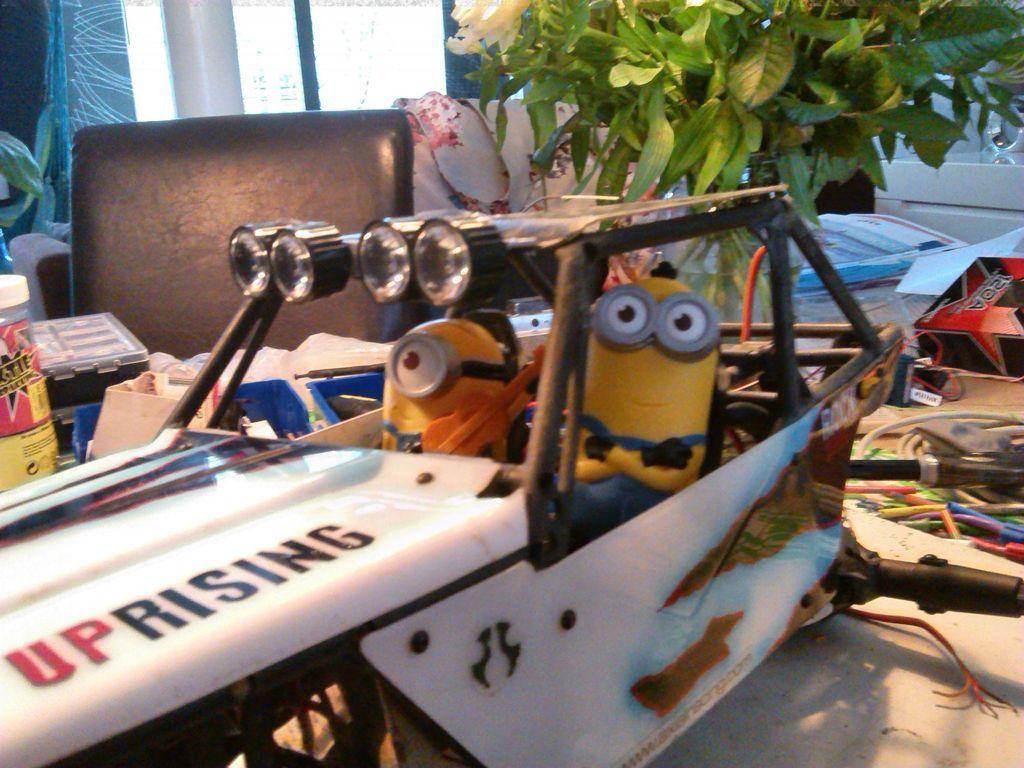 Outdoor testing. 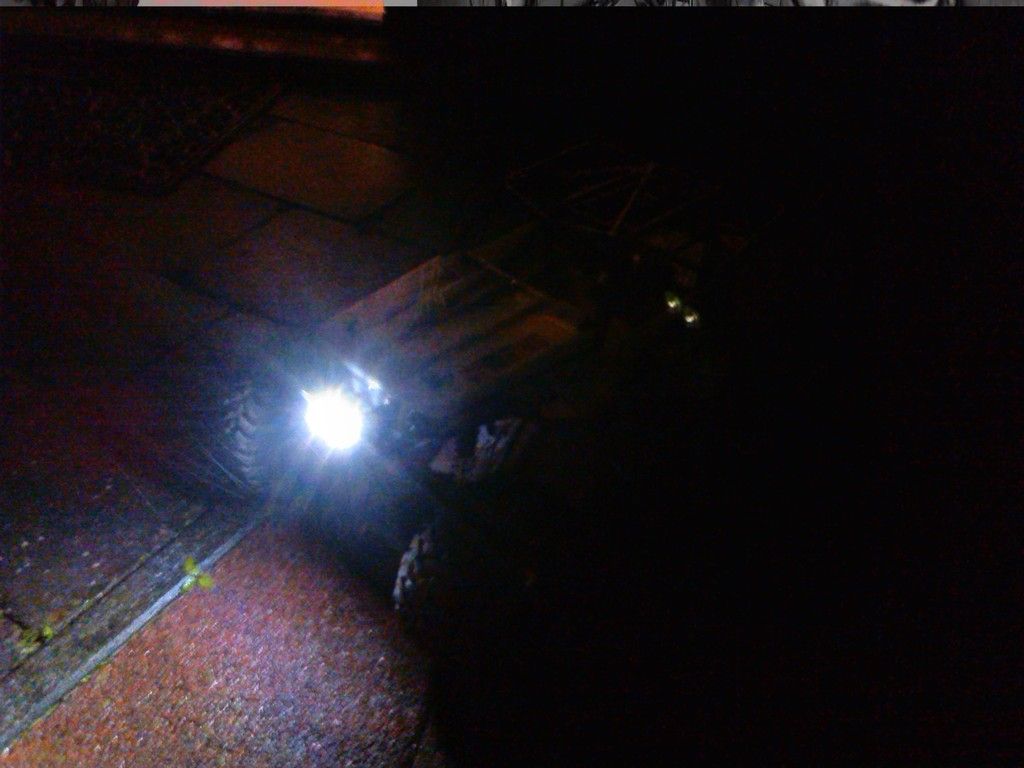 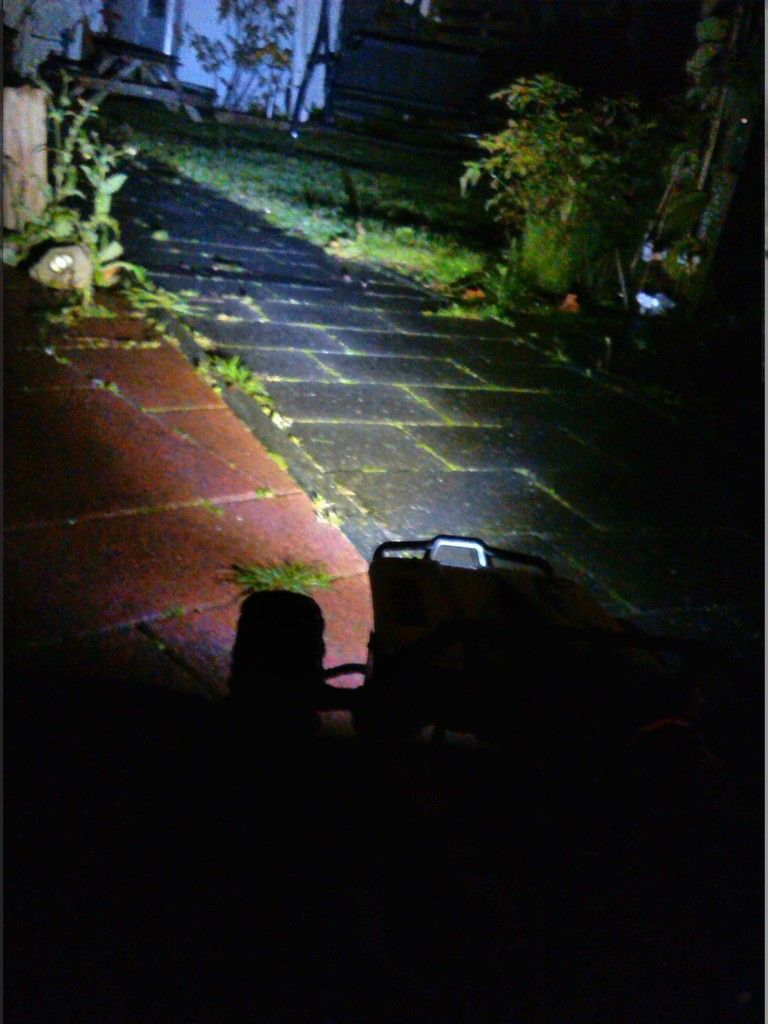 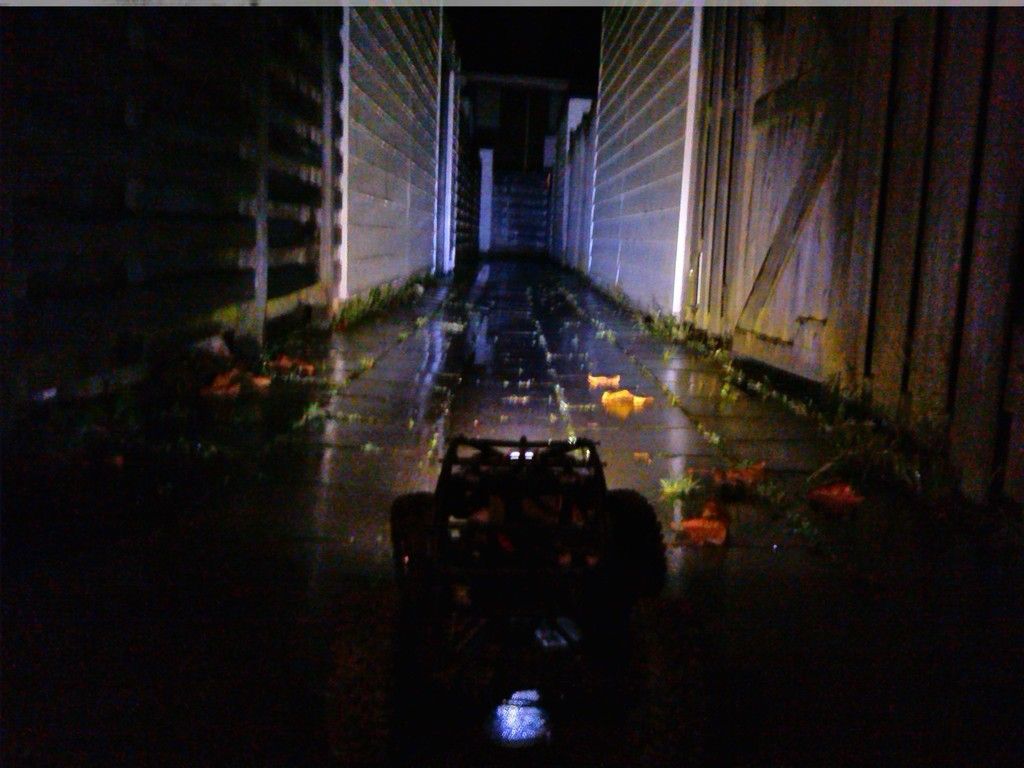 |
| |  |
| | #27 |
| Quarry Creeper Join Date: Aug 2014 Location: Indy
Posts: 381
|
Nice work! Very creative on the lights.
|
| |  |
| | #28 |
| Quarry Creeper Join Date: Aug 2014 Location: holland
Posts: 253
|
Thnx. Still working out a way to switch them on/off via the TX/RX.
|
| |  |
| | #29 | |
| Quarry Creeper Join Date: Aug 2014 Location: Indy
Posts: 381
| Quote:
Convert a Servo to switch on and off LED's | |
| |  |
| | #30 |
| Quarry Creeper Join Date: Aug 2014 Location: holland
Posts: 253
|
Yep . I did some experiments with a brushed ESC. Used ESC was known to be faulty. I got it working on ch2 only, not sure why. I happen to have other plans for that channel so that's not a solution. servo option is a good one as wel. I 'll look info that one. Thnx.
|
| |  |
| | #31 |
| Rock Stacker Join Date: Jun 2014 Location: uk
Posts: 71
|
Looks good, what are the leds from? Really enjoy reading your ideas and seeing you follow through with them.
|
| |  |
| | #32 |
| Quarry Creeper Join Date: Aug 2014 Location: holland
Posts: 253
| Thnx. LEDs are of ebay. 1w power LEDs. About $8 for 100pcs. Lenses are from ebay as wel. $7 for 50pcs. You can choose the beam width from 90 to 15 degr. (I got 25degr.) I bought 22mm lenses, they're also available as 15mm. (These are on their way, as I think these are to big)
|
| |  |
| | #33 |
| Quarry Creeper Join Date: Aug 2014 Location: holland
Posts: 253
|
Well, I had the car running again. Even placed the electronics in (more or less) the right spots. Testdrive! Oh wait. I had a tire issue to solve. Nothing spectacular but worth an experiment. Standard foams are way to soft. Side hilling or sliding over grippy rocks makes the tires vanish under the rims. Here is some room for improvement. I managed to get hold on a piece of firm foam (SG80, I believe). With an electric dual knife I cutted strips. (scissors or hobby knife won’t work) 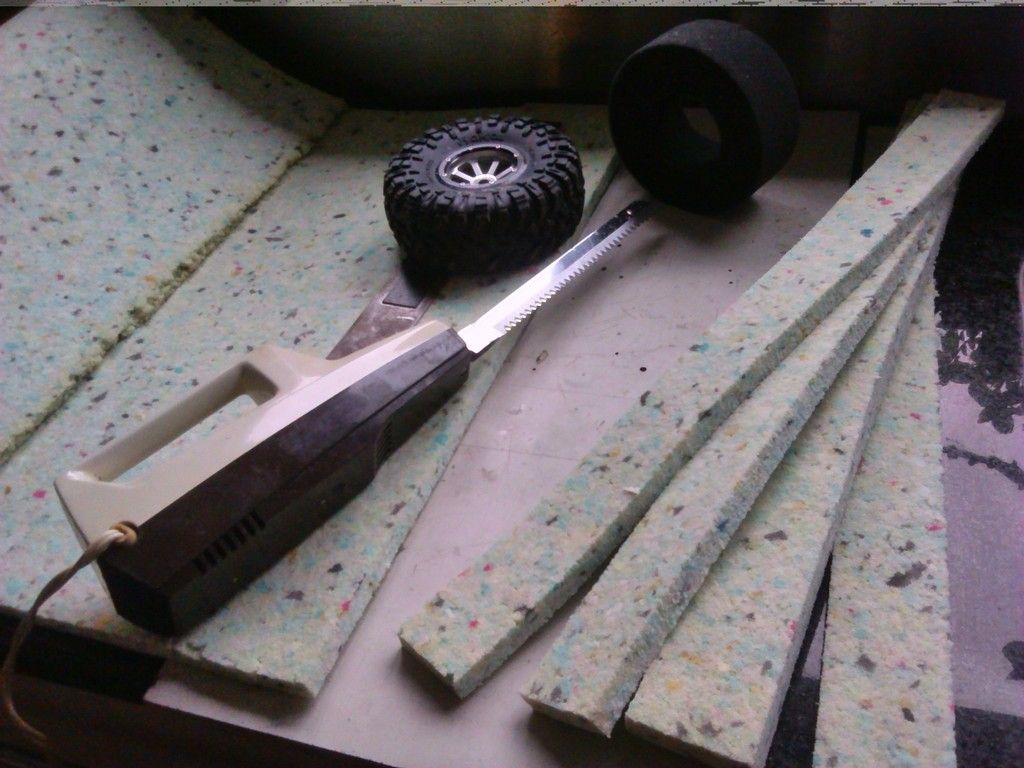 First test: 3 layers of hard foam vs. standard. 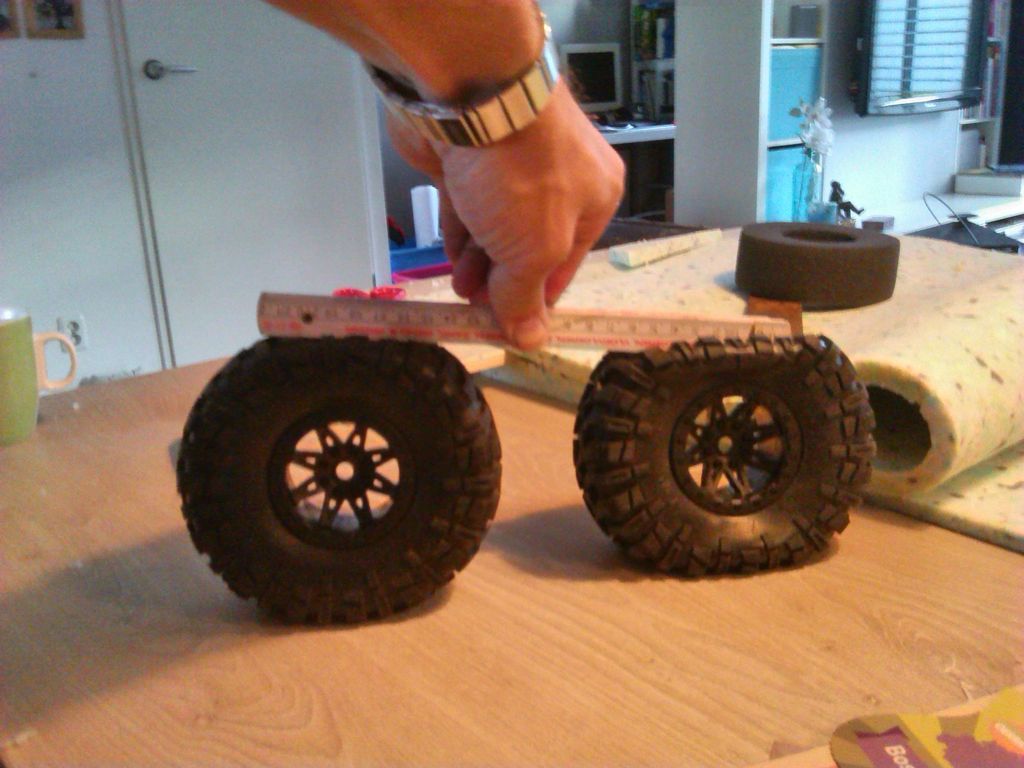 Let’s go ‘all out’; let’s built dual stage foams. 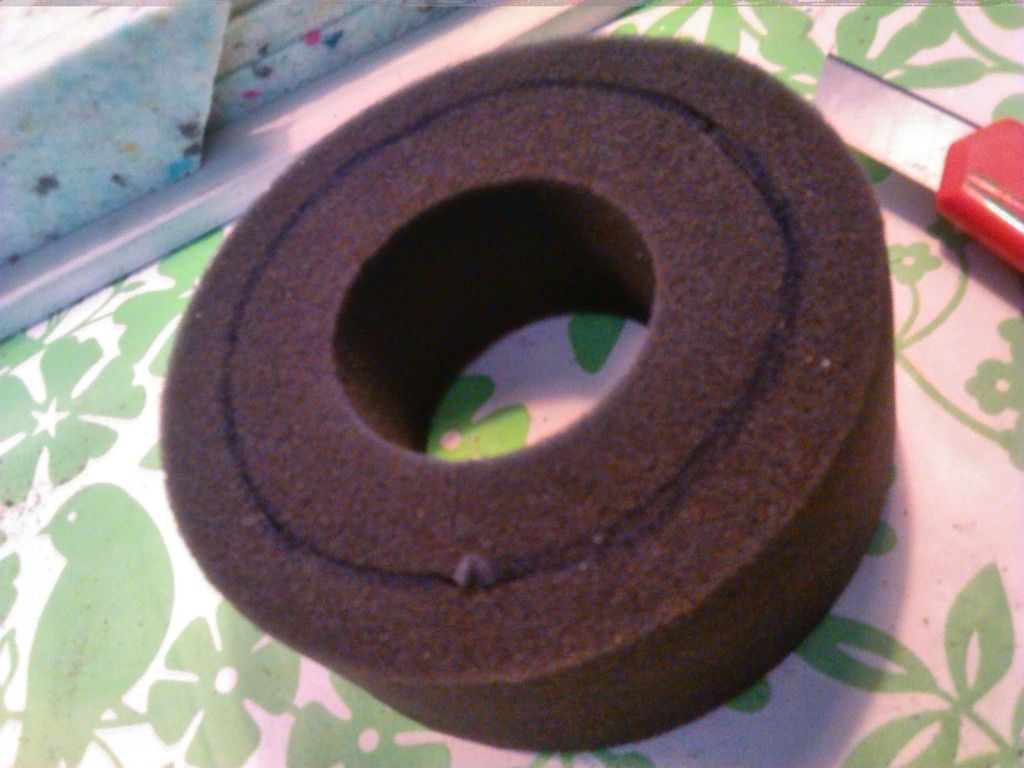 The standard foams can be cut with a hobby knife. 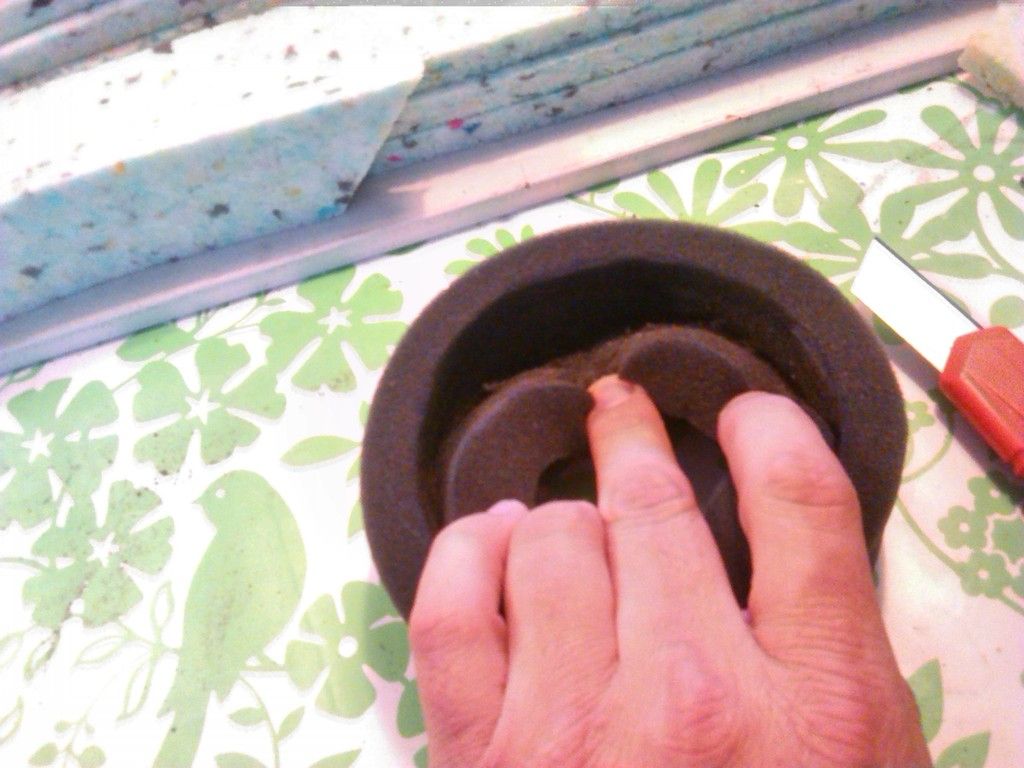 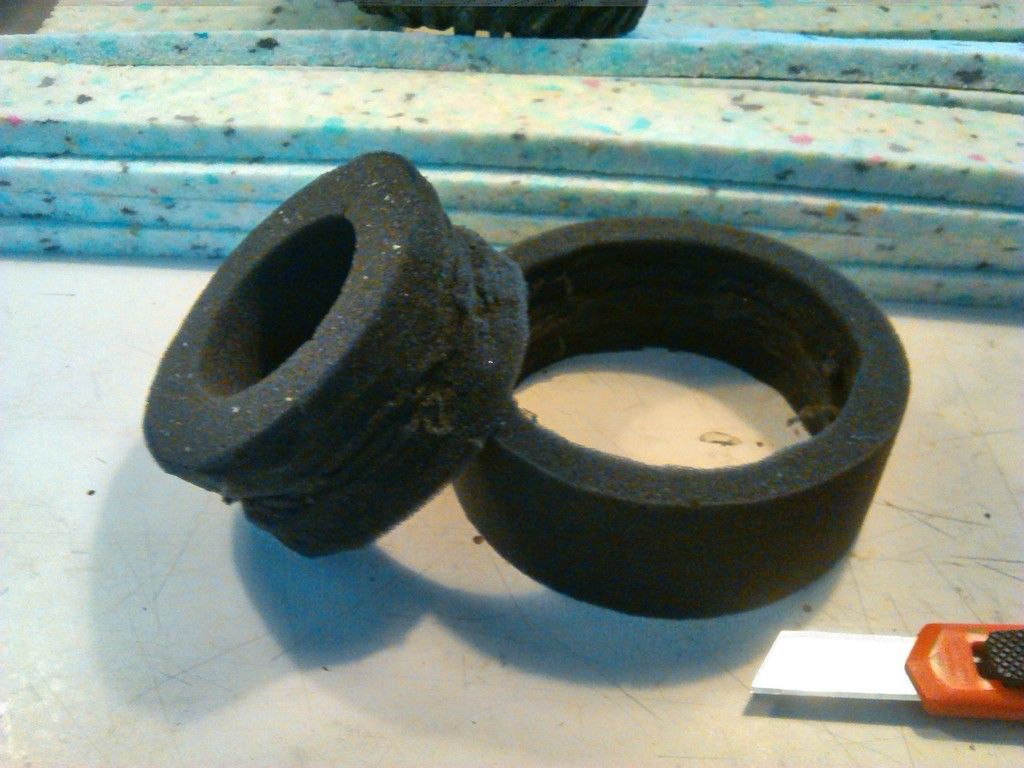 Dual stage. Outside layer is the standard foam (app. ˝”) then 2 layers of firm foam. Inner one with the inside corners cut (pictures failed, sorry) 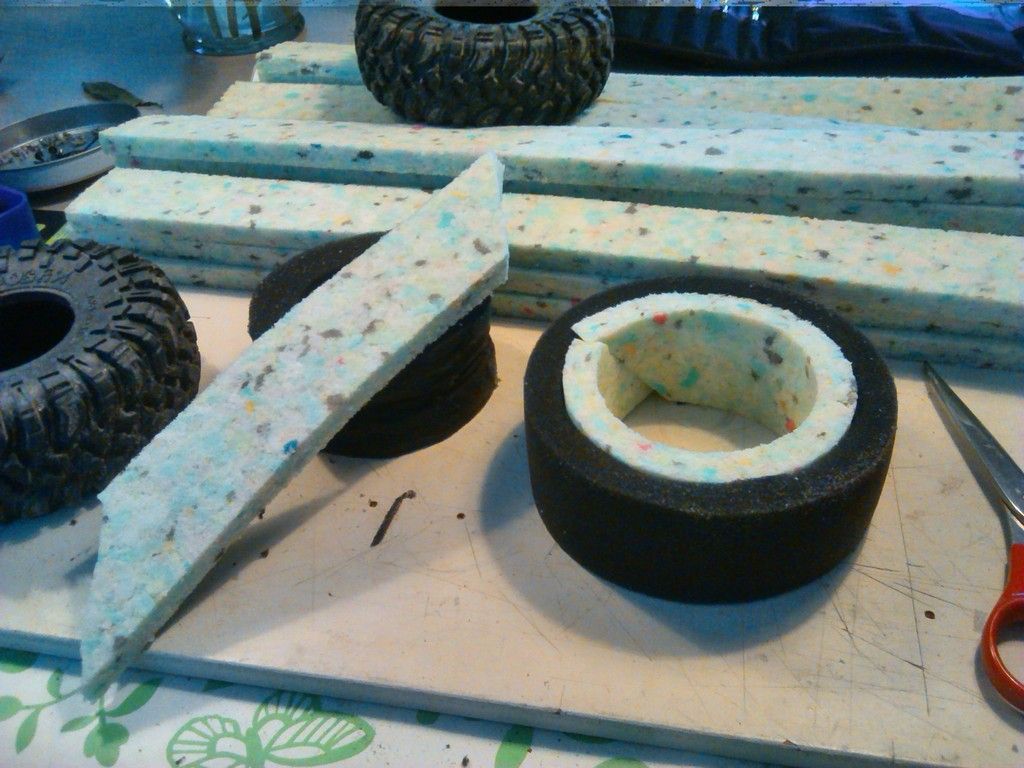 After mounting the lot it’s finally time for a testrun. Car doesn’t tip over as easily as before. Tires do grip better, I think by lack of a 1 on 1 comparison. Happy because I wanted the car up and running for a trailrun next weekend. Then how do you manage to strip the servo right now! 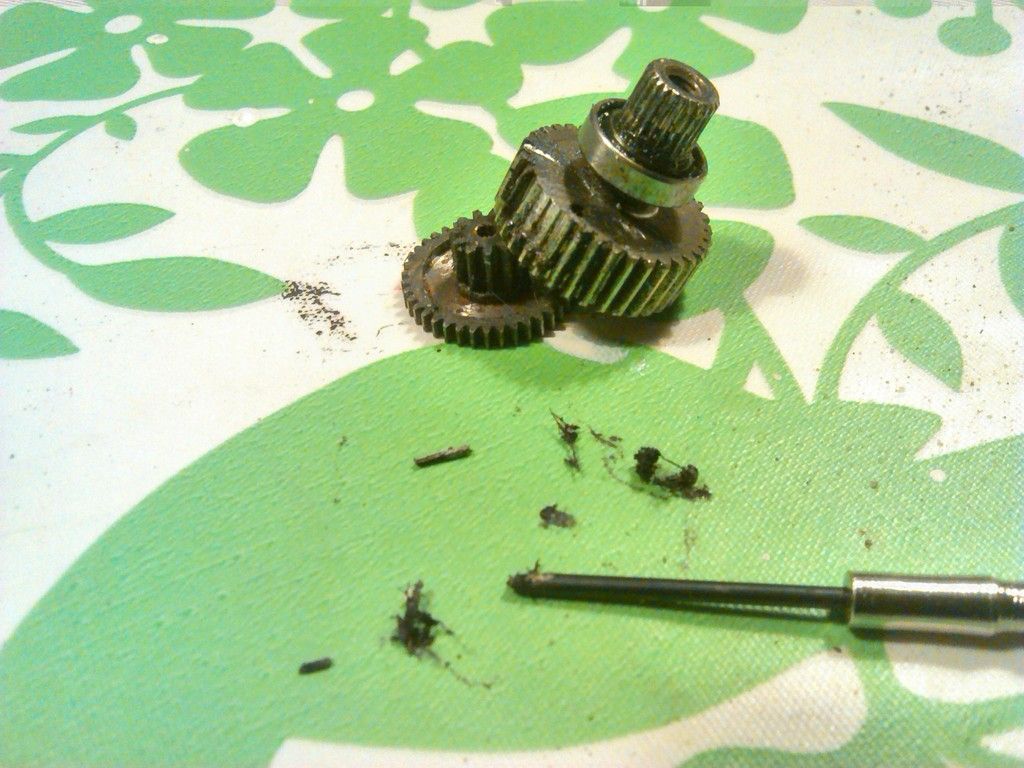 I did open the servo during operation ‘Waterproof’, so I knew the gears were ‘chewed on’ already. So it’s unfortunate but not unexpected. Only I failed to order a spare servo in advance. Now I did and hope it will arrive in time…. |
| |  |
| | #34 |
| Quarry Creeper Join Date: Aug 2014 Location: holland
Posts: 253
|
Up ‘till now I’ve been able to built 2 LED drivers One for 190mA (2 to 4 power LEDs @ 7v) and one for 700mA (6 to 8 power LEDs @ 7v) 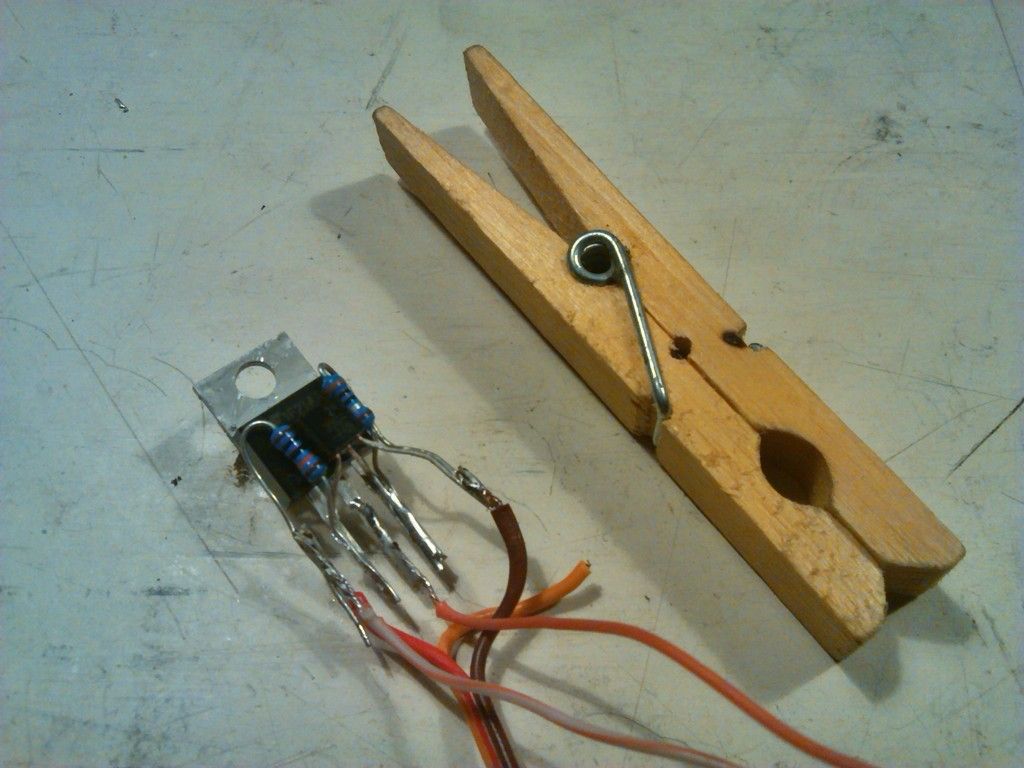 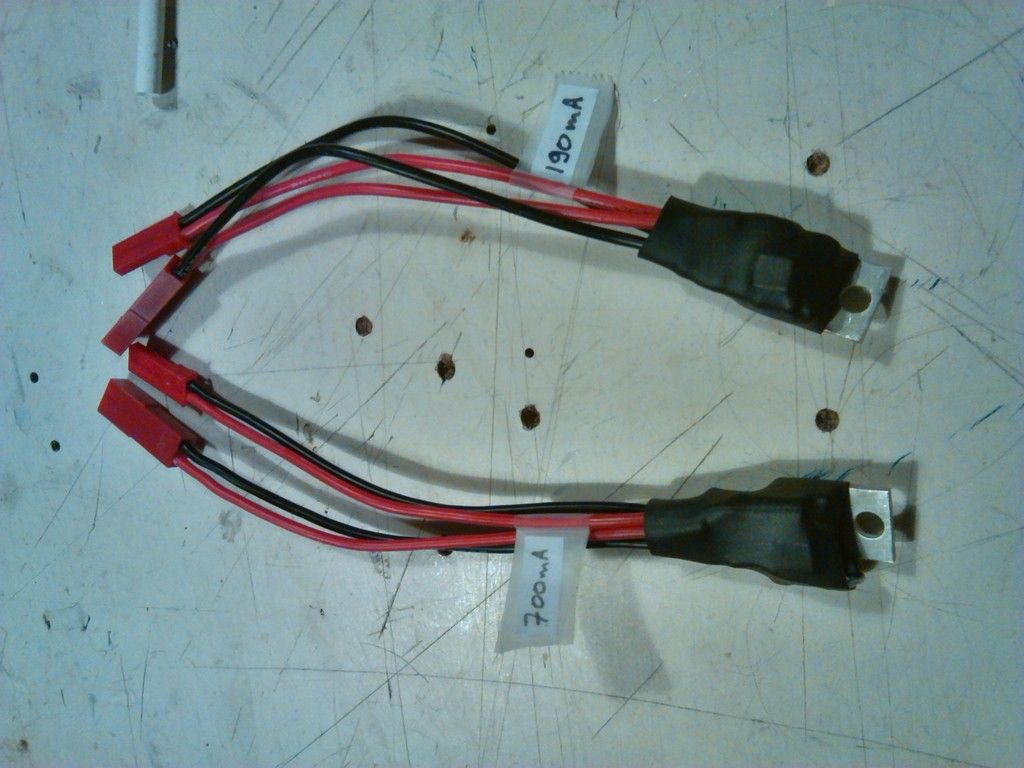 The 190mA version can feed 6 LEDs just fine but definitely less bright them the 700mA. 190mA: 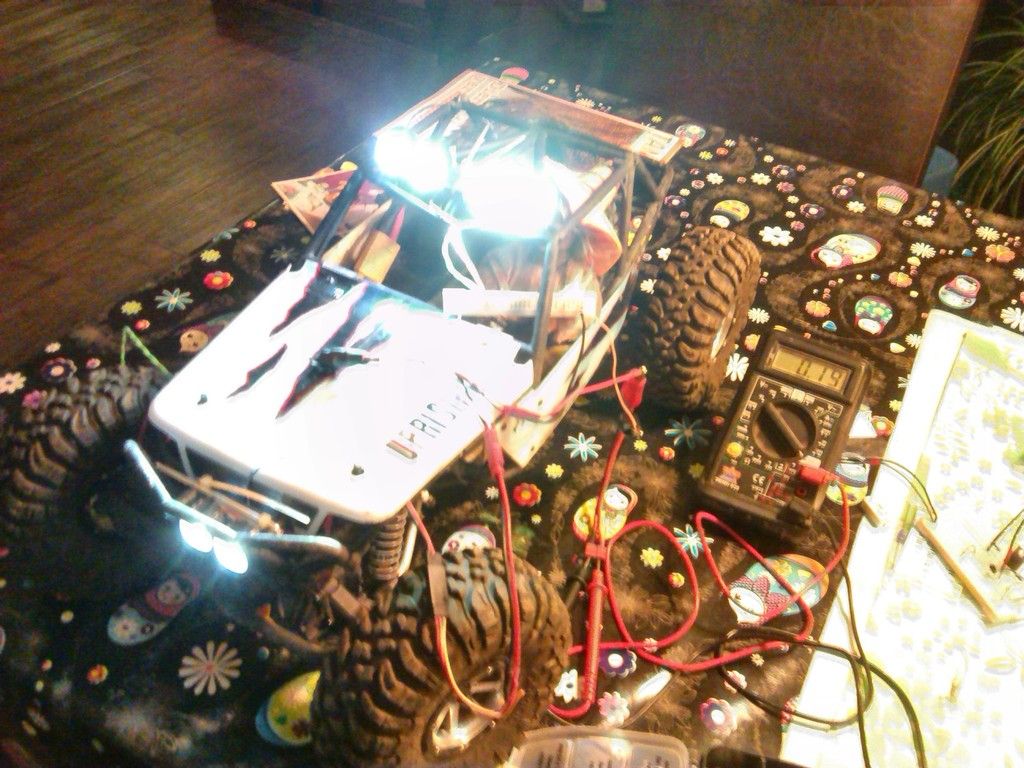 And 700mA (phone camera wasn’t amused)  This tiny item could be stowed somewhere, right?? 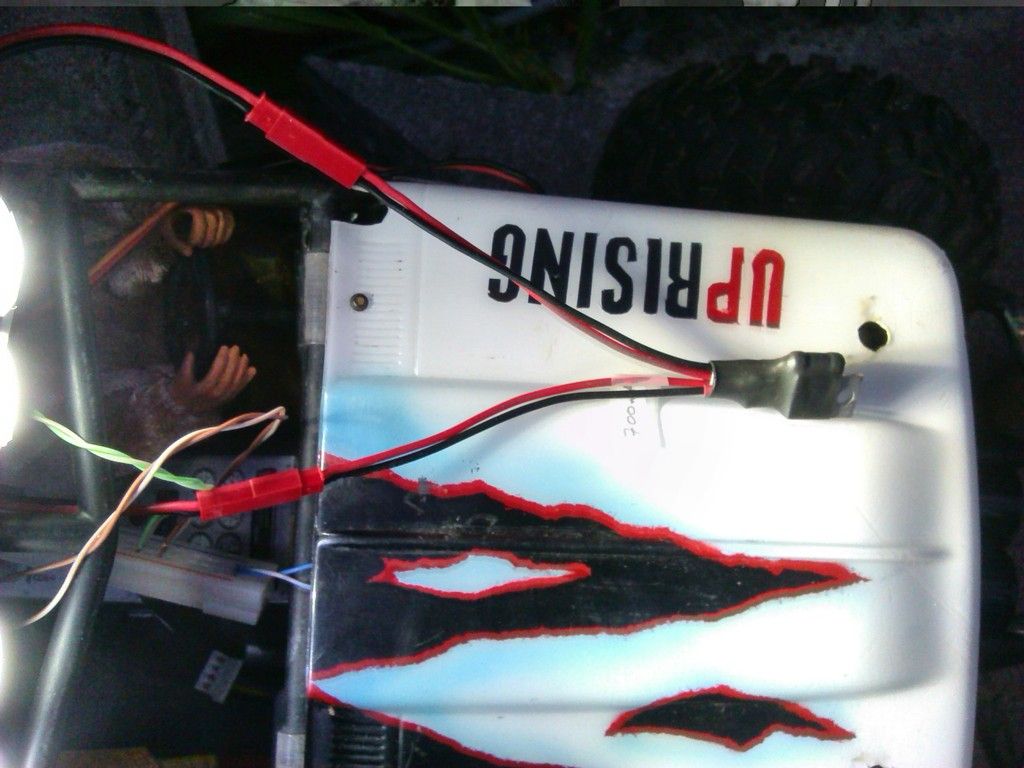 Been experimenting with ‘rocklights’ as well: 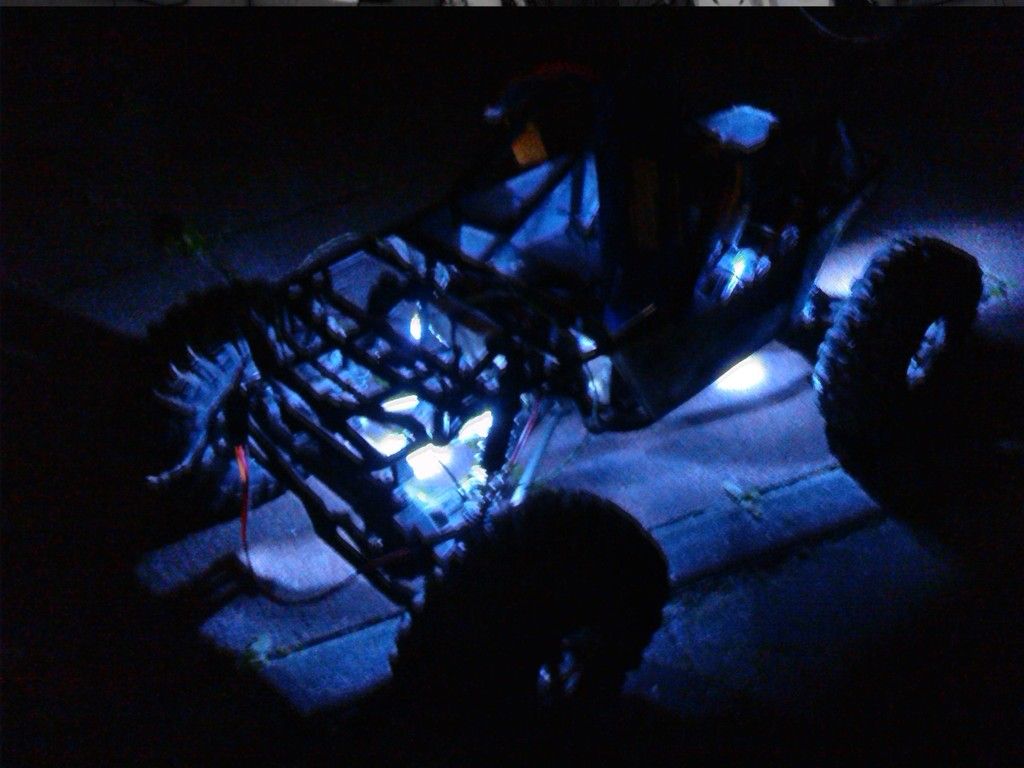 Hmm, this design leaves something to be desired. But they work none the less… to do list: - built 2 extra drivers. building fot 4 cars at the same time; - build light bars. currently the lights are taped/tie ripped on the car; - upgrade rocklights; - create switch on RX. |
| |  |
| | #35 |
| Quarry Creeper Join Date: Aug 2014 Location: holland
Posts: 253
|
Just I received another Ebay package: mini LED lenses. I already had a 22mm (1”) version, now I have 14mm (bit over ˝”) buckets to play with. 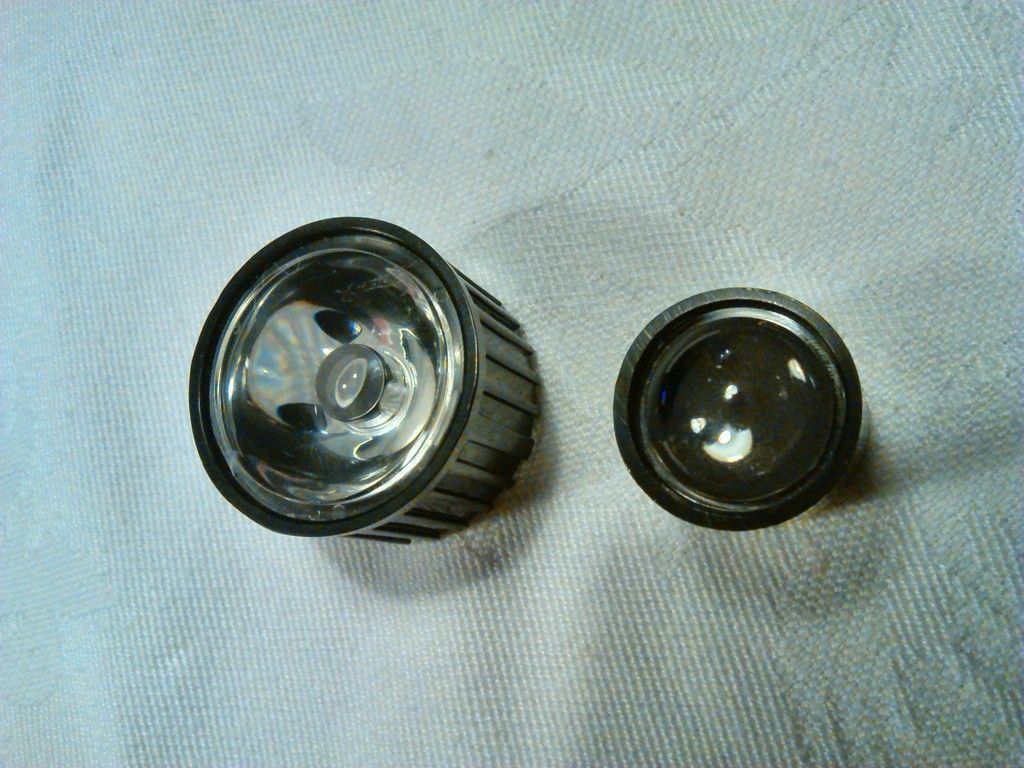 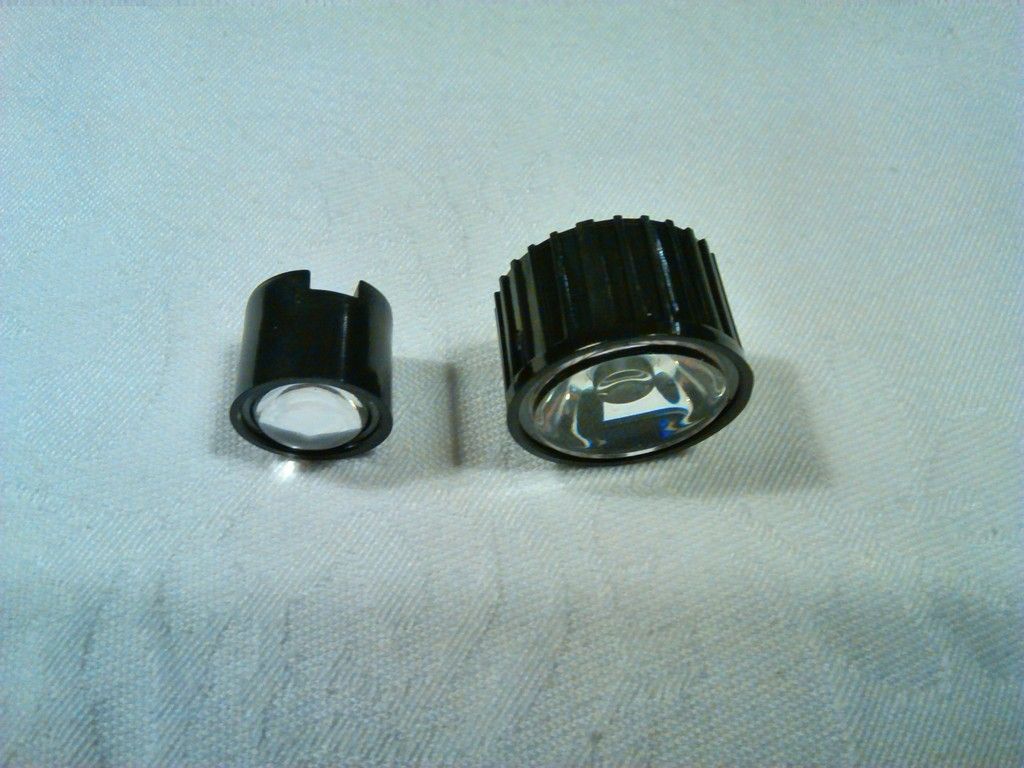 Techniques are different. The 22mm has a solid lens/reflector that fills the bucket all the way to the back, touching the LED. The 14mm has just a lens that bundles the emitted light. As a standard the lenses are mounted with the convex side outwards. 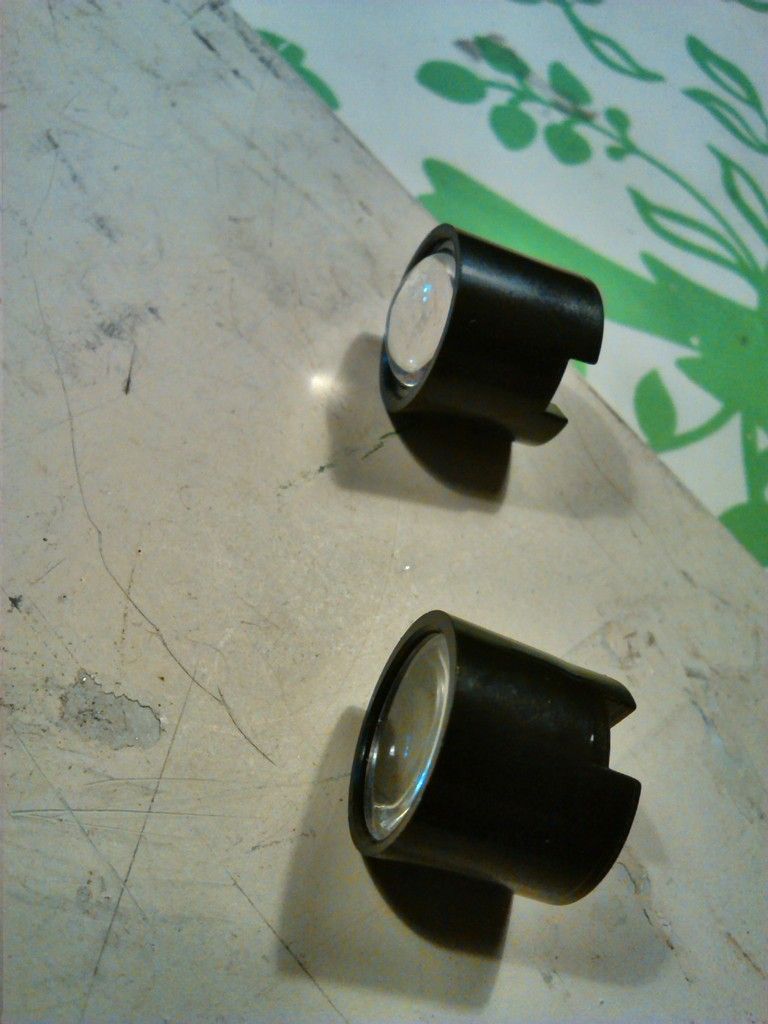 The lens can be placed inside out. And have a flat surface. Might be handy to prevent scratching, assuming this won’t change the way the lens works. 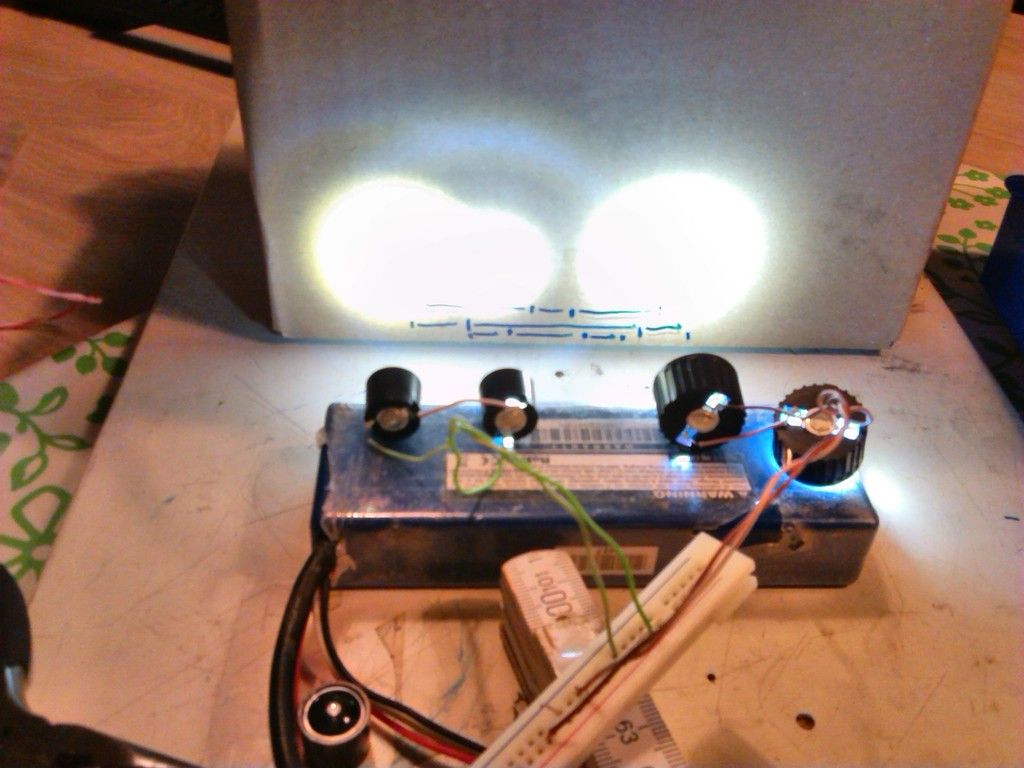 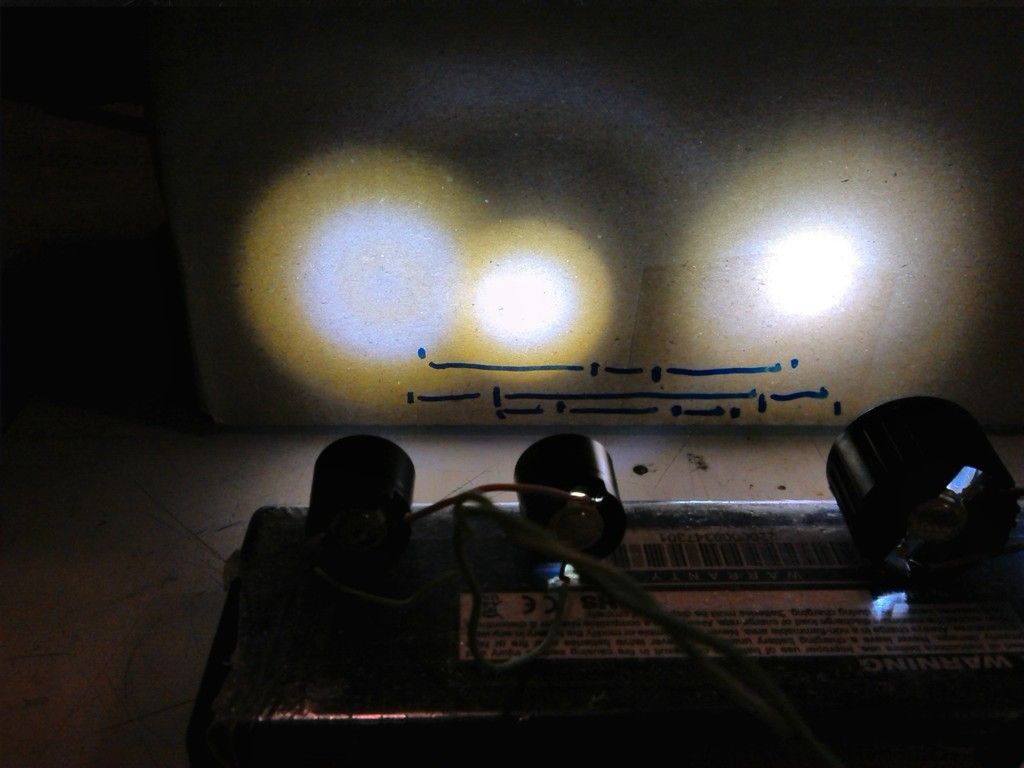 Left to right: 14mm ‘flat surface’ lens set up, 14mm ‘convex’ lens set up and the 22mm bucket. Well, it dit have an effect. Obviously it doesn’t change the lens’ function, but it changes the position of the focus point. Closer to the led in this case. Resulting in a wider beam angle. So, more options to play with: 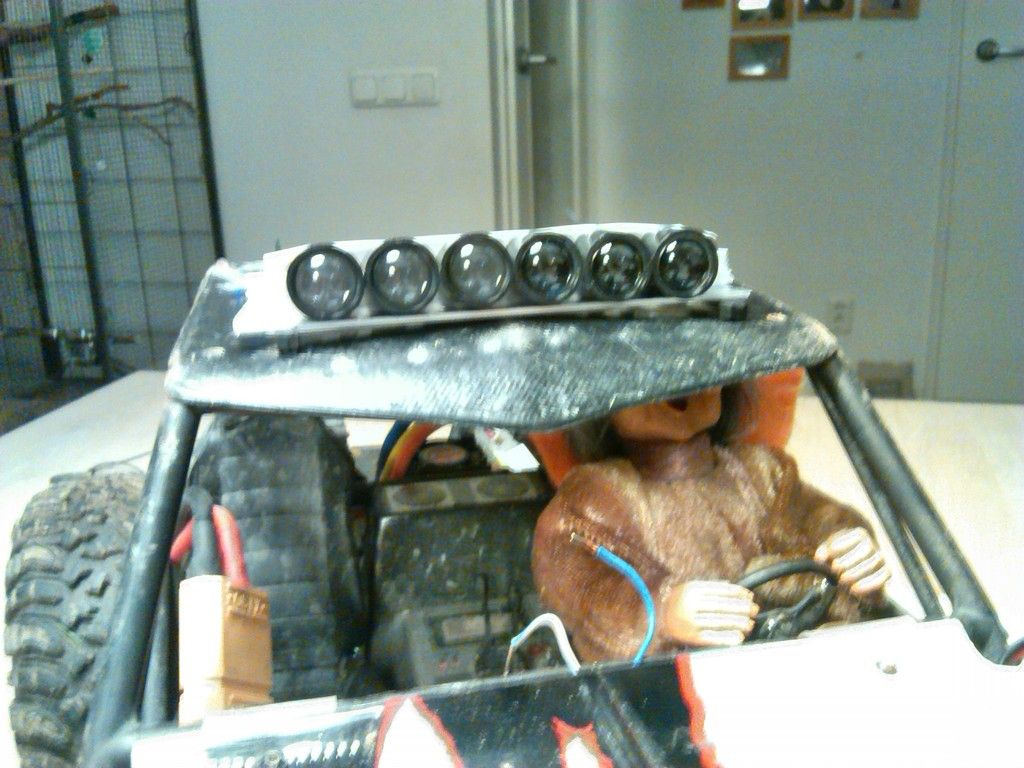 I think I like this better than the 2x2 setup as above. Oh, don’t mind the witch behind the wheel. She is a remnant of the Halloween trail last weekend. 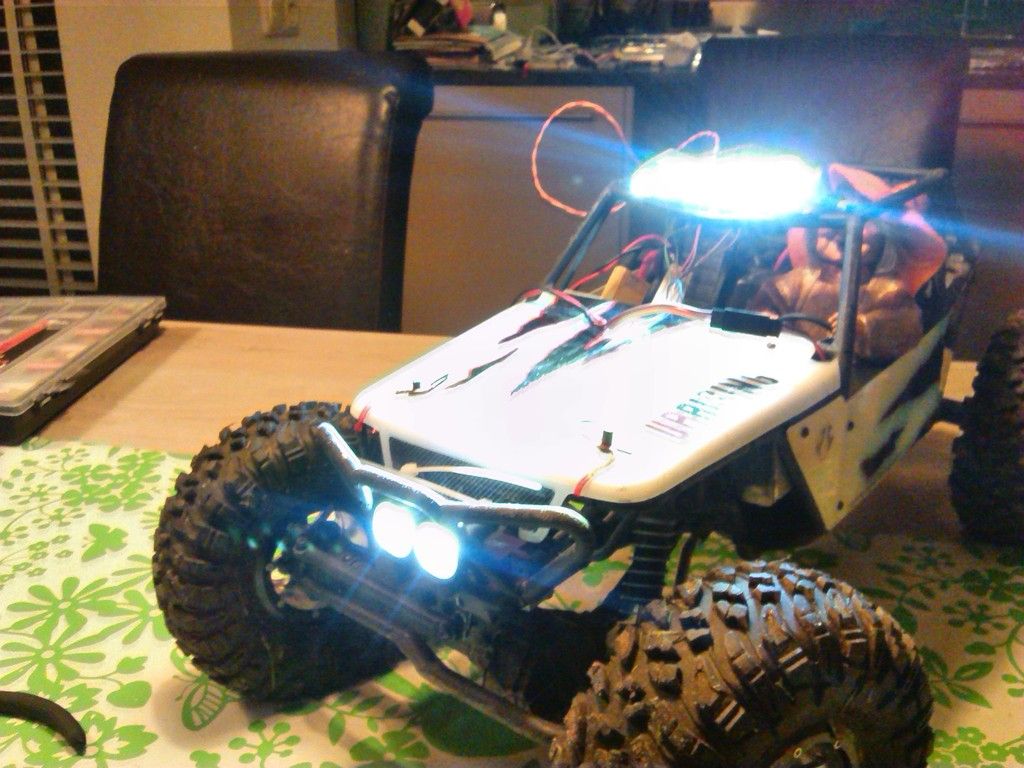 |
| |  |
| | #36 |
| Rock Crawler Join Date: Feb 2011 Location: Spur, TX
Posts: 541
|
So wide angle lenses on each end, and beam lenses in the middle for distance? |
| |  |
| | #37 |
| Quarry Creeper Join Date: Aug 2014 Location: holland
Posts: 253
| |
| |  |
| | #38 |
| Quarry Creeper Join Date: Aug 2014 Location: holland
Posts: 253
|
Now let’s get something ready to mount on top. LED drivers are ready to go. * 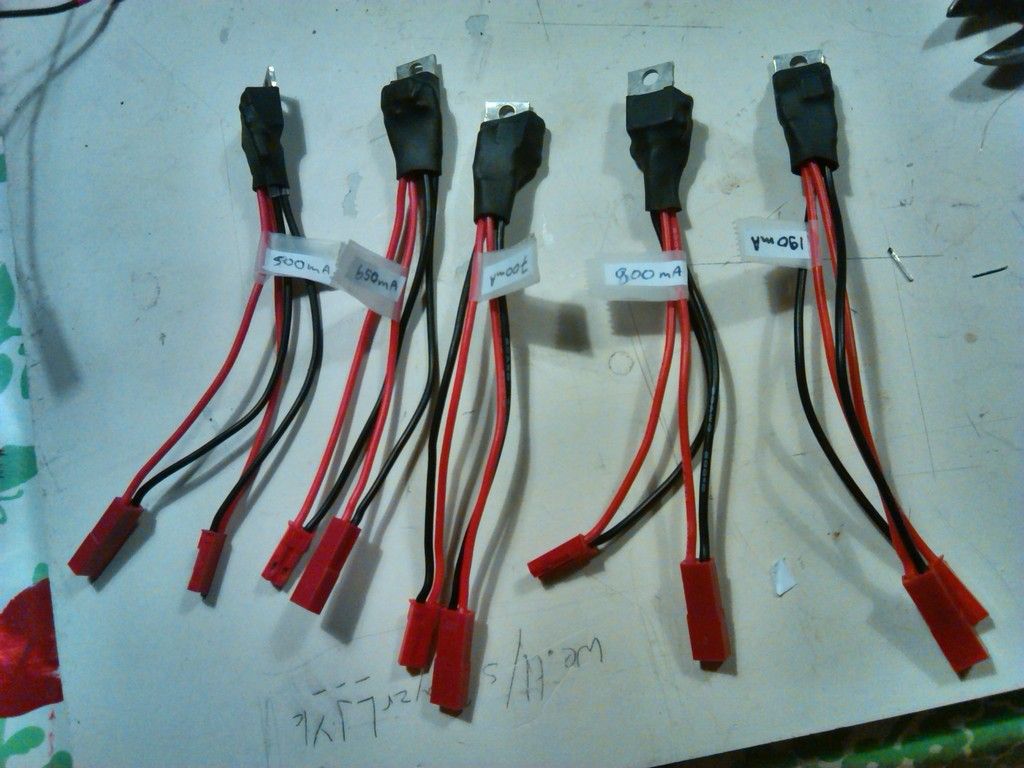 * Now for he lights themself Shape down to fit 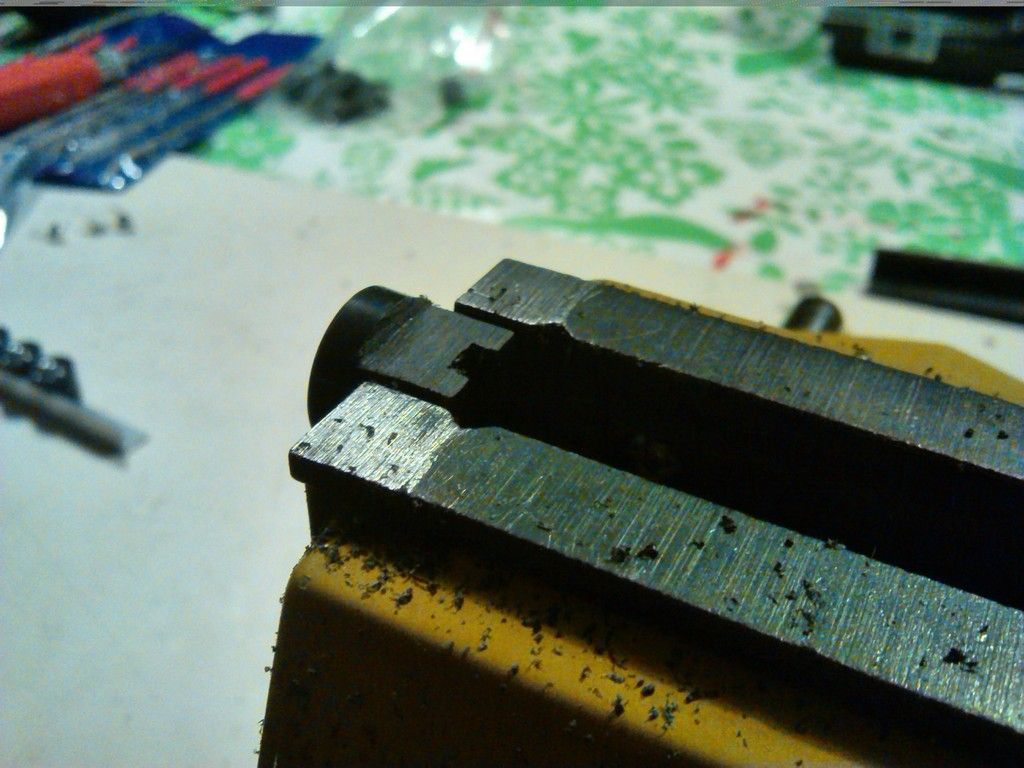 * And place them on the frame 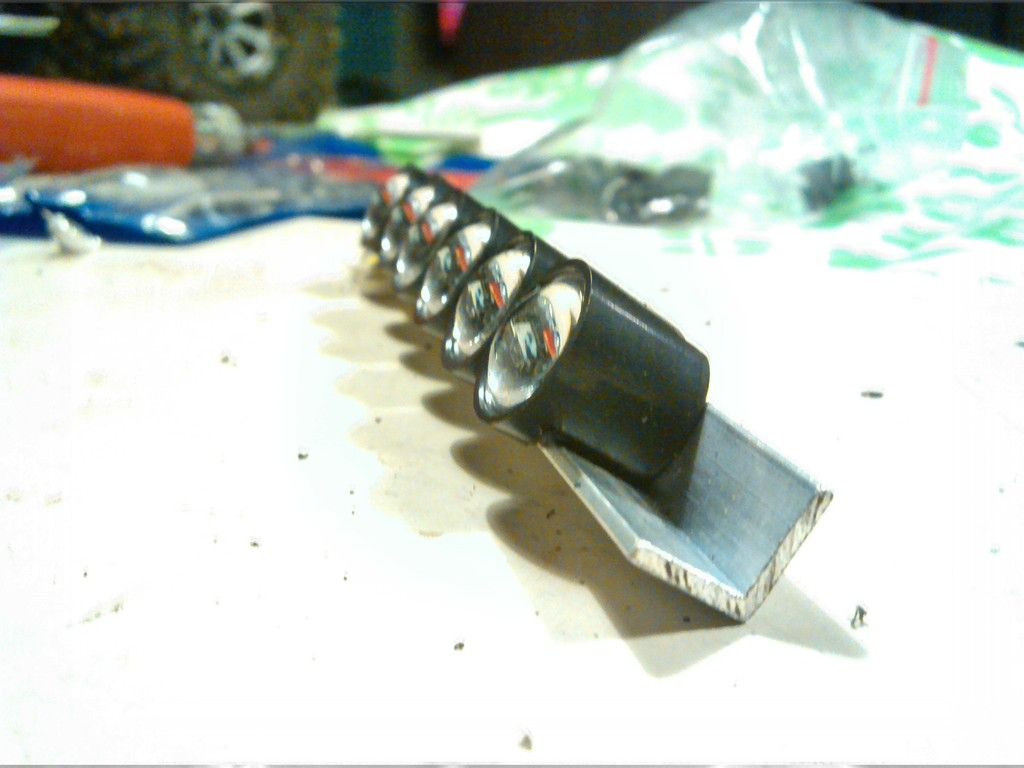 * After a bit of fiddleing 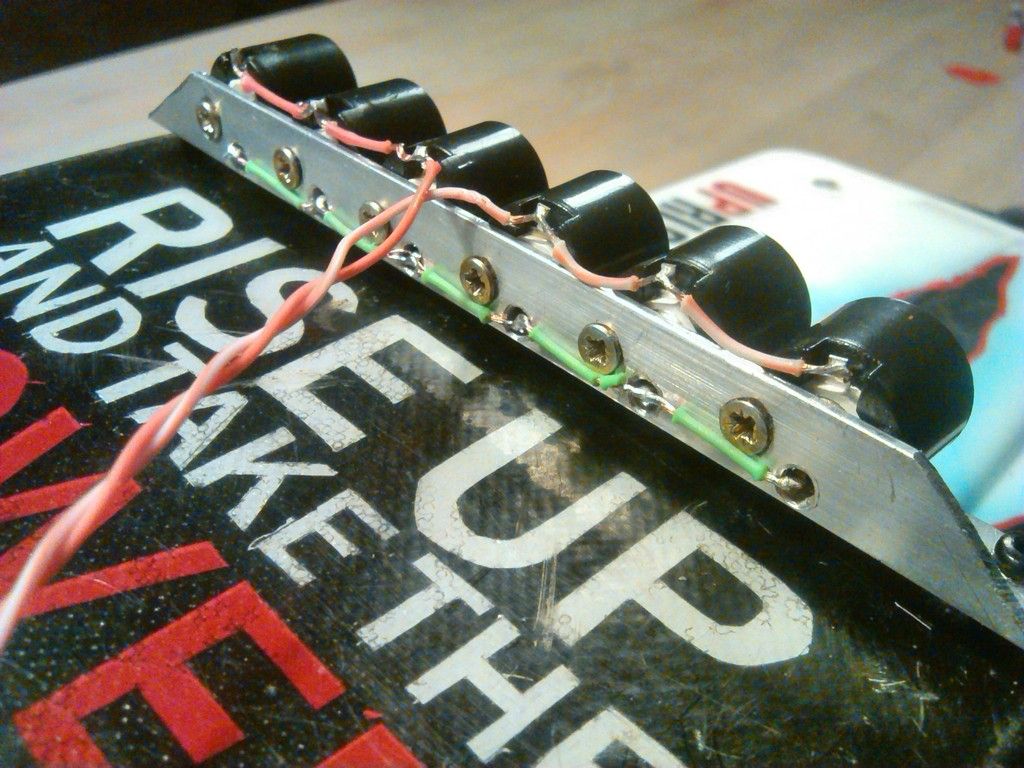 * This should do the trick 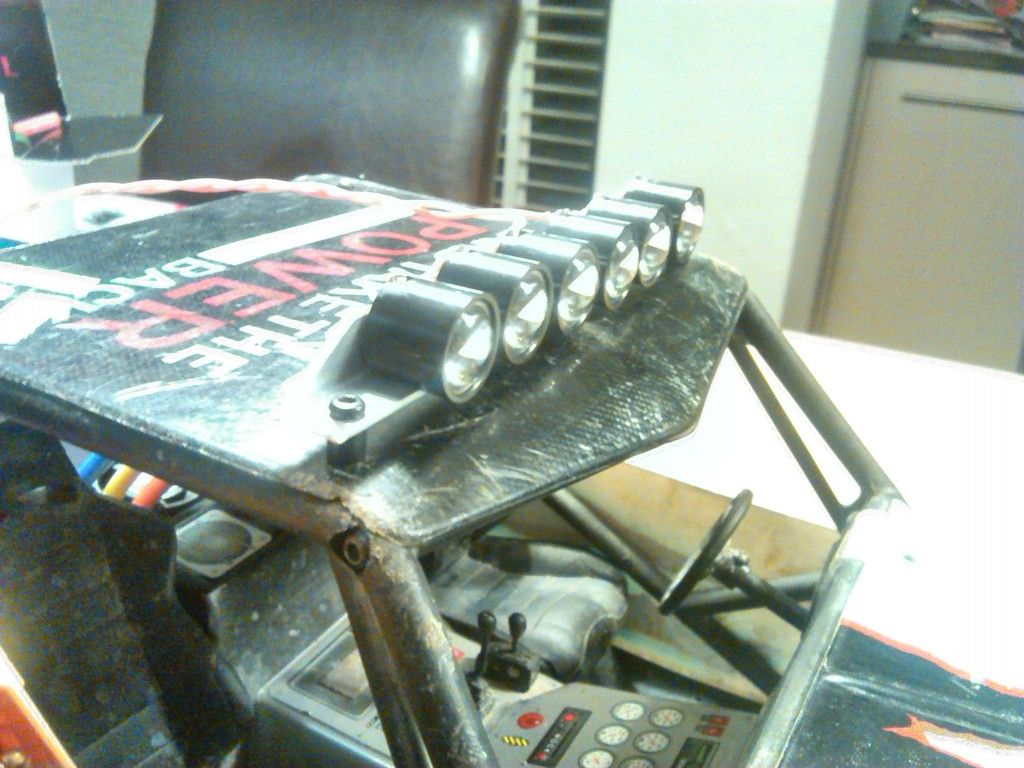 * Mounted in the standard screwholes of the roofpanel. Have to see if it stands up to the inevitable roll overs and chrashes * 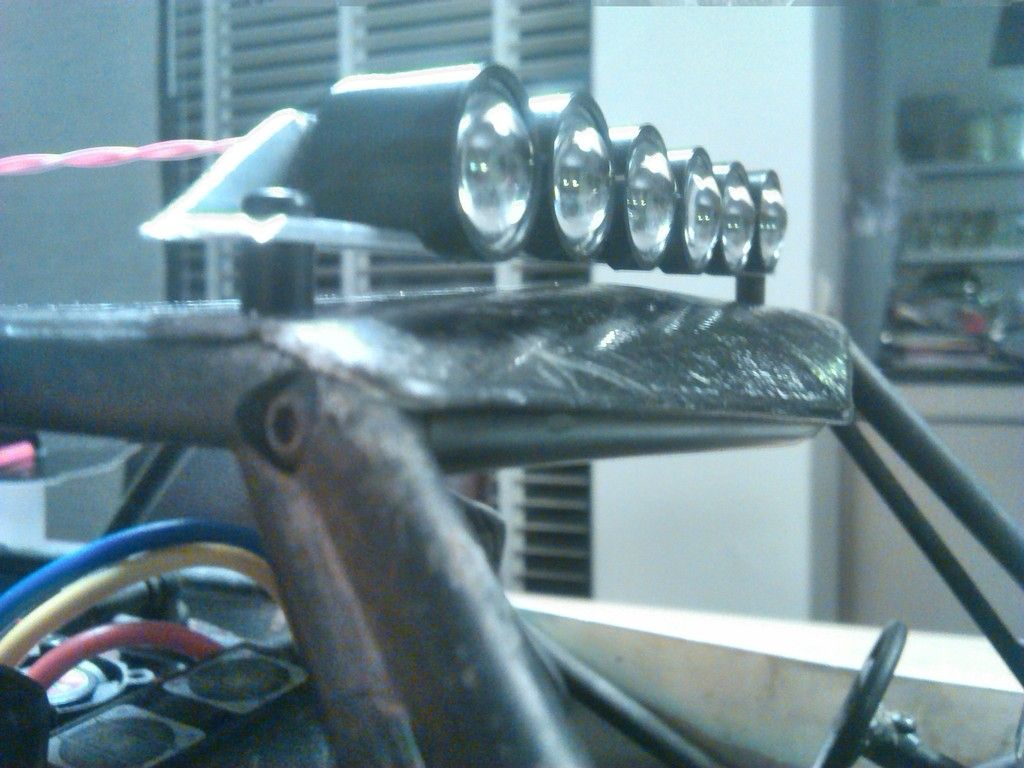 * Yep. The work just fine. 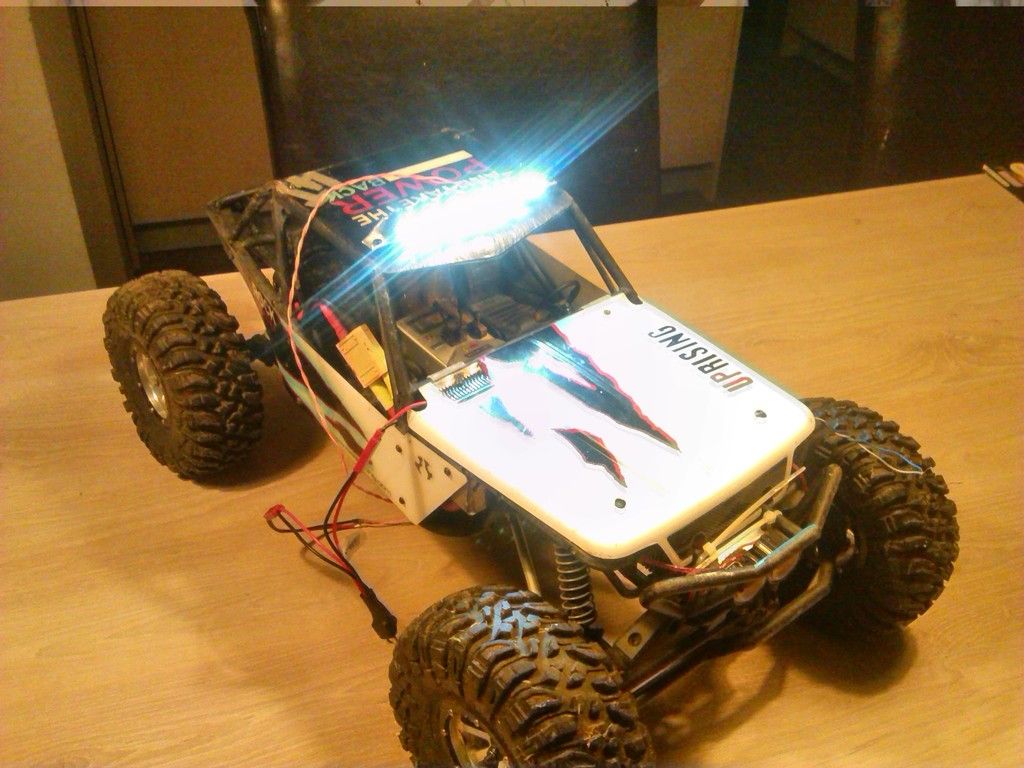 * 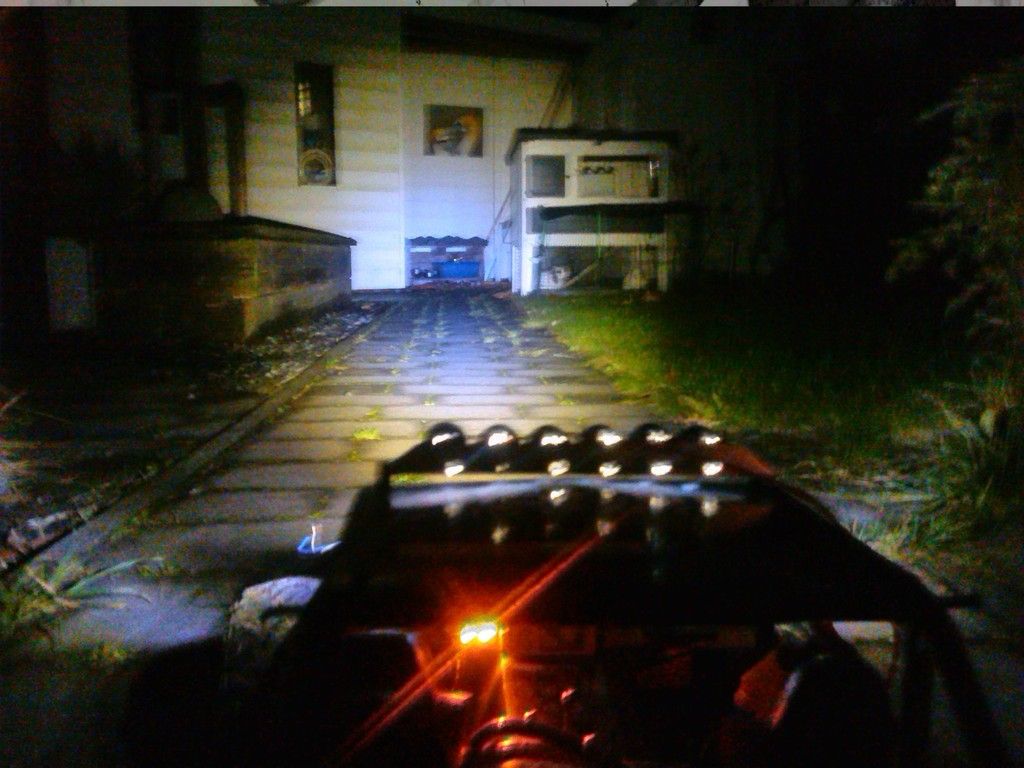 * The orange light in the dash are indicators. They turn on as long as the battery is plugged in. this helps preventing coming down in morning to find your 3s lipo still plugged in and down to 1.9v… (grr…) |
| |  |
| | #39 |
| Rock Crawler Join Date: Jan 2014 Location: Granite Falls, WA
Posts: 568
|
Any chance you have any videos of your Wraith in action? I'd like to hear how it sounds with that Turnigy XK-3650 3200KV motor, if possible. I ordered the 3650KV model, but HobbyKing has all those sensored XK motors on backorder, so it looks like I have time to shop around. I saw your remarks on HK, regarding the performance you and your buddy got from each of those motors, and thought I'd get one for my Spawn kit, which I plan to assemble after Christmas.
|
| |  |
| | #40 | |
| Quarry Creeper Join Date: Aug 2014 Location: holland
Posts: 253
| Quote:
ANyway, here's 3 crapy vids I could salvage: first 2 are a sprint, the other is killing the slipper Even this is with the plastic gears. since then I've upgraded to steal gears en rebuilt the slipper. And 2 going slow: Edit: Pff. Seeing them here.... they're hardly worth watching. I'll see If I can shoot some vids the coming weekend. Last edited by wouterb; 11-17-2015 at 01:41 AM. | |
| |  |
 |
 The coming together of “Uprising” - Similar Threads
 | ||||
| Thread | Thread Starter | Forum | Replies | Last Post |
| Its coming! | norcallump | HPI Wheely King | 9 | 01-23-2010 12:08 AM |
| Ufc 68 Uprising | Kamikaze | Chit Chat | 16 | 03-03-2007 11:05 PM |
| |