| |
 12-21-2016, 01:26 AM
| #1 |
| Rock Stacker Join Date: Dec 2016 Location: Germany
Posts: 64
|
Hello, I got a H3 in 1:7,5 in March. Actually a toy, But with the body you can definitely start what? With the few Alu-U profiles and China axles, I thought so. Here is a picture of the condition before the beginning. 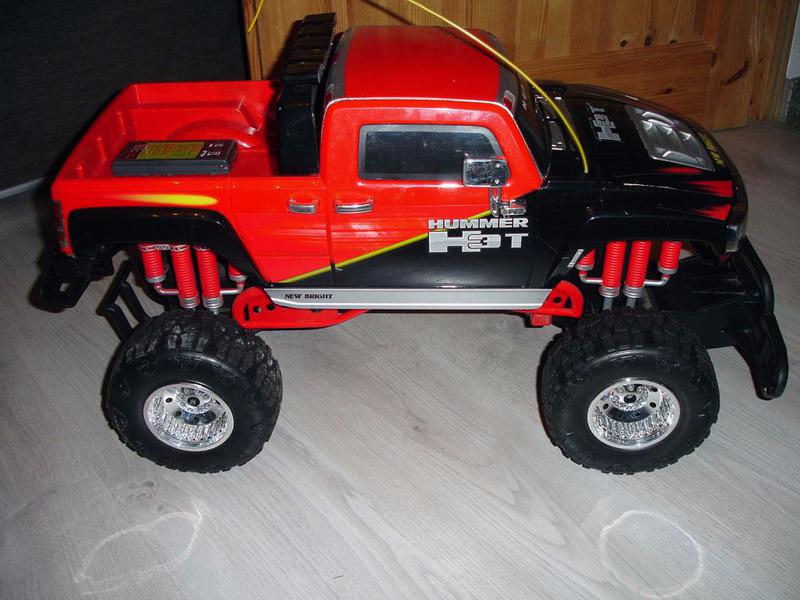 The track width of xCrawlee would fit almost It is missing max. 10 mm, only to the length it hangs something. Well the tire size could be slightly more. The tire a little thicker, looks more like poser ripening.  I then decided for a different construction, It was an aluminum frame. As a tire it is then beautiful RipSaw tires 2.2 x 5.5, which also fits well to the H3. But she had only to get from the rims. This has worked with the oven, at 150 ° 20 min. and then press with some strength of the rim. 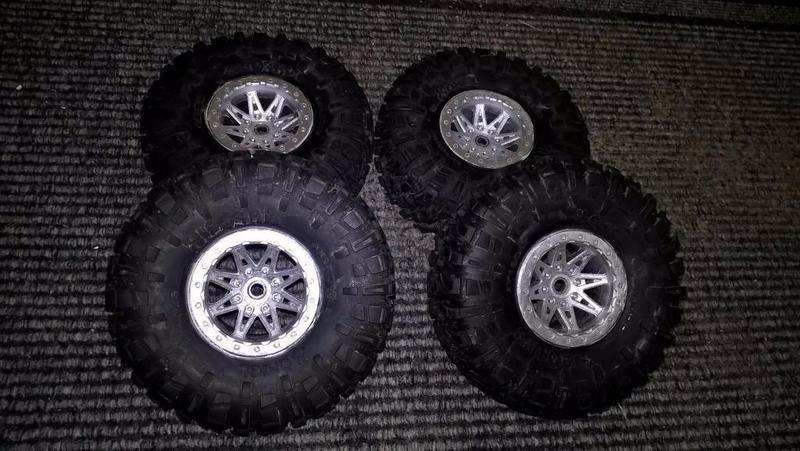 Here is a look and feel. 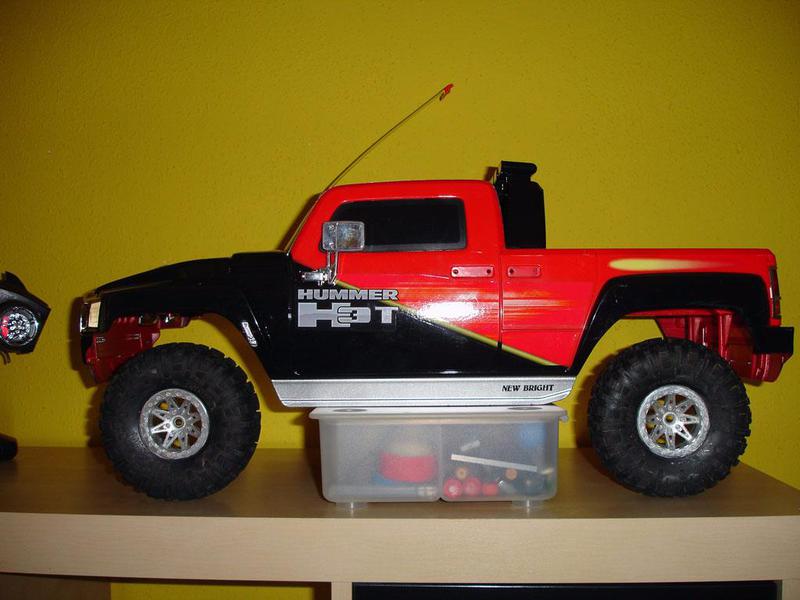 To be continued. greets Frank Last edited by Frank K.; 12-21-2016 at 01:40 AM. |

|  |
| Sponsored Links | |
| | |
|
12-21-2016, 01:37 AM
| #2 |
| Rock Stacker Join Date: Dec 2016 Location: Germany
Posts: 64
|
Hello, here the frame construction and the drive. The frame is made of aluminum U-profile 12x10 mm. The first drawing as it should be.  And the beginning of the construction.  The first two parts of the frame. 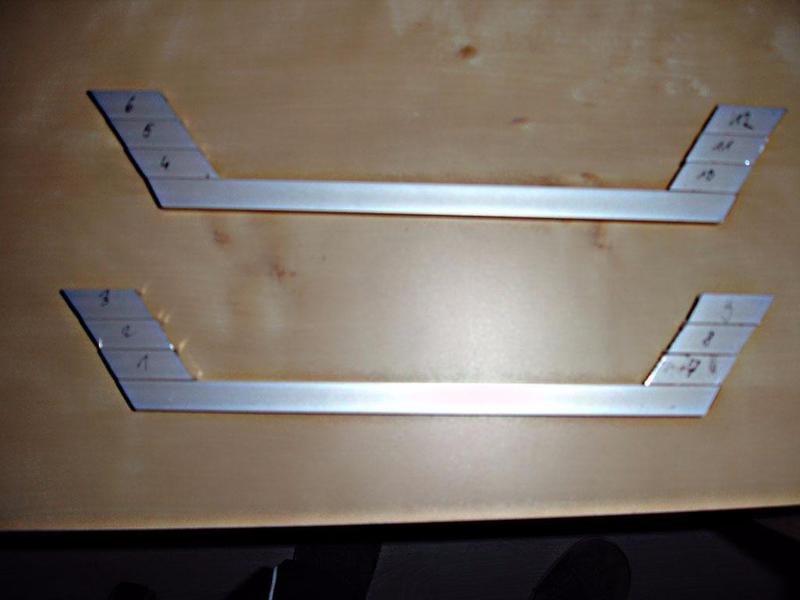 The first look and feel from the frame. 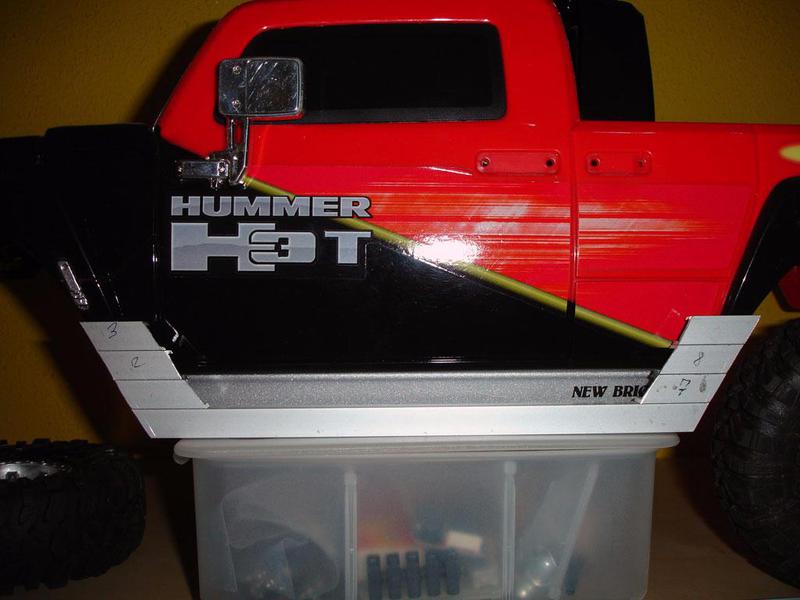 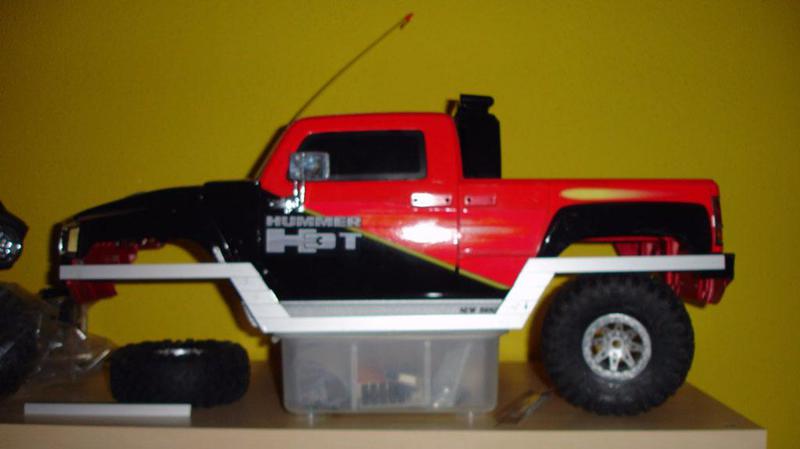 And the engine to the transmission of an electric screwdriver. 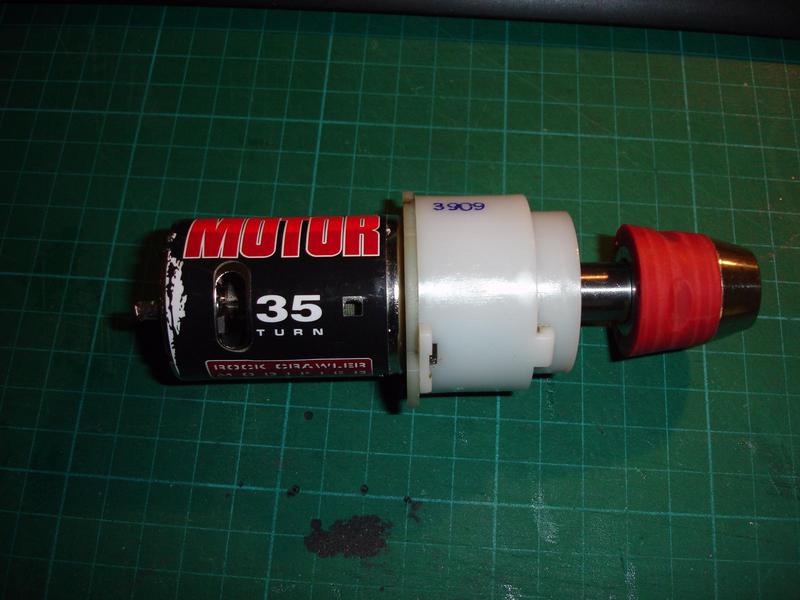 To be continued. greets Frank |
|
| |
|
12-21-2016, 04:18 AM
| #3 |
| Rock Stacker Join Date: Dec 2016 Location: Germany
Posts: 64
|
Hello, And continue with the chassis frame. The first struts and gussets are in it. 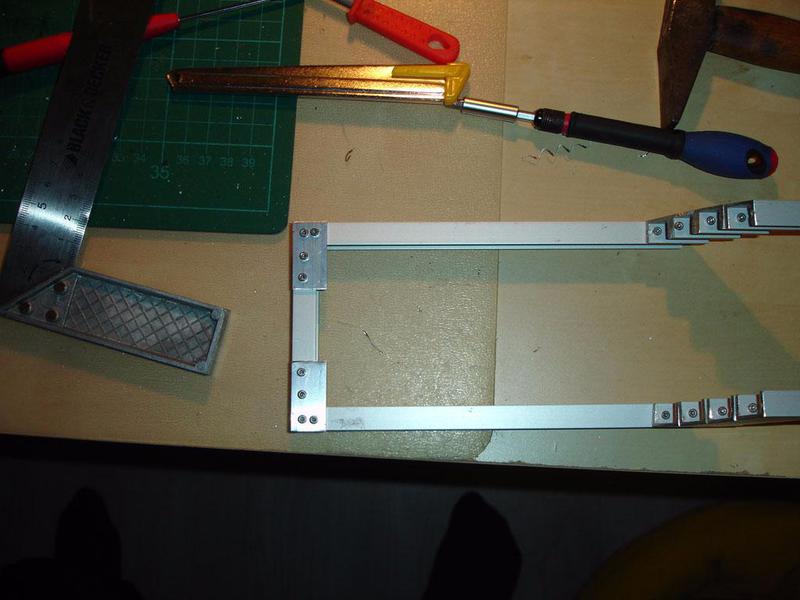 The adapter for the cardan shaft to the transfer case. 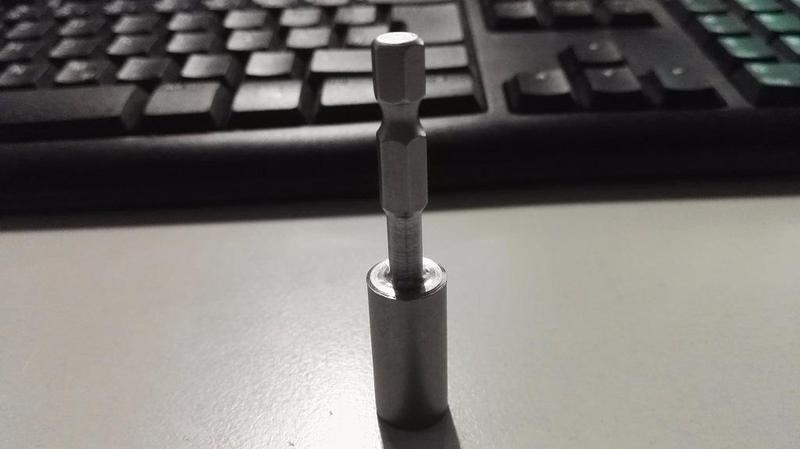 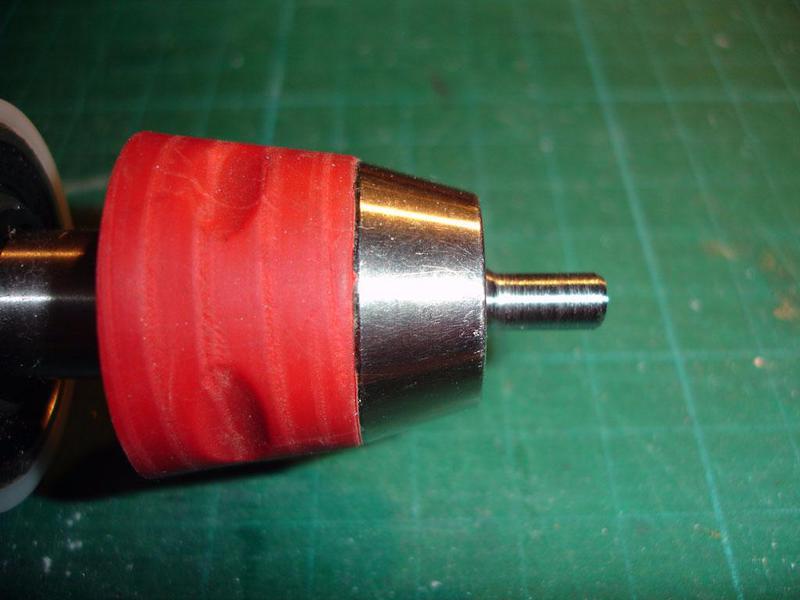 The imaginary motor position. 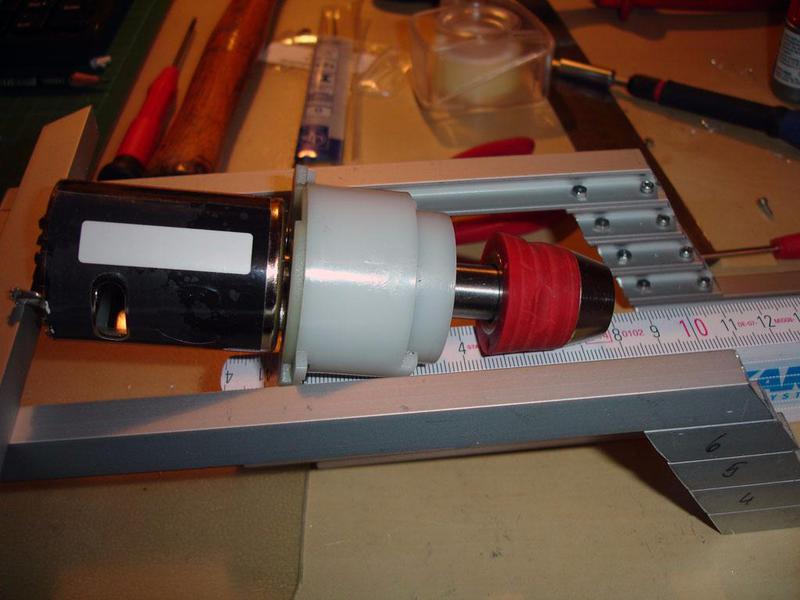 To be continued. greets Frank |
|
| |
|
12-21-2016, 04:36 AM
| #4 |
| Rock Stacker Join Date: Dec 2016 Location: Germany
Posts: 64
|
Here Dr. Emel was allowed to work on the body, the task was to remove the old and yet ample attachment points. Under the hood. 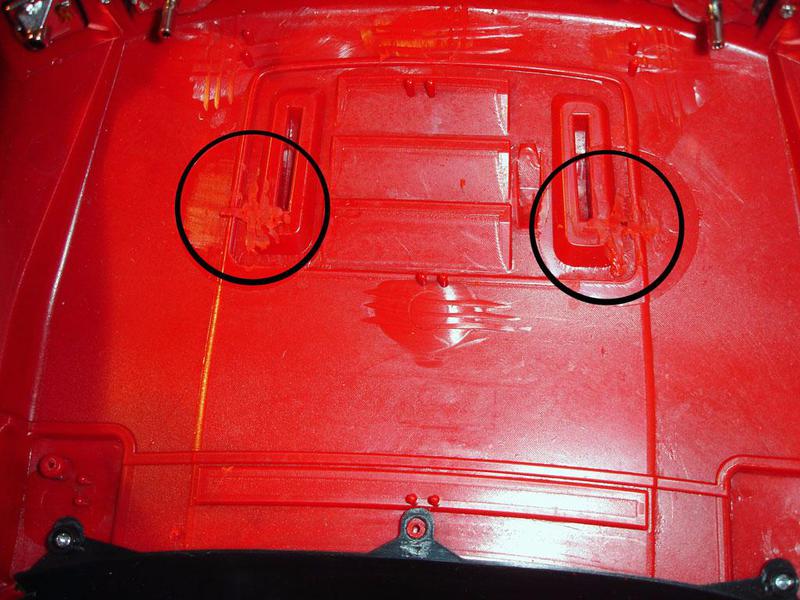 And under the flatbed. 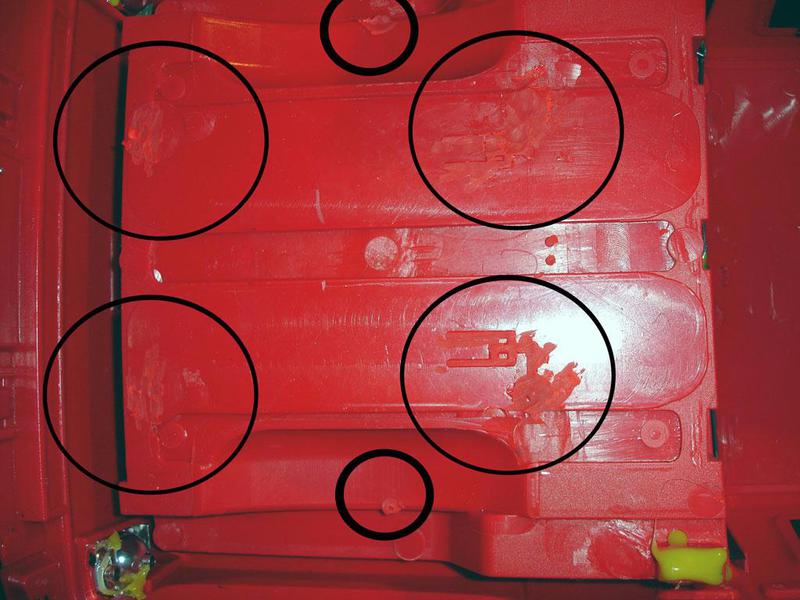 Now the links came to the row. From Right: 16 pcs. 10 mm brass tube 4 x 0,5, 4 pcs. 120 mm aluminum tubes 6 x 1, 4 pcs. 140 mm M3 A2 Threaded rod, 4 pcs. 75 mm aluminum tubes 6 x 1, 4 pcs. 95 mm M3 A2 threaded rod, 16 pcs. Traxas Rodends 1942 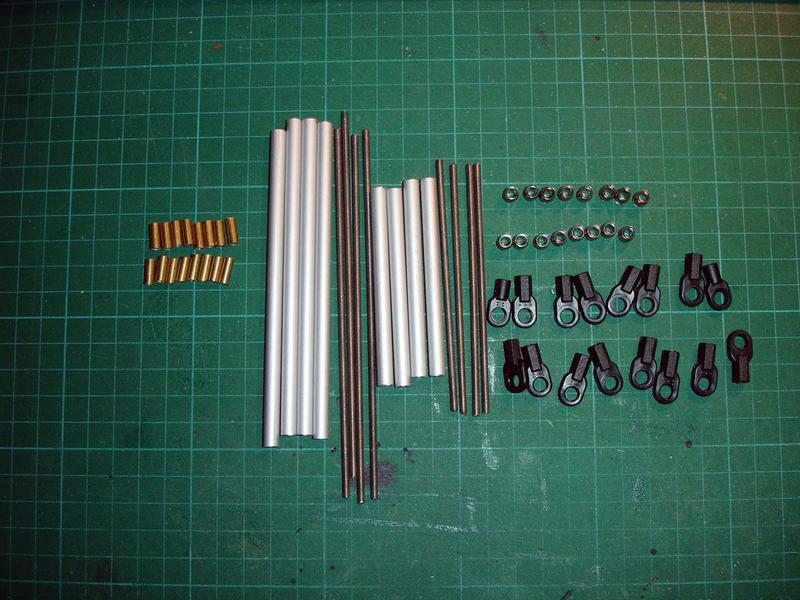 And here everything screwed together, the brass tubes are glued on the threaded rod with industrial adhesive, each 15 mm from the ends. 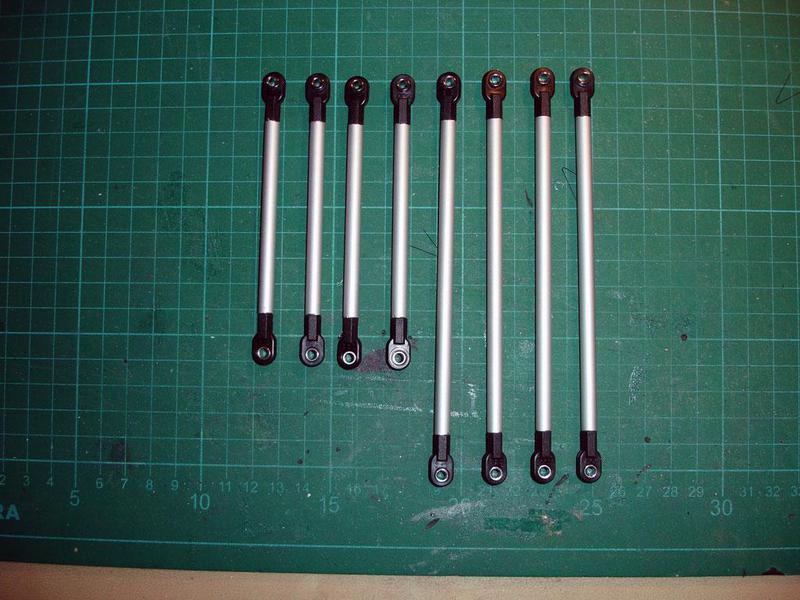 The links have really good fit, the lower links have a traverse in the frame and the upper links go directly to the frame. 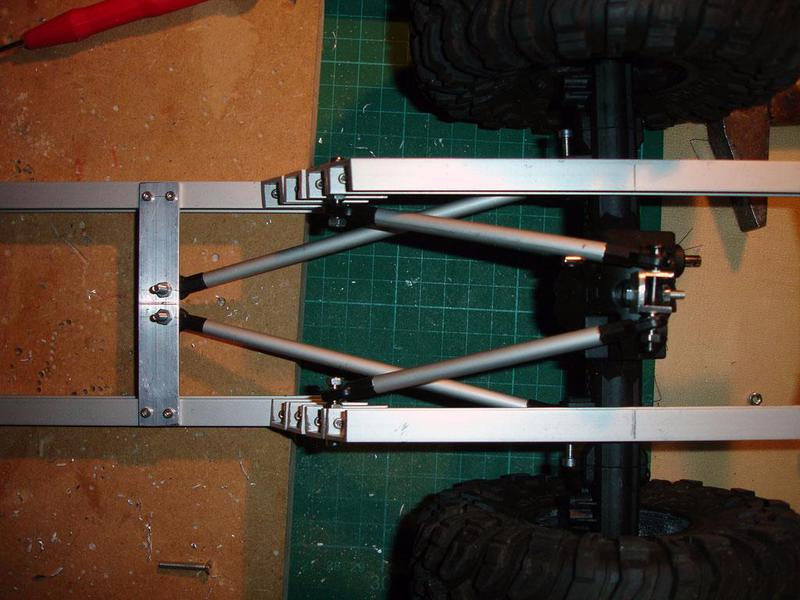 The upper link attachment to the axis is not yet final. 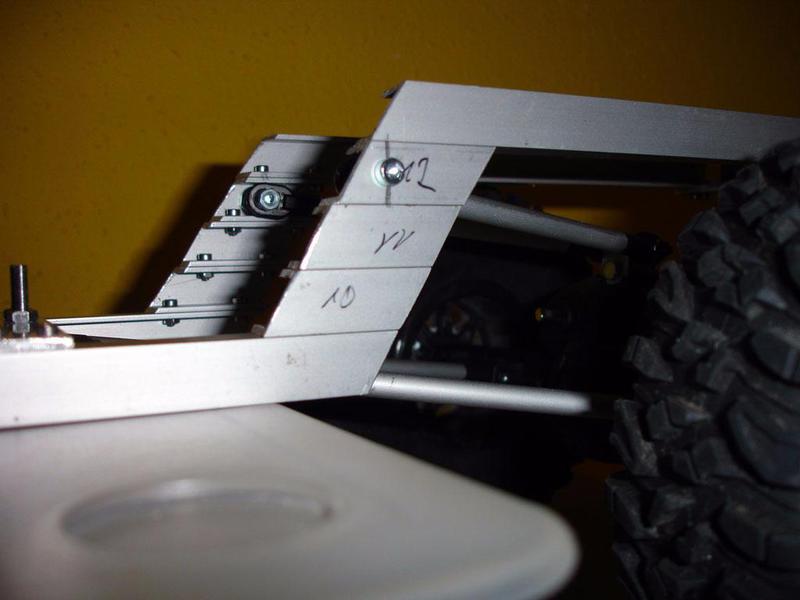 Theoretical ground clearance 150 mm would be possible, But this looks like a stork in the asparagus, Realistic ground clearance is about 80 mm. 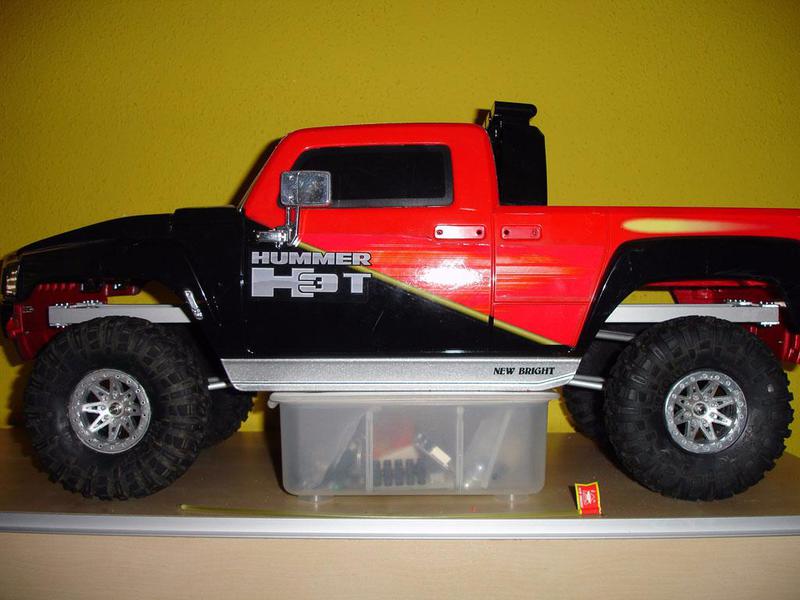 This is now also the case with the center distance and ground clearance. To be continued. greets Frank |
|
| |
|
12-21-2016, 04:45 AM
| #5 |
| Rock Stacker Join Date: Dec 2016 Location: Germany
Posts: 64
|
Hello, Here, the screw connection of the links to the shaft, As it works wonderfully. 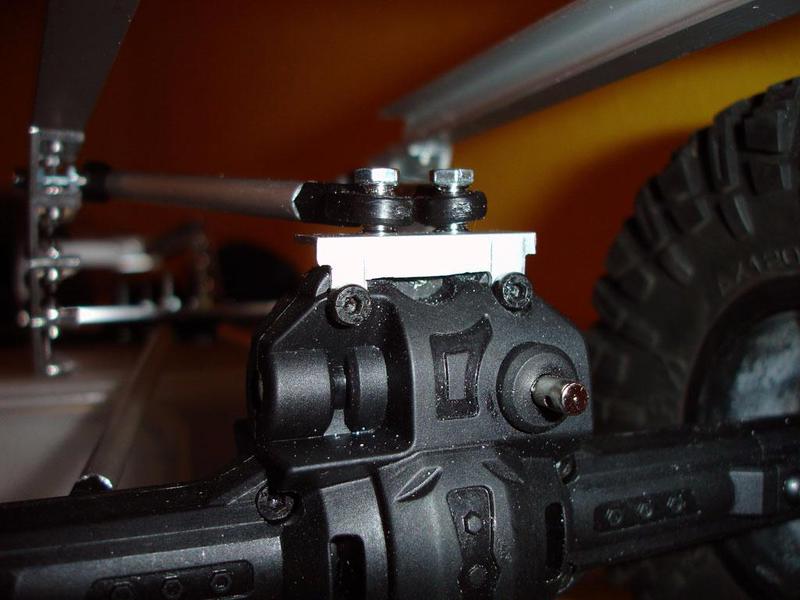  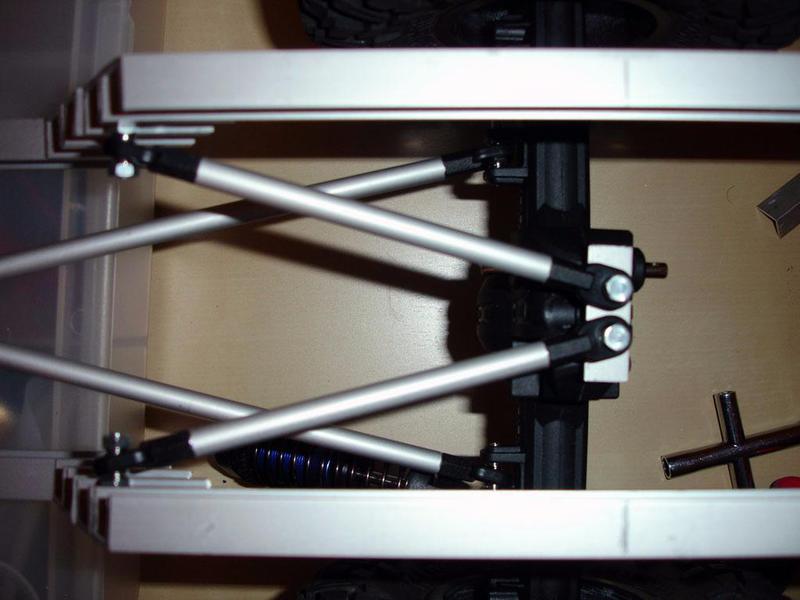 And for fun the H3T as a lowrider. 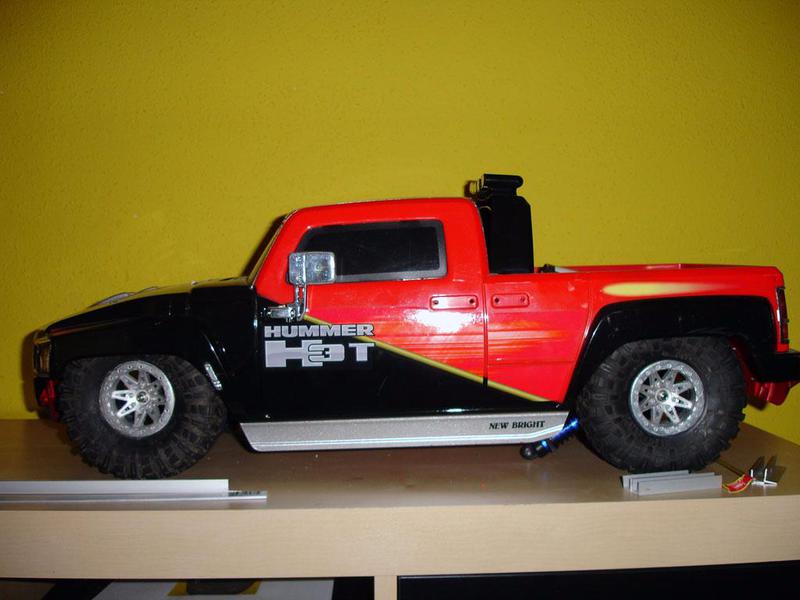 To be continued. greets Frank |
|
| |
|
12-21-2016, 05:03 AM
| #6 |
| Rock Stacker Join Date: Dec 2016 Location: Germany
Posts: 64
|
Hello, Then came the mounting holes for the dampers.  And simply put the body on it.  Place the body on the chassis at the correct distances, only for the test. 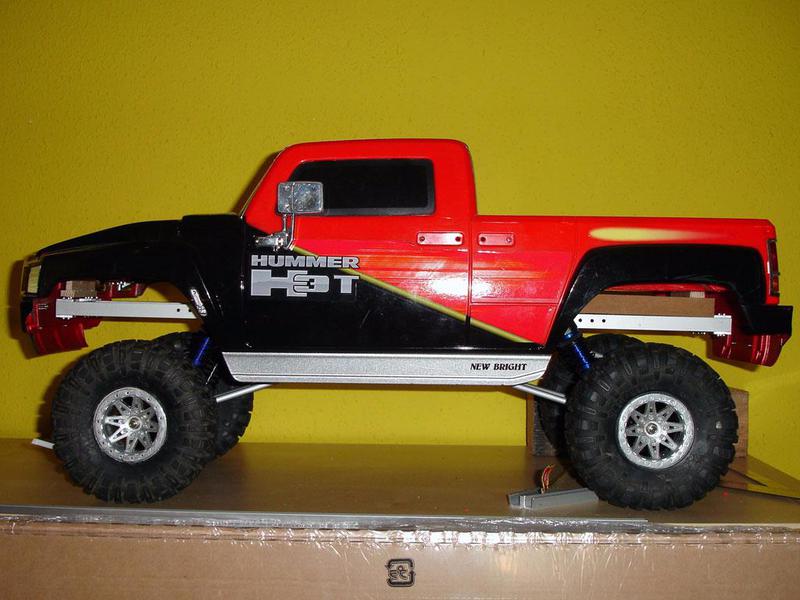 Looks condemned to Highlift and it is also, He has just about 100 mm ground clearance, It must be 20 mm lower. And here my two projekts, in foregrund my Amarok Northern Wolf in 1:10. 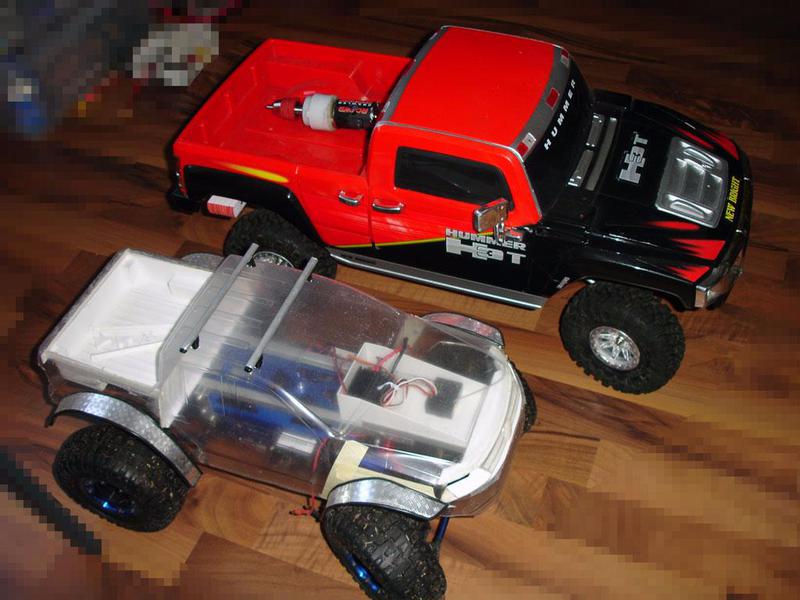 The assembly of the engine with gearbox was now on the line. Pictures say more than a thousand words. 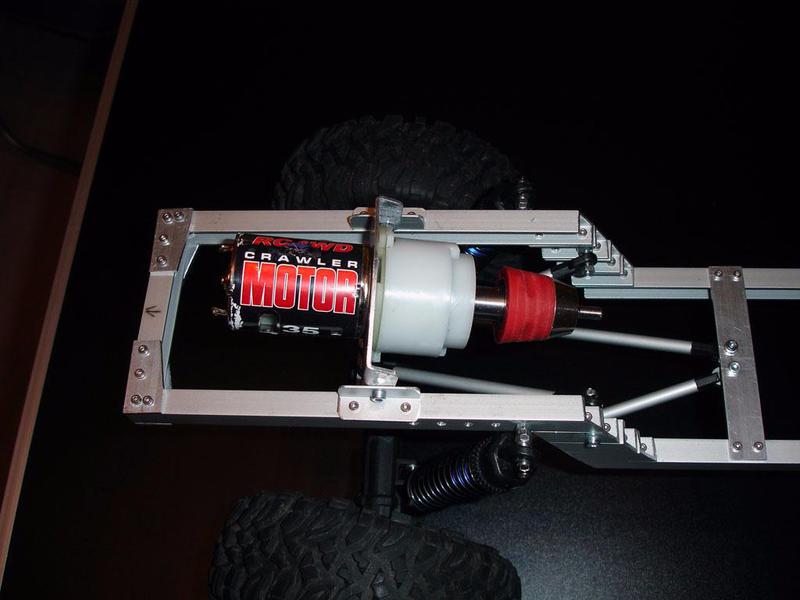 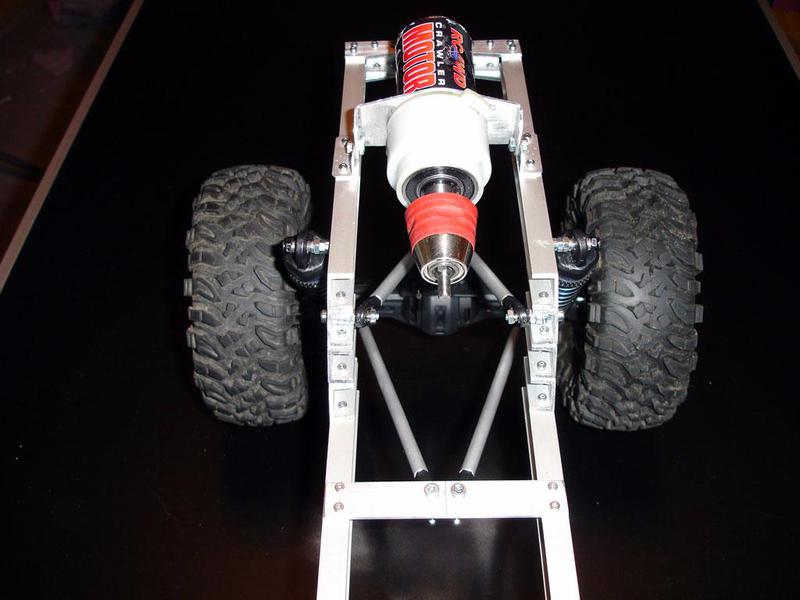 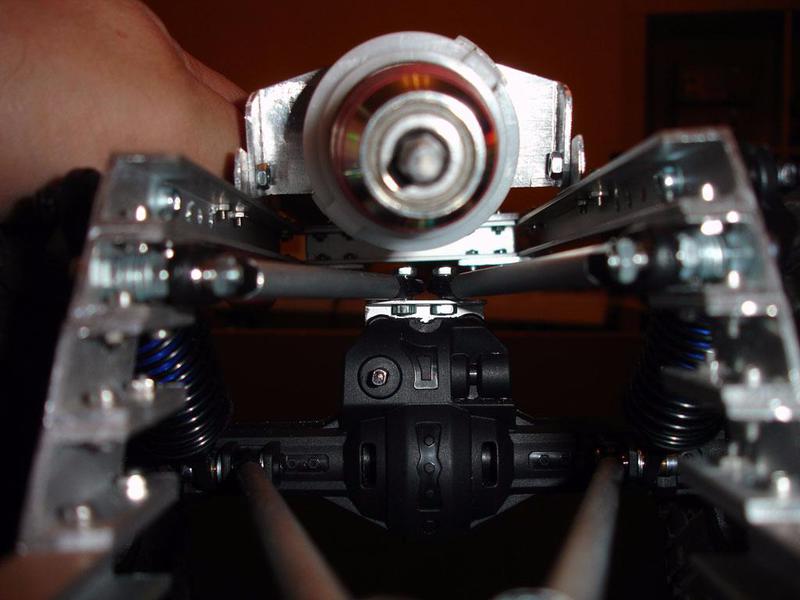 And much space under the hood. 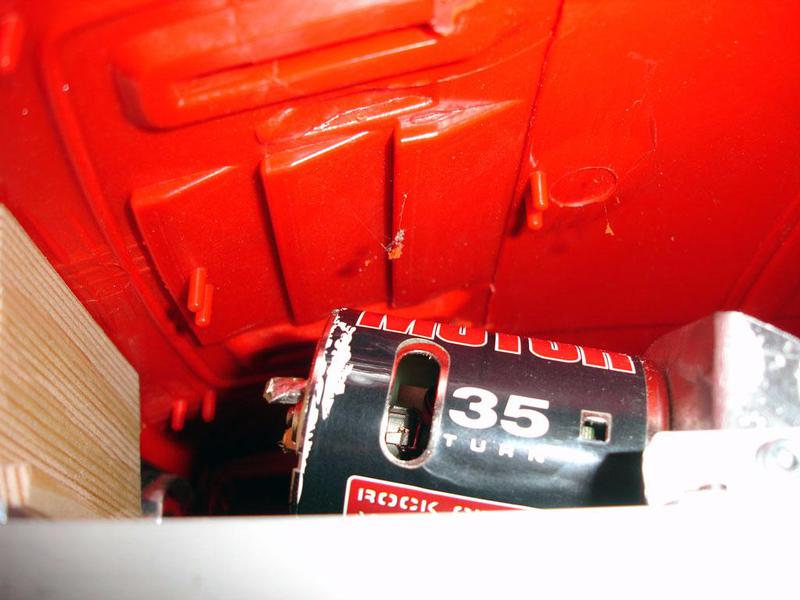 To be continued. greets Frank Last edited by Frank K.; 12-21-2016 at 05:25 AM. |
|
| |
|
12-21-2016, 05:55 AM
| #7 |
| Rock Stacker Join Date: Dec 2016 Location: Germany
Posts: 64
|
Hello, then i buy new rims. 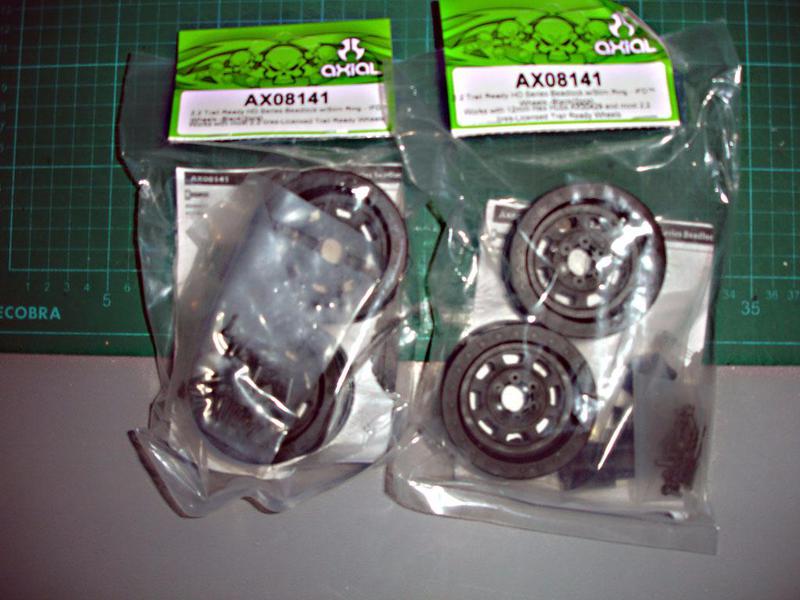 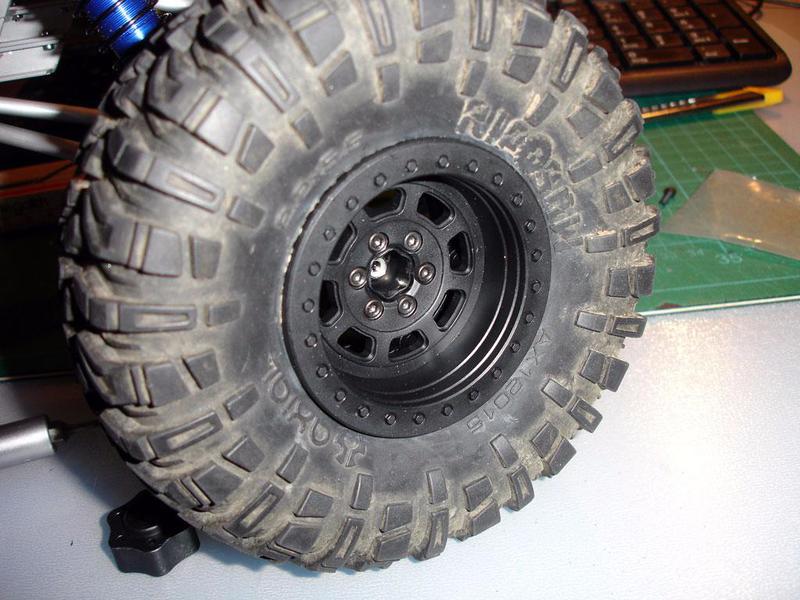 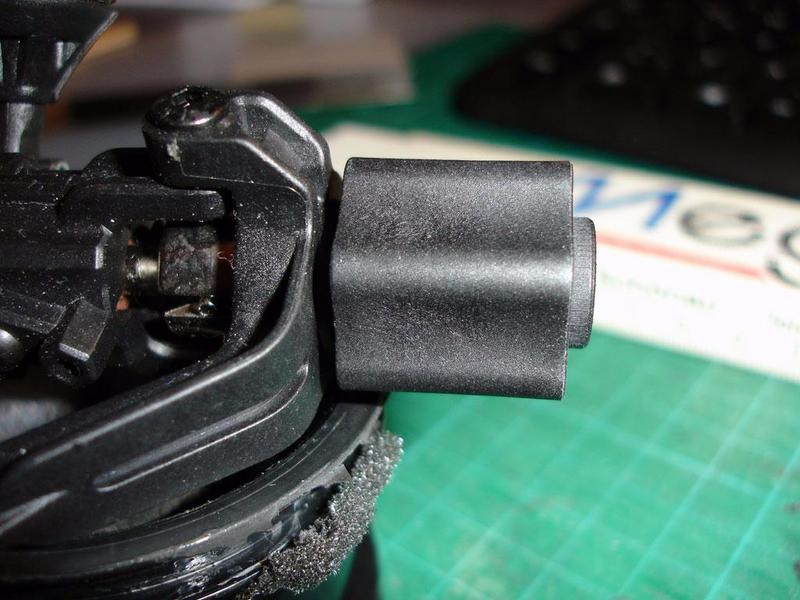 I find they looks very good on the Hummer. 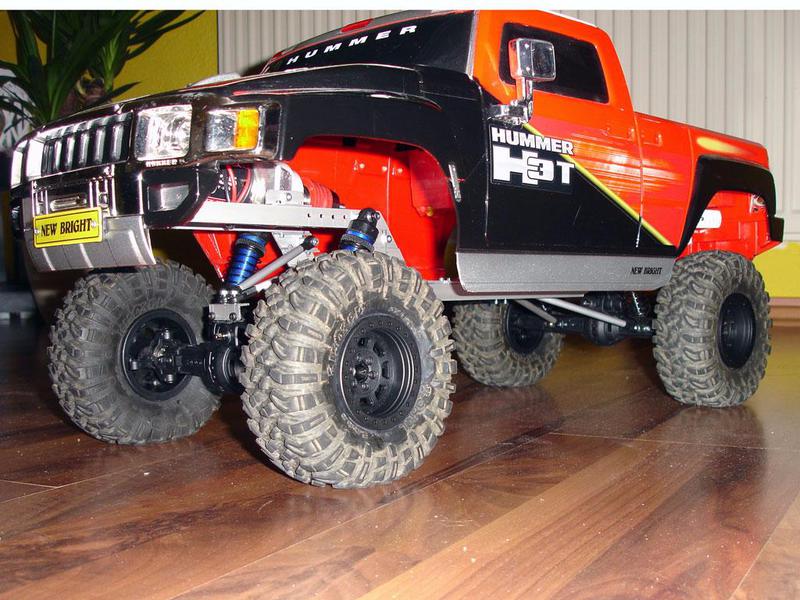 To be continued. greets Frank |
|
| |
|
12-21-2016, 08:53 PM
| #8 |
| Rock Crawler   Join Date: Apr 2014 Location: Portland
Posts: 835
|
H3 is looking good, Interesting way to do the frame.. I Really liken the Amarok. Why? because I also have one in the works and just installed a drop bed. Did you 3D print the Grill? |
|
| |
|
12-21-2016, 09:58 PM
| #9 | |
| Rock Stacker Join Date: Dec 2016 Location: Germany
Posts: 64
| Quote:
no i have no 3D printer and i cant draw with a CAD program. I do it in classical model building. greets Frank | |
|
| |
|
12-21-2016, 10:13 PM
| #10 |
| I wanna be Dave Join Date: Sep 2006 Location: Anchorage, Alaska
Posts: 3,099
|
Were you given or played with an Erector Set one Chistmas ?  Chassis looks like it was built using one of those kits !? Lol so whatever gets it done  I think the upper shock eye's need be raised above the frame rails. Maybe cut four tabs that bolt on and offer some shock rise. That will allow the suspension to sit a little lower and those tires will fill the wheel well(s) better. The suspension looks to be sitting a little tall Also the upper shock(s) leaning towards center create a progressive shock stance and reduce the static load support of the chassis... And make the suspension's articulation somewhat excessive/unrealistic. I think it would be better if the shock(s) were mounted more vertically... and the suspension tuning were done by selecting a proper coil spring rate and oil viscosity (also maybe changing the number or size of the shock(s) piston holes). I'm sure you'll have fun with it regardless. was just sharing my opinions. keep on keeping |
|
| |
|
12-21-2016, 10:23 PM
| #11 | |
| Rock Stacker Join Date: Dec 2016 Location: Germany
Posts: 64
| Quote:
the fixings of the damper will still change in the course of building, Also I have now completely different dampers in it. Only the dampers will also be installed relatively diagonally. But this will probably happen between Christmas and New Year. I prefer a relatively soft damping, so that it also has a good entanglement. But she must be so hard that I do not have a Torquetwist. greets Frank | |
|
| |
|
12-21-2016, 10:46 PM
| #12 | |
| I wanna be Dave Join Date: Sep 2006 Location: Anchorage, Alaska
Posts: 3,099
| Quote:
in case no one else has said I'm here to watch where your build leads you... not trying to influence your choices by any means. more show please | |
|
| |
|
12-21-2016, 10:57 PM
| #13 |
| Rock Stacker Join Date: Dec 2016 Location: Germany
Posts: 64
|
Hello, Today it goes on to translate with the building report from the German, I hope my English is good to understand. Here are a few pictures of the frame under the body, the transfer box, the body mounting with magnets and the servo monunting on the front axle, which is not standard with the HG axles. The H3T is lying on the head and you can see how the frame should be installed. 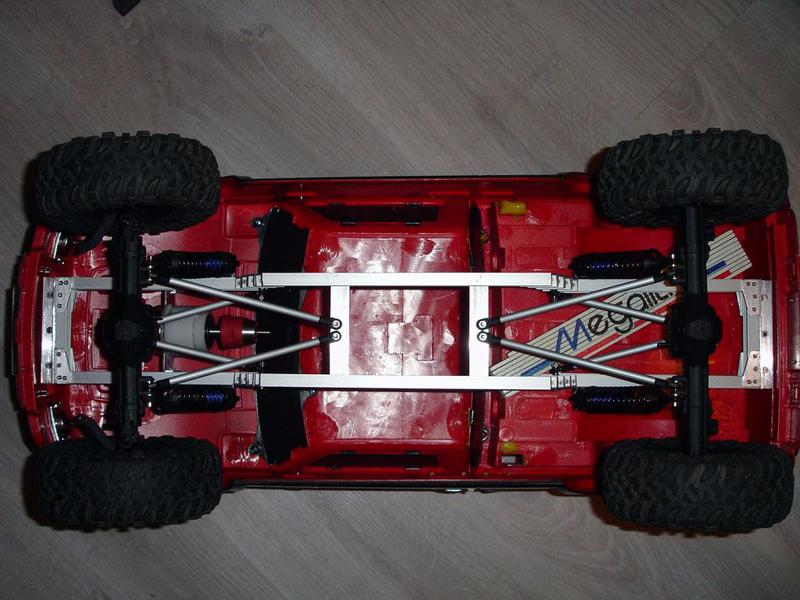 It has a nice entanglement of 100 mm. 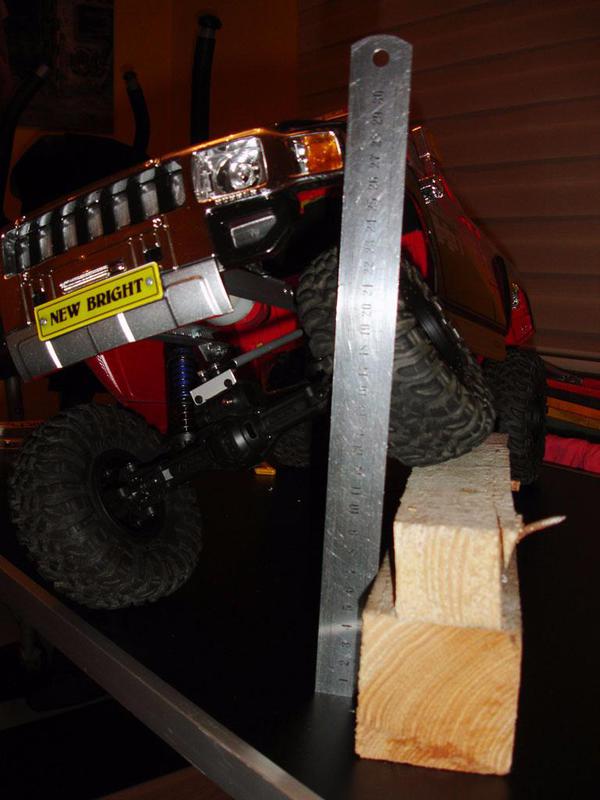 The mounting from the transferbox. 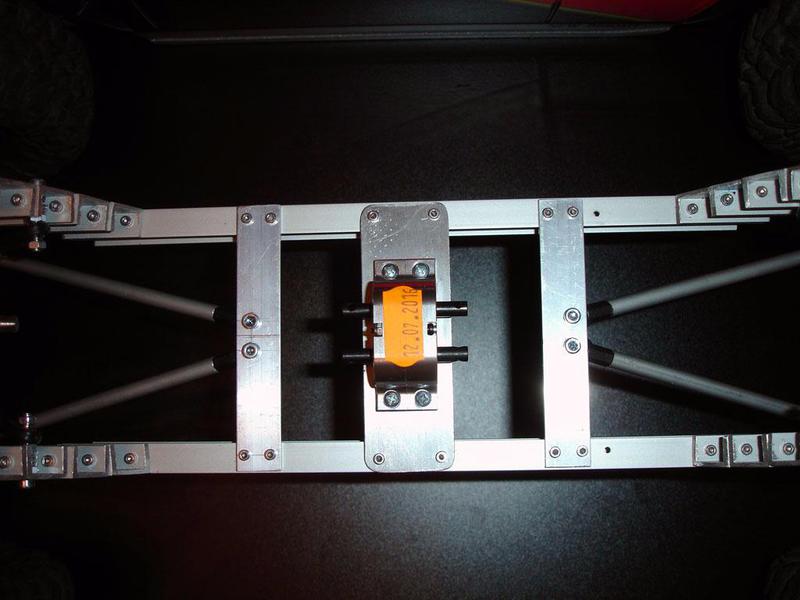 And the servo mounting. 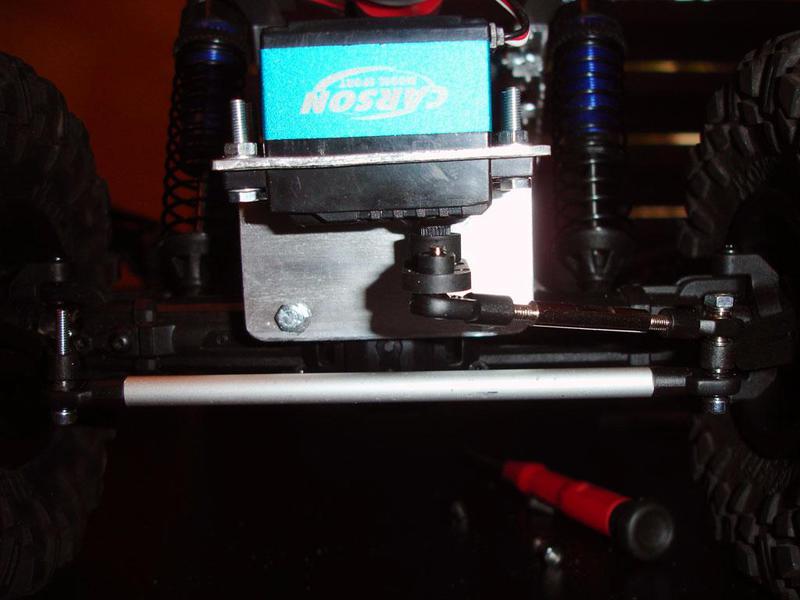 greets Frank |
|
| |
|
12-21-2016, 11:15 PM
| #14 |
| Rock Stacker Join Date: Dec 2016 Location: Germany
Posts: 64
|
Hello, Here times the way to my frontbumper, But I do not know yet whether it remains the final bumper. because I am planning an other winch. The top from the bumper. 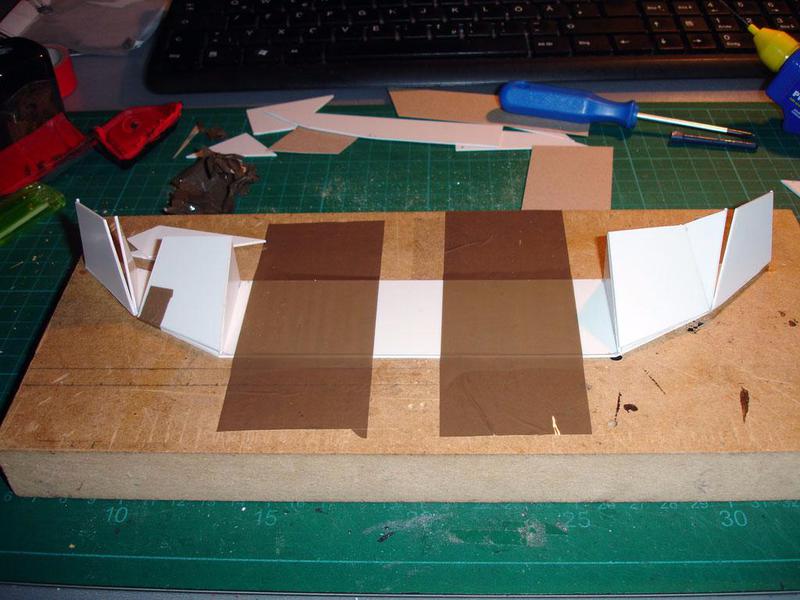 My aluminum work on the lower part. 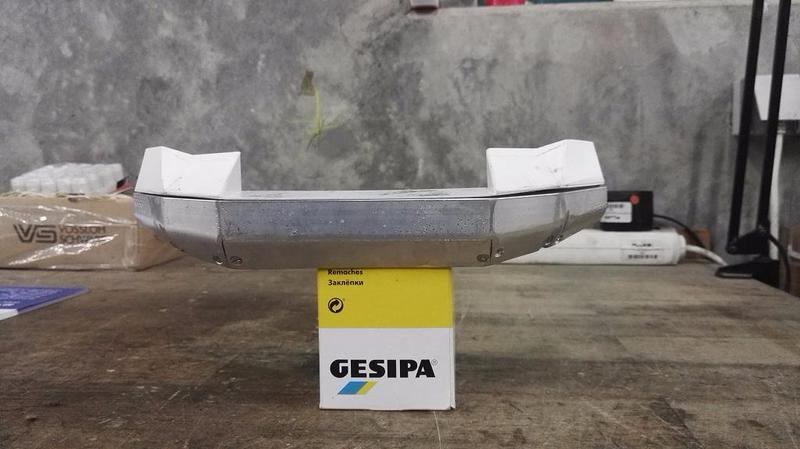 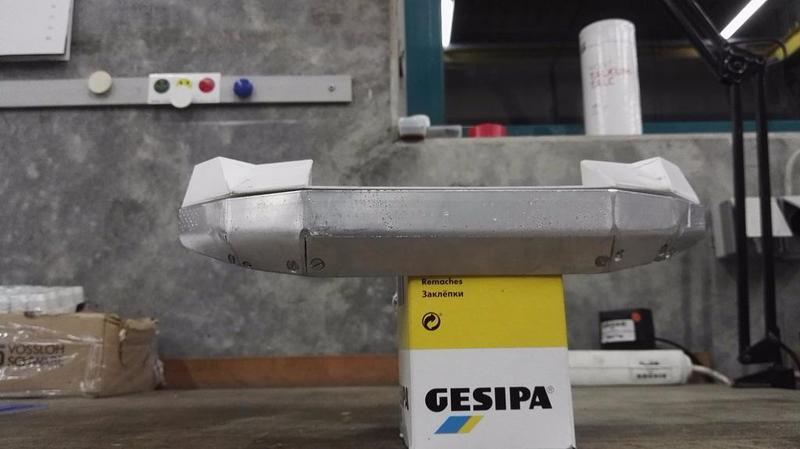 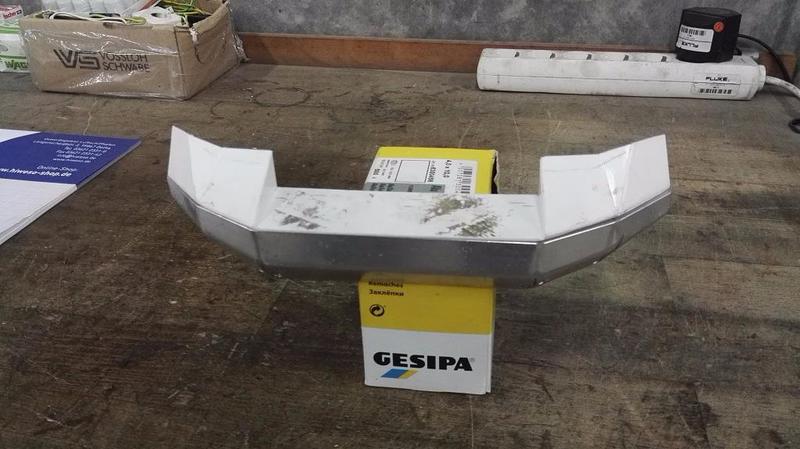 The first look and feel with the new bumper. 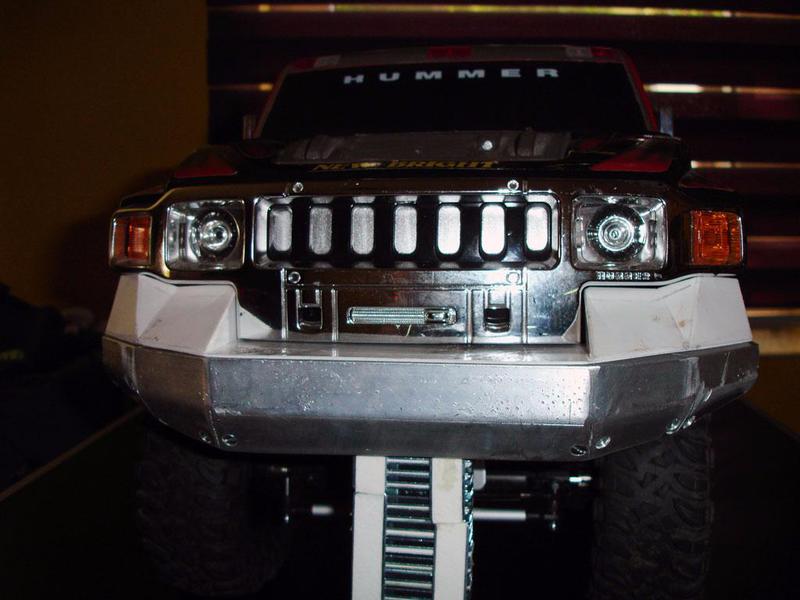 The bumper is ready for the color. 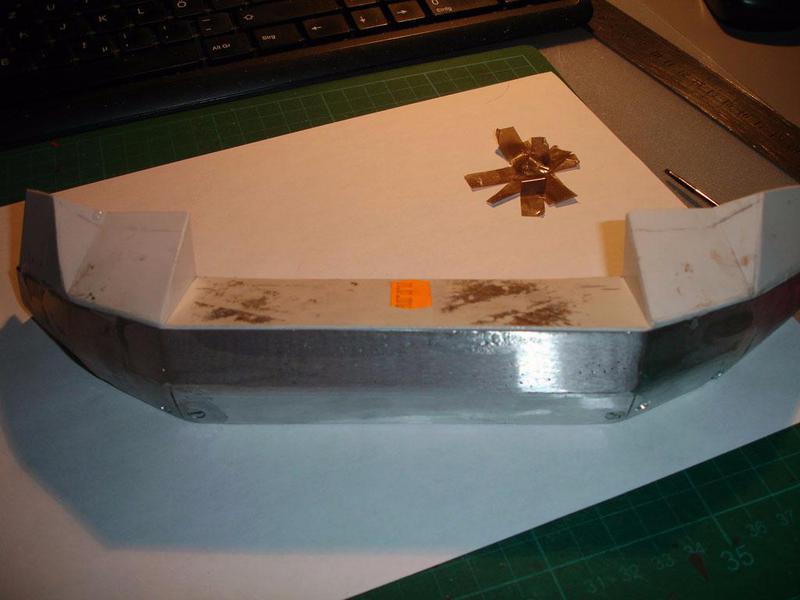 The colored and mounting bumper. 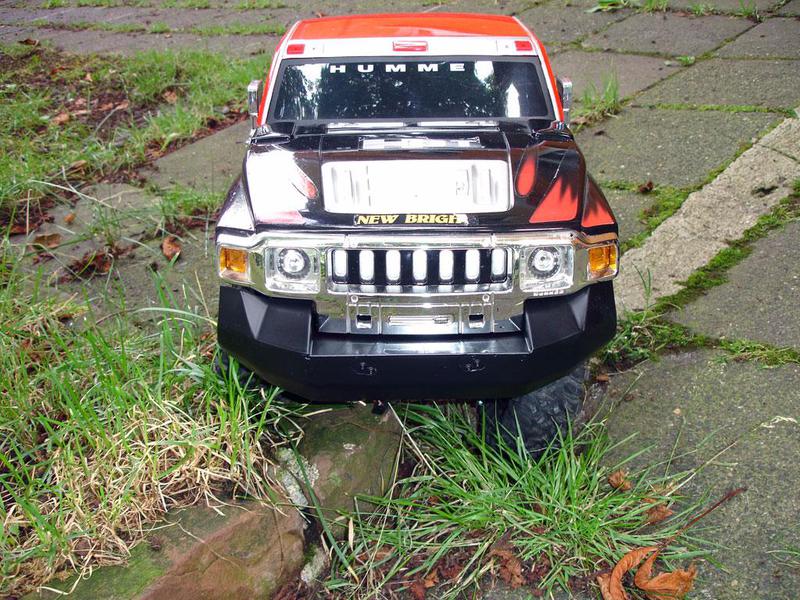 greets Frank |
|
| |
|
12-21-2016, 11:29 PM
| #15 |
| Rock Stacker Join Date: Dec 2016 Location: Germany
Posts: 64
|
Hello, than i begin to strip the body. 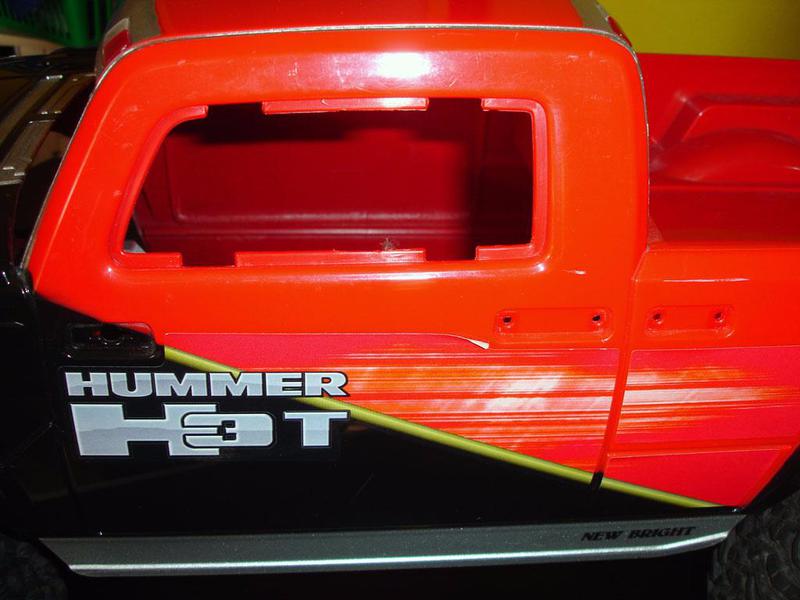  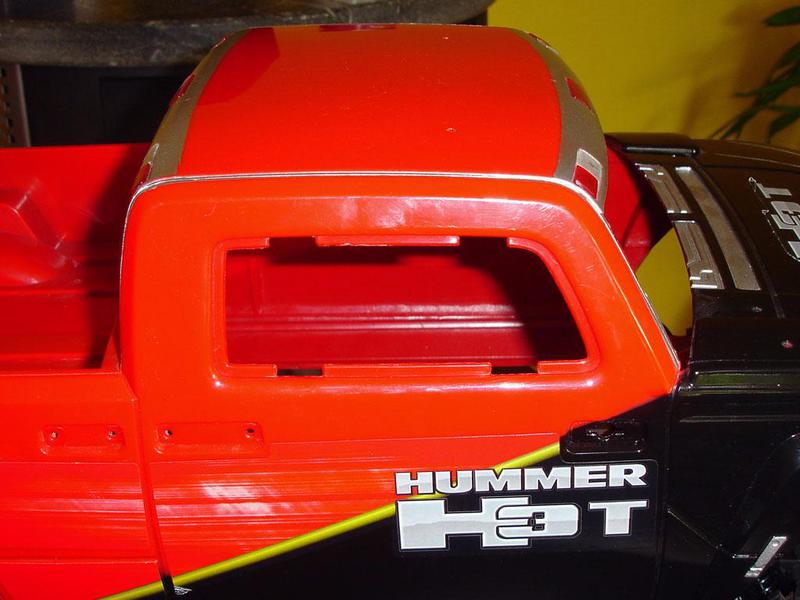 The bodyworks beginns. 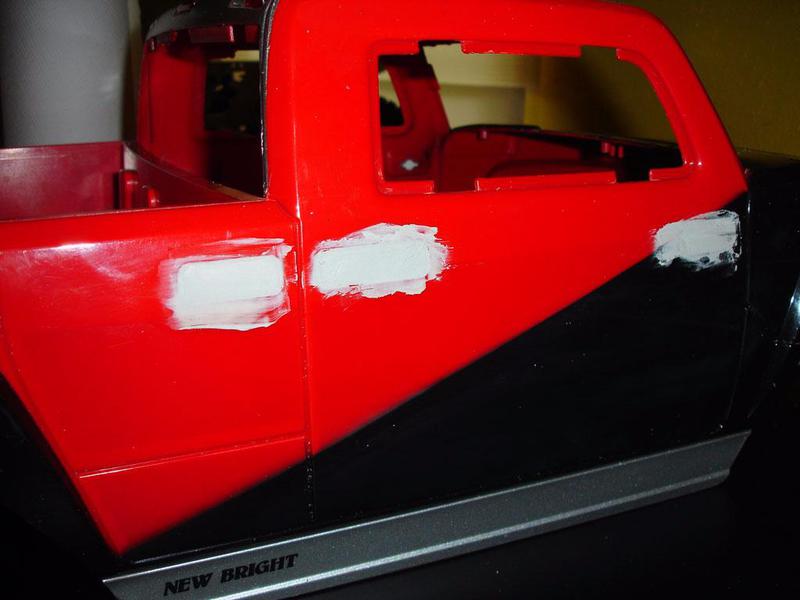 Opening the flatbed. 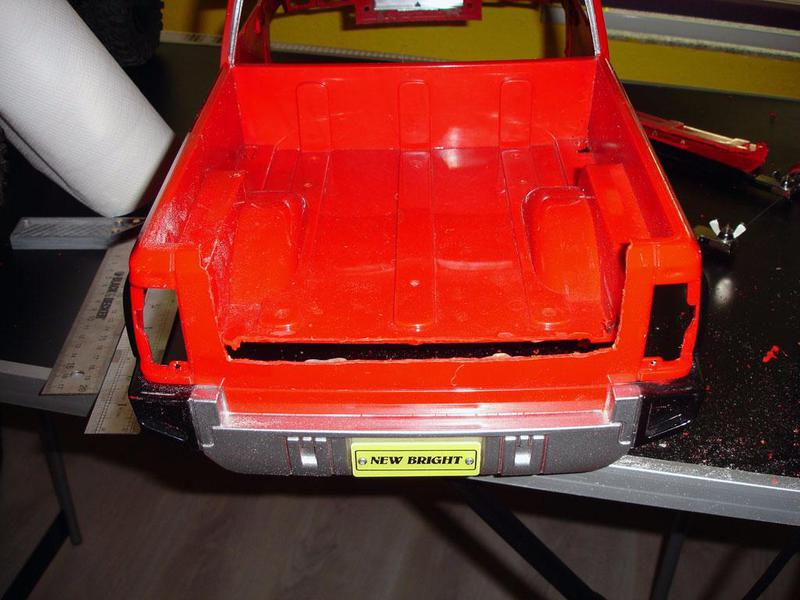 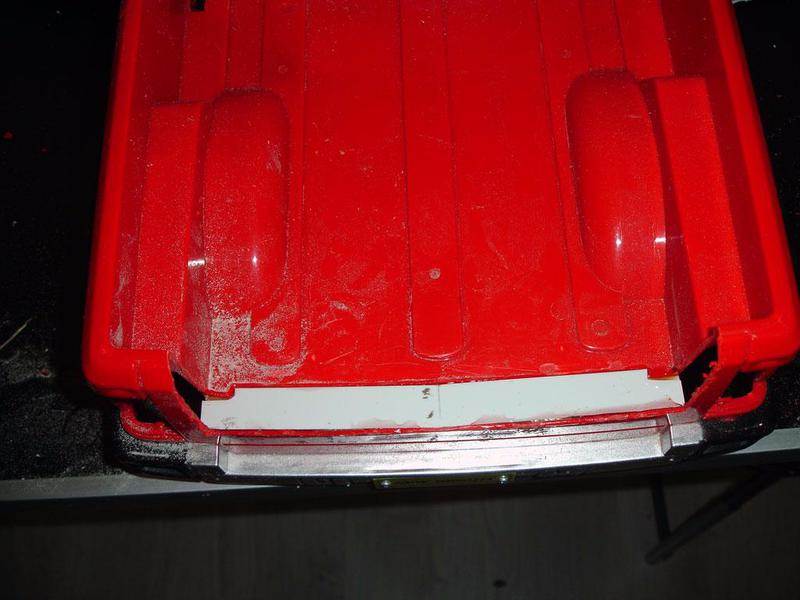 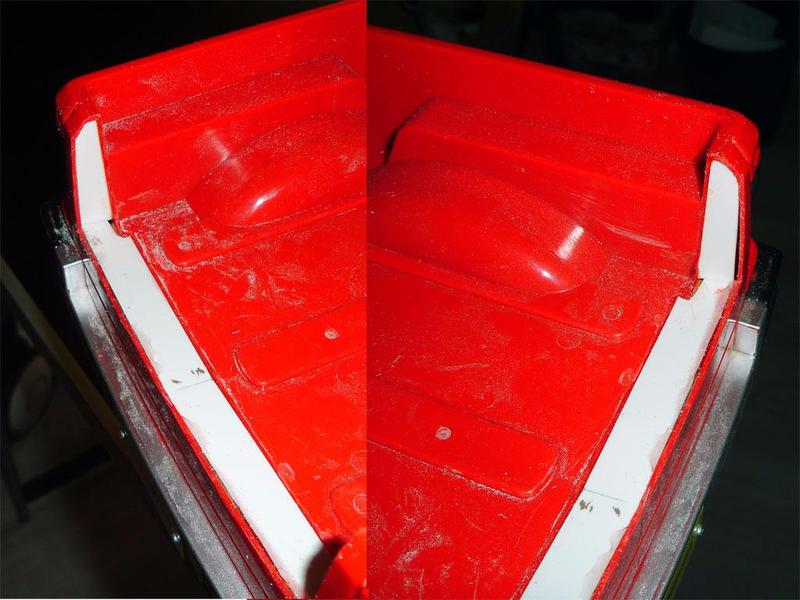 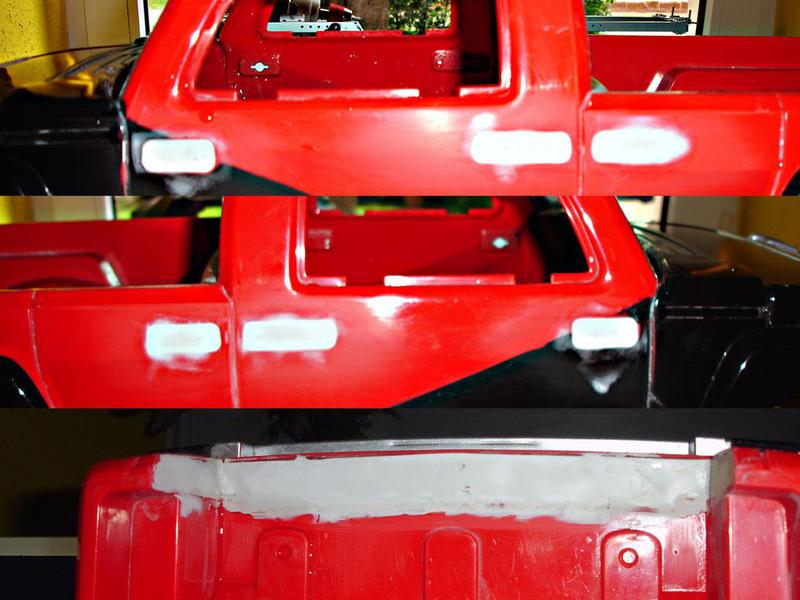 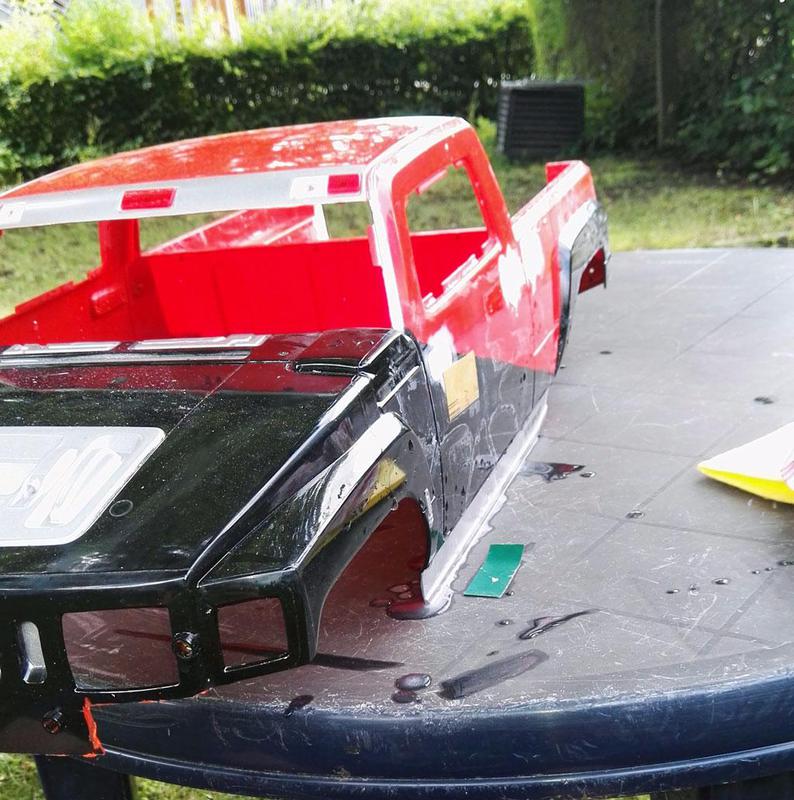 greets Frank |
|
| |
|
12-21-2016, 11:43 PM
| #16 |
| Rock Stacker Join Date: Dec 2016 Location: Germany
Posts: 64
|
Hello, ready for paintjob. 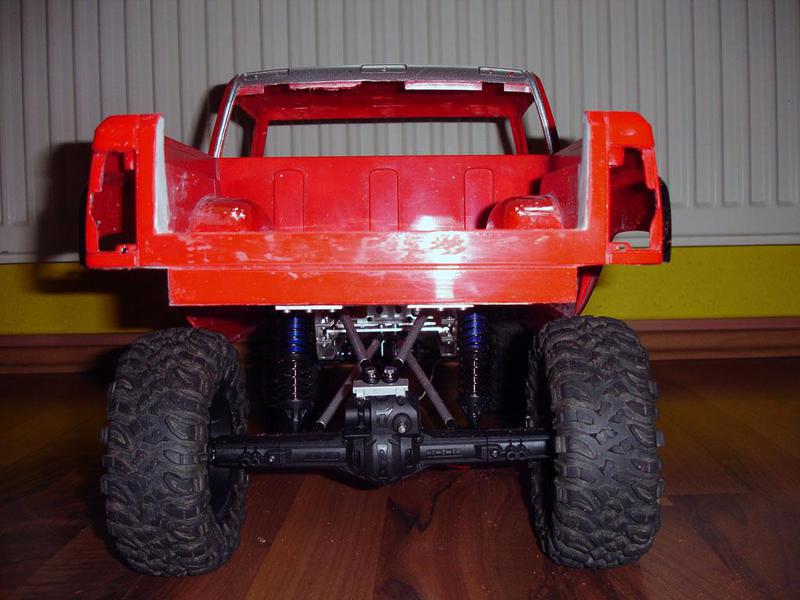 The H3T grill.  The paintjob, the first black color. 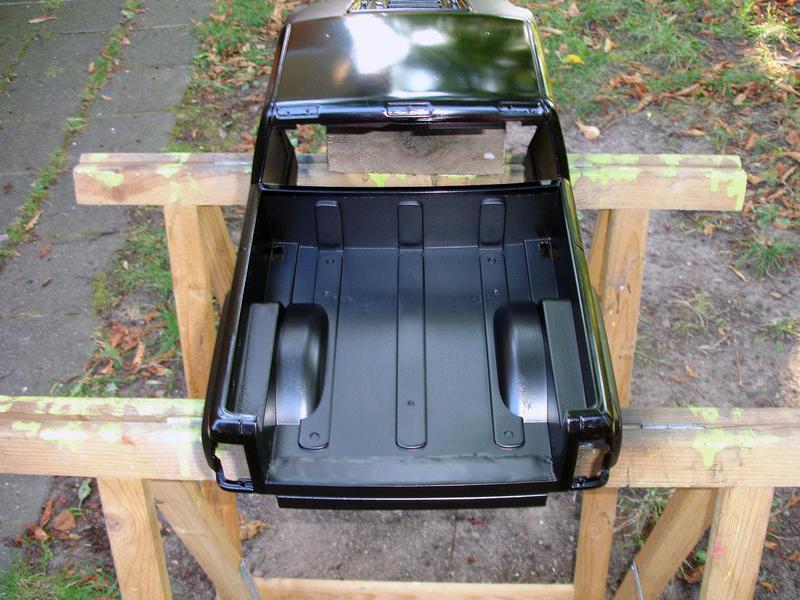 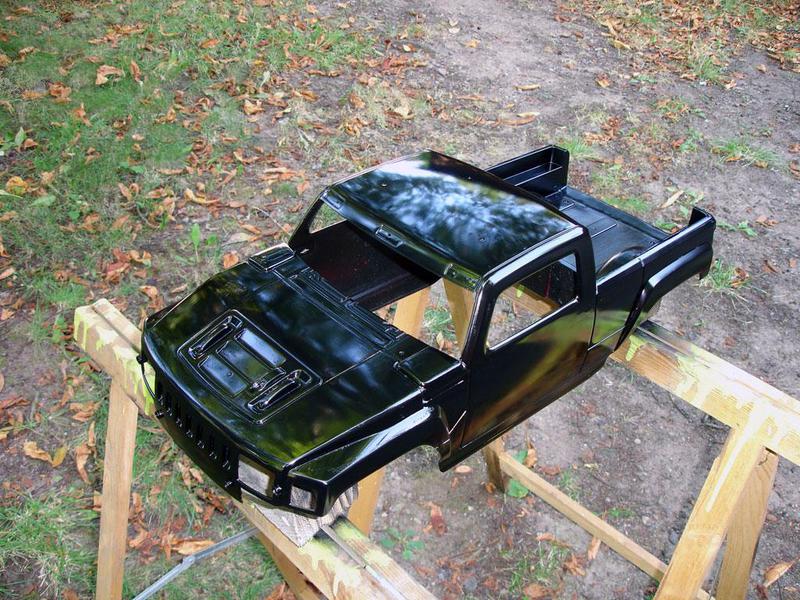 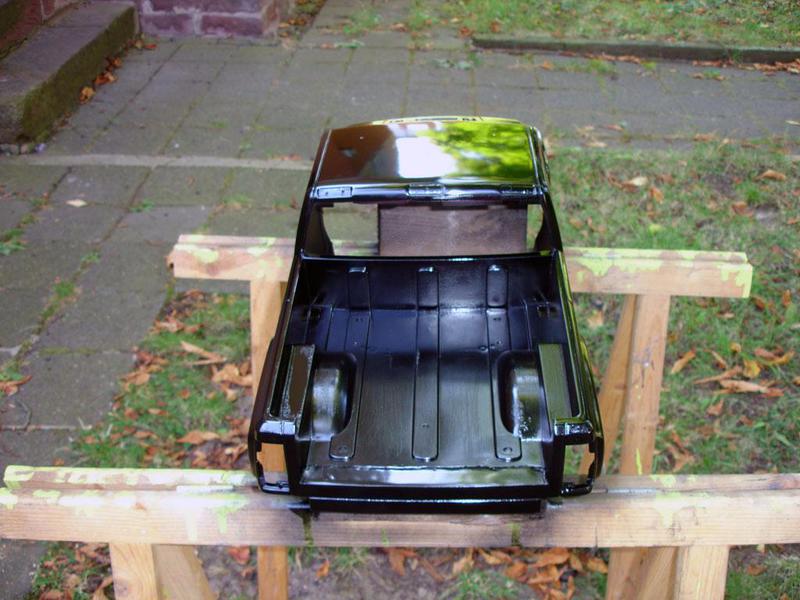 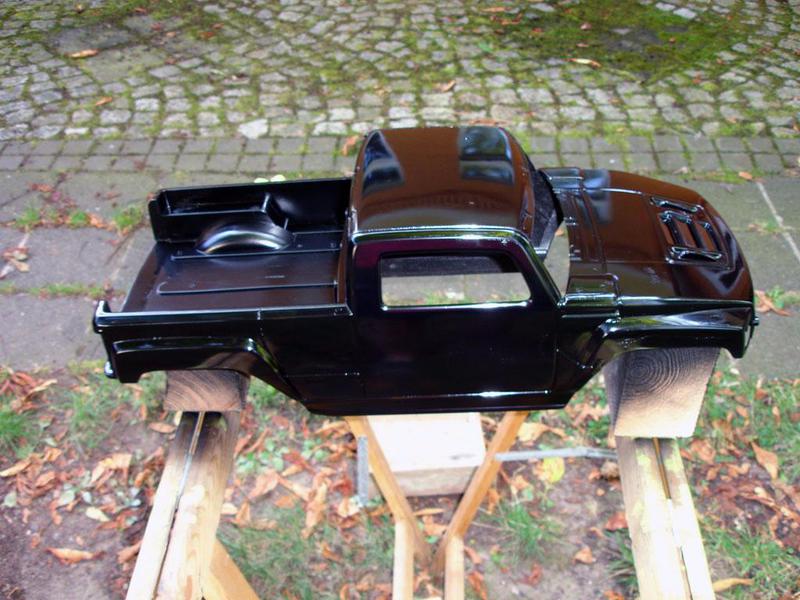 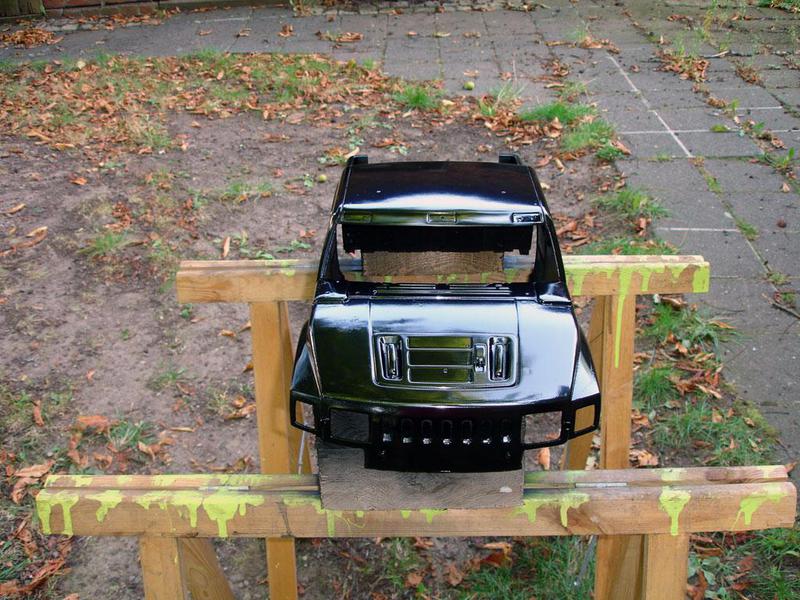 Masking for plastidip. 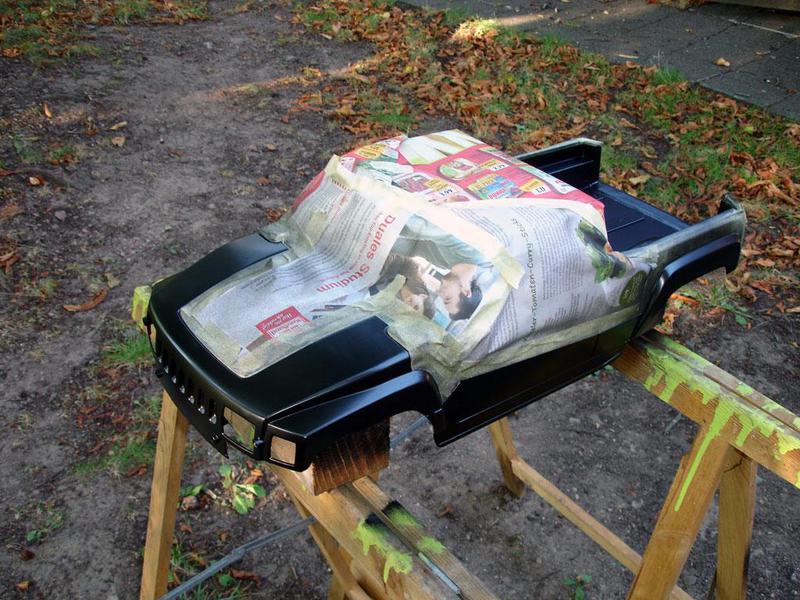 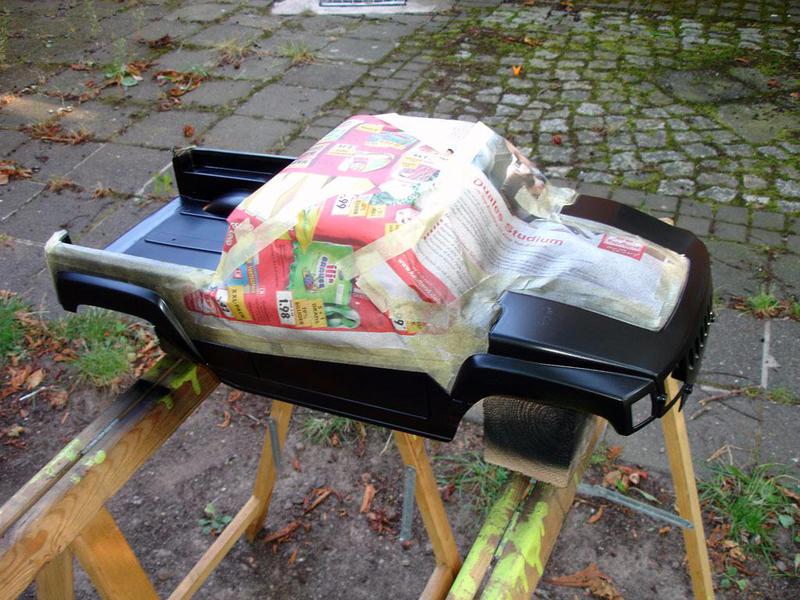 Two black colors on the body. 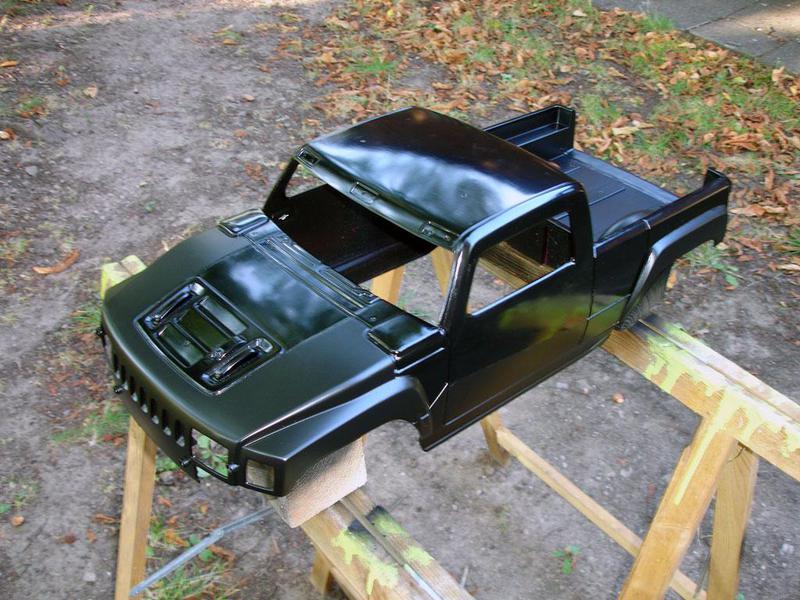 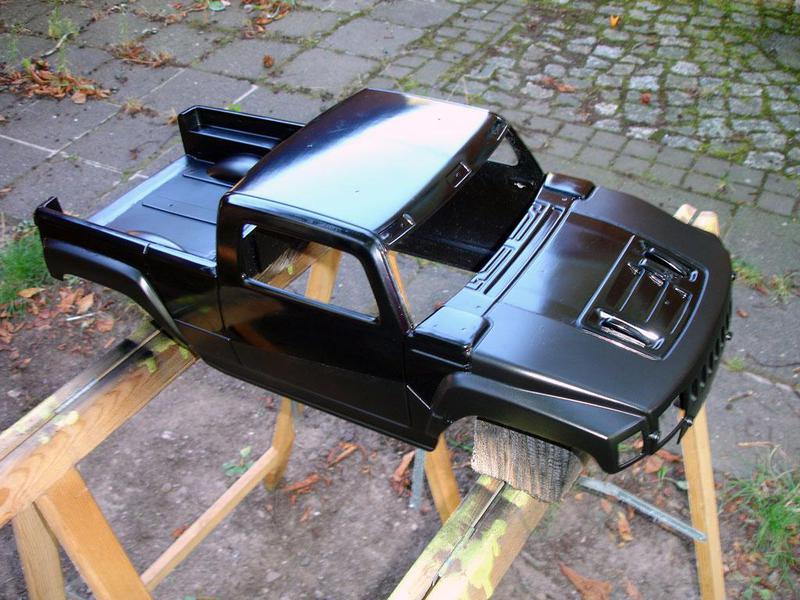 greets Frank |
|
| |
|
12-22-2016, 01:29 AM
| #17 |
| Rock Stacker Join Date: Dec 2016 Location: Germany
Posts: 64
|
Hello, it continues with the windshield.  As long as the glue has dried I have still soldered connections on the ESC for the BEC. 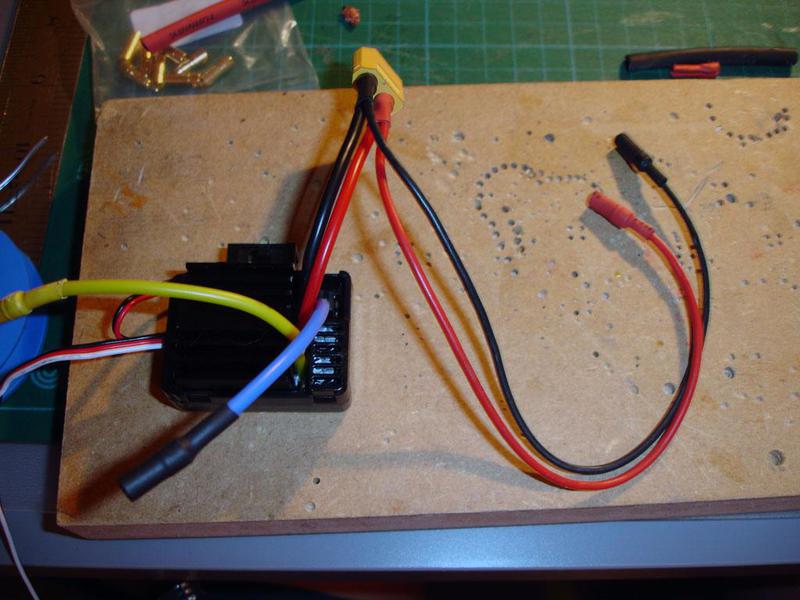 The bec is a self-assembly of two fixed voltage regulators with 5V 1A, connected in parallel then this makes 2A. It's only for the lights. 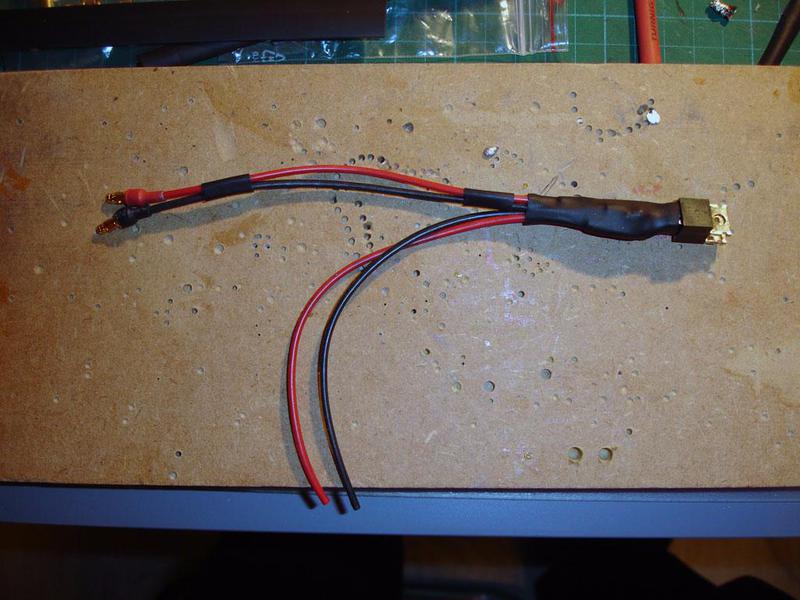 When the glue was dried, I started with the light, of course, the front light. The first lights are the headlights. 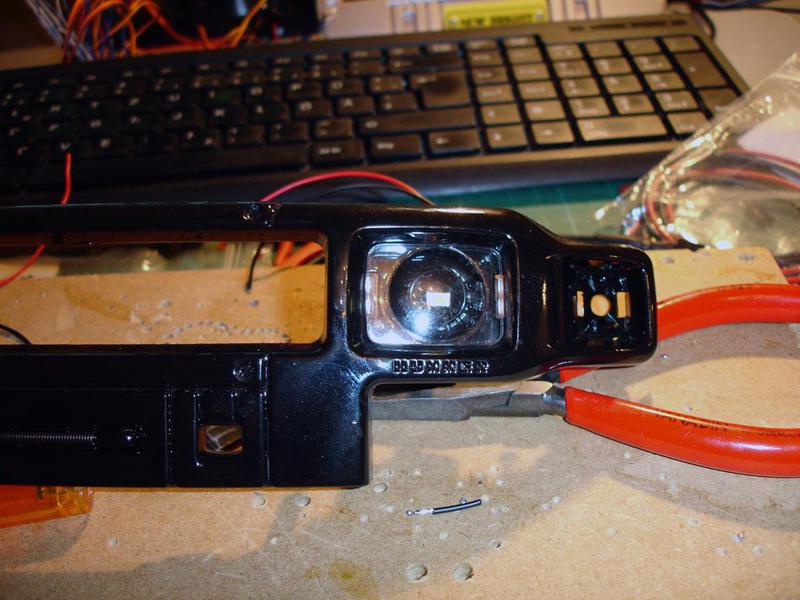 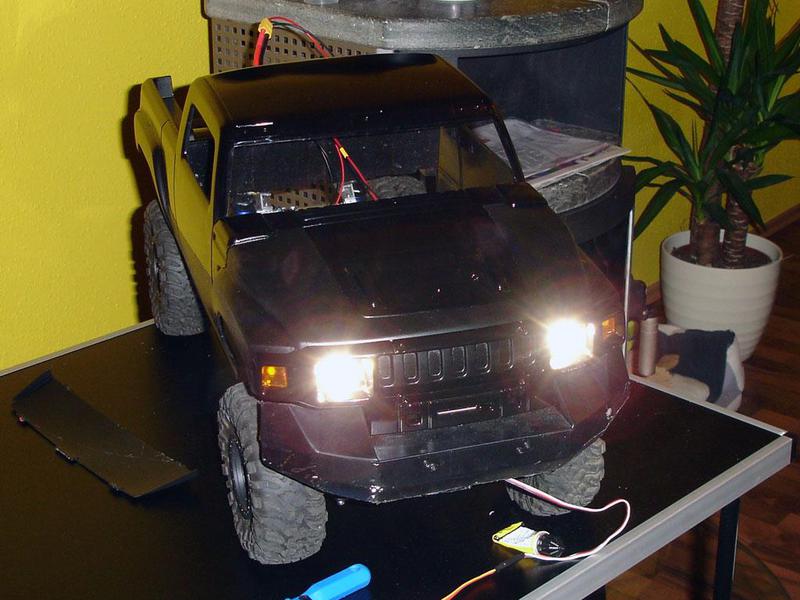 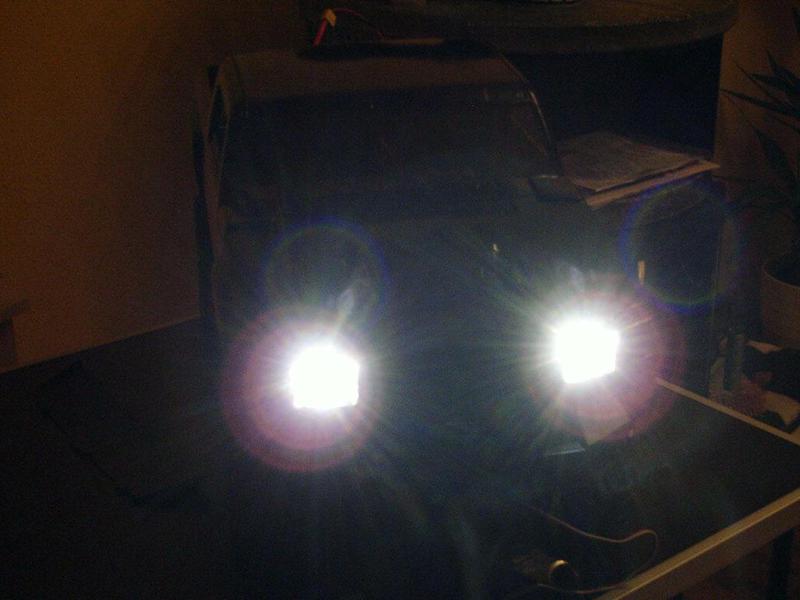 Then came the turn signals. 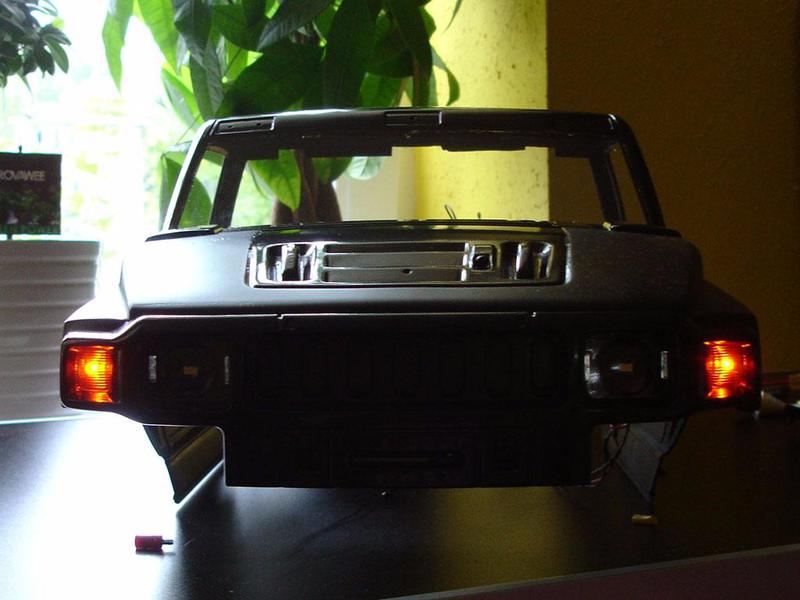 All frontlights on. 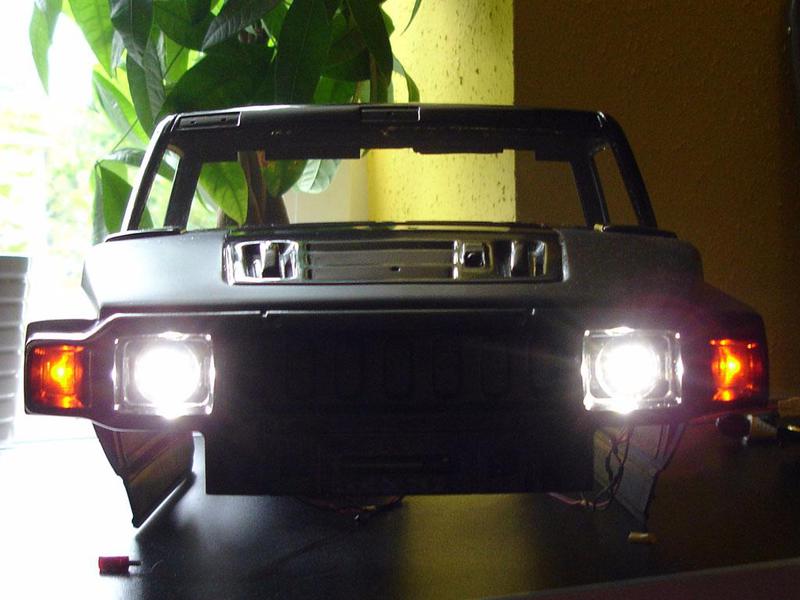 And all off, so you can see only the black front. 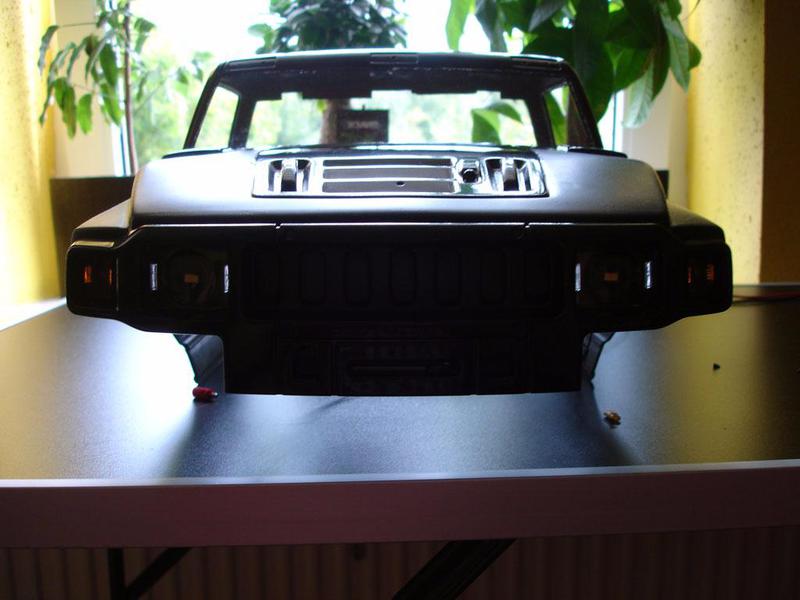 greets Frank |
|
| |
|
12-22-2016, 02:05 AM
| #18 |
| Rock Stacker Join Date: Dec 2016 Location: Germany
Posts: 64
|
Hello, then I started the rear lights. Once for the normal rear and the lighter LED for the brake light. In the lower chamber only the turnlight is placed. 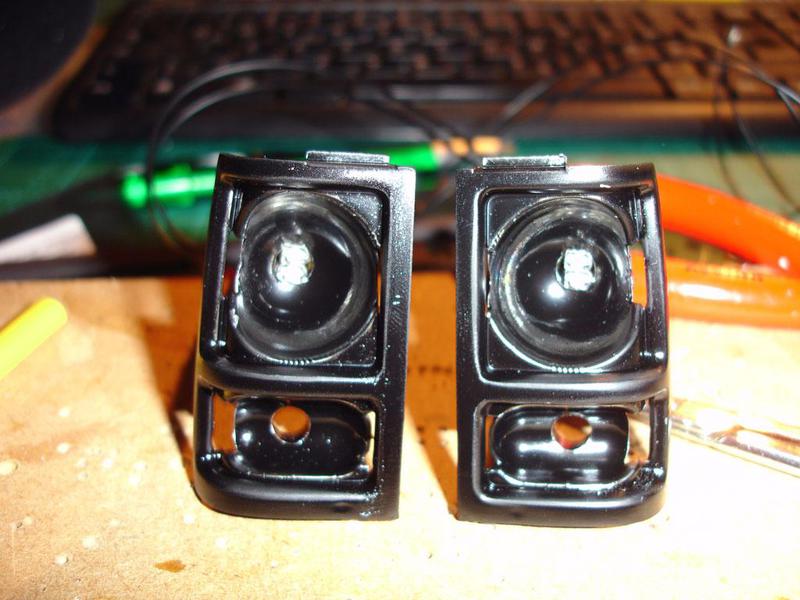 Here normal rear light and turnlight on. 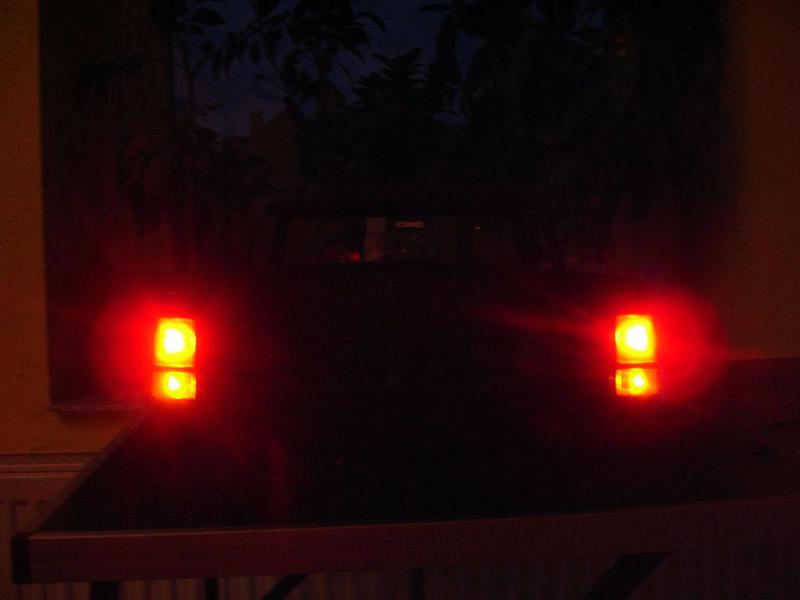 And here also the brake light is additionally switched on. 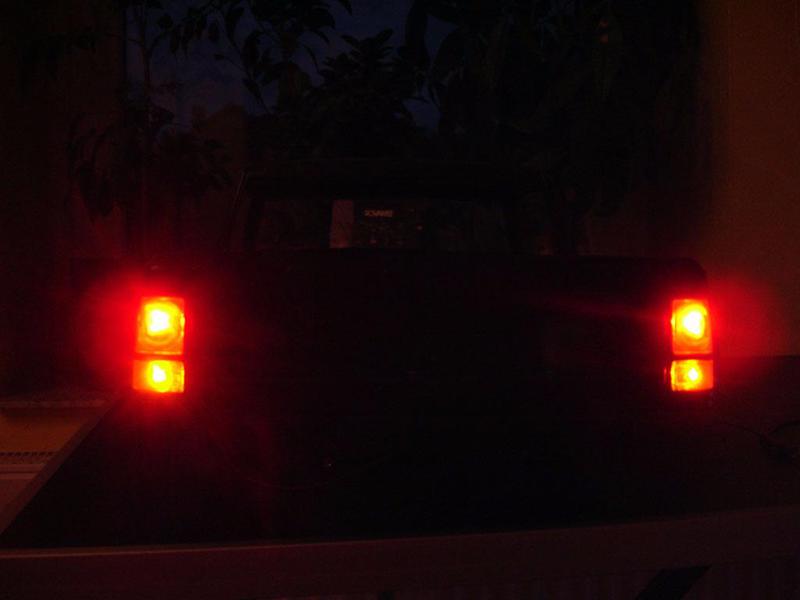 Only the turnlights switched on. 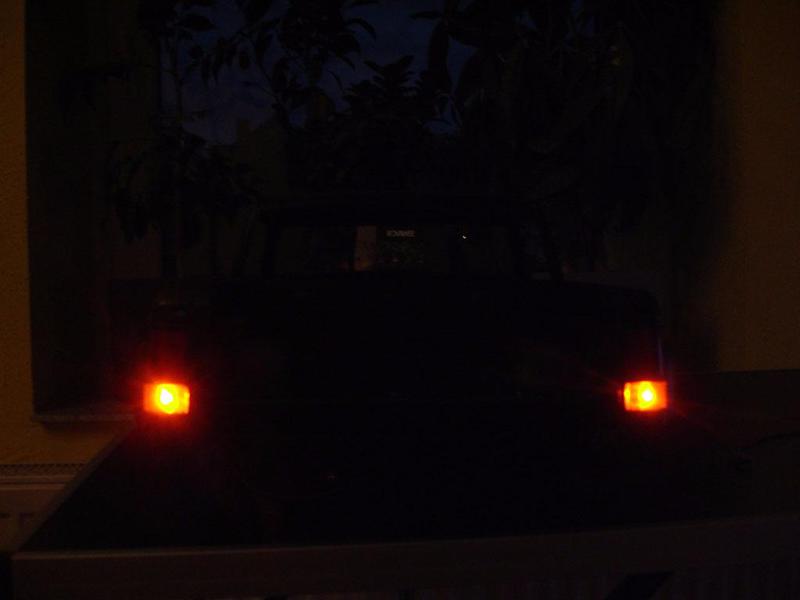 And all lights switched off. 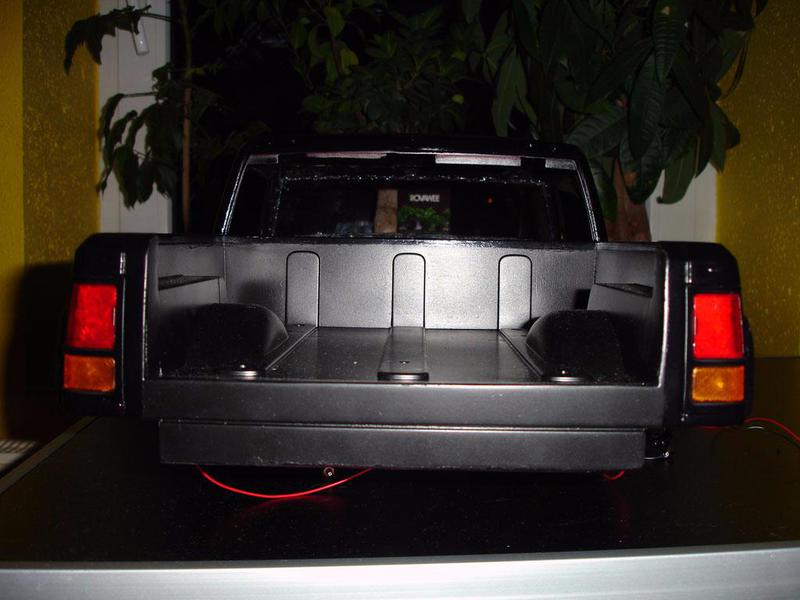 greets Frank |
|
| |
|
12-22-2016, 11:43 PM
| #19 |
| Rock Stacker Join Date: Dec 2016 Location: Germany
Posts: 64
|
Hello, and its go on with the rooflights. Here are some pictures from the lighting site. 20 LEDs were installed, but only one half is needed when the camping is installed. 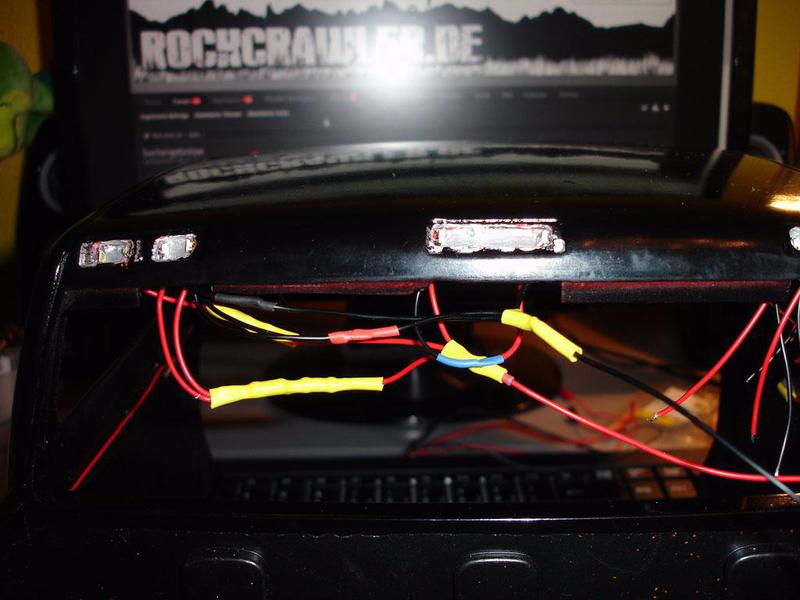 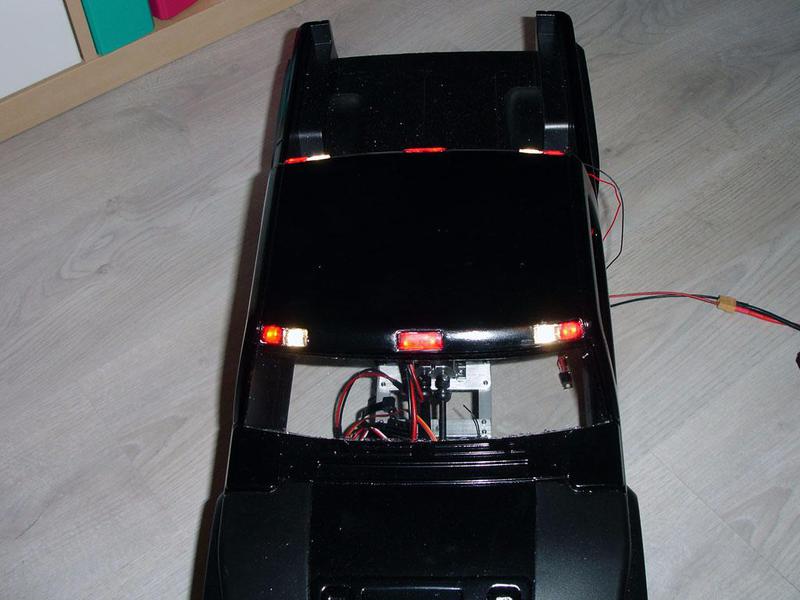  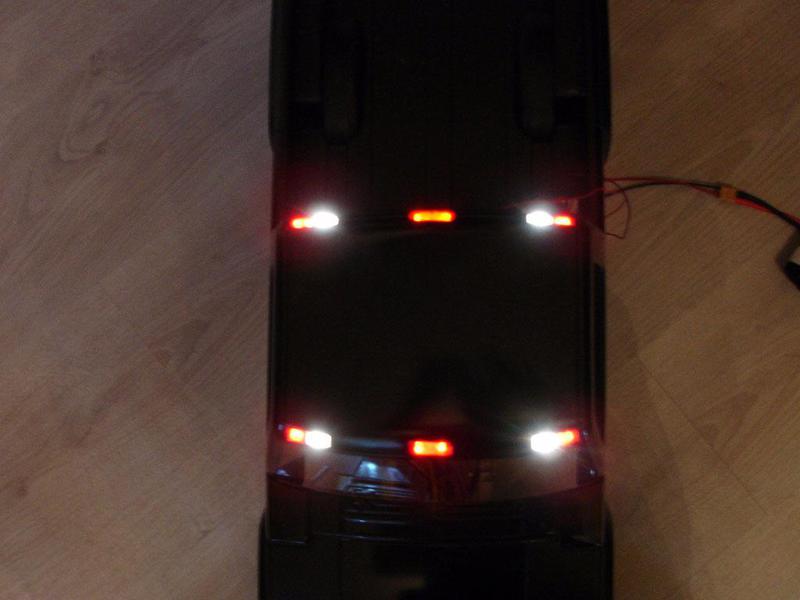 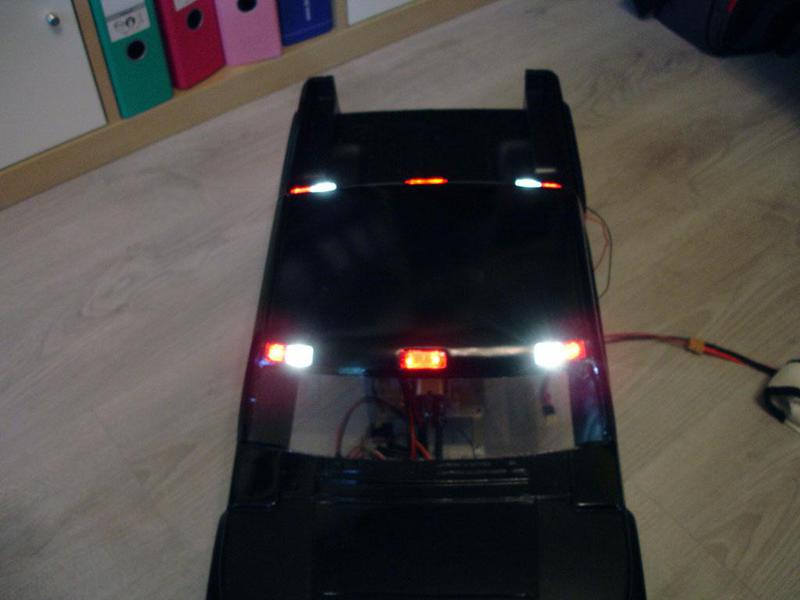 greets Frank |
|
| |
|
12-23-2016, 12:11 AM
| #20 |
| Rock Stacker Join Date: Dec 2016 Location: Germany
Posts: 64
|
Hello, had to do something for the interior before my holiday but. The H3 should go to the coast to Holland. So just built a tub for the interior, so that the driver can take place. Here must the driver 10 mm lower. 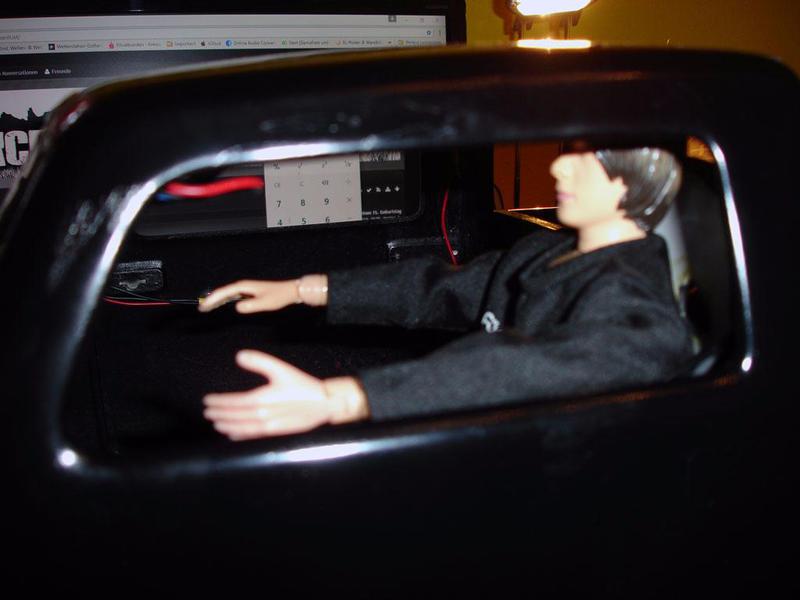 I have taken 3mm PVC hard foam sheet. 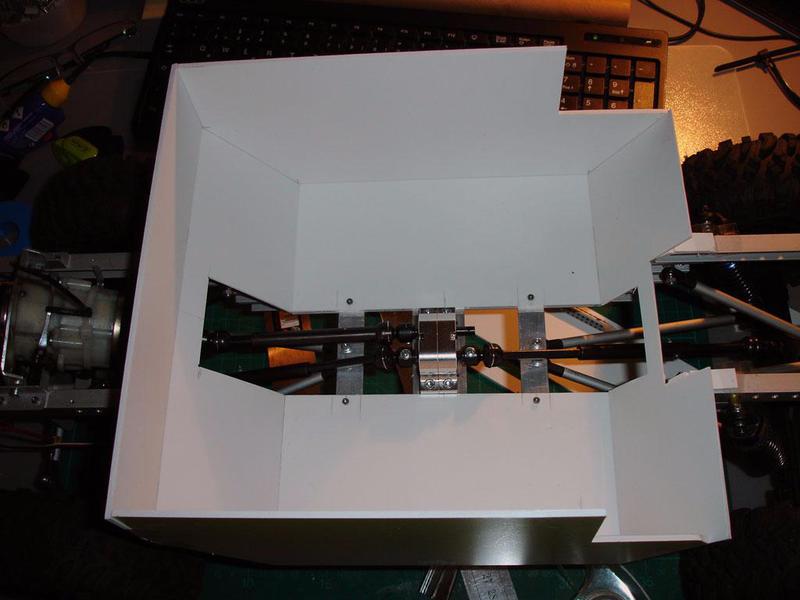 The first test with the driver. 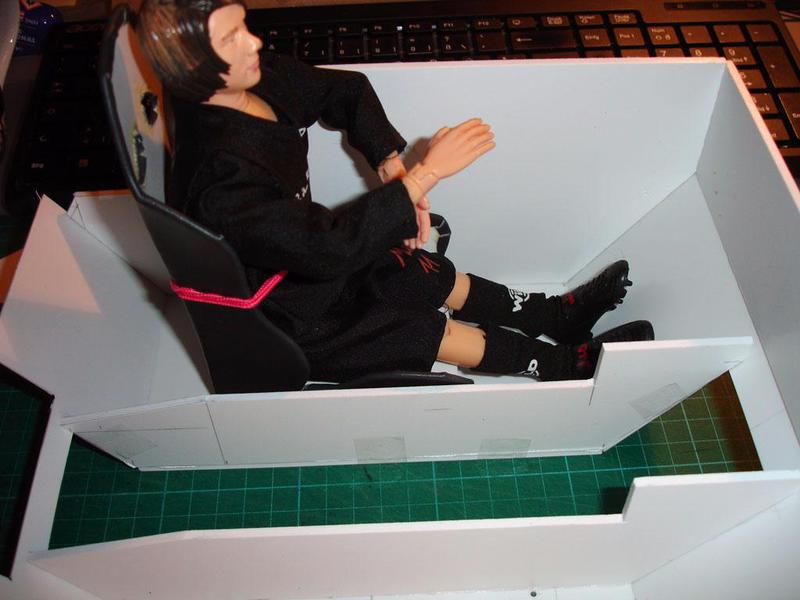 The place for the 3s lipo 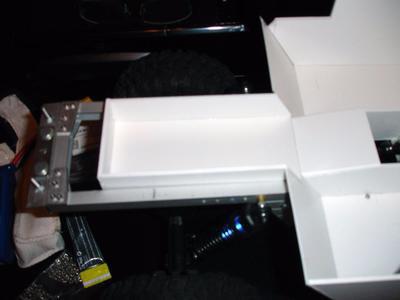 Yet an additional pad for the Lipo tray. 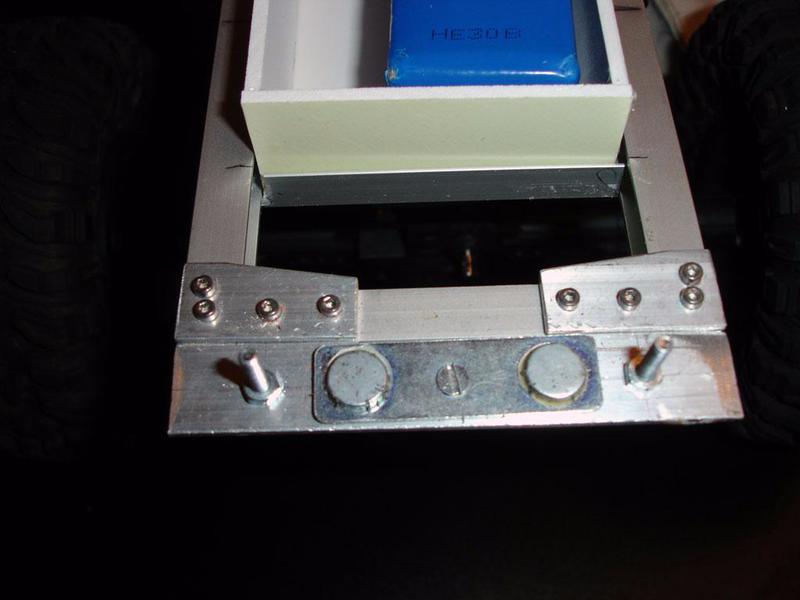 My first tried for the dashboard. 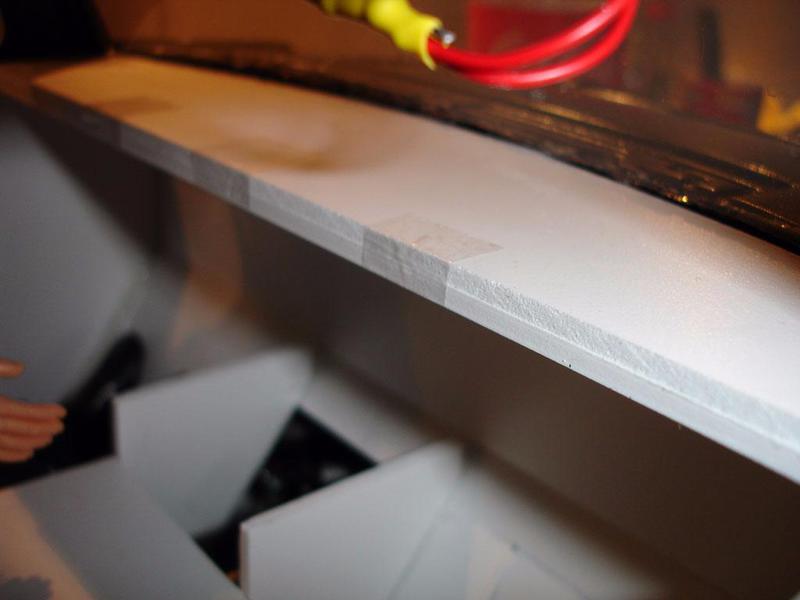 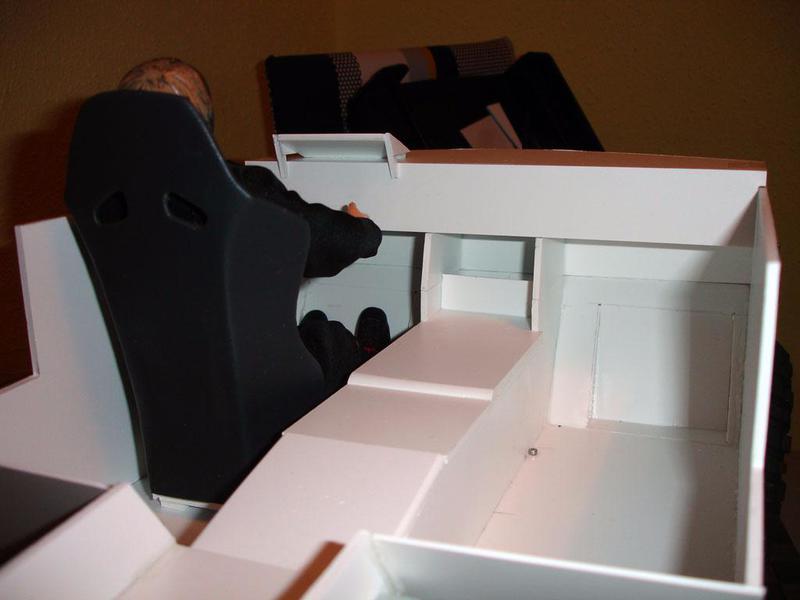 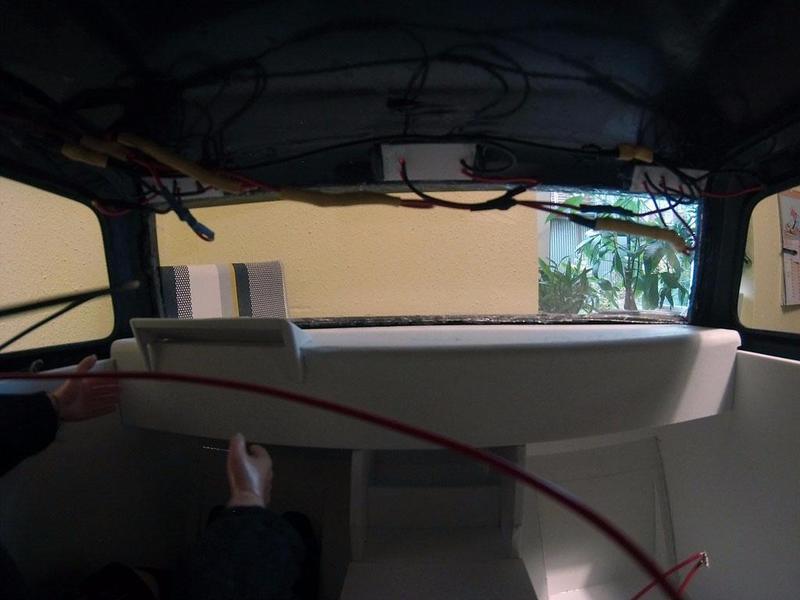 greets Frank |
|
| |
 |
 Hummer H3T Camper - Similar Threads
 | ||||
| Thread | Thread Starter | Forum | Replies | Last Post |
| Hummer H3T | Silverado1 | 1.9 Scale Rigs | 9 | 07-05-2015 05:56 AM |
| Hummer h3t on a scx-10? | ctsthoncho | Axial SCX-10 | 5 | 10-22-2011 08:46 PM |
| |


 Linear Mode


