| |
| |||||||
 |
| | LinkBack | Thread Tools | Display Modes |
 07-03-2008, 07:31 AM
| #1 |
| Pebble Pounder Join Date: Jul 2008 Location: Denver
Posts: 148
|
So, I've been out of the hobby for about ten years now, decided to give crawling a try. Always wanted a Clod when I was a kid, but never had one. I decided to build a crawler from scratch, I must say this website has much to offer for info on this. Wanted my own chassis, so I b uilt one from 1/8th inch thick aluminum, used 1/4" aluminium tubing for the supports and the upper links. I purchased some lower high clearance links for an axial, traxxas ball ends, bearing kit from duratrax. I started off with an old dusty Clod from ebay, the cheapest way I could find to get my hands on a set of complete axles, plus all the extra hardware is good to have. Some parts were broken, but I wont be using them anyways. I still have to figure out the upper link mounts, I want to make them myself rather than purchase some. I was surprised to see the diffs were already locked from the previous owner, using some small threaded nails so I used some epoxy and clamps to beefen them up and keep everything lined up. I'm building this to conform to the 2.2 class rules, but may never compete, probably going to go as scale as possible with the body, maybe two lids, a looker and a beater. So far so good, more pics to follow as soon as I get the rest of the parts. Everything was purchased from Ebay for this project, so I'm calling it Ebatch. The start: 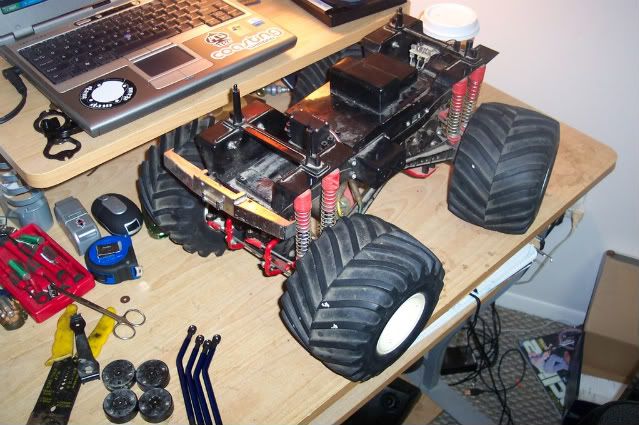 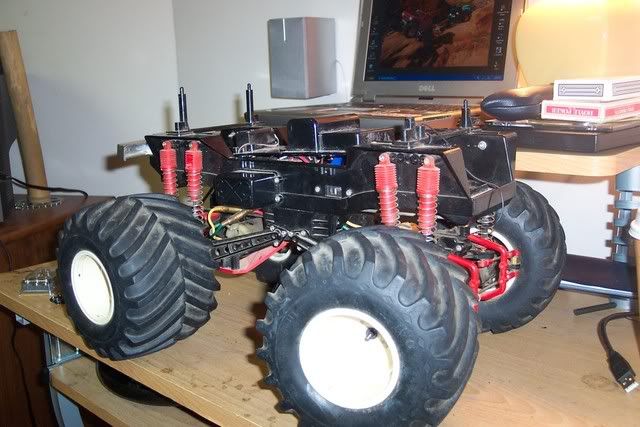 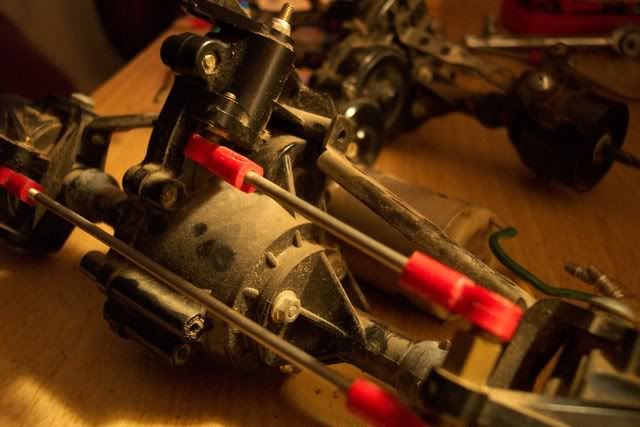 Here is the diff with the three nail locker, beefed it up with epoxy. 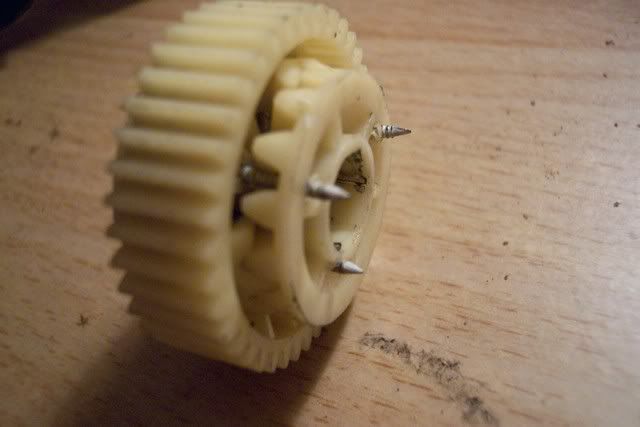 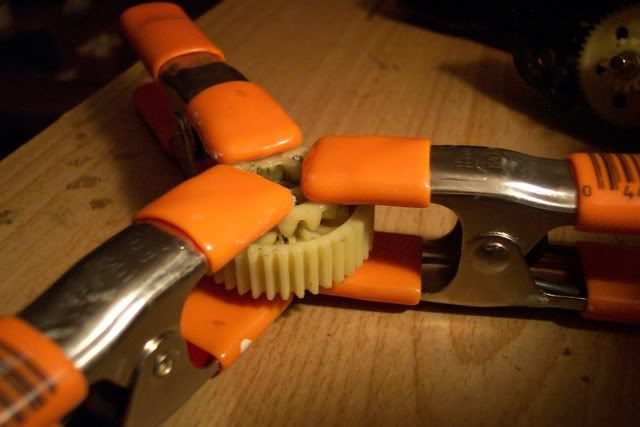 Here you can see the front axle after mods, next to the stock rear axle, notice the increase in steering ability. 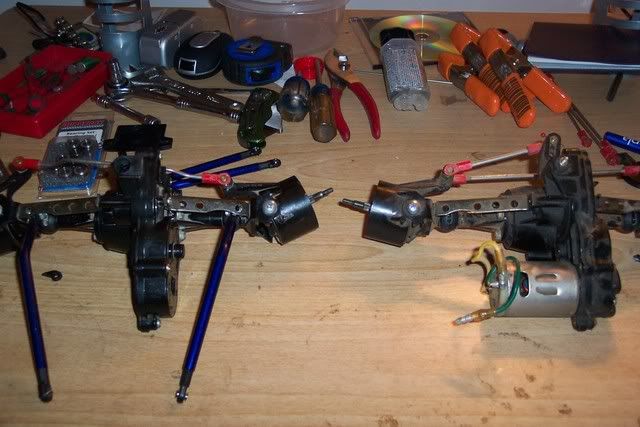 Locking out the rear steer. 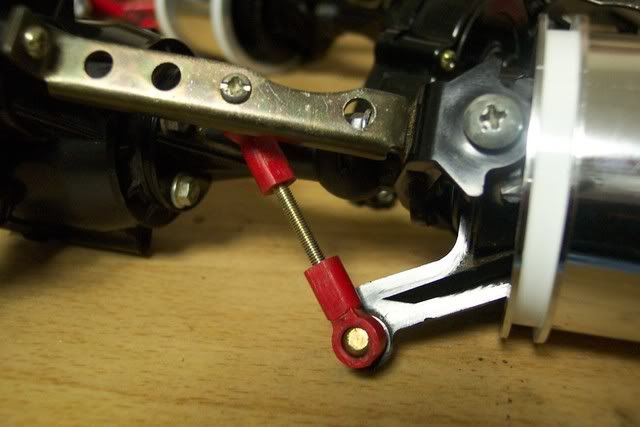 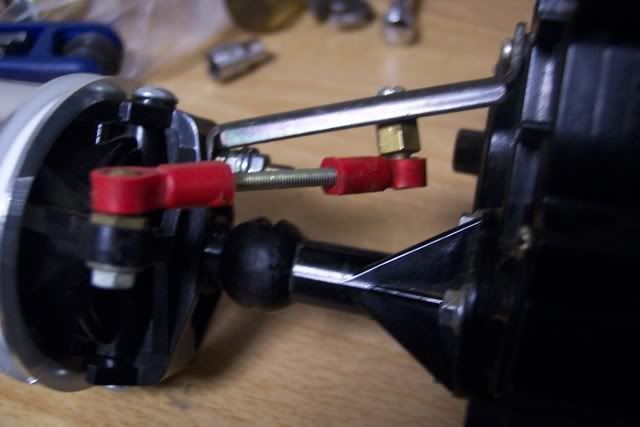 Pre-made lower links next to custom uppers. 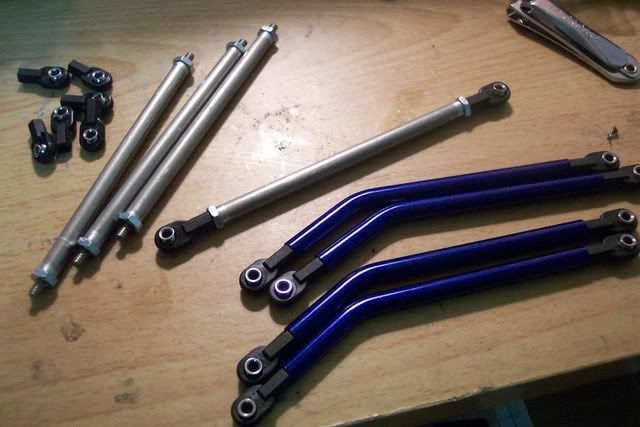 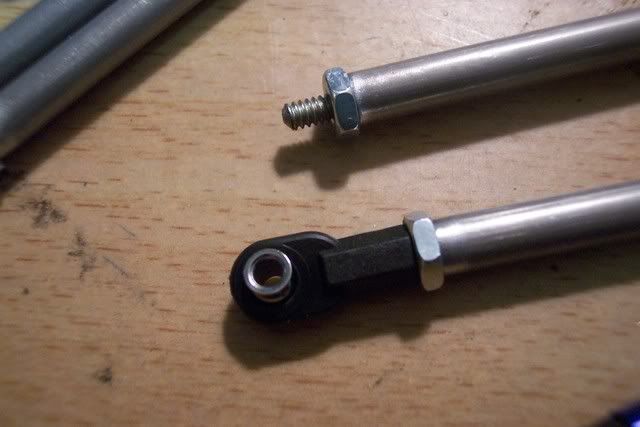  Starting the chassis, both sides were clamped and bolted together for symmetry. 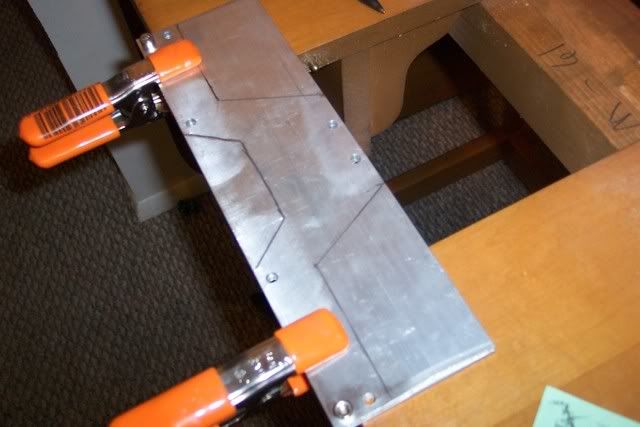 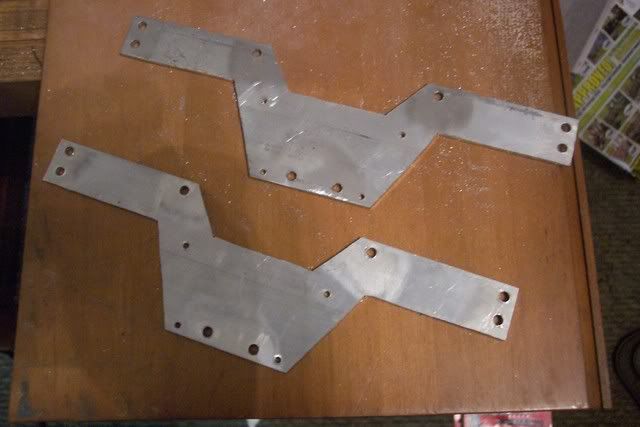 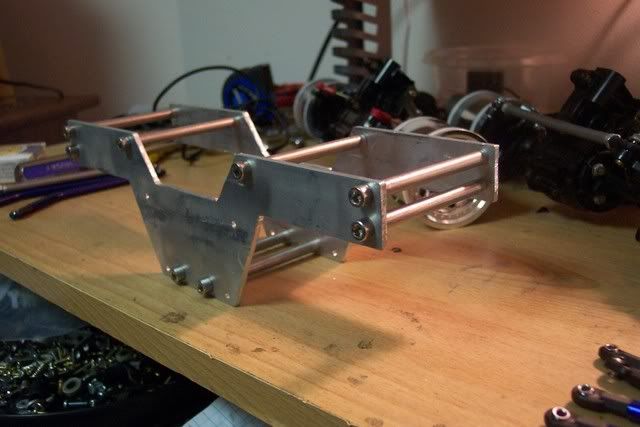 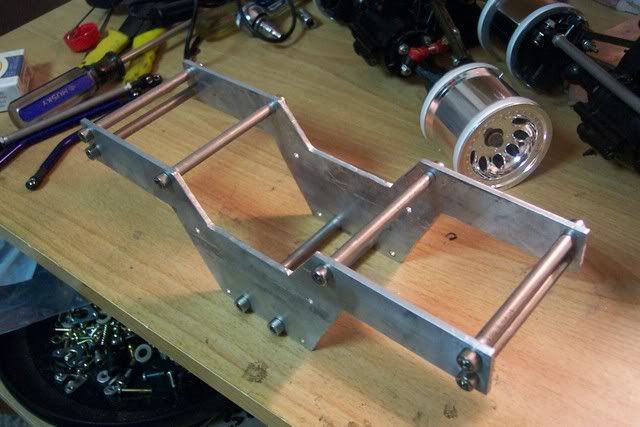  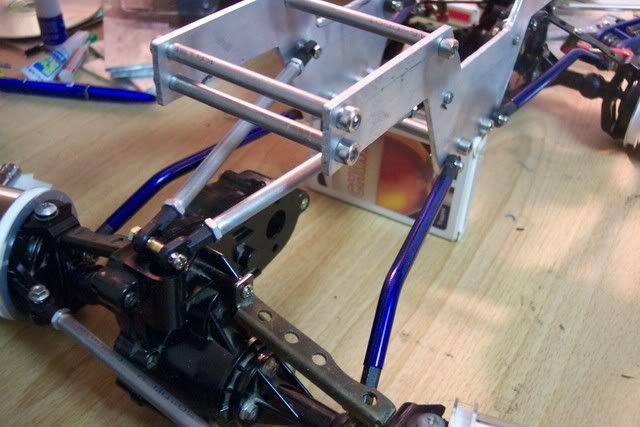  |

|  |
| Sponsored Links | |
| | |
|
07-03-2008, 11:01 AM
| #2 |
| Newbie Join Date: Jul 2007 Location: Dearborn
Posts: 2
|
Looks good so far. If you haven't shaved the axle yet you may want to think about it. It will get you a little more clearance at the axle, also it is one less thing to get hung up on.
|
|
| |
|
07-03-2008, 11:13 AM
| #3 |
| Newbie Join Date: Dec 2007 Location: in the middle of Germany
Posts: 29
|
Hi, what Wheelsize will you fit ? greetings |
|
| |
|
07-03-2008, 05:00 PM
| #4 | |
| Pebble Pounder Join Date: Jul 2008 Location: Denver
Posts: 148
| Quote:
| |
|
| |
|
07-03-2008, 05:25 PM
| #5 |
| Quarry Creeper Join Date: Aug 2006 Location: Baumholder
Posts: 477
|
Looks good so far!!!
|
|
| |
|
07-08-2008, 11:03 PM
| #6 |
| Quarry Creeper Join Date: Nov 2007 Location: southender
Posts: 239
|
did you make or find the upper link for the axle's?
|
|
| |
|
07-09-2008, 09:47 AM
| #7 |
| Rock Crawler Join Date: Aug 2007 Location: Atlanta
Posts: 615
|
What did you use to cut the chassis plates?
|
|
| |
|
07-09-2008, 12:49 PM
| #8 |
| Newbie Join Date: May 2008 Location: NAMPA
Posts: 18
|
You Definantly Wont Be Disapointed With The Flat Irons. I Have Them On My Ax10 And I Love Them!!!
|
|
| |
|
07-18-2008, 06:45 PM
| #9 |
| Pebble Pounder Join Date: Jul 2008 Location: Denver
Posts: 148
|
For the chassis I clamped and bolted both sides together and transferred the dimensions from the pattern I drew on graph paper, then it was just a matter of cutting it out using a jigsaw with a metal blade. Very crude, I know, I wanted to use a bandsaw for this but couldnt find the right blade for it. After cutting it out I smoothed the corners and cut edges with a grinder and a wire wheel. I used 3" wide by 36" long aluminum stock I ordered from ebay, cut two lengths of about 10" long for each half. For the upper links, and for the joining members for the chassis, I used 1/4" aluminum tubing that I also ordered off of ebay, just cut all the pieces for the chassis to the approximate length and then used the grinder again to get them as close to the same length as possible. The links were constructed using the "cheap suspension links" thread on this website in the tech area. Just cut to length and used 6-32 all -thread and some nuts to keep everything centered. I just need shocks, tires and a body to top it all off and I'll be crawling soon! More pics to follow once its complete. Thanks for the props!
|
|
| |
|
07-20-2008, 10:24 AM
| #10 |
| Newbie Join Date: Jun 2008 Location: Sweden
Posts: 31
|
Awsome job keep it up |
|
| |
|
08-12-2008, 05:30 PM
| #11 |
| Pebble Pounder Join Date: Jul 2008 Location: Denver
Posts: 148
|
Progress! Got the tires and body recently, first lexan body I've painted in years, probably my best work so far, though I dont think I'll be winning any concours events any time soon. Lots of playing with shock angles and mounting positions to get the ride height and spring rates I wanted, still need the running gear so I hope that will help me figure everytig else out. Let me know what y'all think! 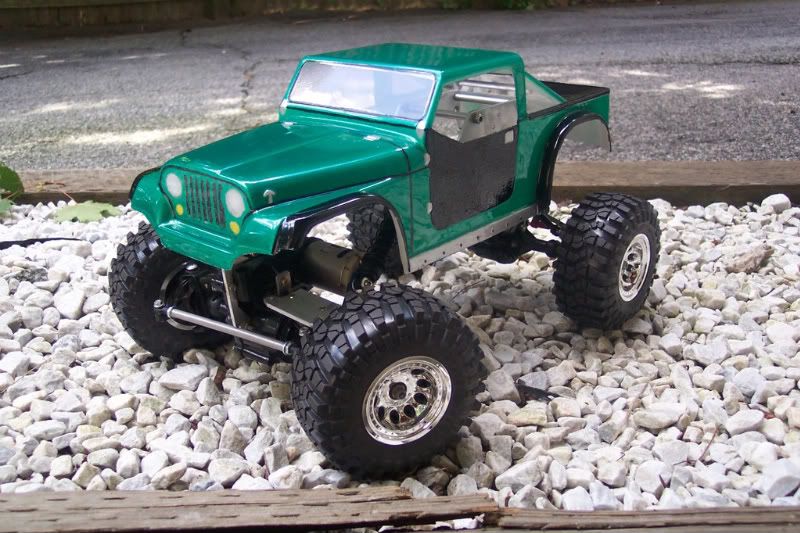 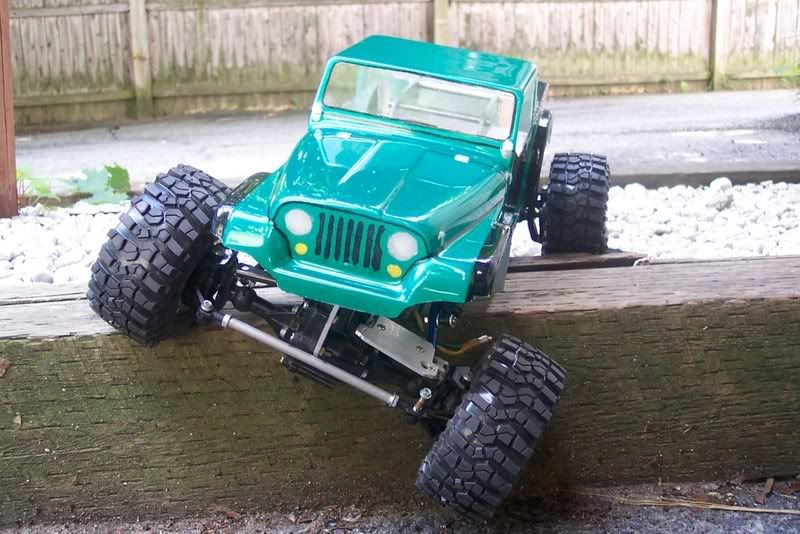 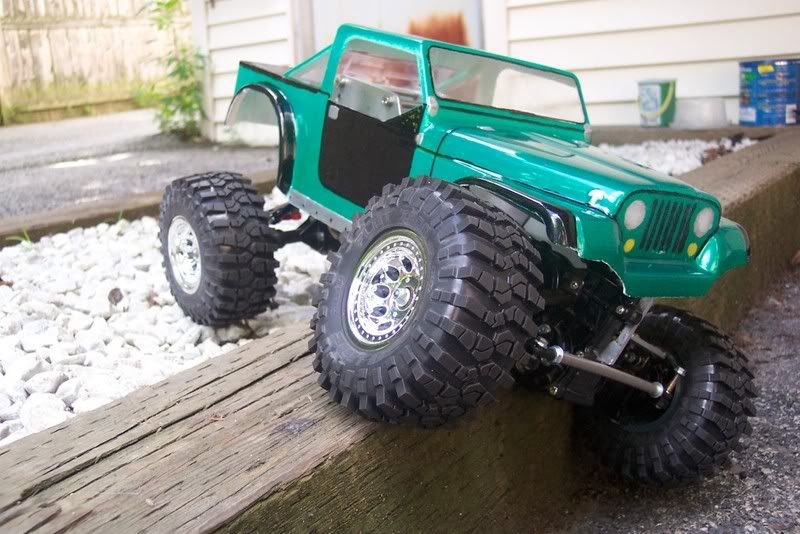 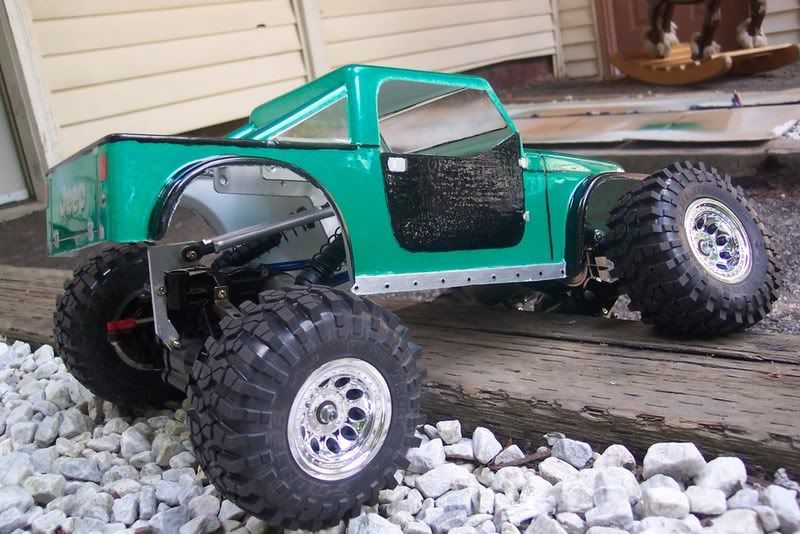 |
|
| |
|
08-13-2008, 02:47 PM
| #12 |
| Newbie Join Date: Aug 2008 Location: dexter
Posts: 39
|
what did you use to hold the side plates together and keep them together wher can i get them.
|
|
| |
|
08-13-2008, 03:29 PM
| #13 |
| Pebble Pounder Join Date: Jul 2008 Location: Denver
Posts: 148
|
I used 1/4" aluminum tubing. .035" wall thickness. I cut them down to the same lengths and tapped them with a 5mmx.80 tap, the bolts are water bottle cage bolts from a bicycle, nice chrome finish on them, plus I have an abundance of them floating around my work.
|
|
| |
|
08-18-2008, 04:27 PM
| #14 |
| Newbie Join Date: Aug 2008 Location: dexter
Posts: 39
|
cuold you show me how to put links on a chassis and what to use to keep them in place
|
|
| |
|
09-16-2008, 02:13 AM
| #15 |
| Pebble Pounder Join Date: Jun 2008 Location: Federal Way, WA
Posts: 139
|
Glad I am not the only one who cuts out his aluminum frames with a jig saw! Gotta use what you got. So, is it running yet? Be sure to post some video! |
|
| |
|
10-07-2008, 02:52 PM
| #16 |
| Pebble Pounder Join Date: Jul 2008 Location: Denver
Posts: 148
|
A little more work has been done, finally. I have been too busy to get much done lately, but found some free time. I got the steering servo mounted, I dont really like the servo horn I am using currently and will probably switch it out soon, suggestions? I also found a nice plastic case in which I will house the receiver and ESC, which will be sealed from the elements and hopefully be water tight. I have shifted my main purpose for this vehicle to be just a runner/basher. I wanted to go scale with the body, but I've decided to just build another rig that will be a true scaler after I finish this one. All I need now is a speed control and some batteries and it will be running. In the future I will probably swap out the motors and get adjustable mounts, but thats another story.... 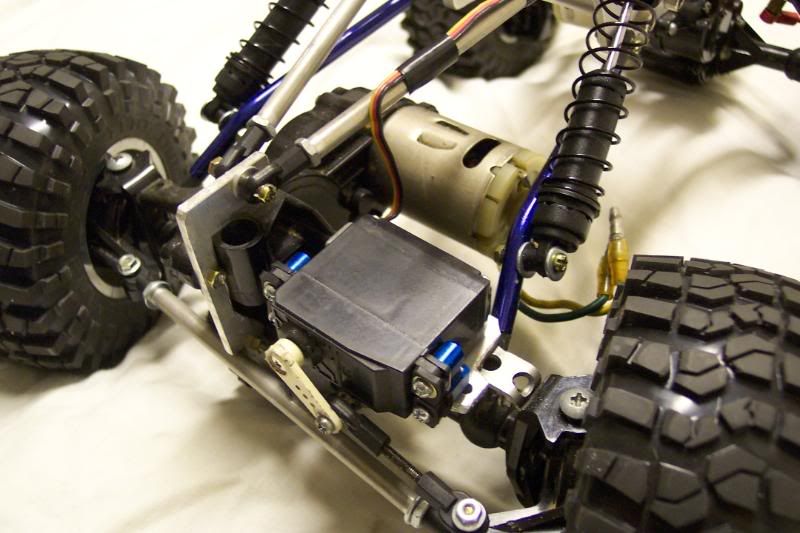 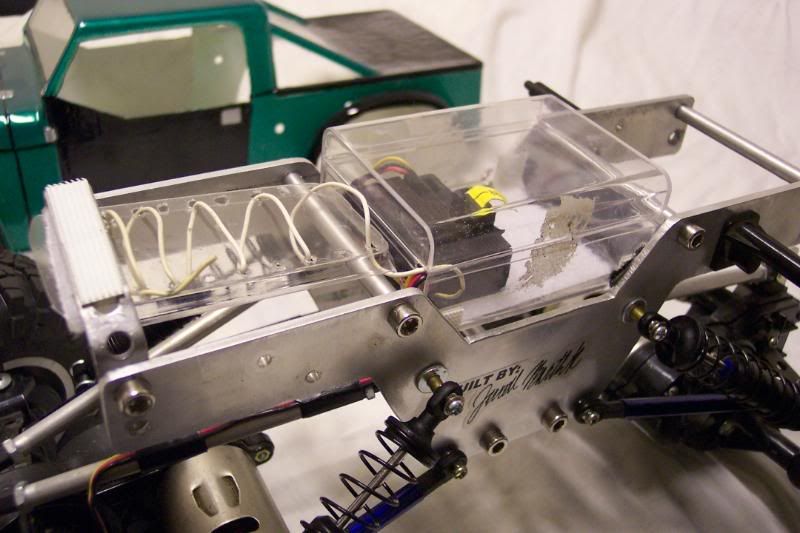 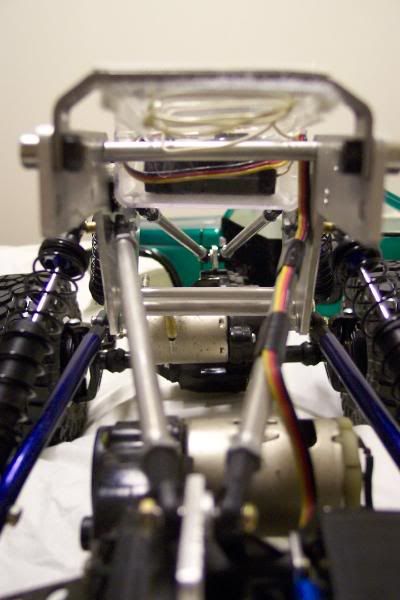 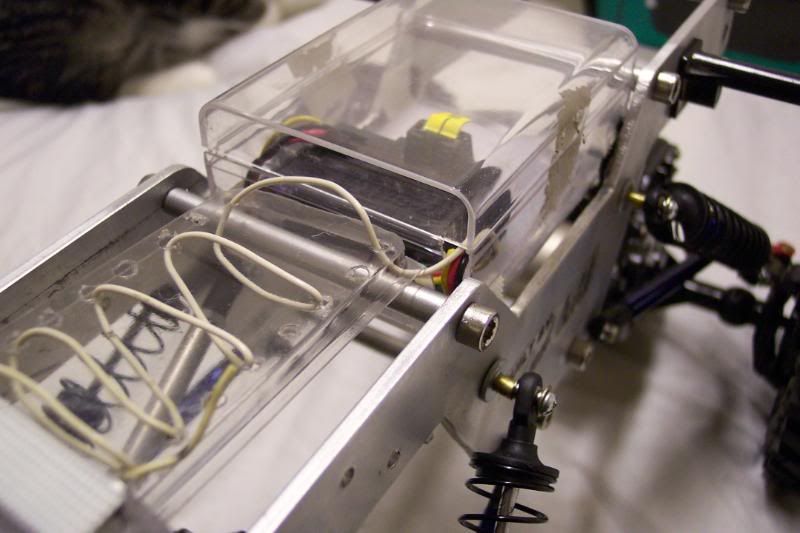 |
|
| |
|
10-07-2008, 03:06 PM
| #17 |
| Newbie Join Date: Mar 2006 Location: Idaho Falls
Posts: 14
|
Nice work.  |
|
| |
|
10-08-2008, 09:37 AM
| #18 |
| Newbie Join Date: Sep 2008 Location: Guam
Posts: 8
| Cool setup keep it up dud!!!
|
|
| |
|
10-08-2008, 07:04 PM
| #19 |
| Quarry Creeper Join Date: Oct 2006 Location: where fear and common sense don't get in the way
Posts: 451
|
Great job on the scratch built chassis, but I would be looking for a bit thicker upper link mount. The one your using will twist in no time at all.
|
|
| |
|
10-09-2008, 06:39 AM
| #20 |
| I wanna be Dave  Join Date: Oct 2006 Location: Martinsburg WV
Posts: 2,781
|
Looks good so far JB. Nice chassis for a first try. You'll love the Flatirons. One of the best combinations of scale looks and actual real-world performance. Maybe the best 2.2 tire I've tried personally. One potential problem may be your lower shock mounts. I've drilled through the links like that myself (either to do a mount like you've done or to mount TLT brackets to the links) and they will eventually fail there. It won't happen immediately (unless you flip it down a hill or something) but eventually the link will fail where the hole was drilled through it. Where did you score those cool "built by:" stickers? Did you have them made somewhere? That's a nice touch, especially for a hand-fabricated chassis... |
|
| |
|
| |


 Linear Mode


