| |
| |||||||
 |
| | LinkBack | Thread Tools | Display Modes |
 01-31-2023, 08:06 AM
| #1 |
| Pebble Pounder Join Date: Jul 2021 Location: Portland
Posts: 108
|
These Traxx have seen three years' worth of mud and snow. You can hear them squeak, and a lot of friction is happening. Now's the time to rebuild and recondition the parts. 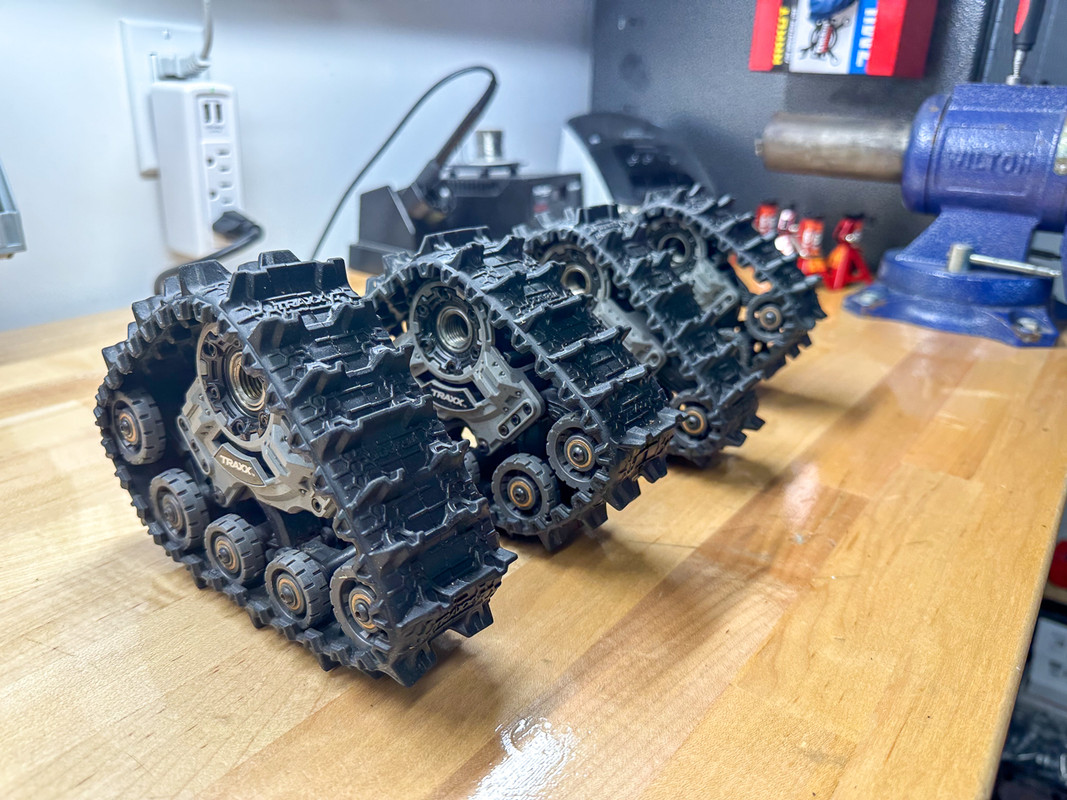 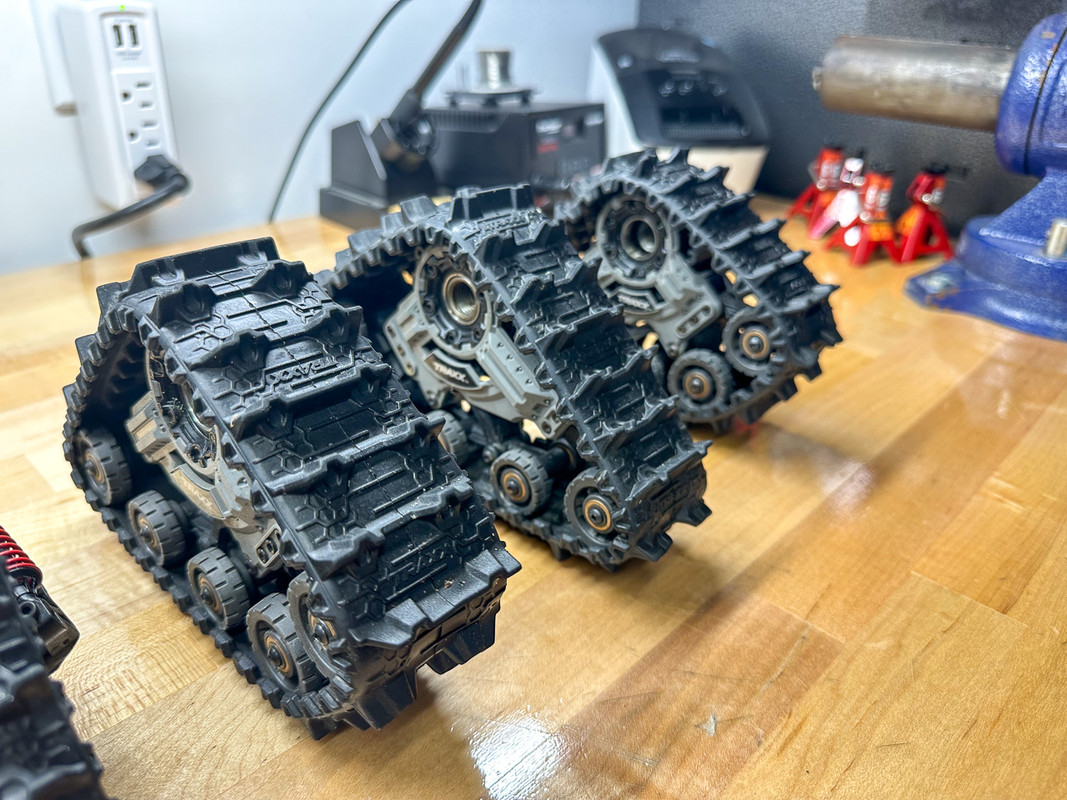 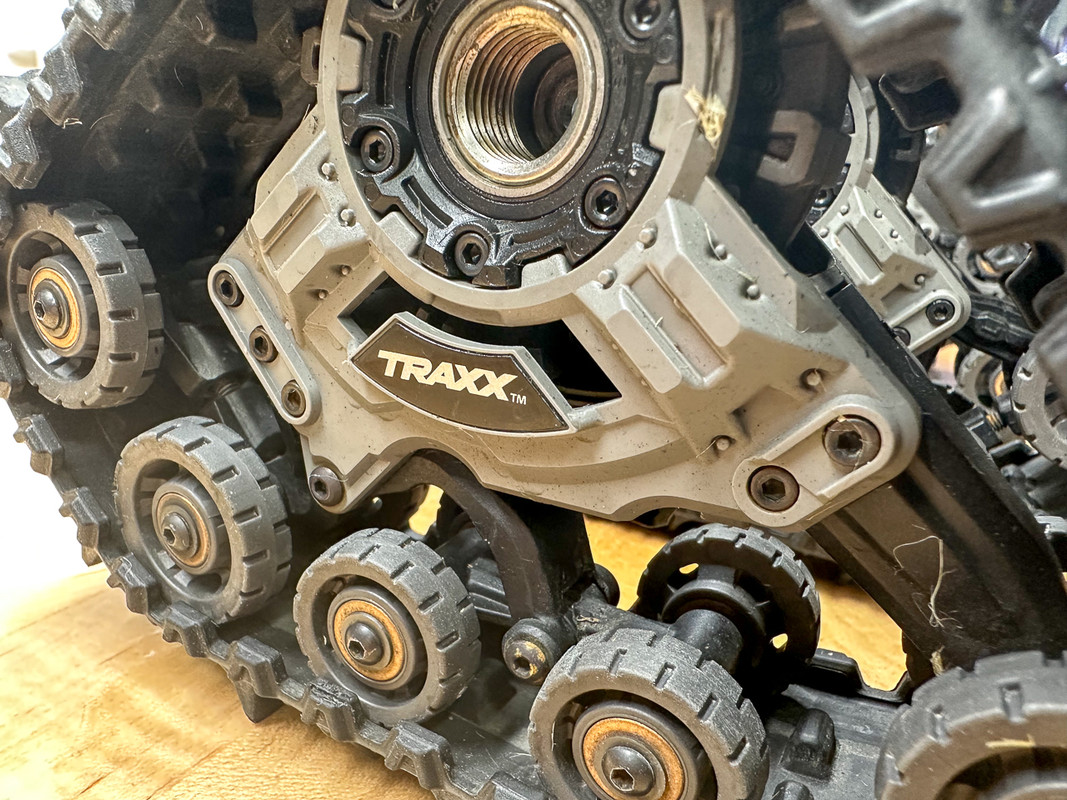 Here's how I did that: The first task is to disassemble (obviously). This is easier than it appears. Traxxas thought through doing servicing at home.  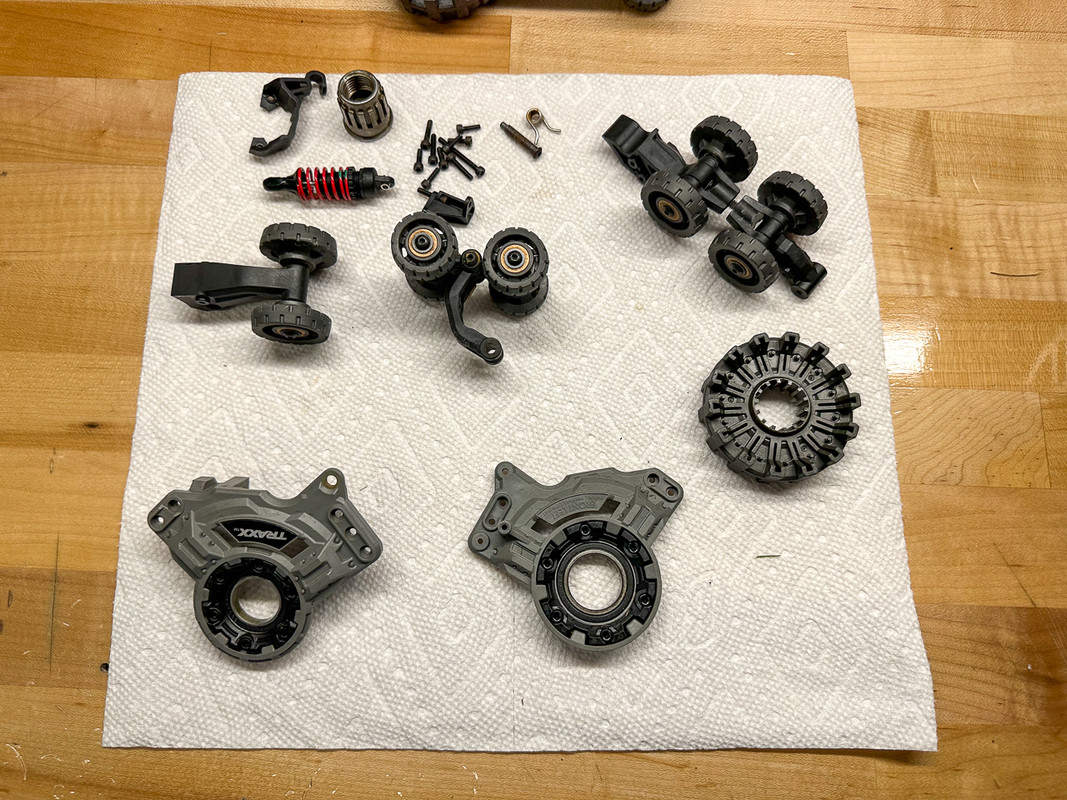 Here it is all laid out:  Removing the bearings from the wheels is easy using a small punch or one of the hinge pins you removed earlier. 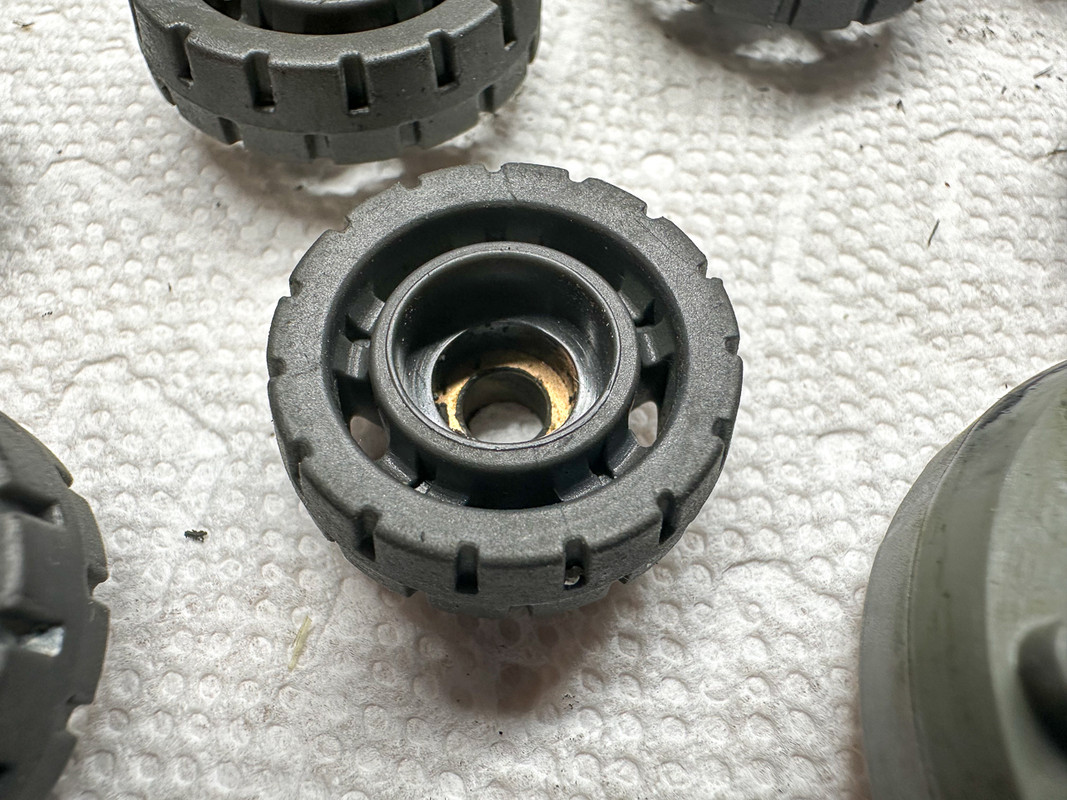 While these are wear items, I imagine they will last a long time after cleaning. 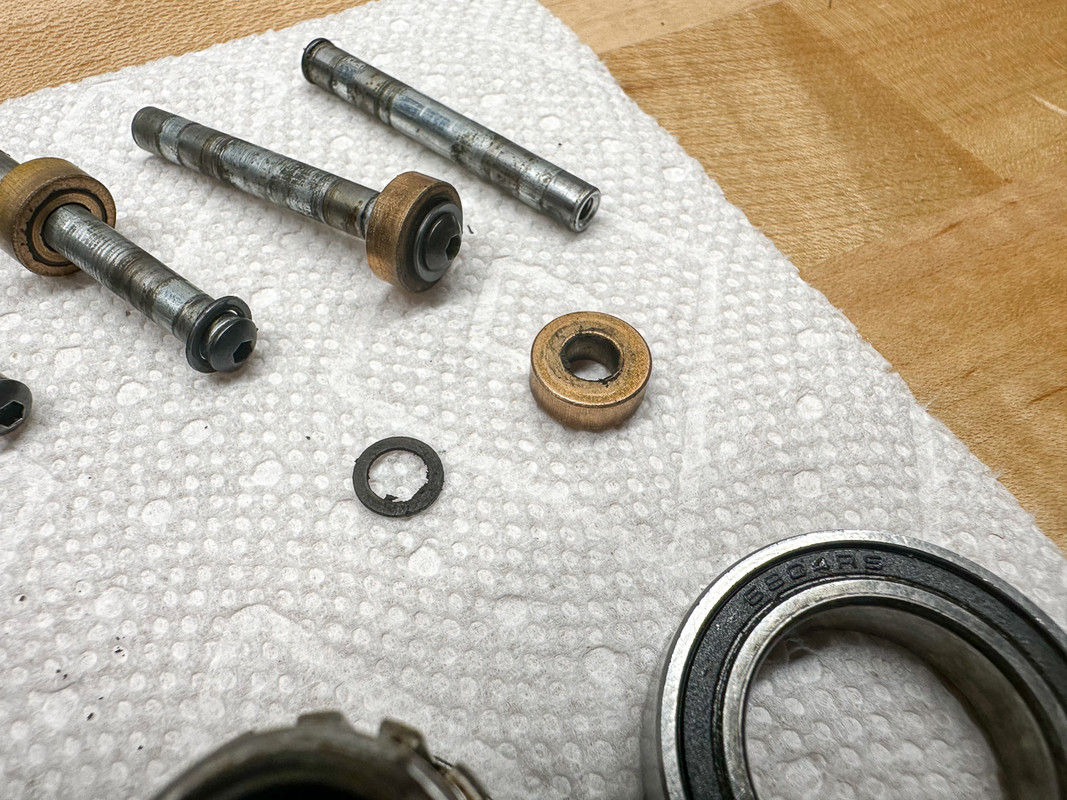 These axle pins show wear, but it's not significant enough to warrant replacing them. 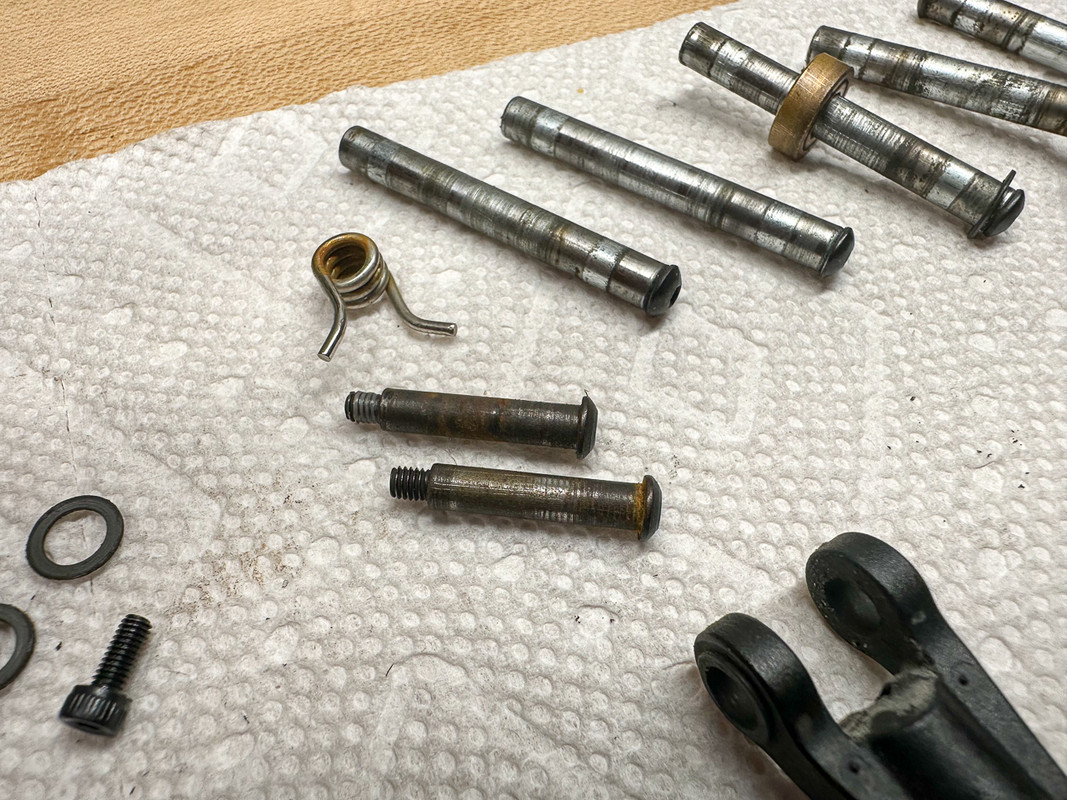 Let's clean these parts now. I use a mason jar, a mix of water, and a degreaser in the ultrasonic. I cleaned the plastics with a soft brush and a mild degreaser.  I use a mason jar because you separate the water in the ultrasonic cleaner from the parts to make cleanup easier. 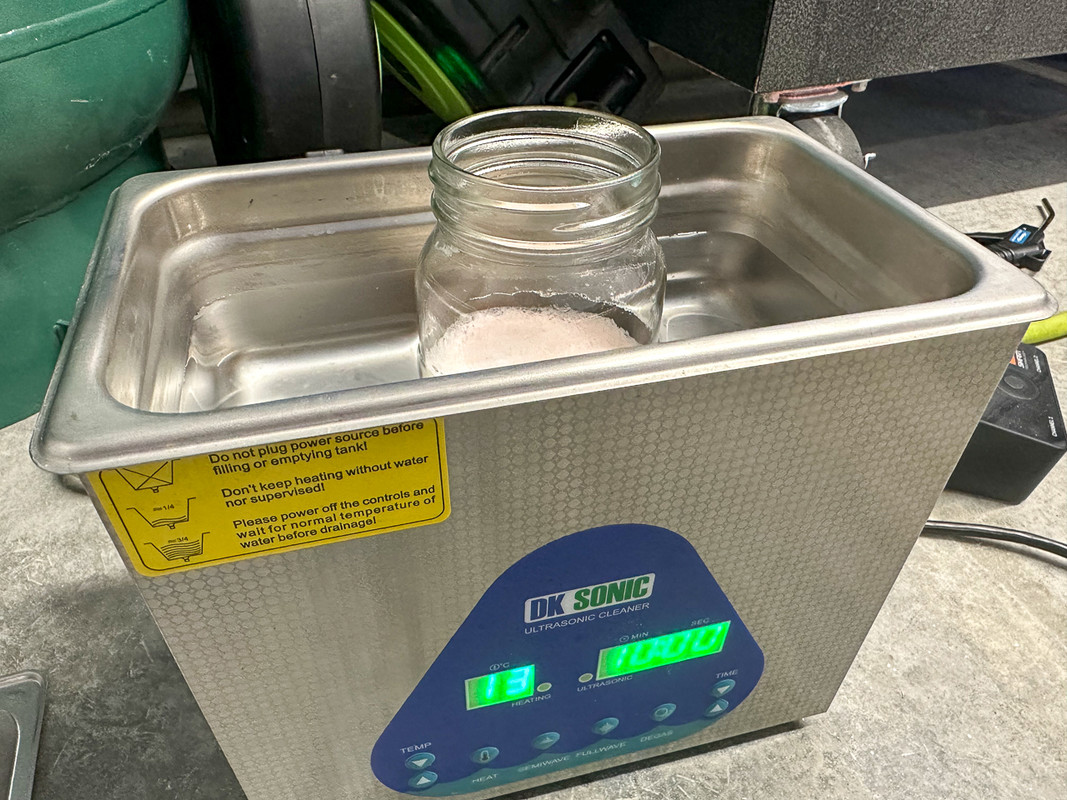 This is the result after just 10 minutes: 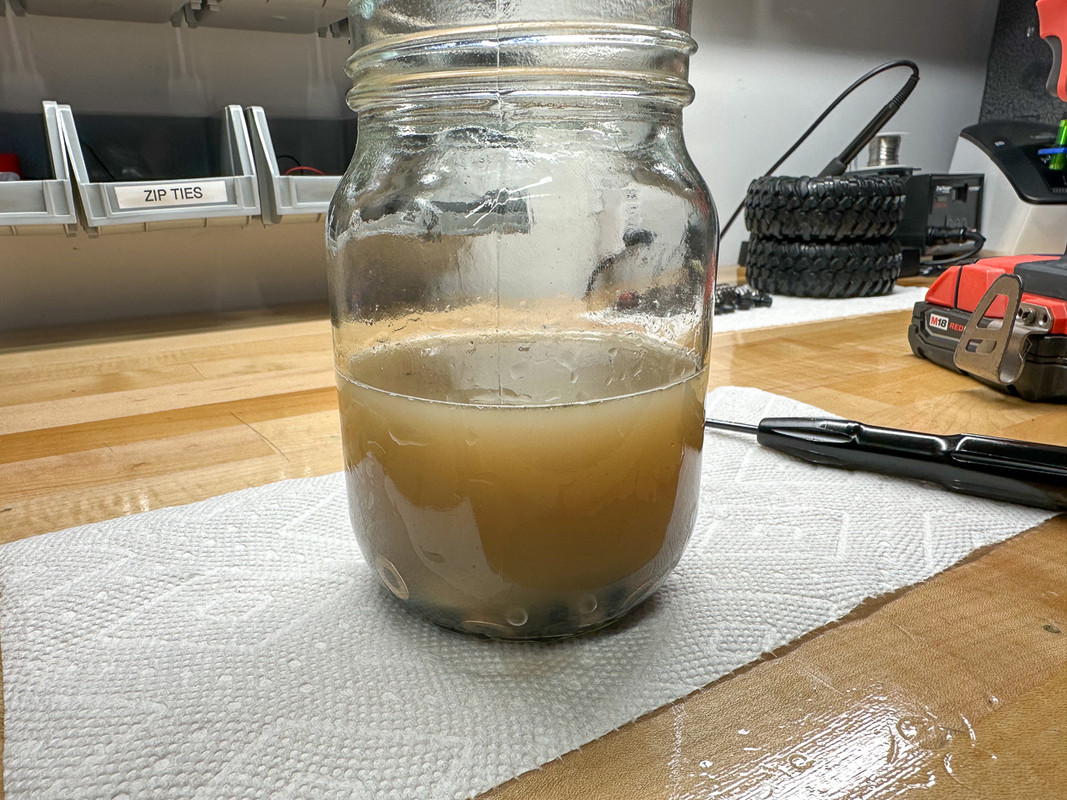 The parts are super clean now: 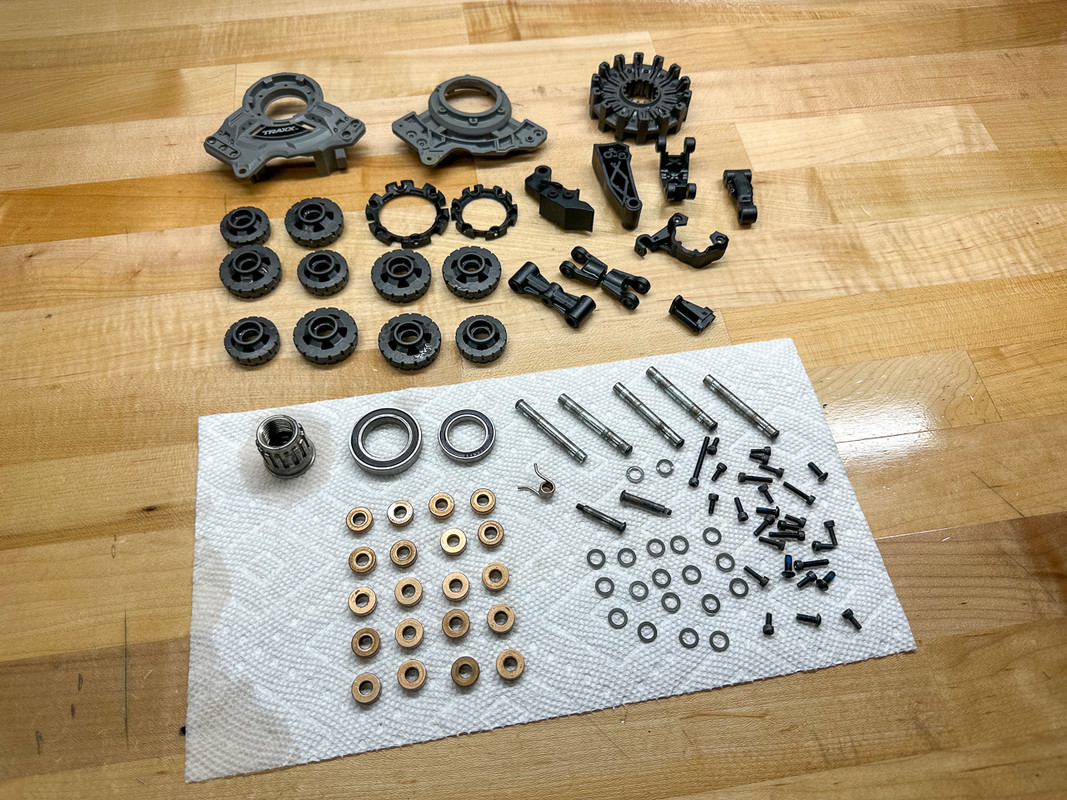 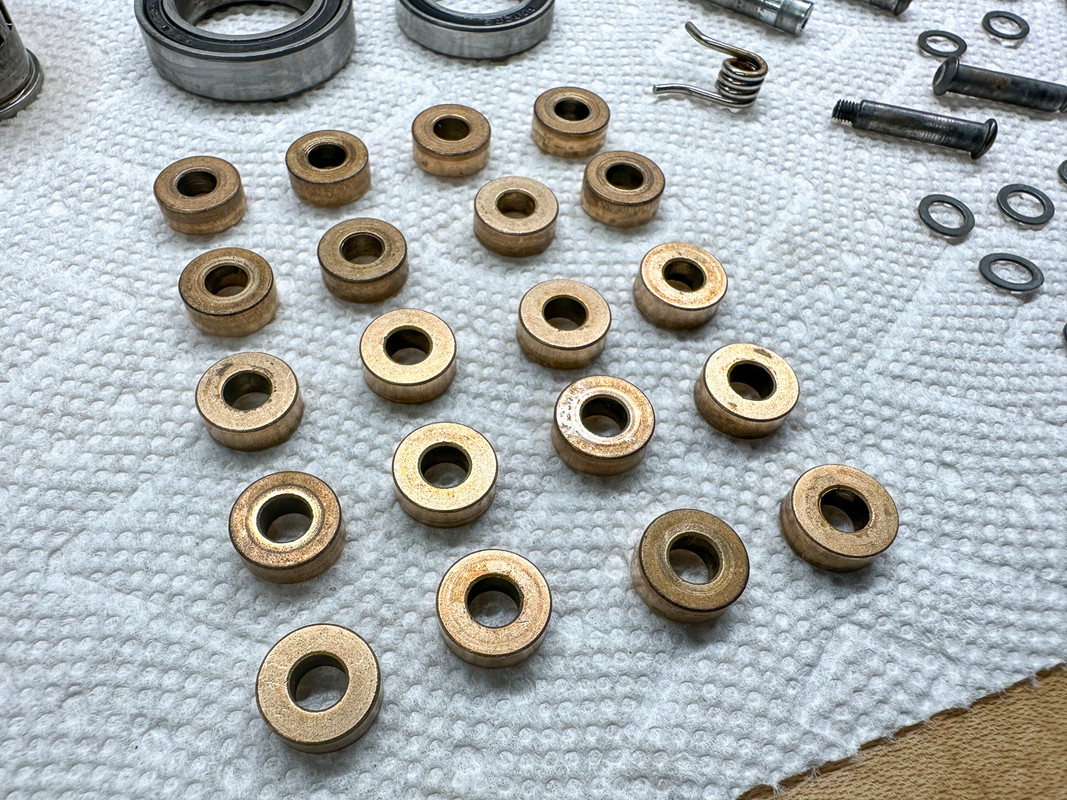 These axles could use a polish to remove any burrs and uneven wear: 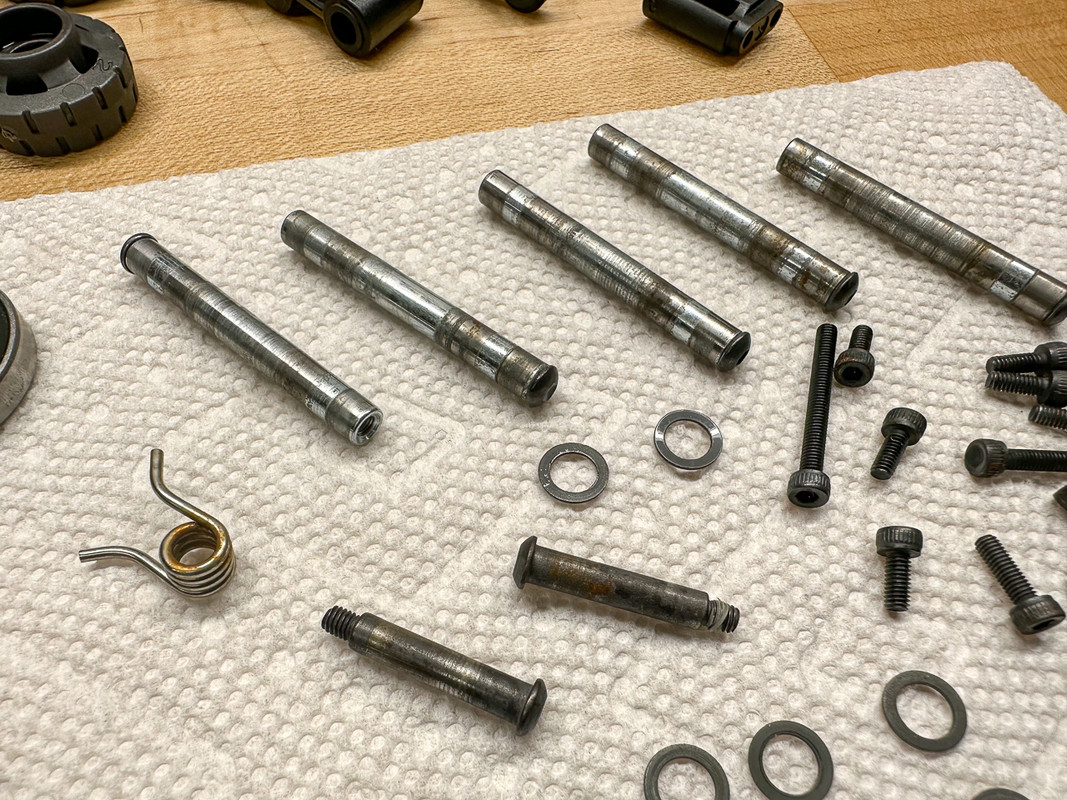 The result after a few passes with 400-grit sandpaper and then metal polish: 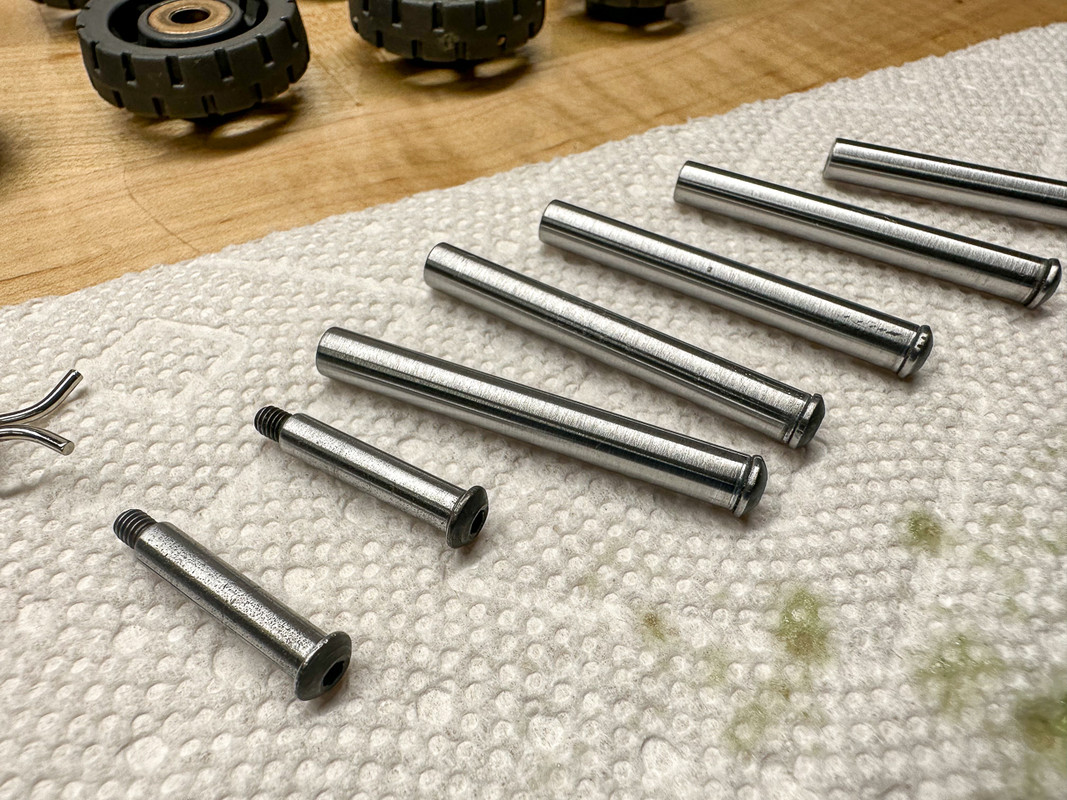 I applied a corrosion inhibitor to the black oxide hardware. I find this works well on parts that will see damp environments. 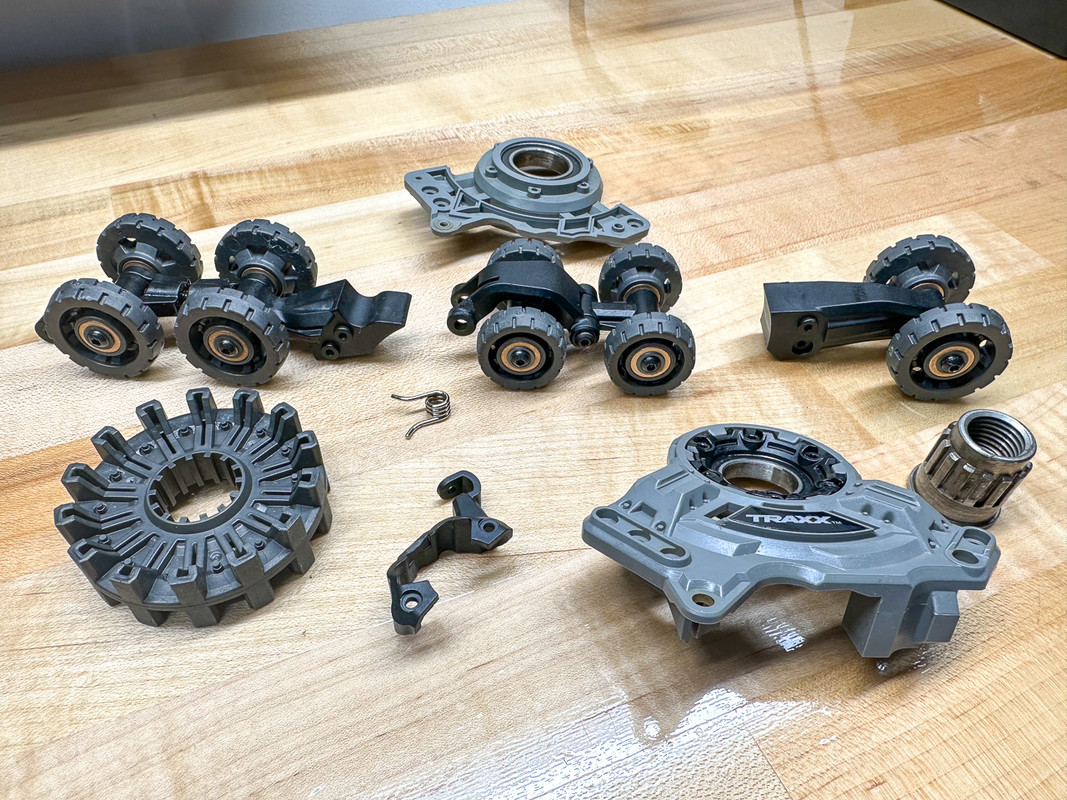 Now that the "modules" are assembled, it's time to make the unit entirely. 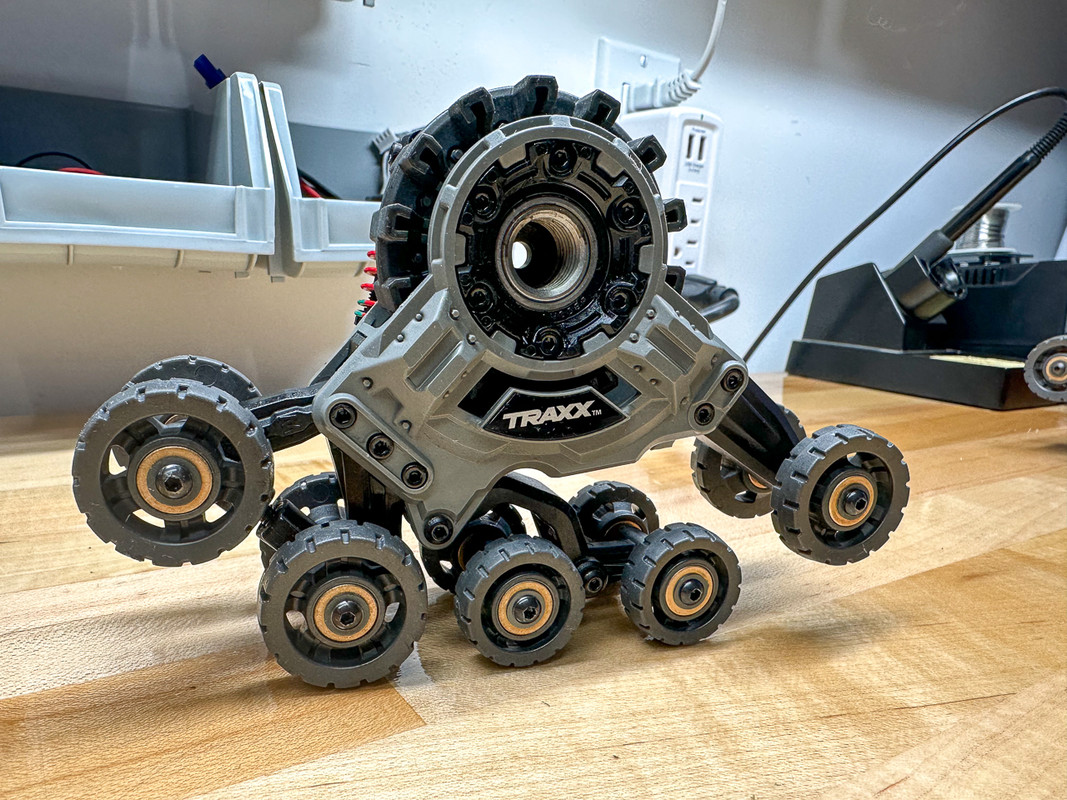 I applied the same vinyl/rubber protectant to all plastics everywhere. This helps lubricate and repels water and dirt. 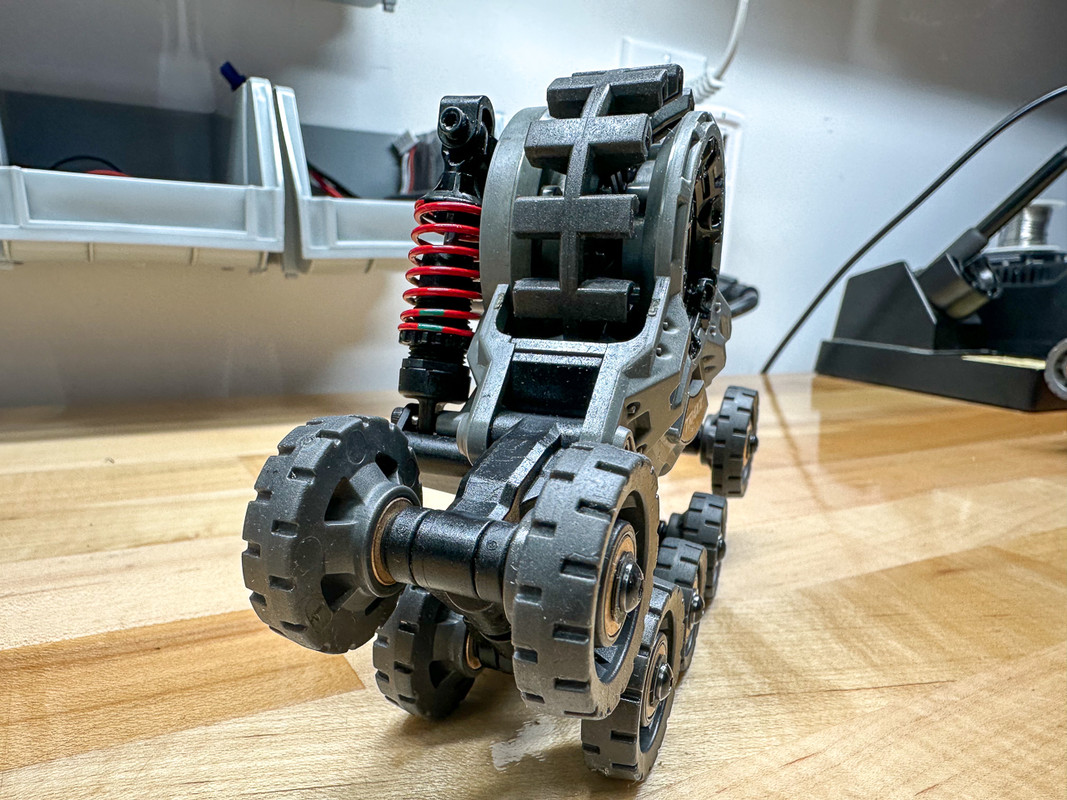 While these don't look much different, all the bearings are smooth and friction-free. The difference is dramatic. They are silent, as well. 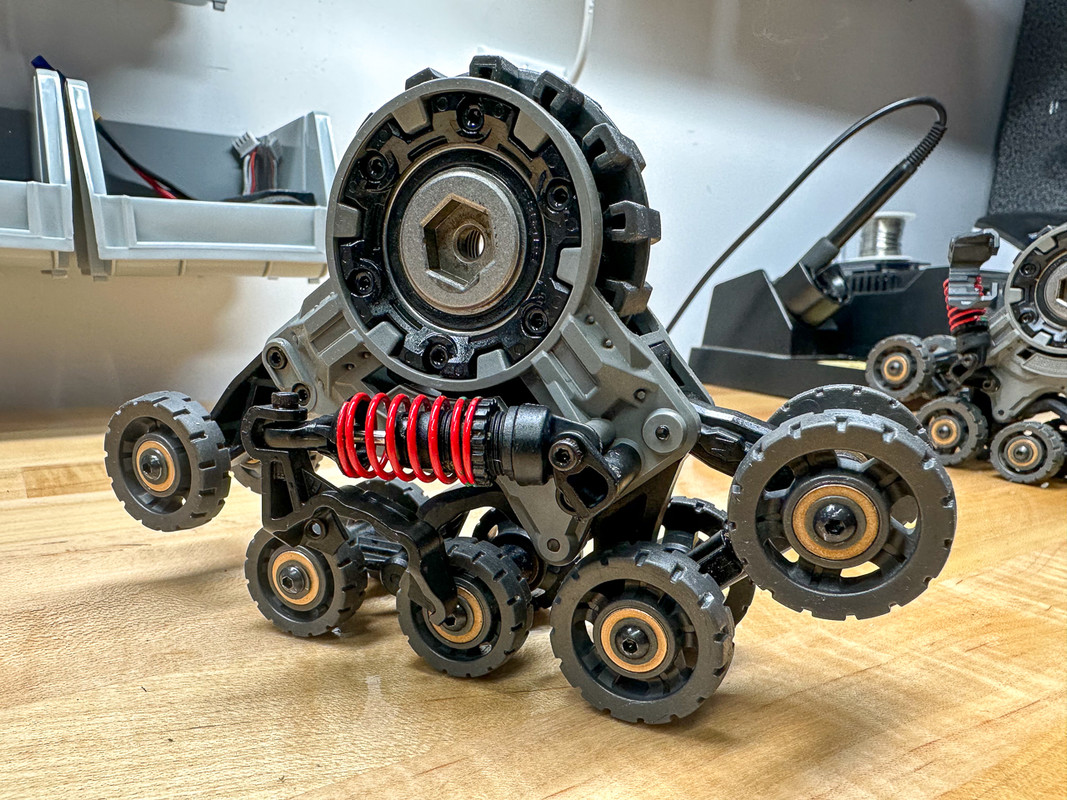 Here is the fully assembled unit with a protectant applied: 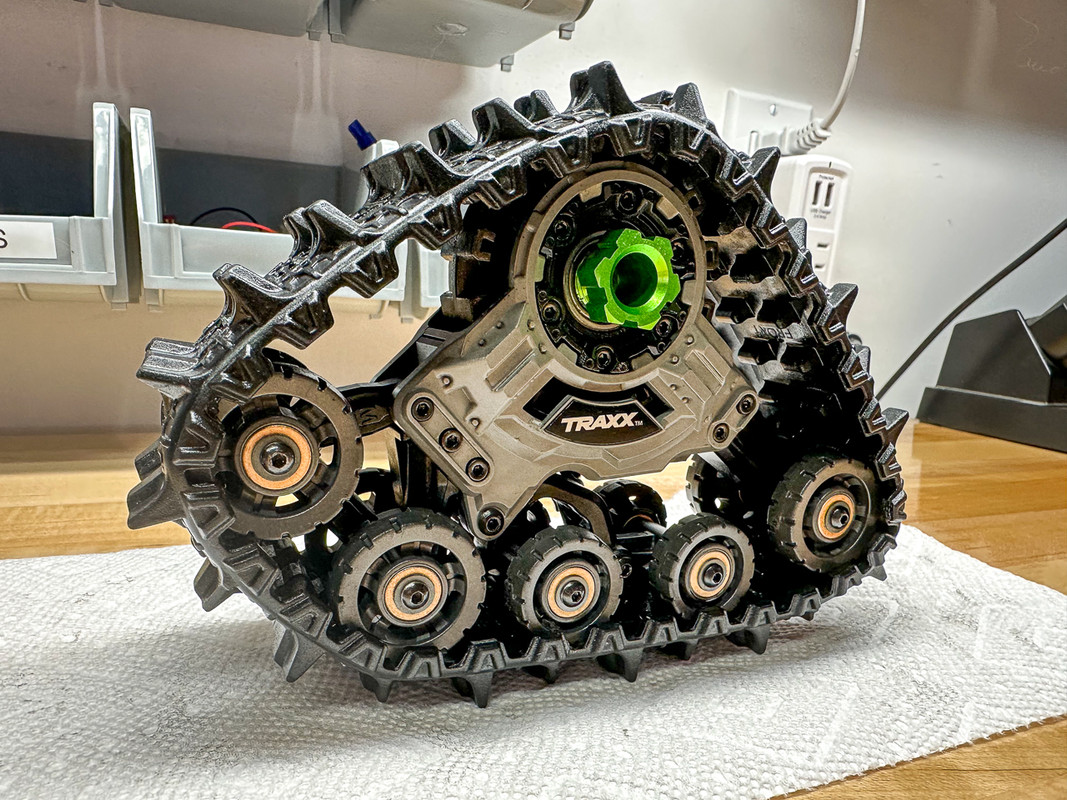 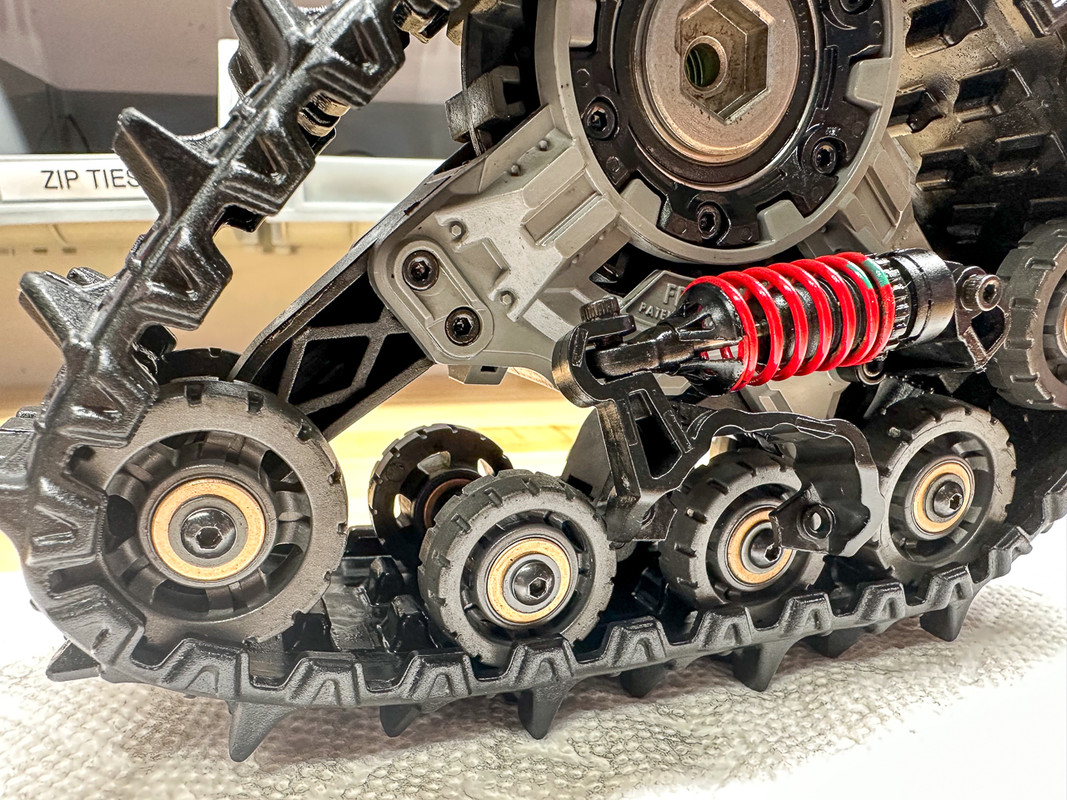 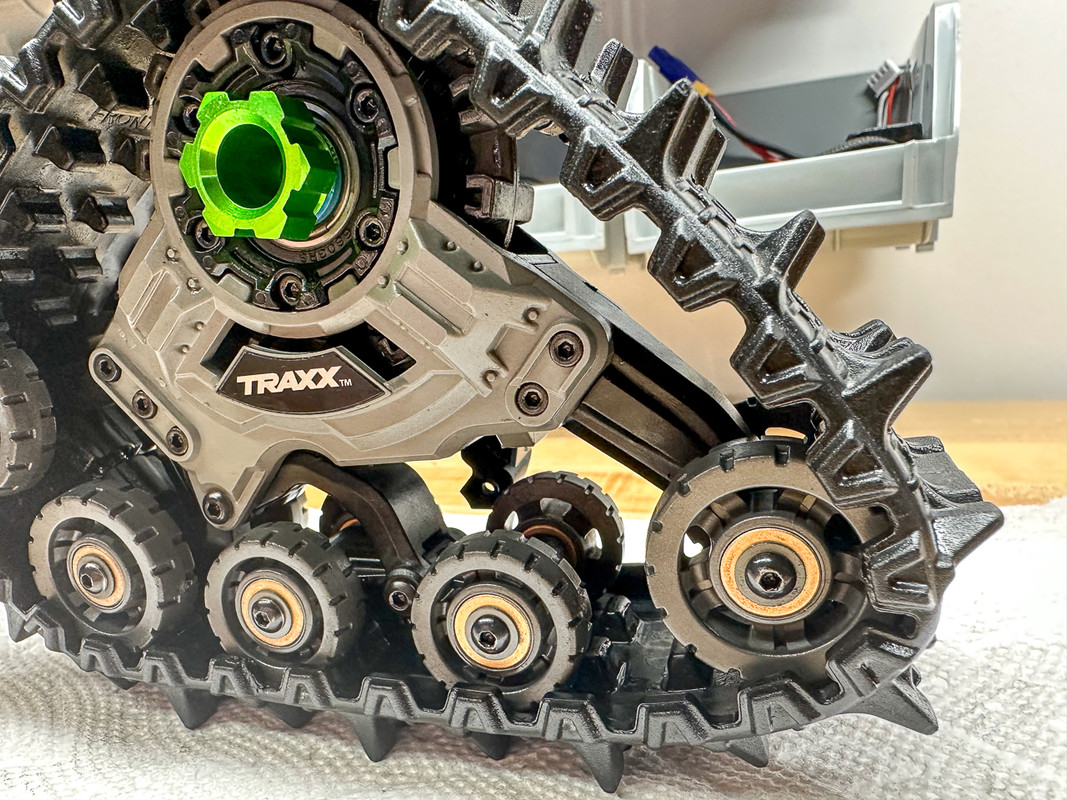 I used the same procedure for the other three assemblies. The result is a quiet, more flexible assembly ready to see more use in the mud and snow. |

|  |
| Sponsored Links | |
| | |
|
01-31-2023, 08:39 AM
| #2 |
| Quarry Creeper Join Date: Nov 2020 Location: Greece
Posts: 399
|
I like how thoroughly you describe the procedure. I don't know how much action these have seen in those 3 years, but they still looked in good condition prior to cleaning.
|
|
| |
|
01-31-2023, 02:34 PM
| #3 | |
| Pebble Pounder Join Date: Jul 2021 Location: Portland
Posts: 108
| Quote:
 They looked like this before I did a cursory cleaning with a hose and a brush. I did leave them in this state for a while when the weather got cold. That dried everything out. They see more snow use than mud overall.  They looked good, but the operation was sticky, for lack of a better term. They are smooth now and nearly friction-free. | |
|
| |
|
02-13-2023, 03:33 PM
| #4 |
| Newbie  Join Date: Feb 2022 Location: Madison
Posts: 9
|
"I applied the same vinyl/rubber protectant to all plastics everywhere. This helps lubricate and repels water and dirt." Just be sure you keep the lubrication on the drive sprocket to a minimum. I lubed my traxx main bearings with a spray lubricant just the other day and I got some overspray on the drive sprockets. Now they're slipping like crazy with just a tiny bit of ice accumulation on the idlers presenting enough resistance that the lubed drive sprocket can slip on the track. But thank you very much for this write up and visual guide. I was dreading taking the traxx apart at the end of the season, but you didn't make it look tooooooo bad, haha. Last edited by Rontalvos; 02-13-2023 at 03:37 PM. |
|
| |
|
02-13-2023, 04:16 PM
| #5 |
| Slow is the new Fast  Join Date: Nov 2013 Location: Winterpeg
Posts: 2,906
|
Nice write up. Neat to see it. There isn't a lot of traxx chat on the board. I will have to tear down and check out the wear on my units at some point. I have only ever used mine in clean snow to they still look new after several winters. I am always sure to put a drop of lube in each bushing after each use.
|
|
| |
|
02-14-2023, 08:05 AM
| #6 | |
| Pebble Pounder Join Date: Jul 2021 Location: Portland
Posts: 108
| Quote:
| |
|
| |
|
02-14-2023, 08:08 AM
| #7 | |
| Pebble Pounder Join Date: Jul 2021 Location: Portland
Posts: 108
| Quote:
Traxxas did a bang-up job making these serviceable. If you can rebuild a shock or build a kit, you can easily tackle this. Mine looked new on the surface, but the "action" was very rough and tight. Now, they are like new. | |
|
| |
|
 Traxx Recondition with Pics - Similar Threads
 | ||||
| Thread | Thread Starter | Forum | Replies | Last Post |
| Gearing with Traxx | c03morrison | Redcat Crawlers | 2 | 02-15-2022 01:38 PM |
| trx4 traxx? | damnitbubbles | Tires and Wheels | 10 | 02-01-2020 03:52 PM |
| Yeti Traxx! | little squirt | Axial Yeti | 3 | 07-17-2015 10:14 PM |
| Thunder Traxx | THE CRAWLER KING | Non Crawler RC's | 22 | 11-25-2009 03:51 PM |
| gaint traxx $45 | blazed | Chit Chat | 0 | 04-07-2006 11:49 PM |
| |


 Linear Mode


