| |
 11-13-2015, 01:57 PM
| #181 |
| RCC Addict Join Date: Sep 2015 Location: Southern Maine
Posts: 1,024
|
Looks good. Whatcha doing with your old HR covers.... Ben |

|  |
| Sponsored Links | |
| | |
|
11-13-2015, 02:32 PM
| #182 | ||
| I wanna be Dave  Join Date: Jan 2006 Location: Corruptifornia
Posts: 12,107
| Quote:
 Quote:
| ||
|
| |
|
11-13-2015, 02:58 PM
| #183 |
| Quarry Creeper Join Date: Oct 2014 Location: Milpitas
Posts: 258
|
I had been trying to mount those exact tires and wheels but the darn things keep popping off the bead right as I get them together really frustrating so I gave up.
|
|
| |
|
11-13-2015, 03:06 PM
| #184 |
| I wanna be Dave Join Date: Jan 2006 Location: Corruptifornia
Posts: 12,107
|
RC4WD 1.9 inner wheel clamp rings for Pro-Line tires helps make mounting easier imo and they won't cut the thicker tire bead this way. Edit: Originally used VP inner rings, but it's better to use RC4WD Pro-Line specific inner rings (blue anodized). I bought couple sets since and they work well, will swap these when I get time. 1.9 PROLINE TIRE COMPATIBLE INTERNAL BEADLOCK RINGS Part Number:Z-S0846 https://store.rc4wd.com/19-Proline-T...gs_p_2878.html Last edited by Natedog; 12-12-2019 at 04:00 PM. |
|
| |
|
11-13-2015, 03:28 PM
| #185 |
| Rock Crawler Join Date: Feb 2007 Location: Simi Vly
Posts: 818
|
Rig is looking great man. Good job.
|
|
| |
|
11-13-2015, 05:23 PM
| #186 |
| Quarry Creeper  Join Date: Mar 2015 Location: Castle Rock, Colorado
Posts: 377
|
Natedog, thanks for the detailed pics and description of the new SSD diff covers. I really appreciate it when someone takes the time to give the rest of us a "close up" look at new gear so we can make an informed decision. Those covers are on my list, but I am in the middle of a New Bright JK on GCM Cross Canyon chassis build, and it is reeking havoc with my budget! Last edited by Sammy J.; 11-13-2015 at 05:25 PM. |
|
| |
|
11-13-2015, 05:47 PM
| #187 | |
| Quarry Creeper Join Date: Oct 2014 Location: Milpitas
Posts: 258
| Quote:
I was doing the 3 screw thing - maybe try simple green as a last result but I'd rather just sell them while in good condition than spend more $ on them. I've taken to buying gearhead wheels now. They are pricy but easy to put together so worth it. Last edited by Habanero; 11-13-2015 at 05:49 PM. | |
|
| |
|
11-13-2015, 06:51 PM
| #188 |
| Quarry Creeper Join Date: Feb 2009 Location: Houston
Posts: 411
|
A method that helps me is placing the wheel on a pedistal, like another wheel, while screwing everything down. This lets the tire push out evenly. If you are trying to screw it all down on a flat surface, the tire tries harder to push out of the bead that's on top.
|
|
| |
|
11-13-2015, 08:51 PM
| #189 | |
| Quarry Creeper Join Date: Oct 2014 Location: Milpitas
Posts: 258
| Quote:
| |
|
| |
|
11-15-2015, 11:46 PM
| #190 | |||||
| I wanna be Dave Join Date: Jan 2006 Location: Corruptifornia
Posts: 12,107
| Quote:
Quote:
Quote:
They are great wheels once you get them assembled.Quote:
Quote:
Last edited by Natedog; 12-12-2019 at 04:01 PM. | |||||
|
| |
|
11-18-2015, 01:09 AM
| #191 |
| I wanna be Dave Join Date: Jan 2006 Location: Corruptifornia
Posts: 12,107
|
I've been thinking about trimming more off the bottom of body to just below the grill and moving my front bumper back about 10mm by removing the spacers. Thinking if I do this the body can't flex as much in hard tumble and might tend to bend the frame and/or crack the body? What do you think? Here's how it sits now, looks like bumper mount screws are getting slightly bent upwards? 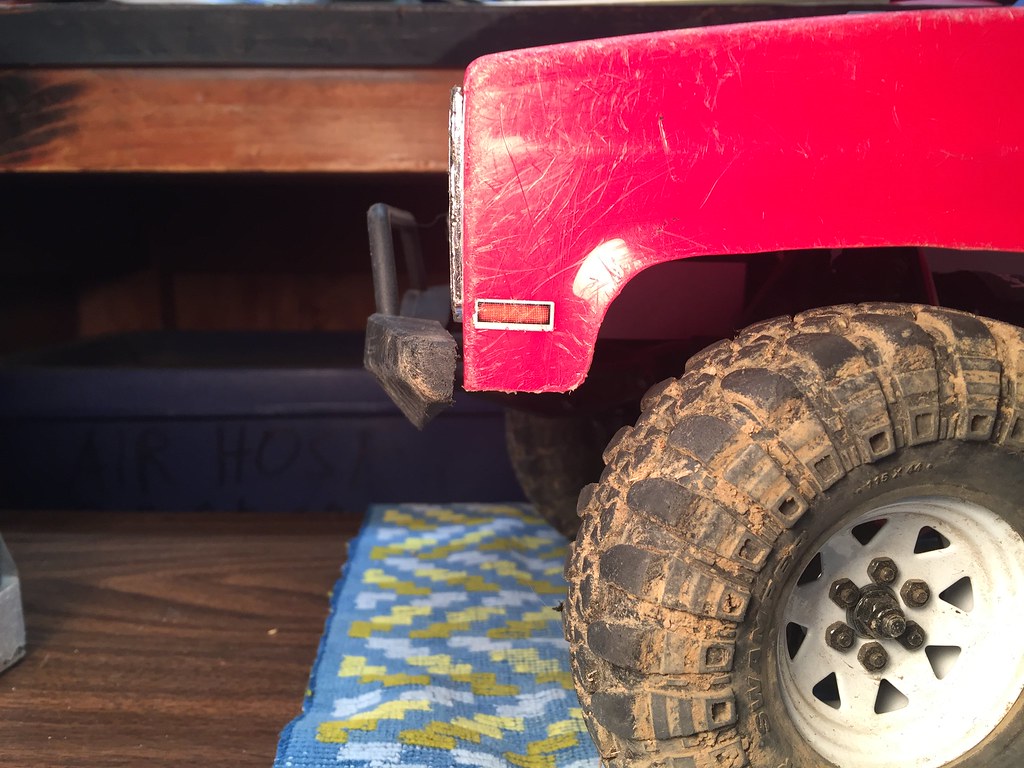 IMG_0690 IMG_0690 Last edited by Natedog; 05-30-2018 at 06:15 PM. |
|
| |
|
11-18-2015, 02:48 AM
| #192 |
| RCC Addict Join Date: Sep 2015 Location: Southern Maine
Posts: 1,024
|
I just tucked my front bumper in while doing the light install. I didn't take the spacers out completely though. Didn't like the look. I took the spacer I took out from the rear bumper which is thinner than the spacer on the front and swapped them out. My body was cracking there and the bottom of my fenders were kind of just flapping around anyway so it made the decision easy. I haven't wheeled it yet to see if the body can't flex as much but don't see it being much of a problem. Pardon my hands in the second picture, I'm a diesel mechanic not a grub lol.   |
|
| |
|
11-18-2015, 11:19 AM
| #193 |
| Rock Crawler Join Date: Dec 2008 Location: Fortuna Calif.
Posts: 997
|
I did do this mod, removed all the spacers from the front bumper, left the small one on the rear. It really sucked the bumpers in tight, I had to do some trimming on the body but I think it looks good. I hadnt thought about if it would cause any frame damage, hopefully not. Sorry no photos |
|
| |
|
11-20-2015, 11:52 PM
| #194 | ||
| I wanna be Dave Join Date: Jan 2006 Location: Corruptifornia
Posts: 12,107
| Quote:
Quote:
Pic of my swaybar end "machining" setup that will ensure that both flats at the bar ends are in the same plane. I tried this by careful hand use of Dremel and it resulted in the end links bolting on at slightly different angles, which resulted in un-equal flex at the rear axle. Plus the flats were not uniformally flat which can lead to endlink arm setscrews loosening. I tested this last night, it works very well even though drillpress is set at slow speed (steel), using the finer grit Dremel sanding drum and this slower speed creates very smooth and flat end link mount "flats". I will set the travel in both directions of the machinists vice by bolting a large bolt through the drillpress table as a stop. After careful measuring 5mm is the travel needed starting from bar end and moving in towards the center, this results in flats 4mm long (same as Axial swaybar end flats) with about 1mm of slightly curved transition. 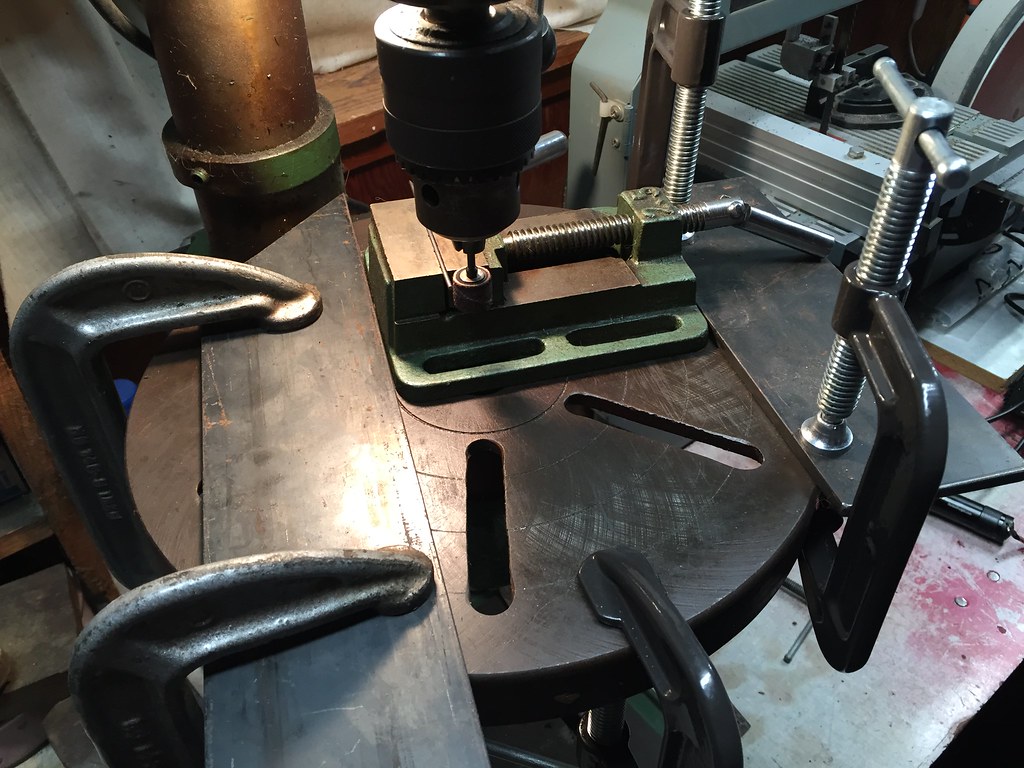 IMG_0691 IMG_0691 Last edited by Natedog; 05-30-2018 at 06:15 PM. | ||
|
| |
|
11-24-2015, 02:49 PM
| #195 |
| I wanna be Dave Join Date: Jan 2006 Location: Corruptifornia
Posts: 12,107
|
Got out for a nice crawl session Saturday morning at Folsom Lake, first at Doton's Point and then at 5%, both are great crawl spots with tons of trail and granite slab for days! We crawled and hiked a lot. There were about 50 - 60 peeps there, nice to meet and put faces wtih names and see some others again. Norcallump thanks for the invite and good to meet and crawl with you! Here's the crawl pics.Sweet HiLift hard-body on SCX10 with boggers. 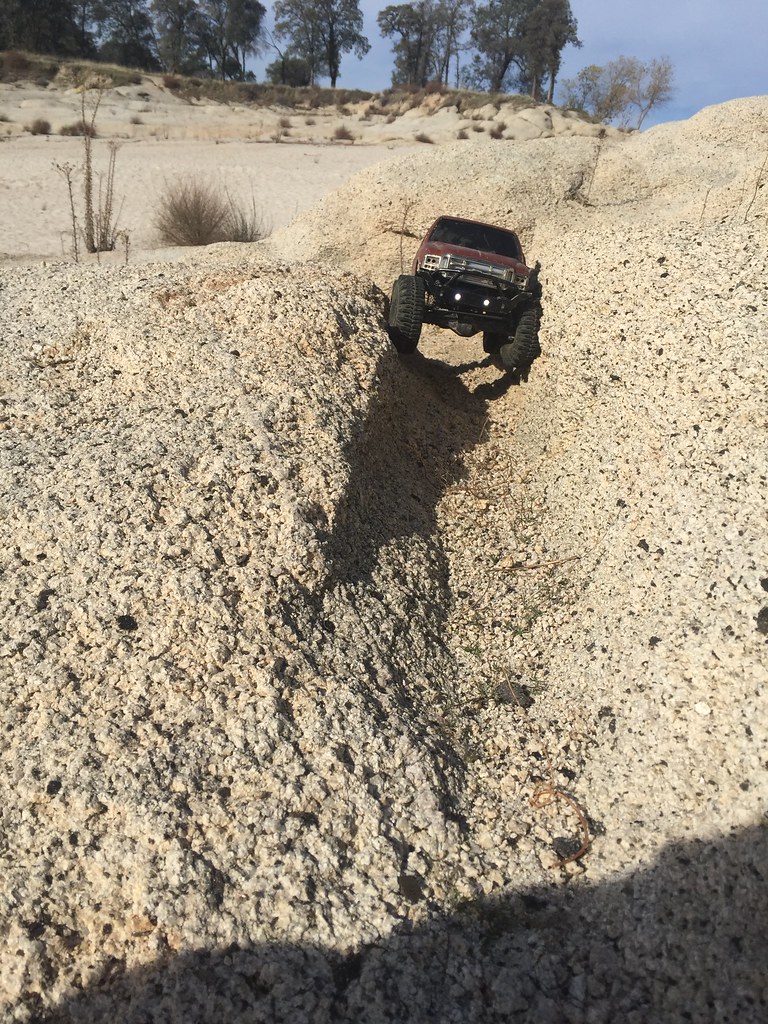 IMG_0692 IMG_0692 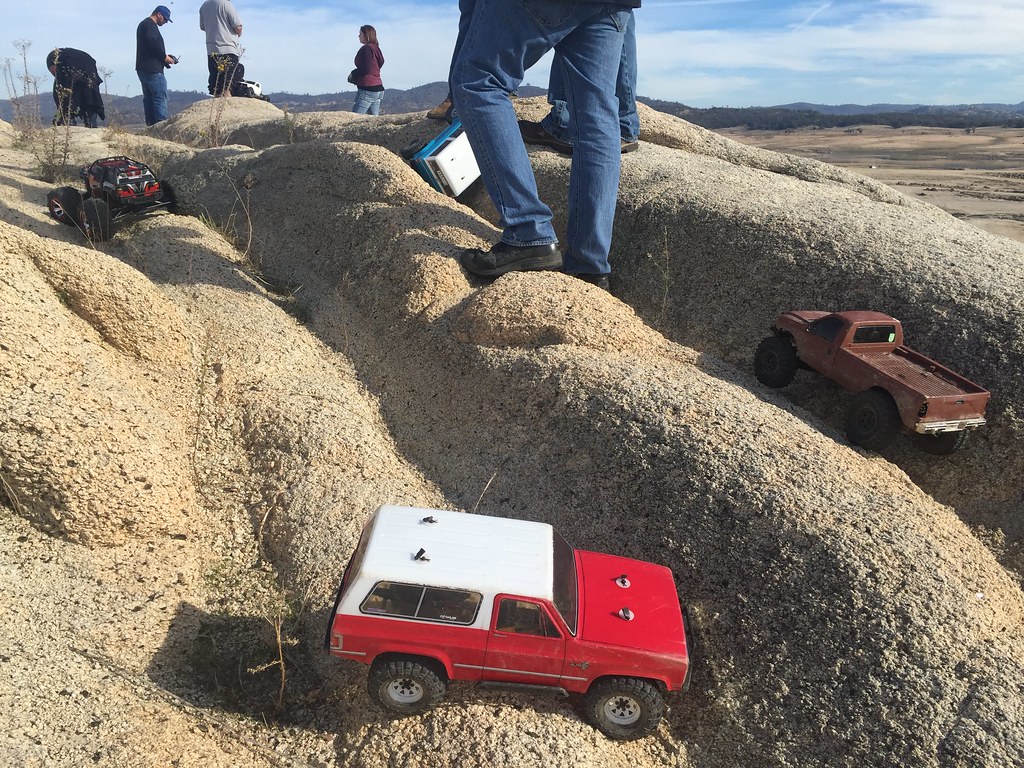 IMG_0693 IMG_0693 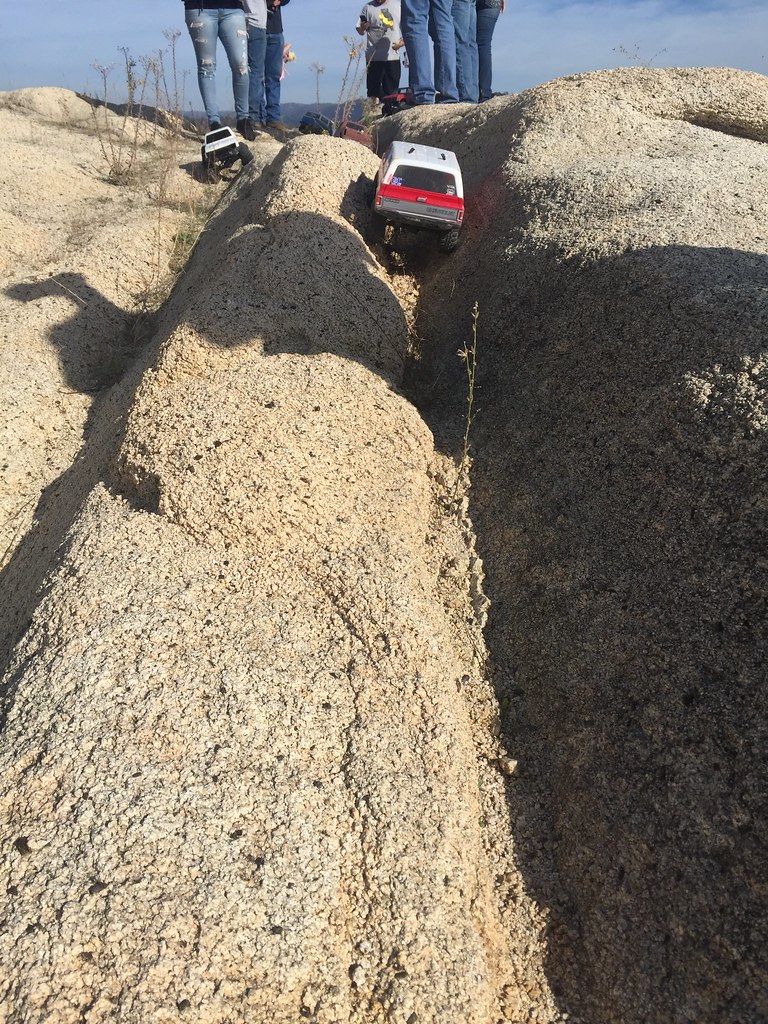 IMG_0694 IMG_0694 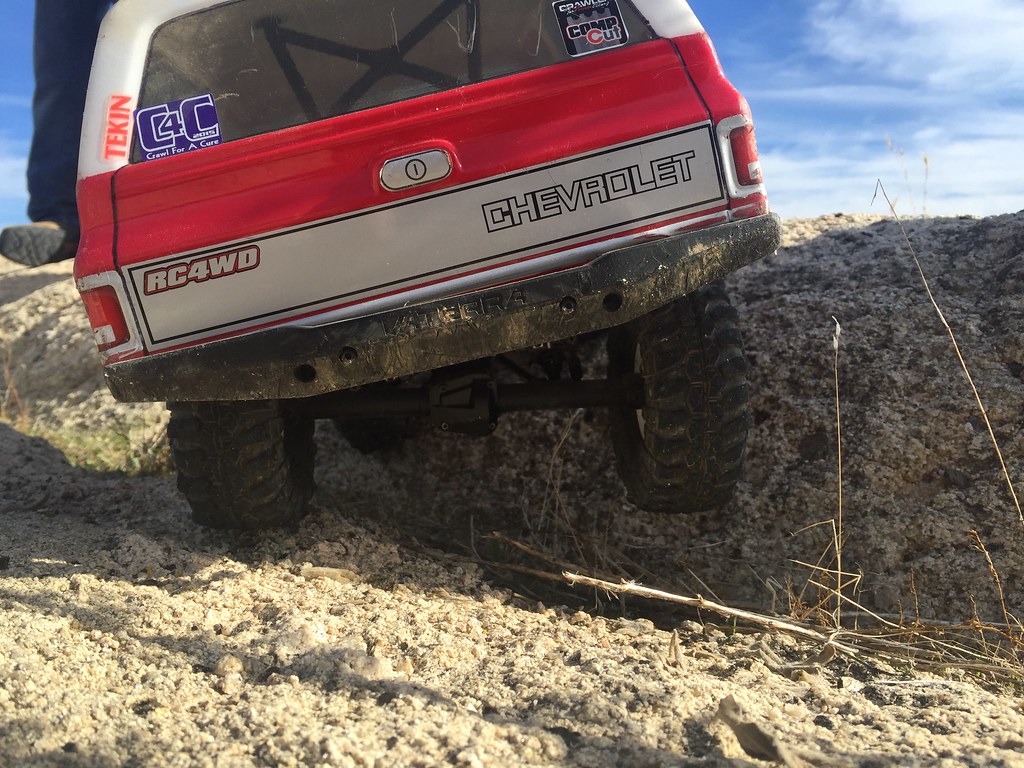 IMG_0695 by IMG_0695 by 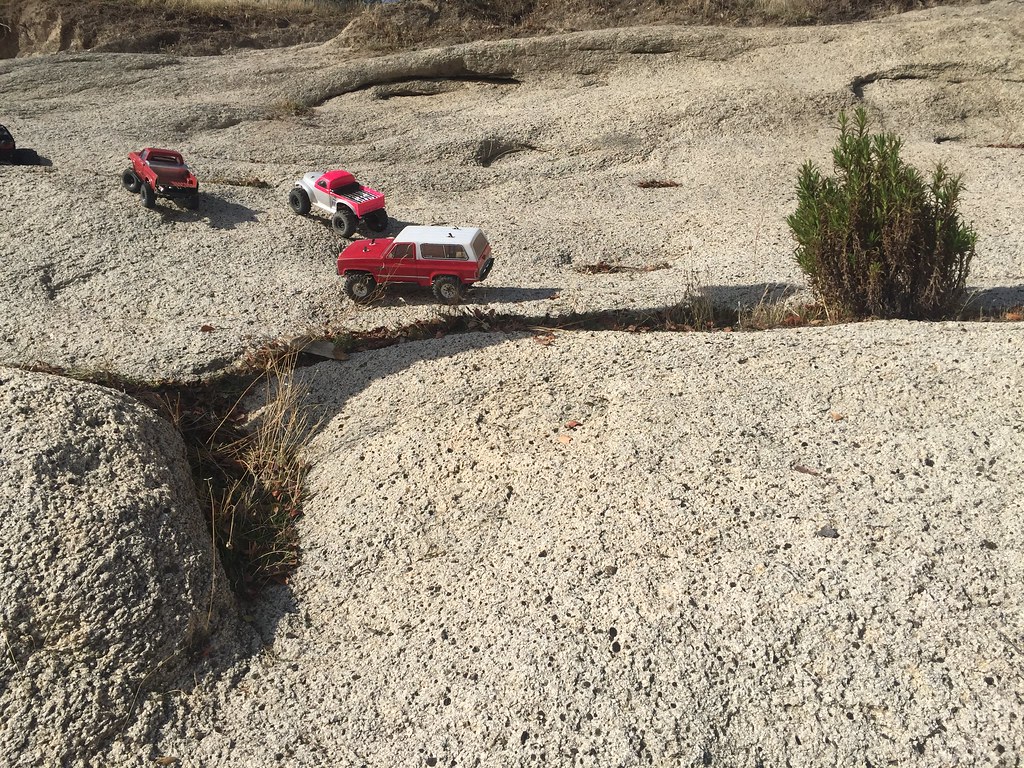 IMG_0696 IMG_0696 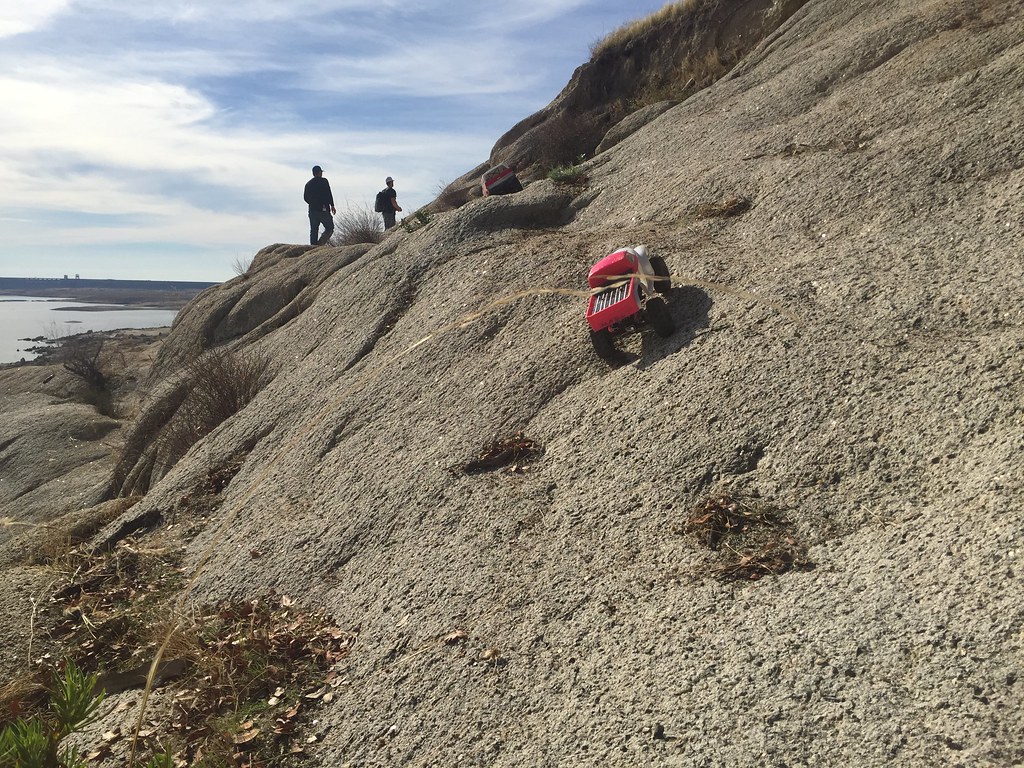 IMG_0697 IMG_0697 Ascender Bronco and home-built steel tuber running Integy aluminum axle housings and iirc ROC412, this thing crawled well and had wheelspeed! 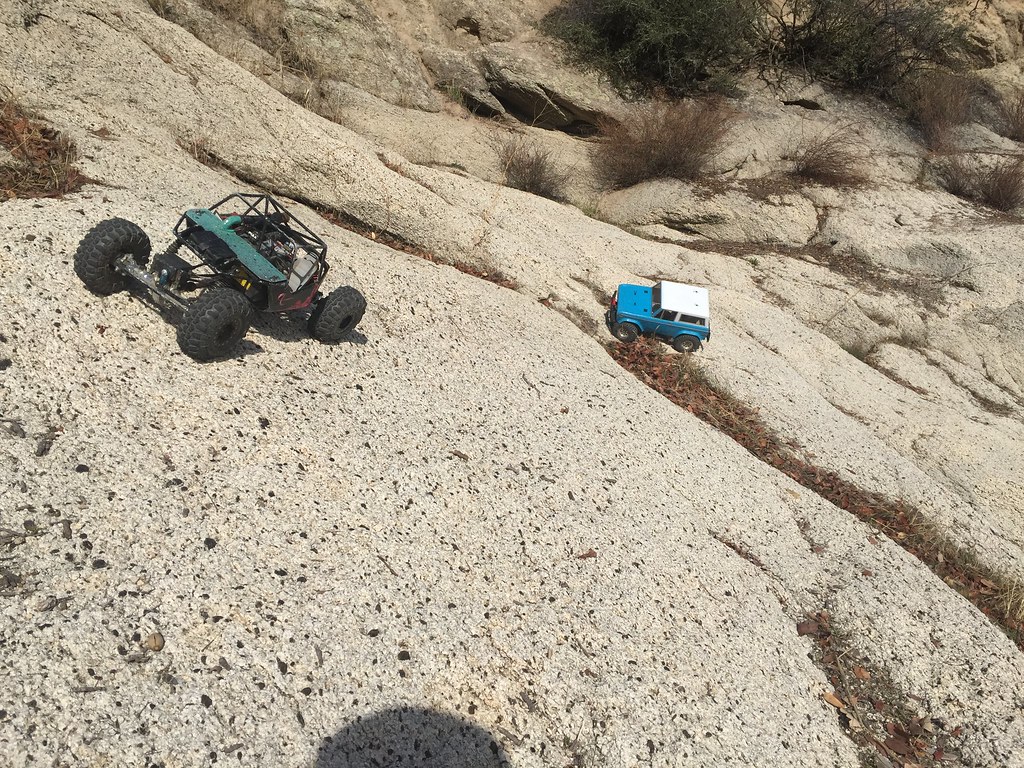 IMG_0698 IMG_0698  IMG_0699 IMG_0699 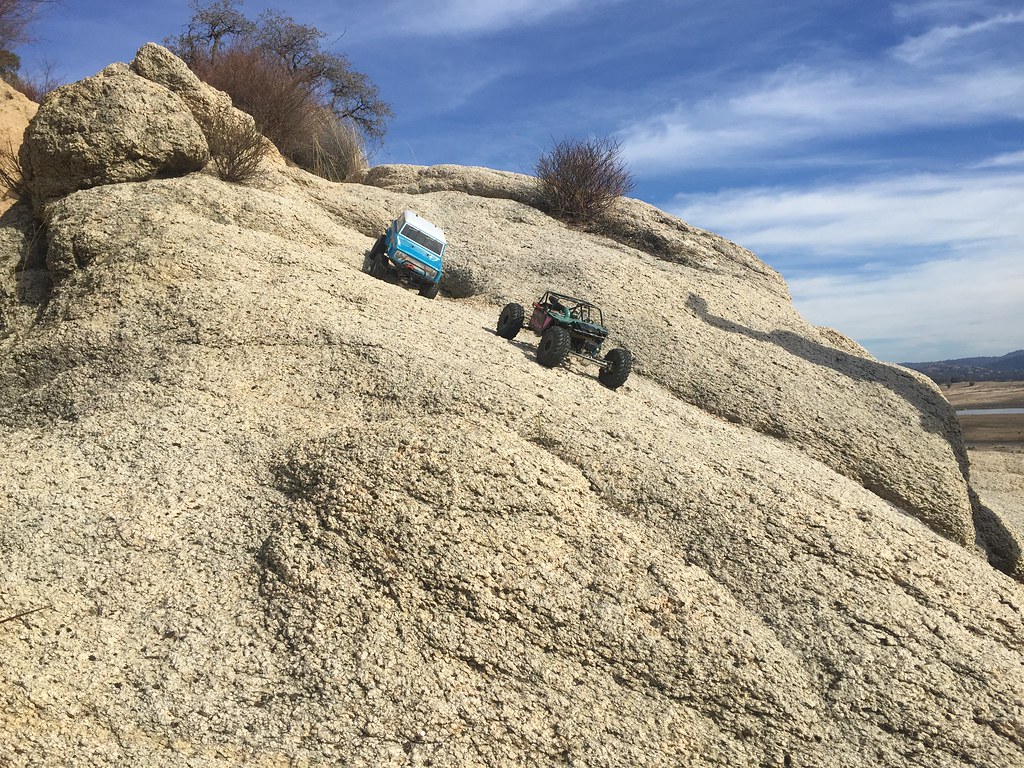 IMG_0700 IMG_0700Norcallump's Ascender with chassis set at shortest and links at long Blazer setting with iirc ProLine body painted up pink and white for CrawlForTheCure2015 couple weeks ago. He's running Proline's newest beadlock wheels with some internal clamp on weights, even with shorter wheelbase, narrower track, Vaterra aluminum shocks, cut up Pitbull Growlers and no rear swaybar truss etc. this truck was really hooking up and doing work!  IMG_0701 IMG_0701 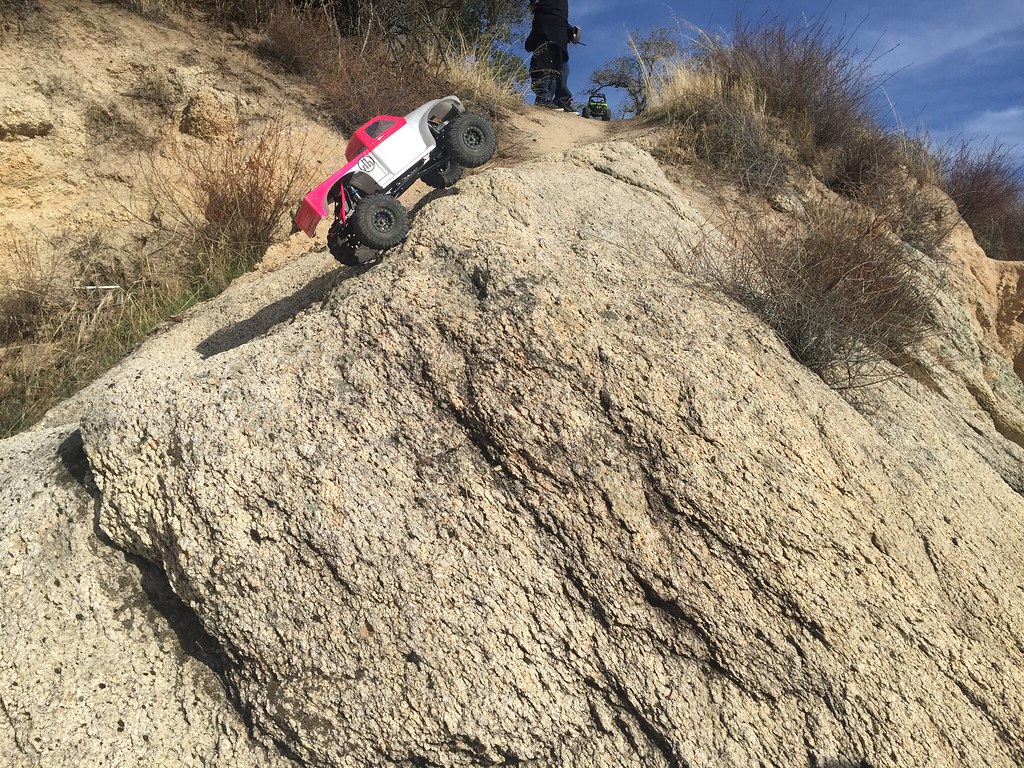 IMG_0702 IMG_0702 Heavy support arrives!  IMG_0703 IMG_0703 SSD RC Rockshield Diff Covers are really tough, not much wear and just few light scratches after a long day of granite crawling! 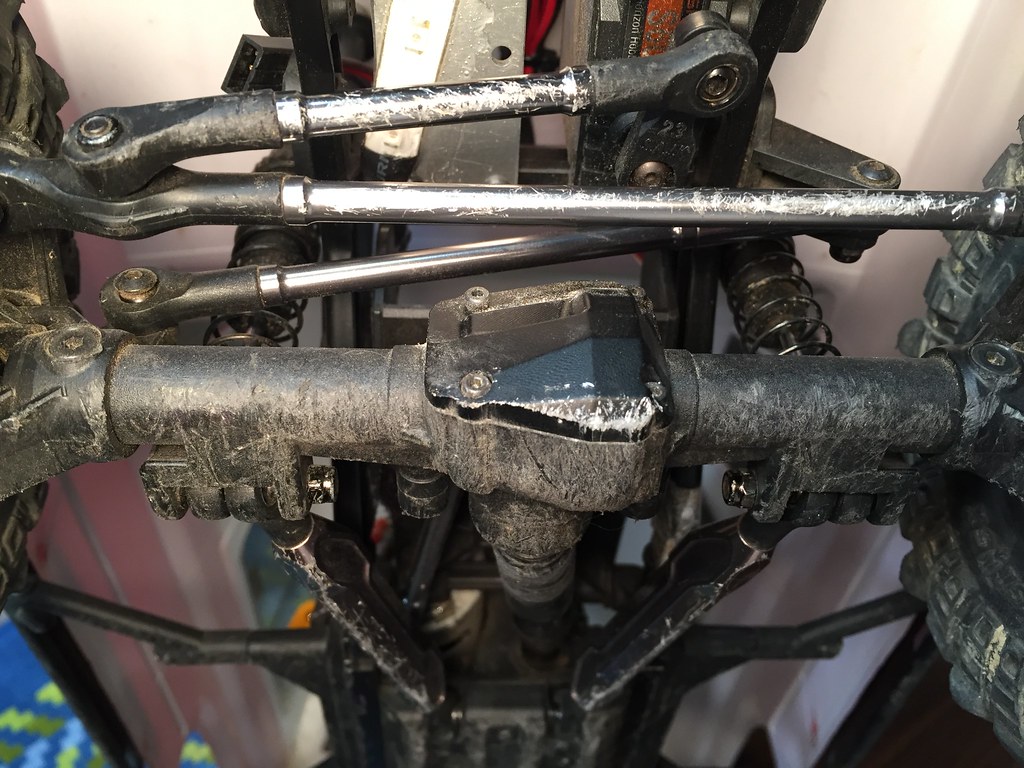 IMG_0704 IMG_0704 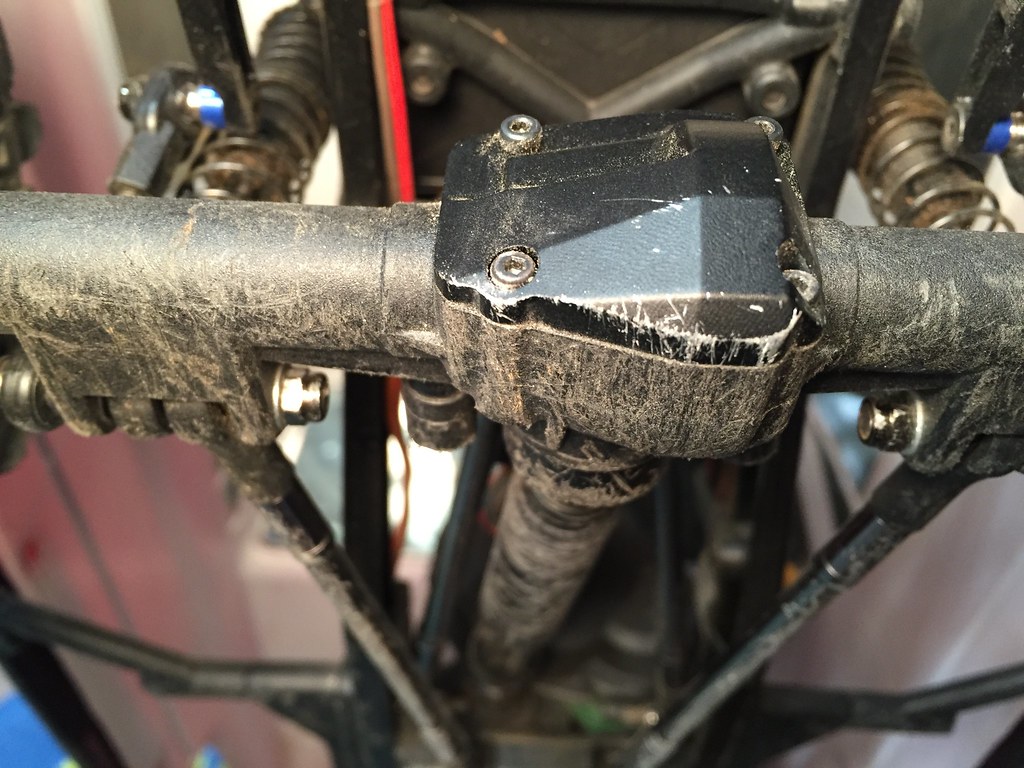 IMG_0705 IMG_0705 Last edited by Natedog; 05-30-2018 at 06:54 PM. |
|
| |
|
11-24-2015, 05:24 PM
| #196 |
| I wanna be Dave Join Date: Jan 2006 Location: Corruptifornia
Posts: 12,107
|
How to patch old CamelBak bladder until new Antidote bladder gets back from warranty leakage at the filler seal. Tiny drop of rc tire CA in the hole topped off with Slime Skabs dry bicycle tire patch. http://slime.com/704/products/1-skabs-2-20040/ 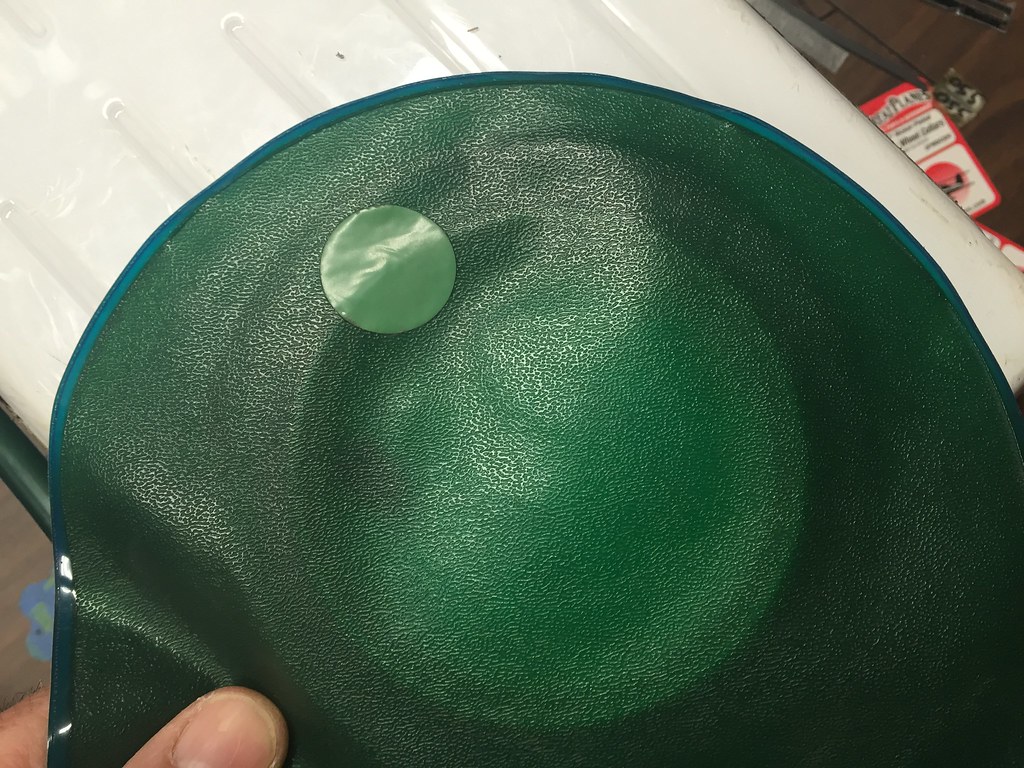 IMG_0706 IMG_0706 GreatPlains wheel collars used to center swaybars, I used the 3/32" on smaller bar and 1/8" on the larger bars. 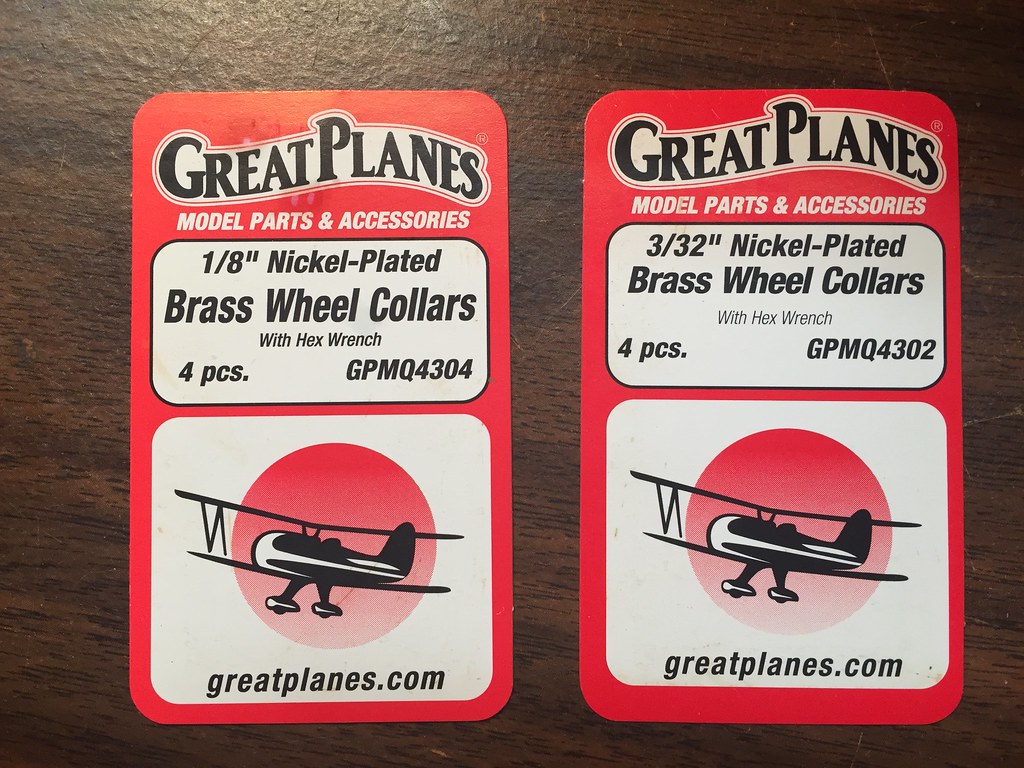 IMG_0707 IMG_0707 Rear swaybar flex and crawl testing results! These swaybars are all 95mm length, using Axial Wraith front swaybar arms and shortened endlinks composed of rod-ends/balls with long setscrews. Softest Wraith front swaybar flex as measured at outer edge of rear tire is 3.375", crawls very well setup like this but a little more rear flex would be nice sometimes. Home-made from 0.078" (5/64", 1.984mm) music wire flex is 4", crawls very well setup like this but sometimes allows a little too much torque twist. Home-made from 0.093" (3/32", 2.3622mm) music wire flex is 3.375", same flex as softest Wraith front bar, I have not crawled with this setup yet, but on the bench it's same flex as stock Axial Wraith softest front swaybar. I think the bar will last longer (more flex cycles) due to being a straight gauge bar, not a bar with a 1/4" thin notched machined in the center which creates stress risers and most of the bar flex is forced to occur in this very small concentrated area of the bar. Time and real crawling, not garage flex test, will tell. Hot off the "mill" 0.093" home-made swaybar still in my fixture vise! The pic makes one end looks kinda blue like it got too hot, but it did not this is just the lighting and angle in my pic.    That's a nice fit  The bars...bottom bar is Axial Wraith softest front swaybar, middle is my home-made 0.093" bar, top is my home-made 0.078" bar.  Newest home-made bar (0.093") bolted up ready for crawling test! Note my rear red waterproof LED strip (just above and forward of swaybar) stuck to bottom of rx box with E6000, because the peel and stick adhesive was kinda week.  Last edited by Natedog; 12-12-2019 at 04:04 PM. |
|
| |
|
11-27-2015, 12:55 AM
| #197 |
| I wanna be Dave Join Date: Jan 2006 Location: Corruptifornia
Posts: 12,107
|
I like my rc4wd steel wagon wheel beadlocks. Trying to decide what metal beadlocks on my second ascender? Need to decide on body too, I have Deadbolt and Honcho but am considering another pickup types body with 12 to 12.3 inch wheelbase.
Last edited by Natedog; 11-27-2015 at 02:25 AM. |
|
| |
|
11-27-2015, 11:42 AM
| #198 | |
| Rock Crawler Join Date: Aug 2009 Location: San Antonio
Posts: 555
| Quote:
 | |
|
| |
|
11-27-2015, 11:44 AM
| #199 |
| Rock Crawler Join Date: Aug 2009 Location: San Antonio
Posts: 555
|
Just ordered my second Ascender. I'm going to wait for the GCM kit to incorporate it into the build. I'm going to try and do a build thread, try.
|
|
| |
|
11-28-2015, 10:52 PM
| #200 |
| Newbie Join Date: Apr 2014 Location: Burnaby , B.C.
Posts: 6
|
I've been watching your truck from the bleachers here , Nate and you seem to love this truck as much as I do. I'm wanting to do a sway bar , but haven't been able to wrench on any of my trucks. I air nailed my thumb at work the other day so my shit has to wait lol . I was wondering if you run any weight in the wheels ? I went to local tire shop other day and picked up some stick on wheel weights that I wrapped around the inside of the rim and more than doubled the weight of each wheel (I'm running plastic atm) How much do those steel rims weigh ? Are they alot more than aluminum? I have some 2.2 aluminums that I want to cram the 1.9 swampers onto and was wondering If you ever tried this or If I should go with a steel rim. Sorry for all the questions , but like I said , I've just been watching to see what direction people go. One more thing. I saw the plate you mounted for rock lights and was curious to how you were planning on mounting them ? I have the q series VP rock lights just sitting here and had them mounted on the bumper , but they're kinda big for 1/10th scale IMO Deano |
|
| |
 |
| |


 Linear Mode


