66sprint6
RCC Addict
Lookin awesome so far, please keep it goin, cant wait to see what else you got in store!
Matt
Matt
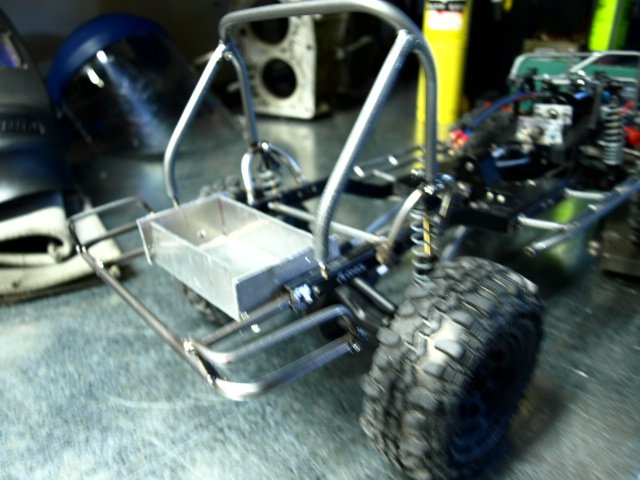
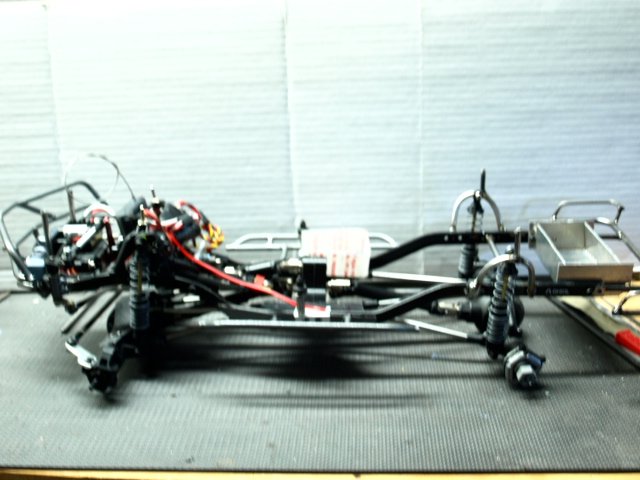
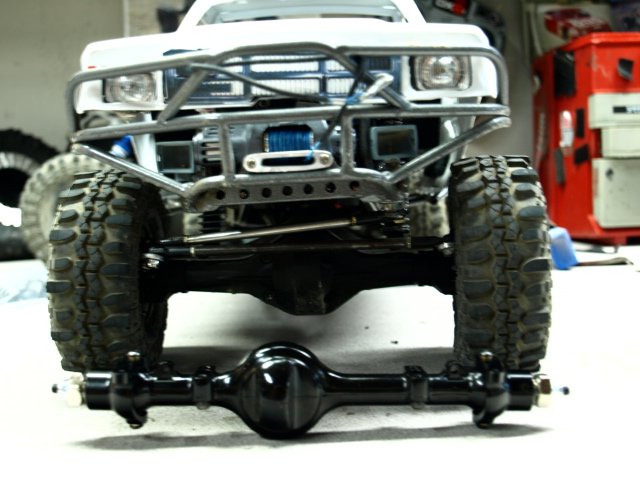
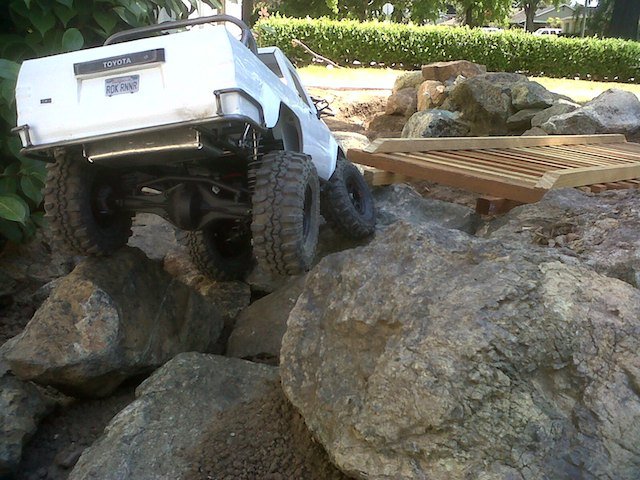
That steering box is nice. Look more realistic. "thumbsup"
Lookin awesome so far, please keep it goin, cant wait to see what else you got in store!
Matt
"thumbsup"LOVE this build. Amazing work. Really want to do a scale of my 4Runner now.
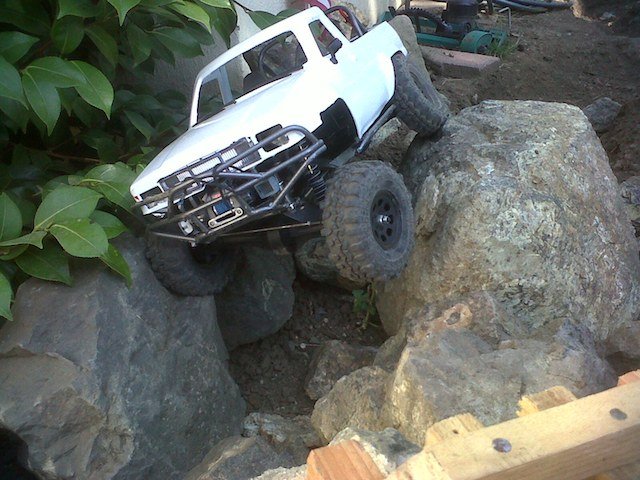
Thanks. it's tough to decide just how far in detail to go even when it does not effect performance.looks pretty badass keep the work comming!!
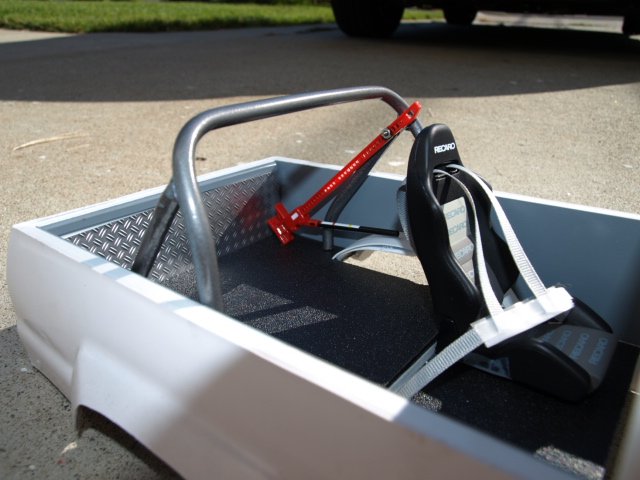
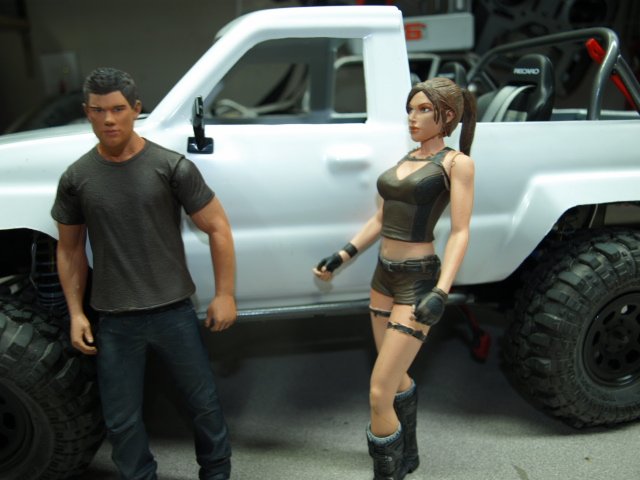
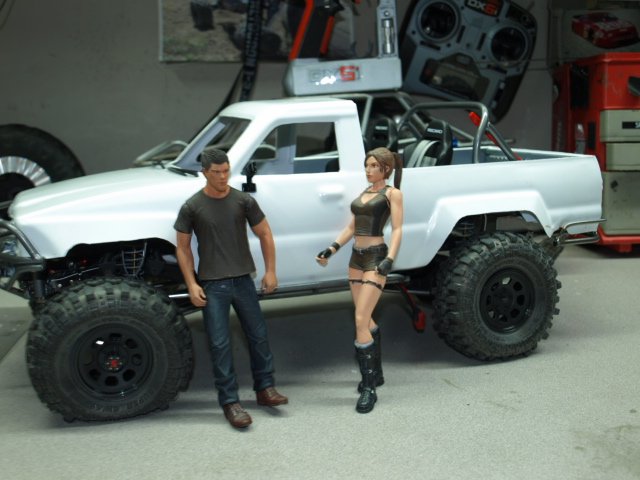
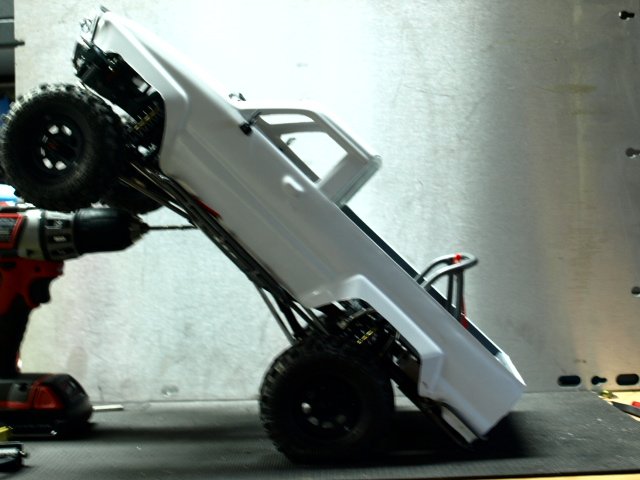
Those pics of the front view make it look like the main hoop is smiling but I assure you it's the pics. Paint looks good, always liked that color.
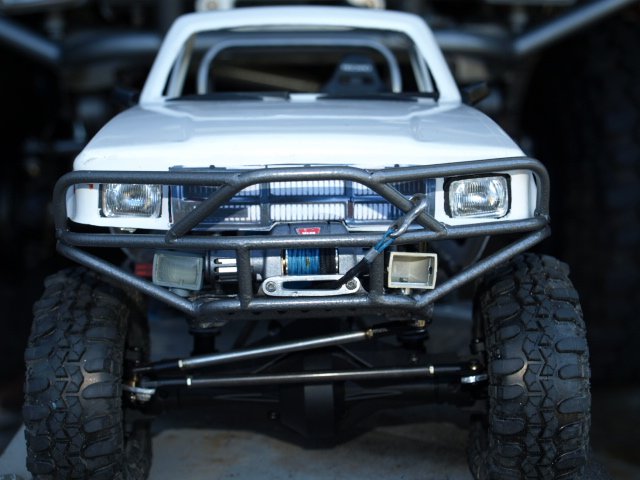
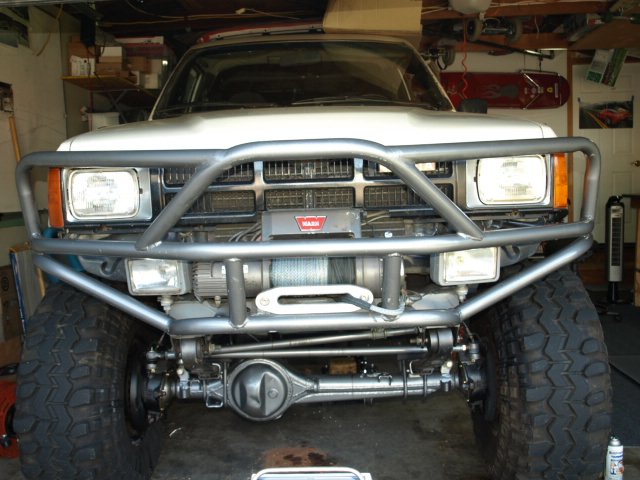
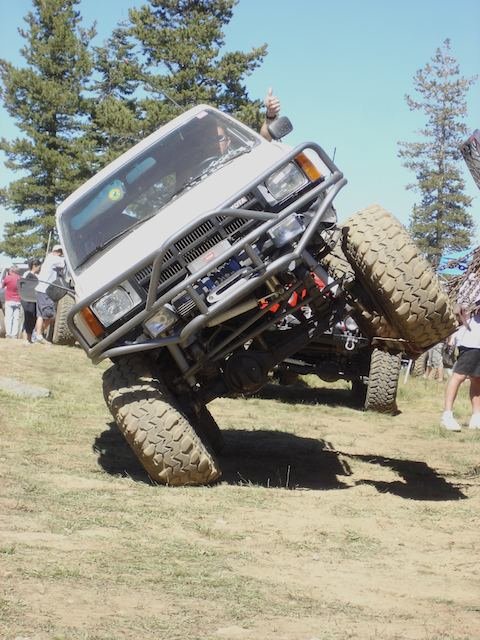
1:1 looks nice, the mini's coming along well too. I like that front bumper set up.
so sick! i wish they sold fj-60 bodies.. i'd copy my 1:1. where did you get that 4runner?
Thanks, it's my favorite design.
thanks a bunch. maybe u could mod a 40 to a 60, i thought they had them, guess not.
Which 4runner? the 1:1 on ebay the scaler body is from bigbird.
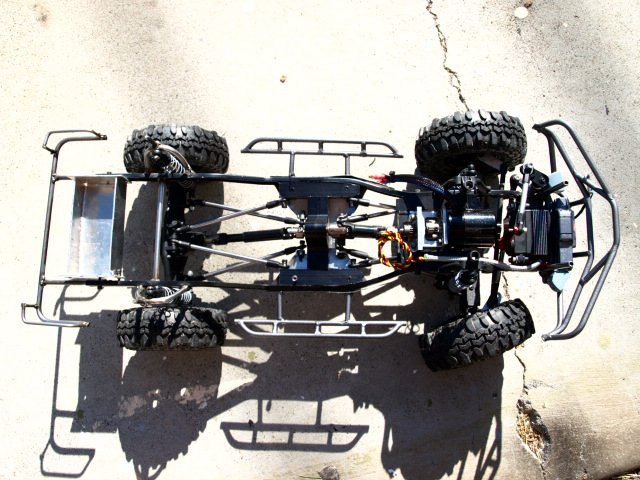
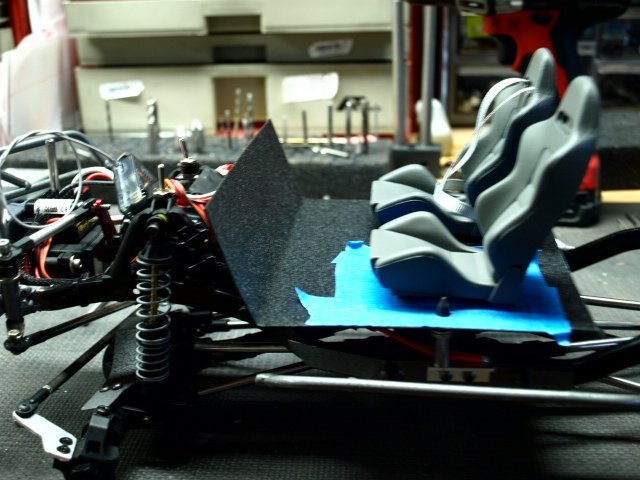
Great build, looks like you've put alot of thought into it."thumbsup"
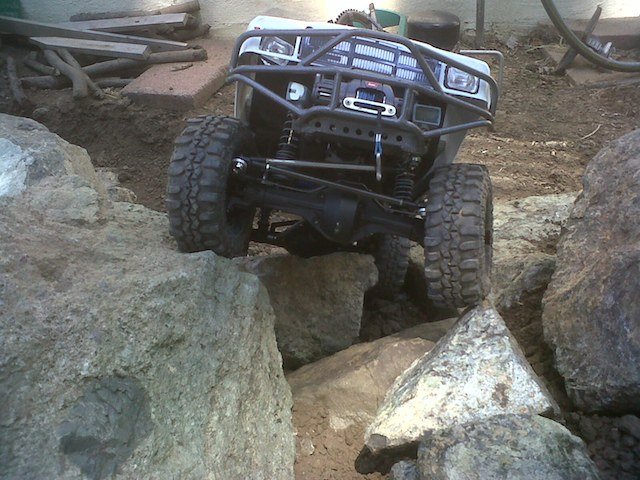
Sweet build but its just SCREAMING for some rc4wd yota axles and leaf springs!
This build is amazin! As a 87 4runner owner, I REALLY love the roll bar ant pitman arm!!!!"thumbsup"