EddieO
I wanna be Dave
You can just clean them off with motor spray after. I have the same cutter and it works fine. Good unit and you can get them for dirt cheap now.....I always used a stock motor in mine though, 27t p2k2 usually....or something similar.
The fussy brush is cool and worked well in the racing days, but they were very tedious to use and time consuming....don't know how much that's worth in the crawling days now. I actually used to have a motor just set up for the fussy brush to cut stuff. I didn't really use the serrator much from Fussy brush, as the integy worked fine when we needed it.
I would not worry much about the slots on the rear of the brush, many top brushes do not even have them. Someone did a test way back when of having it not in the slot or in, not noticeable wear differences, no HP difference...
Later EddieO


") Thx man
Thx man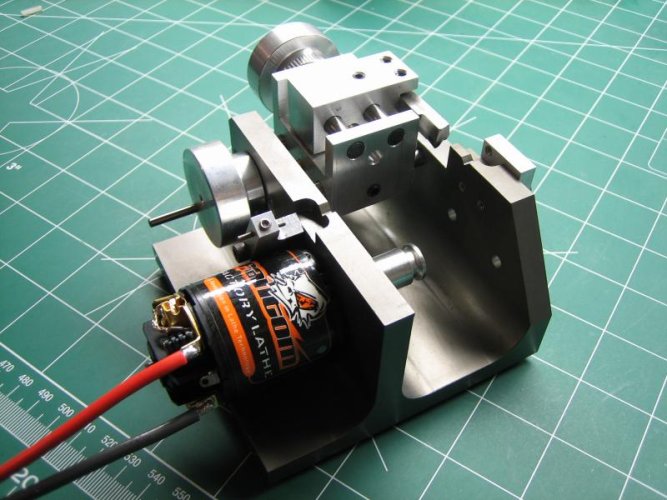
") Thanks for the great tips!! Very helpful for when I get brave enough to disassemble my first motor.
Thanks for the great tips!! Very helpful for when I get brave enough to disassemble my first motor.