• Welcome to RCCrawler Forums.

    It looks like you're enjoying RCCrawler's Forums but haven't created an account yet. Why not take a minute to register for your own free account now? As a member you get free access to all of our forums and posts plus the ability to post your own messages, communicate directly with other members, and much more. Register now!

    Already a member? Login at the top of this page to stop seeing this message.

New2Ascender - big tiny truck built by little little hands

new2rocks

I wanna be Dave
Joined
Apr 2, 2014
Messages
2,254
Location
North Carolina
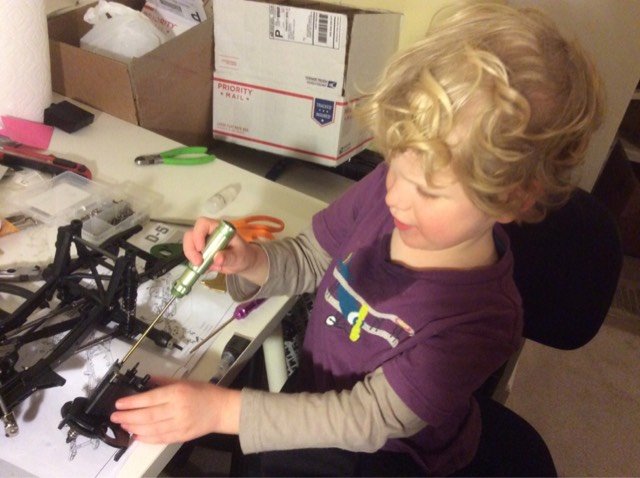
I couldn't hold out any longer, so I finally took the plunge. After watching our 5 year old little guy (let's call him Roo) finish the Lego Maersk container ship (1500+ pieces) solo on Christmas Day before dinner with almost no help, I figured this would be a good first build for him. This one will go at his pace, so have patience.

First, let's start with the box. It's quite a small box for such a big tiny truck, especially compared with tinier tiny trucks like the TF2, Gelande D90, SCX10, etc.
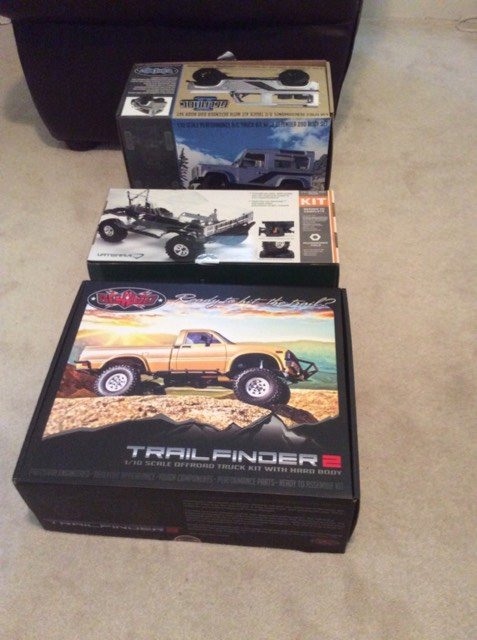
ImageUploadedByTapatalk1421607890.280248.jpg

I tried to hide my disappointment from Roo, because he didn't seem to mind. Since Roo sometimes doesn't like to follow the same instructions that everyone else follows and often chooses the hard way because the easy way can be boring (I wonder where he gets that from), I thought I should keep a close eye in this build. Looks like he already picked out some things to do differently. I wonder what he has up his little sleeve.
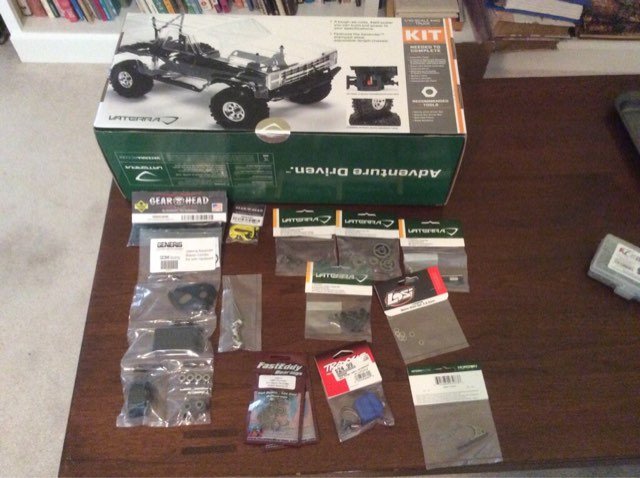
ImageUploadedByTapatalk1421608023.450679.jpg

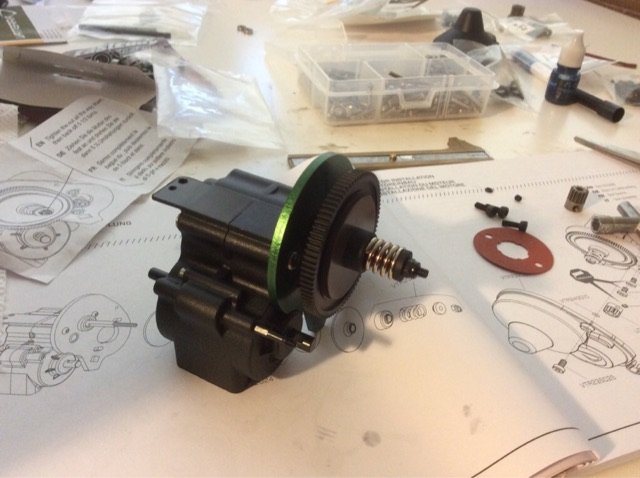
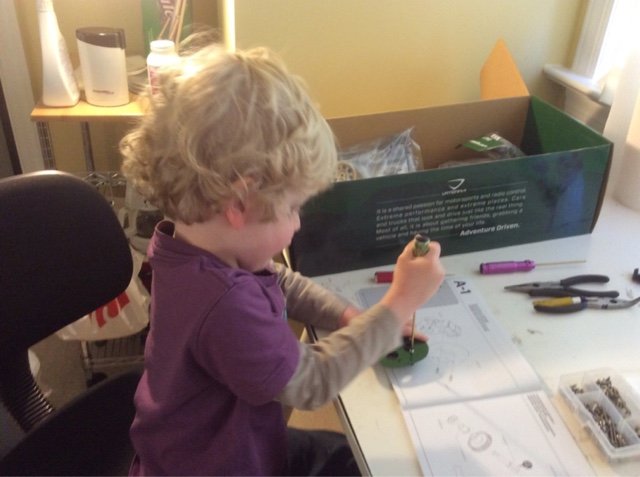
So it was off to work for Roo, starting with the tranny...
ImageUploadedByTapatalk1421608073.120771.jpg
ImageUploadedByTapatalk1421608190.879839.jpg

What's that? I guess he decided that he liked shifting the TF2 so much that he wanted to do it on this one. Like I said...doesn't like to follow the same instructions as everyone else.

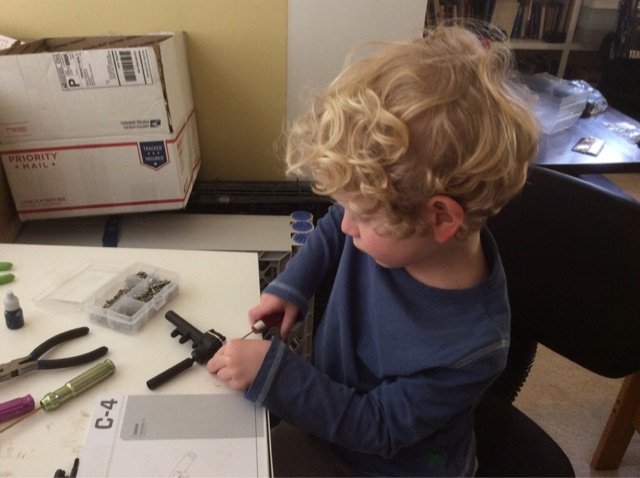
Then it was onto the axles...
ImageUploadedByTapatalk1421608267.264821.jpg

Looks like he's making progress on his big tiny truck. Can't wait to see what other surprises he has up his little sleeve.
 
Last edited:
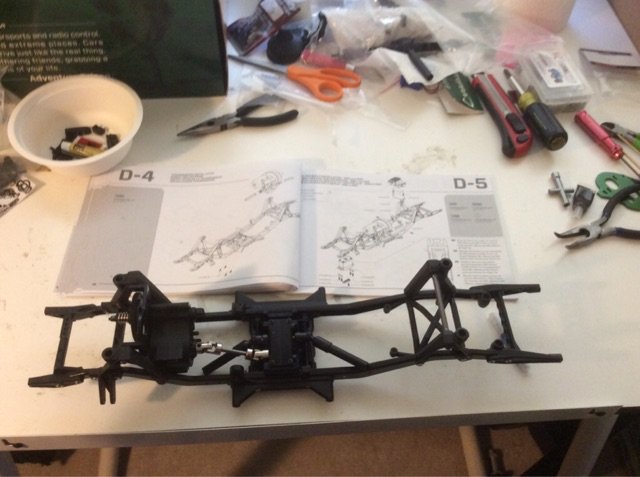
And before I knew it, he had the chassis put together...

ImageUploadedByTapatalk1421609128.867251.jpg


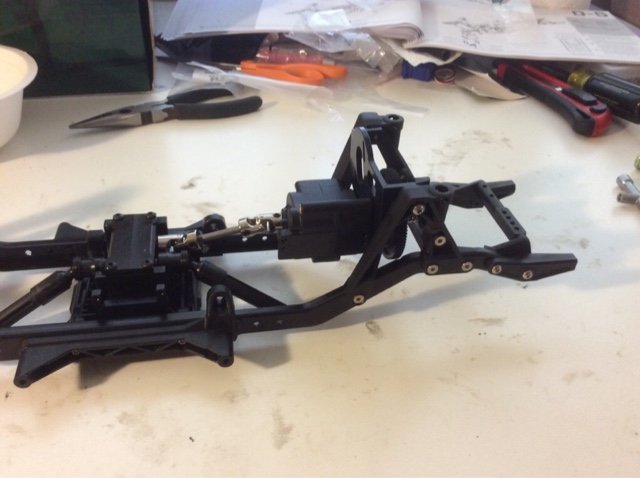
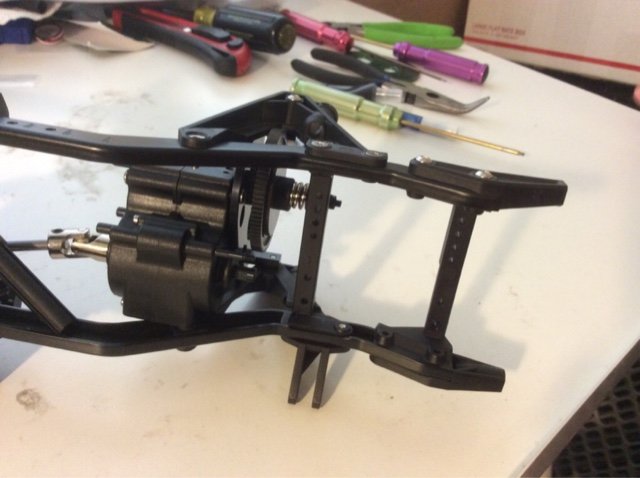
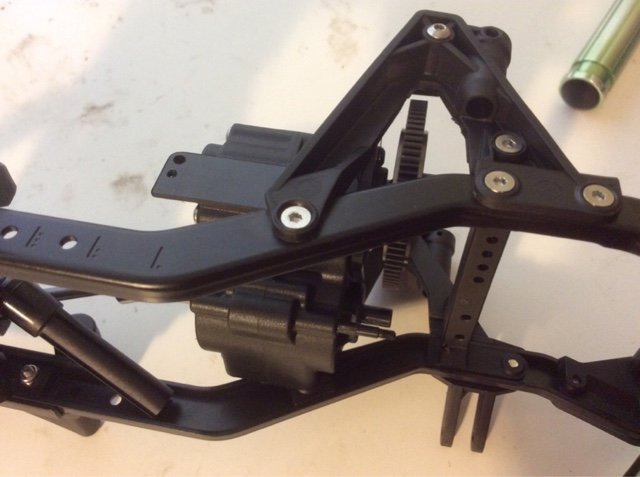
There he goes again. Why put the motor in the middle of the truck like everyone else when you can put it in the front like a real truck, says Roo. I think it was a rhetorical question. Who am I to argue?


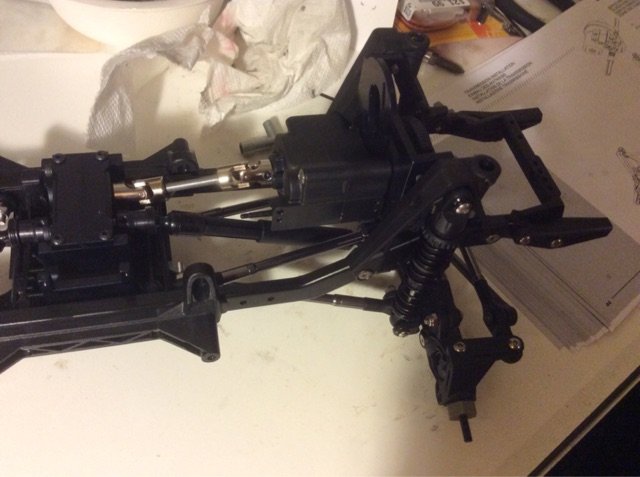
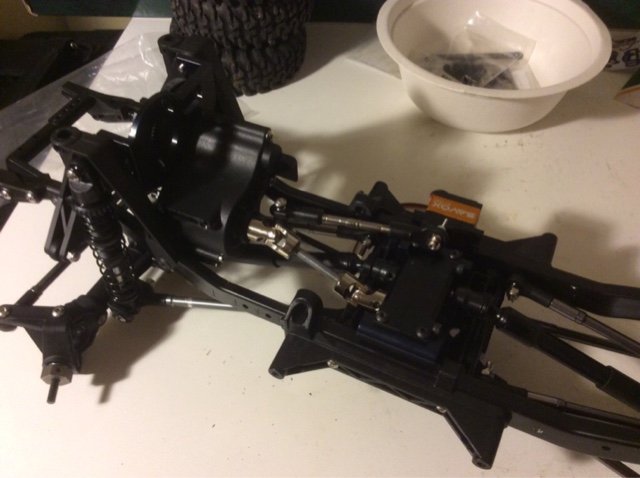
The GCM forward mount kit was right up his alley because it didn't even come with instructions. Those crazy Canadians...always up to something. Good thing it wasn't hard for Roo to figure out. A couple of shafts and pinions, 4 ball bearings, a 2-piece housing and mounting cradle. Pretty easy to figure out after looking at the pictures on their web site.


And then Roo had a question that left me scratching my head. Where are we supposed to put the shift servo?

ImageUploadedByTapatalk1421609445.564527.jpg

ImageUploadedByTapatalk1421609459.398561.jpg

ImageUploadedByTapatalk1421609473.336664.jpg

ImageUploadedByTapatalk1421609486.003693.jpg


I told him that I'd have to think about it and ask some of my friends...
 
Last edited:
Nice start and I'm pretty sure the GCM kit has the part to mount the shift servo next to the transfer case and runs a link to shift the trans


Thanks. Roo noticed that the GCM transfer case mounting bracket had what looks like a place to mount a servo, and they show one in the pictures on their web site. Unfortunately, the micro servo that I had in mind for shifting duties is too big for that spot. And from what I can tell, it would be a long and very tight fit to get a link from there to the shift rod.

I may have come up with an idea for mounting the servo on the tranny and notching the shock tower to make room. Roo has told me that he expects me to figure this out quickly, because he wants to drive it. Like now.
 
Problem solved. The kind folks at GCM answered my multiple PMs on a Sunday night and refrained from mockery in the process. When I explained the solution to Roo, he was thoroughly unimpressed with me. Now he wants to visit Canada where the really cool tiny truck builders live. There's no winning at this game of parenting.

Time to disassemble:
ImageUploadedByTapatalk1421718099.085166.jpg

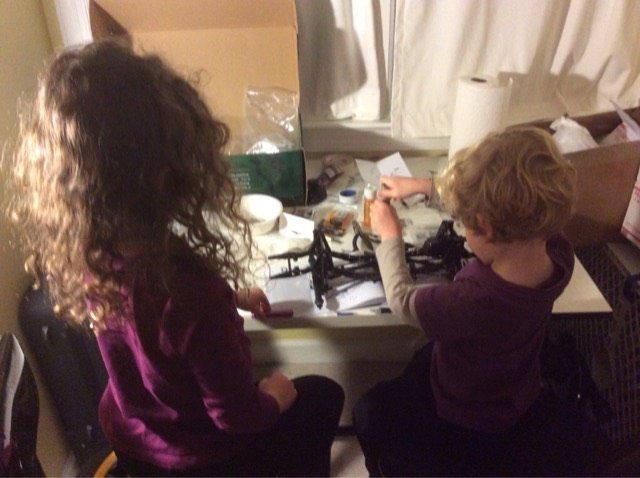
Looks like Roo found an assistant. She likes to help out a little. Then she goes to jump on the bed. I wonder where all those curls come from.

For those like me who aren't clever enough to figure out the solution on your own, here it is (elegant in its simplicity):

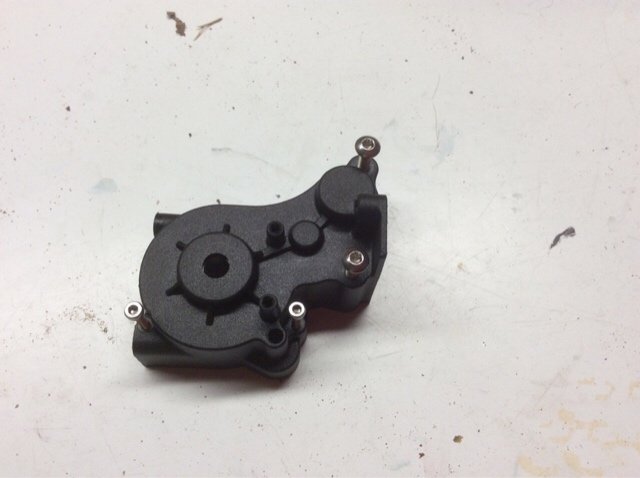
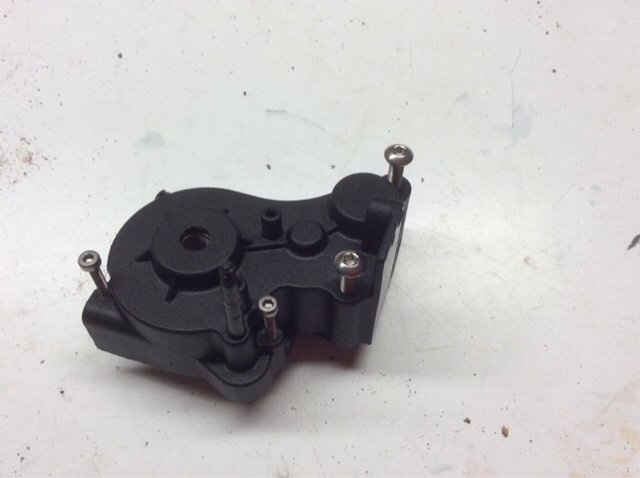
Step 1: Drill a hole in the transfer case where the short end of the shifter shaft normally sits. There's a tunnel there already, so it's super easy to line it up. A 1/8th" drill bit seems to be the perfect size.

Before drilling:
ImageUploadedByTapatalk1421717586.695293.jpg

After drilling:
ImageUploadedByTapatalk1421717617.565530.jpg

With long end of shift shaft coming through the new hole:
ImageUploadedByTapatalk1421717655.635115.jpg

Step 2: Reassemble tranny with shifter reversed so that long end comes out the new hole
ImageUploadedByTapatalk1421717898.875283.jpg

Step 3: Reinstall tranny with shift shaft now facing the rear of the truck:
ImageUploadedByTapatalk1421717943.792884.jpg

Glad I have tiny hands to help fit the new tiny tiny servo (has to be a sub-micro, not a micro) that goes in the giant tiny truck.
ImageUploadedByTapatalk1421718028.783130.jpg

Lessons learned! Next up us fitting the servo-shifter link and adding electronics. Roo wants to stay up all night to finish. So do I. But mom would kill me, so off to bed it is for now.
 
I spoke a bit too soon. With Roo in bed, I couldn't wait until tomorrow to get the tiny tiny servo hooked up. After mocking up a shift servo link, I realized that the two mounting screw posts in the tranny housing next to the shifter needed to be trimmed to provide enough clearance for the link. Add in a Traxxas adjustable tie rod, and we're hooked up. All we need now are some electronics and a body. Roo will be pleased when he wakes up. I hope.

ImageUploadedByTapatalk1421729449.274614.jpg
ImageUploadedByTapatalk1421729463.460878.jpg
ImageUploadedByTapatalk1421729475.008465.jpg
 
Looking good! "thumbsup" I've got to get my Ascender in gear if I'm going to be competitive with you. Maybe I should get my kid to start working on it after school. :mrgreen:

Gonna use the stock body and come up with an interior like the guys at GCM did or what?
 
You'd better get it going, Alpha, or we may have to change your name to Beta. :ror: As for the interior, that's the plan. But the interior will be a ways down the road. Need to finish my TF2 first before Roo and I take on a completely from scratch styrene job.
 
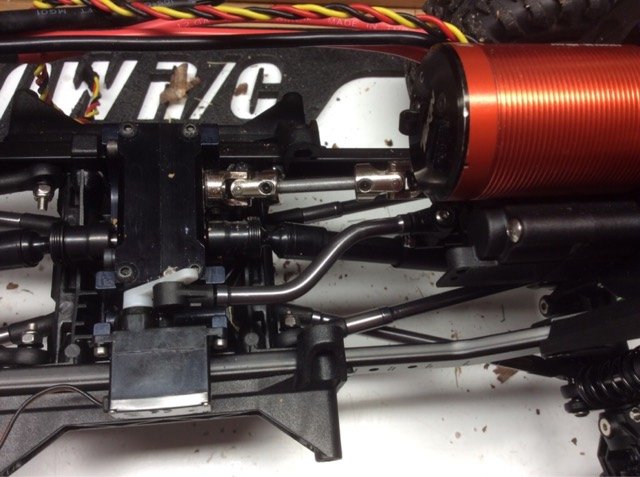
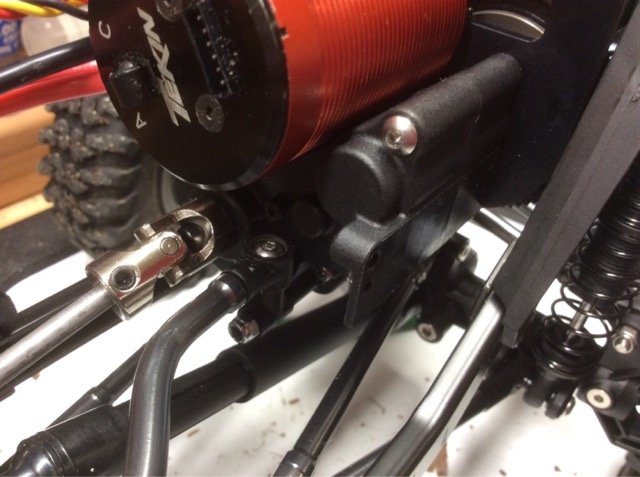
Roo is not happy. My first attempt at getting the shift servo working didn't...well...work. I suspected that the primary culprit was running a straight link from the shift servo to the tranny. When Roo discovered that I could have avoided this mistake in the first place by looking more carefully through the Generis/GCM build thread (where I would have seen the pictures of their bent link), he was really not happy. He's threatened to fire me.

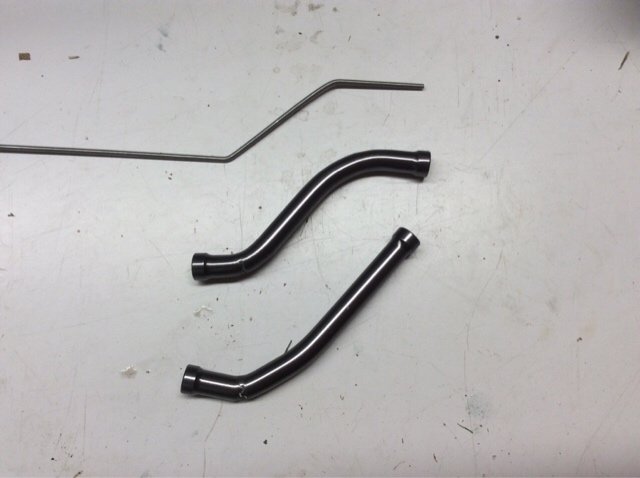
To make things right, I decided to make a bent link from parts that came with the kit. First, I made a template of the link using piano wire. After two unsuccessful attempts to bend links from the kit (aluminum apparently isn't fond of being bent during the winter), I think I have something that will work.

ImageUploadedByTapatalk1422133415.157510.jpg
ImageUploadedByTapatalk1422133425.891760.jpg
ImageUploadedByTapatalk1422133435.914261.jpg

My only issue now seems to be a sticky shifter in the tranny. Next step will be taking it out to troubleshoot and fix. I'd better hurry, or I'll be in big trouble with Roo.

Now for a bit of good news. I'm pleasantly surprised that the ROC 412 3100 doesn't seem ridiculously fast for this rig based on preliminary testing in the garage. I'll still probably end up slowing it down a bit, but I think we're in the ballpark.
 
Last edited:
I haven't yet decided whether it's a good thing or a not good thing that a certain well-known purveyor of used and not used RC parts (who shall remain nameless since they haven't bought a star) is located 7 mins from my office. Went to pick up a hard body for a friend and couldn't resist picking up a not used RTR body to beat on while Roo and I sort out the rest of the mechanicals and start to plan the interior.

Roo didn't exactly (or even approximately) do a good job listening to mommy yesterday, so he didn't get to see it yet. Here's how she sits now:
ImageUploadedByTapatalk1422358213.354035.jpg

I think he'll be happy when he sees it. Height of the 1.9 Tomahawks (4.1") seems just about right for this body, and ride height looks pretty good (not too high). I'll be curious to see how they perform while I decide on permanent wheels and tires, seeing as how they did very well on my TF2.

Things I'm not happy with and need to be addressed:
- 35 weight oil was waaaaay to thick for the stock shocks. Rebound time is measured in minutes. Shocks are going to be swapped anyway, but if I kept them, they'd need thinner oil and/or drilled pistons.
- Holy torque twist, Batman. It's so bad it starts to twist in anticipation as soon as it sees me pick up the remote. I think I'm going to try the Wraith sway bar kit mod that I've seen here.
- Sliders and bumpers definitely need to go. Research to commence.
 
Last edited:
Here's a quick update: sticky shifter was solved by replacing solid shift link end with a ball joint and opening up the drilled out shifter hole just slightly. It's now shifting easily and smoothly, though I'll confess that the difference between hi and low gear in the driveway isn't as big as I was hoping (it seems less noticeable than in my TF2).

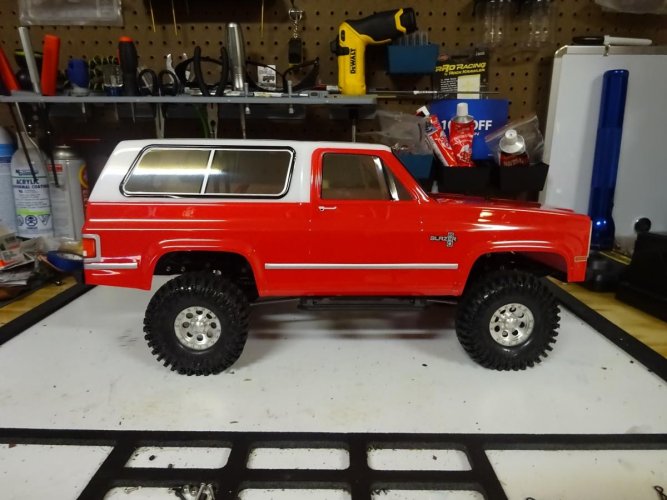
Roo and I also picked out wheels and tires. 1.7 RC4WD Mickey Thompsons with Iroks hit the nail on the head:
DSC00363.jpg

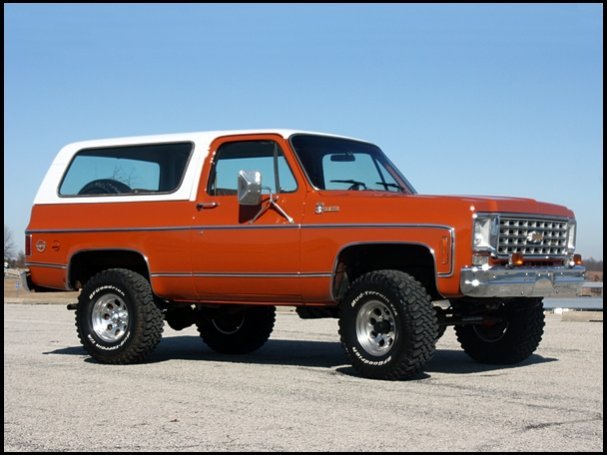
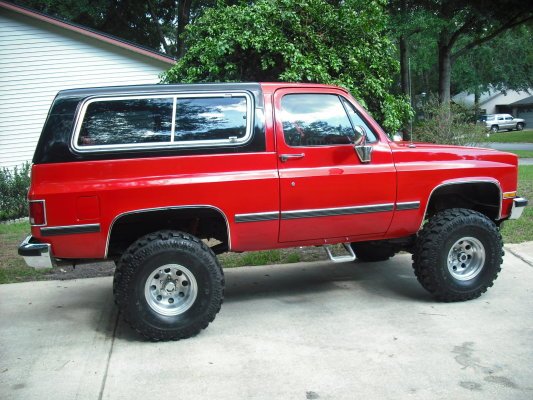
Here are a couple of 1:1 reference pix:
Chevy K-5 Blazer Reference 2.jpg
Chevy K-5 Blazer Reference.jpg

If you haven't tried 1.7s on one of your rigs, I highly recommend it. Note to RC4WD: We need more 1.7 wheel options. It's the sweet spot size for so many scalers. Most of our rigs are really in the 1:8x to 1:9 range (the K-5 is 1:8.5/8.6ish), not 1:10. That makes 1.7s look like 15-16" wheels, which is dead on for many off-roaders. Compare to 1.9s (scale to 17" - too big for 80s era) or 1.55s (scale to 13-14" - perfect for the Mojave/Hilux but too small for many other bodies). Wrapped with 4.1" Iroks, which scale to 35", and it's no wonder they look so good. Pretty please!

First real action comes this weekend, so we'll see how she performs. Next up will be cantilevers, new front shocks (TBD), followed by an interior.
 
Some good and not good to report today. I had it out on the trails for over an hour, and I enjoyed the heck out of it. Most everything I read about this kit and saw in videos proved dead on (e.g., ridiculous steering and articulation, enormous body looks cool but hangs up easily and is an echo chamber, etc.). The 2-speed worked fine while I was out, and the only mishap (before I got home, that is) was a loosened grub screw on the shaft between the tranny and GCM transfer case. It was an easy fix on the trail.


Also, I decided to try leaving the front wheels unweighted to see if having the motor and tranny up font would be enough. I'm happy to report that it did quite well in a couple of steep spots. It probably could use more if I were to comp it (unlikely), but it seemed just fine on a mix of trails, rocks and moderately steep climbing.


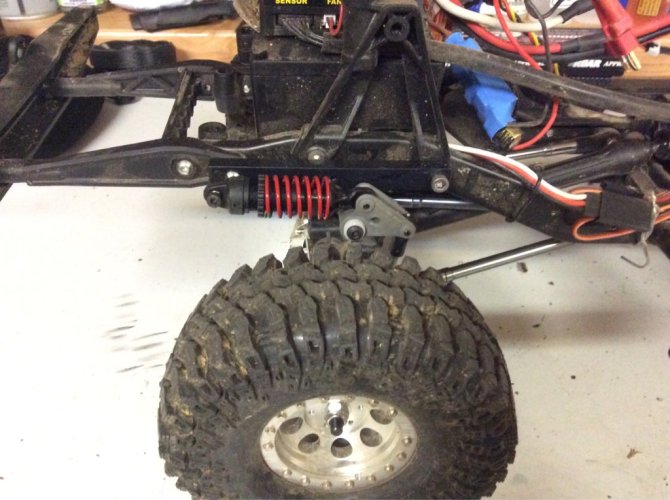
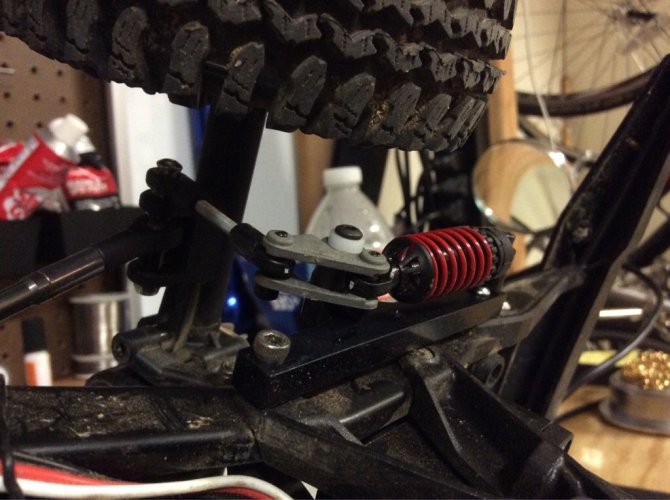
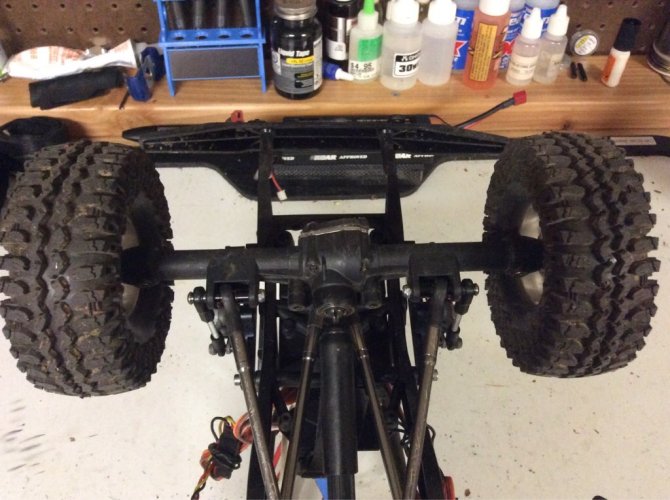
When I got home, I installed the Dinky RC cantilevers. I think I did it slightly differently from Generis. Instead of drilling new holes in the frame rails, I drilled an extra hole in each cantilever bracket to line up with the existing frame hole at the back. With 2 screws into the frame, it's super sturdy. They work great and, to my surprise, the TT is completely gone. Poof. Nada mas. It probably didn't hurt that I moved the lower link mounts out a bit wider on the axle. You'll see from the pix below that I mounted the cantilever link outside of the axle bracket, then used a 2mm spacer outside the link and a 5mm spacer inside the link. After Roo and I took it for a short test run on some rocks in the neighborhood, I couldn't be happier with the rear suspension now. Here's how it looks:


ImageUploadedByTapatalk1423443184.172967.jpg

ImageUploadedByTapatalk1423443199.226493.jpg

ImageUploadedByTapatalk1423443209.379667.jpg


So all of that was great. The only downer today was frying a shift servo on the test run this afternoon. There may have been an internal short somewhere. Let's hope it was isolated. I'll replace this week and then it's onto the power train (time to ditch the ROC 412 in favor of a Crawlmaster), front suspension, and then interior.
 
Last edited:
^^ For sure. I've already started thinking about the forward mount/transfer case/canti combo for my SCX-10. It's just too good not to do. :)
 
Just an FYI, the Blazer body is a 1:9 scale. Or at least the width is. I measured my 1:1 across the hood and did the math and it comes out to a 1:9. ;)
 
Just an FYI, the Blazer body is a 1:9 scale. Or at least the width is. I measured my 1:1 across the hood and did the math and it comes out to a 1:9. ;)


That's probably right by width. It's more in the 8.5 range by wheelbase and overall length. None of these is exact in all dimensions. :)


Sent from my iPad using Tapatalk
 
Yea, I didn't measure the length.

You've got an awesome build going on here though and glad to see Roo building as well.

I haven't taken mine out to any course but have run it on a little home built course in the back yard. I haven't seen too many issues with the body other than a little tire rub on the rear of the front fender and the front of the rear fender at full squat. So I just trimmed it up a bit.
 
Back
Top