• Welcome to RCCrawler Forums.

    It looks like you're enjoying RCCrawler's Forums but haven't created an account yet. Why not take a minute to register for your own free account now? As a member you get free access to all of our forums and posts plus the ability to post your own messages, communicate directly with other members, and much more. Register now!

    Already a member? Login at the top of this page to stop seeing this message.

New2Ascender - big tiny truck built by little little hands

Very nice build fellas. Question....... Could you put Roo on a plane so he could help me get some projects knocked out? :mrgreen:

Lol. I'd have to pry him away from his Yeti build. Easier said than done. "thumbsup"

There will be some updates here pretty soon. Dinky interior should be arriving shortly, and I'm contemplating a different rear suspension setup (not to mention a future build with the GCM leaf conversion).


Sent from my iPad using Tapatalk
 
Last edited:
Your TF2 interior looks great, so I'm expecting nothing less here lol. I haven't done that kind of detail work in years. "thumbsup" :)
 
Looking back again at this thread last night, a couple of things occurred to me. Most notable is the enormous difference in Roo from nearly a year ago when I started this build to now. When I started this build, he was able to do most things under close supervision but often needed help gathering the right pieces or hardware and handling some of the trickier parts of the assembly. Fast forward to his Yeti, which really is HIS build (as you can see in that thread), and the difference is night and day. Last night, he went through a couple of steps in the instructions needing me only to trim excess plastic from parts he cut off the tree. It warms a dad's heart. :)

The other thing I noticed is that Roo hasn't wrenched on this in quite a while (he's been busy helping on lots of other builds, including some I haven't yet posted, as well as the recently started Yeti). We'll fix that soon enough once he finishes his Yeti and I am ready for the next round of major updates to this build. Those will include a complete overhaul of the rear suspension (using some new bits from those crazy Canadians at GCM) and a new interior (the Dinky kit, which arrived a couple of days ago). By the time I'm ready for those, Roo should be done with the Ascender abd ready to get his littls hands back on this build.

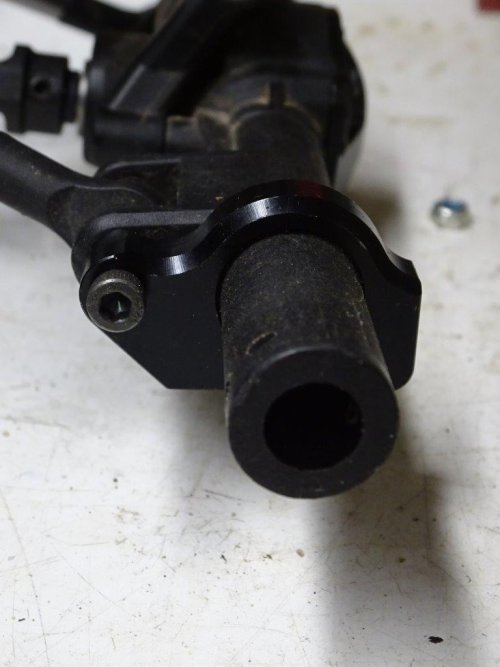
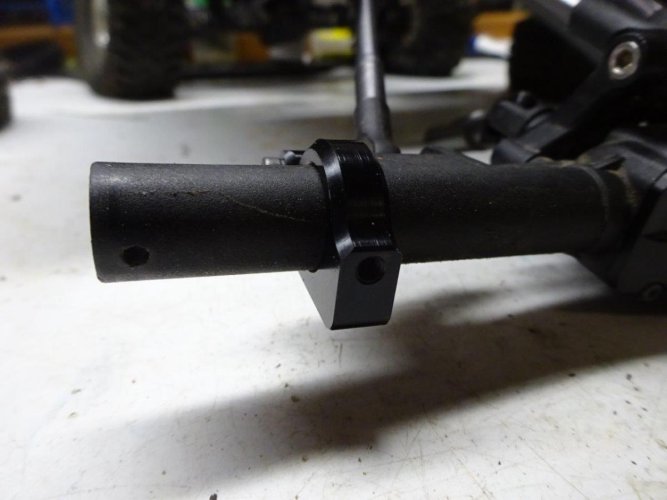
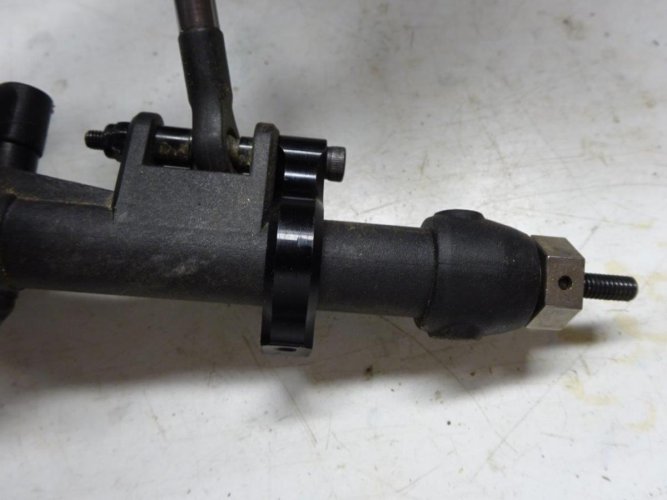
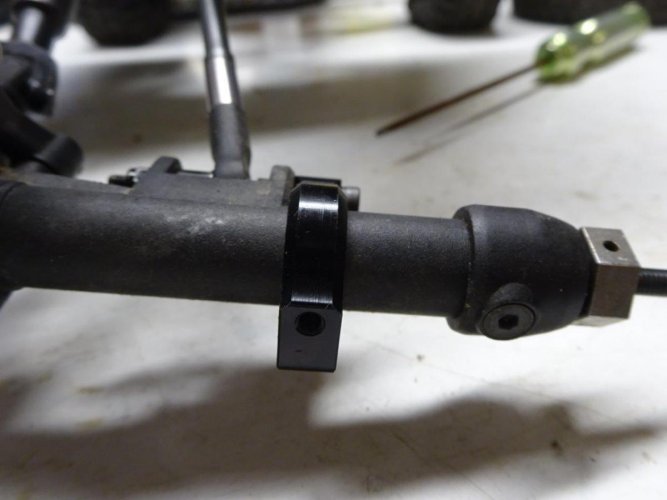
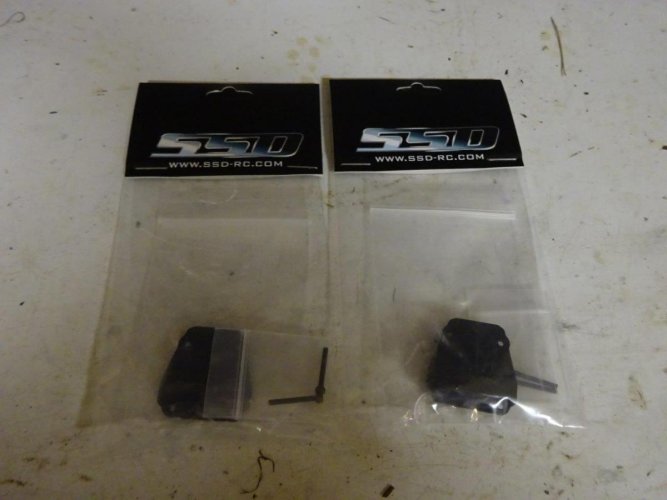
In the meantime, I added a now familiar upgrade to the axles:
DSC03015.jpg

They include 2 mounting screws with each one to replace the stock lower mounting screws (which are longer to accommodate the plastic diff cover skid that is no longer needed). The shorter of the stock screws gets re-used.

Here are my stock diff covers after they came off:
DSC03023.jpg

Note how the cover started pulling off at the upper left corner, pulling completely past the screw head and leaving a much larger hole in the plastic. It would have needed replacement anyway, so the timing was perfect.

Here's how she looked before:
DSC03016.jpg

And after:
DSC03024.jpg

Much more betterer. She'll go back up on the rack for now until I have all of the parts in hand for the next round. :mrgreen:
 
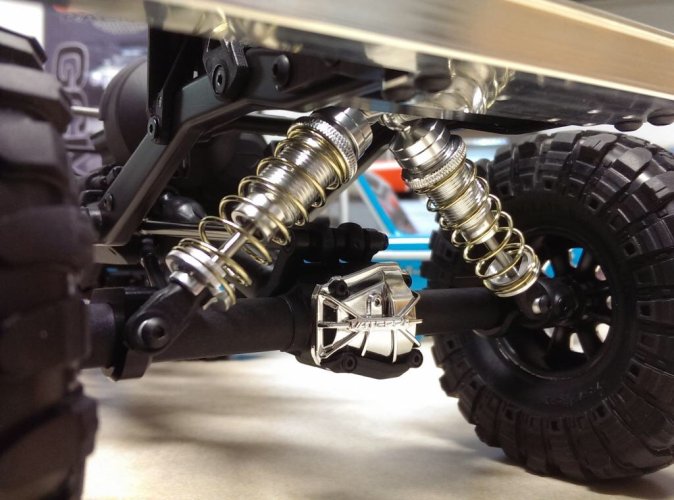
I ordered the shock relocation kit to replace the cantilevers on my truck too.

Must be true what they say about great minds. "thumbsup"
 
Must be true what they say about great minds. "thumbsup"


A great engineer in the making ;)


Pretty cool to be included in the development of this new upgrade:mrgreen: what type shocks are being used? What is the leagnth of the shock?

Thanks, but the only thing I can take credit for is occasionally voicing a decent idea (sometimes my own, sometimes borrowed) within earshot of really smart people that can differentiate it from all of my not so decent ideas and then make it happen. "thumbsup"

Chris is recommending 70-75mm shocks. He sells a pair from a supplier that he uses and really likes. I'm going to try those but, never being one to leave well enough alone, I'll probably also try a pair of 70mm RC4WD Kings (and maybe even 70mm Ultimate Scalers) just to compare. I'll post up with more info once I have the parts in hand and can test it all out.

If any of you get yours before I get mine, post up so we can see!
 
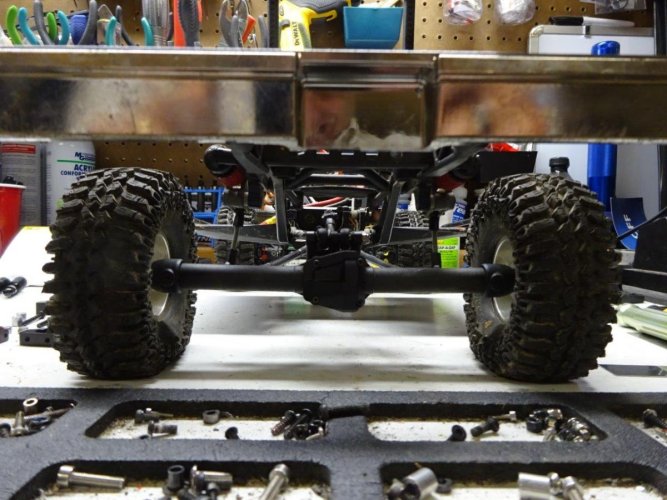
GCM shock relocation is now done, and I'm quite pleased. Here's how it went down.

First, a few pix of the Dinky cantilever setup I'd been running for nearly a year:
DSC03065.jpg

DSC03064.jpg

DSC03073.jpg

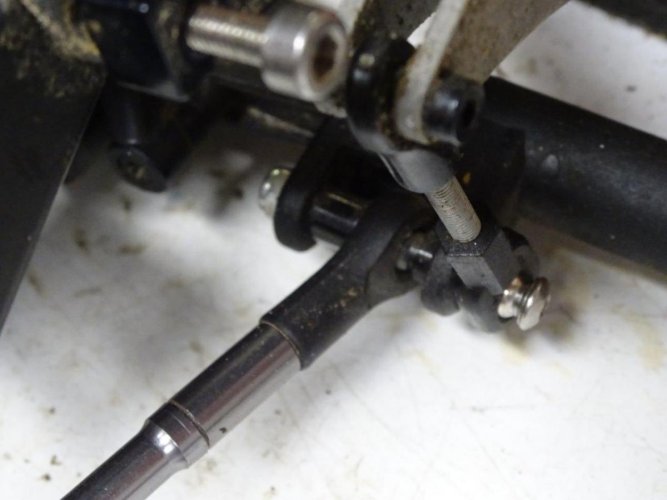
Note the placement of the spacers to position the lower links further out:
DSC03074.jpg

First up was removing the cantilevers:
DSC03075.jpg

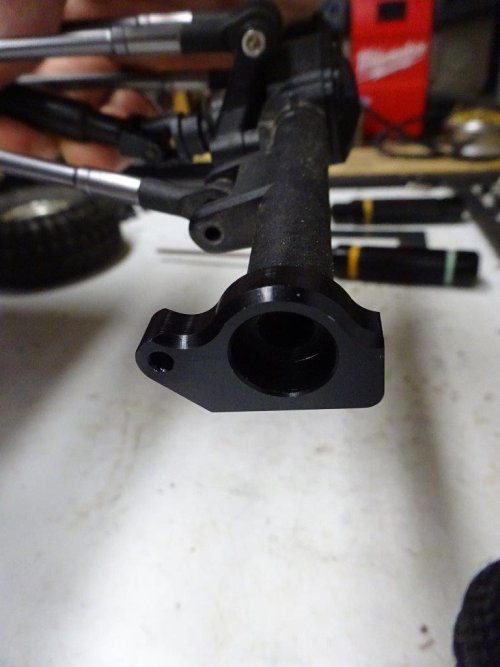
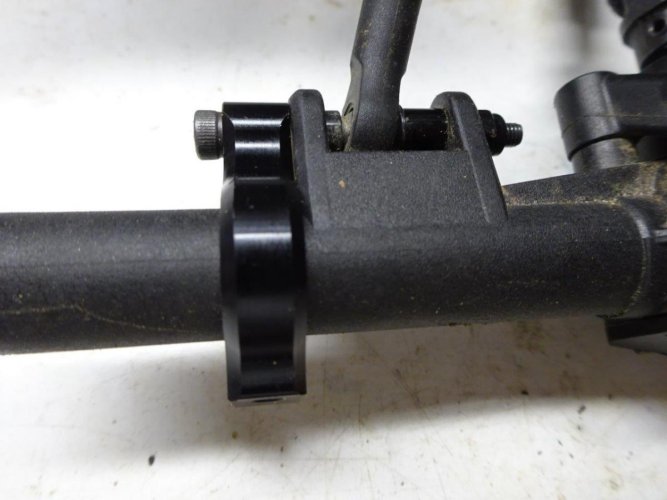
Two screws to remove the bearing cap and axle, and it was time to slide on the lower shock mount. It takes a bit of pressure (palm of the hand) to get it started on the end of the axle housing, but after the first few mm, it slides on nice and easy. From this:
DSC03077.jpg

To this:
DSC03078.jpg

DSC03079.jpg

DSC03080.jpg

Note that I used a 35mm screw to secure the mount and lower link/spacers. After taking care of the left side, it was onto the right:
DSC03067.jpg

DSC03070.jpg

DSC03071.jpg

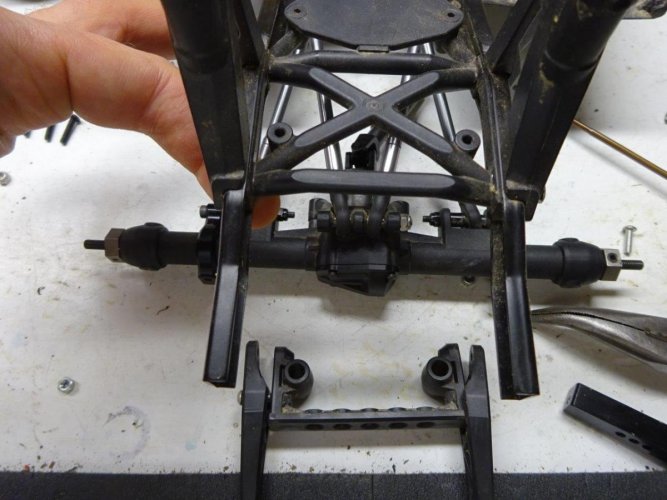
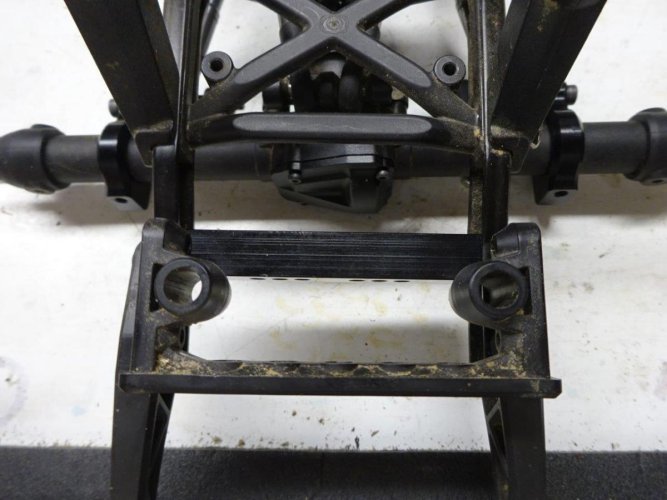
After the lower shock mounts were in place, it was time to remove the rear-most frame cross-brace to install the upper shock mount:
DSC03081.jpg

Because the shock mount gets installed using the forward-most holes from the rear bumper bracket, the rear cross brace needed to be trimmed to make room for the upper shock mount:
DSC03082.jpg

DSC03084.jpg

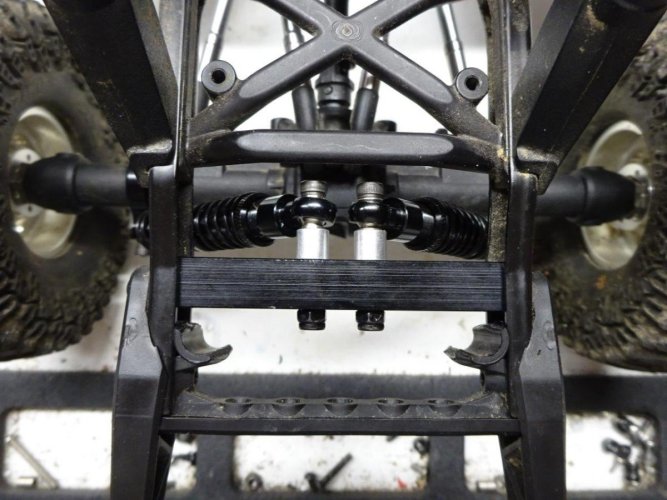
With that done, it was time to install the shocks. Chris at GCM recommends 70-75mm shocks, but I don't have any on hand at the moment. So for now, I chose a pair of 80mm Dual Springs that were take-offs from a D90:
DSC03086.jpg

View from the rear:
DSC03085.jpg

And now for the obligatory flex shot:
DSC03087.jpg

After a bit of messing around on the garage floor, it's looking good. Some of the torque twist has come back vs. my cantilever setup, but it shouldn't be too hard to tame. At a minimum, I think the shorter shocks mounted further outbound up top should help, and I always have the option of adding a sway bar. I can't wait to get this out on the rocks this weekend. I should be able to get some videos up once I do. "thumbsup"
 
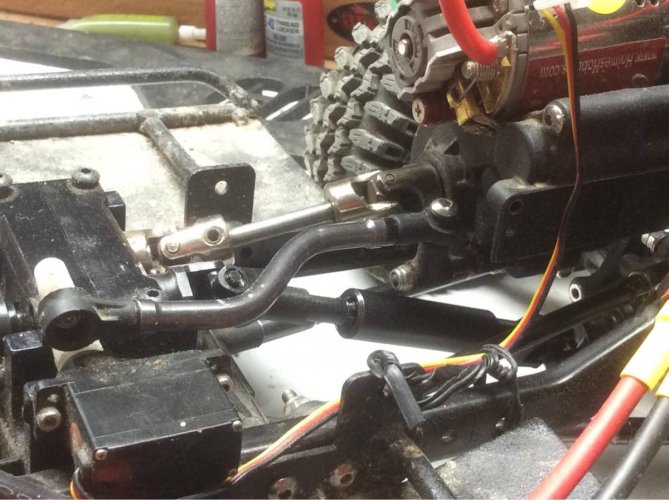
Here's a quick update: sticky shifter was solved by replacing solid shift link end with a ball joint and opening up the drilled out shifter hole just slightly. It's now shifting easily and smoothly,

Do you happen to have a pic of the shifter linkage? Possibly the sub micro servo you used?

Thanks in Advance
 
Do you happen to have a pic of the shifter linkage? Possibly the sub micro servo you used?


Thanks in Advance
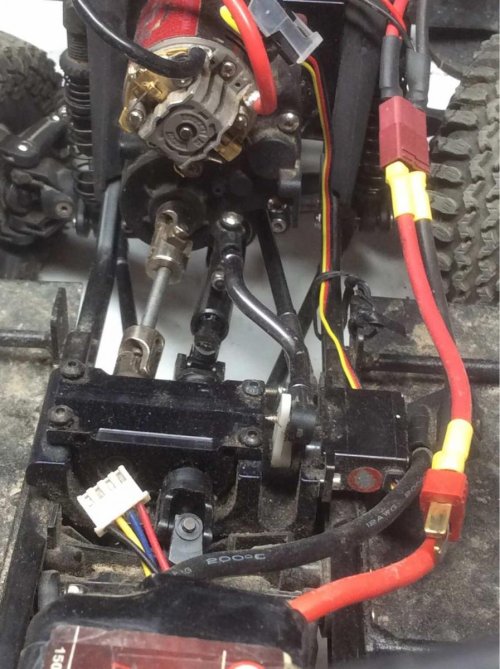

Here are a few pix:
ImageUploadedByTapatalk1452816616.510980.jpg

ImageUploadedByTapatalk1452816628.646979.jpg

ImageUploadedByTapatalk1452816642.612914.jpg

The two biggest issues I had with my first couple of attempts were trying to run the link straight from the servo to the shifter and not allowing some play where the link attaches to the shifter. The straight link wasn't allowing the shifter to slide in and out smoothly, causing the servo to overheat. The z-shaped link addressed that first problem.

Not having any play where the link attaches to the shifter was creating binding, which also was causing the servo to get hot very quickly. Using a ball end at the shifter end of the link and leaving the screw into the servo horn a bit loose fixed that problem. (Because of the alignment and design of the RC4WD R3 2-speed, those are non-issues on my other 2-speed rigs, which is why I hadn't even thought about them at first.). Anyway, it's all good now. Shifts are smooth and fast, and the servo (Hitec HS-65HB) is very happy. Hope that helps...
 
Man,

That totally helps.. I completely appreciate it! Welp, off back to shopping I go.. I bought to big a servo for the shifting.. Thanks again.
 
Sure.....no problem....lol. :mrgreen:

Shock relocation looking good, stock diff covers were about done.


Thanks

Need to install black grill insert stickers.


Lol. This body is for being abused. I'm going to keep it unmolested and tacky until I do the interior, and then I'll finish the kit body properly. :)


Sent from my iPhone using Tapatalk
 
Finally got my hands on some scale fix-a-flat (aka, CI single-stage foams for 4.25-4.29" tires, with foam tape used to build up around inner ring of 1.7" wheel for snug fit):
DSC03286.jpg

Still playing around a bit with the rear relocated shock setup. The Kings work much better than the dual spring take-offs from the D90 (no surprises there), but I still have some tinkering to do get it dialed in. I'll post an update with details once I have it buttoned down a bit more.
 
Back
Top