-
Welcome to RCCrawler Forums.
It looks like you're enjoying RCCrawler's Forums but haven't created an account yet. Why not take a minute to register for your own free account now? As a member you get free access to all of our forums and posts plus the ability to post your own messages, communicate directly with other members, and much more. Register now!
Already a member? Login at the top of this page to stop seeing this message.
You are using an out of date browser. It may not display this or other websites correctly.
You should upgrade or use an alternative browser.
You should upgrade or use an alternative browser.
Project 8-Ball - 2.2 Trail (Class 3) FJ40 for 2015
- Thread starter dna4engr
- Start date
dna4engr
Rock Crawler
Great looking rig you have built ,,, GO - GET - EM "thumbsup"
Thanks. The KMS freespool winch in here really did some work for the time trial trail run we had after the crawl.
Awesome build. Gotta love an FJ
Thanks. I've always wanted one in 1:1. This one will have to do for now.
dna4engr
Rock Crawler
Here are some closeup of the latest details.
Yeti skull driver head on the wild willys body. Strapped in with harnesses by me.

Yeti fuel cell for the radio along with an Exo terra battery, nos bottle and some yea racing fuel tanks attached to the tsc tool box


Passenger seat with a harness and the minimum of decals added.


I have had some major servo problems. My hh v2 servo lost the gears again. No idea how or when. Parked the rig and went to drive it today with the servo jacked up again. Dropped some serious coin on a new one. In the mean time back to savox 1230.
I figured while it was down I might as well waterproof the kms servo winch.
I decided to do it a little different than metal masher and szczerba. I just added a seam of silicone to the motor face then sealed around the motor can and the case and then the endbell. Should work as I've already had this thing dunked and the winch keeps working.

Also greased up the drive to the spool to keep it moving free.

On the freespool shaft I added the typical oring.

To try and keep the bearing for the output shaft clean (as it needs to slide in and out of that bearing to engage/disengage). I added an oring and a washer to the outside. To keep pressure on that I put a pen spring on the shaft and set one of the collars I had to preload it. This also helps add a little spring pressure to get the winch back to the engaged state.

I also waterproofed the output on the other end of the servo the same way they did, just no photos.
Sent from my iPad using Tapatalk
Yeti skull driver head on the wild willys body. Strapped in with harnesses by me.
Yeti fuel cell for the radio along with an Exo terra battery, nos bottle and some yea racing fuel tanks attached to the tsc tool box
Passenger seat with a harness and the minimum of decals added.
I have had some major servo problems. My hh v2 servo lost the gears again. No idea how or when. Parked the rig and went to drive it today with the servo jacked up again. Dropped some serious coin on a new one. In the mean time back to savox 1230.
I figured while it was down I might as well waterproof the kms servo winch.
I decided to do it a little different than metal masher and szczerba. I just added a seam of silicone to the motor face then sealed around the motor can and the case and then the endbell. Should work as I've already had this thing dunked and the winch keeps working.
Also greased up the drive to the spool to keep it moving free.
On the freespool shaft I added the typical oring.
To try and keep the bearing for the output shaft clean (as it needs to slide in and out of that bearing to engage/disengage). I added an oring and a washer to the outside. To keep pressure on that I put a pen spring on the shaft and set one of the collars I had to preload it. This also helps add a little spring pressure to get the winch back to the engaged state.
I also waterproofed the output on the other end of the servo the same way they did, just no photos.
Sent from my iPad using Tapatalk
SuperDrty
Quarry Creeper
I may have to steal the idea with the wild willy body with an axial head for the bouncer.
dna4engr
Rock Crawler
After giving the HH V2 servo a second shot (updated gears) it puked out on me too (need to contact holmes again).
I decided to splurge. The arena of high dollar servos is a little clustered right now. I went with the Hitec 9380 as it has all the specs I want and the warranty from hitec has been good to me. This servo has to have a PAD if you don't know if the electronics can handle the voltage feedback.

Had to make up a Y harness for the servo and the PAD. Since I moved the Rx to the yeti fuel cell there was plenty of room.
The anodized red really goes with the red of my rig.

And the servo horn

Hitec says its water resistant. Not going to test that out any time soon. I'll have her on the rocks on Sunday for testing.
Sent from my iPad using Tapatalk
I decided to splurge. The arena of high dollar servos is a little clustered right now. I went with the Hitec 9380 as it has all the specs I want and the warranty from hitec has been good to me. This servo has to have a PAD if you don't know if the electronics can handle the voltage feedback.
Had to make up a Y harness for the servo and the PAD. Since I moved the Rx to the yeti fuel cell there was plenty of room.
The anodized red really goes with the red of my rig.
And the servo horn
Hitec says its water resistant. Not going to test that out any time soon. I'll have her on the rocks on Sunday for testing.
Sent from my iPad using Tapatalk
dna4engr
Rock Crawler
We had our first comp of 2015 this weekend. Took second in the 2.2 trail class.
Had a good run going on course 1 and my dam roll bar kept getting caught on sharp rocks. Design flaw in the chassis. The b pillar hoop was completely exposed.

While I was modifying that I figured I'd take 1/2" out of the roof too to help with clearances and give her a meaner stance.


Skull Willy still fits in the drivers seat.

Now to finally address the original issue. I put a bar from the bend on the a pillar to the bend on the b pillar.

Sent from my iPad using Tapatalk
Had a good run going on course 1 and my dam roll bar kept getting caught on sharp rocks. Design flaw in the chassis. The b pillar hoop was completely exposed.
While I was modifying that I figured I'd take 1/2" out of the roof too to help with clearances and give her a meaner stance.
Skull Willy still fits in the drivers seat.
Now to finally address the original issue. I put a bar from the bend on the a pillar to the bend on the b pillar.
Sent from my iPad using Tapatalk
dna4engr
Rock Crawler
Getting it ready for next weekends g6 style event. All ready except for replacing bearings in the axles.
New meaner stance. Hard to believe that's only 1/2"


Replaced the stock kms winch line with some blue 250lb test from locked up.

Sent from my iPad using Tapatalk
New meaner stance. Hard to believe that's only 1/2"
Replaced the stock kms winch line with some blue 250lb test from locked up.
Sent from my iPad using Tapatalk
Looks really good Dana. Really made a difference trimming it down.
dna4engr
Rock Crawler
Been a while since I posted an update.
Competed in our first g6 style event in May. Did really well and wasn't going for speed so my team finished around 3rd.
Some damage was sustained to the cage.

Took the hammer and pry bar to the cage and straightened it out pretty good.

At the g6, one of the obstacles had us go thru the edge of a mud pit. I had the 4s pack in so I figured let's give the middle a go. Got hung up on something in the middle and just started going in circles. No problems with the waterproofing. Just got some water in the rx box that screwed up the signal so I had to lift her out.


Finally decided to take the motor apart today. Good thing as the main output bearing was really rough and there was plenty of crud inside the motor. Cleaned it out and got it back together.


Sent from my iPhone using Tapatalk
Competed in our first g6 style event in May. Did really well and wasn't going for speed so my team finished around 3rd.
Some damage was sustained to the cage.
Took the hammer and pry bar to the cage and straightened it out pretty good.
At the g6, one of the obstacles had us go thru the edge of a mud pit. I had the 4s pack in so I figured let's give the middle a go. Got hung up on something in the middle and just started going in circles. No problems with the waterproofing. Just got some water in the rx box that screwed up the signal so I had to lift her out.
Finally decided to take the motor apart today. Good thing as the main output bearing was really rough and there was plenty of crud inside the motor. Cleaned it out and got it back together.
Sent from my iPhone using Tapatalk
dna4engr
Rock Crawler
Resurrecting this thread a little bit for the 2016 rebuild. I ran the truck a few more times in 2015 through our G6 style events. The last one being in Byron Mn in the fall.
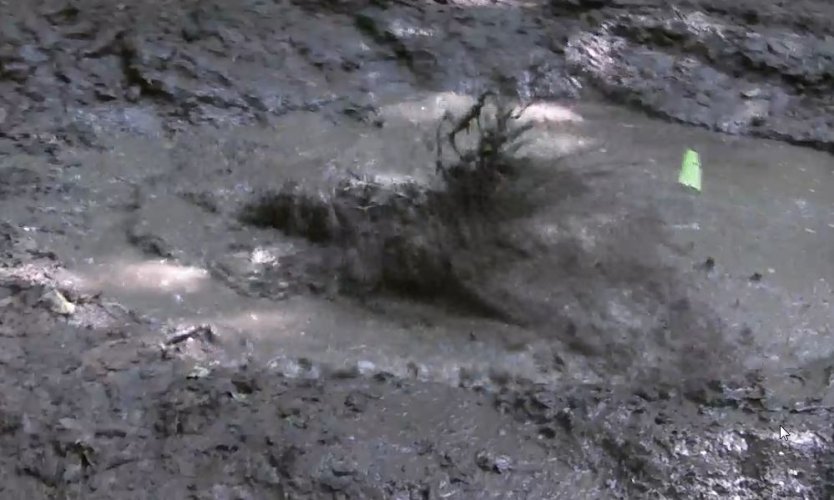
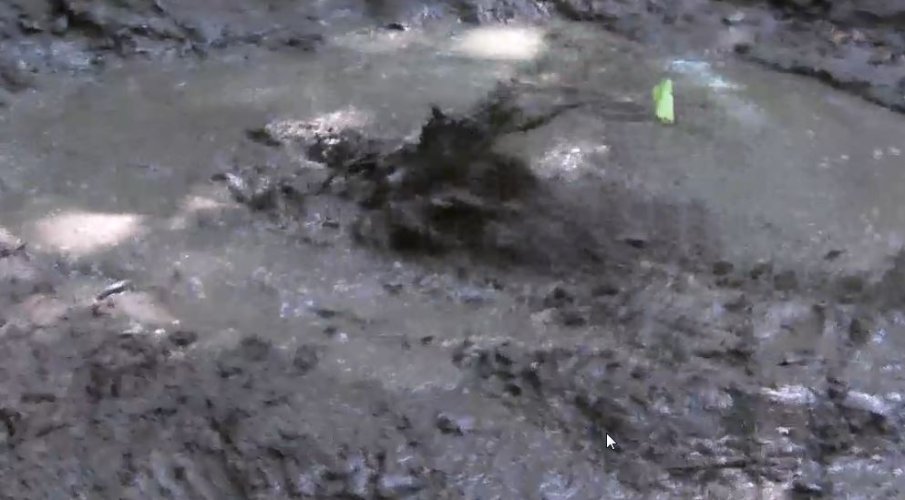
Had a great time and came in 1st this time. We paired up 1.9 and a 2.2 rig so I ran with sprdrty and his 1.9 scale comp truck. He lost steering toward the end so I towed him in to the finish. Then it was time to play in the mud pit again.
This time the same pit as above would not deny me crossing it.
Even got a wild hair up my backside and decided to go through it again the other direction.
Needless to say it was a lot of fun. After the event, the rig went on a shelf and now it's time to tear it apart and see if anything still works :shock::shock:
Attachments


dna4engr
Rock Crawler
And after 6 months on a shelf here she sits. Completely locked up lol. Tires won't move...motor doesn't move. Still got plenty of that Byron clay caked all over it. Time for a tear down to see how badly the bearings are locked up.


Sent from my iPhone using Tapatalk
Sent from my iPhone using Tapatalk
StereoGuy
Newbie
Is your brace around your steering servo custom or does someone make that? Your build is very impressive.
dna4engr
Rock Crawler
Is your brace around your steering servo custom or does someone make that? Your build is very impressive.
Thanks!
It's a dinky link s type for the wraith axle. It's made by dinky rc.
Sent from my iPhone using Tapatalk
StereoGuy
Newbie
It looks pretty cool and seems like it would be a significant upgrade over stock. Does it work pretty good? Any down sides to it?
dna4engr
Rock Crawler
It looks pretty cool and seems like it would be a significant upgrade over stock. Does it work pretty good? Any down sides to it?
Yes it's a really slick unit. I have another one on my 2.2 trail comp truck. I have the servo horn pointing up on this one and down on the comp rig. It works both ways depending on clearances and servo strength.
Sent from my iPhone using Tapatalk
dna4engr
Rock Crawler
I started to tear the mechanical parts down last night. Needless to say it was the transmission that was locked up the most. The motor looked pretty bad but did rotate by hand.
The entire trans will be rebuilt and the motor is going to get a 5mm output rotor from a Pro4 on this rebuild as I'm going to throw some more voltage at it and get some real speed for the mud pits")
Here's the build up of rust and mud inside the motor and trans.


I spent half a can of motor cleaner spraying out the inside of the motor case. It's pretty clean now and ready for reassembly when the bearings and shaft arrive.
New Avid bearings for the trans. Had to wire brush all the gears to clean off the gunk and rust. Also realized that super shafty 6mm outputs use a 10x16x5 bearing not the 10x16x4 bearings I had. So now I wait until they arrive to bolt it back together

Sent from my iPhone using Tapatalk
The entire trans will be rebuilt and the motor is going to get a 5mm output rotor from a Pro4 on this rebuild as I'm going to throw some more voltage at it and get some real speed for the mud pits
Here's the build up of rust and mud inside the motor and trans.
I spent half a can of motor cleaner spraying out the inside of the motor case. It's pretty clean now and ready for reassembly when the bearings and shaft arrive.
New Avid bearings for the trans. Had to wire brush all the gears to clean off the gunk and rust. Also realized that super shafty 6mm outputs use a 10x16x5 bearing not the 10x16x4 bearings I had. So now I wait until they arrive to bolt it back together
Sent from my iPhone using Tapatalk
dna4engr
Rock Crawler
I decided to put the new style of vanquish vvd I had them laying around so I figured wtf. The axial unis have been outstanding but I have another use for them.

Finally got the transmission fully rebuilt with the right bearings. Also did my other 2 bombproof trannys at the same time.

5mm rotor Finally showed up. I bought it from Amazon at $20 less than the going rate and it took almost 3 weeks to arrive. I guess it's the trade off. It fits perfectly as expected.

And the reassembly begins

I was able to get it up and running with just the esc and servo. We had a local winter comp and I through my pitbulls off my 2.2 trail comp rig. The thing only weighed 7lbs like this. Didn't get too many pics on the rocks but it did great and won the 2.2 class !!!

Switched back to the swampers for some trail and mud/water fun.


Towing back Derek's mud truck after his servo quit working and front driveshaft pin fell out.

Sent from my iPhone using Tapatalk
Finally got the transmission fully rebuilt with the right bearings. Also did my other 2 bombproof trannys at the same time.
5mm rotor Finally showed up. I bought it from Amazon at $20 less than the going rate and it took almost 3 weeks to arrive. I guess it's the trade off. It fits perfectly as expected.
And the reassembly begins
I was able to get it up and running with just the esc and servo. We had a local winter comp and I through my pitbulls off my 2.2 trail comp rig. The thing only weighed 7lbs like this. Didn't get too many pics on the rocks but it did great and won the 2.2 class !!!
Switched back to the swampers for some trail and mud/water fun.
Towing back Derek's mud truck after his servo quit working and front driveshaft pin fell out.
Sent from my iPhone using Tapatalk
dna4engr
Rock Crawler
Small update for the 2016 season. The red was cool but I just needed to change.
Gunmetal and black hood painted on the outside and flat clear applied over it.


I had the aluminum tread plate on it before. Decided to replicate more 1:1 armor this time.
Took the same aluminum tread plate from hot racing and sanded it, primed and painted flat black. Decided to attach to the Al panels with some 3/32" rivets.

Waiting on paint to dry.

Sent from my iPhone using Tapatalk
Gunmetal and black hood painted on the outside and flat clear applied over it.
I had the aluminum tread plate on it before. Decided to replicate more 1:1 armor this time.
Took the same aluminum tread plate from hot racing and sanded it, primed and painted flat black. Decided to attach to the Al panels with some 3/32" rivets.
Waiting on paint to dry.
Sent from my iPhone using Tapatalk
dna4engr
Rock Crawler
Well she's been sitting on the shelf for too long. Now she's on to a new home.
Chassis and scale items all put back together and prepped before shipping.


Sent from my iPhone using Tapatalk
Chassis and scale items all put back together and prepped before shipping.
Sent from my iPhone using Tapatalk
DaveQ
Pebble Pounder
I look forward to getting her!
Sent from my VS986 using Tapatalk
Sent from my VS986 using Tapatalk