| |
 10-20-2010, 10:06 PM
| #21 |
| Pebble Pounder Join Date: Mar 2009 Location: so cal
Posts: 158
|
After I confirmed the dimensions were acceptable I began adding plates one at a time until the full blade was complete. 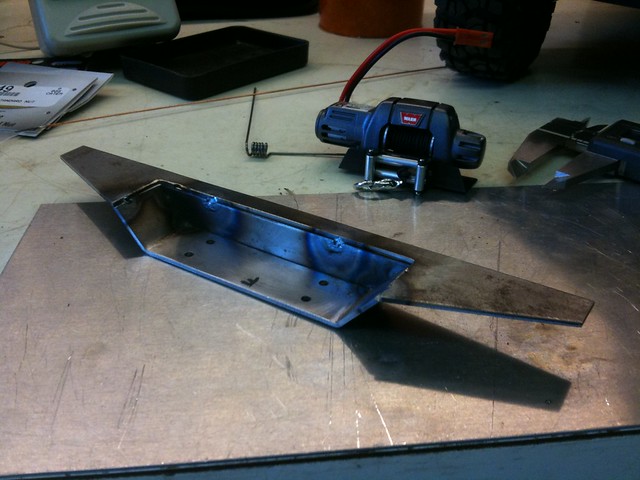  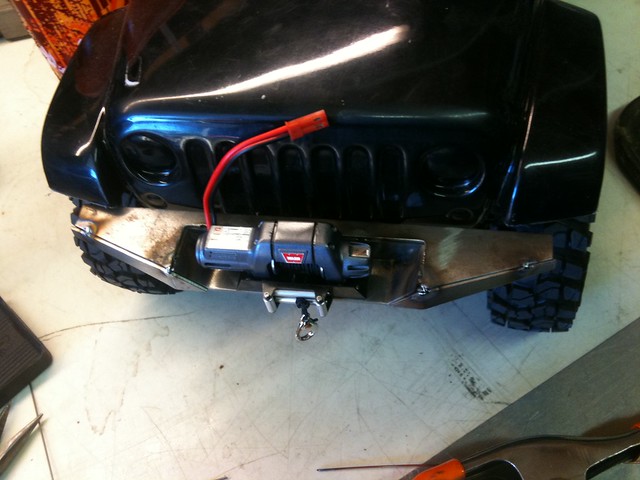 |

|  |
| Sponsored Links | |
| | |
|
10-20-2010, 10:10 PM
| #22 |
| Pebble Pounder Join Date: Mar 2009 Location: so cal
Posts: 158
|
The bottom plate had to have holes to install the hardware for the winch through the bottom.   |
|
| |
|
10-20-2010, 10:15 PM
| #23 |
| Pebble Pounder Join Date: Mar 2009 Location: so cal
Posts: 158
|
I only had the sides to complete now..... 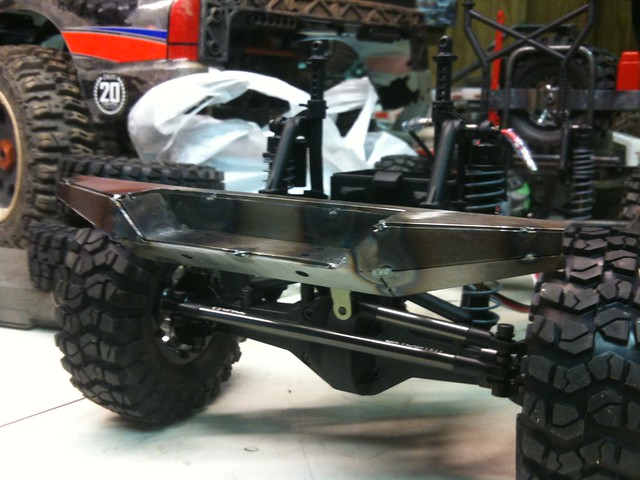 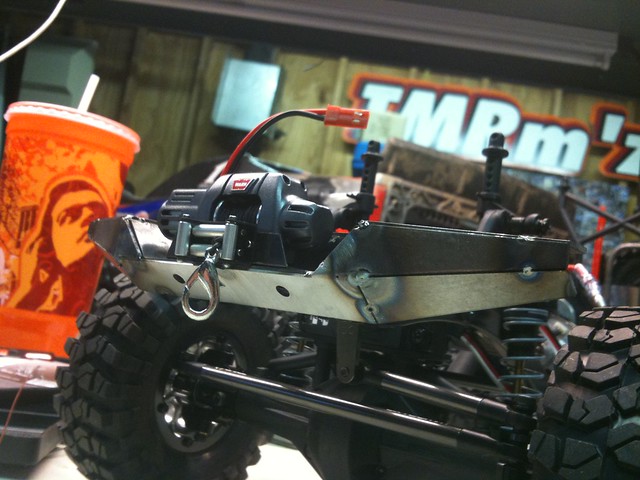 |
|
| |
|
10-20-2010, 10:21 PM
| #24 |
| Pebble Pounder Join Date: Mar 2009 Location: so cal
Posts: 158
|
The next step was to fill the corners, then weld and grind the complete blade. I use a cheesy clamp system to hold it while I weld it up.... 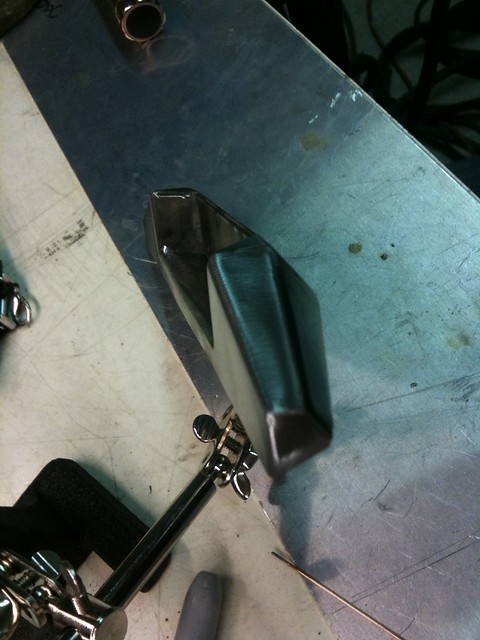 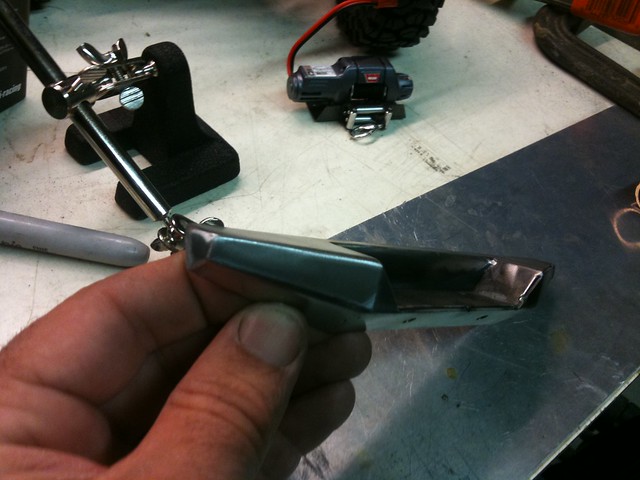 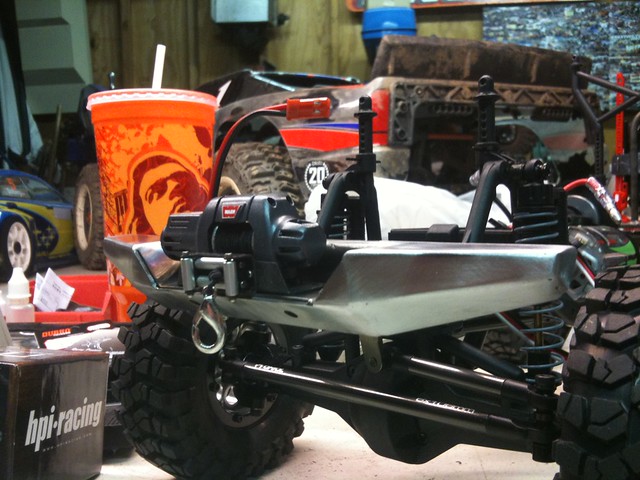  |
|
| |
|
10-20-2010, 10:29 PM
| #25 |
| RCC Addict Join Date: Feb 2006 Location: Bellflower, CA
Posts: 1,028
|
Absolutely stunning! I cant get over how clean it looks. I tried to do the same thing with braze but the heat required is rediculous. Ive got to precut and bend all the corners together then braze. I guess i could try your method but without welding since i dont have a welder.
|
|
| |
|
10-20-2010, 10:34 PM
| #26 |
| RCC Addict  Join Date: Jan 2004 Location: Gunbarrel
Posts: 1,167
|
Incredible looking work! Looking forward to seeing the rest!
|
|
| |
|
10-21-2010, 12:35 PM
| #27 |
| Pebble Pounder Join Date: Mar 2009 Location: so cal
Posts: 158
|
Thanks guys!!!! After the main blade was completed, I had to make the tubes to match. I selected 5/32 solid rod from the local Hobby Town. I am using a Rigid brand bender to make the bends.... 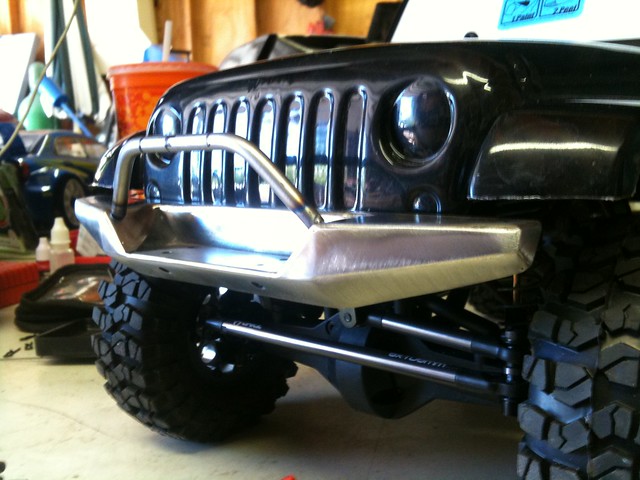  |
|
| |
|
10-21-2010, 12:40 PM
| #28 |
| Pebble Pounder Join Date: Mar 2009 Location: so cal
Posts: 158
|
Next up were the side tubes. These were a pita 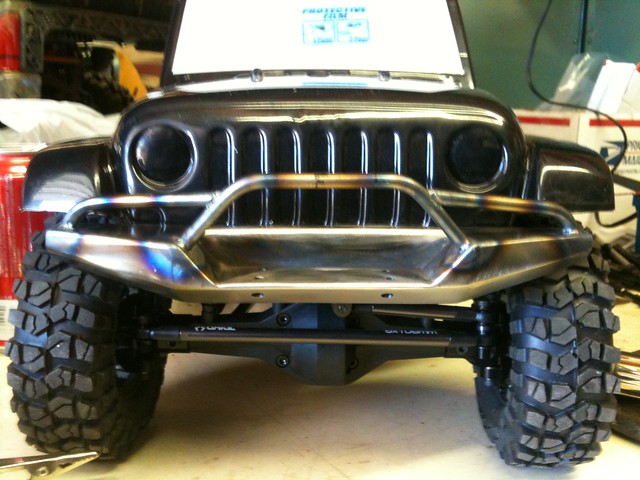 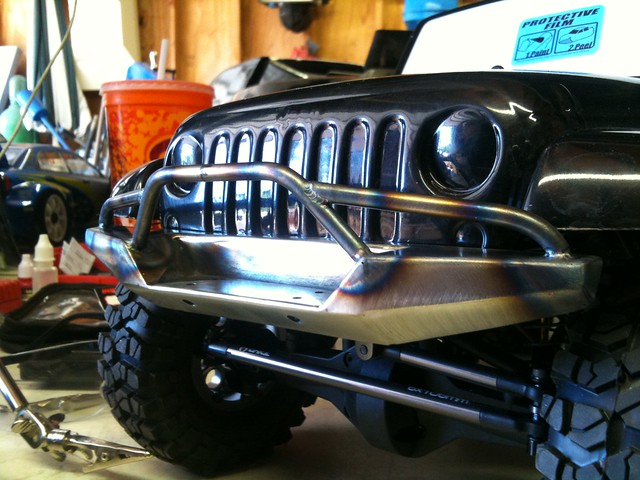 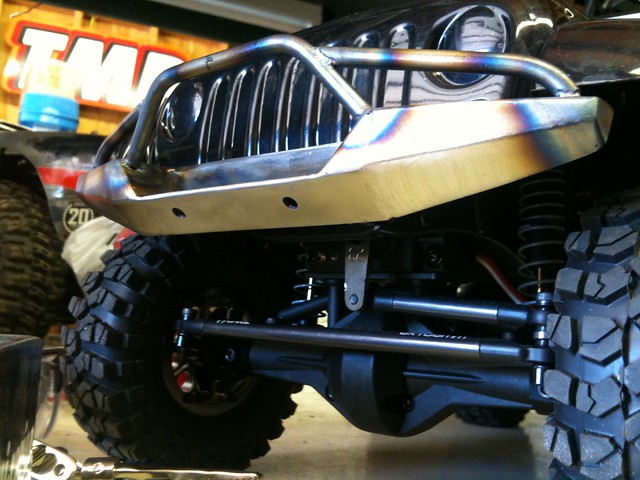 |
|
| |
|
10-21-2010, 12:47 PM
| #29 |
| I wanna be Dave Join Date: Feb 2009 Location: Cowtown, USA
Posts: 2,780
|
Sick bumper!  |
|
| |
|
10-21-2010, 12:47 PM
| #30 |
| Pebble Pounder Join Date: Mar 2009 Location: so cal
Posts: 158
|
It was tough to make the winch fit in the center of the bumper and make the tubes fit properly. The tolerances are very tight.....   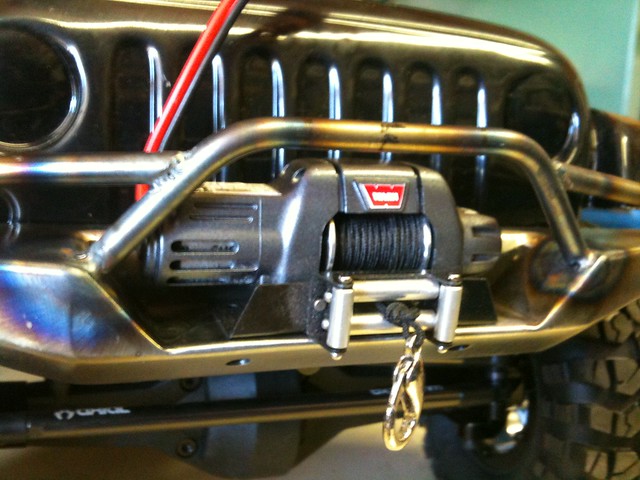 |
|
| |
|
10-21-2010, 12:55 PM
| #31 |
| Pebble Pounder Join Date: Mar 2009 Location: so cal
Posts: 158
|
I had to put the light tabs on the top tube to hold the axial light buckets in chrome. I wasnt to pleased about doing this, as I knew they would likely be ripped off during a rollover. I guess you dont roll the 1 to 1's too often 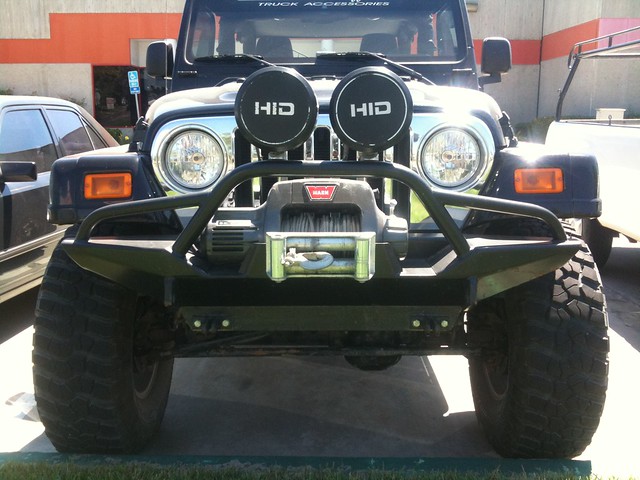 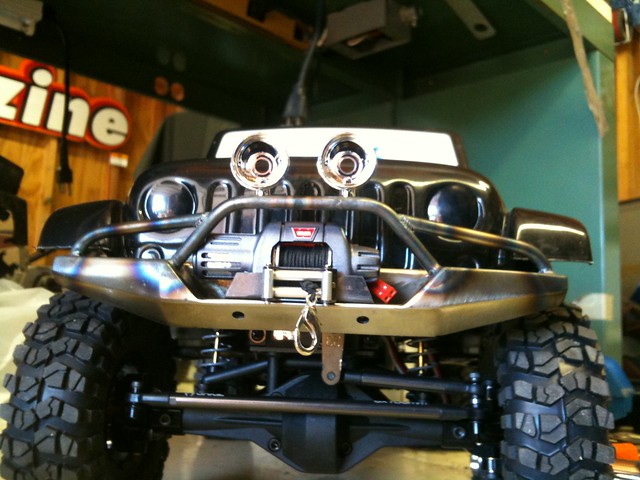   |
|
| |
|
10-22-2010, 12:34 PM
| #32 |
| RCC Addict Join Date: Feb 2008 Location: tauranga north island new zealand
Posts: 1,786
|
Very nice bumper alright .
|
|
| |
|
10-22-2010, 12:46 PM
| #33 |
| Rock Crawler Join Date: Feb 2010 Location: Paw Paw, MI
Posts: 675
|
Great looking bumpers and sliders! I am jealous! |
|
| |
|
10-22-2010, 01:05 PM
| #34 |
| Pebble Pounder  Join Date: May 2007 Location: Victorville
Posts: 176
|
DAMMMMM!!! Wow !! the detail is awesome!!!! i am going to send you my rig to build OK???? |
|
| |
|
10-22-2010, 05:01 PM
| #35 |
| Quarry Creeper Join Date: Feb 2008 Location: Dawsonville, GA
Posts: 285
|
Awesome job on the Jeep! I saw this same rig in the Dec. issue of RCCA. I was planning on doing a Jeep myself after reading the article. I was just curious how much you would charge for a set of those bumpers?
|
|
| |
|
10-22-2010, 05:44 PM
| #36 |
| Rock Stacker Join Date: Nov 2009 Location: long island
Posts: 60
|
excelent work on the bumpers and sliders, does the rear carrier actually work
|
|
| |
|
10-22-2010, 05:58 PM
| #37 |
| I wanna be Dave Join Date: May 2007 Location: Taylors Falls just hanging with the MNRCRC crew.
Posts: 7,843
|
Really nice work it's looking just like the inspiration.
|
|
| |
|
10-22-2010, 07:42 PM
| #38 |
| RCC Addict Join Date: Dec 2007 Location: Calgary
Posts: 1,575
|
WOW . Looking forward to seeing some more.
|
|
| |
|
10-22-2010, 11:11 PM
| #39 |
| Quarry Creeper Join Date: Sep 2010 Location: West Linn
Posts: 467
|
i like the bumper dude. its solid. i have a jeep body just need to fix it up a bit (paint)
|
|
| |
|
10-23-2010, 03:56 PM
| #40 |
| Pebble Pounder Join Date: Jan 2010 Location: Cincinnati
Posts: 112
|
I too first saw this in the December RC Car Action issue. I was blown away and inspired. I have always loved seeing the amount of detail people put into their scale rigs and I am now setting aside money to buy an SCX10 and do one myself. I have no welding skills, so my bumpers will have to be the buy and bolt on type. I believe I will have a hard time finding a swing out spare tire carrier from a company like Pro-Line. |
|
| |
 |
| |


 Linear Mode


