| |
 10-19-2010, 08:45 PM
| #1 |
| Pebble Pounder Join Date: Mar 2009 Location: so cal
Posts: 158
| I have found scale crawling to be my new hobby. I have been racing and building large scale vehicles for a few years now. The smaller scale vehicles are a lot harder to build than I thought. There is an insane amount of talent on this and other crawler sites, and it has been inspirational! I am a fabricator by trade, I have built tons of race cars over the years, but I have never built anything 1:10 scale. I recently brought my scale Cherokee and my son's Dingo over to my dad's house for a family get together. My dad initially dismissed the idea of participating, and then he found himself intrigued as we were taking turns negotiating the small fountain in his backyard. He grabbed my son's DX3r and wouldn't give it back. We knew we had him hooked I got a call from him the following week asking if I could help him assemble a parts list and a game plan for his entry into crawling. We had raced tamiya cars together in the mid 80's when I was a kid. Now me and my son are enjoying the hobby. Its funny to see all three generations of my family going at it. My son and my dad are always trash talking to each other, so this is going to be interesting......... |

|  |
| Sponsored Links | |
| | |
|
10-19-2010, 08:51 PM
| #2 |
| Pebble Pounder Join Date: Mar 2009 Location: so cal
Posts: 158
| My dad owns a Jeep Unlimited, and wanted me to fashion some bumpers and accessories to match his 1 to 1 rig. Here are a few pictures of the 1 to 1 and the accessories he wanted me to build........ The front bumper with winch 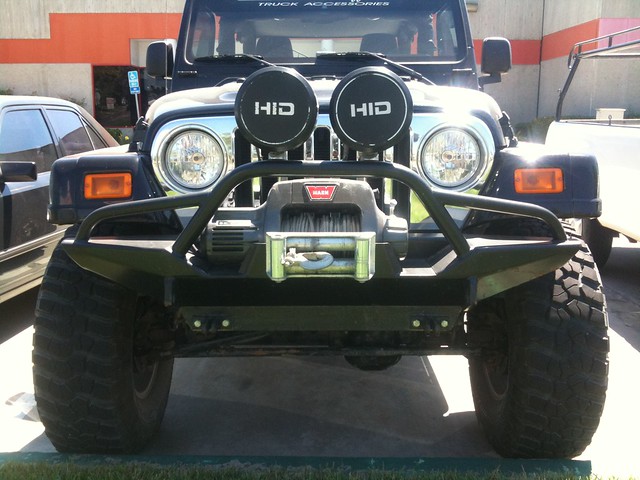 The rear bumper and swing out tire carrier  The Rock Sliders 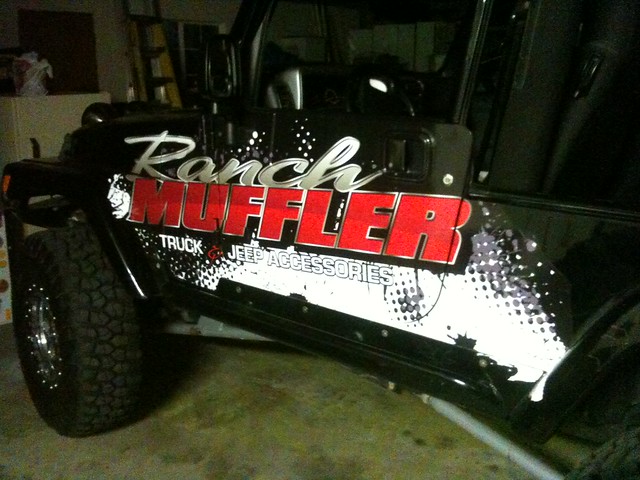 |
|
| |
|
10-19-2010, 10:18 PM
| #3 |
| Pebble Pounder Join Date: Mar 2009 Location: so cal
Posts: 158
|
The closest Wrangler body we could find was the Proline Rubicon body. It was not the same exact body, but it looked as though it would do the job. We secured the body as well as an RTR SCX10 TR Dingo, a handful of other accessories and got started. We trimmed the body and added some outlaw black paint. I decided to start with the rock sliders. It seemed like the most simple part to fab up. In reality there is no simple part to make this size........ Here are some detail shots of the sliders  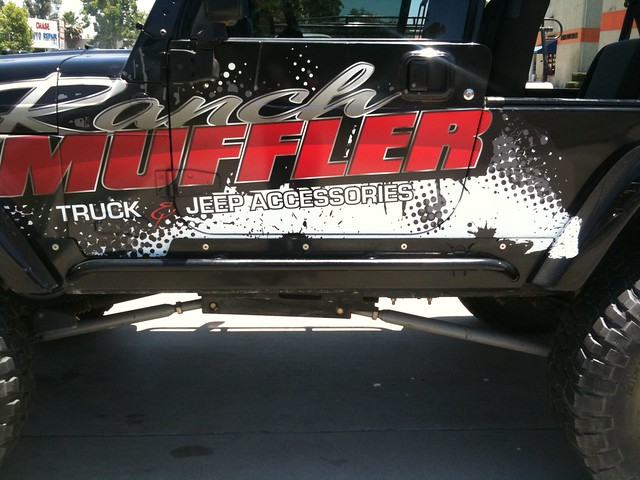  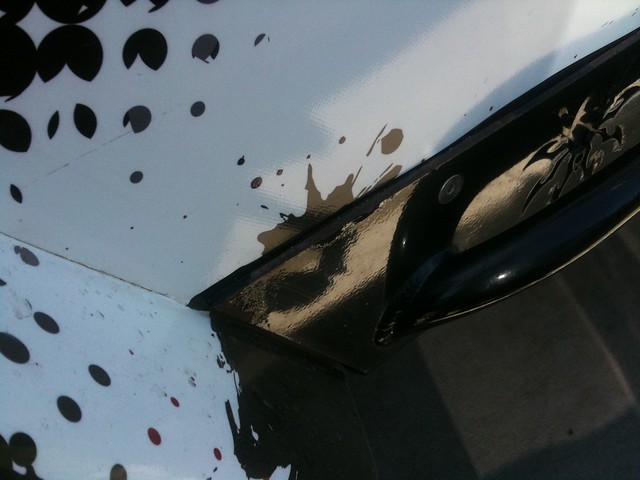 |
|
| |
|
10-19-2010, 10:37 PM
| #4 |
| Pebble Pounder Join Date: Mar 2009 Location: so cal
Posts: 158
|
I didnt get very many photos of the build process of the sliders. I was very determined to get them done and ran into my fair share of problems. The thinner materials are tough to work with, and even the smallest of mistakes looks huge. I use the tig welder, because I have no idea how to solder anything 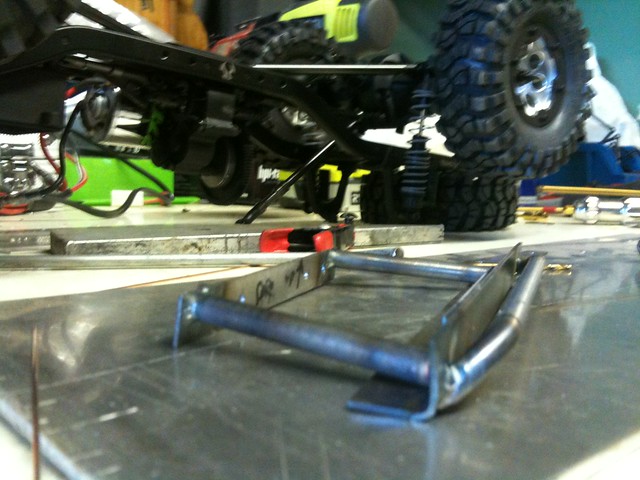 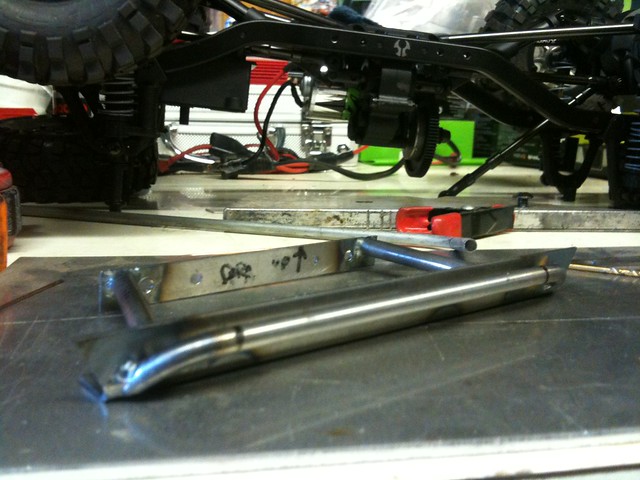 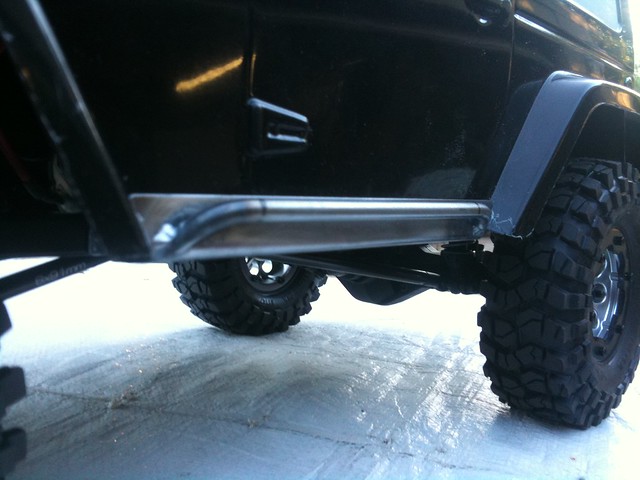 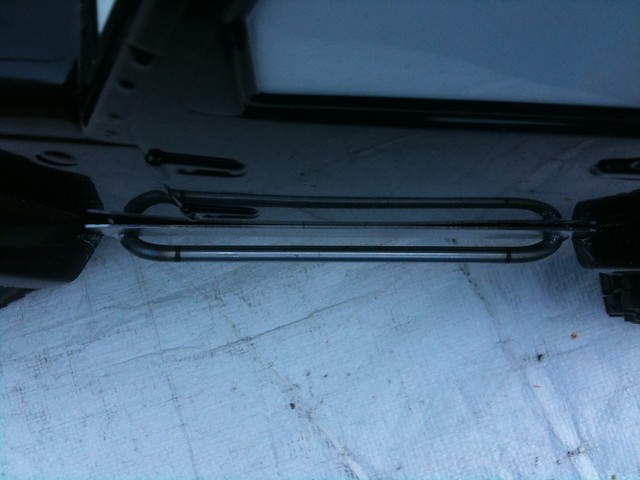 |
|
| |
|
10-19-2010, 10:58 PM
| #5 |
| Pebble Pounder Join Date: Mar 2009 Location: so cal
Posts: 158
|
I made some extra verticle portions that parellel the outside plate. The body slips down inside of the two plates. This holds the body and keeps the sides from getting pushed in. It also makes it a real pain in the "you know what" to put the body on, but the assembled result is worth it in my opinion. 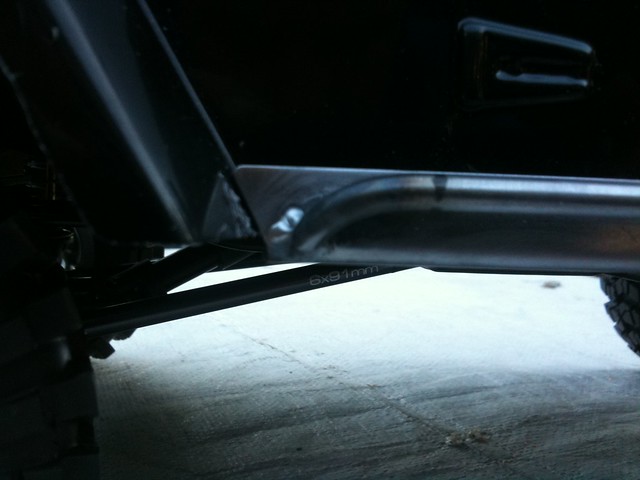 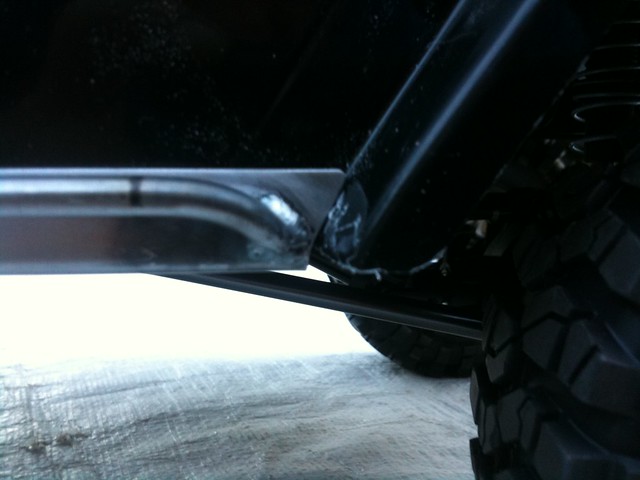 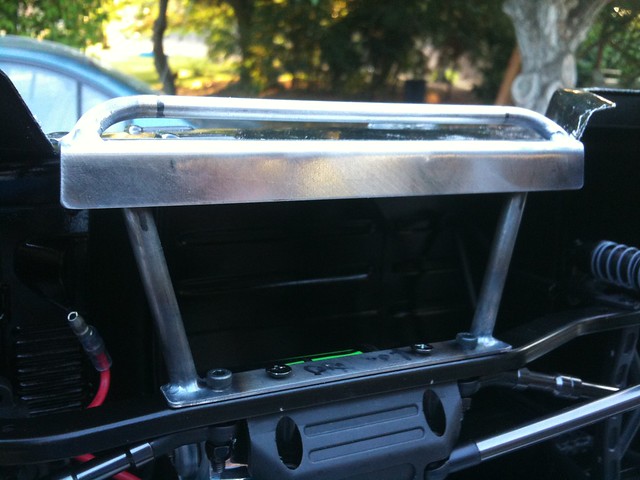 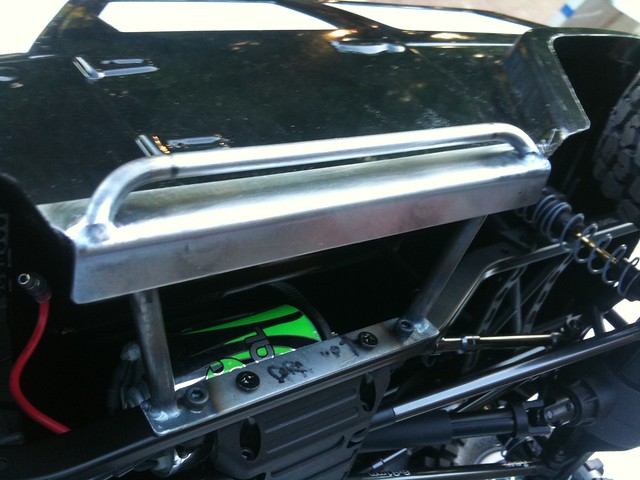 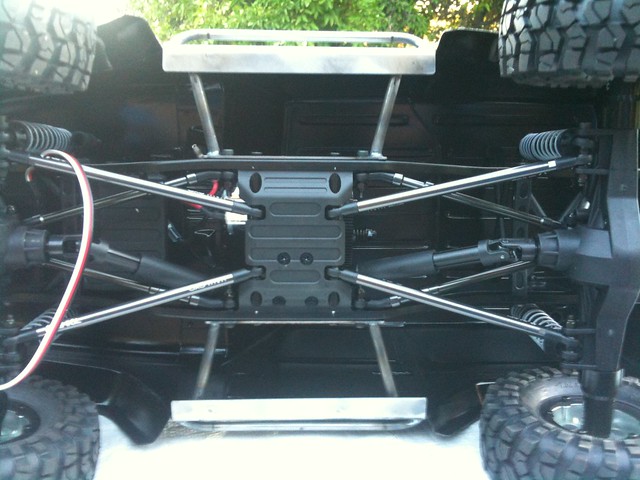 |
|
| |
|
10-19-2010, 10:58 PM
| #6 |
| Quarry Creeper Join Date: Sep 2010 Location: Gettysburg
Posts: 361
|
saw this in Dec 2010 RC Car Action issue. Very nice rig.
|
|
| |
|
10-19-2010, 11:05 PM
| #7 | |
| Pebble Pounder Join Date: Mar 2009 Location: so cal
Posts: 158
| Quote:
| |
|
| |
|
10-19-2010, 11:31 PM
| #8 |
| Pebble Pounder Join Date: Mar 2009 Location: so cal
Posts: 158
|
Next on the list was the rear bumper with swing out tire carrier. I wanted to make the swing out tire carrier function though it was not on the list to do so. 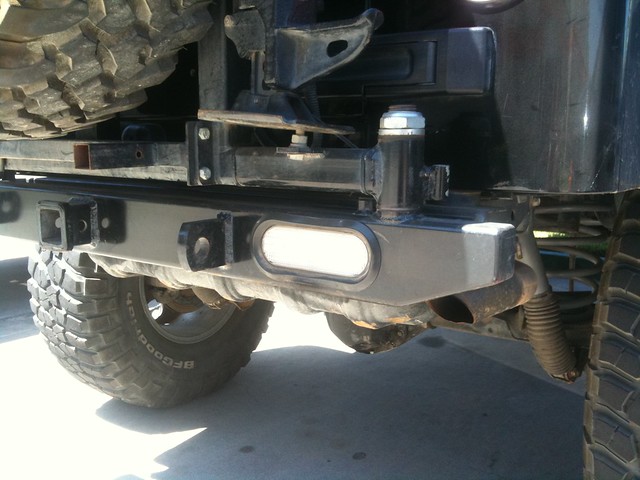 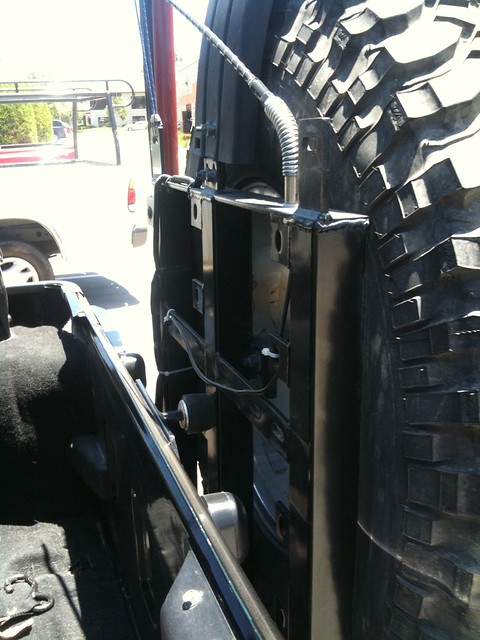  |
|
| |
|
10-19-2010, 11:35 PM
| #9 |
| Pebble Pounder Join Date: Mar 2009 Location: so cal
Posts: 158
| I started with the light buckets from Axial to get the bumper height and made the blade.....  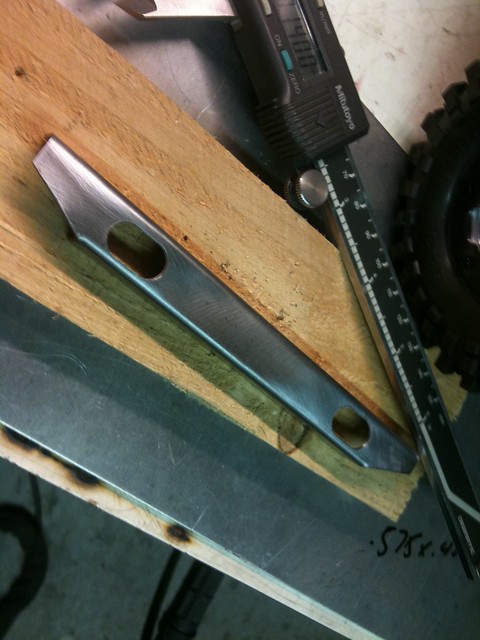 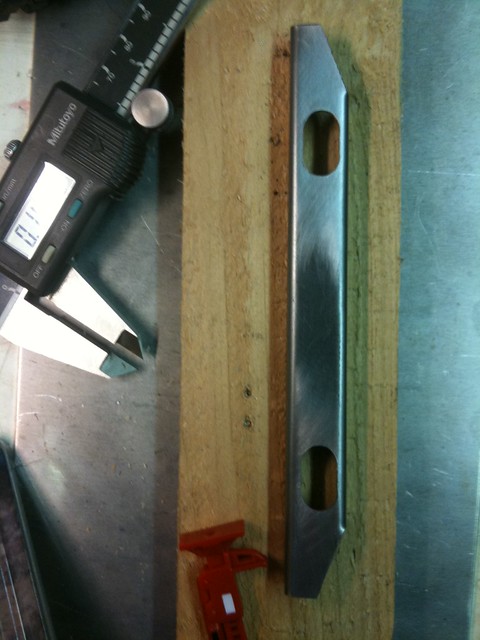 |
|
| |
|
10-19-2010, 11:44 PM
| #10 |
| Pebble Pounder Join Date: Mar 2009 Location: so cal
Posts: 158
|
Then I made the corner pieces to finish the main bumper. Tac welding the sheet metal together without burning a hole is hard to do! 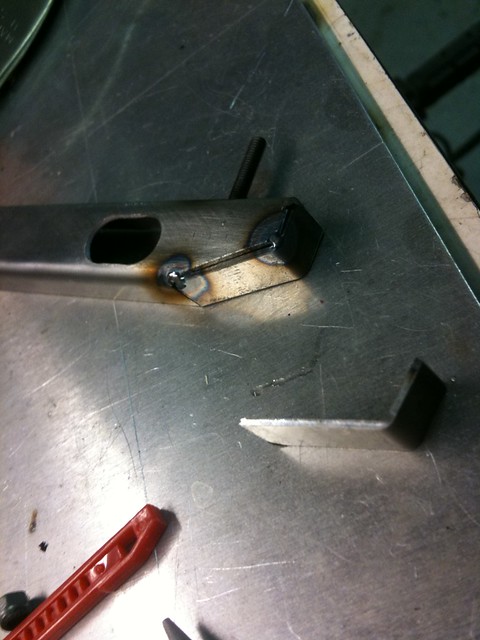 Before putting the corners on I had to put the stud in one side for the swing out carrier and a nut in the other side to bolt it down. 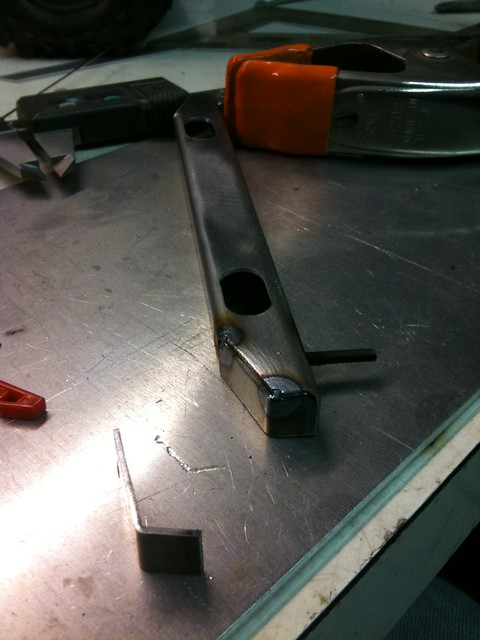 The next step was to weld up the corners. I try and just fuse weld the material without using rod. The hotter it gets the more rod becomes necessary. The thin material is easy to melt away if you are not careful.... 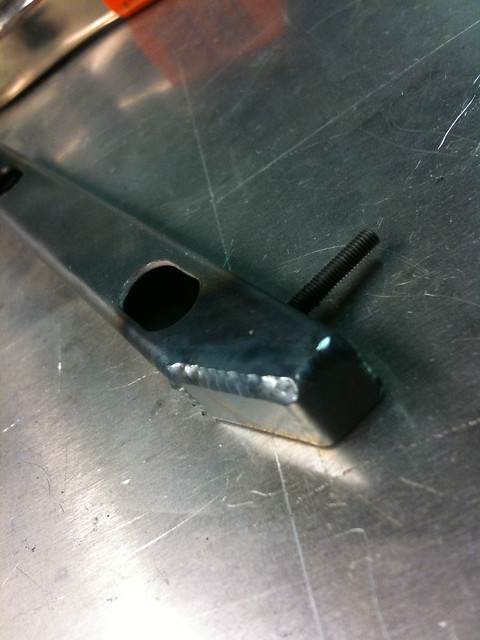 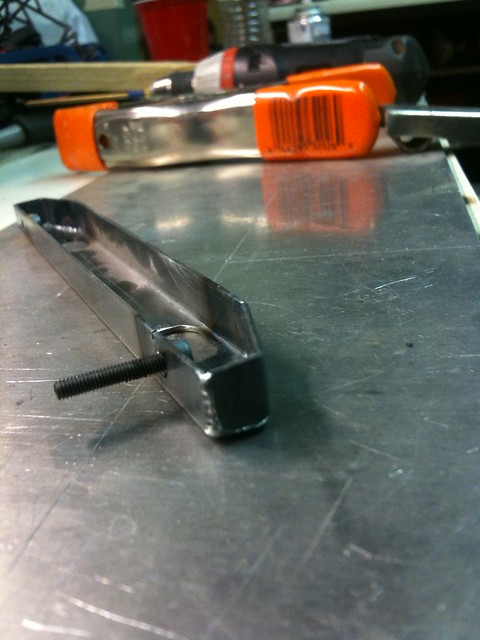 |
|
| |
|
10-20-2010, 01:23 AM
| #11 |
| Quarry Creeper Join Date: Jun 2007 Location: bay area
Posts: 223
|
wow! looking awesome!  |
|
| |
|
10-20-2010, 01:30 AM
| #12 | |
| Quarry Creeper Join Date: Sep 2010 Location: Gettysburg
Posts: 361
| Quote:
| |
|
| |
|
10-20-2010, 08:10 AM
| #13 | |
| Quarry Creeper Join Date: Sep 2010 Location: Gulf Coast
Posts: 214
| Quote:
| |
|
| |
|
10-20-2010, 08:14 AM
| #14 |
| RCC Addict Join Date: Nov 2008 Location: Santa Fe, NM
Posts: 1,265
|
WOW AMAZING WORK! B83E621A-3437-FD5D-161E-A61734A4D675 1.03.01 |
|
| |
|
10-20-2010, 09:36 AM
| #15 |
| Rock Stacker Join Date: Oct 2010 Location: Greensboro
Posts: 83
|
What thickness sheet metal are you using? Do you have a home made bender or something? Excellent work!!
|
|
| |
|
10-20-2010, 09:52 AM
| #16 |
| Im Brandon  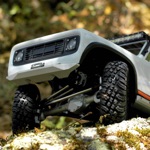 Join Date: Feb 2005 Location: Colfax, CA
Posts: 8,156
|
Awesome work, very very clean |
|
| |
|
10-20-2010, 09:25 PM
| #17 |
| Pebble Pounder Join Date: Mar 2009 Location: so cal
Posts: 158
|
hey guys, Thanks for the compliments! I am using .050 mild steel for the plate. It is way easier to work with than chromoly. After welding the bumper I made brackets and bolted them to the SCX10 frame. Then I had to test fit the bumper..... 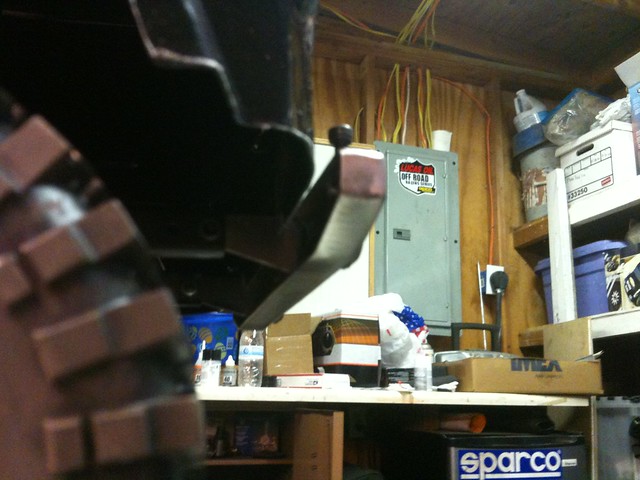 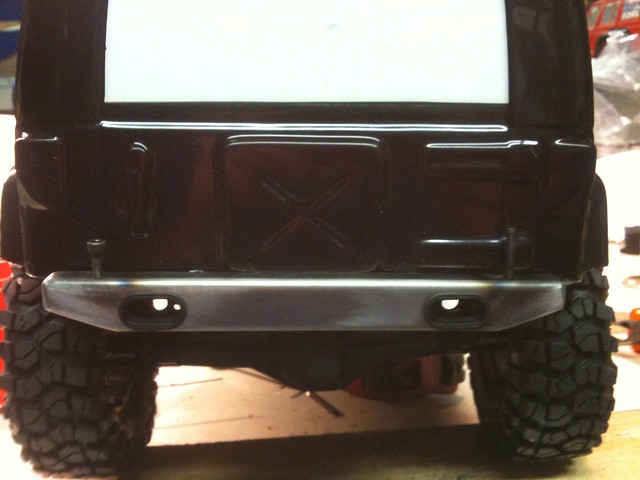  |
|
| |
|
10-20-2010, 09:34 PM
| #18 |
| Pebble Pounder Join Date: Mar 2009 Location: so cal
Posts: 158
|
The next step was to mock up the components for the tire carrier..... The 1 to 1 Jeep only has 1 extra tank of fuel, but I was considering using 2.... 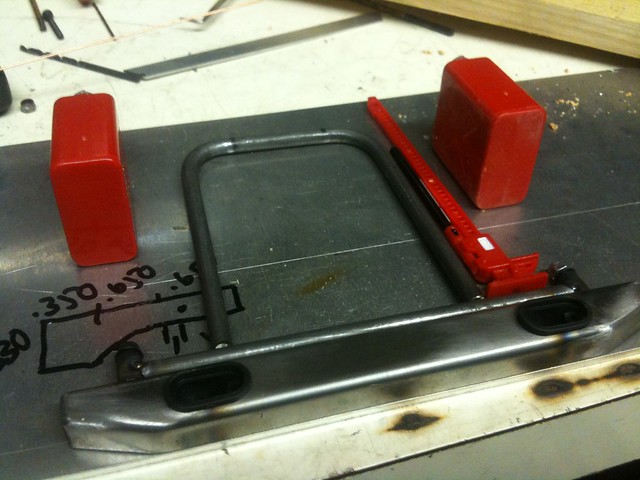 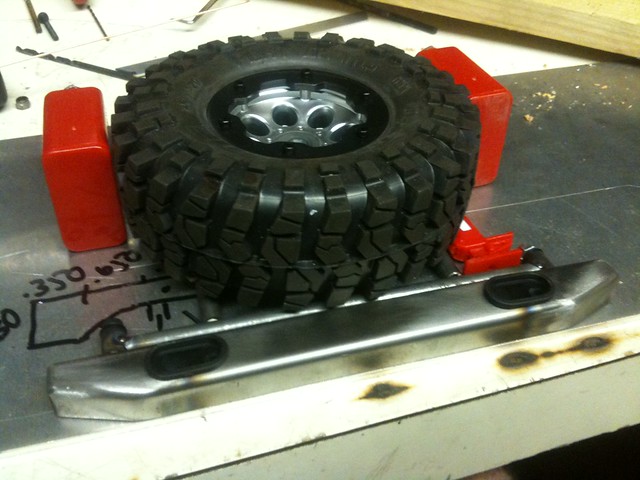 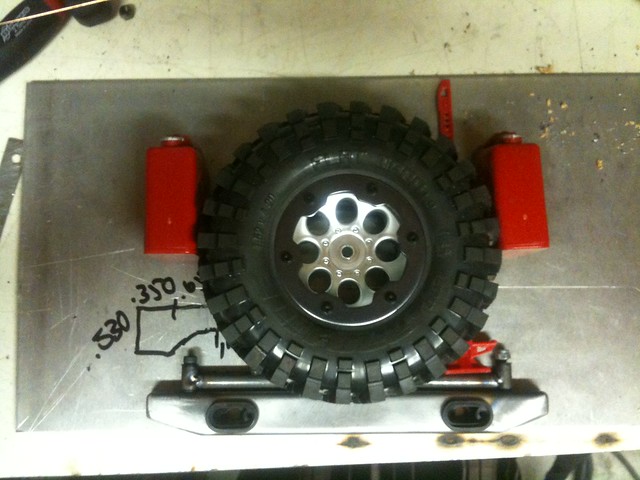 I used 1/4" tubing with front axle C bushings for the swinging tire mount. I had to shorten the hi-lift jack, and decided to just use 1 fuel tank. It seemed to fit the look.... |
|
| |
|
10-20-2010, 09:55 PM
| #19 |
| Pebble Pounder Join Date: Mar 2009 Location: so cal
Posts: 158
|
With the majority of the fab work done on the rear bumper, I turned my attention to the front. This was going to be the biggest challenge of the build. It is hard to know where to start with a project like this so I just start building and keep adding until it looks right The 1 to 1 bumper had some pretty hard angles to match up, so I figured I would match the concept as best as possible.....  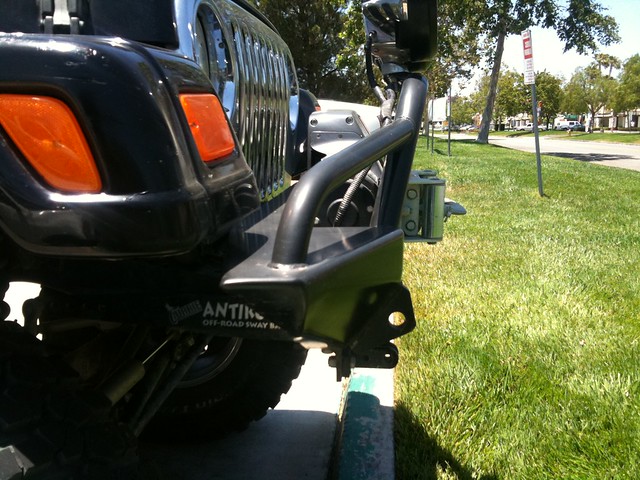  |
|
| |
|
10-20-2010, 09:59 PM
| #20 |
| Pebble Pounder Join Date: Mar 2009 Location: so cal
Posts: 158
|
I started by selecting the winch. I decided on the 3 racing model for its compact size, and likeness to my dad's winch. Then I generated a tray for it to sit in.... 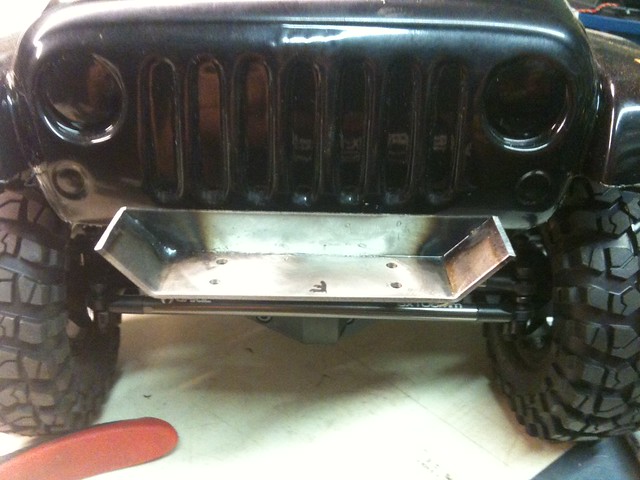 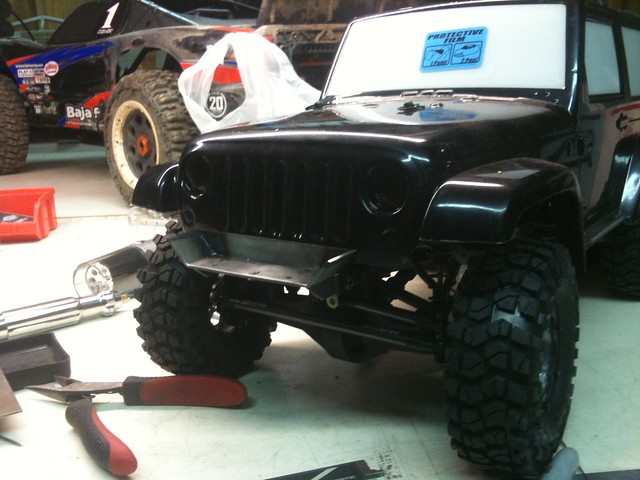 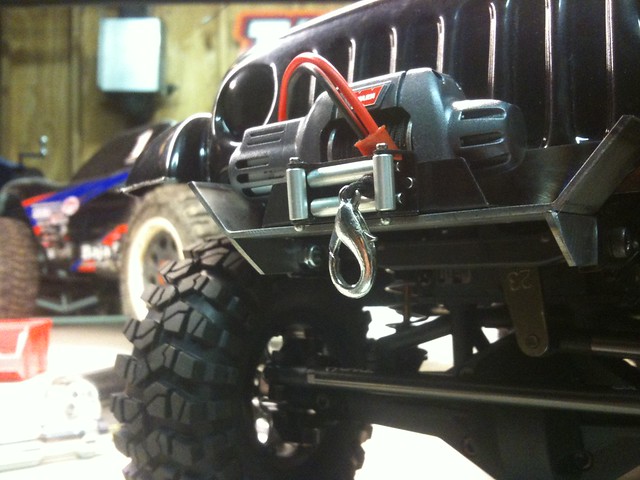 |
|
| |
 |
| |


 Linear Mode


