| | #1 |
| Pebble Pounder Join Date: Sep 2011 Location: Medford
Posts: 158
|
So here is my rtr build with some upgrades and mods as I go. VP steering and drag link Axial aluminum C hubs and knuckles JR 8911HV servo (470 oz/in @ 7.4v!) CC Bec (not currently installed) Castle Mamba Max Pro (mounted in between the seats) Novak bl 13.5 ballistic crawler Robinson hardened steel tranny gears CKRC battery forward plate Hinged hood Aluminum side and roof panels Chopped rollcage Smoothed front diff cover Tinted headlights Tail lights relocated Revo pushrods for lower links Custom gun rack Sam Fisher driver- flattened seat pedastool for hight adjustment. Flipped rear upper shock mounts Custom bed rack and scale accessories! 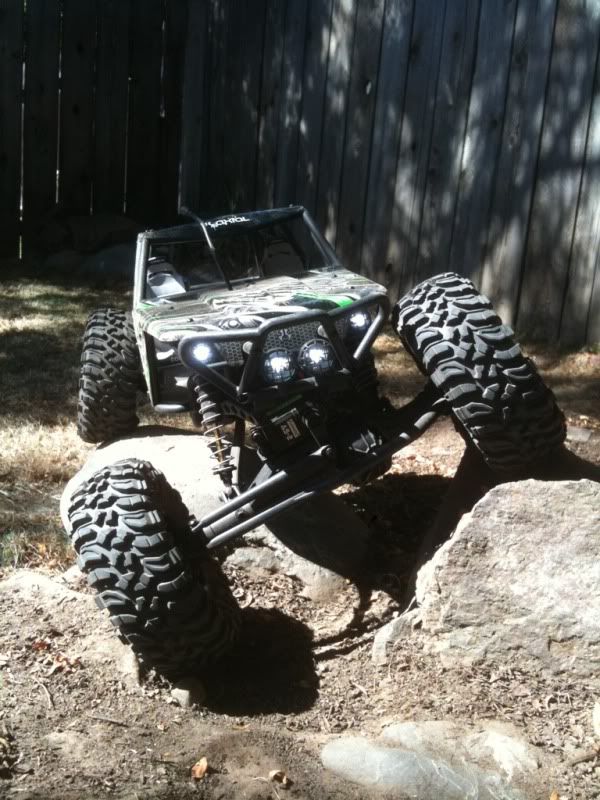 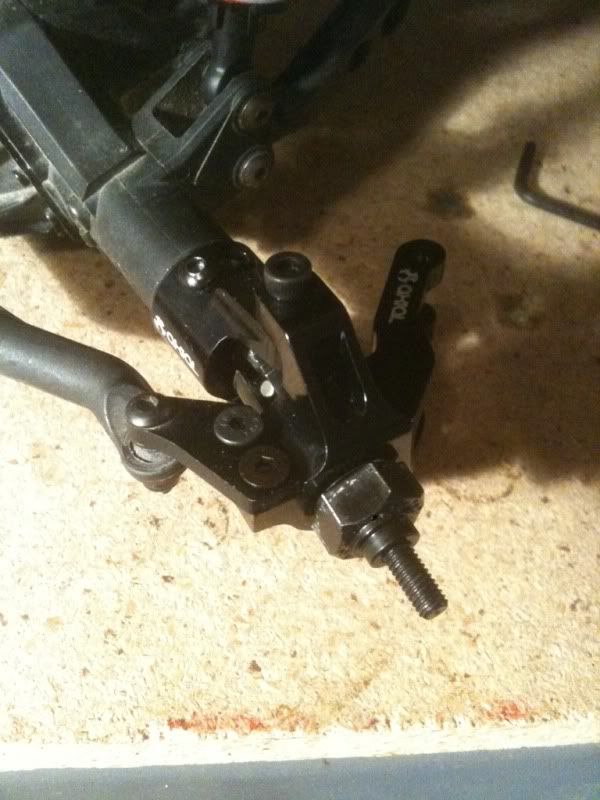 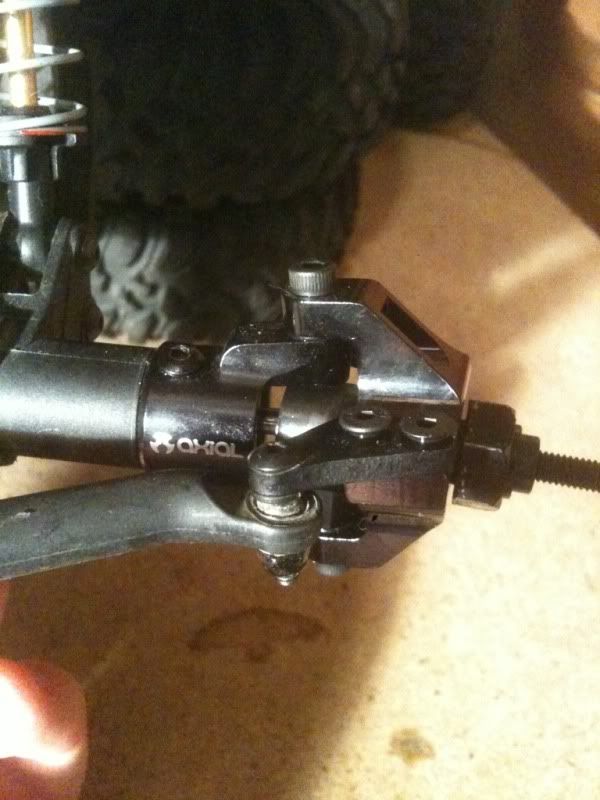 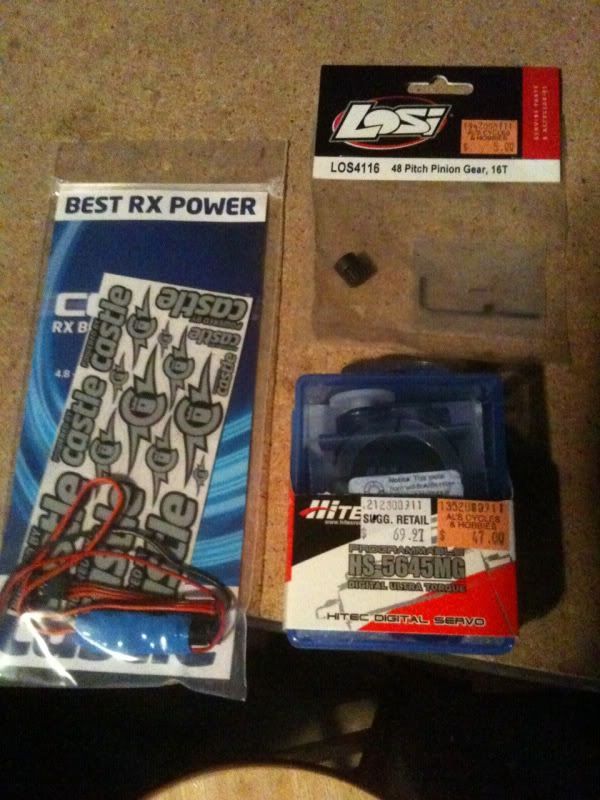 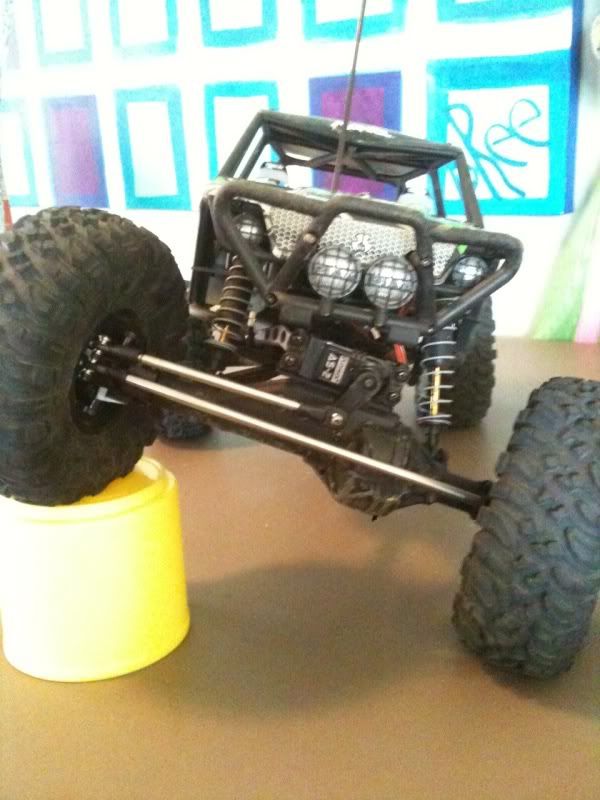 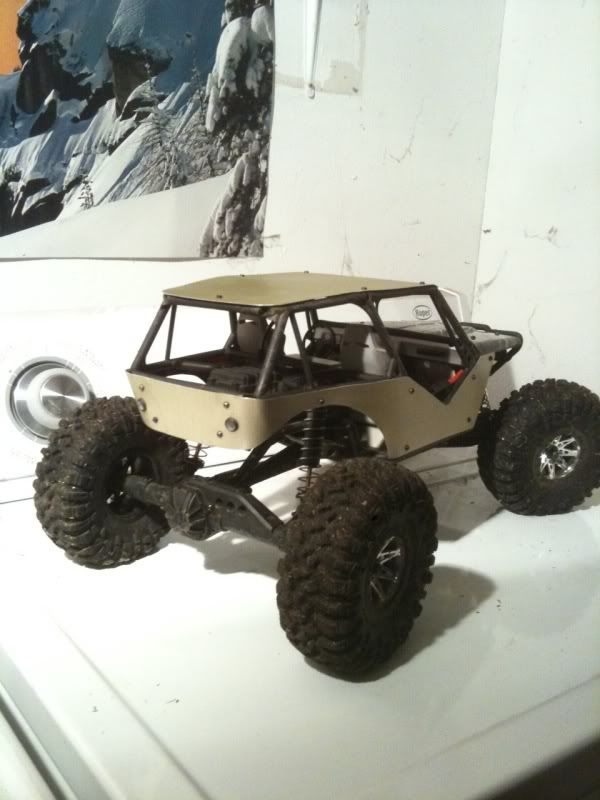 Last edited by Matthewboerner; 07-13-2012 at 08:19 PM. Reason: Update |
| |  |
| Sponsored Links | |
| | #2 |
| Rock Crawler Join Date: Nov 2011 Location: Wister, OK.
Posts: 697
|
Love the aluminum!
|
| |  |
| | #3 |
| I wanna be Dave Join Date: Feb 2007 Location: BFE, NV
Posts: 2,324
| |
| |  |
| | #4 |
| Pebble Pounder Join Date: Sep 2011 Location: Medford
Posts: 158
|
Thanks! I'm trying to figure out if I could pound out a hood of some sort with that aluminum? Anyone have any ideas / advise?
|
| |  |
| | #5 |
| Pebble Pounder Join Date: Sep 2011 Location: Medford
Posts: 158
|
Today I used Assosiated part number 6916 screw set (4) and got it installed, just had to cut the screws shorter but easy fix. Since there is 4 I might just pin the whole hood down rather than hinge it. Pics soon to come.
|
| |  |
| | #6 |
| Pebble Pounder Join Date: Sep 2011 Location: Medford
Posts: 158
|
Today i pulled off my aluminum panels and cleaned them and the hood up for painting, I picked out a nice mellow lime green. It turned out pretty cool, I painted the inside and obviosly the outside of the panel to hide it's previous identity as a for sale sign. Finished up my hinged hood and threw some stickers on it. Now I just need to make a rear deck cover! 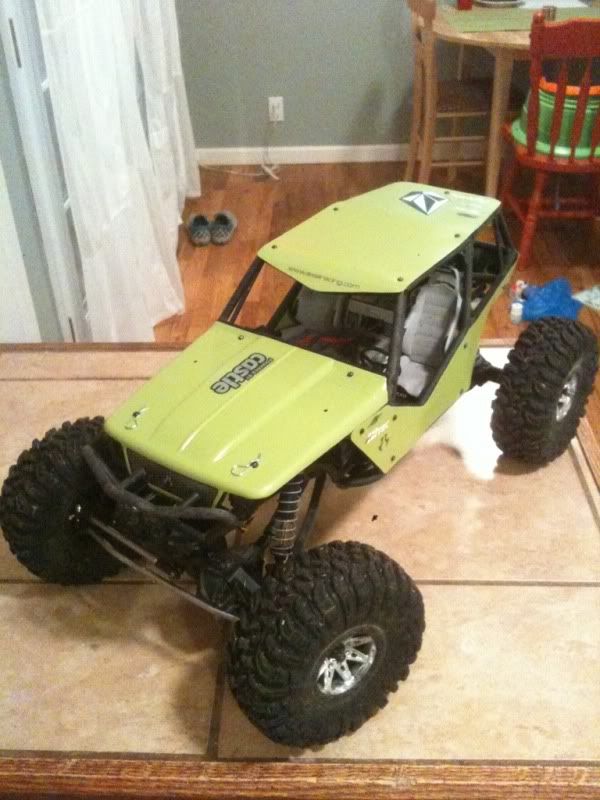 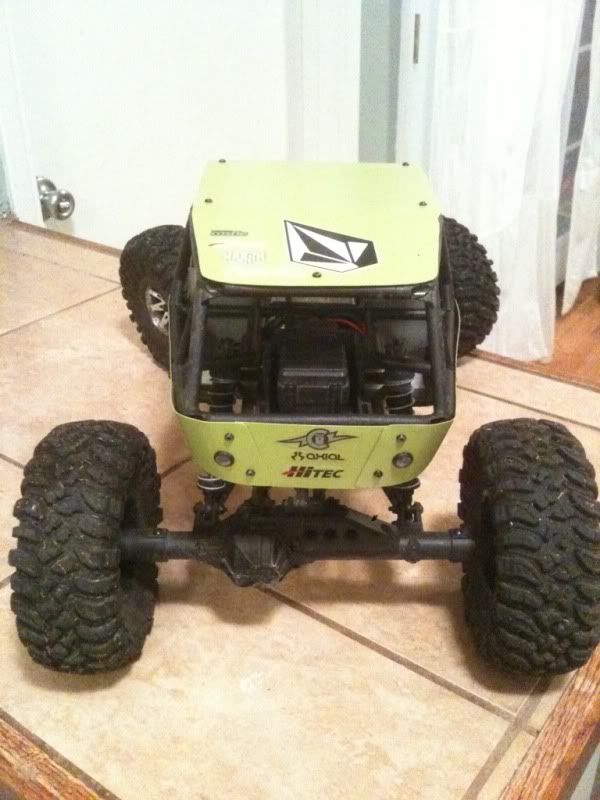 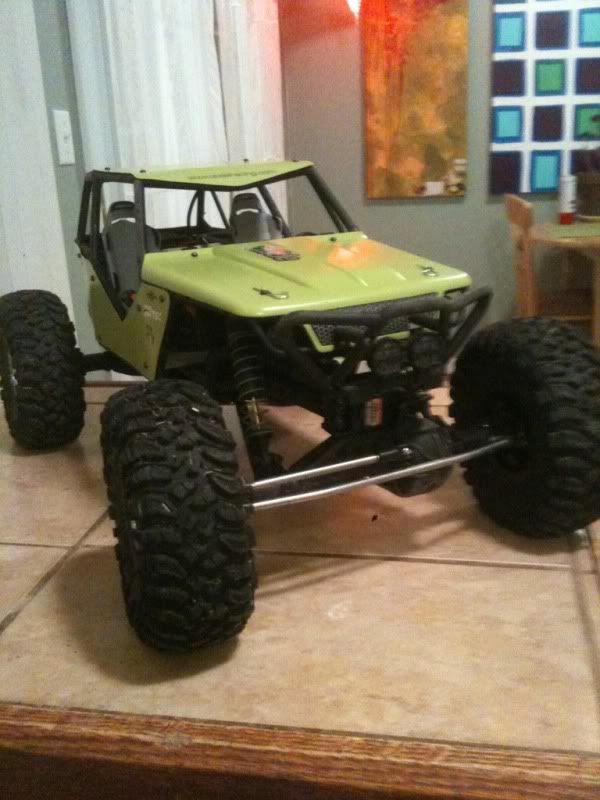 |
| |  |
| | #7 |
| Rock Crawler  Join Date: Sep 2011 Location: FNQ Australia
Posts: 681
|
try carving the negative of the hood shape you want out of wood . Use a router if you can to get it smooth and even , clamp in the middle ( the depression ) and use a ball pein hammer to gently tap the shape. you will have to experiment with thickness of metal and hardness of wood but its good fun to try different combos.
|
| |  |
| | #8 |
| I wanna be Dave Join Date: Mar 2009 Location: sittin in the sky
Posts: 4,630
|
that 16t pinon wont work unless you modify the slots on the motor mount plate, or get bigger spur gear. 18t pinon is the smallest you can go with out stripping the spur easily (i found out the hard way using a 17t) |
| |  |
| | #9 |
| Pebble Pounder Join Date: Sep 2011 Location: Medford
Posts: 158
|
"northkona: try carving the negative of the hood shape you want out of wood . Use a router if you can to get it smooth and even , clamp in the middle ( the depression ) and use a ball pein hammer to gently tap the shape. you will have to experiment with thickness of metal and hardness of wood but its good fun to try different combos." -thanks! That is a good idea, I was thinking something like that might work. Maybe once it's carved out I'll press some extra thick tin foil into it to make mock ups to see how it looks before spending extra time hammering out te real deal. "2500hdon37s: that 16t pinon wont work unless you modify the slots on the motor mount plate, or get bigger spur gear. 18t pinon is the smallest you can go with out stripping the spur easily (i found out the hard way using a 17t)" -yeah I'm running the 16t pinion but I have an 87t spur on there now. I did run the 16/80 combo and had to slot the plate bigger, the can of the motor still came right up against the gear box. I didnt like the ratio or how cramped it was so explains the 87t. The dust cover still fits over the 87t spur just barely. The only thing weird about the 16 it the diameter of the teeth is the same as the neck. it's super close to not lining up once the motor is snugged down without shimming the motor off the motor plate |
| |  |
| | #10 |
| Quarry Creeper Join Date: Sep 2008 Location: Rogue River
Posts: 274
|
I see the als cycle and hobies price tag??? Im in rogue river..
|
| |  |
| | #11 | |
| Pebble Pounder Join Date: Sep 2011 Location: Medford
Posts: 158
| Quote:
*anyone know a quick and easy way to dry up my foams? They are the stock glue on rtr ones. | |
| |  |
| | #12 | |
| Quarry Creeper Join Date: Sep 2008 Location: Rogue River
Posts: 274
| Quote:
 | |
| |  |
| | #13 |
| Pebble Pounder Join Date: Sep 2011 Location: Medford
Posts: 158
|
So I made some upper and lower links out of allthread and aluminum tubing it turned out awesome and inexpensive .... But I already bent up my front lowers so I felt like I might have to do something stronger so I put the revo pushrods in place with jato ends on one end. Way more stout so I'll be replacing the aluminum ones with the revo rods as they fail. Also did a little chopping and fabbing. I recycled those belt lowers and shortened them down to make the c pilar down tubes. Also made a bed cover out of some random black plastic stuff (I still have no idea what it was from haha) and fastened it down with some screws from the blade heli! And!! I also tinted my headlights blue using some Christmas gift wrapping. I wanted green but my wife only had blue and red. 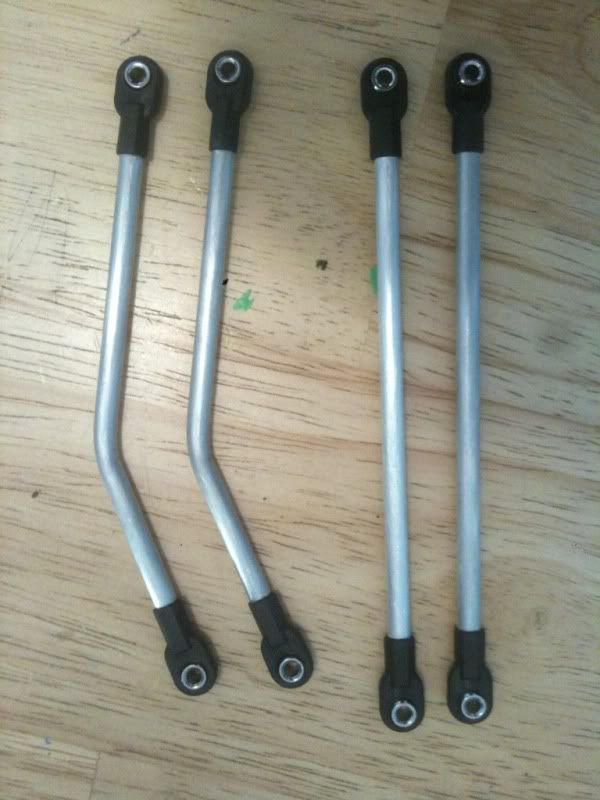 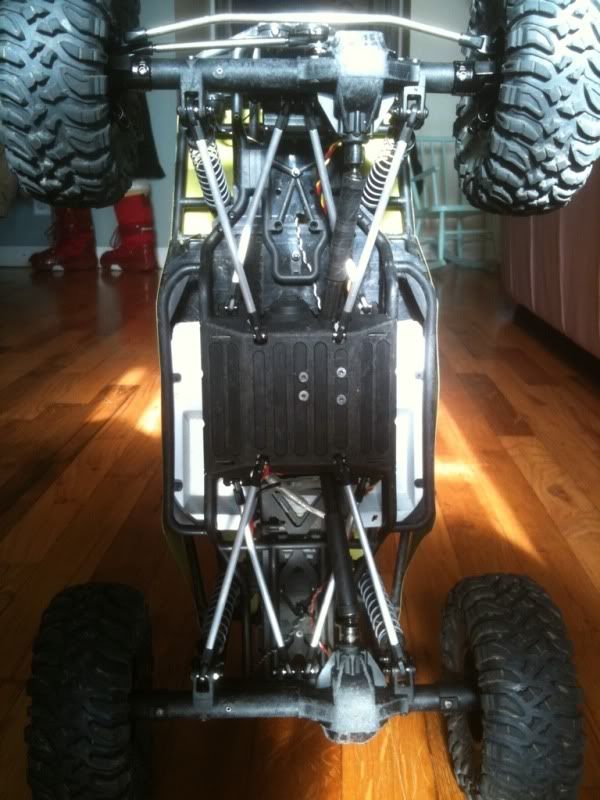 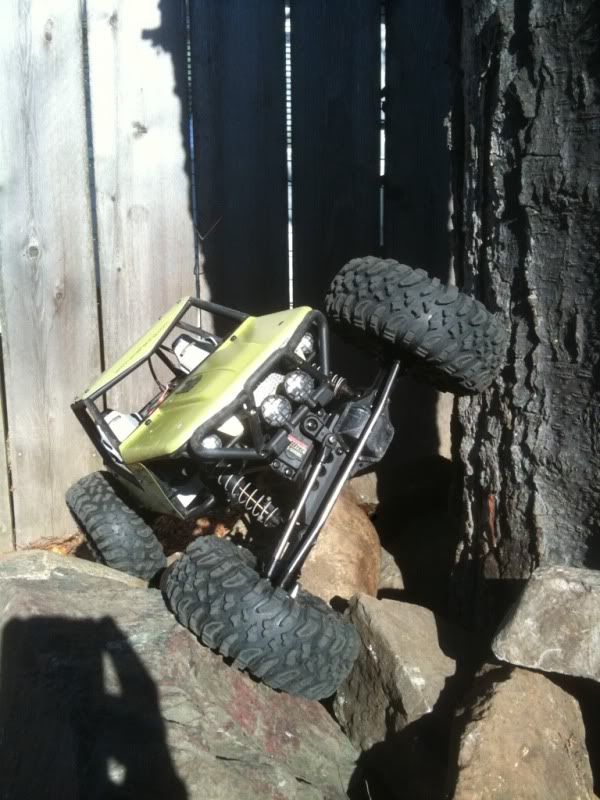 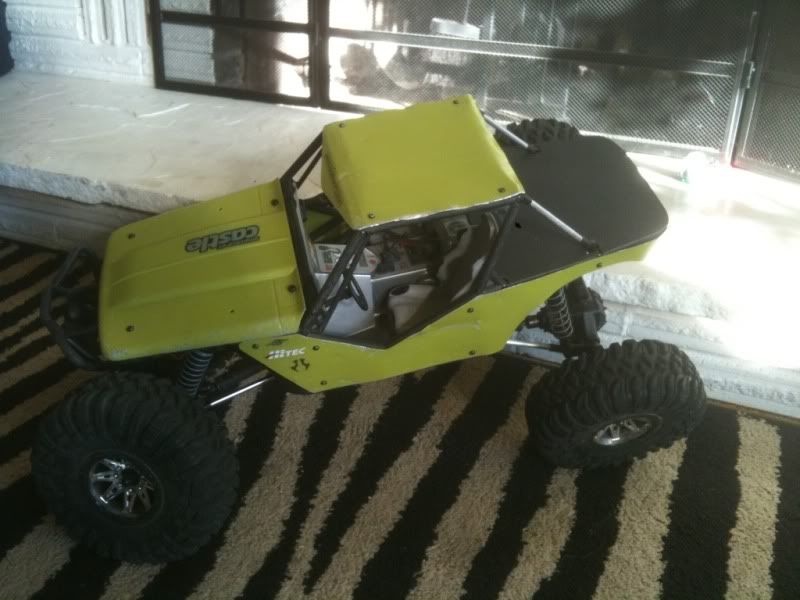 |
| |  |
| | #14 |
| Quarry Creeper Join Date: Aug 2011 Location: Australia
Posts: 270
|
the lime green looks sic, that pretty much the colour im gonna do im, maybe, but heaps more electric. lol what a coinsodence
|
| |  |
| | #15 |
| Pebble Pounder Join Date: Sep 2011 Location: Medford
Posts: 158
| Thanks! Out of all the spray colors that one stuck out to me. Now I just need some headlocks and color match the rings. Good luck on yours you have to share some pics when you get it sprayed.
|
| |  |
| | #16 |
| Pebble Pounder Join Date: Sep 2011 Location: Medford
Posts: 158
| |
| |  |
| | #17 |
| Pebble Pounder Join Date: Sep 2011 Location: Medford
Posts: 158
|
Little update: I got a mamba max pro and paired it with a 13.5 Novak ballistic crawler! Awesome is all I have to say! I relocated my receiver box back up to the front since there was room and left the mmp in the rear bed area, everything is all nice and hidden and wires tidy up! I'm excited to see what it can do. Is anyone running a similar set up, if so what do you have gearing wise? I'm running 2s btw. |
| |  |
| | #18 | |
| Rock Stacker Join Date: Dec 2010 Location: australia
Posts: 58
| Quote:
| |
| |  |
| | #19 |
| Pebble Pounder Join Date: Sep 2011 Location: Medford
Posts: 158
|
I'm running 16/87 and thinking maybe a couple teeth up on the pinion would be fine, it's crazy torquey.
|
| |  |
| | #20 |
| Quarry Creeper  Join Date: Jan 2011 Location: Kyle TX
Posts: 457
|
I took Harley's advice and went 32P at 14/60 with MMP and Tekin 13.5 Did you use cable clamps to hinge your hood? I did mine then saw CKRC sold a "kit" to do the same. Only they used 3/16" and I used 1/4" clamps. Fine job on your body panels! |
| |  |
 |
| |