| |
 12-10-2009, 05:34 AM
| #41 | |
| RCC Addict Join Date: Nov 2007 Location: E.T.R.C.
Posts: 1,575
| Quote:
 Its a lot of fun.. Its a lot of fun..
| |

|  |
| Sponsored Links | |
| | |
|
12-10-2009, 07:52 AM
| #42 |
| Rock Crawler Join Date: Jan 2007 Location: Tuscaloosa
Posts: 855
|
I started on a new one last night. Just put together some cardboard, foam, gravel, and great stuff.  |
|
| |
|
12-10-2009, 07:09 PM
| #43 |
| Newbie Join Date: Mar 2008 Location: Liberty
Posts: 21
|
Some very cool courses...very inspiring. Until I can come up with something really cool I have been using the Wii fitness mat...throw some stuff on the floor and drape it over it and you have infinite courses. All traction too. My micro set-up is 200mah lipo battery mounted on the rear axle and 1/4 oz lead in the hubcap area of each wheel and 1oz lead on top the steering servo. Video here: http://www.youtube.com/watch?v=DZmrp2AwFfk doh...I tried to embed...I guess a link will do. Thanks, Last edited by Hankinator; 12-10-2009 at 07:10 PM. Reason: Spelling |
|
| |
|
12-13-2009, 02:18 AM
| #44 | |
| Newbie Join Date: Apr 2008 Location: bangkok thailand
Posts: 40
| Quote:
Even though the sides of the blocks are smooth, the Losi just crawls up the face with no problems. I bought a large gray base and a blue bucket of Legos. It took 20 minutes to make this mountain of Legos and although it doesn't look realistic, its at least clean and reconfigurable. I think one base is too small to have fun, I think you need 3+ bases to make a decent course and 3+ buckets of Legos. 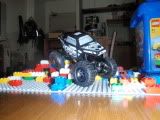 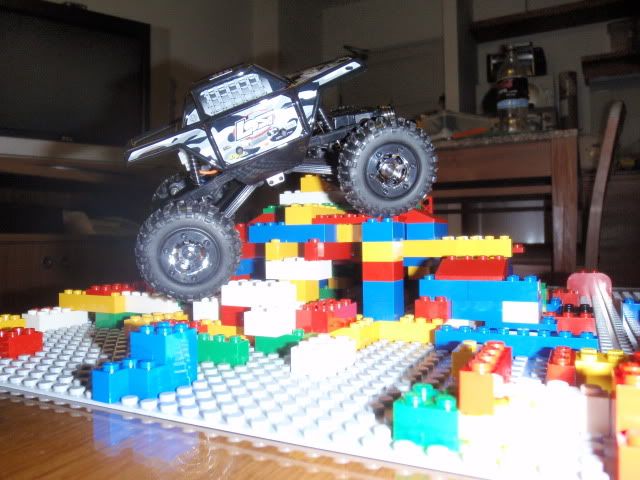 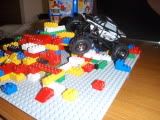 video http://www.youtube.com/watch?v=jBTygJoj0Ao Last edited by takman; 12-13-2009 at 02:27 AM. | |
|
| |
|
12-13-2009, 05:08 AM
| #45 |
| Newbie Join Date: Feb 2009 Location: Calgary Alberta , eh?
Posts: 7
|
Hey everyone. Here is the course I made.     Here is a video, only half the track, it's too big to take video of the whole thing at once. http://www.youtube.com/watch?v=WvL2B...=youtube_gdata this track is made of a 2 and a half by 4 foot piece of ply wood, a few pieces of styrofoam and expanding foam. it is textured using a granit imitation paint that adds grip and look of real rock there is a bridge and a tunnel, aswell as a mountain. there are 3 trails to choose from, straight thru the tunnel and back. then you can start from the left, go over the bridge, to end up on the right, then crawl up the shallow, far side of the mountain. or start on the right , go over the bridge and end up on the left, and go up the steep left side of the mountain. then there are the same routes to get back to the start. i have been crawling on it for an hour now and have tried out maybe 10% of the possible crawling locations. it is filled with many death traps that just flip you right over. very challenging, but not so hard as to not be fun. i finally have a track that does not require you to turn around on flat surface like the tiny losi tracks. with this one, you are 100% of the time on the course . and the best part is it is wide enough to not have to make a 3 point turn to turn around. video coming soon !!! i also plan to add trees, some green textured grass and maby even a small water hazard to make it slick in some easy areas. in the immortal words of the step brothers " there's so much extra space for activities!!! its making my head spin theres so many activities |
|
| |
|
12-13-2009, 11:45 PM
| #46 |
| I wanna be Dave Join Date: Sep 2004
Posts: 2,386
|
here is my course i am working on. great stuff foam,foam packing blocks and some boxes covered in paper mache (sp?) i still have to paint it with a textured paint. about 2/12-3 foot long X 12 -18 "across. i plan on making more sections. 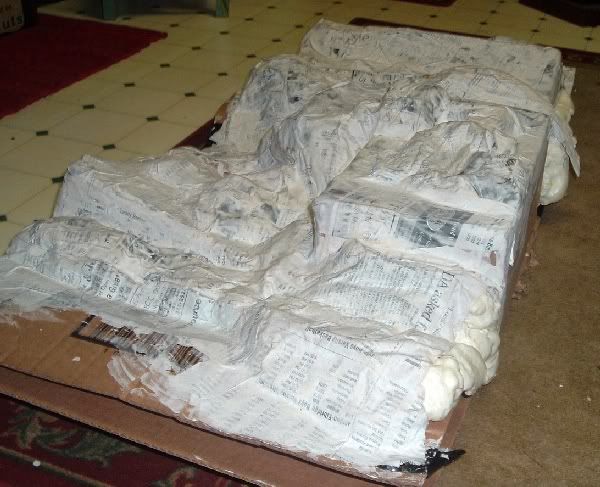  my crawler on the course to give you an idea of it size and obstacles: 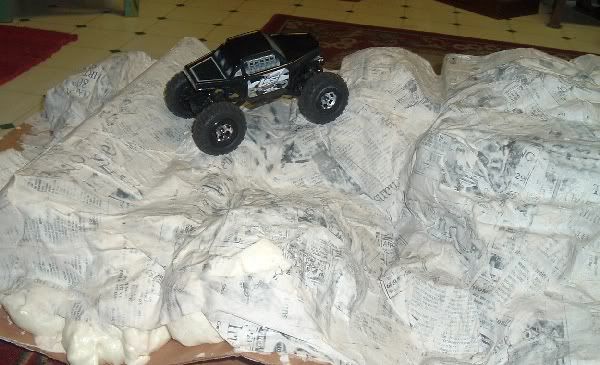 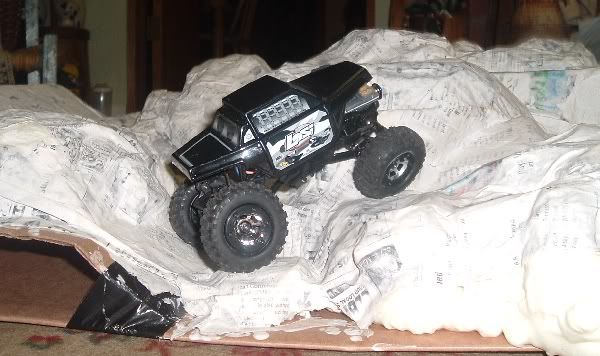 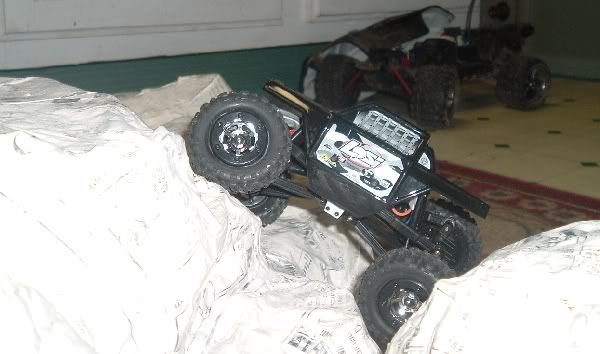 |
|
| |
|
12-14-2009, 08:10 AM
| #47 |
| Newbie Join Date: Nov 2008 Location: rEdNecK CiTy, IE: Newport, TN.
Posts: 15
|
How do you make your paper mache so it will be tough enough. I just got started on my course and have gone through $25 of plaster cloth from hobby lobby, and will need 3-4 more rolls to finish. They had all their train stuff n sale last week 30% off. Good deal on rock molds too! I did not do the paper pillowing technique. I had a big FAIL with a great stuff foam course. So I just covered it with the plaster. I will post pics after I get finished and get done airbrushing it.
|
|
| |
|
12-14-2009, 09:12 AM
| #48 |
| I wanna be Dave Join Date: Jan 2009 Location: By a lake in Thornton
Posts: 2,218
|
my pics suck because they are all in dingy 1am light, and my camera on my cell blows. any who   and in a different config.     I will get some good shots of all 3 peices in better light today @ lunch so yall can really see what ive done. Youre all gonna be jealous! Last edited by BEELZEBOB; 12-14-2009 at 09:17 AM. |
|
| |
|
12-14-2009, 09:36 AM
| #49 |
| Newbie Join Date: Nov 2009 Location: denver
Posts: 21
|
I know this is a very newbie question but were can I get expanding foam.I have looked every were but I can't find anything
|
|
| |
|
12-14-2009, 09:38 AM
| #50 |
| I wanna be Dave Join Date: Jan 2009 Location: By a lake in Thornton
Posts: 2,218
|
Home depot, GREAT STUFF big gap filler
|
|
| |
|
12-14-2009, 03:36 PM
| #51 |
| I wanna be Dave Join Date: Jan 2009 Location: By a lake in Thornton
Posts: 2,218
|
the prior pics did it no justice. So peice # 1 is all Greatstuff and sprayed with a grip spray paint that kinda feels like sand paper when its dry.  Piece #2 is the same,Grweat stuff and a different color grippy paint.  Piece#3 is a garden pond from home depot sprayed with a shitload of the grippy paint  And another alltogeather now  So the pond was $17.99 @ Home Depot. The great Stuff Big Gap Filler expanding foam was $5 a can and i used 4 of them. The Rustoleum grippy spray paint was $6 a can and i used 3 of them. I just sprayed the foam onto pieces of carboard, and used smaller boxes to make some hills. let that dry and blast everything with the grip paint. Now it all feels like sandpaper, except the brown. the brown isnt as nice as the black as far as abrasive texture. |
|
| |
|
12-14-2009, 06:02 PM
| #52 | |
| I wanna be Dave Join Date: Sep 2004
Posts: 2,386
| Quote:
| |
|
| |
|
12-14-2009, 06:18 PM
| #53 |
| Quarry Creeper Join Date: Dec 2008 Location: Post Falls, ID
Posts: 337
|
*FLOUR* a little different and easier to find this time of year. heh btw has anyone tried using paper mache and coffee grounds while its still wet? wonder if enough would stick to add some grip to the rocks. Last edited by username; 12-14-2009 at 06:21 PM. |
|
| |
|
12-14-2009, 06:41 PM
| #54 | |
| Rock Crawler Join Date: Sep 2009 Location: Spring, Texas
Posts: 697
| Quote:
I eventually scraped and brushed off as much as I could and sprayed everything with stone fleck paint. That helped! | |
|
| |
|
12-14-2009, 07:03 PM
| #55 |
| Quarry Creeper Join Date: Dec 2008 Location: Post Falls, ID
Posts: 337
|
so maybe some sand would work? traction problems as in the coffee coming off or was it the seal to glossy?
|
|
| |
|
12-14-2009, 07:24 PM
| #56 |
| Rock Crawler Join Date: Sep 2009 Location: Spring, Texas
Posts: 697
|
The coffee was coming off and the wheels would spin. I tried green powder (grass) for train layouts and sand too with the same results. :? The only place that the sand helped was when I put it on top of the expanding foam right after it came out of the can. That stuff is so sticky that the sand stayed in place. It also made the foam more rock-like and improved traction. You might have better luck sealing the coffee sand etc. and making it stay in place than I did. |
|
| |
|
12-14-2009, 07:34 PM
| #57 |
| Pebble Pounder Join Date: Feb 2009 Location: Long Island
Posts: 141
|
I made my course out of 1" foam insulation in random rock like formations and covered it in lightweight spackel mixed with sand. the spackel dried hard as a rock, and the sand gave it a nice brown color and a ton of grip Insulation was $8 for a 2'x8' sheet spackel was $5 for a 1 gallon tub sand was $3 for a 50lb bag cost was under 20 bucks only thing that sucks is covering everything with the spackel. no need to glue the foam down though spackel held it in place nicely..spred it on thin or it takes forever to dry. |
|
| |
|
12-14-2009, 11:01 PM
| #58 | |
| I wanna be Dave Join Date: Sep 2004
Posts: 2,386
| Quote:
| |
|
| |
|
12-14-2009, 11:56 PM
| #59 |
| Rock Crawler Join Date: Feb 2006 Location: jacksonville beach
Posts: 848
|
i dont know about WET coffee grounds, but when i used sand, i used bone dry sand. so when i mixed it with the left over paper mache' (sp) paste i could tell where it had been mixed together properly with the sand by the color change. just a thought, if you're worried about wasting so good coffee grounds maybe lay the old grounds on a baking tray/sheet and dry them out in the oven slowly (they will burn) heres a few shots of mine as it sits tonight, i got some more landscape to work out, but i ran out of glue. 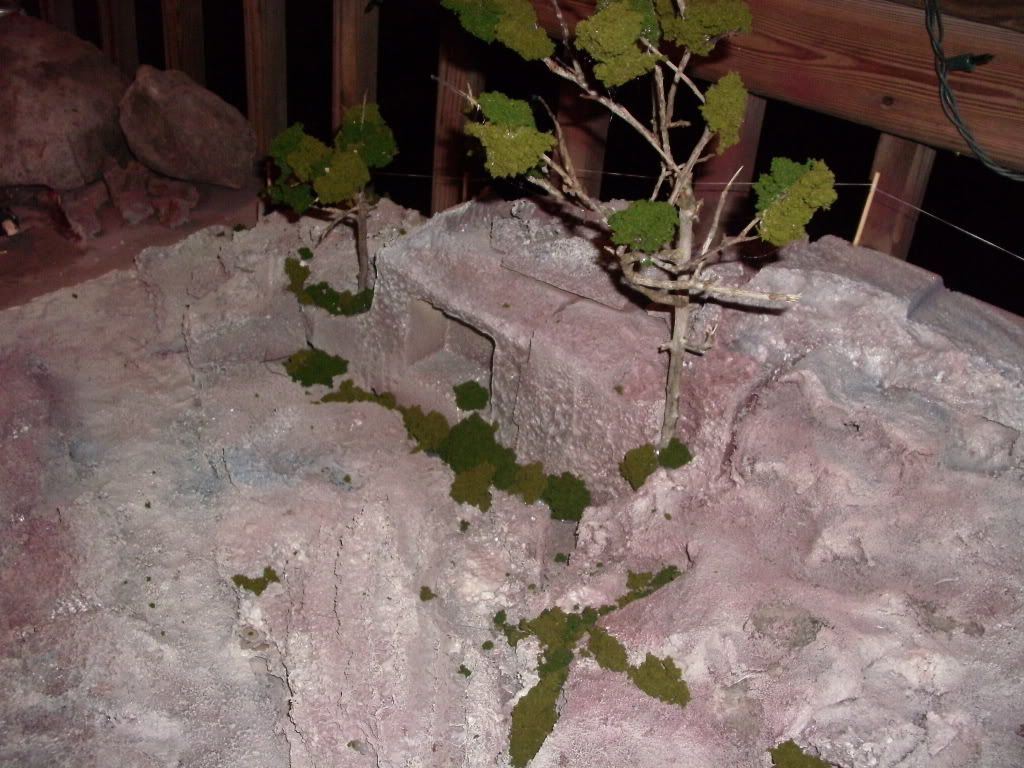 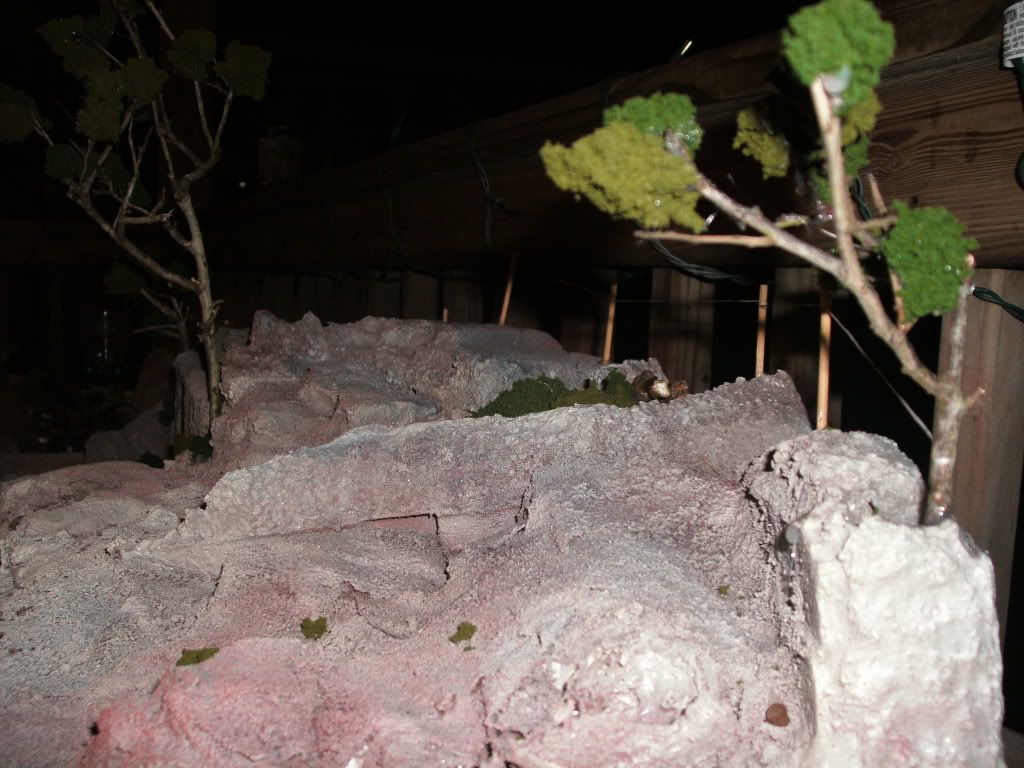 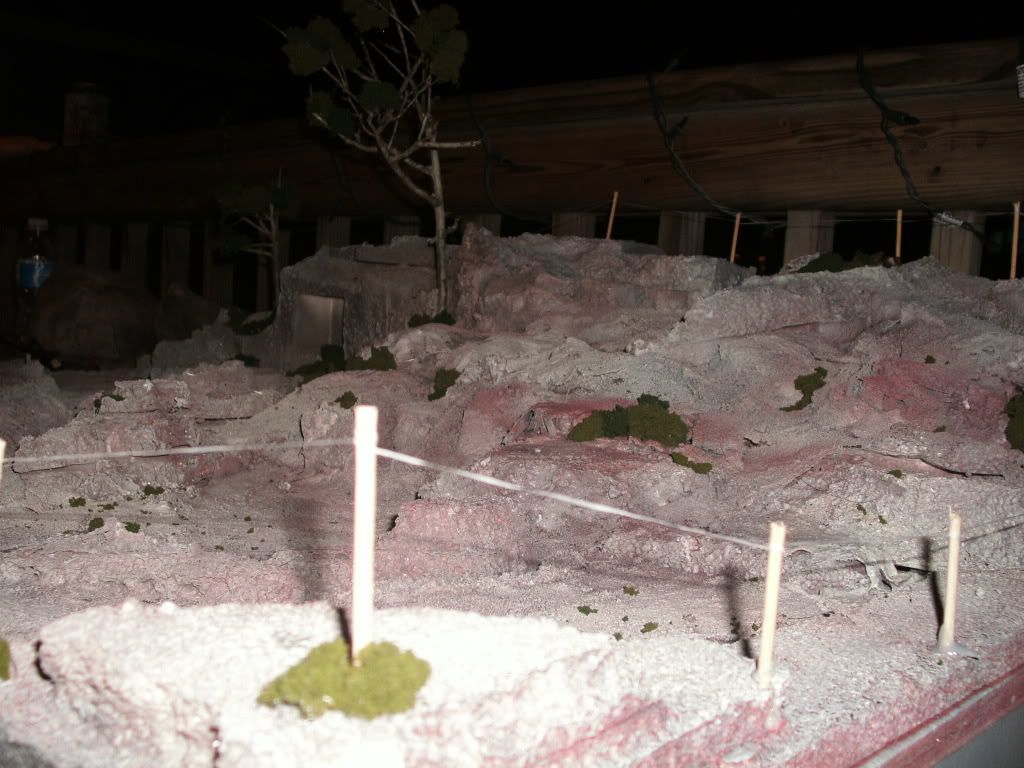 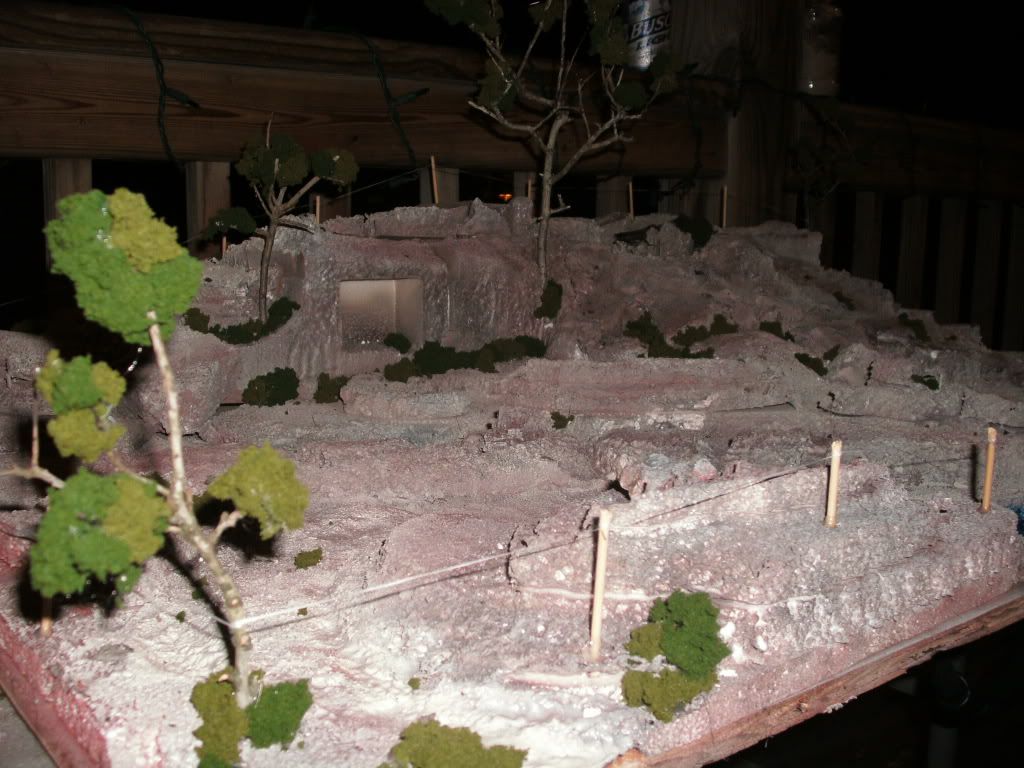 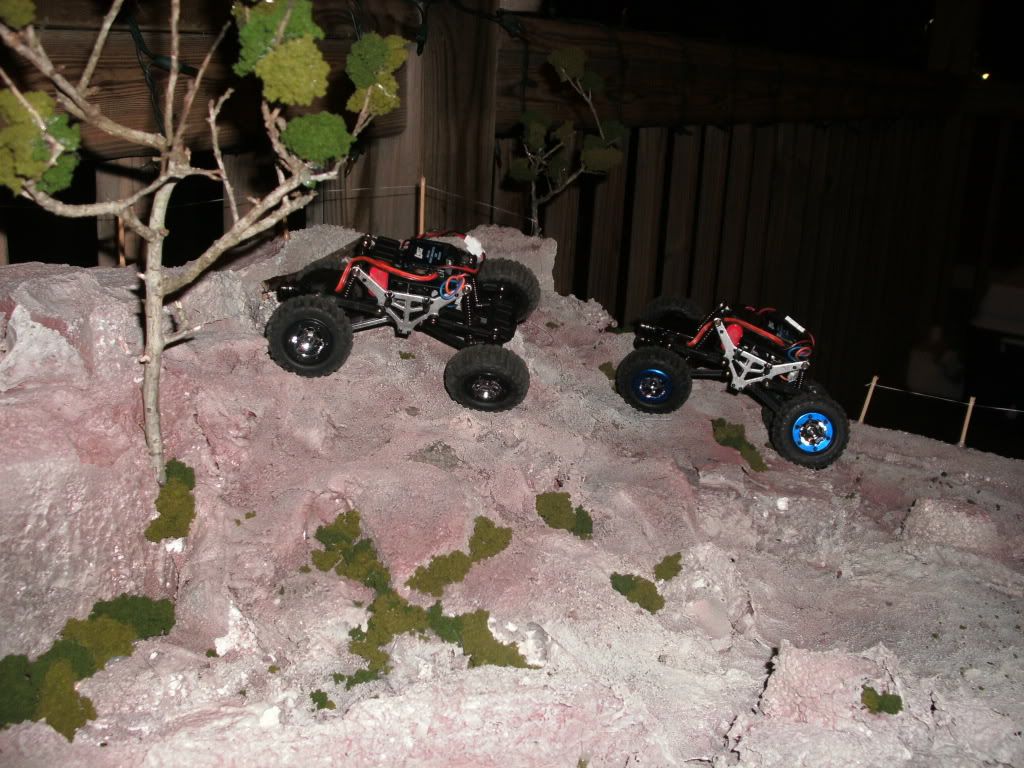 Last edited by murdock; 12-15-2009 at 12:40 AM. Reason: added pics |
|
| |
|
12-15-2009, 02:50 PM
| #60 | |
| Rock Crawler Join Date: Jul 2007 Location: Beechview/Pittsburgh
Posts: 536
| Quote:
| |
|
| |
 |
 LinkBacks (?)
LinkBack to this Thread: http://www.rccrawler.com/forum/losi-micro-rock-crawler/213050-micro-courses.html | ||||
| Posted By | For | Type | Date | |
| Rc rock crawling ! | Kaskus - The Largest Indonesian Community | This thread | Refback | 02-18-2013 08:10 PM | |
| |


 Linear Mode


