| |
 06-17-2011, 07:34 PM
| #41 | |
| Pebble Pounder Join Date: Jan 2011 Location: Staten Island, NY
Posts: 168
| Quote:
Update: Smoothed out the roof, its starting to take shape. 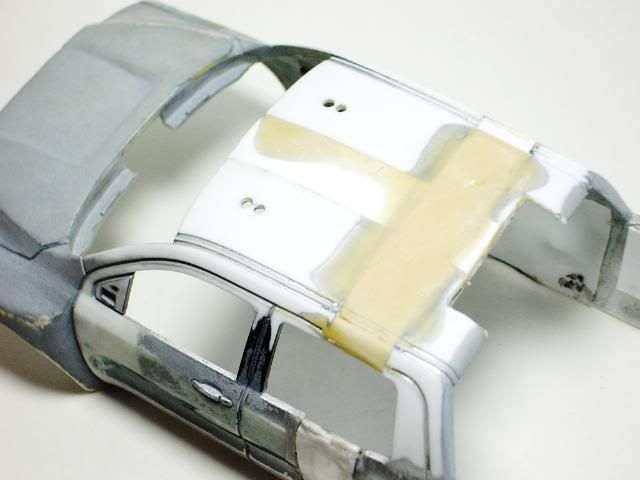 With a coat of primer. 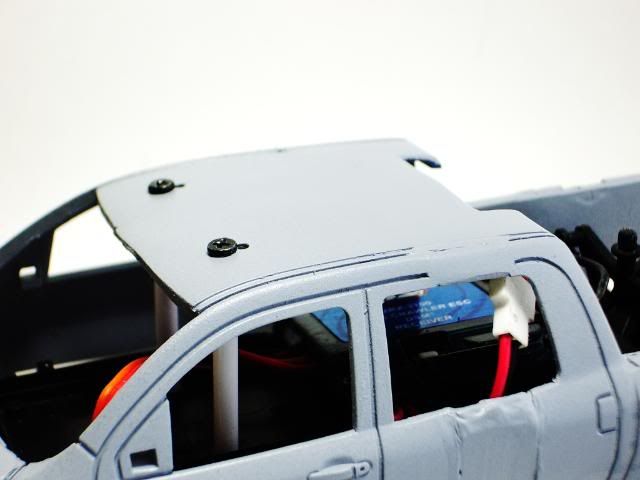 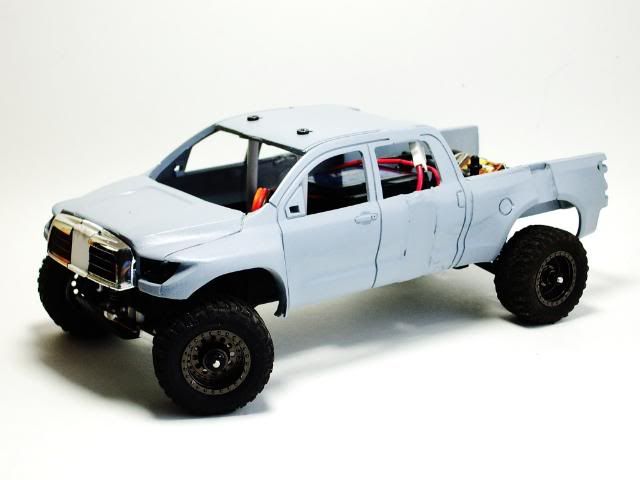 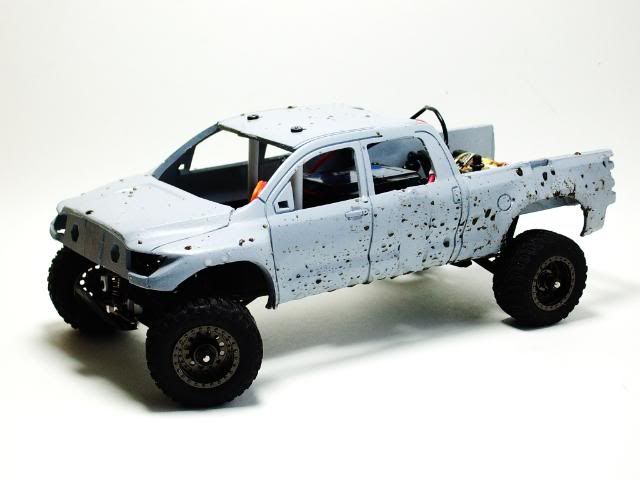 Now for the grill. 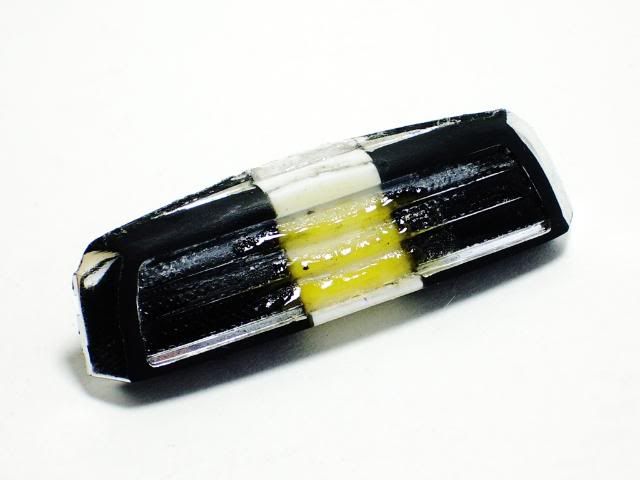 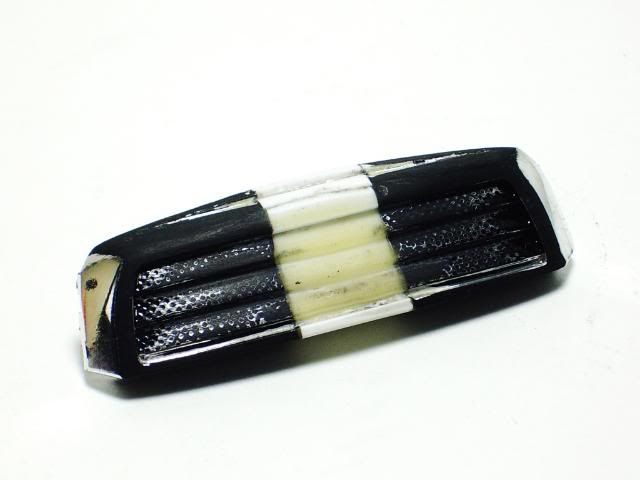 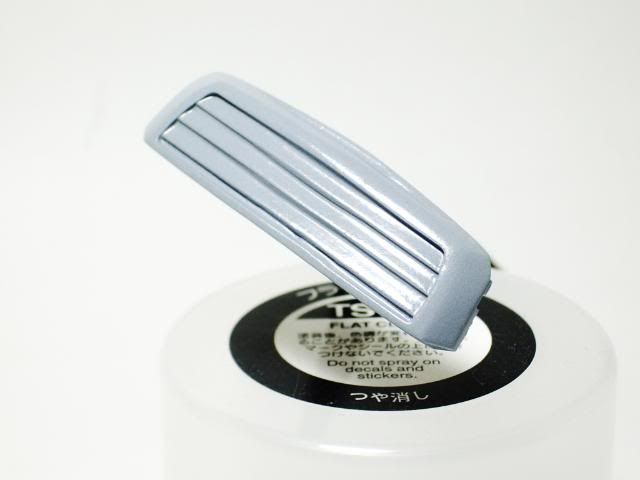 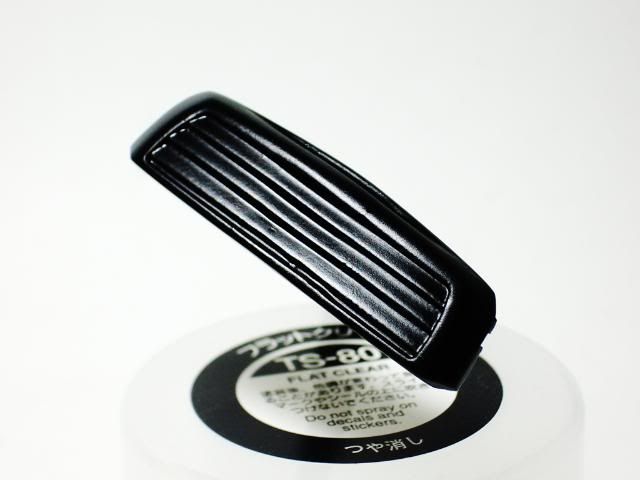 | |

|  |
| Sponsored Links | |
| | |
|
06-18-2011, 11:47 PM
| #42 |
| Pebble Pounder Join Date: Jan 2011 Location: Staten Island, NY
Posts: 168
|
Update: It's time for the doors! (Only working on the left side at the moment, one side at a time.) First layer putty applied. 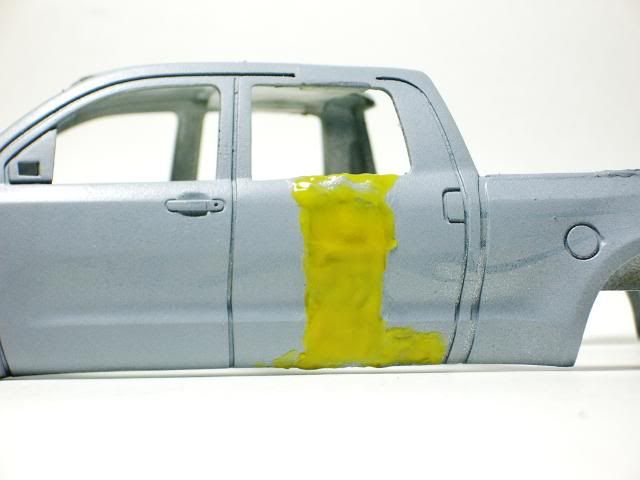 Sand it down. 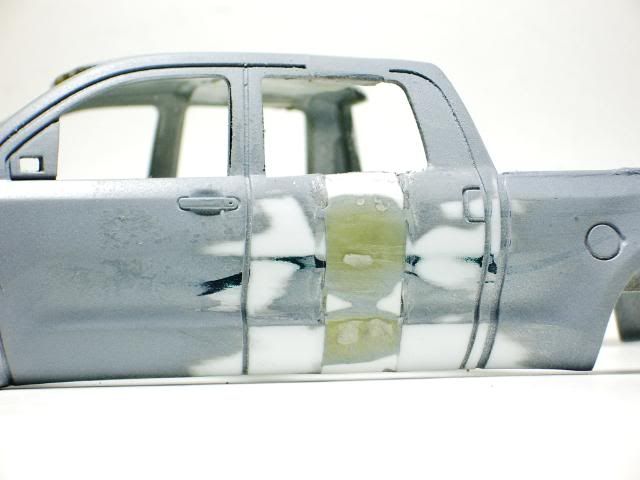 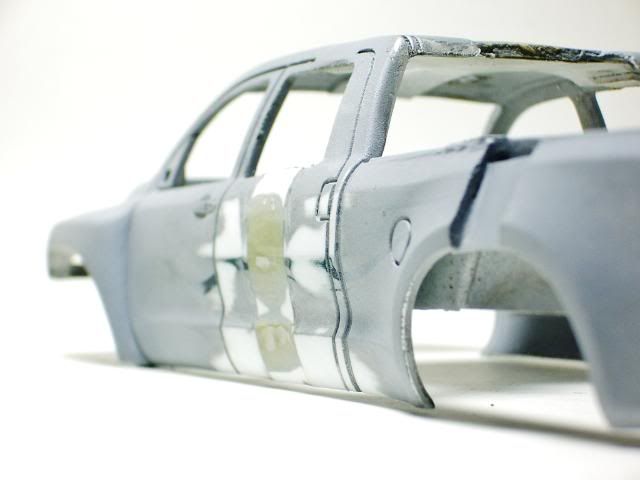 Need more putty. 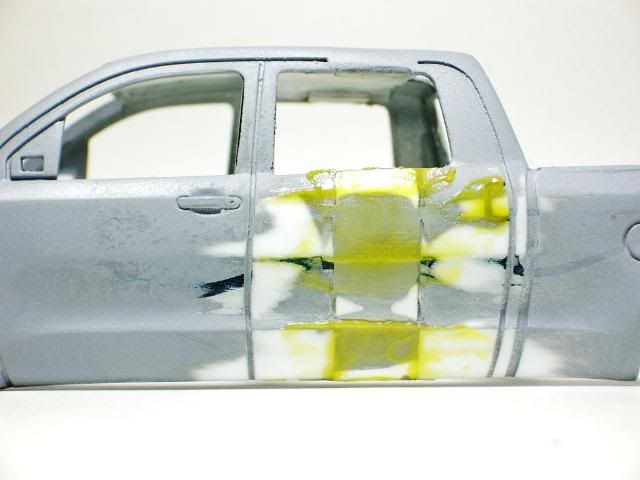 Now that waiting for the putty to dry, time to get some work on the headlights. Both headlight buckets are made, but still need some detailing. 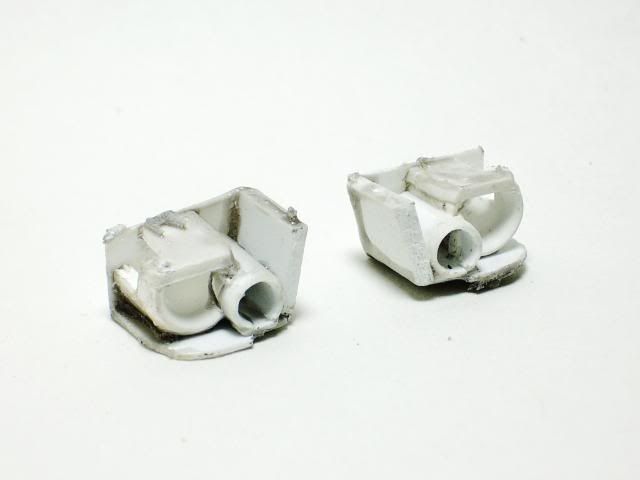 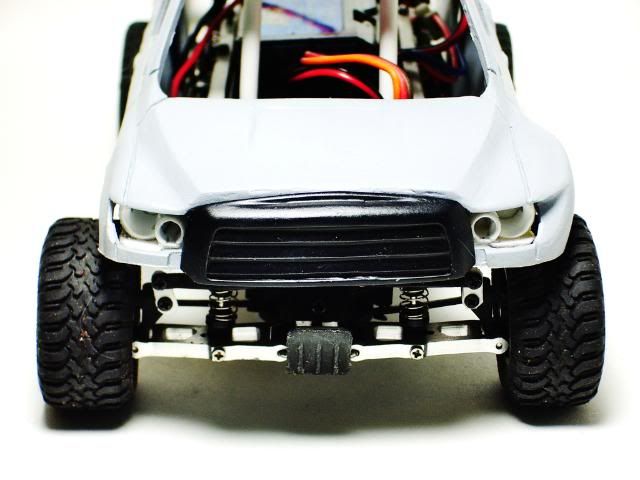 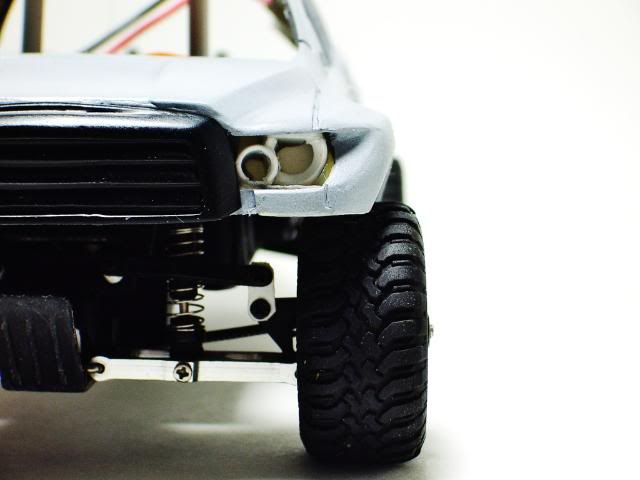 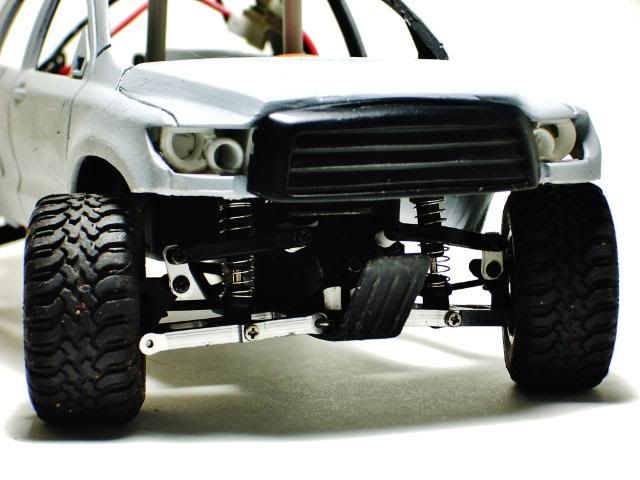 |
|
| |
|
06-19-2011, 07:15 AM
| #43 |
| Pebble Pounder Join Date: Jun 2011 Location: Australia
Posts: 131
|
Looking nice |
|
| |
|
06-19-2011, 09:48 PM
| #44 | |
| Pebble Pounder Join Date: Jan 2011 Location: Staten Island, NY
Posts: 168
| Quote:
Update: Continue working on the Tundra from where I left off yesterday. Sand down the second layer of putty. 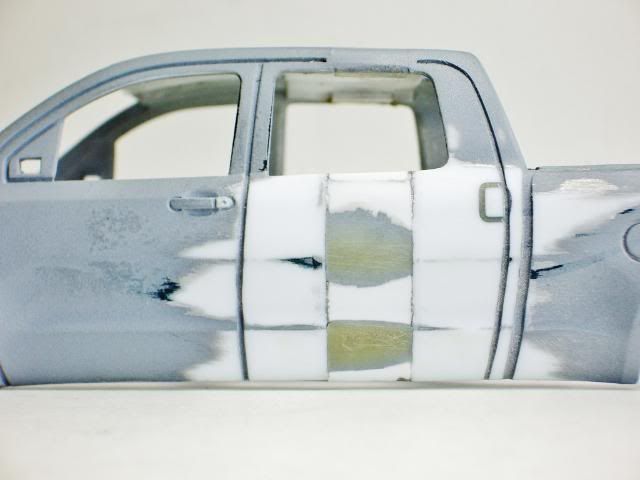 Seems to be smooth enough, but just to make sure, I sharpied the extension section, then sand it off, so I'll know where I need to apply more putty. 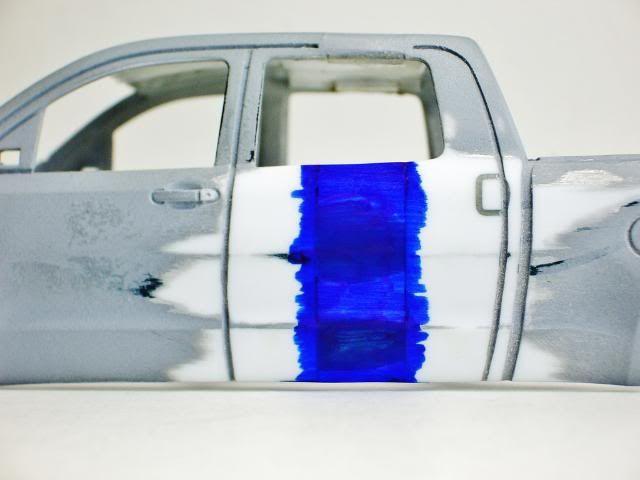  Then applied another layer of putty. 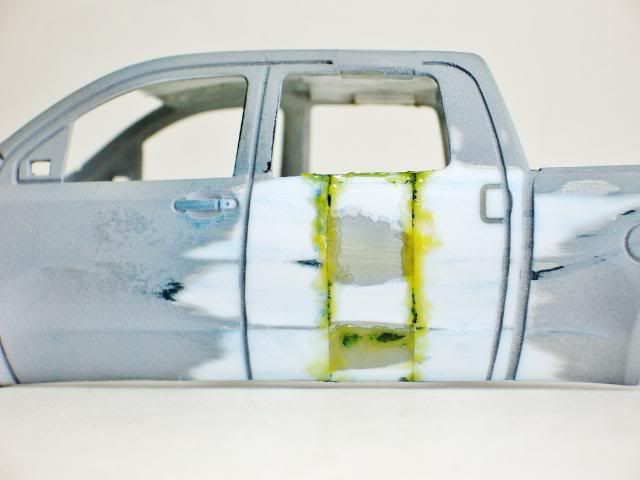 Repeated this steps a few time, spending a good few hours on applying putty and sanding it off, and this is how it came out.  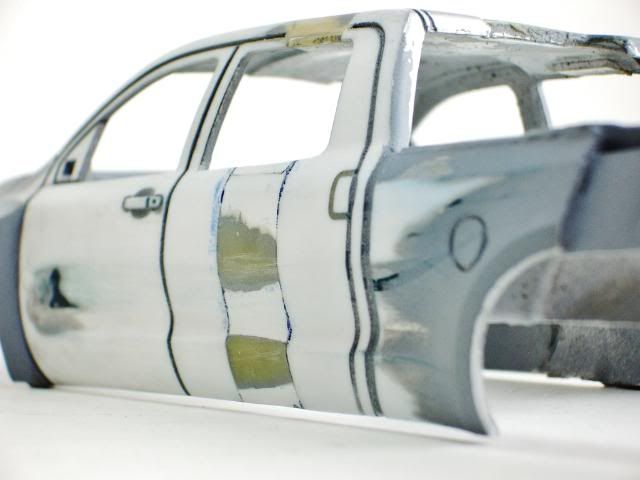 Then I sand down the roof again and applied another layer of putty. 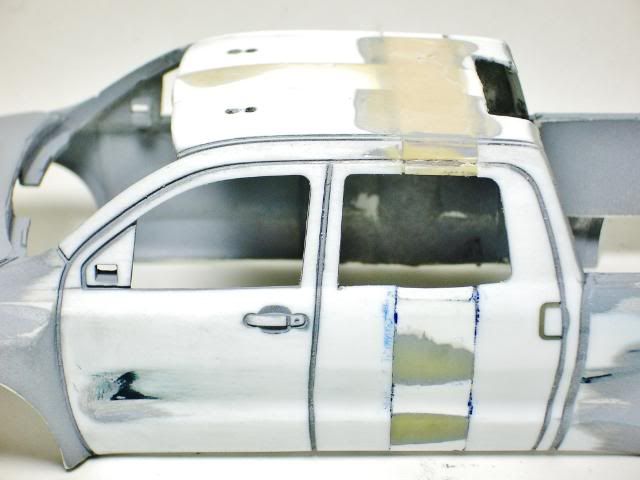 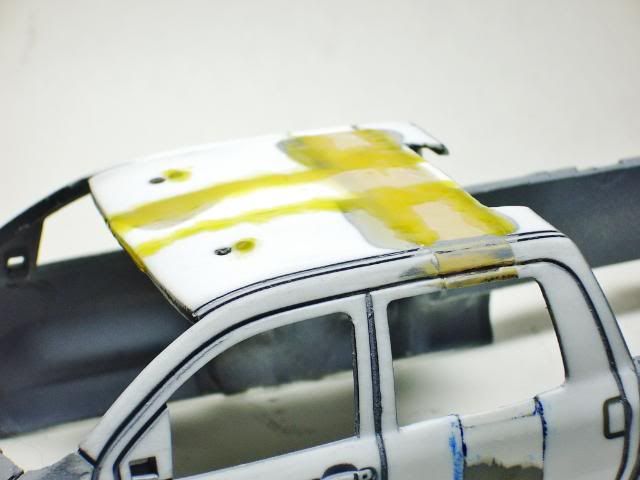 | |
|
| |
|
06-20-2011, 10:33 PM
| #45 |
| Pebble Pounder Join Date: Jan 2011 Location: Staten Island, NY
Posts: 168
|
Update: Nothing much got done today, it's been a long busy day. Have the roof smoothed out, and starting to touching up the body lines.  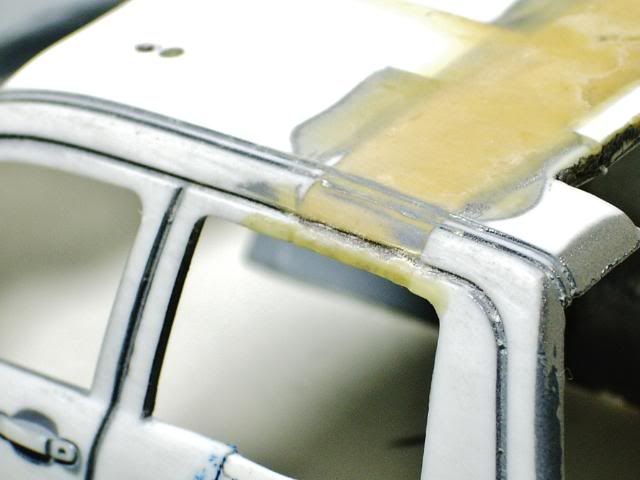 Now that the left side rear door is almost done, time to get to work on the right side. 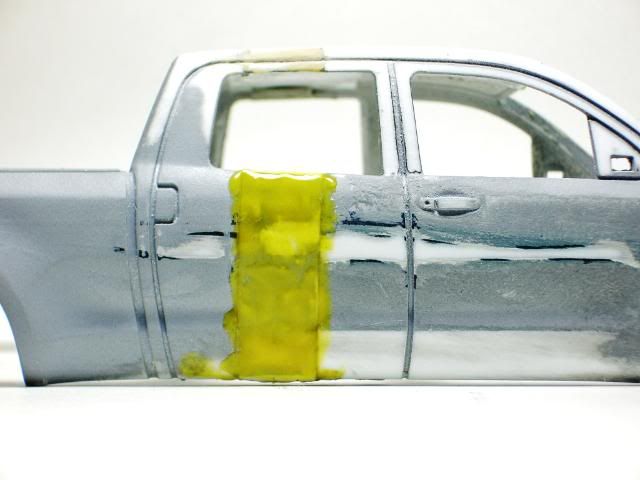 Here's a little bonus. 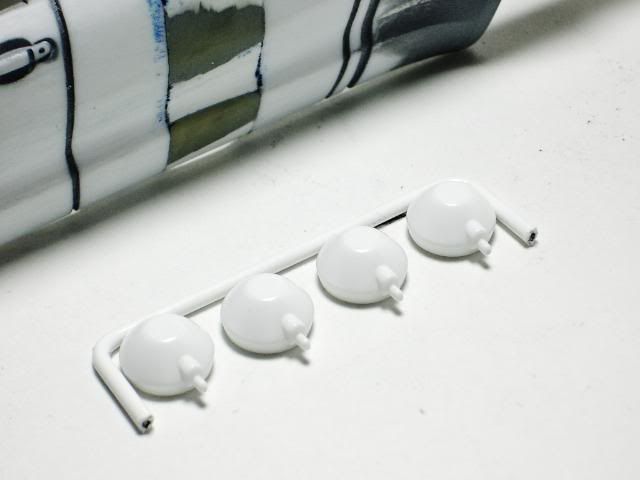 |
|
| |
|
06-22-2011, 09:14 PM
| #46 |
| Pebble Pounder Join Date: Jan 2011 Location: Staten Island, NY
Posts: 168
|
Update: Mock up of the Baja style light bar! 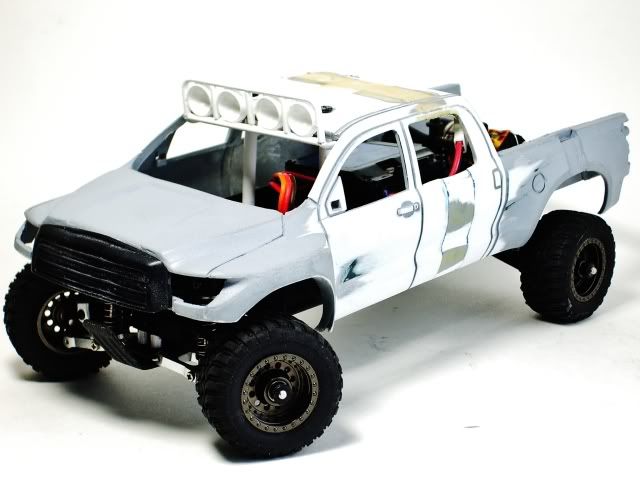 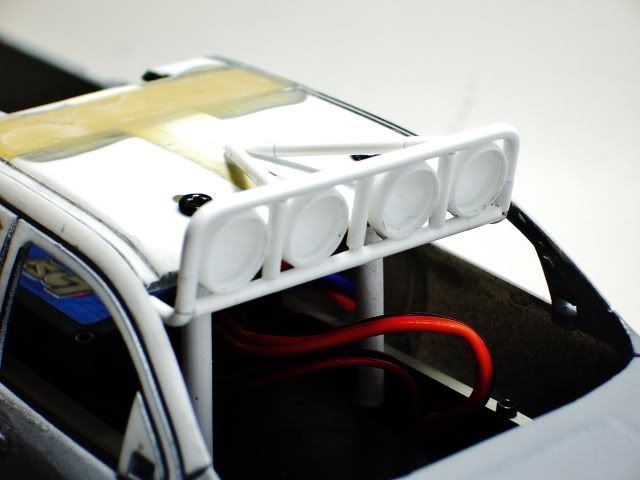 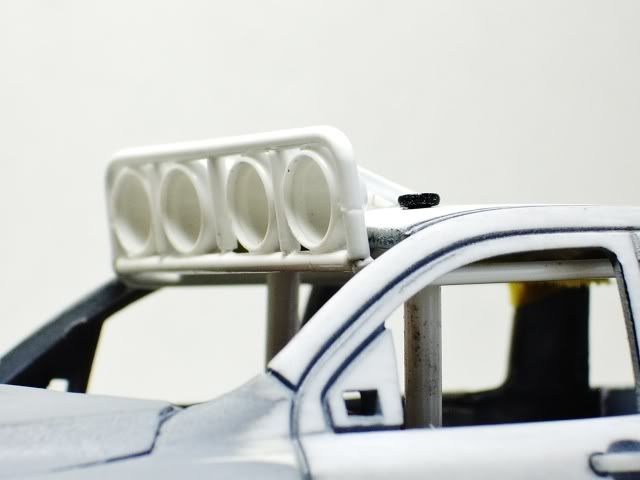 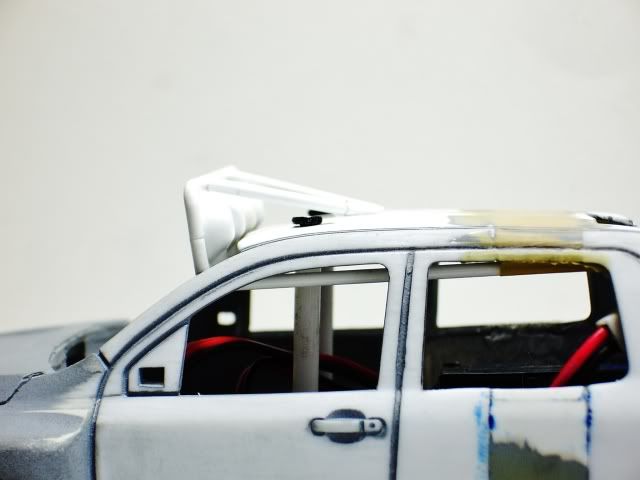 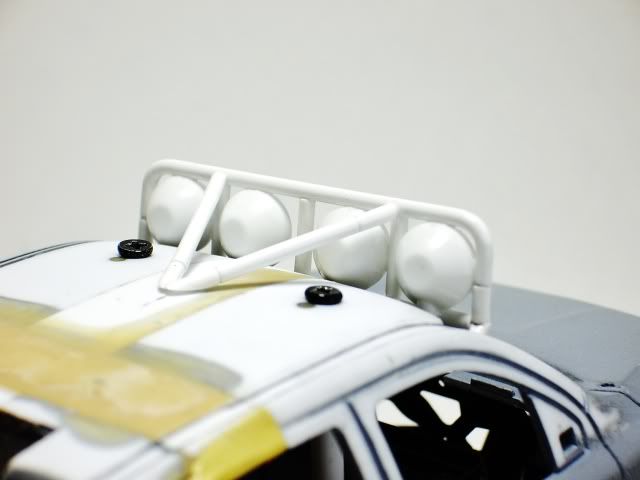 Then took it out for another run, spend rest of the night cleaning it all up! 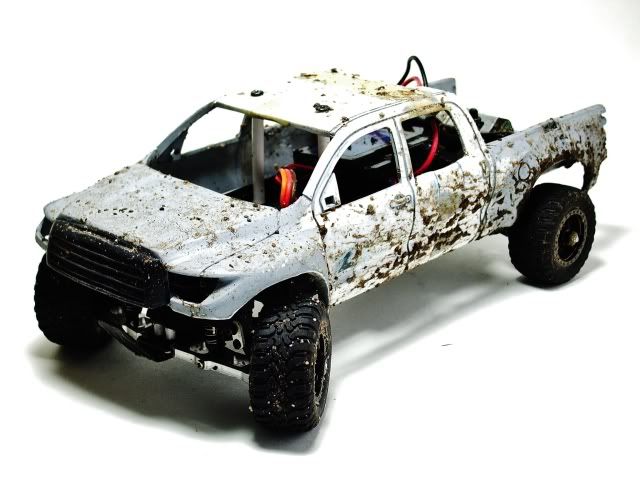 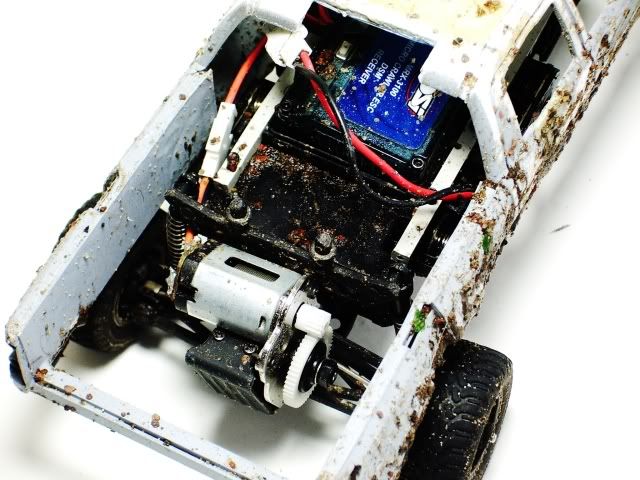 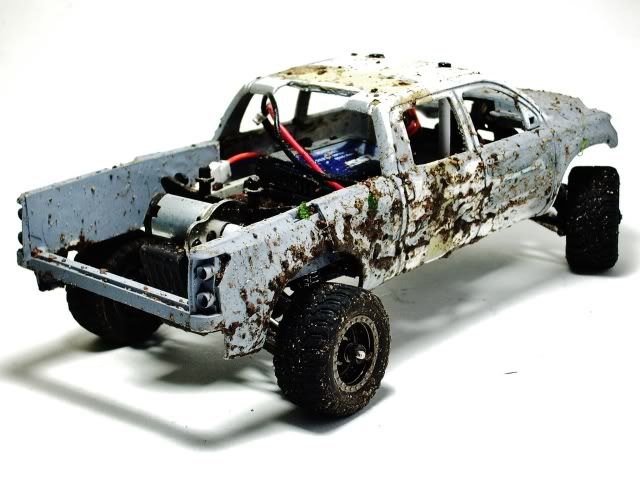 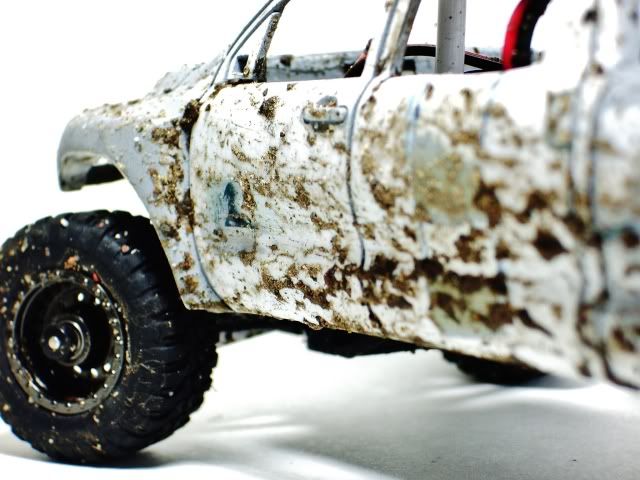 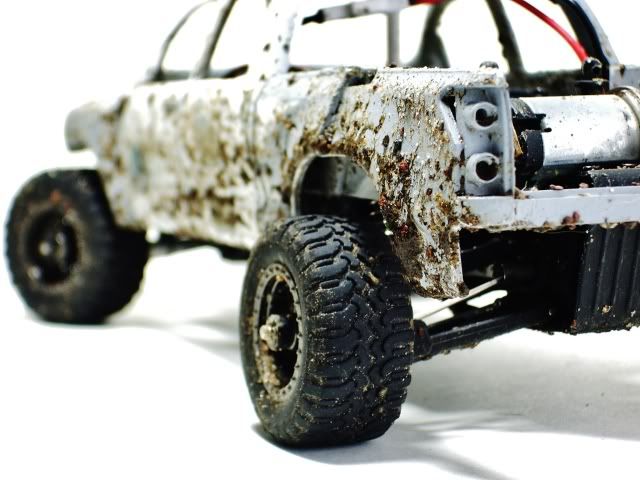 |
|
| |
|
06-22-2011, 09:45 PM
| #47 |
| Rock Stacker Join Date: Jun 2009 Location: Olathe, KS
Posts: 70
|
Amazing work. I wish I had the patience and skill to do something like this. I'd love an RC version of my Tundra.
|
|
| |
|
06-23-2011, 11:29 PM
| #48 | |
| Pebble Pounder Join Date: Jan 2011 Location: Staten Island, NY
Posts: 168
| Quote:
 Update: New improved body mounts! 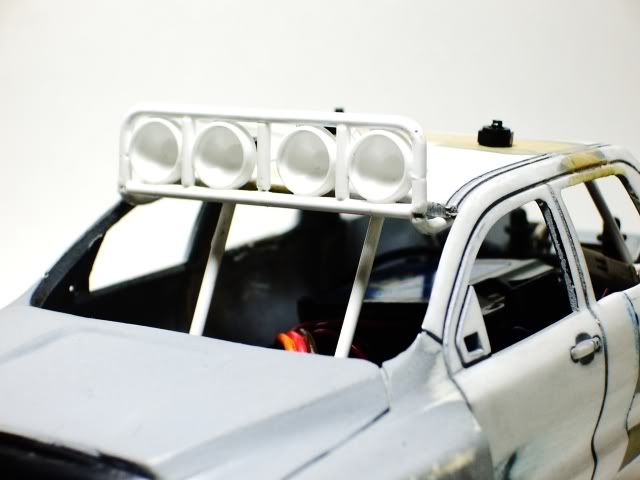 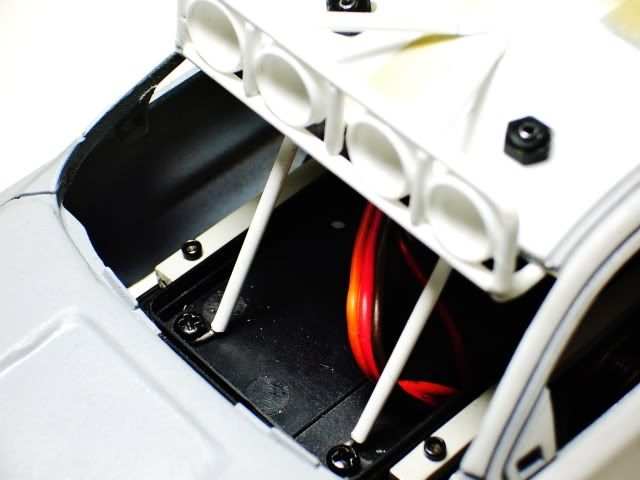 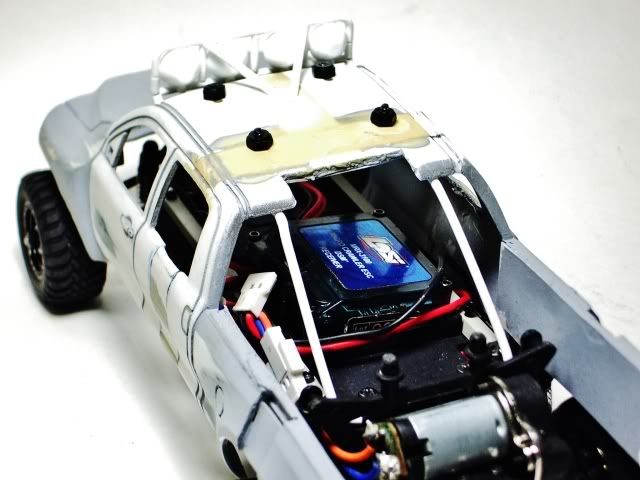 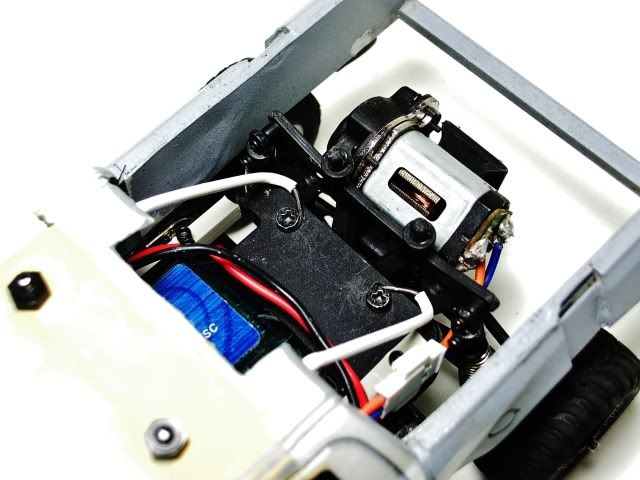 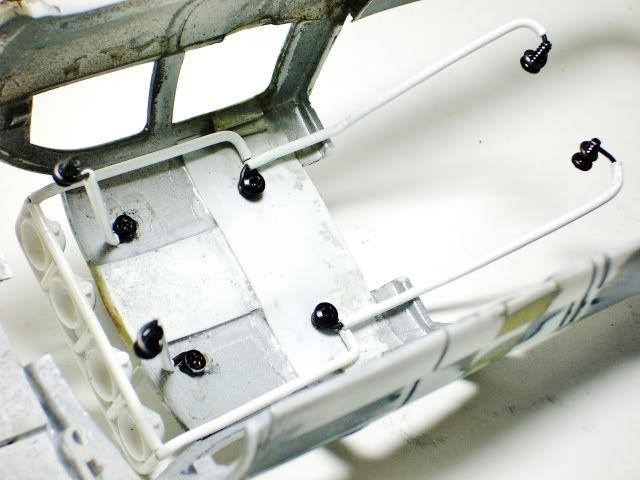 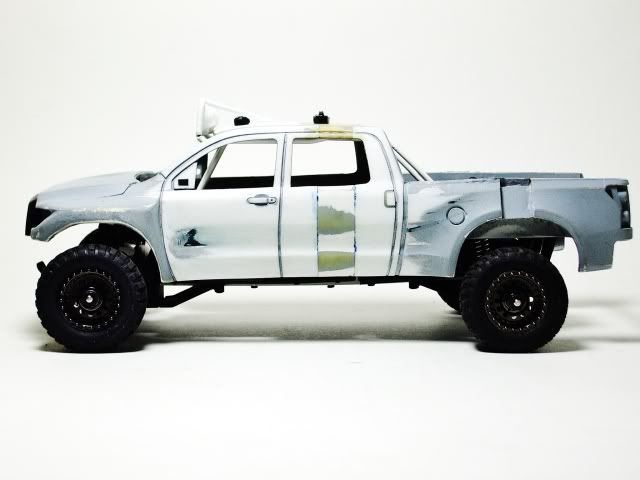 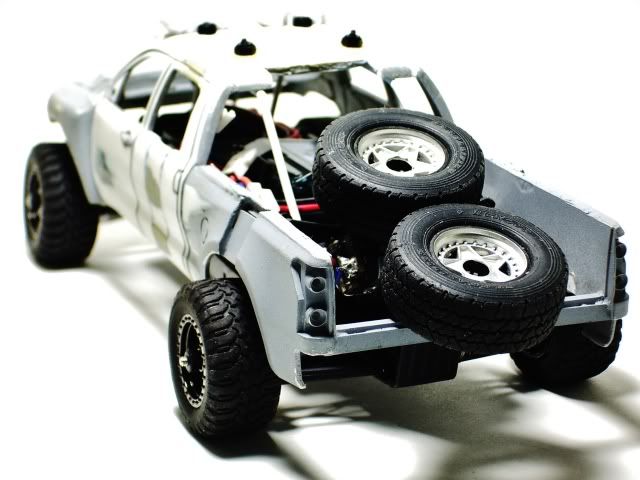 | |
|
| |
|
06-24-2011, 07:16 AM
| #49 |
| Pebble Pounder Join Date: Jun 2011 Location: Australia
Posts: 131
|
Lookin beast With those tryers reminds me of my hpi mini trophy lol nice work |
|
| |
|
06-24-2011, 12:33 PM
| #50 |
| Pebble Pounder Join Date: Apr 2011 Location: Cerritos
Posts: 99
|
that looks awesome, amazing work!!! looking forward to the finished product!
|
|
| |
|
06-24-2011, 10:24 PM
| #51 | ||
| Pebble Pounder Join Date: Jan 2011 Location: Staten Island, NY
Posts: 168
| Quote:
Quote:
Update: Front skid plate installed! 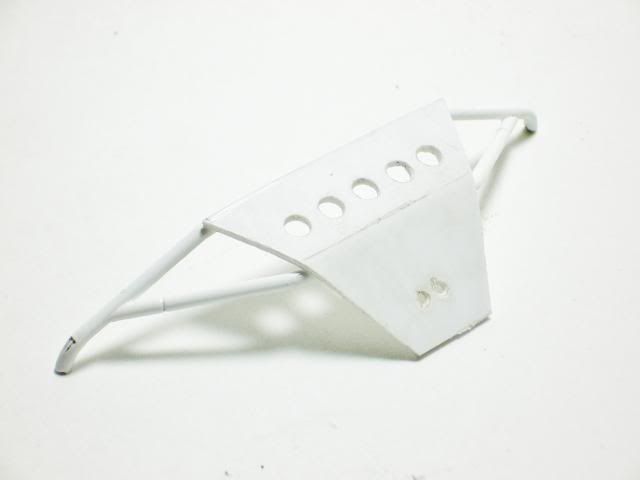  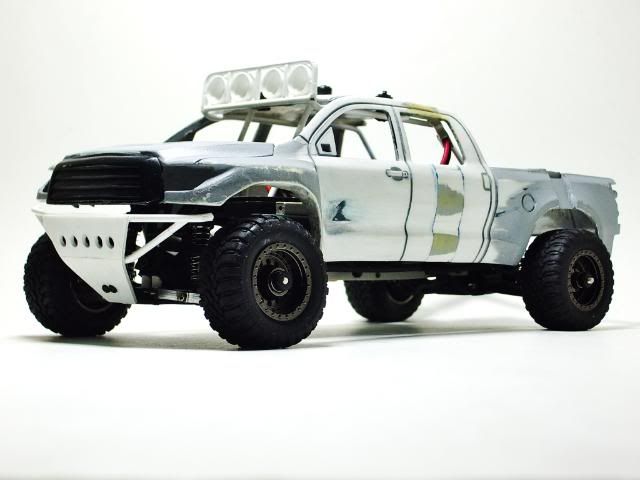 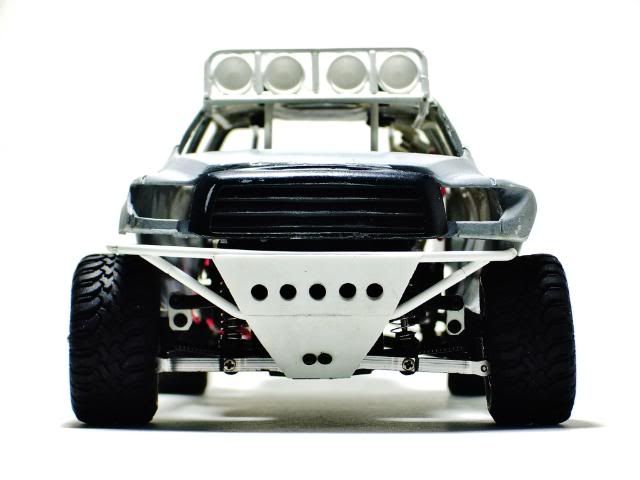 | ||
|
| |
|
06-24-2011, 10:41 PM
| #52 |
| Pebble Pounder Join Date: Jun 2011 Location: Australia
Posts: 131
|
Nice And yeh seams like it pushes it down at the back, stiffen up the back a bit? Seams the back sits down quite low in those pics |
|
| |
|
06-28-2011, 11:57 PM
| #53 | |
| Pebble Pounder Join Date: Jan 2011 Location: Staten Island, NY
Posts: 168
| Quote:
Update: Project is back on the track! Stiffen the rear end and get to work on the rear fender flares. 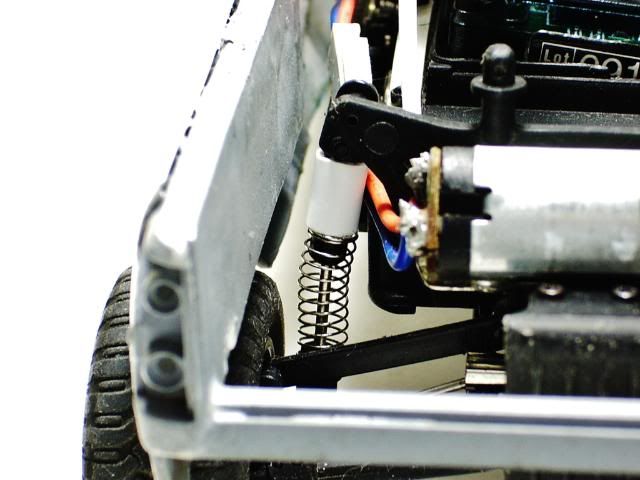 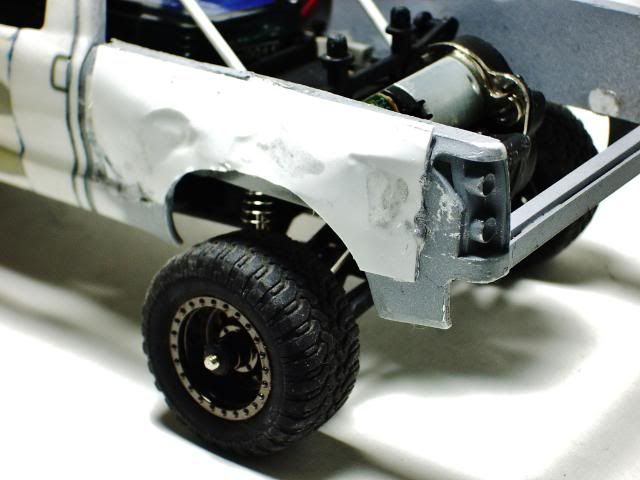 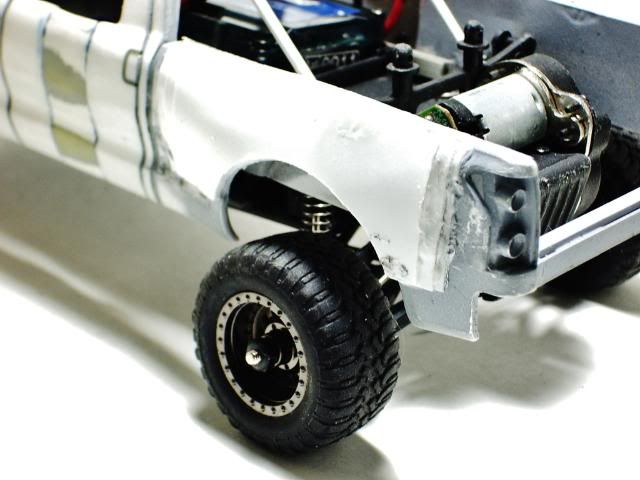 Under full compression. 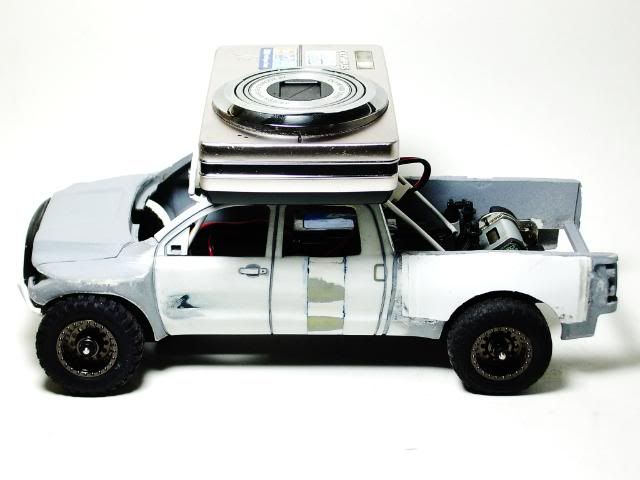 That's all ya get for now, more update tomorrow! | |
|
| |
|
06-29-2011, 01:10 AM
| #54 |
| Quarry Creeper Join Date: Jun 2008 Location: anchorage
Posts: 395
|
Nice, keep up the good work.!
|
|
| |
|
06-29-2011, 01:57 AM
| #55 |
| Quarry Creeper Join Date: Jan 2011 Location: 801
Posts: 334
|
Damn man I have never seen so much customization in a micro, nice job, keep up the great work
|
|
| |
|
06-29-2011, 10:12 PM
| #56 | ||
| Pebble Pounder Join Date: Jan 2011 Location: Staten Island, NY
Posts: 168
| Quote:
Quote:
Update: More progress on the rear fender flare. 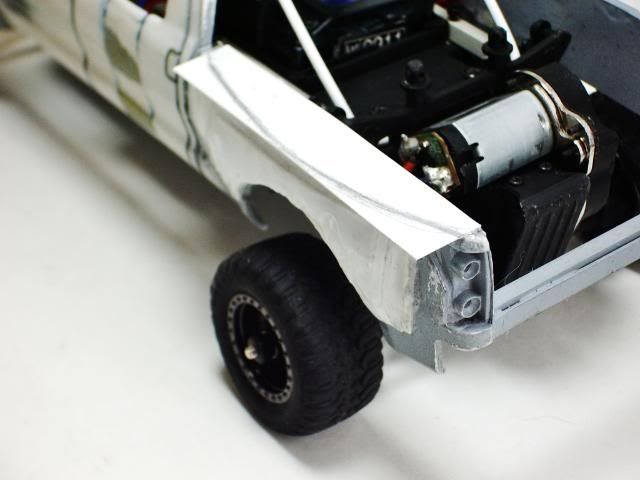 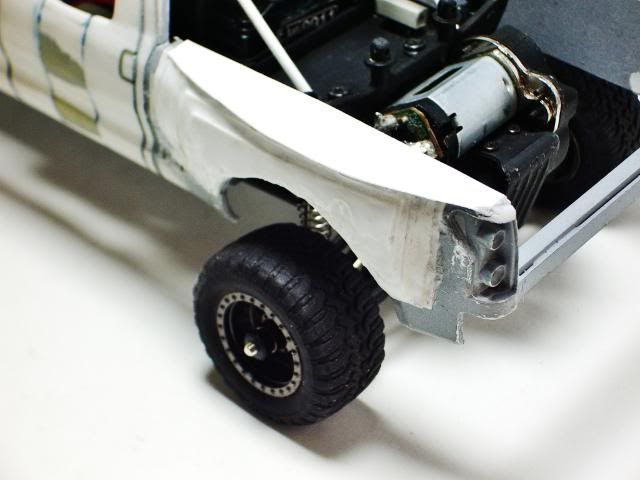 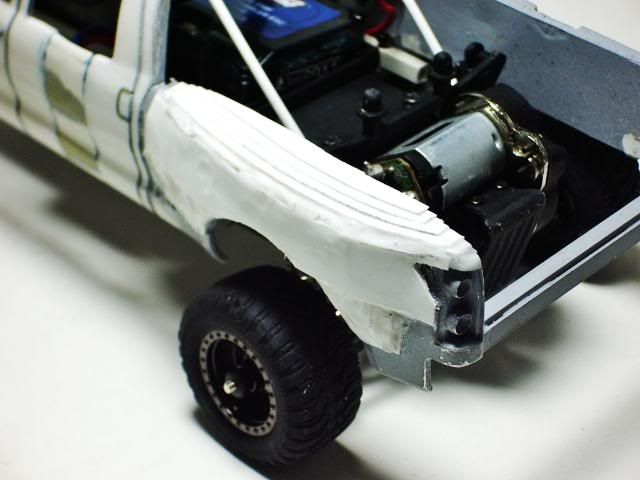 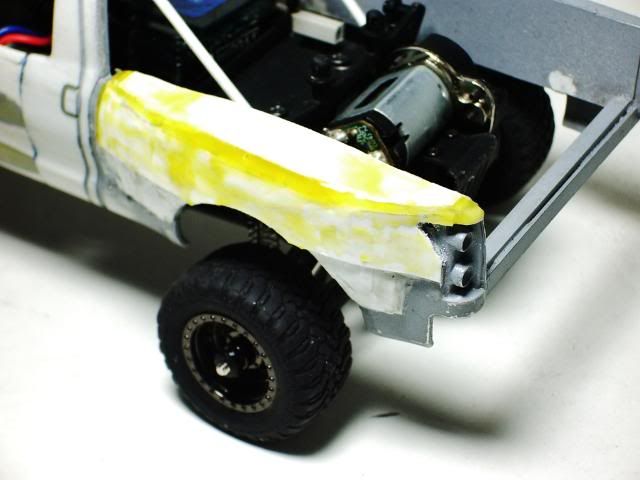 | ||
|
| |
|
06-30-2011, 07:08 PM
| #57 |
| Quarry Creeper Join Date: Jan 2011 Location: Detroit and Denver
Posts: 344
|
WOW!!!!! need i say more?
|
|
| |
|
06-30-2011, 09:08 PM
| #58 | |
| Pebble Pounder Join Date: Jan 2011 Location: Staten Island, NY
Posts: 168
| Quote:
Update: Got more work done the left side rear fender flare. 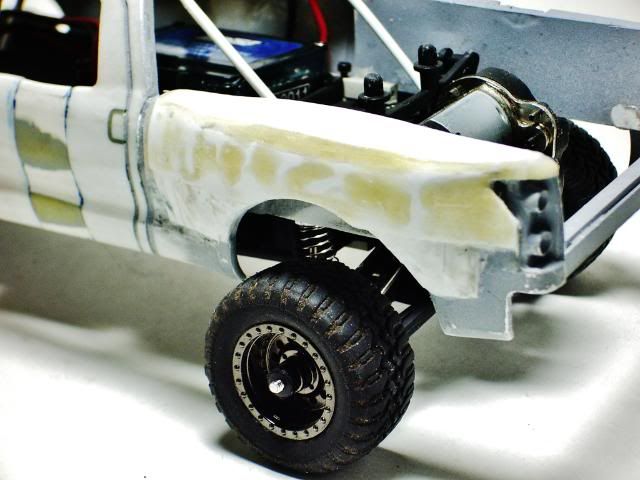 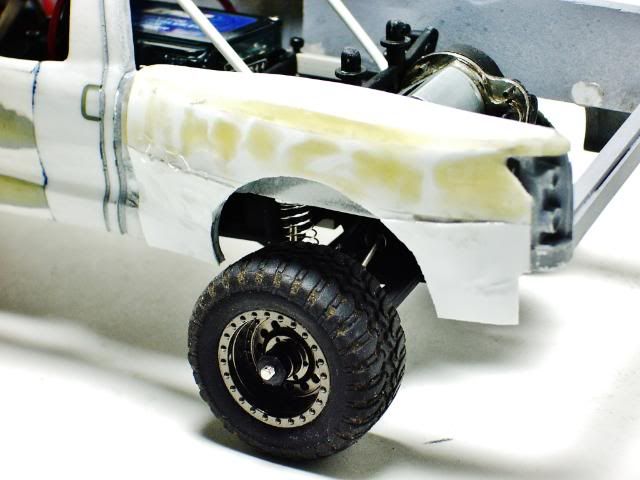 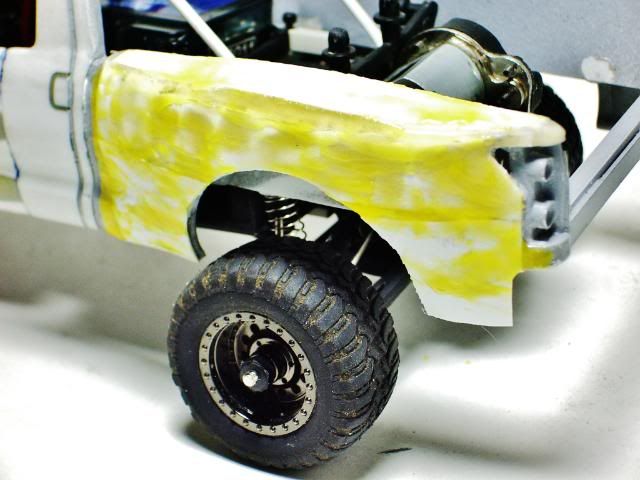 Got to have a comparison pic to show how wide those fender flares are compare to the stock ones. 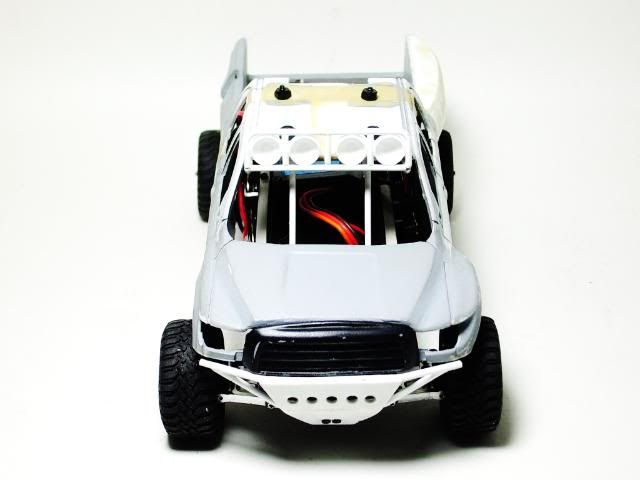 | |
|
| |
|
06-30-2011, 10:51 PM
| #59 |
| Rock Crawler Join Date: Nov 2008 Location: Nor*Cal Cameronpark
Posts: 510
|
You know how I feel about this one already  Those rear flares are going to put it over the top! |
|
| |
|
07-01-2011, 06:22 AM
| #60 |
| Pebble Pounder Join Date: Jun 2011 Location: Australia
Posts: 131
|
Wow still amazing work |
|
| |
 |
| |


 Linear Mode


