| |
| |||||||
 |
| | LinkBack | Thread Tools | Display Modes |
 05-22-2013, 09:27 AM
| #21 |
| Rock Crawler Join Date: Jun 2007 Location: Working in my dream RC workshop and remodeling my entire home.
Posts: 850
|
Yeah, since I did this build so quickly, I pretty much just used what I had on hand to get this thing running. I really didn't think at the beginning I'd be able to build it in time for the trip to my Bro's this weekend. I'm sure after the first run, we'll be tweaking and changing things around. In fact, I already did a bit of adjusting this morning. The shocks were at a slight angle and they weren't moving freely enough. I solved that by mounting the bottom of the shocks outside the axle mount with longer screws. I also cut small notches in the frame where the two servos sit. The notches are a bit rough, but I'll smooth them out before I paint everything. I noticed too, that the upper links from the middle axle were not really moving freely as they should be. I used longer screws and a spacer between the frame and the ball ends, and now the axles articulate a lot better. Now it kind of looks like a worm going over obstacles. The big thing too, will be to see how it stands up to some outdoor abuse. I also need a screw kit from Harley. Some of the screws I'm using are a bit too long, while others are just long enough to get a nut on. Like I said, I'm just happy that it runs for now. I just put the hammer down and built like a maniac! My two workbenches look like a toolbox got turned upside down on them. Parts, tools, hardware, and metal shavings everywhere.....funny though, I forget to take out the trash, but I can find a stash of four locknuts I took off a truck and put in a box three years ago..... FLM BL E-MAXX ~ BL E-4TEC Drifter ~ Pro-Trac Slash ~ SCX-10 ~ Wraith ~Custom 6WD Crawler~ 3 Losi micro scalers |

|  |
| Sponsored Links | |
| | |
|
05-26-2013, 10:57 PM
| #22 |
| Rock Crawler Join Date: Jun 2007 Location: Working in my dream RC workshop and remodeling my entire home.
Posts: 850
|
Well, I finally got this baby out for some play time!! Like I said before, we drove across the state to the Allentown area to visit my Bro for our new God daughter's christening. Luckily we got in plenty of crawling as well! We decided to hit one of our favorite trails that basically goes straight up a mountain on the Appalachian trail that overlooks the Lehigh river. Awesome terrain! Got the rigs ready to go....  Some nice views from the top!   Love doing steep descents with this thing....  Some random trail shots.....    Found some mud, too!   All was going well until..... 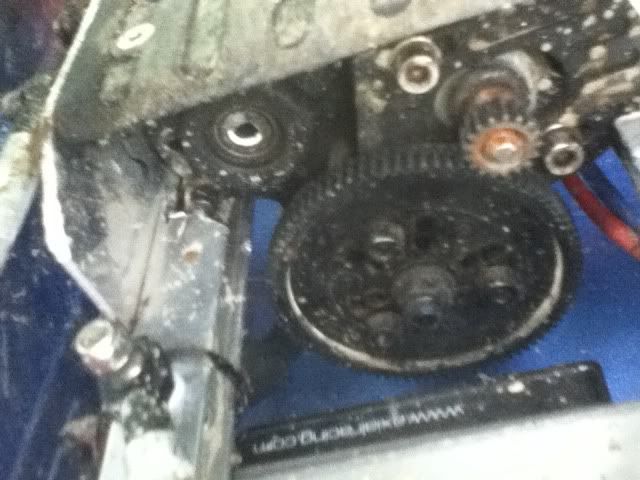 I snapped of the transmission output shaft......called all over and could not locate one at any of the hobby shops. At least it happened near the top of the climb. Going downhill wasn't too bad with just front wheel drive. Going to order a Robinson one-piece unit along with hardened gears and a new spur while I'm at it. I guess the strain of going uphill all the way was a bit to much for the heavy rig. I guess it's time. I got this when the AX-10 first came out and have used it as a comp rig, a scaler, and even as a rock buggy for awhile. Time for some new parts for the old girl!! FLM BL E-MAXX ~ BL E-4TEC Drifter ~ Pro-Trac Slash ~ SCX-10 ~ Wraith ~Custom 6WD Crawler~ 3 Losi micro scalers |
|
| |
|
06-02-2013, 04:24 AM
| #23 |
| Rock Crawler Join Date: Jun 2007 Location: Working in my dream RC workshop and remodeling my entire home.
Posts: 850
|
Haven't had time to get this thing apart yet, as I broke my SCX-10 as well as this one, and I want to have it ready for today. I also got in parts to fix my Wraith that has been sitting, neglected, while I have been building this rig. The Wraith is done, and no work tonight so the six-wheeler will be getting a lot of attention tonight. As I mentioned, I was going to use a Streamliner body for this, but I needed to hack off the rear of the cab to do so. I just can't do it! I want to give it an awesome painjob and use it on my FLM E-Maxx. I found a Redcat racing body that looks exactly the same except for a few minor details and it's prepainted only. No problem, I have to paint the Plastruct part of the body, so I can paint the outside of this, too. I was also having problems when using both steering servos at the same time when applying power to the wheels. The rig started to cut out on me, so you know what it needs! Do I need a bec? Yes! A little confusing as to how to set that up, but I'll figure it out. I also got in an FLM one piece tranny gear to replace the stock one that had the output shaft snapped off. I know everyone uses the RR unit, but I thought I'd give this one a shot since I've had nothing but success with their other products. While I'm at it, I also need to add some internal springs to the center set of shocks, because they just don't reach for the ground the way they should be for some reason. A also stole the lights off of the Wraith to put on here and I have some other scale goodies to go on this truck. I also want to figure a way to lower the mud flaps to look a little more realistic. I just threw them on before we went out and didn't really take the time to do it right. Just part pics for now. Expect a lot more in the wee hours of Monday morning..... I also got some Axial fender flares, a RR spur gear, and RR idler gear, plus some servo leads and y-harnesses to help with the bec project. 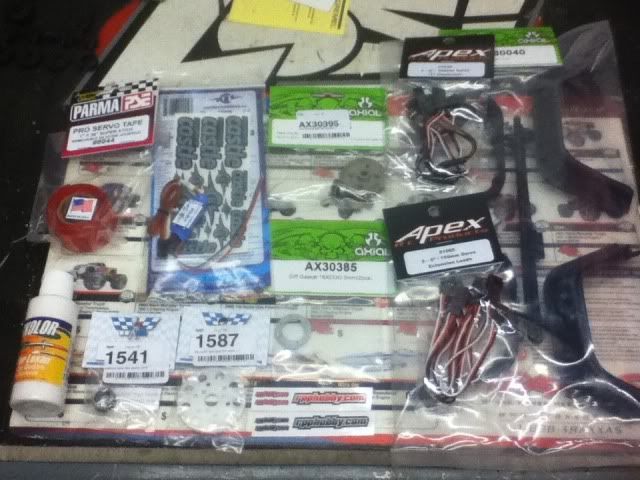 FLM BL E-MAXX ~ BL E-4TEC Drifter ~ Pro-Trac Slash ~ SCX-10 ~ Wraith ~Custom 6WD Crawler~ 3 Losi micro scalers |
|
| |
|
06-03-2013, 01:57 PM
| #24 |
| Rock Crawler Join Date: Jun 2007 Location: Working in my dream RC workshop and remodeling my entire home.
Posts: 850
|
Like I said, I got a bunch done last night! I cleaned up the rig a bit, (hate having dirt crust fall all over my workbench)! I also got a lot of other things done like I wanted. Usually I blab on and on, but this time I'll let the pics do most of the talking. As I was saying, this thing was crusty; especially the tires.  My solution to dirty tires is to put them on an old shaft, put a hex on there and tighten the nut. I spin it slowly with a drill under the faucet of my slop sink and scrub it with an old toothbrush. Works pretty well. 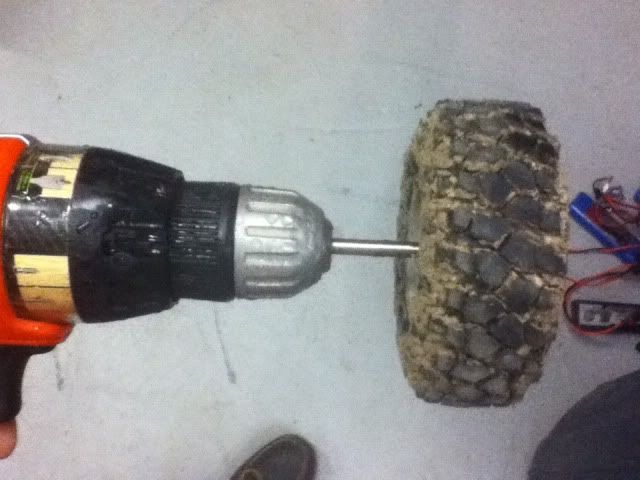 All shiny once again. 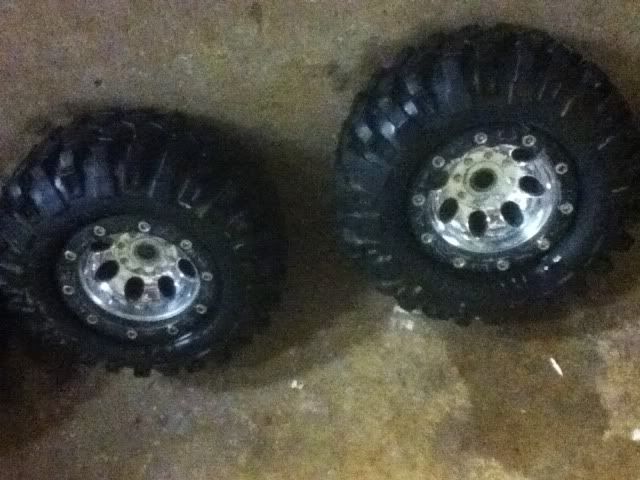 Now, on to the tranny's broken output shaft. Got the transmission pulled out. 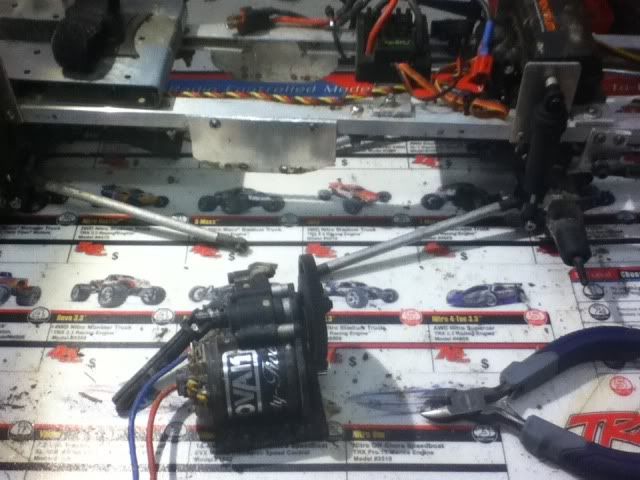 Not ideal.... 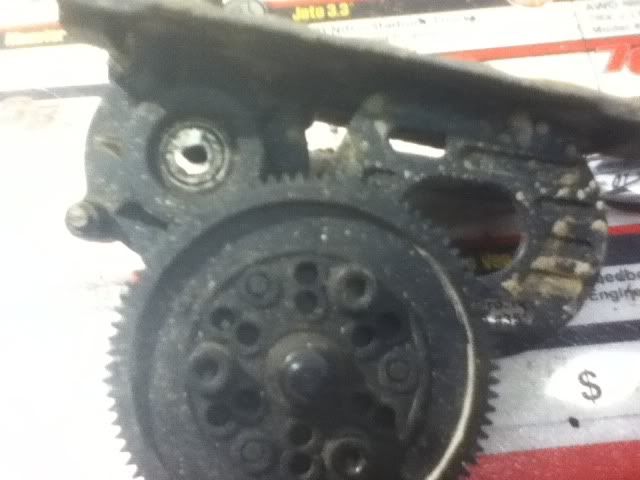 All better. New FLM one piece diff & RR idler. Cleaned and lubed bearings, and some sticky grease. 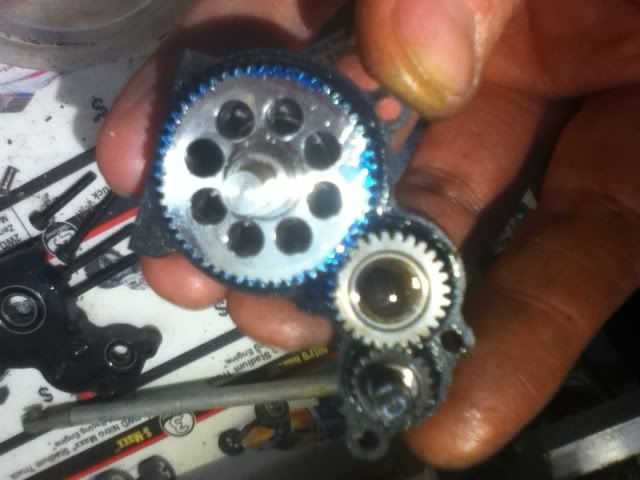 New Robinson spur. 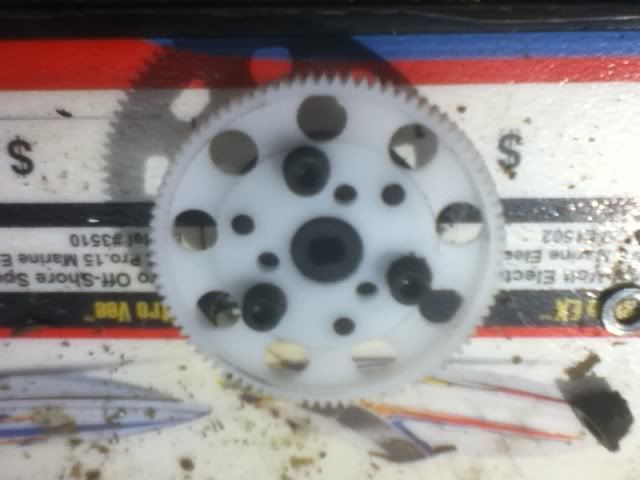 I also got my body in. It's a Redcat rig body that I got for $18 on ebay. It will be painted and mated to Plastruct. 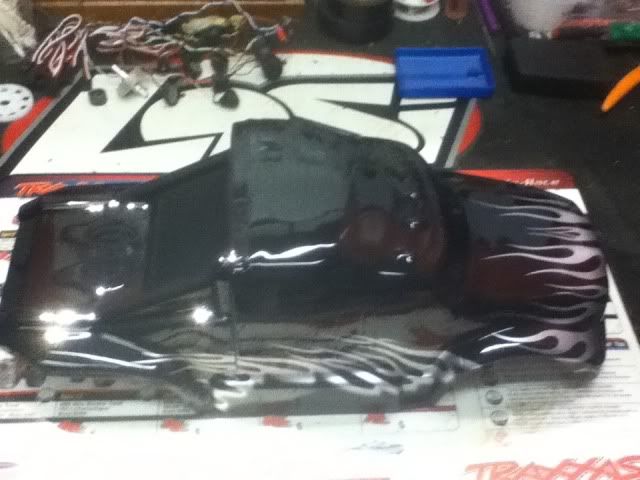 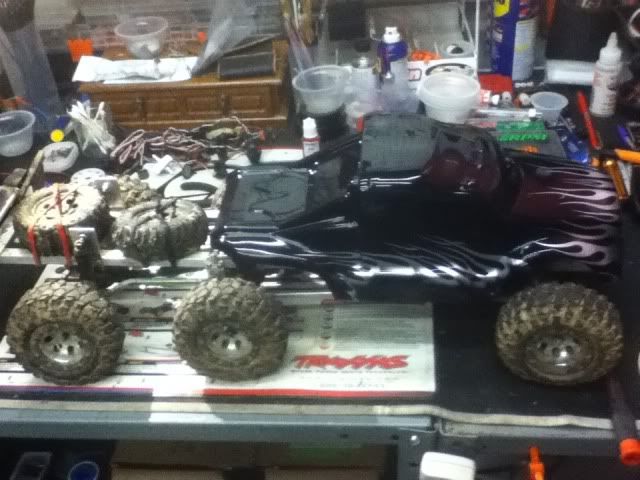 And finally, I tackled my first bec installation. Read the many forum pages and got to work. Luckily, everything seems fine and works as it should. I know it looks ugly, but it works. After many zipties and some cleaning up, it'll all be good. 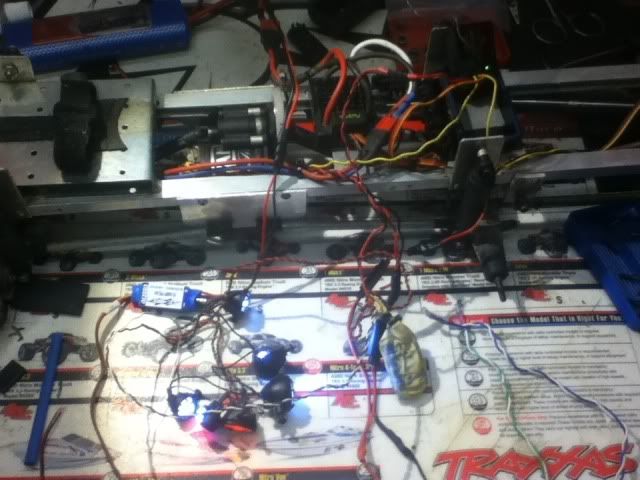 FLM BL E-MAXX ~ BL E-4TEC Drifter ~ Pro-Trac Slash ~ SCX-10 ~ Wraith ~Custom 6WD Crawler~ 3 Losi micro scalers |
|
| |
|
06-07-2013, 02:31 AM
| #25 |
| Rock Crawler Join Date: Jun 2007 Location: Working in my dream RC workshop and remodeling my entire home.
Posts: 850
|
I got my wiring all cleaned up, got a little driving in, and everything works great. The servos really have a snap now. I had tonight off of work, so I figured I'd get started on the body. The Redcat body was supposed to be a 1/10th scale body, but for some reason, when I really got into it, the body was just too small to fit the way I wanted it to. I figured what the hell and threw the Streamliner body on there and decided to go for it. It just looks right to me sitting on there. I got my Plastruct sheets and my fender flares and started thinking about how I want to mount everything. The route I'm going is two body posts in the hood and have the body overlap the Plastruct bed with Velcro connecting the two at the junction. The bed is going to be to be a solid unit, using the top shock mounting points as their mounts as well. I got one side pretty much done (minus paint) and it seems pretty good to me. The flares needed a bit of modification to have a more symmetrical look to them, so I cut a little off of echo one so all four match. Once I get to the other side, and have them both bolted securely, I'll cut the bed itself. Gotta start thinking about the paint job and what colors I want to use. Kinda thinking about painting the inside of the lexan body a rust color and also painting the outside so the bed and body match. Perhaps I will go with military Camo colors, but I'm not sure at this point..... Fender flare modification 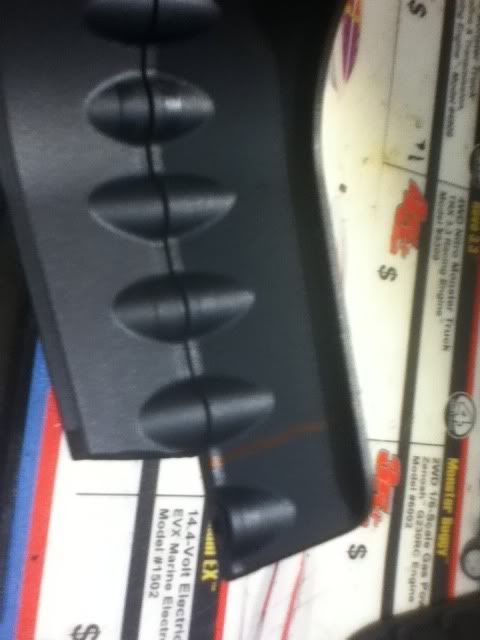 Nice and even now 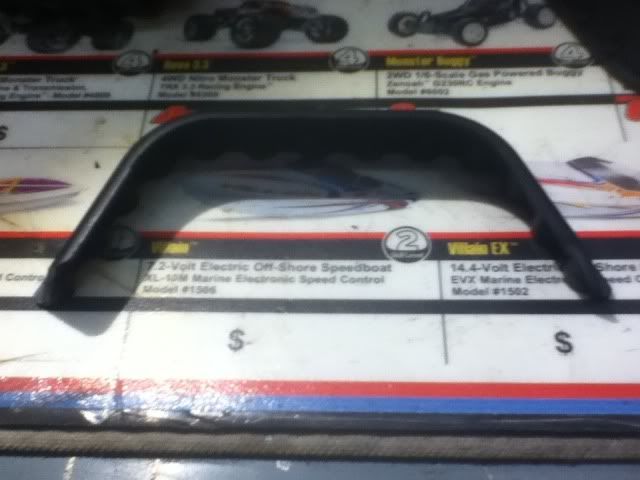 Just a start 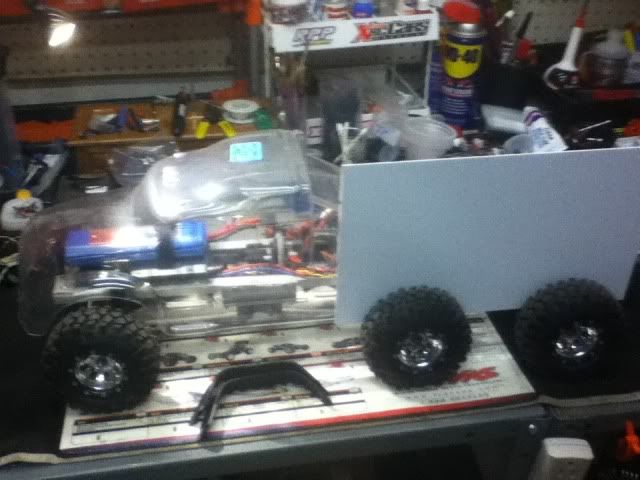 Here goes nothing..... 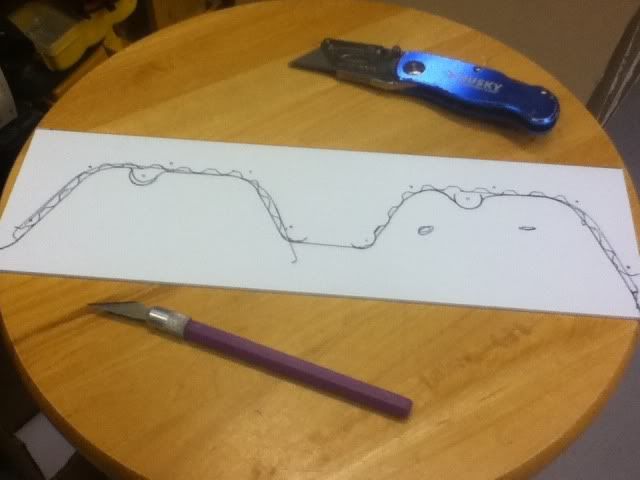 Not quite perfect, but the mounts under the flares will be painted black. Maybe should've left more plastic under the flares to act as wheel wells. We'll see....I can re-do the sides if need be. 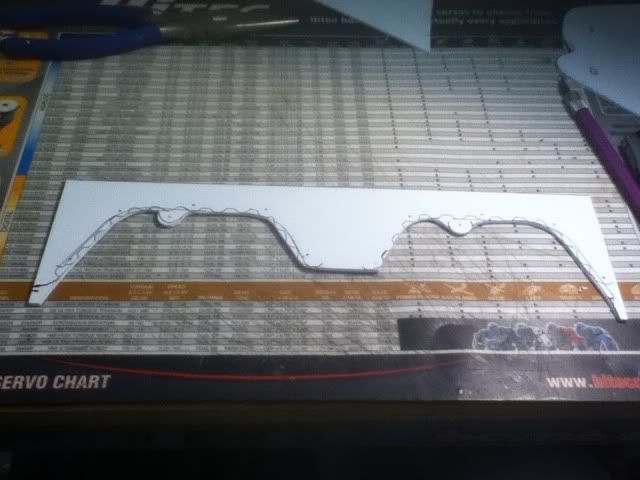 Everything seems level; just gotta do a little trimming and I think it will look great with some paint. 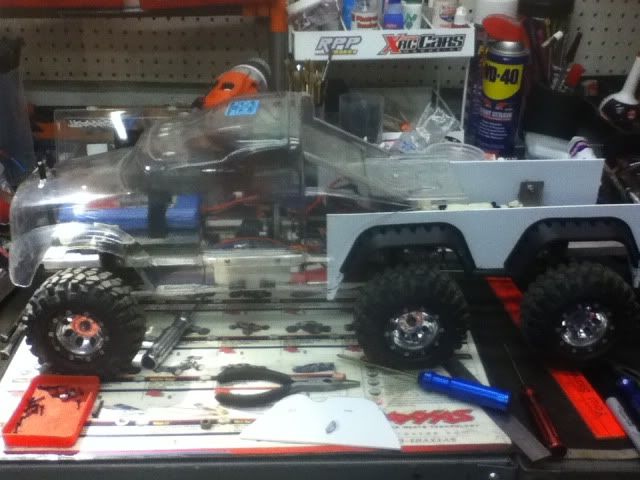 FLM BL E-MAXX ~ BL E-4TEC Drifter ~ Pro-Trac Slash ~ SCX-10 ~ Wraith ~Custom 6WD Crawler~ 3 Losi micro scalers |
|
| |
|
06-10-2013, 03:46 AM
| #26 |
| Rock Crawler Join Date: Jun 2007 Location: Working in my dream RC workshop and remodeling my entire home.
Posts: 850
|
While it may not look like I got a bunch done tonight, I feel like I made leaps and bounds. Lots of looking and staring at this rig tonight. This is mainly because I like to make sure of everything before I start cutting. I got the trimming of the sides done and also part of the lexan body where it meets the Plastruct. My plan for the top of the bed was just to glue a flat piece of Plastruct in place and while I was contemplating just how I was going to do that, it struck me that the sides were bolted in place in the top shock mounts, and if I glued the top of the bed permanently in place, I would have one hell of a time taking the bed off. I didn't want to be out crawling and have to do a complete dismantle involving hard to get at screws to take the bed should the need arise. Instead of glue, I found some 90° angled fasteners with multiple holes already drilled to attatch the top of the bed with. (I believe they are some parts from curtains or something! Never throw any hardware away; you never know!!) I decided to fasten the front part down pretty solid and leave the rear mounts just a bit loose to act as a hinge to lift up the top deck and be able to access all of the eelectronics. Off to the side of the front mount, I will put some Velcro to secure the rear of the lexan body. I also trimmed away part of the rear of the frame to move the bumper in a little closer and I also figure a way to both lower and move the mud flaps closer as well. This will require a bit of dremmeling, so I will do that later today when the sun is out and my wife isn't sleeping. I also will be putting a hinged free-swinging tailgate on there so it will cover the rear end and allow me to tip the bed up. Once I get all this accomplished, the paint will fly. I am also in need of screws badly. I was trying to wait for Harley to have some in stock, but I turned to ebay and picked up some Traxxas screws someone stripped off a parted out truck and also some badly needed locknuts. I have Tamiya primer on the way and some sheets of Plastruct diamond plate on the way as well. Just need a can of silver paint for the bed and I'll be good to go. Local hobby shop will provide that. On to some pics! I'm also going to use this old crystal case by putting diamond plate on it. Serves two purposes. Fills in a slight gap between the lexan body and plastic bed and since it shuts tightly, I will put a wrench and some allens & parts in there.  Eight screws hold the bed together, but just two need to be removed to get at everything. 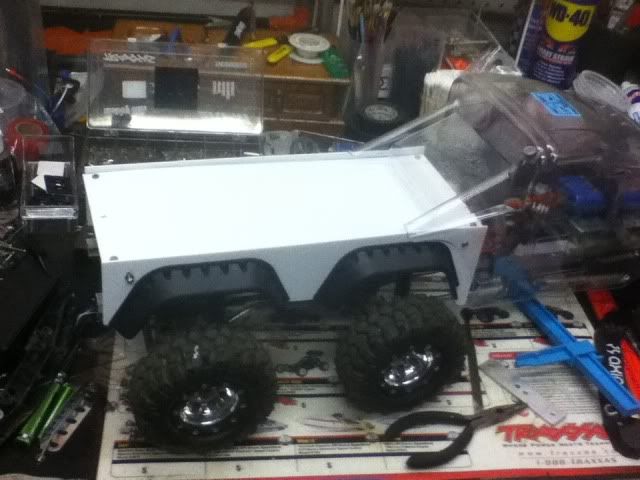 Pull the body pins, separate the Velcro, and take off two nuts and swing upward.  Not completely done with securing everything, but it looks better than before. 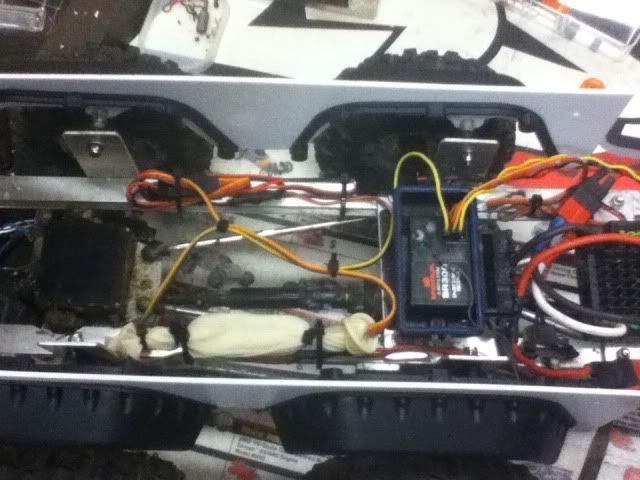 Everything fairly secured; threw the bumper on there with double sided tape to see how it looks. Better than sticking way out like it was.... 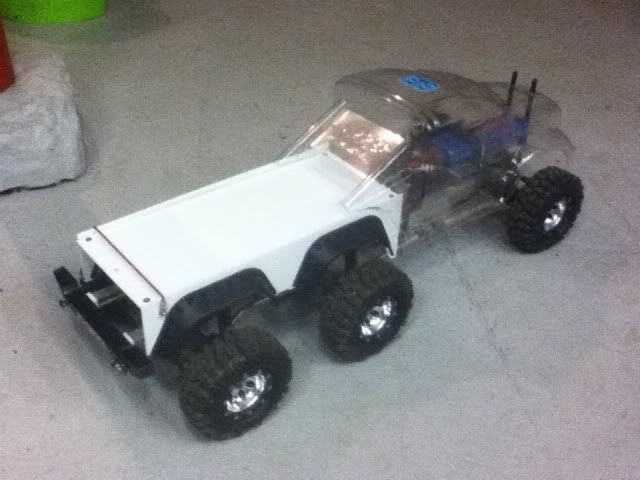 Gotta have a tailgate. Just gonna have to find some reeeaalllly tiny screws to secure the hinges. I believe I have some stuff from my micro builds that will do the trick. 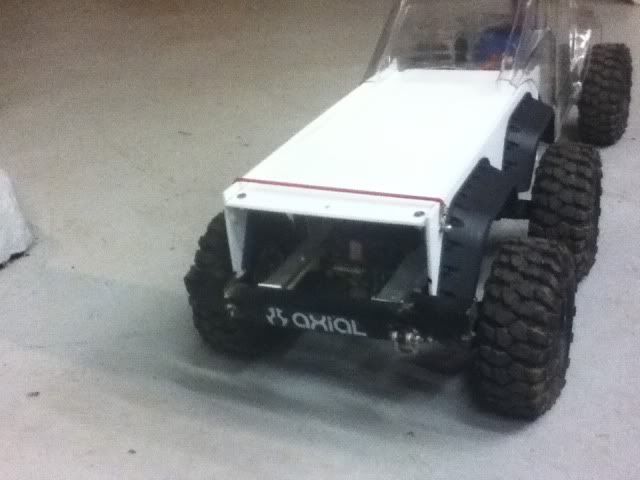 Of course, no post would be complete without mandatory flex shots, right? Let me know what you think!! 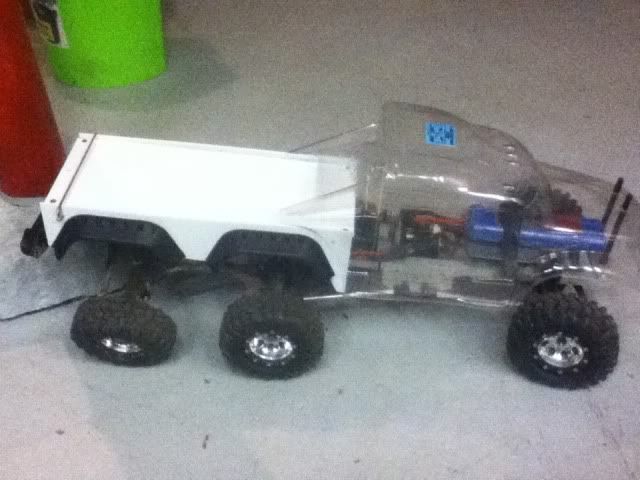 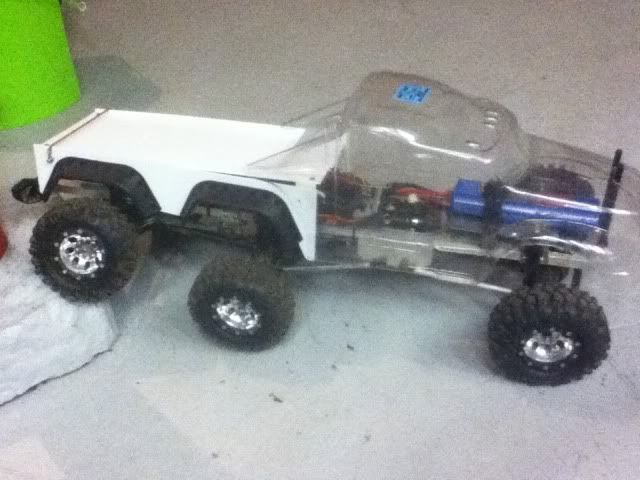 FLM BL E-MAXX ~ BL E-4TEC Drifter ~ Pro-Trac Slash ~ SCX-10 ~ Wraith ~Custom 6WD Crawler~ 3 Losi micro scalers |
|
| |
|
06-10-2013, 01:57 PM
| #27 |
| Rock Crawler Join Date: Jun 2007 Location: Working in my dream RC workshop and remodeling my entire home.
Posts: 850
|
Just woke up a little bit ago (work at 11pm tonight), and found a little time to secure the rear bumper and mud flaps where they belong. Came out pretty good. Starting to look like a truck now. Just as I was finishing that up, I heard the mail come. Yay! More goodies. Not so much goodies as essentials (except for the Tekin 13.5 motor for my Wraith, but that's for another thread). I got in some much needed screws and nuts. I believe I used the very last nut I could find to do the stuff I did today. Some of the ones on here aren't even lock nuts. Just used whatever I could find. A lot of the screws on here are also Phillips and I don't like that either. Bumper and flaps secured 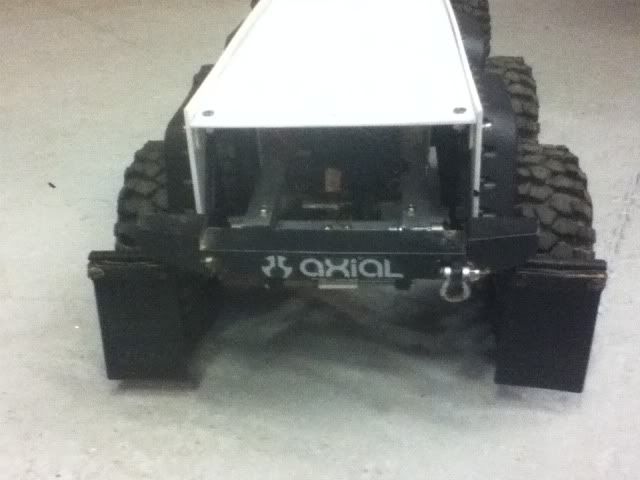 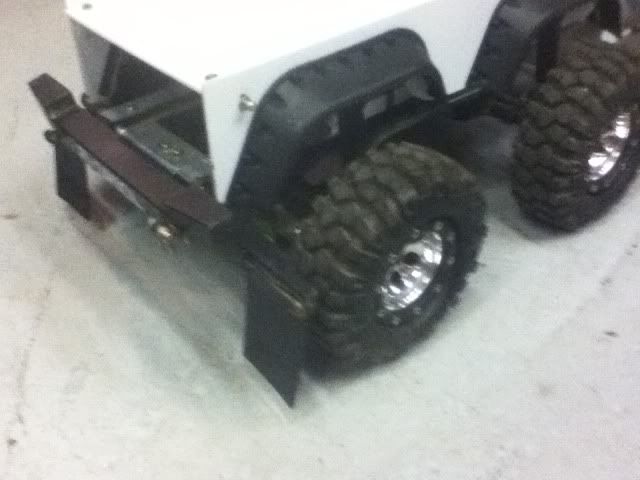 Almost looks like a truck..... 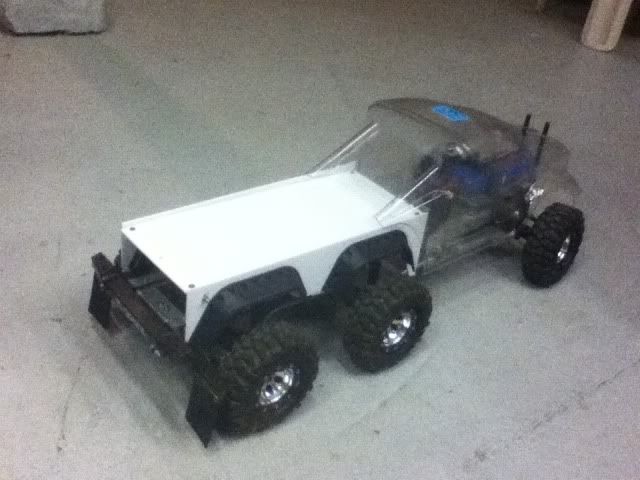 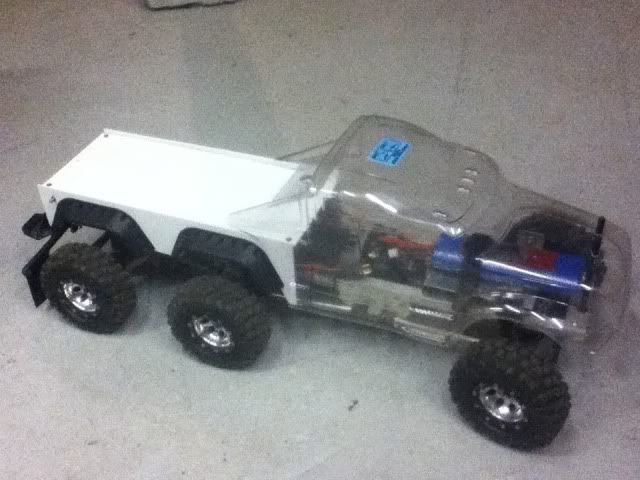 Gonna love my nuts! LOL! 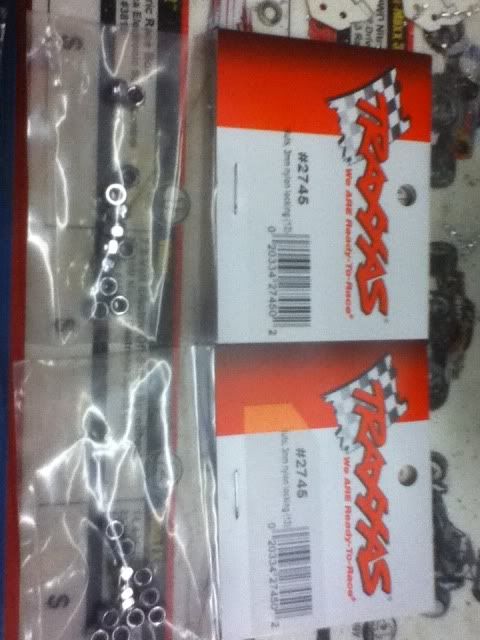 Time for screwing..... 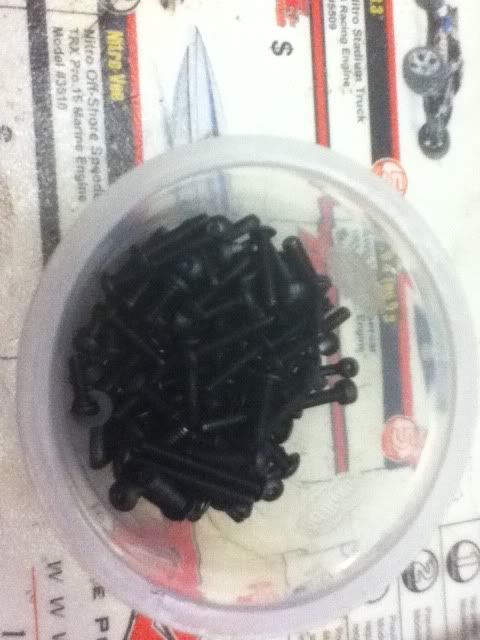 FLM BL E-MAXX ~ BL E-4TEC Drifter ~ Pro-Trac Slash ~ SCX-10 ~ Wraith ~Custom 6WD Crawler~ 3 Losi micro scalers |
|
| |
|
06-10-2013, 08:33 PM
| #28 |
| Rock Crawler Join Date: Jun 2007 Location: Working in my dream RC workshop and remodeling my entire home.
Posts: 850
|
Found just a bit of time before I have to leave for work in a little bit. I got the tailgate cut and decided to put some detail pieces on there to give it a more realistic look. I had some tiny Plastruct c-channel rails that I have had for years for a diorama I have planned. Cut some to length and laid them out. No time for sanding or gluing tonight; just enough time to do this. Leaving in a few minutes.... Pic came out upside down. Stupid Ipod! With some silver paint, it should look cool. 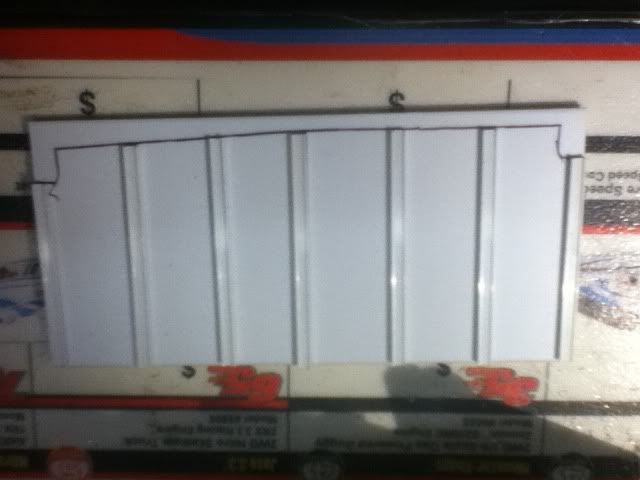 FLM BL E-MAXX ~ BL E-4TEC Drifter ~ Pro-Trac Slash ~ SCX-10 ~ Wraith ~Custom 6WD Crawler~ 3 Losi micro scalers |
|
| |
|
06-12-2013, 06:36 PM
| #29 |
| Rock Crawler Join Date: Jan 2008 Location: Lehigh Valley, Pa
Posts: 768
|
Looking good. Looks ready to run soon.
|
|
| |
|
06-12-2013, 07:08 PM
| #30 | |
| Rock Crawler Join Date: Jun 2007 Location: Working in my dream RC workshop and remodeling my entire home.
Posts: 850
| Quote:
Looks pretty good 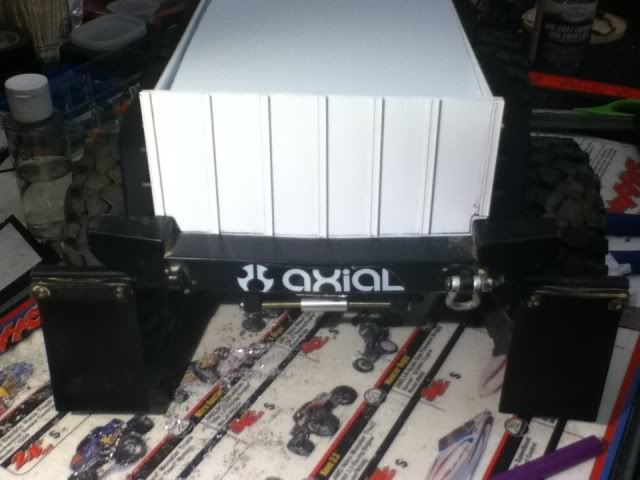 I'm pretty sure the mail girl is starting to hate me.... 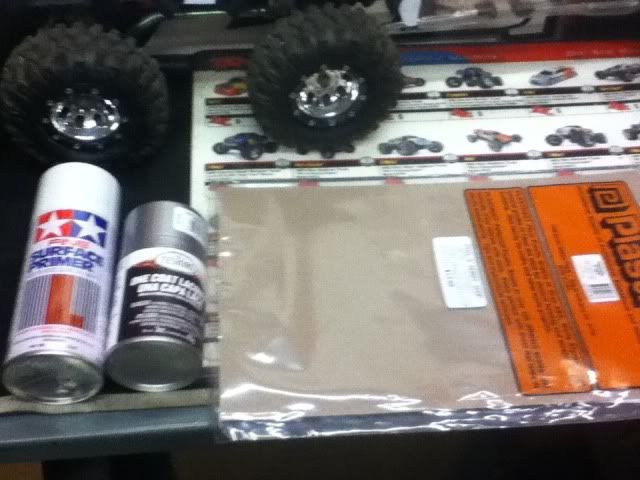 This stuff is so cool; just wish it was a little cheaper!!  FLM BL E-MAXX ~ BL E-4TEC Drifter ~ Pro-Trac Slash ~ SCX-10 ~ Wraith ~Custom 6WD Crawler~ 3 Losi micro scalers | |
|
| |
|
06-14-2013, 01:03 PM
| #31 |
| Rock Crawler Join Date: Jun 2007 Location: Working in my dream RC workshop and remodeling my entire home.
Posts: 850
|
I got a lot done last night. Got all my diamond plate cut and glued where I want it. Then, today with nice weather, I got everything primed and painted. The bed will be finished tonight. Then it's on to masking off the lexan cab. Not sure when I'll get to paint that. Maybe by Monday, but not sure. I'll let the pics do most of the talking..... Diamond plate cut and glued for the side. The white piece in the corner is to fill in the gap between the lexan body. It will be hidden and have Velcro applied. 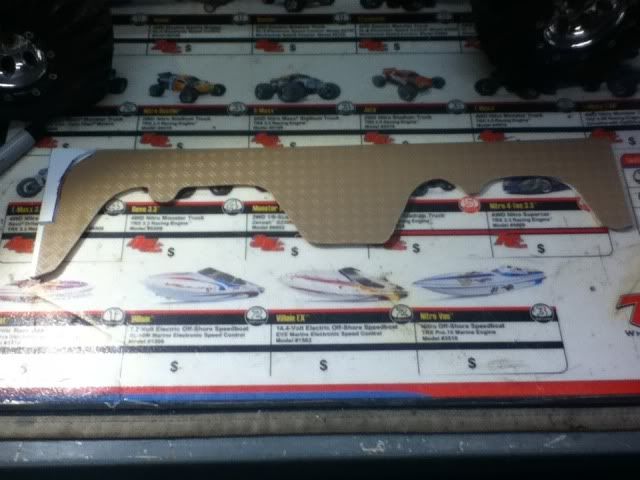 Lots of clamping involved in this process! 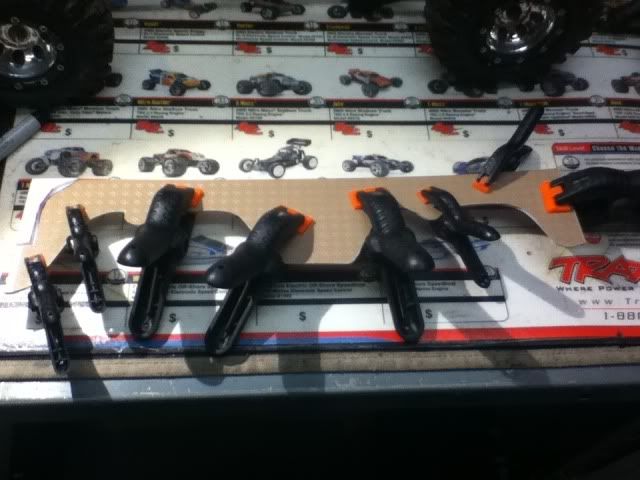 I also attacked the former crystal case with a razor and some sandpaper. Had to get rid of the raised lettering. 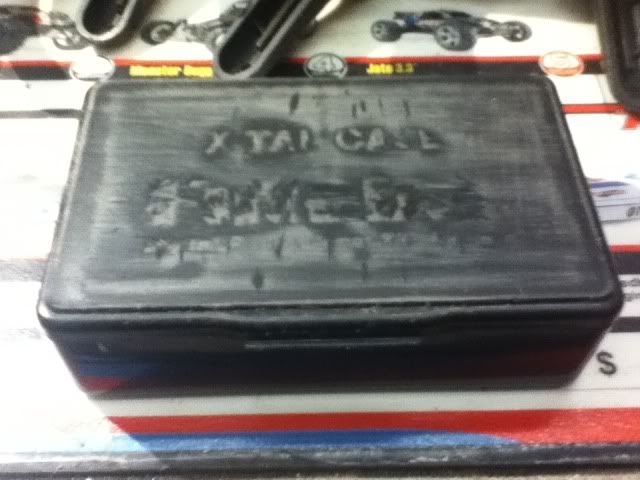 Pieces cut to make my toolbox. 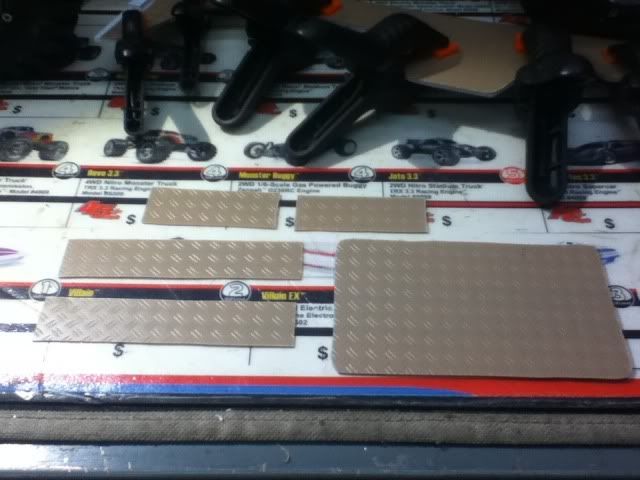 Both sides done. 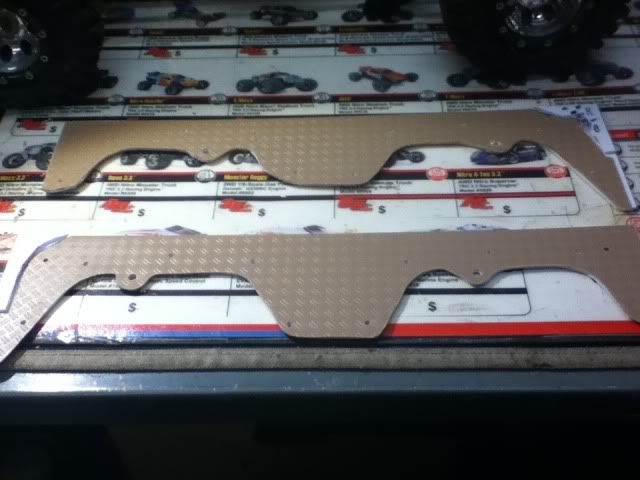 A ton of clamps to attatch all the diamond plate to the "toolbox." 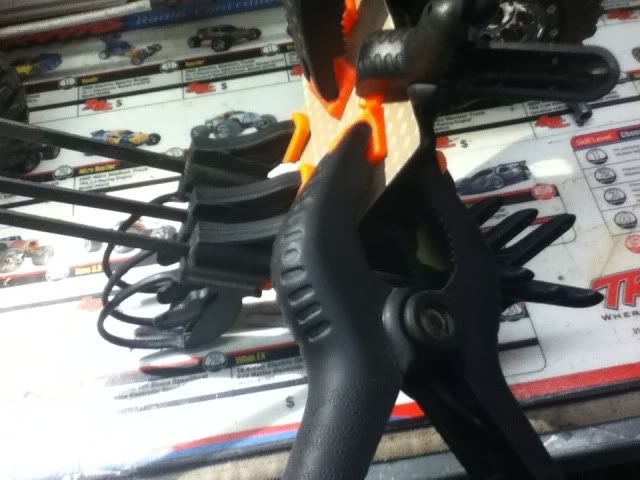 Testors diamond dust paint applied to the side. The black line is where I'll be masking it off. The underside of the flares will be painted dark gunmetal. 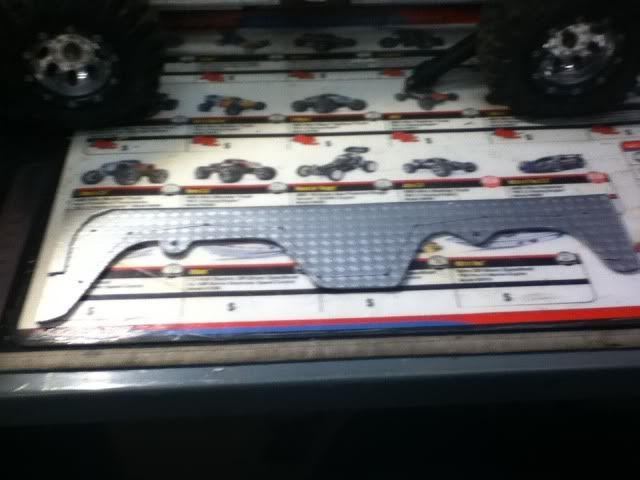 Masking down.... 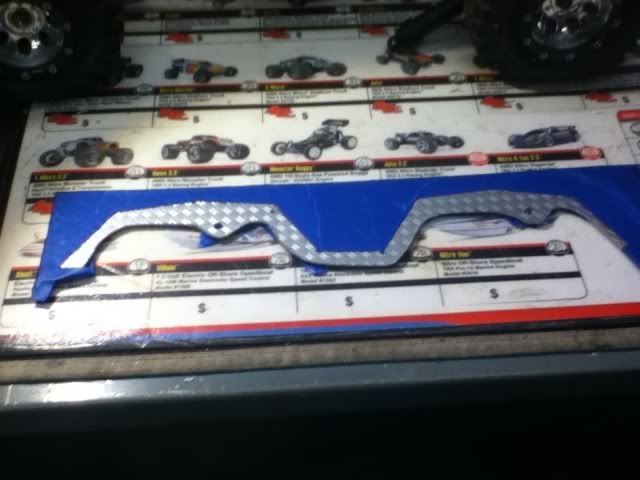 Toolbox done. 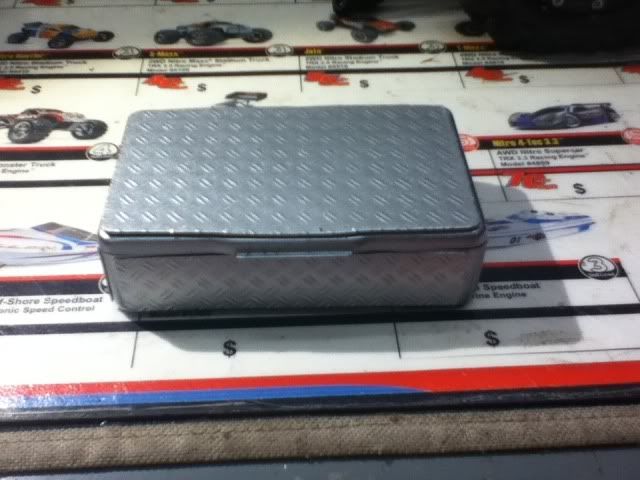 Tailgate done. 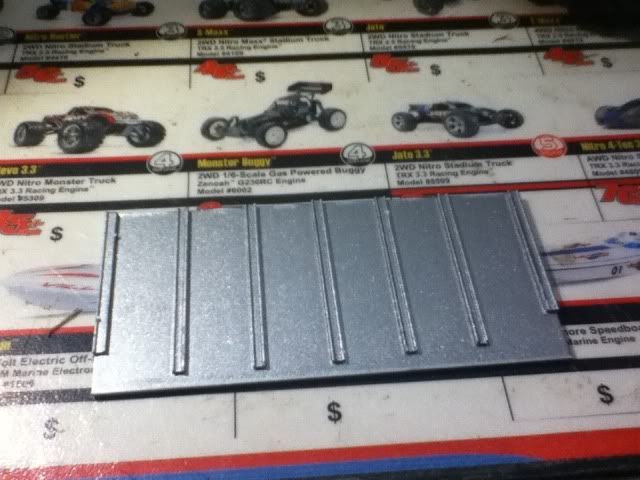 FLM BL E-MAXX ~ BL E-4TEC Drifter ~ Pro-Trac Slash ~ SCX-10 ~ Wraith ~Custom 6WD Crawler~ 3 Losi micro scalers |
|
| |
|
06-14-2013, 01:07 PM
| #32 |
| Rock Crawler Join Date: Jun 2007 Location: Working in my dream RC workshop and remodeling my entire home.
Posts: 850
|
But wait!! There's more!! Top deck of the bed done and showing the trailer coupler. 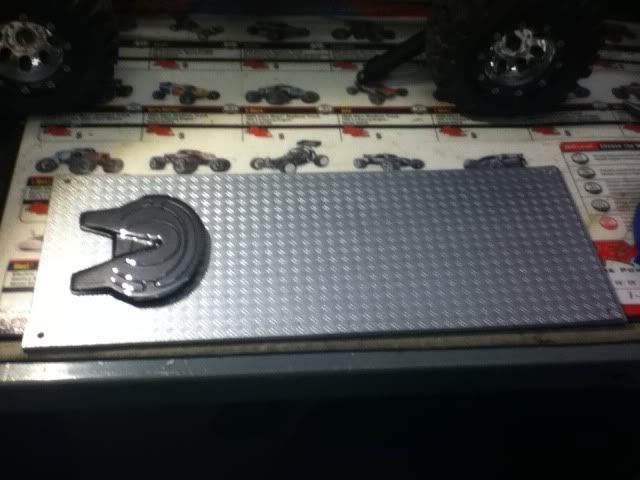 Side painting complete. Just gotta put the flares on there. More pics after tonight's session! 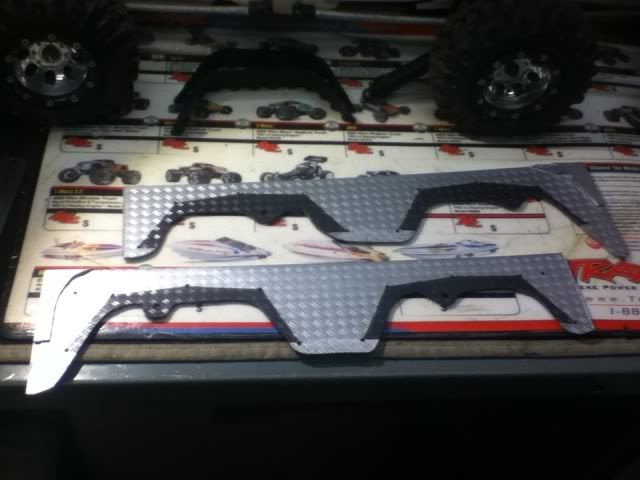 FLM BL E-MAXX ~ BL E-4TEC Drifter ~ Pro-Trac Slash ~ SCX-10 ~ Wraith ~Custom 6WD Crawler~ 3 Losi micro scalers |
|
| |
|
06-15-2013, 03:57 AM
| #33 |
| Rock Crawler Join Date: Jun 2007 Location: Working in my dream RC workshop and remodeling my entire home.
Posts: 850
|
As promised, I got a whole lot done tonight (this morning). Everything is painted and put together. Basically, all that is left is to paint the lexan body. I got the second coat of Parma Fasmask drying on that, so the airbrushing segment of this build will happen soon. Check out what got done tonight! Thanks to a donation of plastic from a Dairy Queen ice cream cake container, I also fashioned some fender wells. 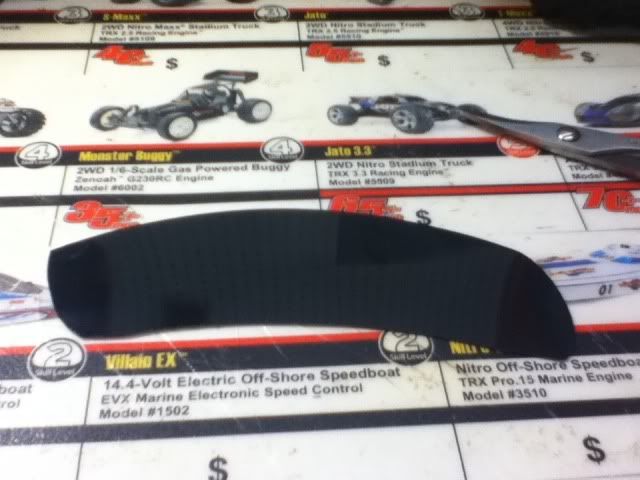 Not too shabby.... 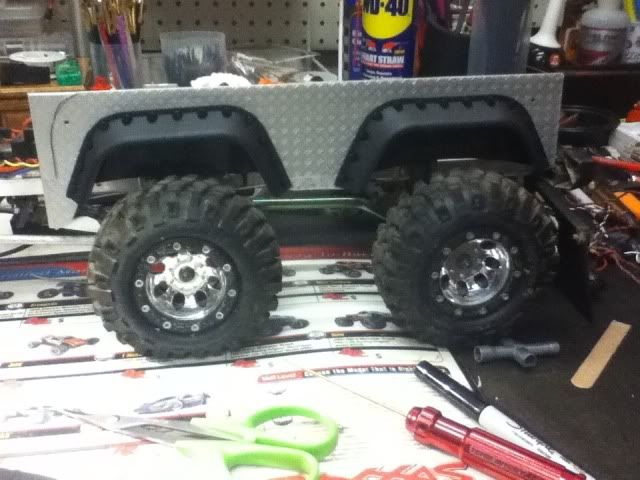 Bed is looking really good. I ditched my idea of using Velcro on the sides to secure the rear of the lexan body. I found some short metal posts used to secure the battery on a Slash. They used the standard nuts to be secured and they have holes in them for body clips. Them being silver and using silver body clips against the part of the body won't be too noticeable. I also am using these on the top of the bed in the front. This way I can take off six body clips (two from the hood) and access everything on the truck. I'll sacrifice some scaleness to have easy access. 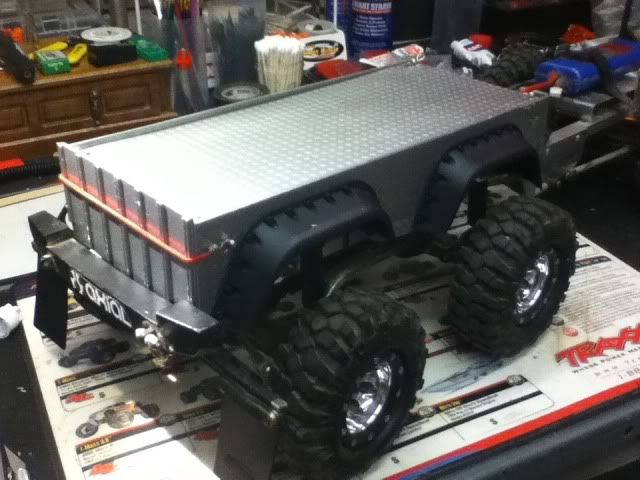 This pic shows the two posts on the side and the two on the top. The ones on the top will be hidden when the body is on. I also secured the toolbox with screws and nuts. 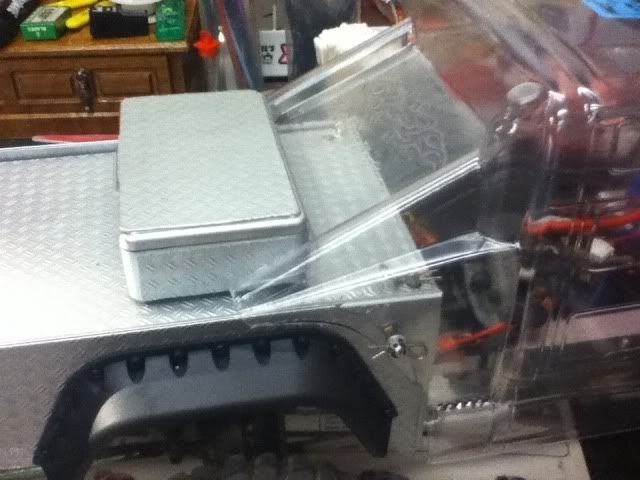 Toolbox looks pretty good, I guess. 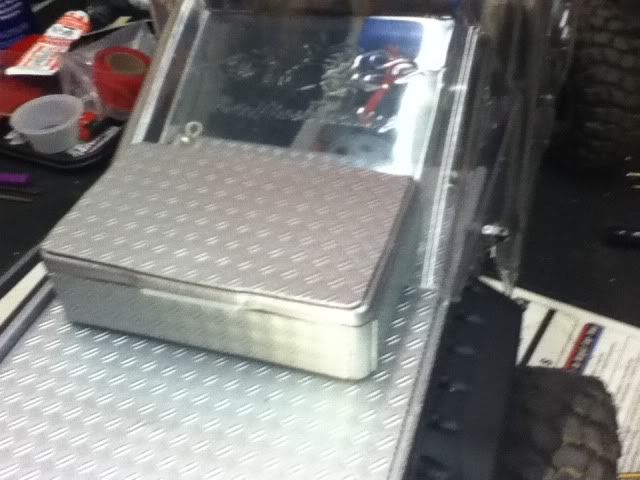 Can't wait to get this painted! I think I'm gonna paint it a Faspearl Red with black windows & bumper and Faschrome trim. 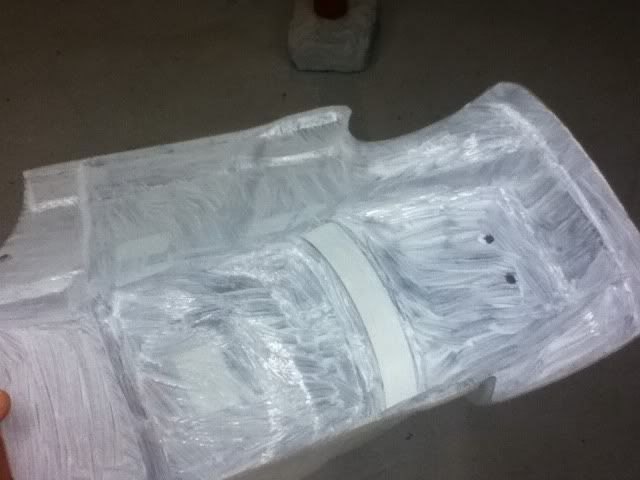 Threw the beater body on there for a few poser shots....   I can't wait to get this out on the rocks!! Tim, you are gonna be drooling when you see this in person! Mr. RC Boy will have a heart attack when he sees it. His custom body will be my next project. That is going to be something! FLM BL E-MAXX ~ BL E-4TEC Drifter ~ Pro-Trac Slash ~ SCX-10 ~ Wraith ~Custom 6WD Crawler~ 3 Losi micro scalers |
|
| |
|
06-17-2013, 03:38 AM
| #34 |
| Rock Crawler Join Date: Jun 2007 Location: Working in my dream RC workshop and remodeling my entire home.
Posts: 850
|
No work tonight, and I just couldn't wait. I was going to turn in earlier than normal, and paint when I got up, but I decided to go ahead and get this painted tonight. I didn't want to make a huge racket, so I found my tire valve adapter and used our Escape tire rather than my noisy compressor. Works pretty well. The body came out pretty good, except after I sprayed the black, I must not have cleared out the airbrush well enough and there's a tiny bit of black mist in one area. Kinda pissed about that, but hopefully with a bit of mud spray, it won't be too noticeable. I didn't want to do a crazy paint scheme and just kept it simple with a one color job. Looks pretty cool with everything finally coming together. Next up will be some lighting. Gonna have headlights, fog lights, tail lights, and perhaps cab running lights. I painted the light domes up top with see through amber Tamiya model paint. Here's the proof!! Just a bunch of random shots in my basement. Stay tuned for some trail pics.... 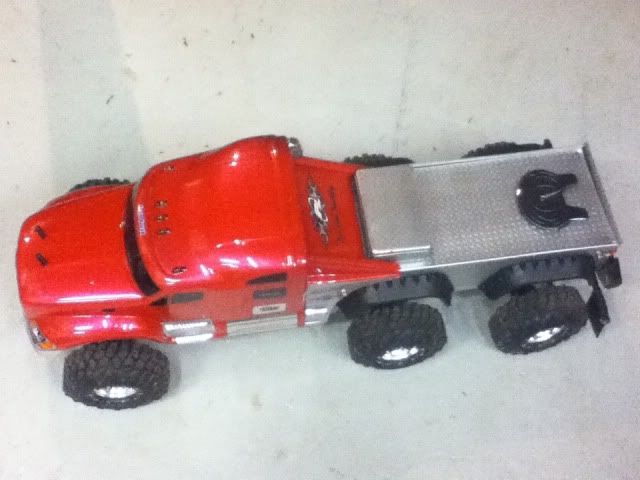 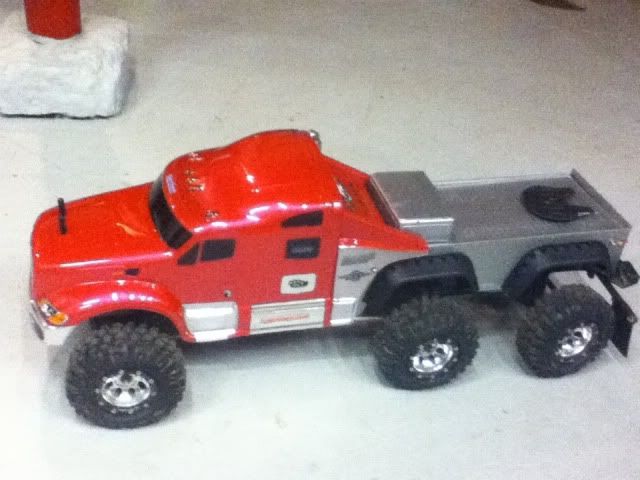 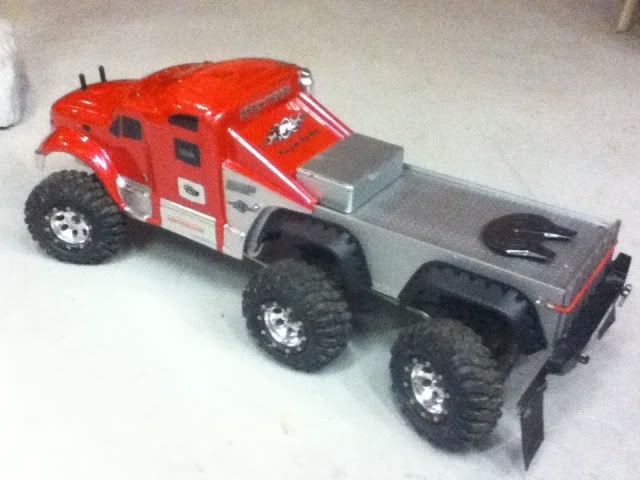 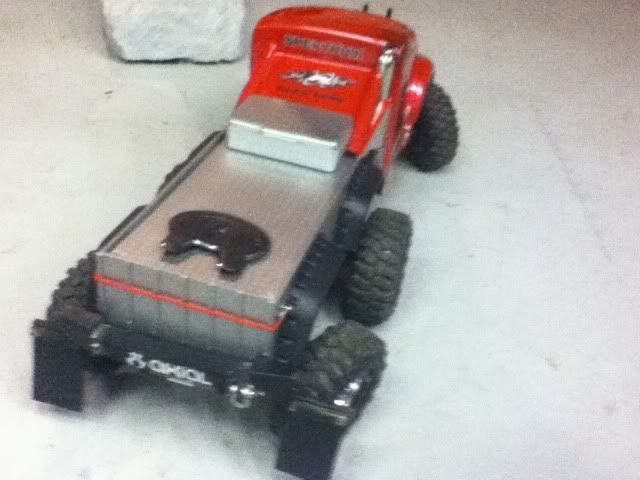       FLM BL E-MAXX ~ BL E-4TEC Drifter ~ Pro-Trac Slash ~ SCX-10 ~ Wraith ~Custom 6WD Crawler~ 3 Losi micro scalers |
|
| |
|
06-17-2013, 03:52 PM
| #35 |
| Rock Crawler Join Date: Jan 2008 Location: Lehigh Valley, Pa
Posts: 768
|
Looking good. I think it needs flares for the fronts just to match the look. Guess I better get on mine for the next run... |
|
| |
|
06-17-2013, 07:41 PM
| #36 |
| Quarry Creeper Join Date: Jan 2012 Location: Central Florida
Posts: 212
|
Awesome job on the bed!
|
|
| |
|
06-18-2013, 05:15 PM
| #37 | |
| Rock Crawler Join Date: Jun 2007 Location: Working in my dream RC workshop and remodeling my entire home.
Posts: 850
| Quote:
FLM BL E-MAXX ~ BL E-4TEC Drifter ~ Pro-Trac Slash ~ SCX-10 ~ Wraith ~Custom 6WD Crawler~ 3 Losi micro scalers | |
|
| |
|
06-18-2013, 05:27 PM
| #38 | |
| Rock Crawler Join Date: Jun 2007 Location: Working in my dream RC workshop and remodeling my entire home.
Posts: 850
| Quote:
FLM BL E-MAXX ~ BL E-4TEC Drifter ~ Pro-Trac Slash ~ SCX-10 ~ Wraith ~Custom 6WD Crawler~ 3 Losi micro scalers | |
|
| |
|
06-22-2013, 04:31 AM
| #39 |
| Rock Crawler Join Date: Jun 2007 Location: Working in my dream RC workshop and remodeling my entire home.
Posts: 850
|
I got a fair amount done tonight, but I spent a fair amount of my time looking through my stuff to find enough male/female connectors. I needed these, because I want to be able to take the front turn signal and headlight leads apart when I take off the body. The rear lights are never moving because the rear of the truck always stays attatched. I ended up using servo lead extenders and I have to take apart four of them to take off the body to change batteries, etc. This meant I had to solder sixteen connections to achieve this! I like soldering, but that was time consuming. Also I had to strip wires, tin everything, and apply shrink wrap. Next part will be to cut the holes in the body and put the lights in their housings. Tested it out with all my connections done, and so far everything is working as it should. When I think of how long this took me to do, it's hard to believe I got this kit for fifteen dollars. I guess things move a bit faster on a soldering assembly line.... Fresh out of the package. 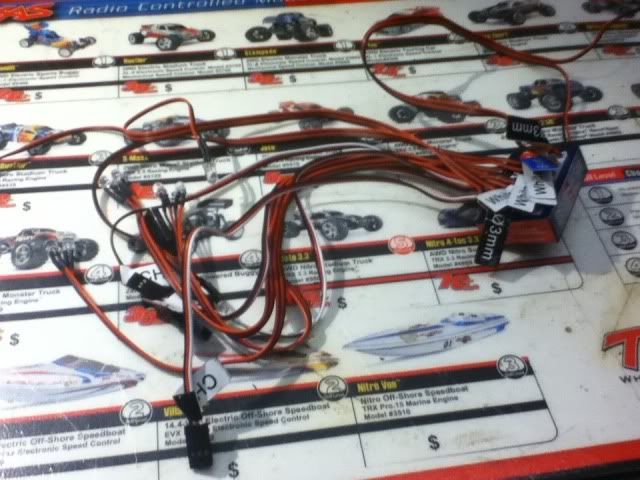 Some of my connections and my home made helper board. Sorry, my Ipod took the pic upside down. 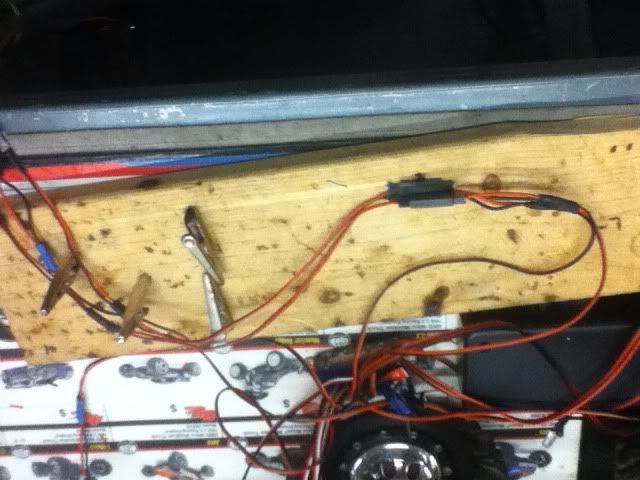 One of the headlights. 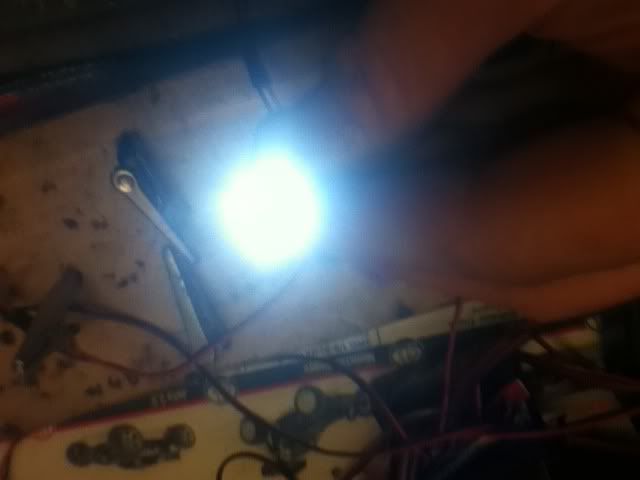 Installed in the holder. 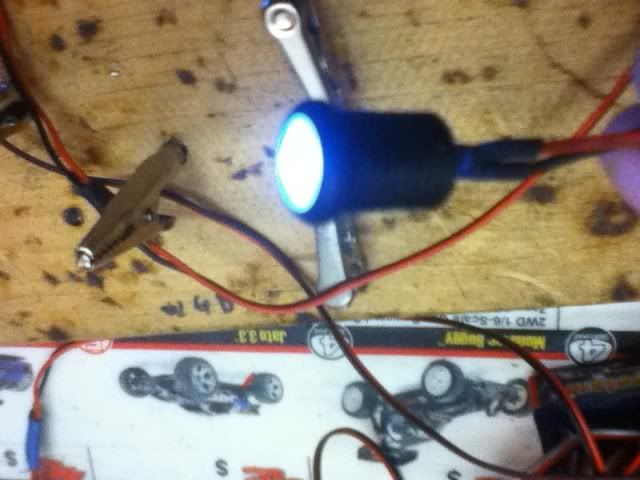 Front turn signal in it's housing. Managed to catch it flashing on the first try! 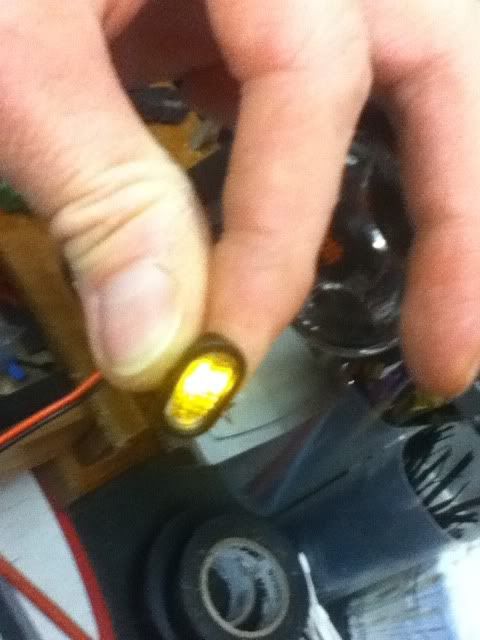 When the truck is at rest or moving forward, the tail lights are on. 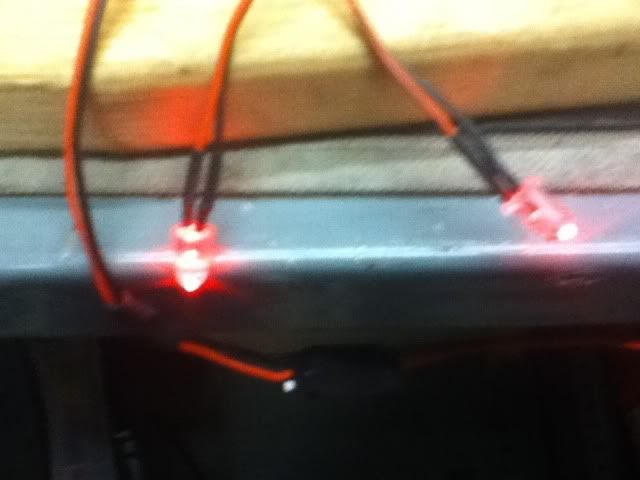 When in reverse, the tail lights go out and these four lights come on. I'm going to mount two in the bumper and two in the tailgate. 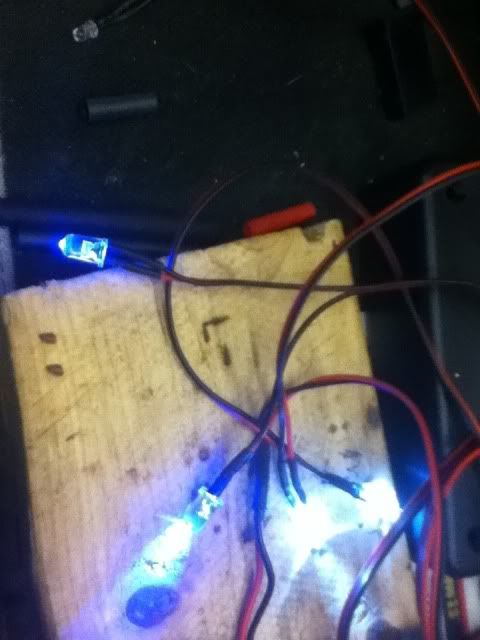 The diagram on the side of the controller. 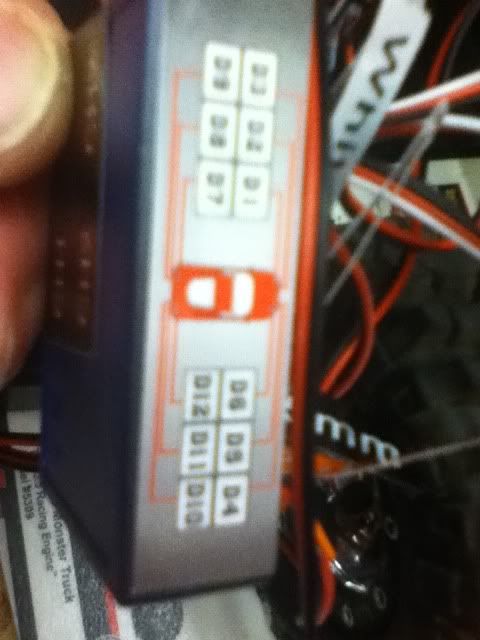 This is going to badass when its all hook up!! I might just have to get another set for my 4Tec as well!! FLM BL E-MAXX ~ BL E-4TEC Drifter ~ Pro-Trac Slash ~ SCX-10 ~ Wraith ~Custom 6WD Crawler~ 3 Losi micro scalers |
|
| |
|
06-22-2013, 07:28 PM
| #40 |
| Rock Crawler Join Date: Jun 2007 Location: Working in my dream RC workshop and remodeling my entire home.
Posts: 850
|
Got just a little bit more done this afternoon. Got some hole punched in the front and decided to put a bumper on the body to mount the headlights to. I really wanted to put them on the body itself, but the thing curves too much where they need to be. I think it will look ok. Got the tun signals in, as well. Just poked the LED's through and secured with RTV silicone. Let that cure for a few hours, and I just put on another coat. I also cut a mount for the controller box to sit on and I'll be using a radio shack project box to house that. Gonna have to use a balloon to waterproof that. I wanted to put it in a Traxxas reciever box, but it's just too big. More tomorrow night. Gotta work in a few hours.....:( Plate in. 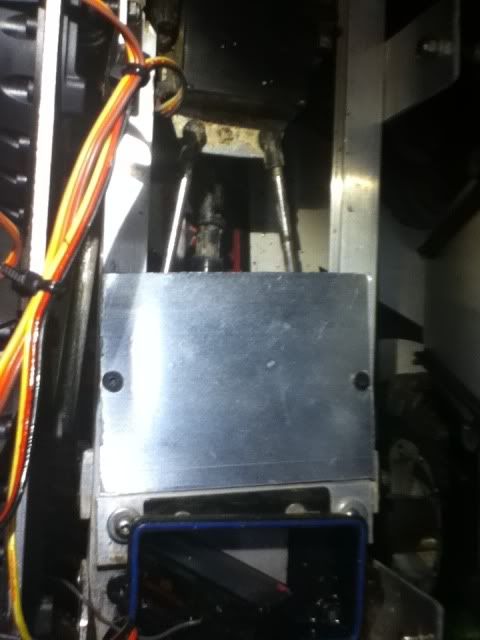 Box mounted 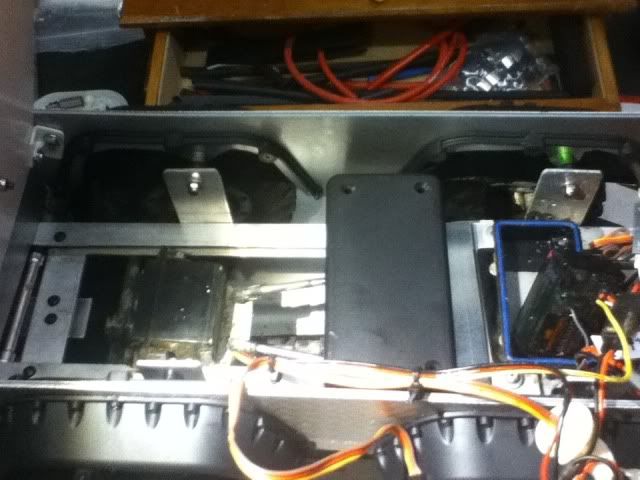 Brush guard on and lights in 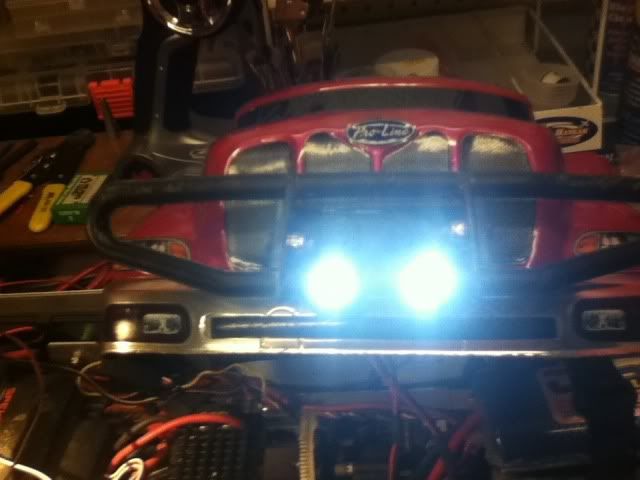 Just gotta secure the wiring. Then on to the rear lights. 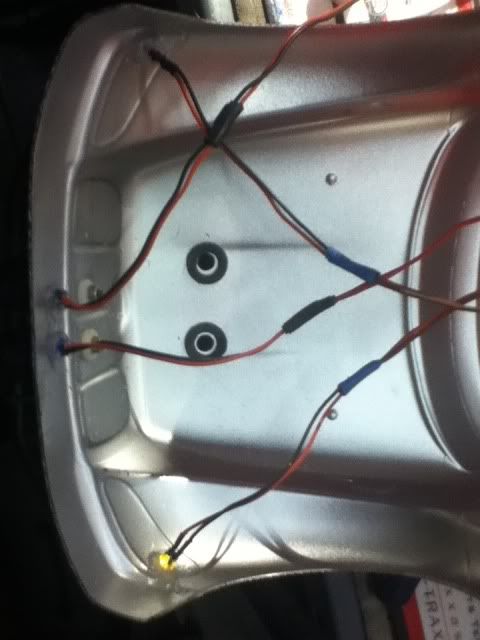 FLM BL E-MAXX ~ BL E-4TEC Drifter ~ Pro-Trac Slash ~ SCX-10 ~ Wraith ~Custom 6WD Crawler~ 3 Losi micro scalers Last edited by MAXXMASHER; 06-22-2013 at 07:30 PM. |
|
| |
|
 Maxxmasher's Streamlined six-wheeler build! - Similar Threads
 | ||||
| Thread | Thread Starter | Forum | Replies | Last Post |
| Maxxmasher's budget bomproof Wraith makeover | MAXXMASHER | Axial Wraith | 69 | 10-29-2013 07:26 PM |
| Maxxmasher's Italieri LWB Range Rover Military build! | MAXXMASHER | Losi Micro-Rock Crawler | 35 | 03-25-2011 06:39 PM |
| Maxxmasher's Double cab Hilux build! | MAXXMASHER | Losi Micro-Rock Crawler | 29 | 03-08-2011 04:33 PM |
| Maxxmasher's Harley-themed stock body! | MAXXMASHER | Axial SCX-10 | 5 | 07-29-2009 05:52 PM |
| |


 Linear Mode


