| |
| |||||||
 |
| | LinkBack | Thread Tools | Display Modes |
 06-24-2013, 03:48 AM
| #41 |
| Rock Crawler Join Date: Jun 2007 Location: Working in my dream RC workshop and remodeling my entire home.
Posts: 850
|
Oh yes I broke the finish line tonight!! No work today, so I had plenty of time for wrenching. Got down in my basement workshop and had all night to play. Finally figured out how to have enough enclosures to put all the lights in. For the rear turn signals, I had a perfect set of axial light buckets to do the job. The brake lights, also, were handled by a set of Axial plastic bezels that came with the Wraith. For the two clear and two blue reverse lights, I had to be a little creative. I found in my stash an instrument cluster that I pulled out of a junk radio shack truck years ago. It was symmetrical with four round chrome-backed faces and a clear cover. I pulled that apart, split the guages in half and drilled holes through the clear plastic and the chrome backers. I also had to drill holes to put the LED's into the individual light enclosures. Put the enclosures on the inside of the tailgate and the clear parts on the outside and ran a screw through all of it to secure everything. Hot glue keeps all the LED's in place. I also added a trailer hitch and my new tow shackles. I got all the wiring secured and put the whole light controller in a latex balloon. I affixed a zip tie as close to the controller as I could and then carefully put a mass amount of RTV silicone in there. I then added two more zip ties to squeeze the RTV in every nook and crannie! That should keep out the moisture!! Now the pics of the finished product!! Got the turn signals in and tailgate off for more light installation. 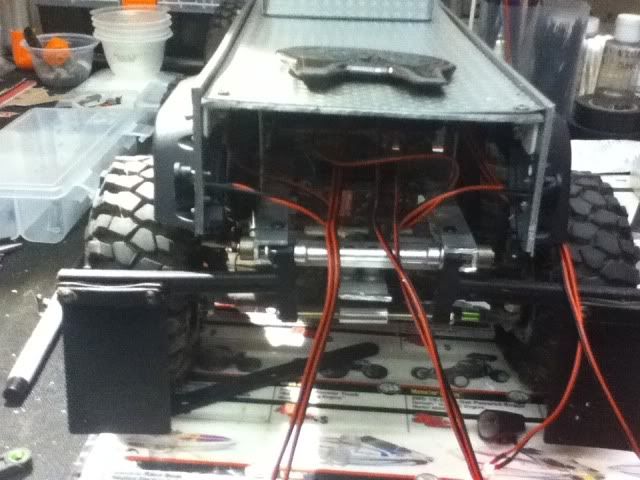 This was originally four across. Some tedious cutting and trimming with an exacto got me the results I was looking for. 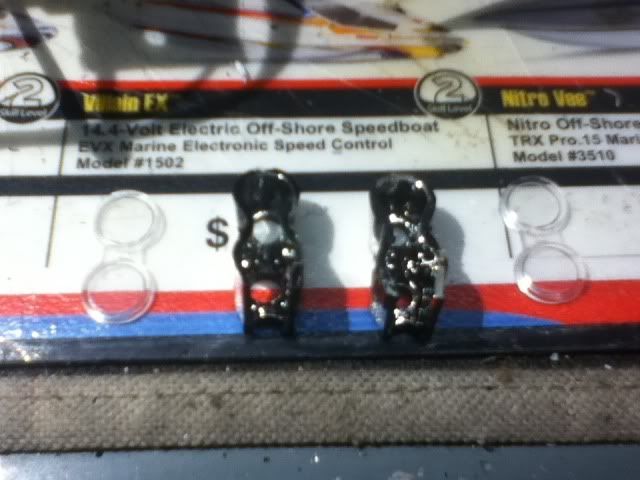 Holes drilled and lights installed.  The inside of the tailgate. 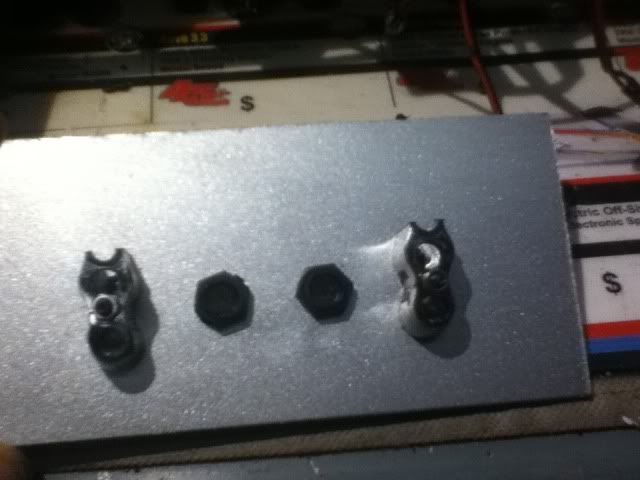 Wired up. 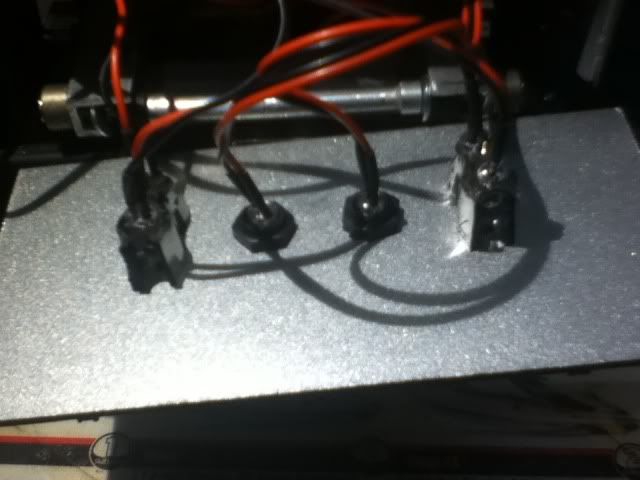 Reverse lights working and the rear bumper w/shackles. I also drilled holes in the bumper and used turnbuckle ends as shackle mounts. Also note the trailer hitch. The fifth wheel attatchment is purely cosmetic. I have a trailer that hauls my 4Tec and snaps onto the hitch. 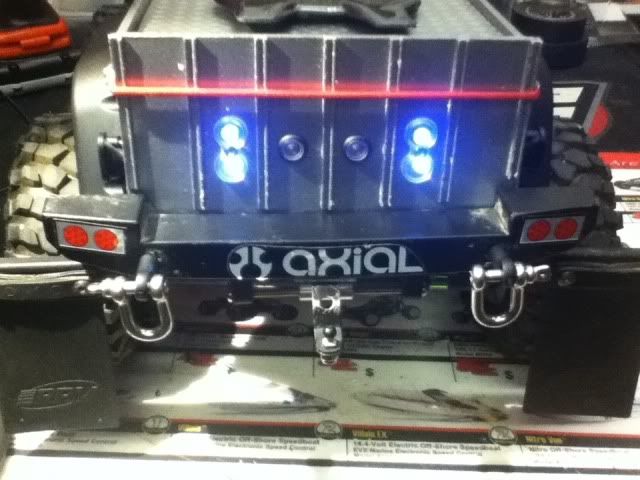 And the brake lights w/turn signal caught flashing. 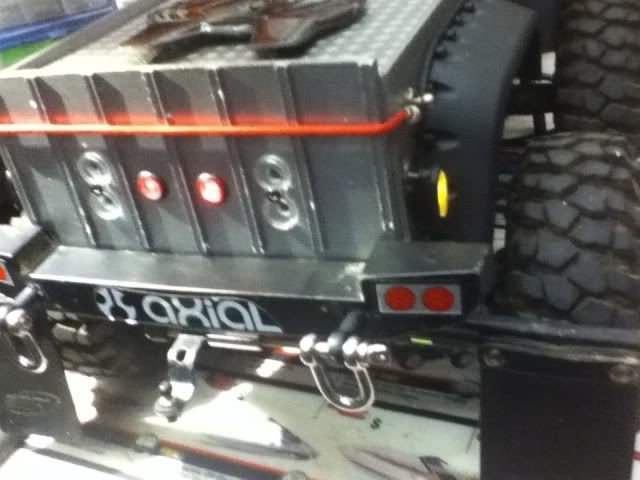 Wiring prettied up... 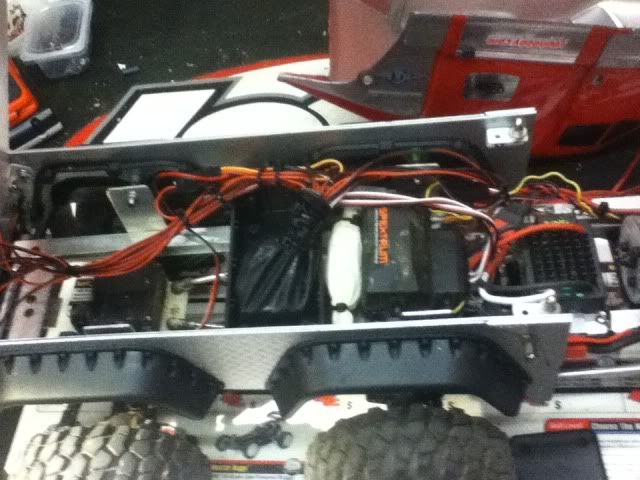 I also fashioned up a tow chain to keep in the toolbox. Gonna need this for you to keep up with the big rig, Tim!!  FLM BL E-MAXX ~ BL E-4TEC Drifter ~ Pro-Trac Slash ~ SCX-10 ~ Wraith ~Custom 6WD Crawler~ 3 Losi micro scalers Last edited by MAXXMASHER; 06-24-2013 at 04:10 AM. |

|  |
| Sponsored Links | |
| | |
|
06-24-2013, 03:54 AM
| #42 |
| Rock Crawler Join Date: Jun 2007 Location: Working in my dream RC workshop and remodeling my entire home.
Posts: 850
|
And now, to light up the night! (Not really; the headlights are mostly for looks, but I think it looks cool!) Headlights mounted on brush guard. 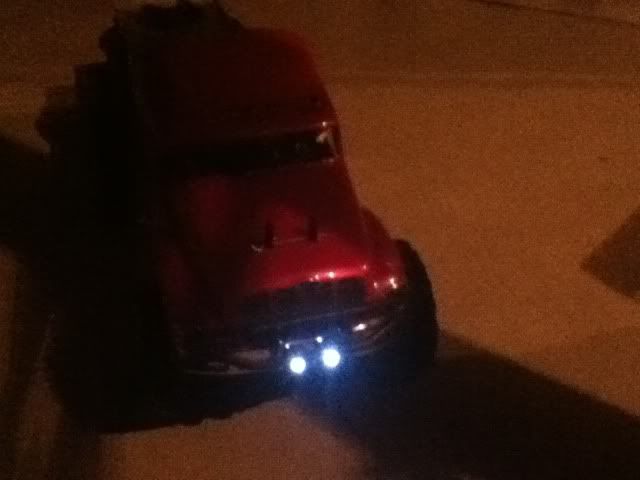 Headlights and right turn signal. 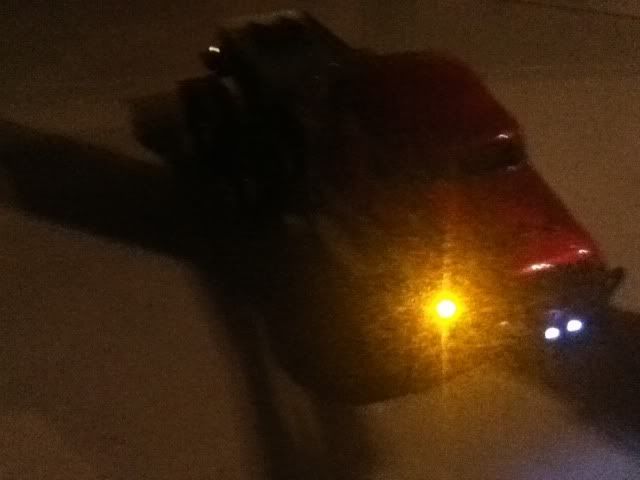 Tail lights and turn signal.  Reverse lights. Not sure why there are four of these and only two brake lights... 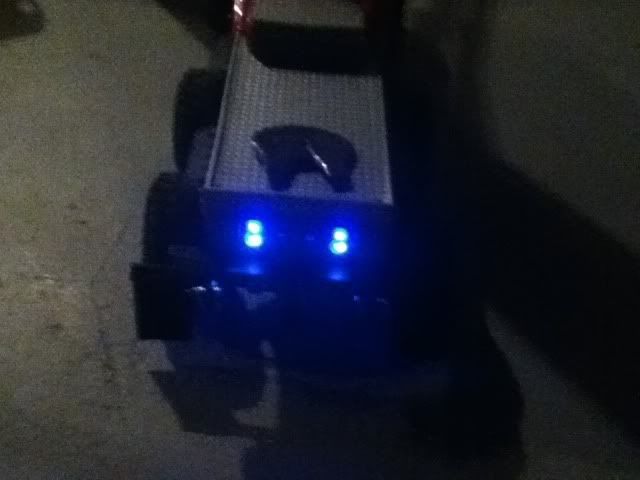 Can't wait to get this rig out on the trail!!! FLM BL E-MAXX ~ BL E-4TEC Drifter ~ Pro-Trac Slash ~ SCX-10 ~ Wraith ~Custom 6WD Crawler~ 3 Losi micro scalers Last edited by MAXXMASHER; 06-24-2013 at 04:08 AM. |
|
| |
|
10-29-2013, 03:14 AM
| #43 |
| Rock Crawler Join Date: Jun 2007 Location: Working in my dream RC workshop and remodeling my entire home.
Posts: 850
|
Been awhile since there's been any updates. I've had it out running with hardly any problems to speak of. I wasn't getting the performance I wanted out of the shocks that I was looking for, so I changed out the little internal springs for some beefier ones. I also changed the front mounts of the upper rear links. I had them flat against the underside of the frame rails, which I think was limiting the articulation a bit. I used shorter links (ground a little off the ends of some E-Maxx links, and they fit perfect), and ran a longer screw through where the front of the lower links mount and secured them on the opposite side. Works great, now! Anyways, after the last run, I dried it off, lubed the bearings, and put it in it's place on the RC rack in my basement. I decided to check out all my rigs the other day, and make sure they were all good to go for an upcoming four day weekend of play at my bro-in-law's. When I picked up the truck, the front wheels wouldn't turn at all. Kinda weird, I thought. The Hobbico CS170 usually will turn as smooth as butter even without any power to the unit. Applied power; nothing. Nada. Zilch. Uh oh. I hooked up a spare servo I had, and it worked fine. Crap! I took the Hobbico servo apart and nothing seemed wrong on the gear side. As I pried the board loose, the smell hit me. You know it. Burnt electronic smell. Yep, cooked. Even with all the gaskets, enough water got in there and shorted it out. Black board and dead motor. I was afraid this was going to be the case, so I ordered a waterproof Savöx SW-0231MG 208oz. waterproof servo and a Racer's Edge aluminum horn the other day. What I didn't realize is that the servo is a little deeper than a standard size. Same width, so it fit the mounts fine. Luckily, I had enough room on my home made four link mount for it to fit. Modded the leads to work with the Castle bec, and fired it up. Back in action and ready to go! Bummed about ruining a $90 servo. I've been running in water all the time for years, and never had this happen. Lesson learned..... Ready for some solder. This piece of wood is the best tool ever. 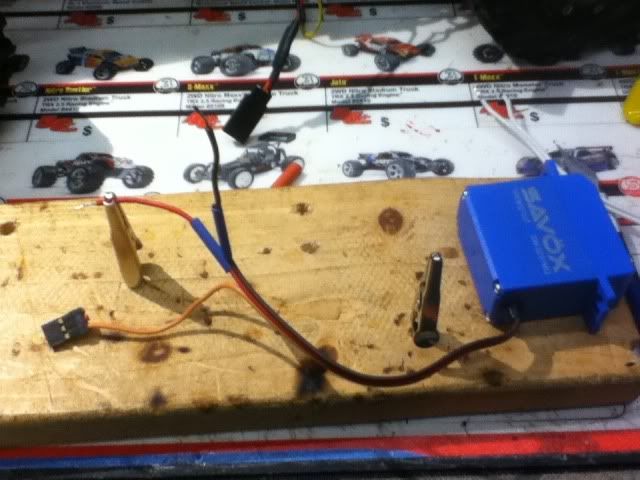 Not ideal.... 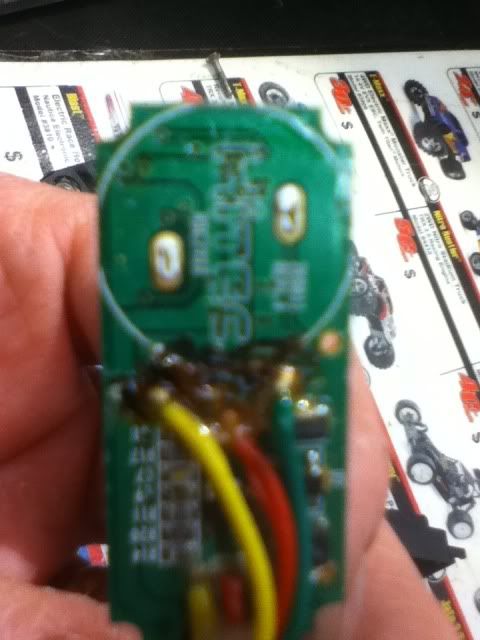 New servo and beefy arm. 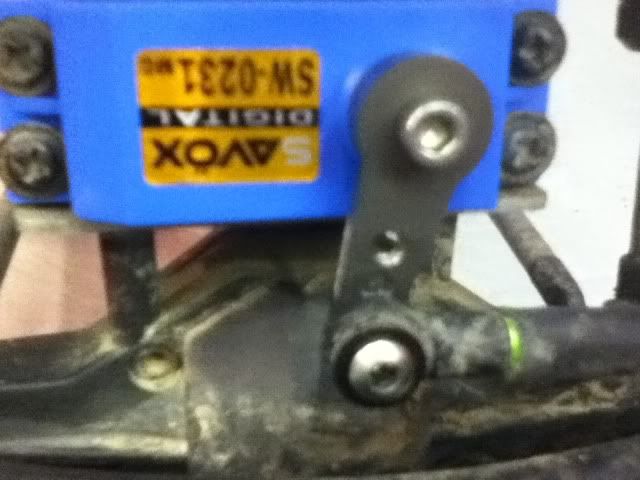 See how deep the servo is? 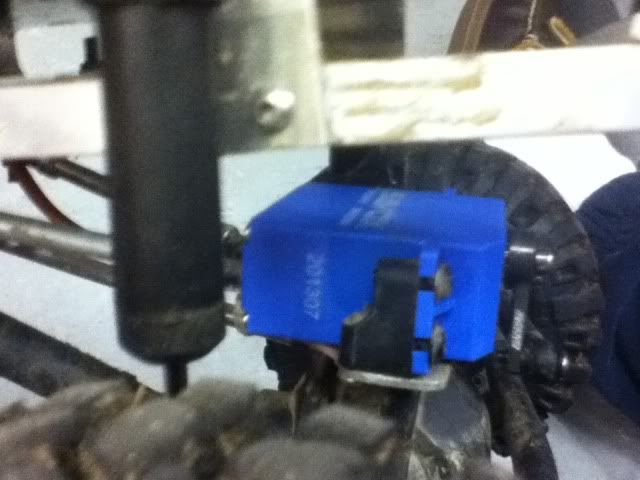 Some basement fireworks. 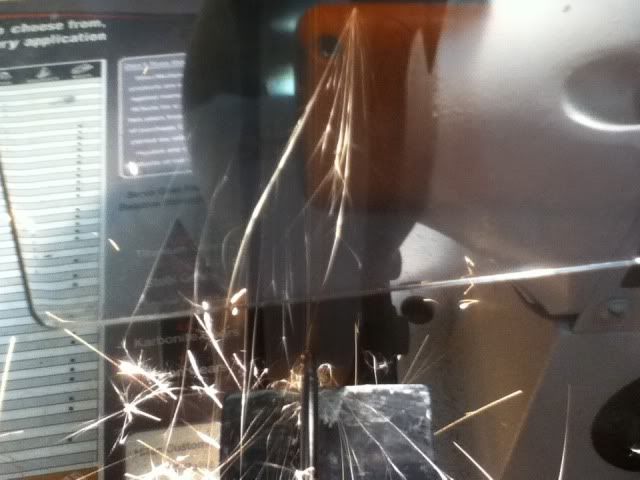 Old link mount on the right side. 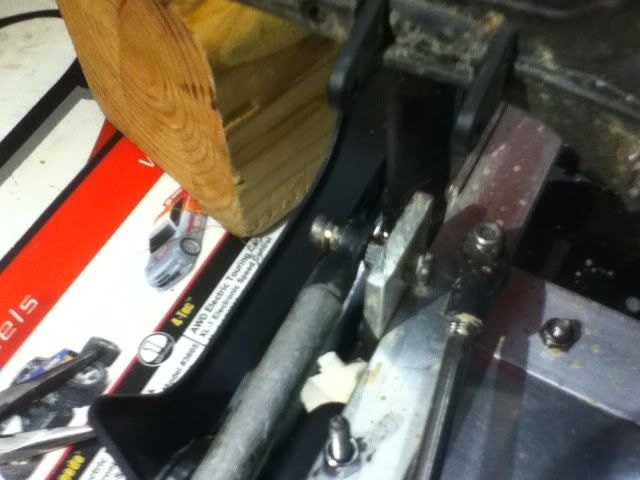 New location for the link end. 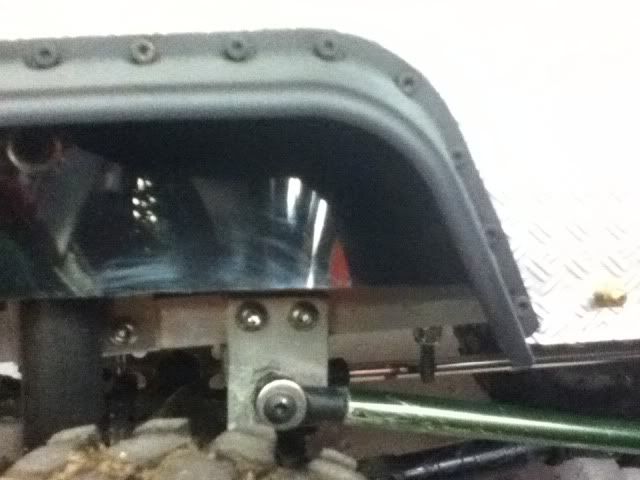 Better view of the improvement. 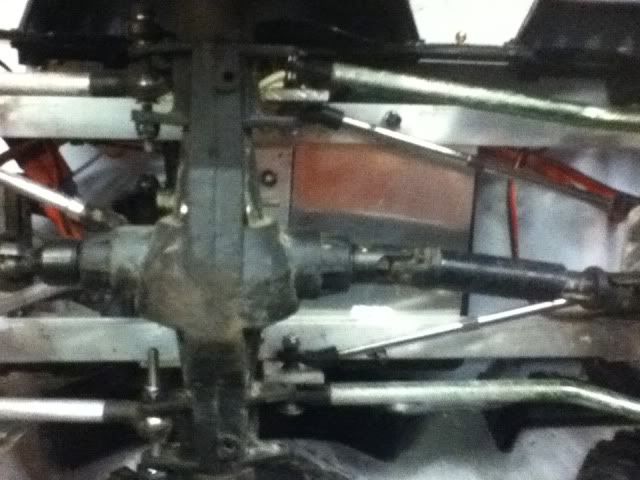 Truck still looking mostly unscathed. 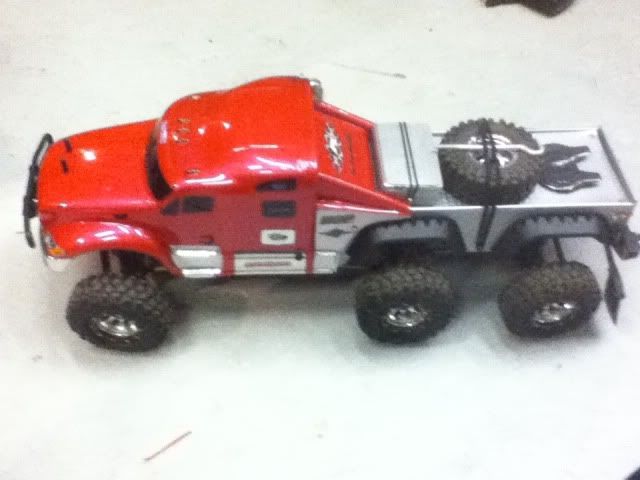 Good tow truck for the drift car. 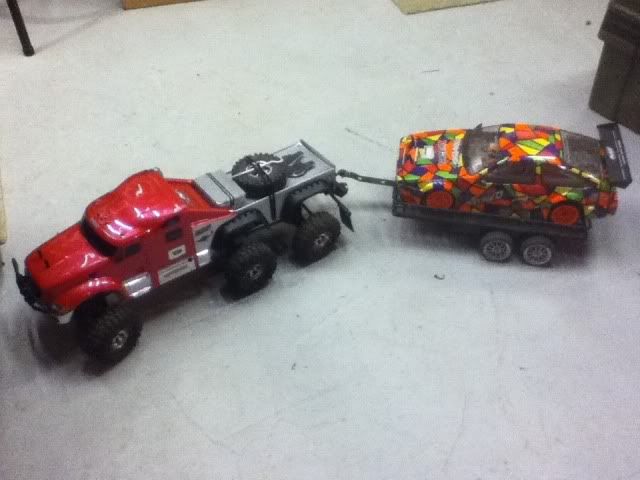 Sent from my Kindle Fire using Tapatalk 2 |
|
| |
|
 Maxxmasher's Streamlined six-wheeler build! - Similar Threads
 | ||||
| Thread | Thread Starter | Forum | Replies | Last Post |
| Maxxmasher's budget bomproof Wraith makeover | MAXXMASHER | Axial Wraith | 69 | 10-29-2013 07:26 PM |
| Maxxmasher's Italieri LWB Range Rover Military build! | MAXXMASHER | Losi Micro-Rock Crawler | 35 | 03-25-2011 06:39 PM |
| Maxxmasher's Double cab Hilux build! | MAXXMASHER | Losi Micro-Rock Crawler | 29 | 03-08-2011 04:33 PM |
| Maxxmasher's Harley-themed stock body! | MAXXMASHER | Axial SCX-10 | 5 | 07-29-2009 05:52 PM |
| |


 Linear Mode


