| | #1 |
| RCC Addict Join Date: Oct 2011 Location: Brighton UK
Posts: 1,363
|
Thought I'd share my Bruiser build. I've drooling over these for years now and with a new project required and a steel of a deal coming up on a bnib re re I couldn't resist. I normally stick to the TF2 but having done 3 now wanted something different. So the first couple of days saw it like this. 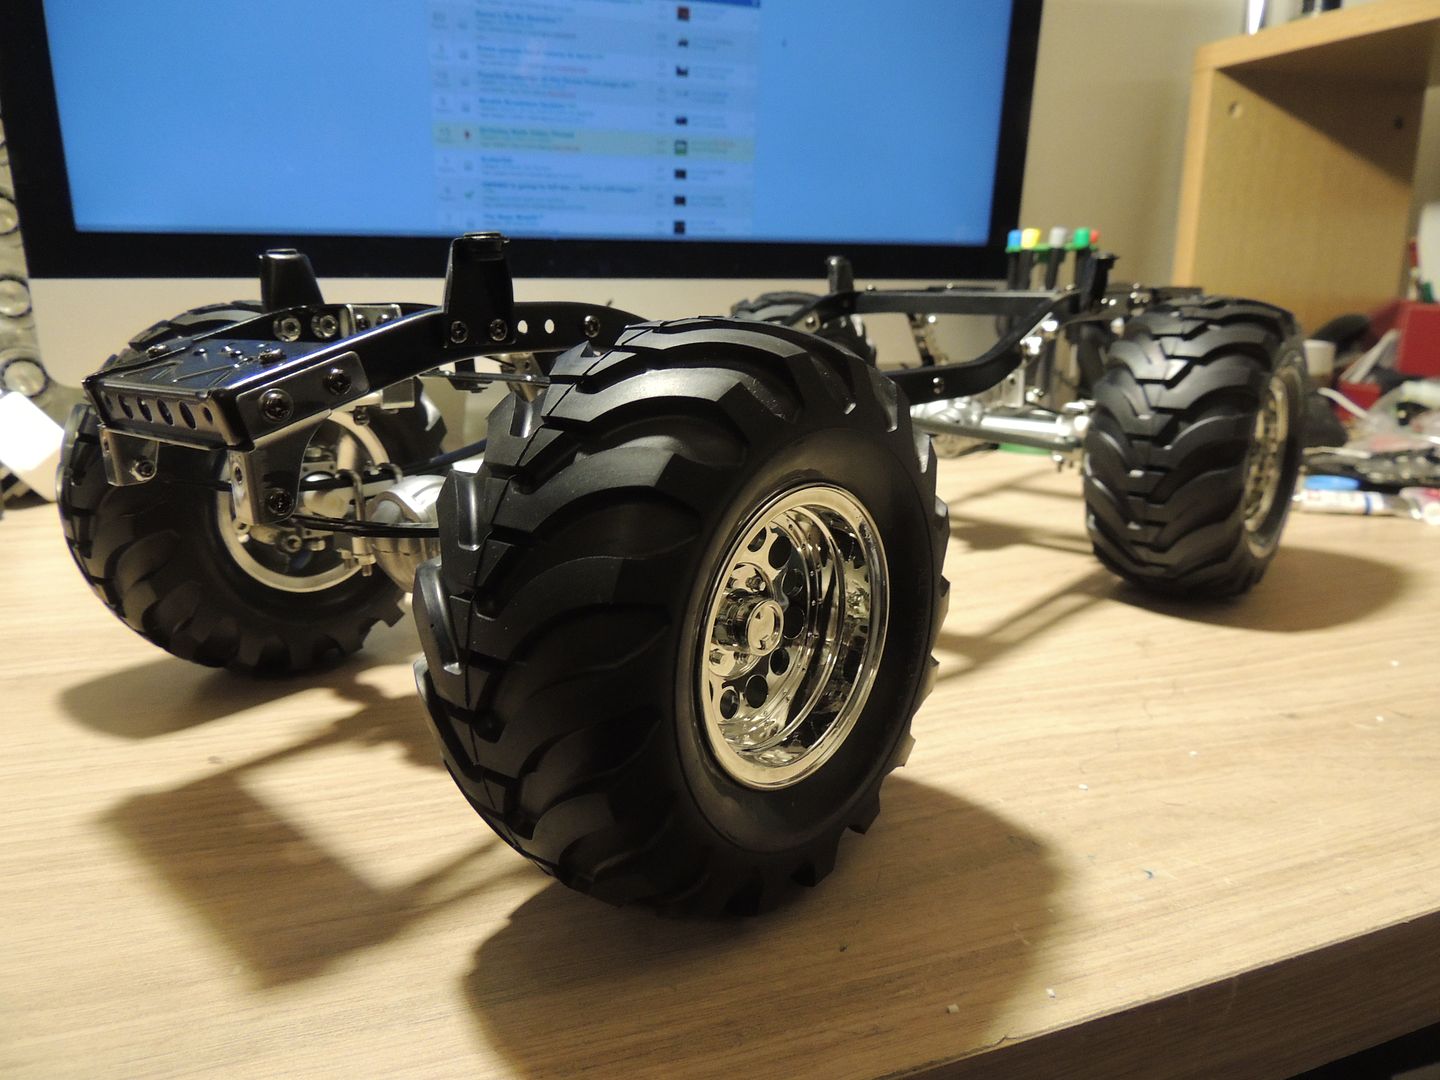 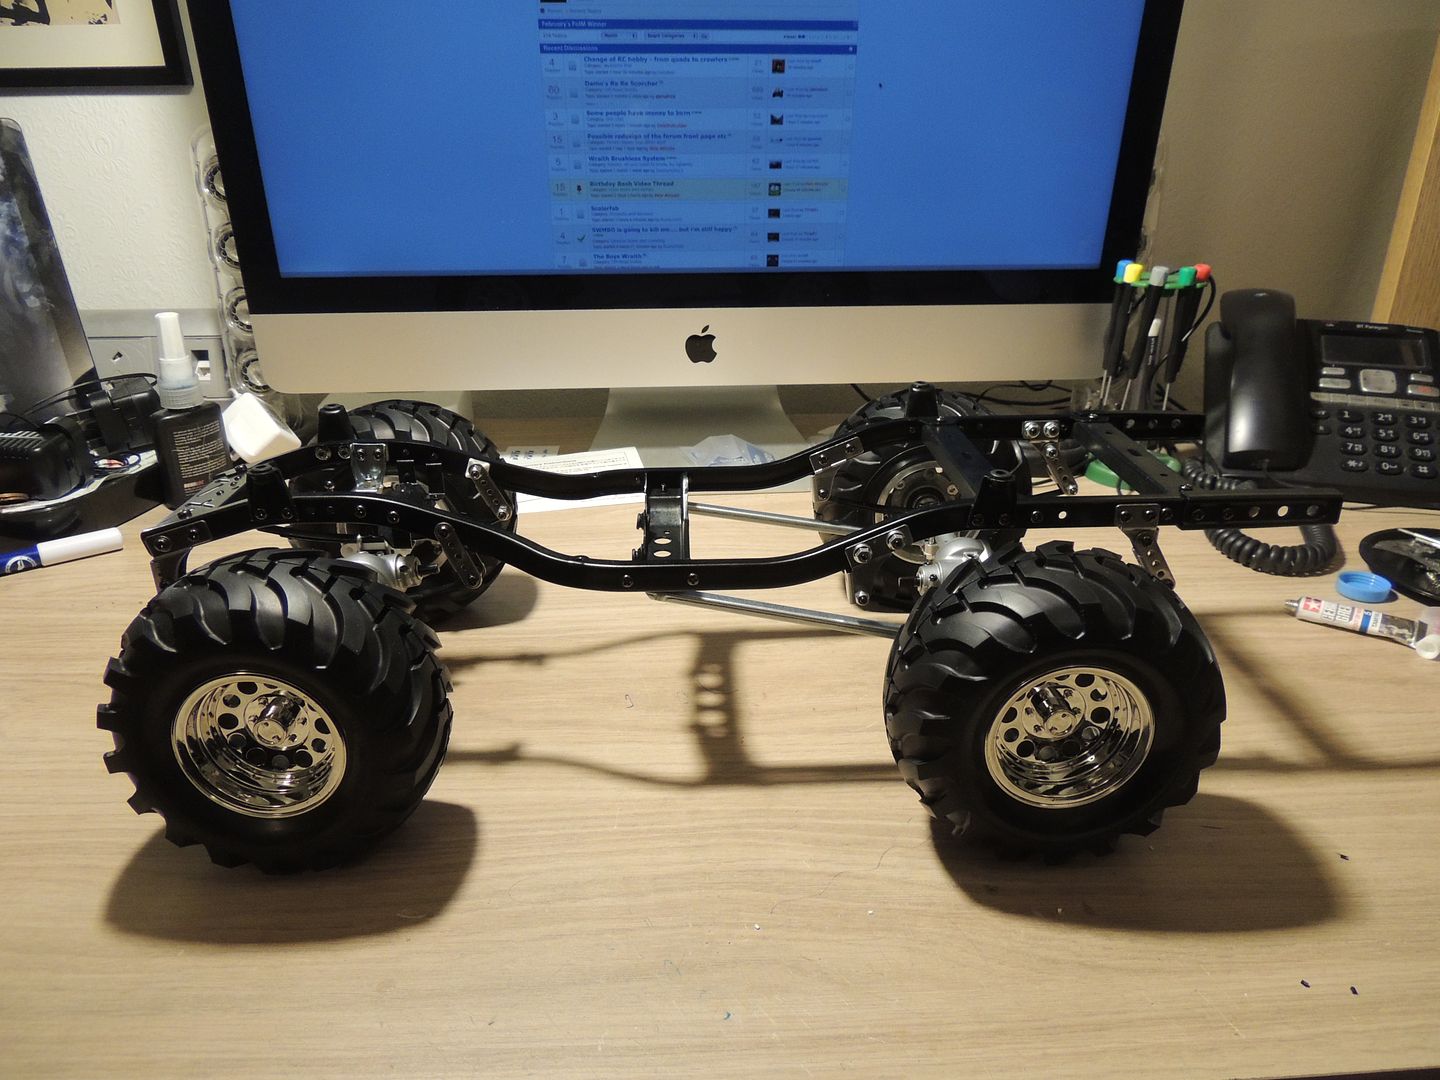 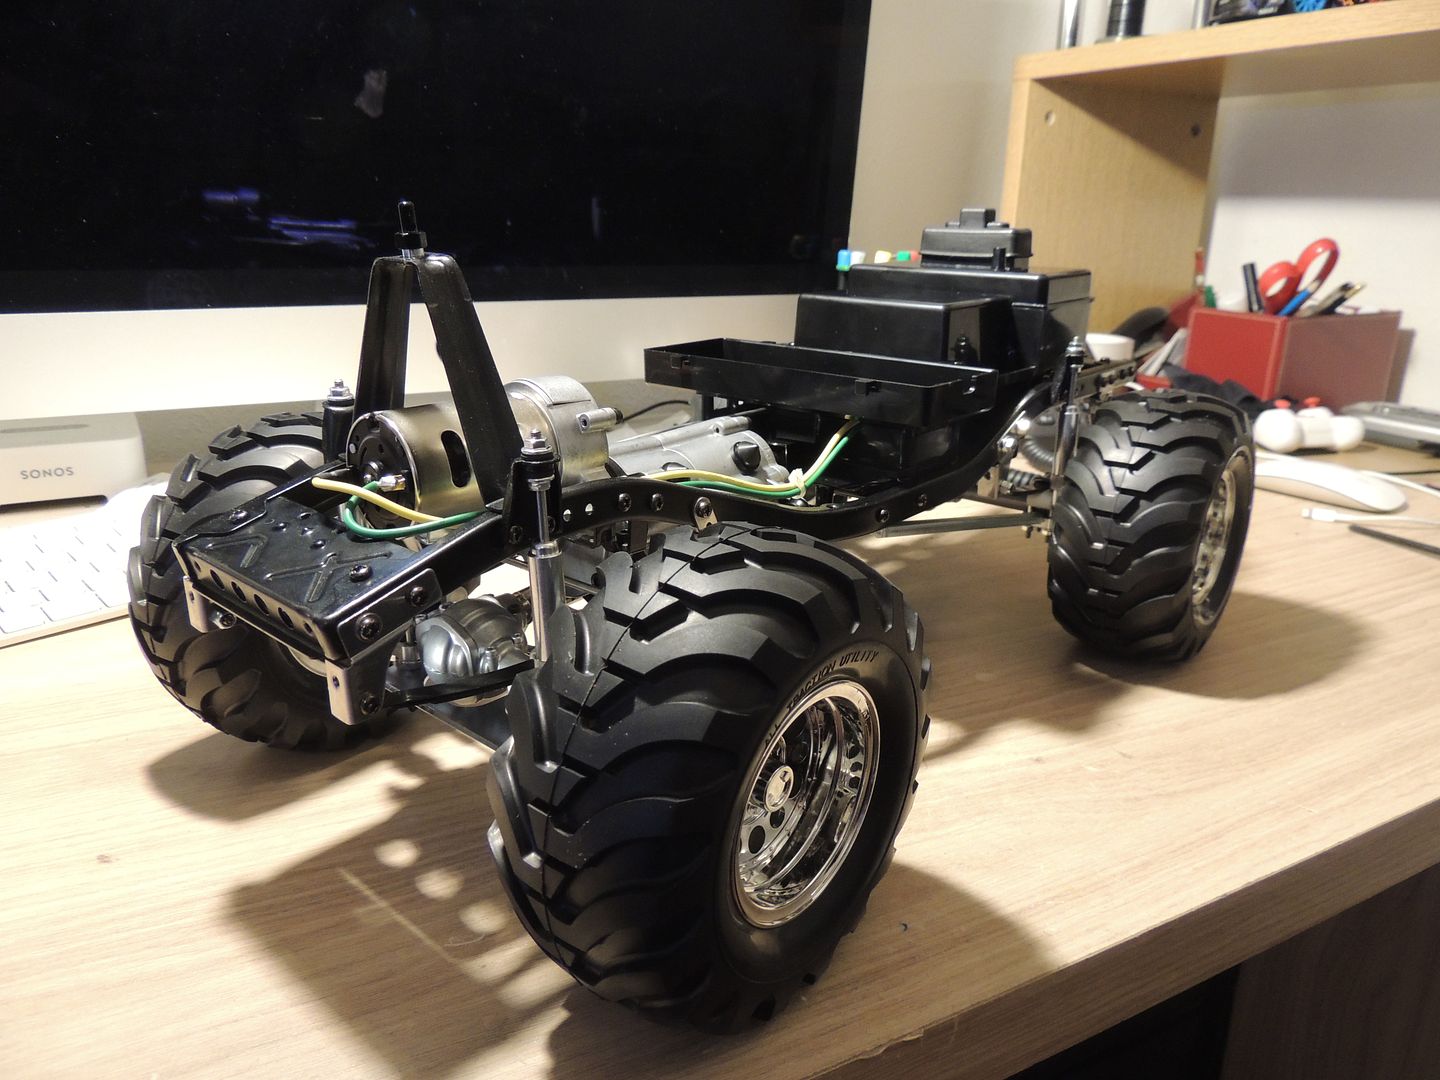 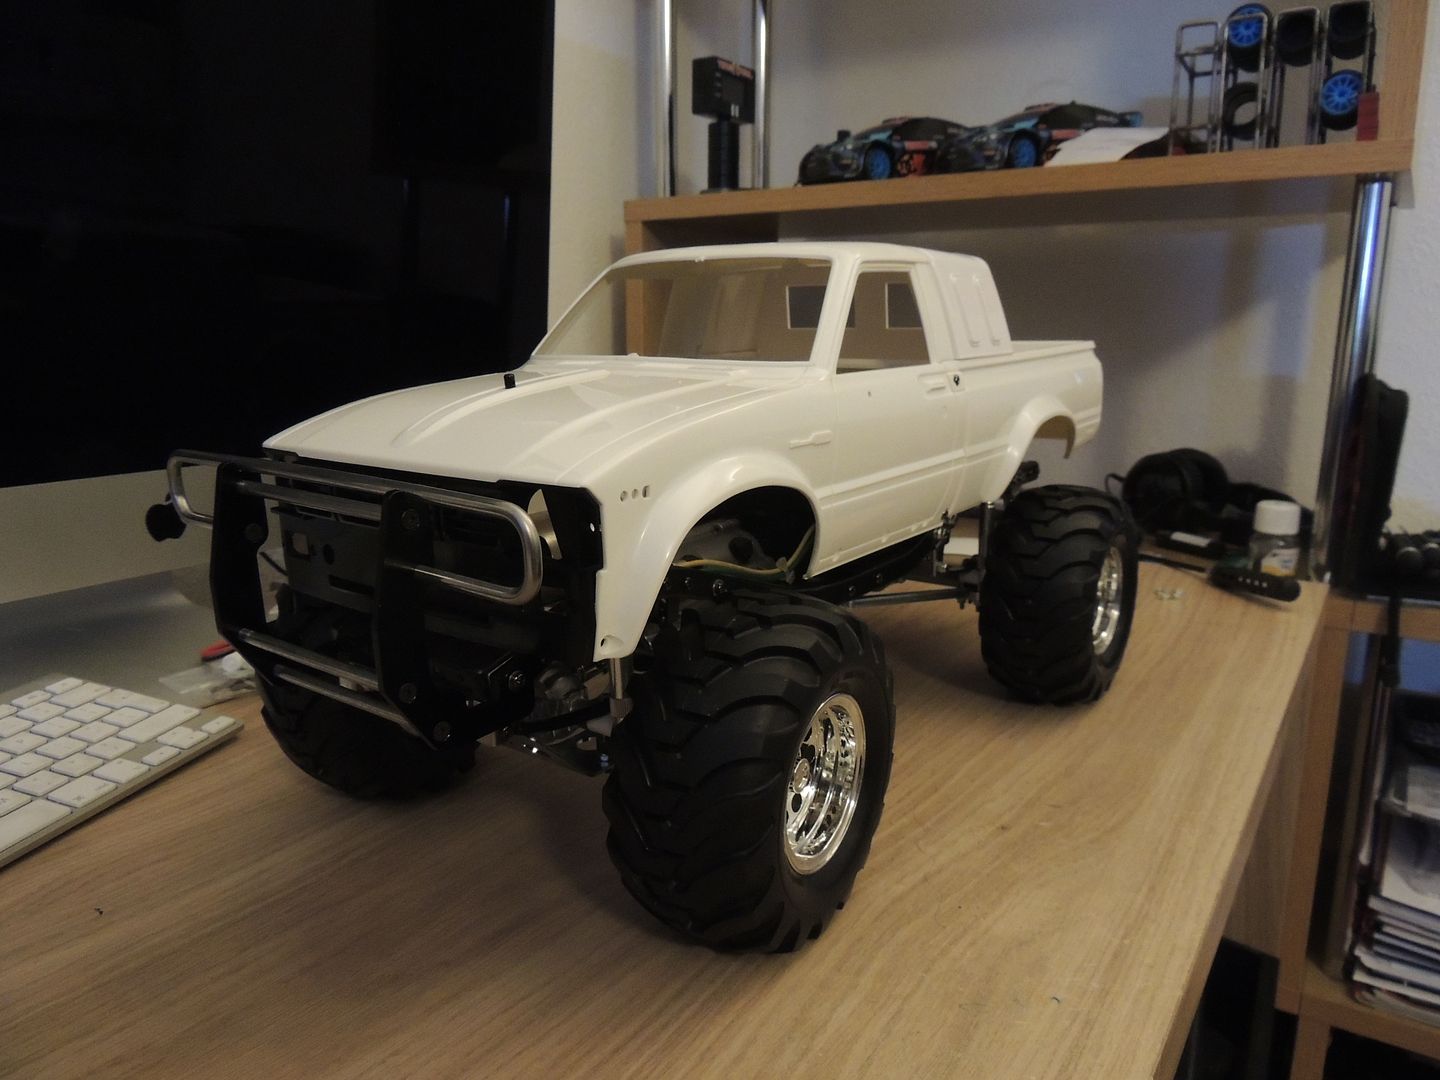 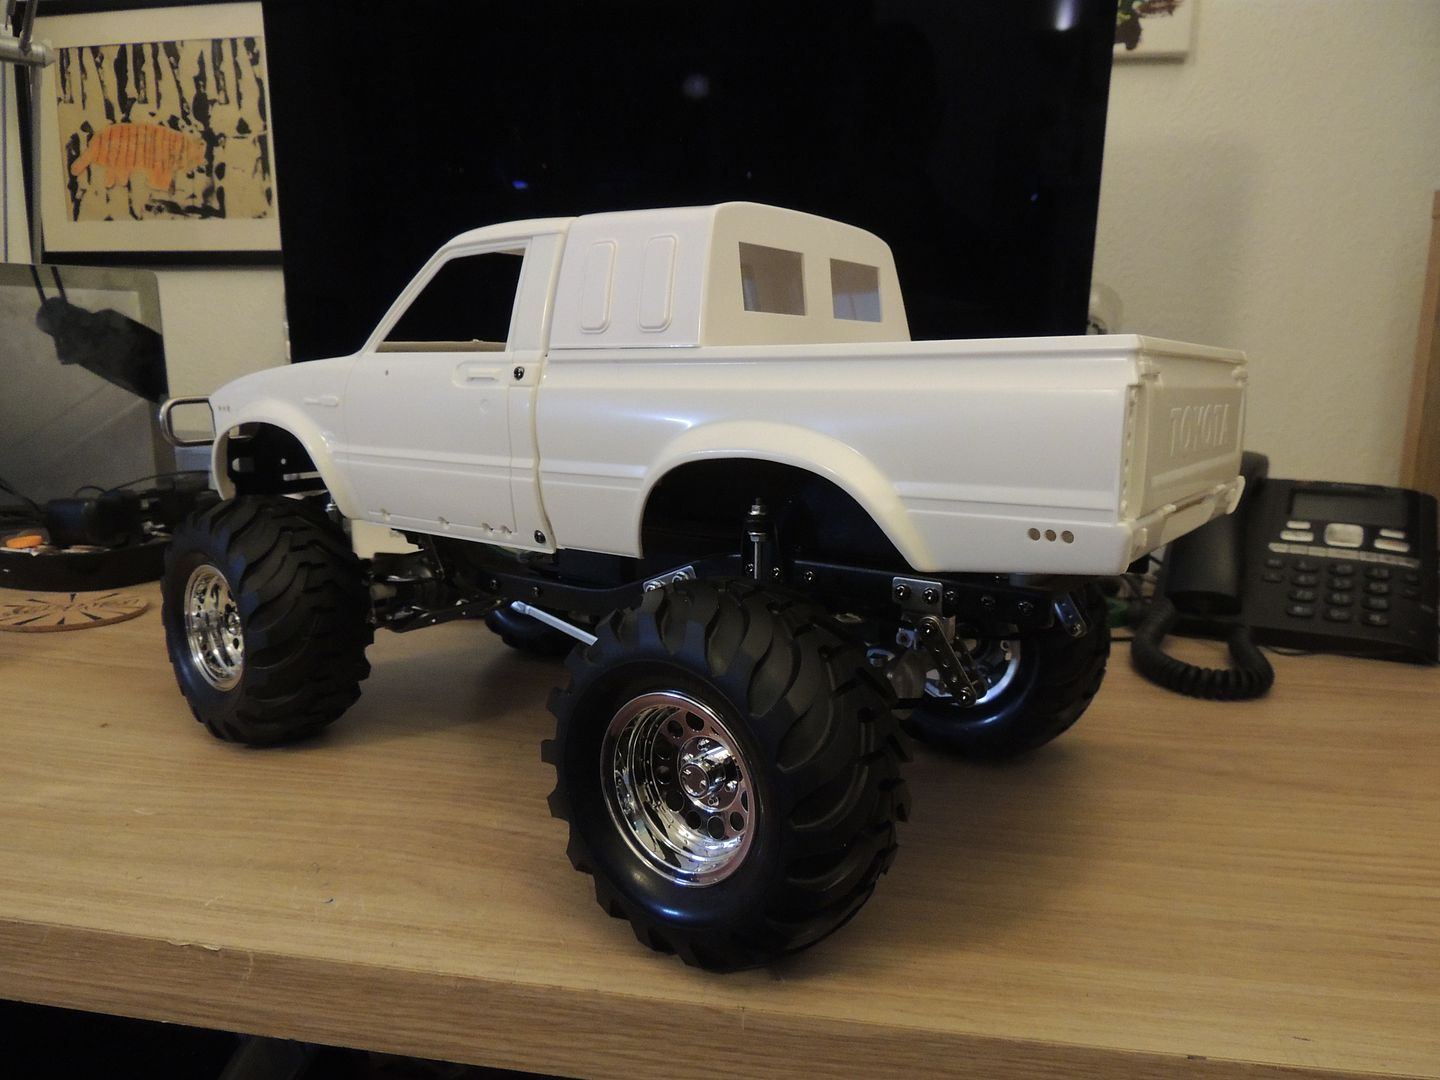 Immediately upon fitting the electrics box, wheels and then the shell I could see the massive attraction to these and IF it was going to be a shelf queen would have been happy for this look. BUT this isn't going to be a shelf queen and as I compete as often as I can in scale comps this chassis is going to see some changes. I've already ordered the wheel hex conversion kit from RC4WD and a stainless steel screw set so its all hex drive. Next up I've removed the huge wheels/tyres, the electrics box, front skid and the rear anti wrap bars. I'm going to be lifting the transmission, fitting a front mounted servo, dropping the body...........lol basically turning it into a TF2  I love the chassis, the axles, transmission I'm not yet sure about not having run it. Anyway here is how it sits now after day 3 and merely parts removed and some 1.55 wheels just slid on. 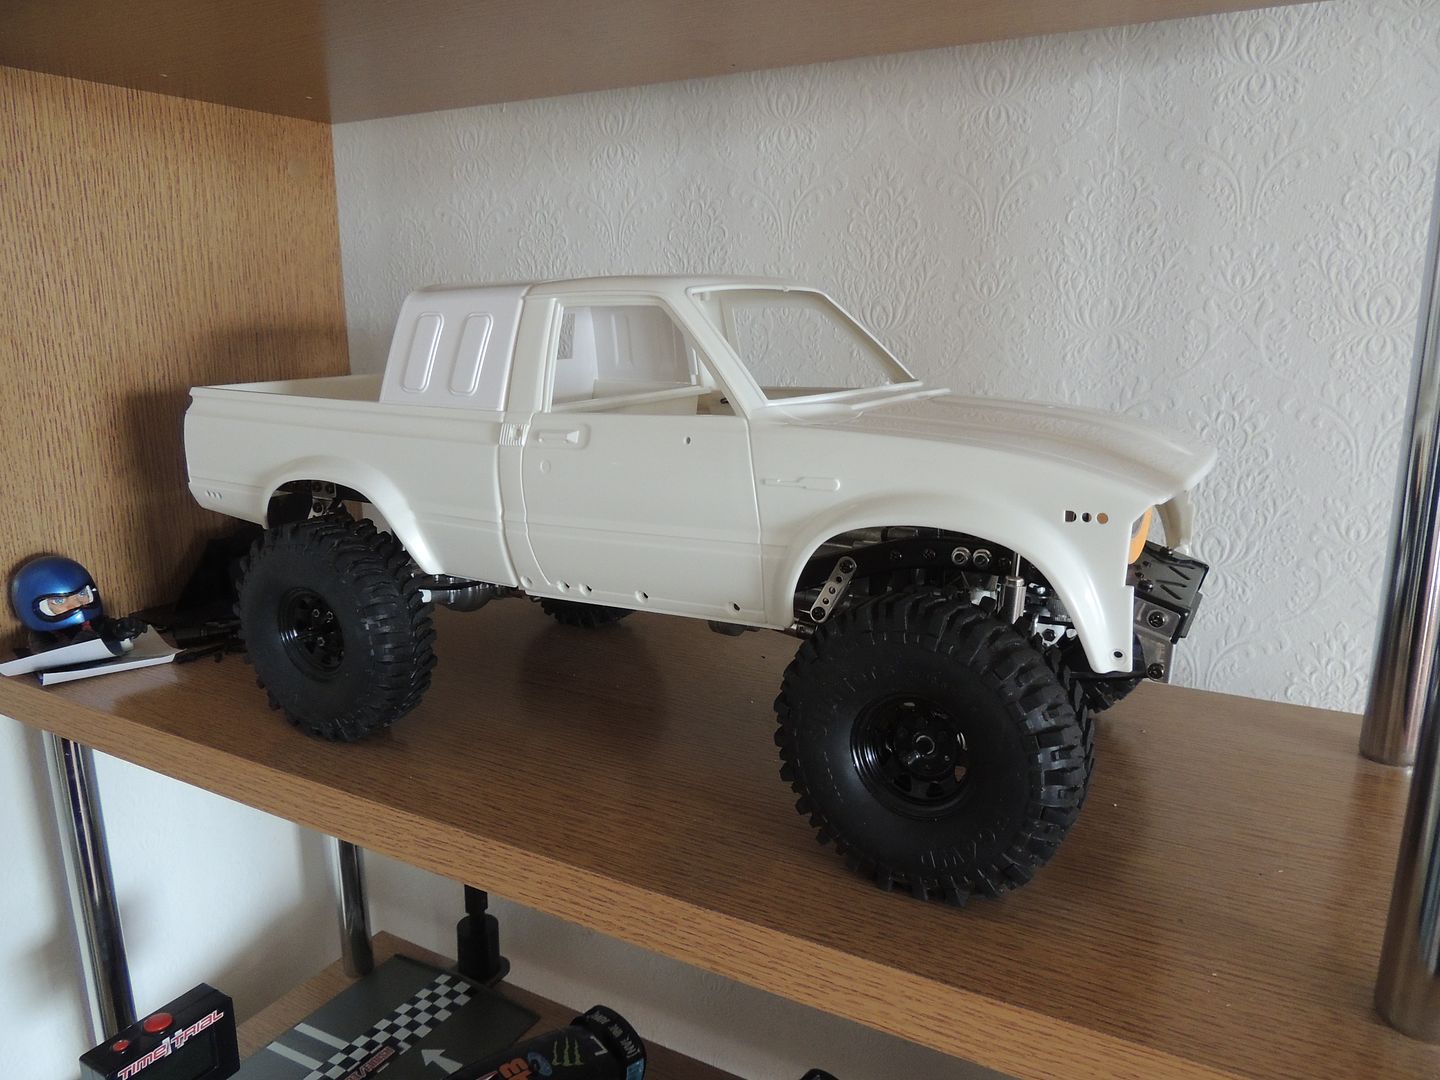 I love the look of the following which is kind of the direction I'm heading minus the sleeper. 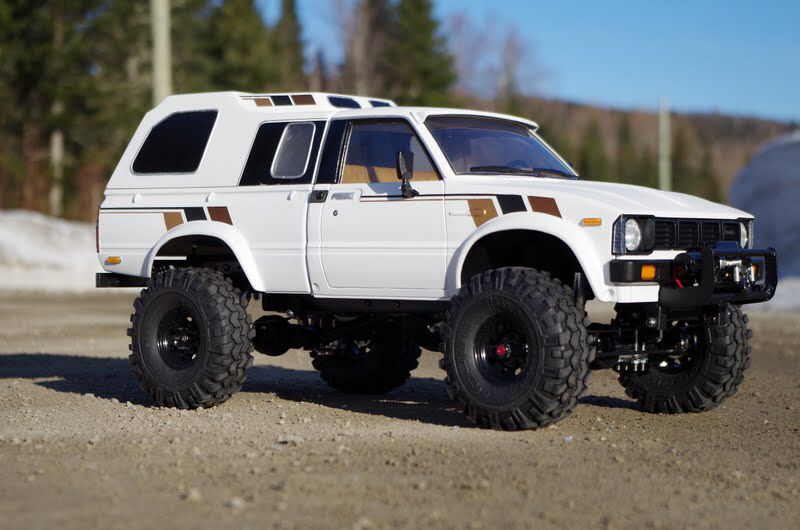 Arl be back  Last edited by northernerbill; 03-28-2014 at 12:30 PM. |
| |  |
| Sponsored Links | |
| | #2 |
| RCC Addict Join Date: Oct 2011 Location: Brighton UK
Posts: 1,363
|
The transmission is now raised 11mm. I used simple spacers at the front and offset ball ends for the rear mounts. 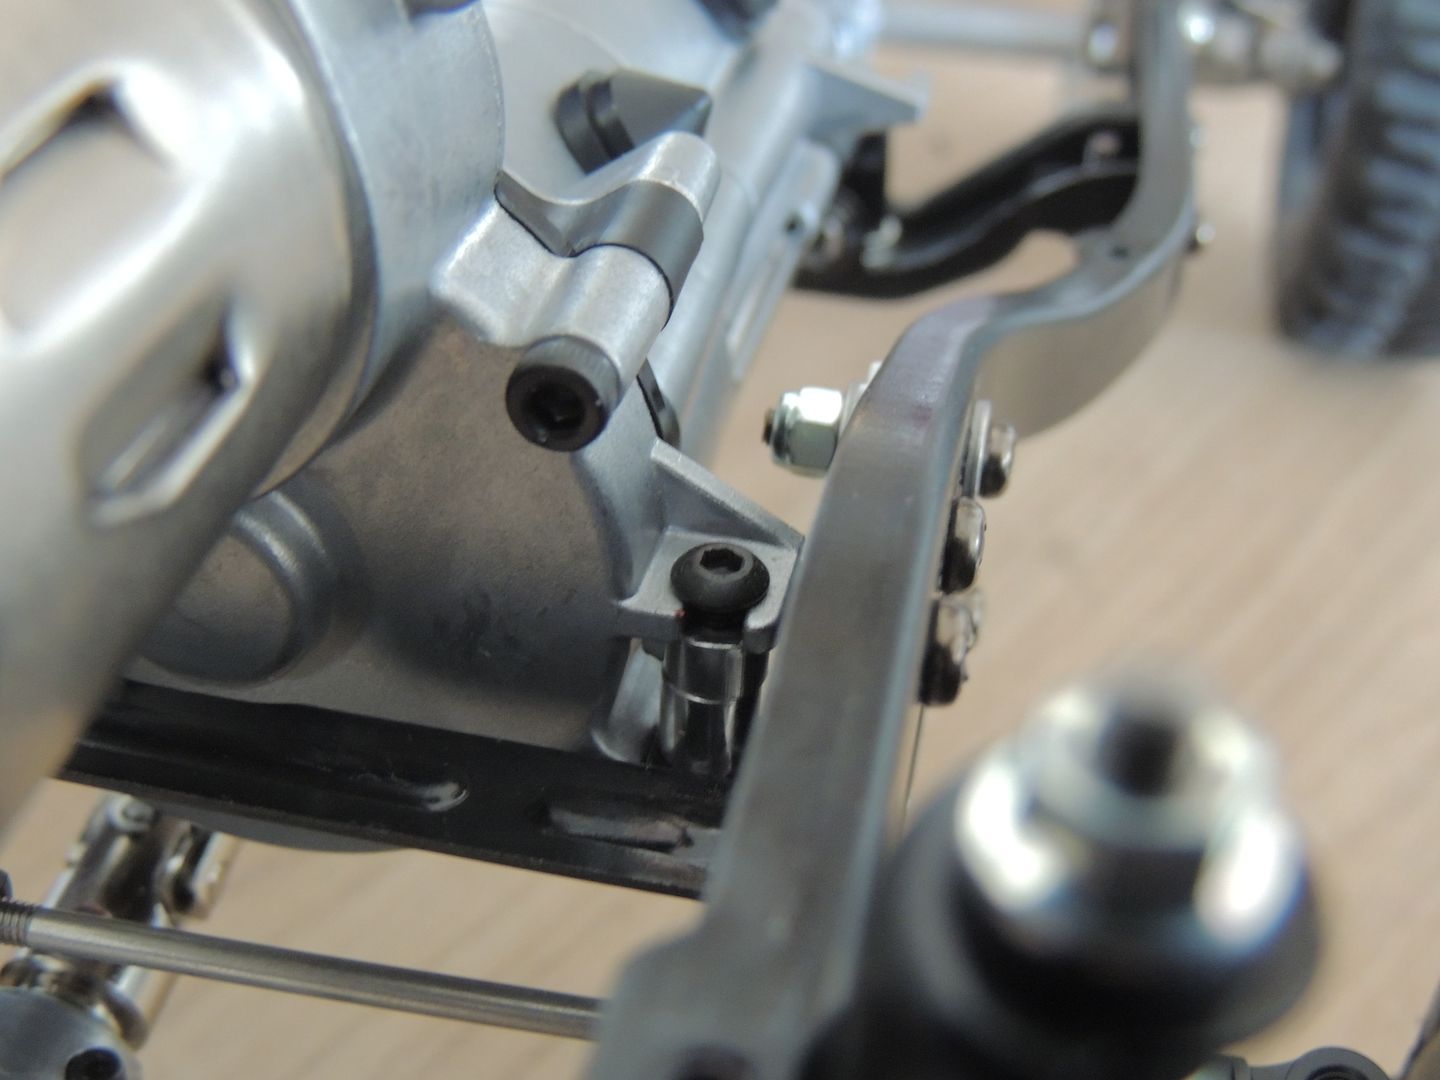 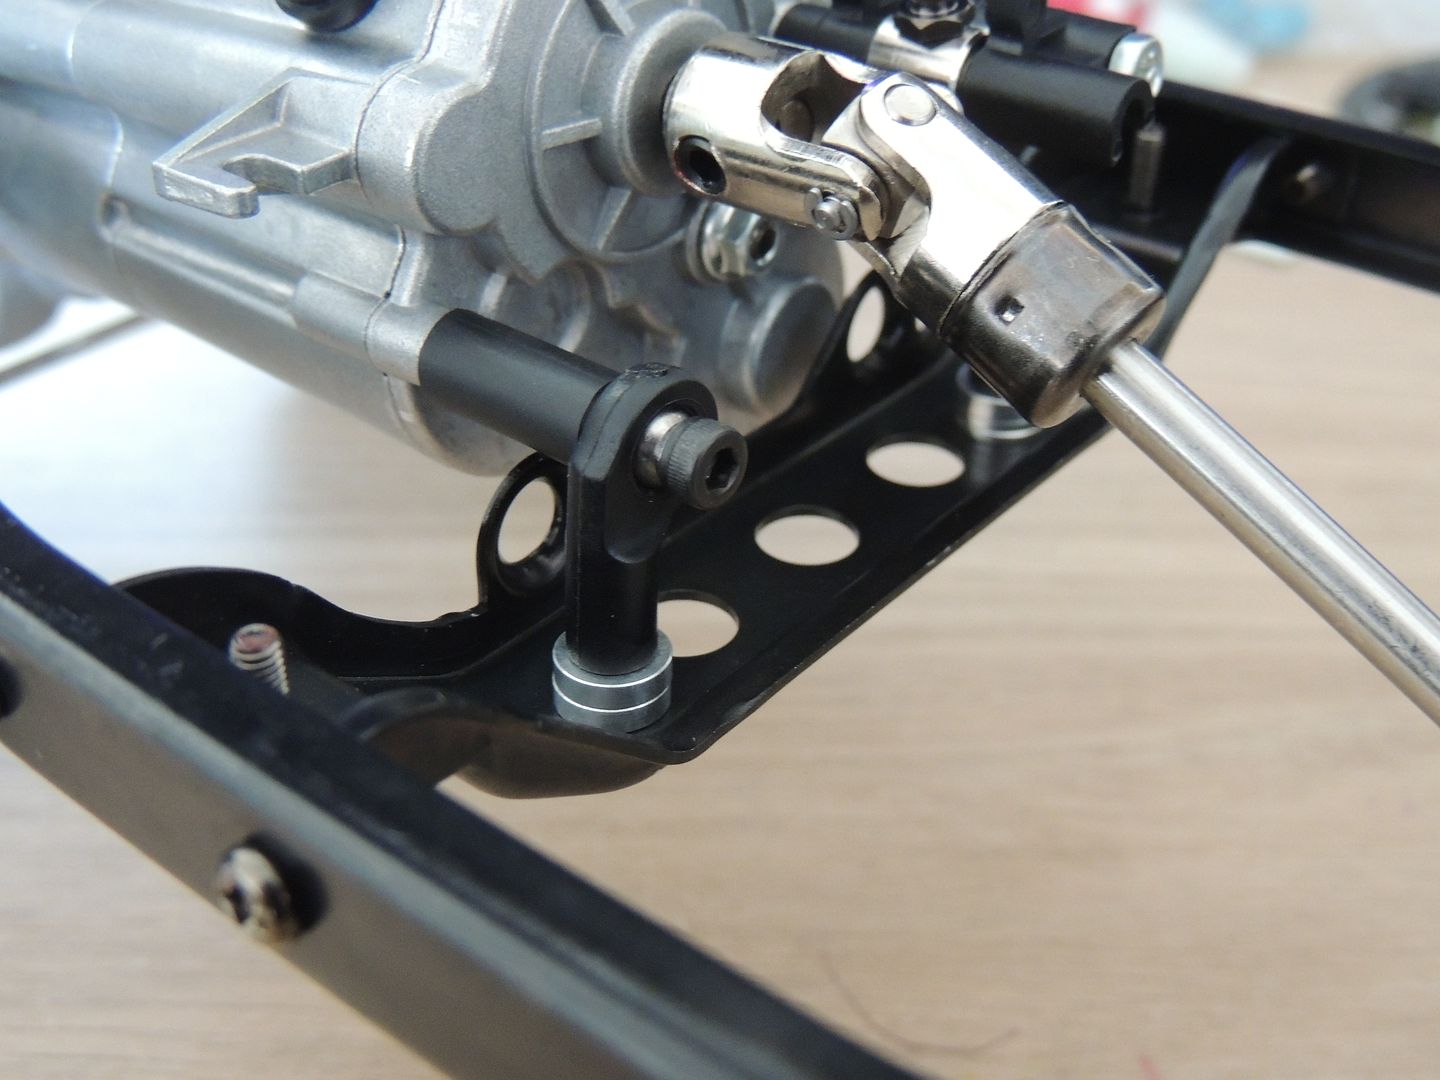 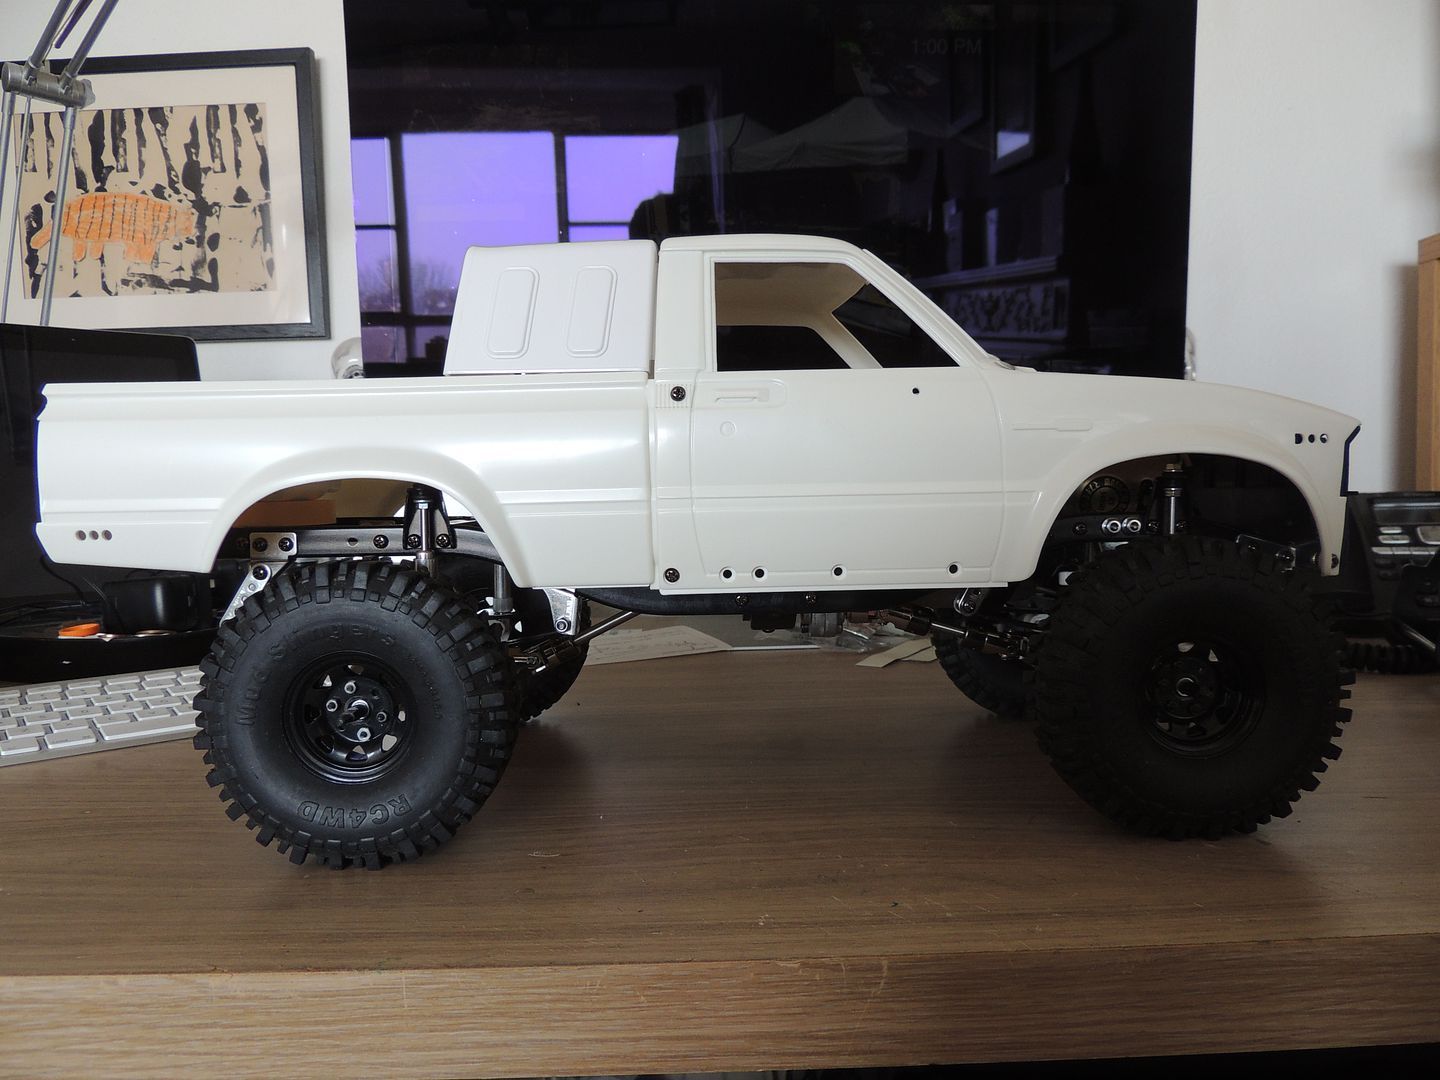 Last edited by northernerbill; 03-28-2014 at 12:31 PM. |
| |  |
| | #3 |
| Newbie Join Date: May 2012 Location: Sweden
Posts: 18
|
How close are the motor to the hood after the mods? Picture please! Badboy |
| |  |
| | #4 |
| RCC Addict Join Date: Oct 2011 Location: Brighton UK
Posts: 1,363
|
I'd say about 10mm at the front and then again about 10mm from the centre dash mount. BUT be aware I've also lowered my shell 25mm also, so its sat 10mm above the chassis at the bed mount area and the front accordingly. Another way of putting is the bottom edge of the door sill is level with the top edge of the chassis rail now its lowered. 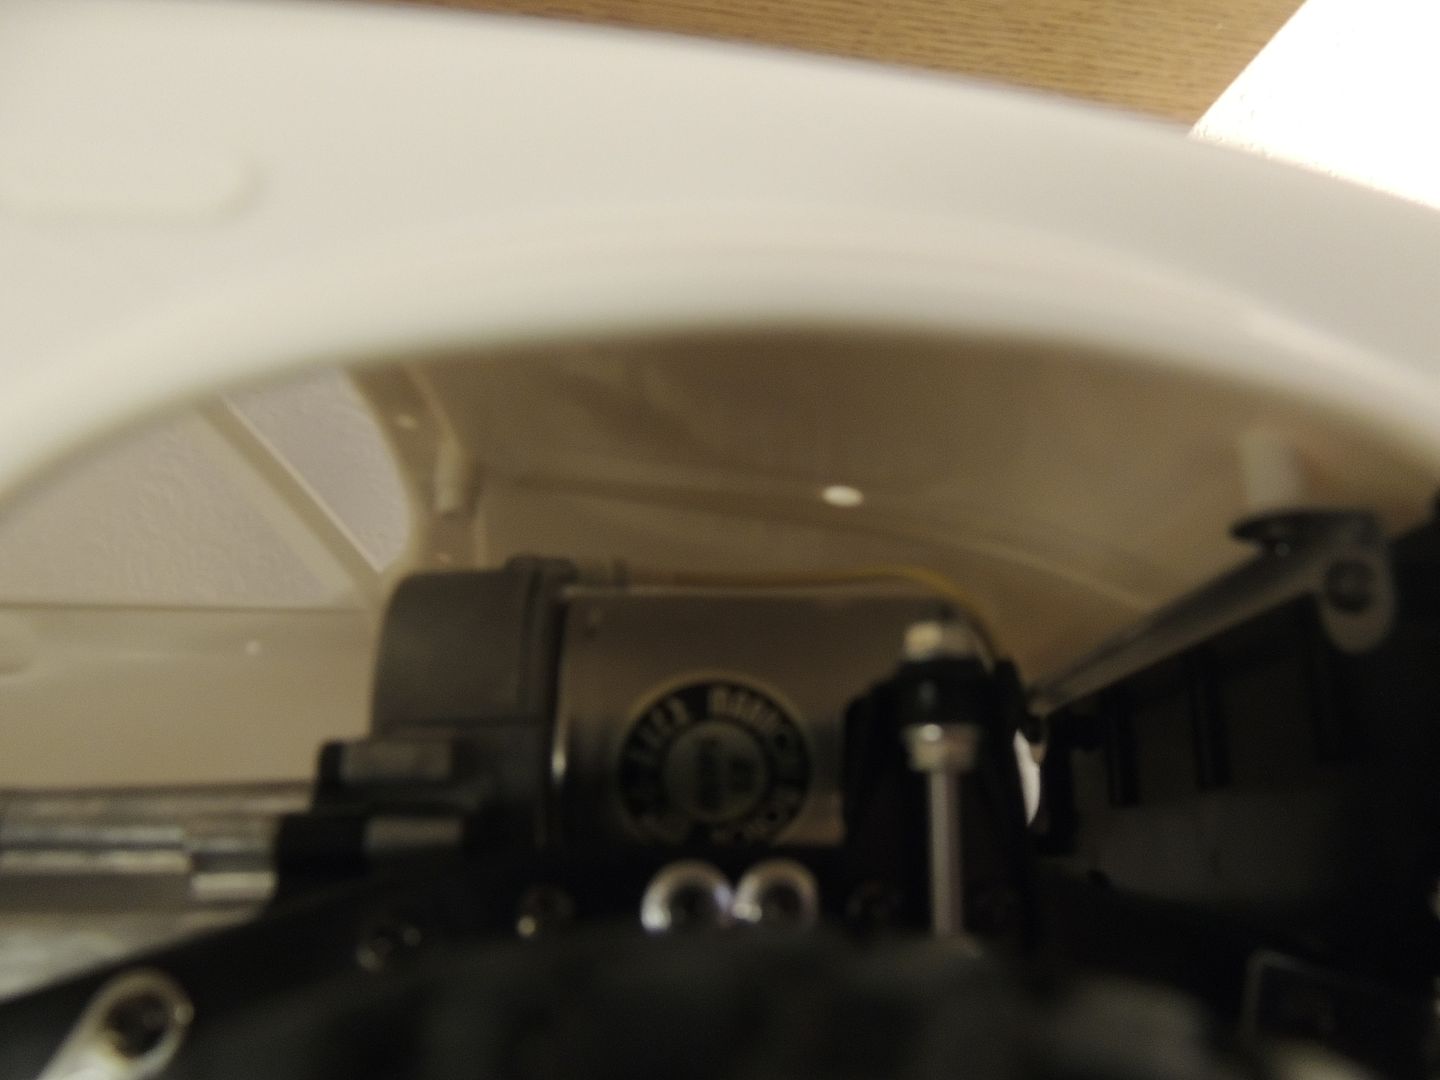 Last edited by northernerbill; 03-27-2014 at 01:53 PM. |
| |  |
| | #5 |
| RCC Addict Join Date: Oct 2011 Location: Brighton UK
Posts: 1,363
|
This evenings task was to try and get the steering servo in. The servo normally goes towards the rear of the car and it has a long bar that swings an elbow to move the steering. As I'm not using that rear servo housing that was out the window plus that method is meant to be dreadful in operation. So set about mounting it up front. Most mount it under the very front cross member but I wanted to try and copy the TF2 method. Using some tamiya servo mounts from old lorry parts trees I just managed to squeeze it down firing next to the motor. 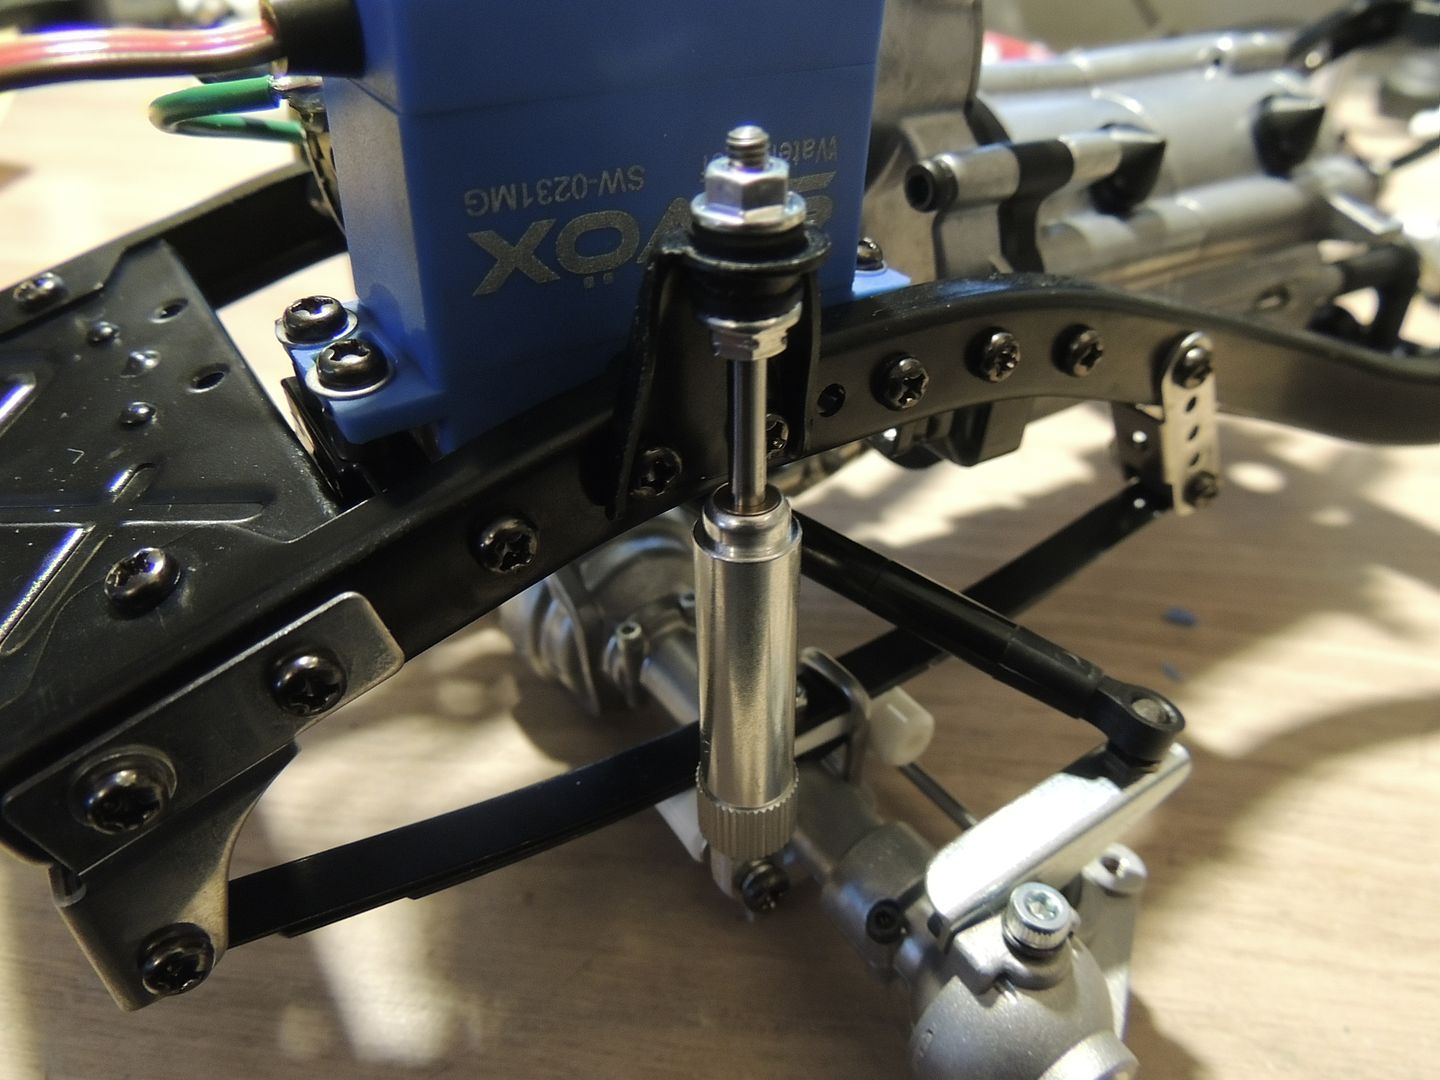 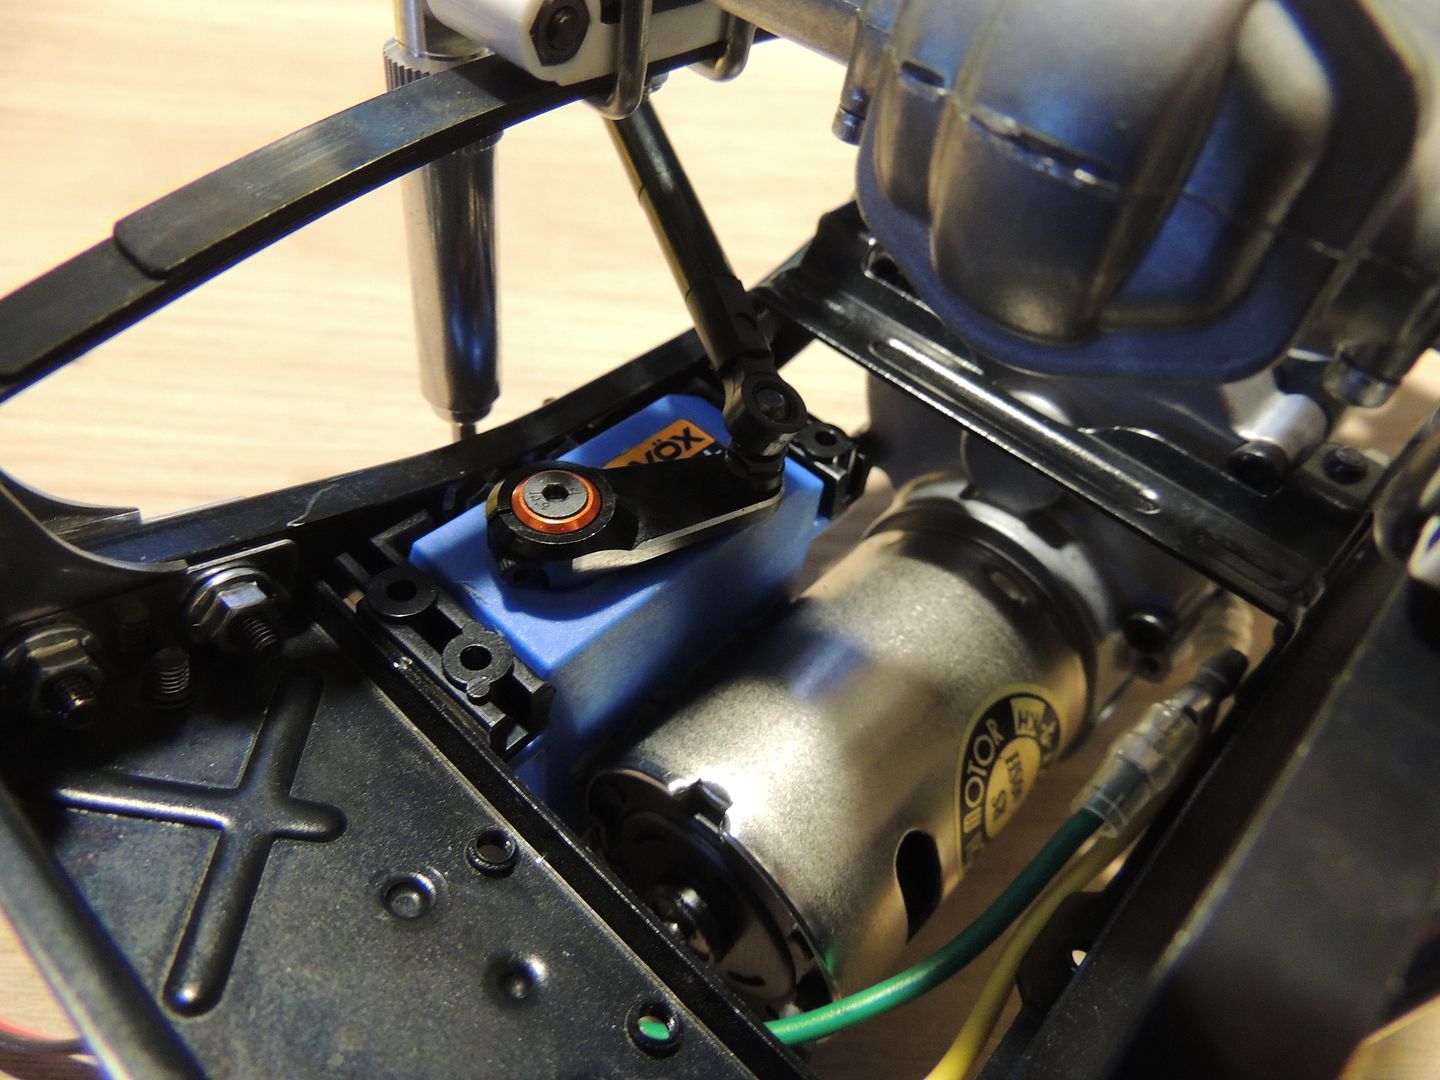 Last edited by northernerbill; 03-28-2014 at 12:32 PM. |
| |  |
| | #6 |
| Rock Crawler Join Date: Jul 2009 Location: Victoria Australia
Posts: 891
|
Looking good, I'll be watching this for more updates.  |
| |  |
| | #7 |
| I wanna be Dave Join Date: Jan 2012 Location: CANADA
Posts: 2,648
|
You are giving me motivation to start my 2012 Bruiser build. I have had mine NIB for over a year. I bought the RC4WD hex conversion and some other parts but haven't been motivated. I will be putting my servo up front and mounting it like most others. Yours is unique. I will also be running 1.9 Super Swamper XLs on Mayhem Engineering Trail Ready wheels. Painting is my biggest nightmare!! :P I will be watching your build. Keep up the great job! |
| |  |
| | #8 |
| RCC Addict Join Date: Oct 2011 Location: Brighton UK
Posts: 1,363
|
Cheers yeh I'm actually quite attached to mine already. I really like the ultra scale axles, finding the rear to be wider than the front was a surprise though. I've got to wait for my bits to come over from the states to this side of the pond unfortunately so will probably crack on with the shell next. I just can't decide on colour. I've done loads of hilux's now but never white or blue so it could still be box art or............maybe two shells  |
| |  |
| | #9 |
| RCC Addict Join Date: Oct 2011 Location: Brighton UK
Posts: 1,363
| |
| |  |
| | #10 |
| I wanna be Dave Join Date: Jan 2012 Location: CANADA
Posts: 2,648
|
How is the front going to be held to the chassis now that you filled the hole?
|
| |  |
| | #11 |
| RCC Addict Join Date: Oct 2011 Location: Brighton UK
Posts: 1,363
|
I've got list options tbh. I've cut the front lower grill section so it wraps around the front of the chassis and actually rests on the chassis. I will probably use the side holes in the door to screw it to the chassis like a TF2 and then body clips at the rear. I could also fit a hinge, will see when it's all bolted together I guess. |
| |  |
| | #12 |
| RCC Addict Join Date: Oct 2011 Location: Brighton UK
Posts: 1,363
|
Popped to Halfords after all the mothers day stuff was out the way (more like wives day lol) and picked up my paints. Obviously at least 15 different whites to choose from but went with BMW Alpine White. Its not the crisp perfect snow white i was thinking of for this with actually having the lightest creamy grey undertone to it, but now seeing its contrast with the cab back box which is matt white primer (finished in that) I'm actually very very happy with it. I found painting outside as the sunset using it to balance the gloss looking down its profile worked really well to get an even gloss coat. I've done the bed interior in the sam colour but powder coated that to make it matt. Defo going with the 3 color traditional hilux stripes now and not the bruiser decals. Here she is. 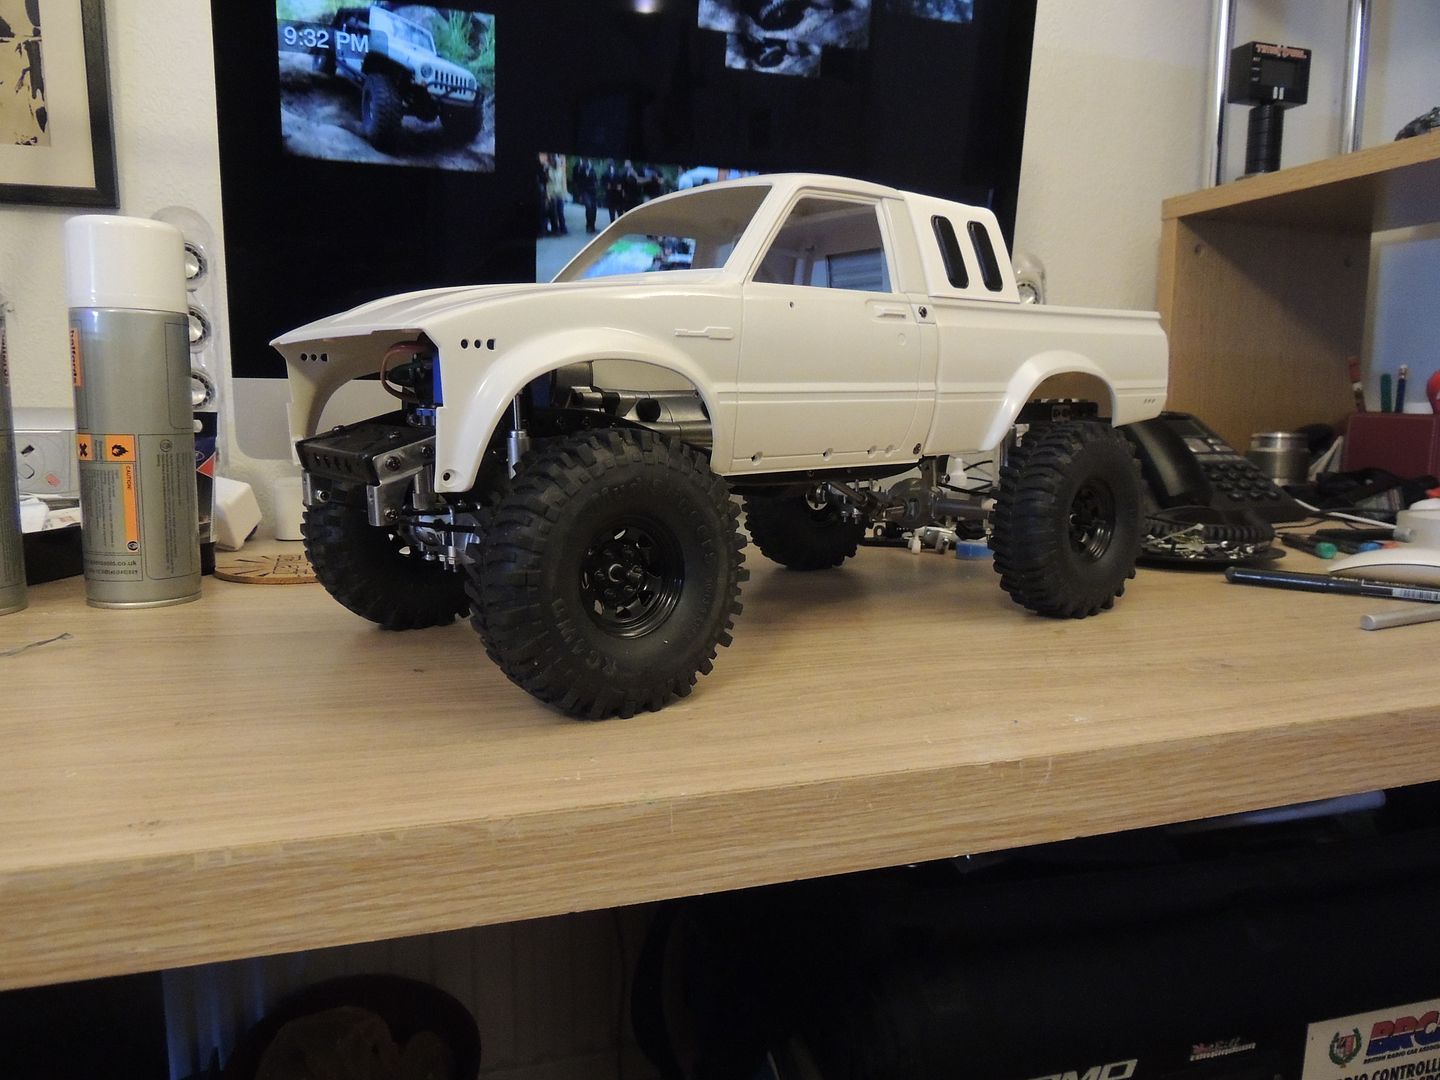 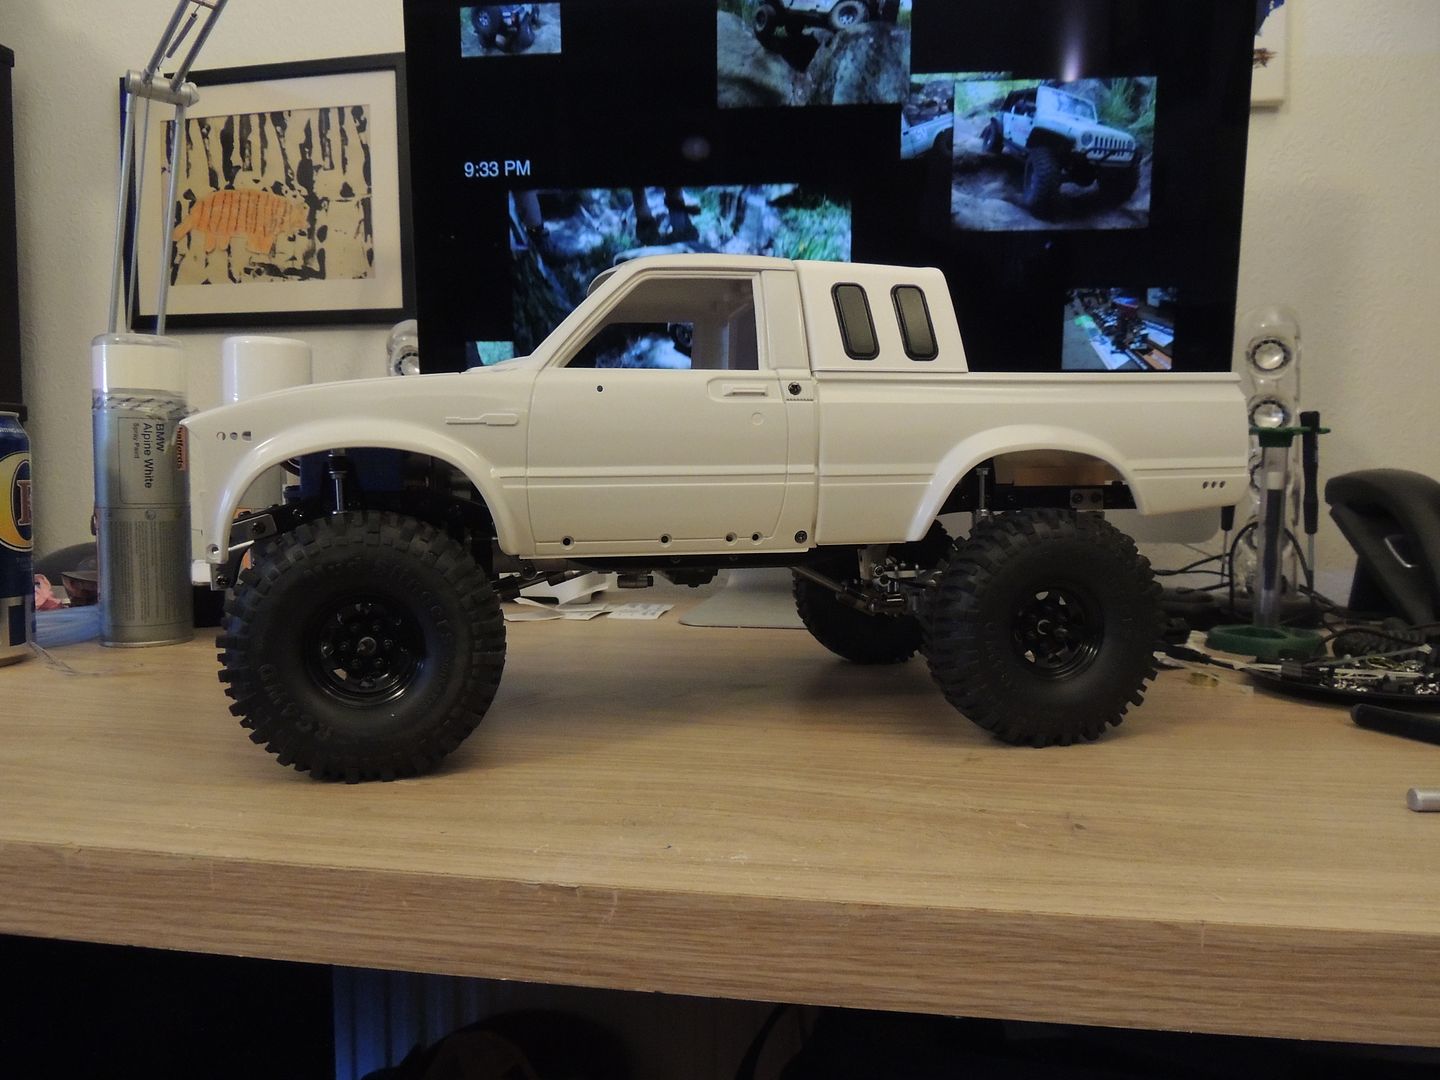 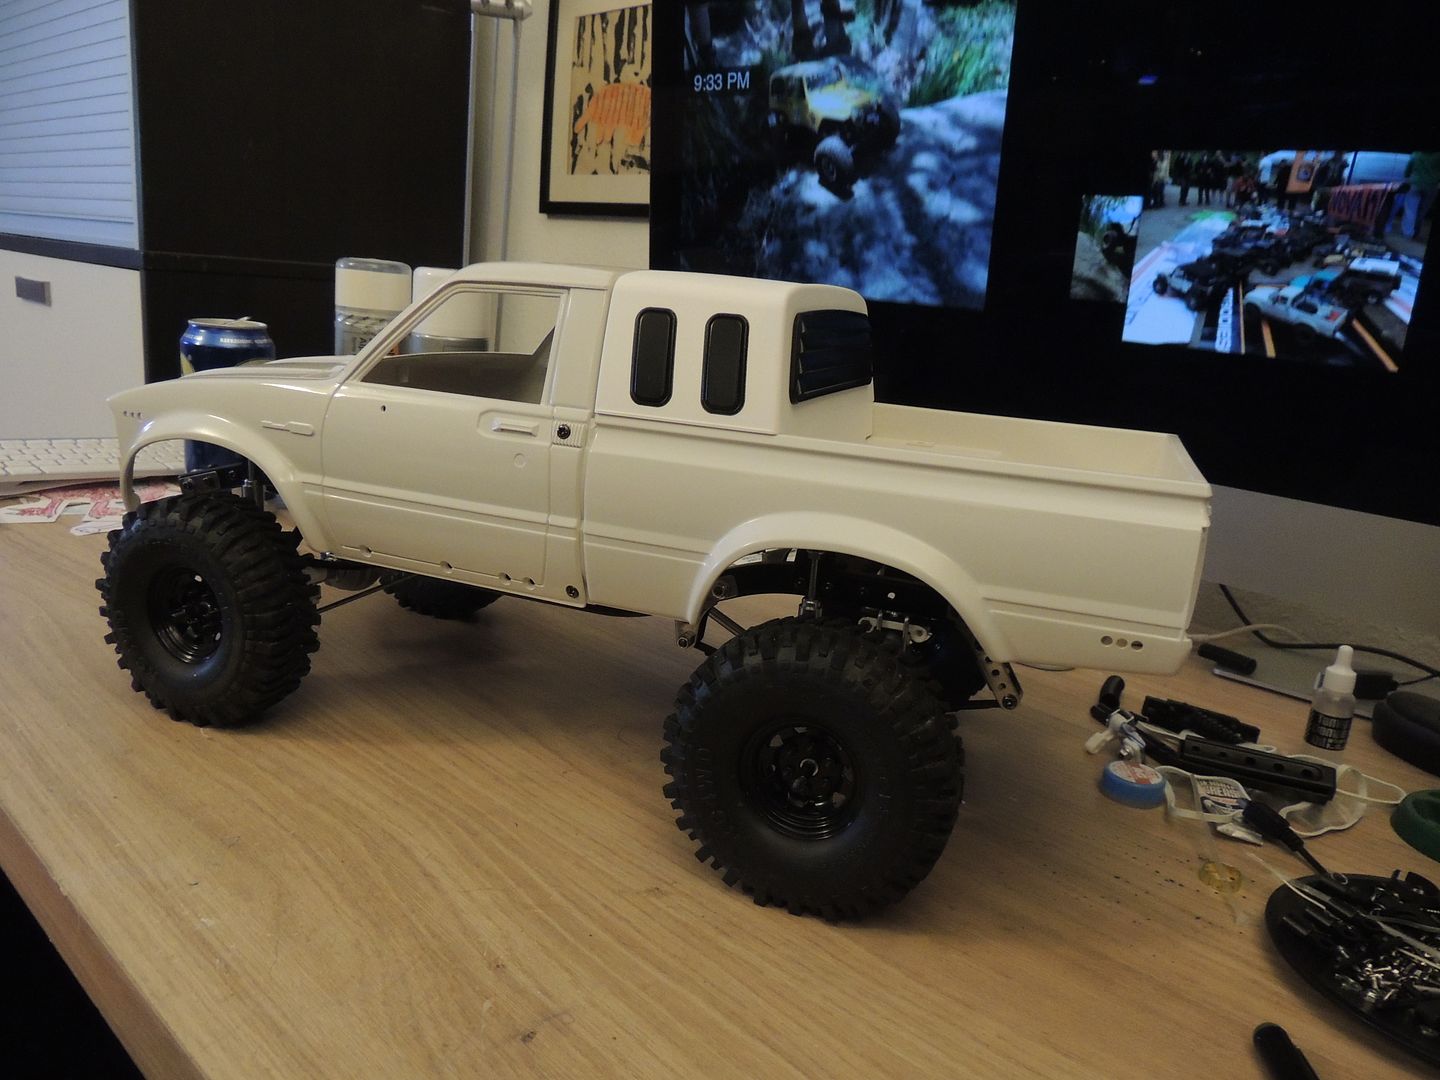 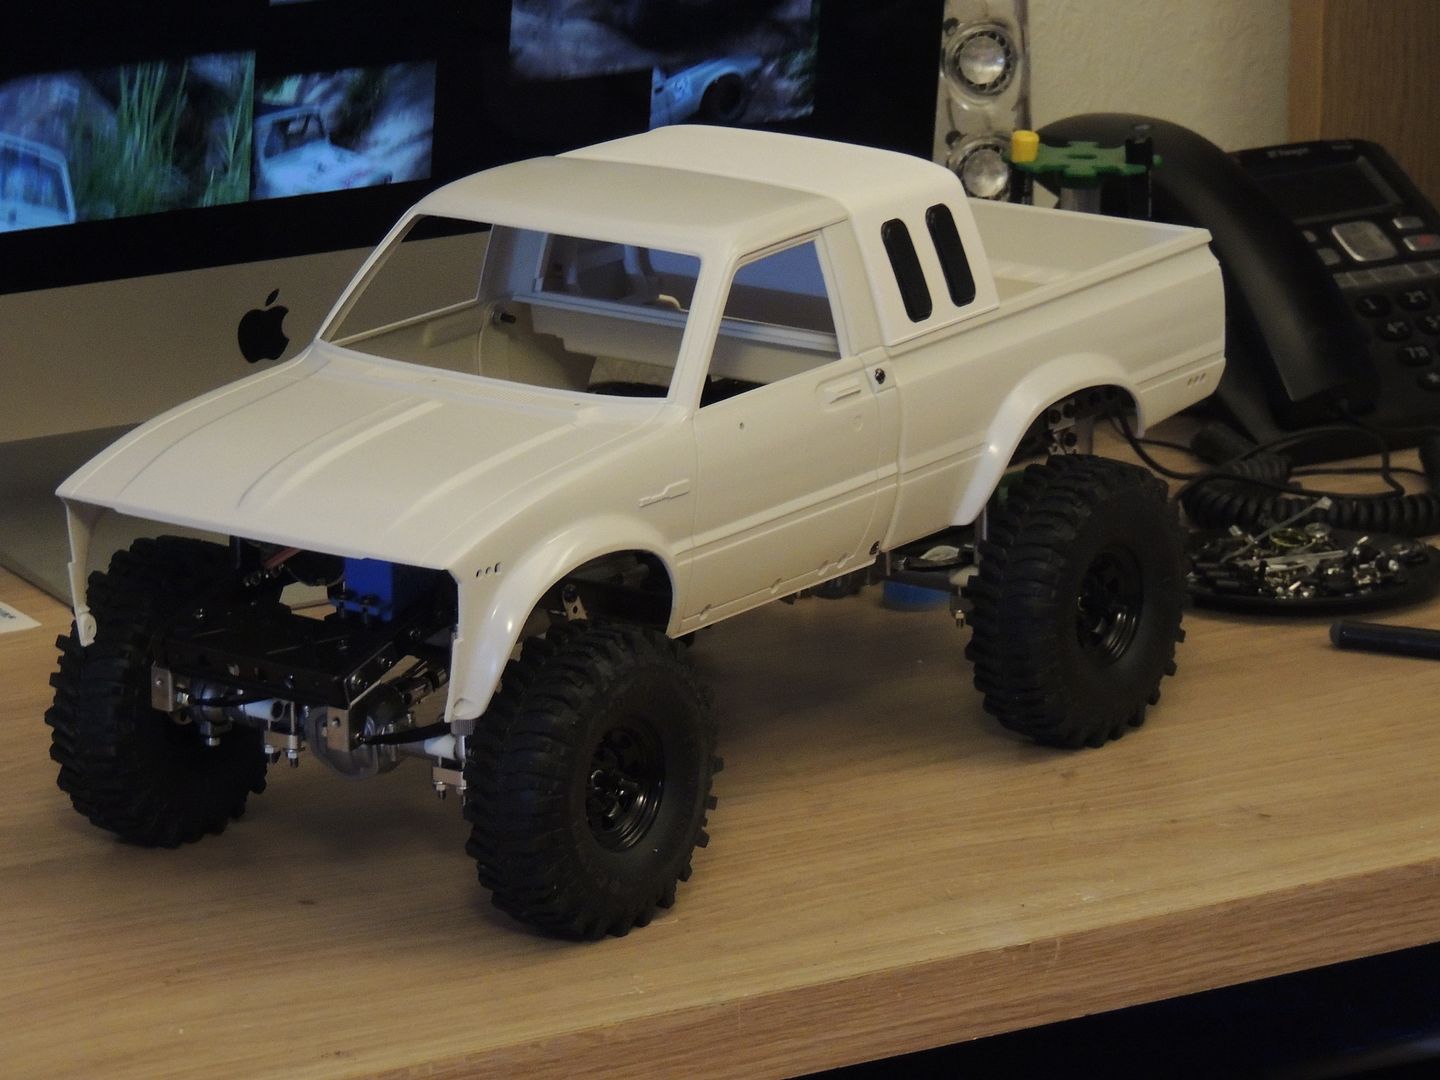 |
| |  |
| | #13 |
| Newbie Join Date: Dec 2006 Location: LA
Posts: 13
|
nice!nice
|
| |  |
| | #14 |
| RCC Addict Join Date: Oct 2011 Location: Brighton UK
Posts: 1,363
| |
| |  |
| | #15 |
| RCC Addict Join Date: Oct 2011 Location: Brighton UK
Posts: 1,363
|
I've seen a couple of these bruisers done in white with the stock decals........and well as I've got the decals thought it'd be rude not to see how they look. Not adding any of the Hog and sponsor stuff, just the stripes. Whats the verdict, for me I quite like it. 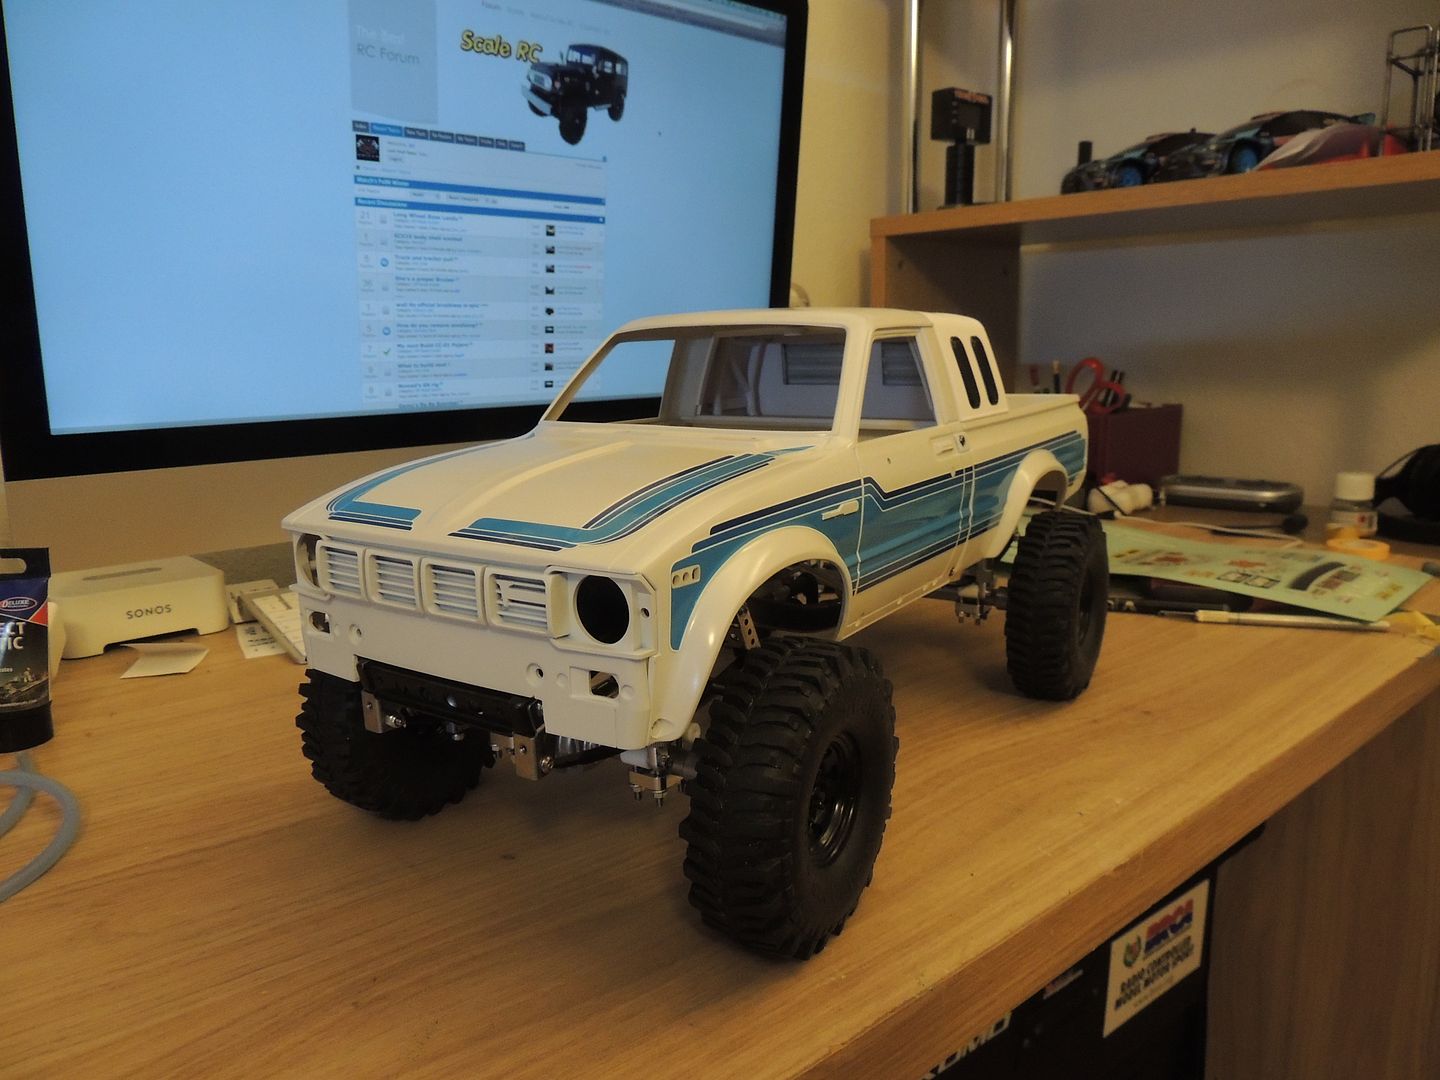 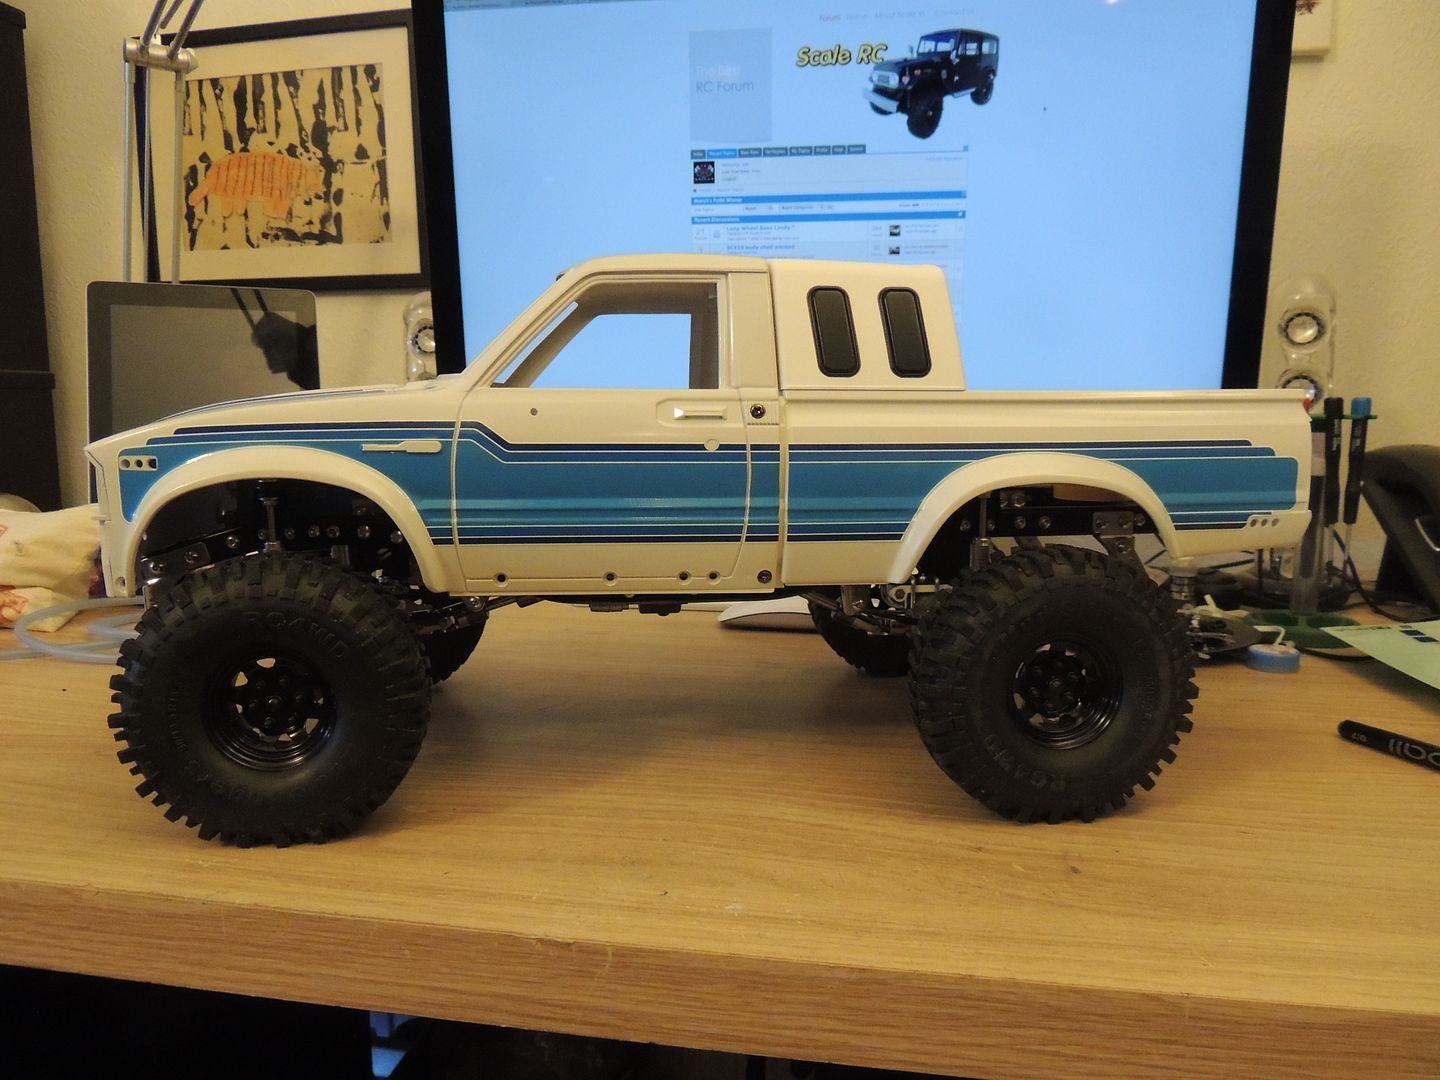 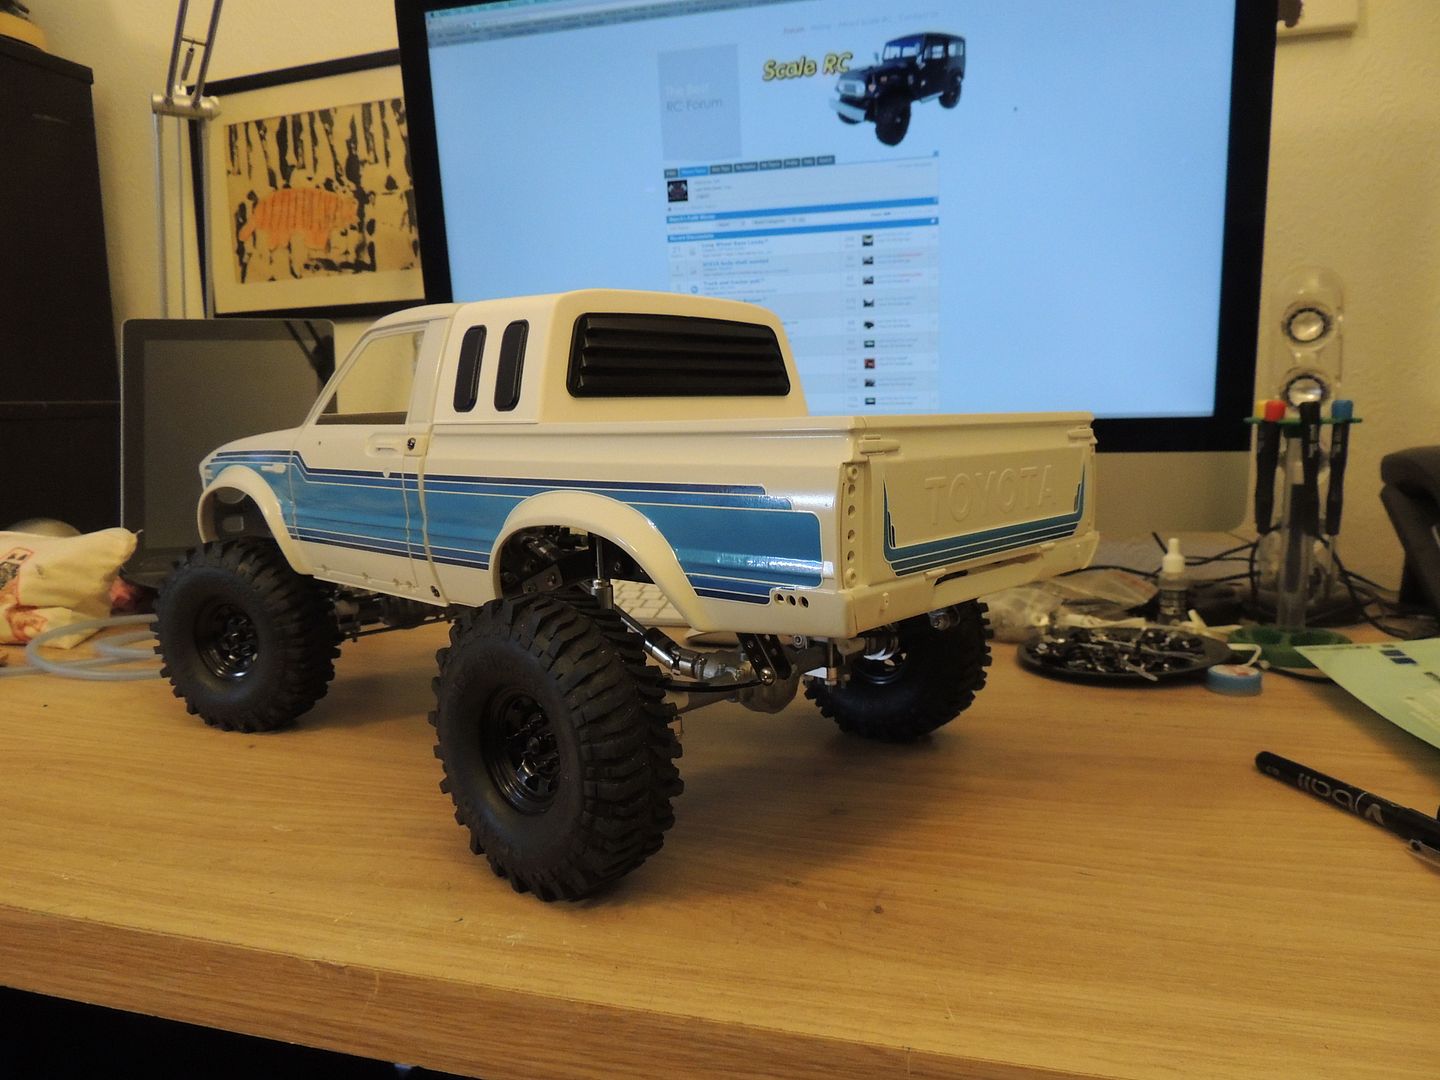 What I never realized with the bruiser is the rear axle is way wider than the front, so now its on smaller rims it looks really odd. So now on the hunt for a second front axle I can lock out and flog the rear. |
| |  |
| | #16 |
| I wanna be Dave Join Date: Jan 2012 Location: CANADA
Posts: 2,648
|
Will that work just getting another front axle? I am dreading the thought of buying so many parts! I bought the RC4WD hex conversion kit and have heard guys say that it is junk. I am keeping a close eye on your build. I like the way you are going.
|
| |  |
| | #17 |
| RCC Addict Join Date: Oct 2011 Location: Brighton UK
Posts: 1,363
|
Well I fitted the rc4wd hex adapters today and they are very good quality. A proper push fit, no slop and I can't see what could wear out on them they're ball raced just as the bruiser ones. A front axle on the back will work, the only ball ache is I'd have to get another hex adapter set. But you could sell the brand new stock rear to get most of the outlay back. Another option is to get the scale yoga bruiser rear axle by RC4WD but then you've got to strip the paint back, and get new leafs. Rock and a hard place, and I think I will do the front axle method tbh. Plus side is you could later do a class 3 with 4 wheel steering lol. |
| |  |
| | #18 |
| I wanna be Dave Join Date: Jan 2012 Location: CANADA
Posts: 2,648
|
Very cool info and you have me thinking of what I should do now. I was going to get the full on Yota axles and leafs, etc from RC4WD but I have the hex conversion kit already and wanted to try it. I see your build and now realize I am more confused about the Bruiser than ever. Hehehe. "It's Only Money" right?? :P
|
| |  |
| | #19 |
| RCC Addict Join Date: Oct 2011 Location: Brighton UK
Posts: 1,363
|
I actually need to measure this up to check that a front axle will fit under the wider spread rear leafs...........might have jumped the gun on that idea.
|
| |  |
| | #20 |
| RCC Addict Join Date: Jun 2004 Location: Bruiser Heaven!!!!
Posts: 1,463
|
Looks good white and with just the stripes. Ya the only draw back is the different widths from the front to back axles. Wish Tamiya would have changed that, to make them the same width. 2500 HD Tapatalk |
| |  |
 |
 She's a proper Bruiser - Similar Threads
 | ||||
| Thread | Thread Starter | Forum | Replies | Last Post |
| She's so wiiide | jado6006 | EnRoute Berg | 2 | 04-20-2012 11:07 AM |
| She's all done !! | bbking9 | Axial XR10 | 22 | 12-11-2011 10:22 AM |
| She's Alive!!! | RcBro | 2.2 Scale Rigs | 20 | 09-20-2007 04:30 PM |
| she's on somethind | Double J | Chit Chat | 4 | 01-12-2007 08:16 PM |
| |