| |
 02-23-2006, 05:43 AM
| #61 |
| RCC Addict Join Date: Aug 2005 Location: Akron
Posts: 1,784
|
One step closer. 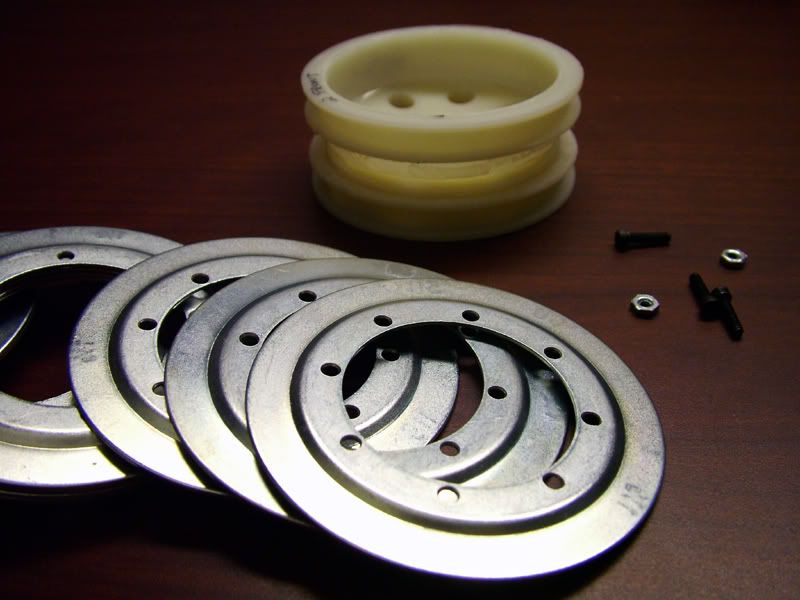 Finally got all 16 (actually 18 for an extra set) rings drilled. Now all I have to do is find some of that black die for the wheels, glue the rings on and go driving! I found an extra set of wheel hexes so I can glue those into the wheel. Hopefully this will help with the hex spinning in the rim like my last wheel set was doing. Where's a good place to get the die? walmart? |

|  |
| Sponsored Links | |
| | |
|
02-23-2006, 11:36 PM
| #62 |
| Quarry Creeper Join Date: Jan 2006 Location: Jonesboro, TN
Posts: 442
|
lookin good Nick. How did you drill the holes in the washers? I am just wondering how you marked them and kept them centered and evenly spaced. Did you stack a couple of them to drill them, or just do one at a time? I am trying to figure out how I am going to build mine once I actually find the washers. Will 4/40 bolts work or are you going to use smaller? |
|
| |
|
02-24-2006, 05:46 AM
| #63 |
| RCC Addict Join Date: Aug 2005 Location: Akron
Posts: 1,784
|
I got two finished and mounted last night. My dad works for parker haniffin so I get to use their drill press which has an o so nifty center mount. I put in 4 washers and centered them in the drill press. Then you move the head of the drill out whatever distance you want and then you can just drill around that center point every 45 degrees. If you are looking to use a hand drill..... have fun. haha I'd try and print out a template and then use a punch to get a starting point for each hole and drill at least 2 washers together every time so they line up. I'm using 2-56 x 3/8" socket head cap screws. pics will be up in a few |
|
| |
|
02-24-2006, 06:18 AM
| #64 |
| RCC Addict Join Date: Aug 2005 Location: Akron
Posts: 1,784
|
Ok first thing I did was drill holes in the rim to allow air to move in and out. then dyed the wheels with RIT dye. That stuff is amazing! 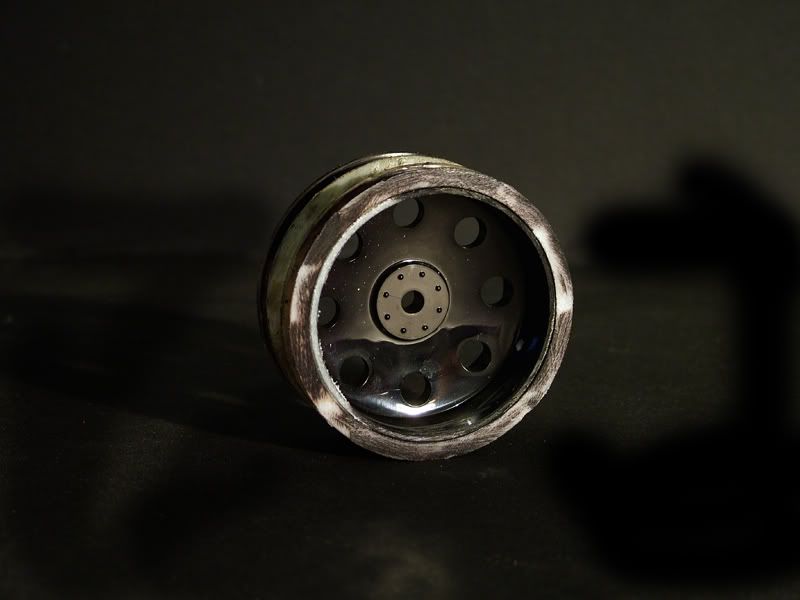 Then I used a coarse sand barrel tip on the dremel and roughed up all the gluing surfaces and the surface contacting the tire. 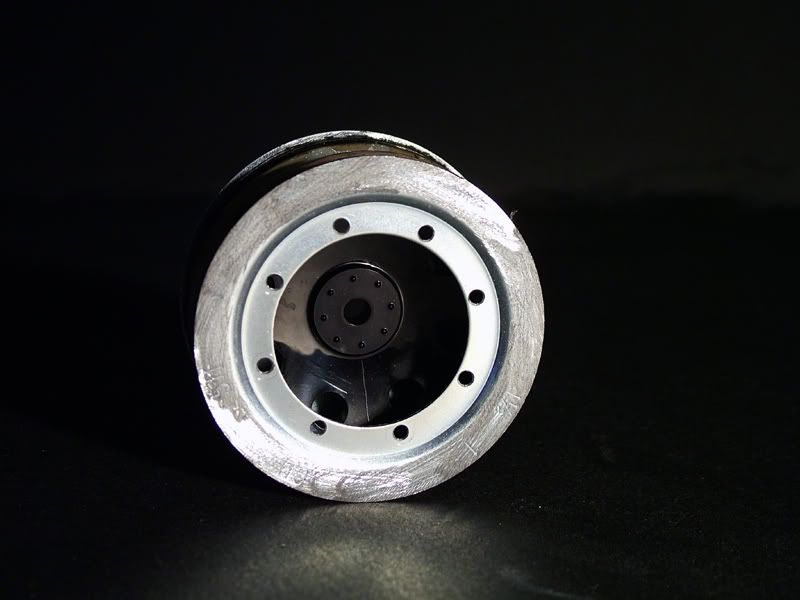 Mounted up the tires. They turned out really good. The beads on these mashers are all hacked up from takin them off a rim after being glued and still are on there good. I'm thinking about trying a set of All T's though. 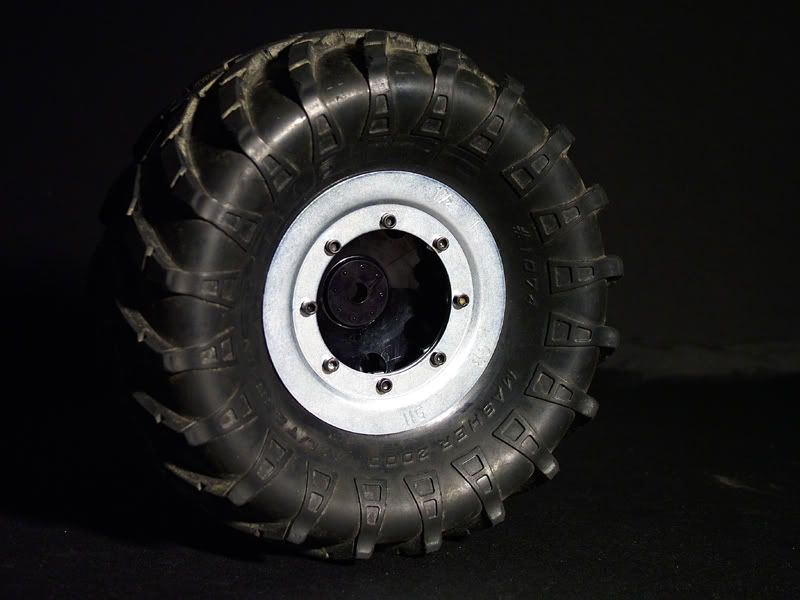 The poser. Hopefully I'll have some outdoor pics once it gets warmer outside. 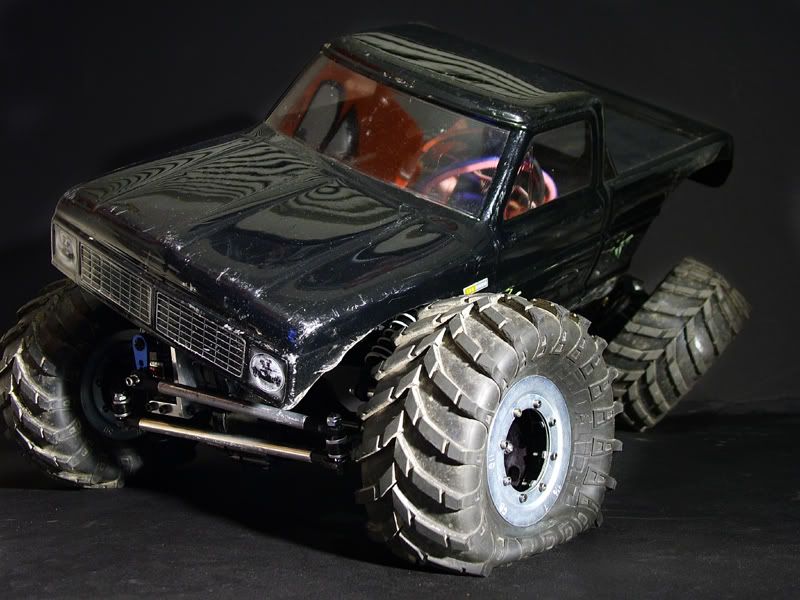 |
|
| |
|
02-24-2006, 07:17 AM
| #65 | |
| Rock Stacker Join Date: Jul 2005 Location: hour south of nashville TN
Posts: 96
| Quote:
Very Hummerish. Me like. | |
|
| |
|
03-17-2006, 11:02 AM
| #66 |
| RCC Addict Join Date: Aug 2005 Location: Akron
Posts: 1,784
|
little update even though its not the latest.... I found out I had a video or two I never posted so I thought I would throw it on here. Hopefully the weather will get nice and i'll have a recent video. This video still has the old wheelset and crazy 2055 servos.   |
|
| |
|
03-17-2006, 02:01 PM
| #67 |
| Rock Crawler Join Date: Jan 2006 Location: Colorado Springs
Posts: 606
|
Cool clips! that body is cool, I wish they would make a 78 ford and 76 chevy stepside, those were my gramps and my dads rides when I was kid. I might have to get the F100 anyway, its still really cool! I like the black on black, can't go wrong with that!! Tom |
|
| |
|
03-17-2006, 02:23 PM
| #68 |
| RCC Addict Join Date: Sep 2005 Location: Lehi
Posts: 1,284
|
cool clips! |
|
| |
|
03-17-2006, 06:14 PM
| #69 |
| RCC Addict Join Date: Jun 2004 Location: SERCRC
Posts: 1,680
| That has to be the cleanest set of conduit washer beadlocks I've seen! Nice rig. ;) |
|
| |
|
03-17-2006, 08:03 PM
| #70 |
| Newbie Join Date: Mar 2006 Location: Worcester county
Posts: 17
|
i have been into rcing for a long time i've been slackin for a while but this stuff in off the wall (or up it ha ha) its old school meets new school it has inspired me to build a truck or two (madjug2) i'd like to do it with a lay down tranny and a new chassis but for now im gonna improvise
|
|
| |
|
03-20-2006, 06:02 AM
| #71 |
| RCC Addict Join Date: Aug 2005 Location: Akron
Posts: 1,784
|
Thanks guys! Dez, i'm workin on it! I was in florida for a week and drove down to VA this weekend. I fefinitely love how they look. I need to get them to work a little better. I think I might have narrowed the wheels a little to much for them to work properly. When I tighten the rings down it seems as though the bead wants to start pulling out. I'm not really sure how to fix it. I'm going to try some skate board tape. If it doesn't work then I'll just make another pair that aren't quit so narrow. These measure out to about 1-1/4" from inner bead to inner bead. (no tire or outter rings mounted) For the 10 minutes it ran on the rocks before one of the beads pulled it was going great. |
|
| |
|
04-21-2006, 02:03 PM
| #72 |
| RCC Addict Join Date: Aug 2005 Location: Akron
Posts: 1,784
|
I STILL haven't go to my dad's shop. It's getting frustrating since I can't get in there but I guess it's better than him not having work right? So I temporarily fixed beadlock problem (or so i think) I made my own inner rings. Unfotunately the only thing we had in our plastic shop at work was 6mm sintra. Looks dumb but it works. I can't pull the tires off and I can still keep the washe beadlocks on the front. Gonna take it out for a run tonight on some rocks hopefully. I'll post up a few photos and possibly a vid. Here's a few beadlock photos. The new foam pattern 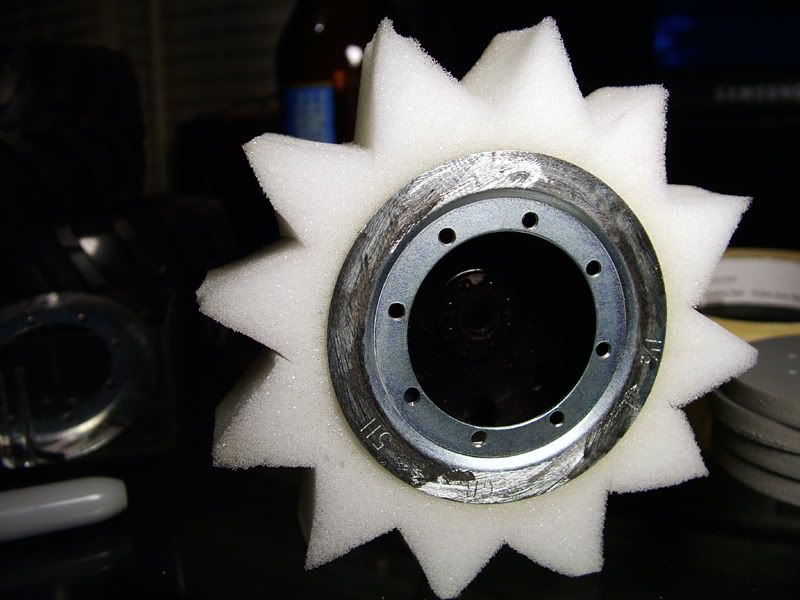 Looks at those fancy counter bores 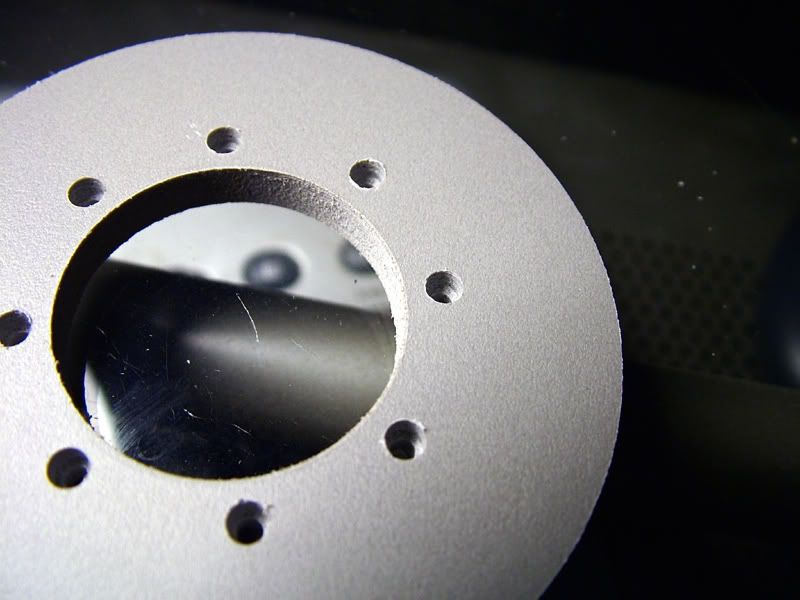 Inner wheel clearence 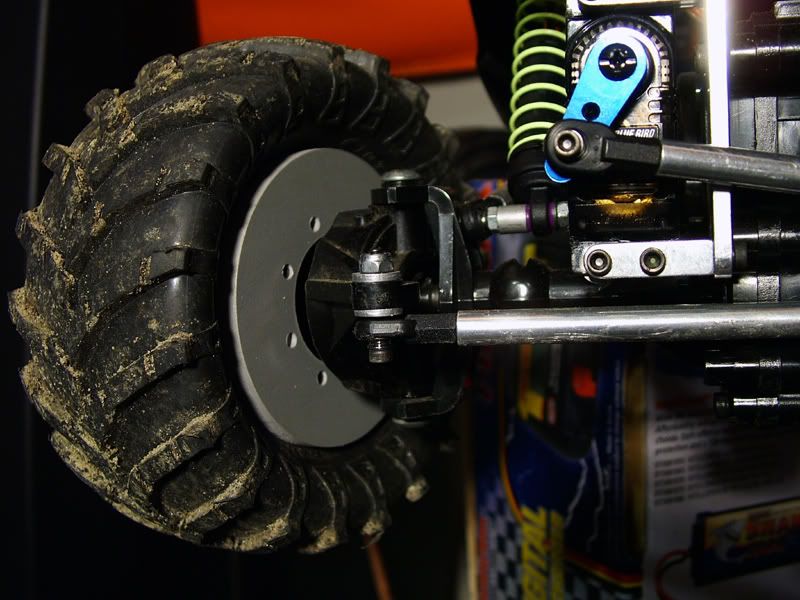 Ready to play! 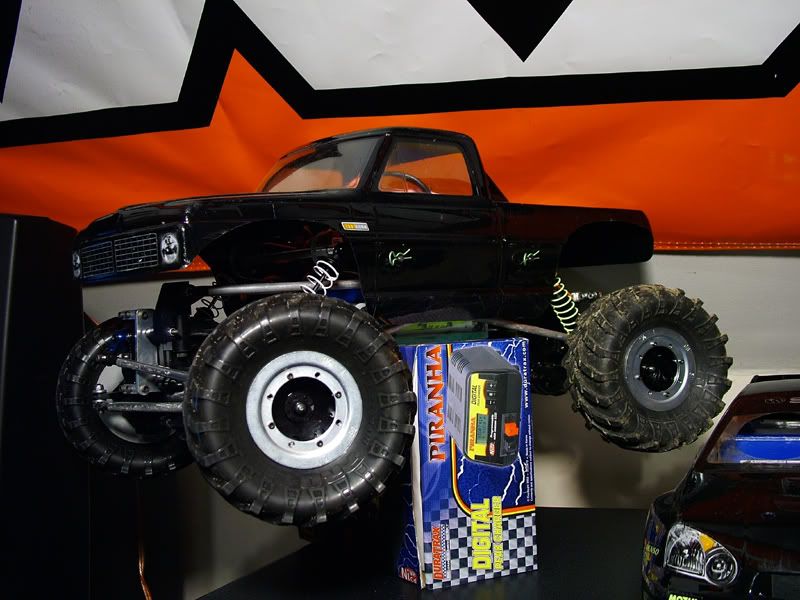 |
|
| |
|
04-21-2006, 09:16 PM
| #73 |
| RCC Addict Join Date: Mar 2006 Location: Bedias, Texas
Posts: 1,083
|
I've been following this build along for a while now and just wanted to add I think it has come out very good. Nice work buddy.
|
|
| |
|
04-22-2006, 12:57 AM
| #74 |
| Newbie Join Date: Apr 2006 Location: 4 corners
Posts: 33
|
I like it. What type of material did you use for the chassis. I want to build my own chassis sometime soon after I finish the Junfac Stealth. I need material that is strong but easy to form, cut and use. Aluminum would be to hard to work with. I don't have the right tools to work with aluminum. Im limited to a dremel tool with assorted bits, and a drill. IS that a blue bird servo also?! You like it? I got one for my Junfac build. I bought it because it wasn't expensive. It looks great, keep it up Last edited by jpfrk; 04-22-2006 at 01:01 AM. |
|
| |
|
04-22-2006, 11:01 AM
| #75 |
| RCC Addict Join Date: Aug 2005 Location: Akron
Posts: 1,784
|
I used 6mm 30/30 (which is just the tint color) acrylic. Easy stuff to cut and drill and very strong for what we are using it for. Yup, that is the blue bird servo you see. I love it so far! Few pics from playing around yesterday on the steps. It was raining and didn't want to take the camera out and get it wet. Short little video too 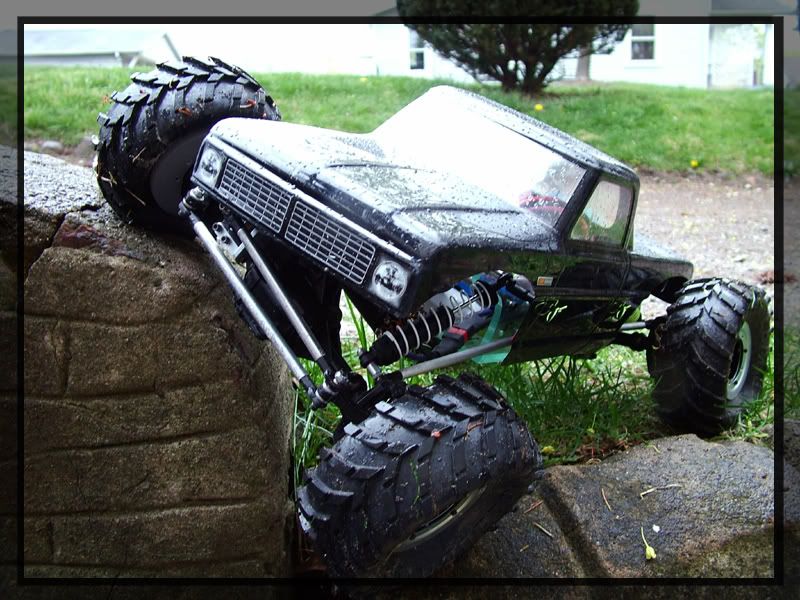 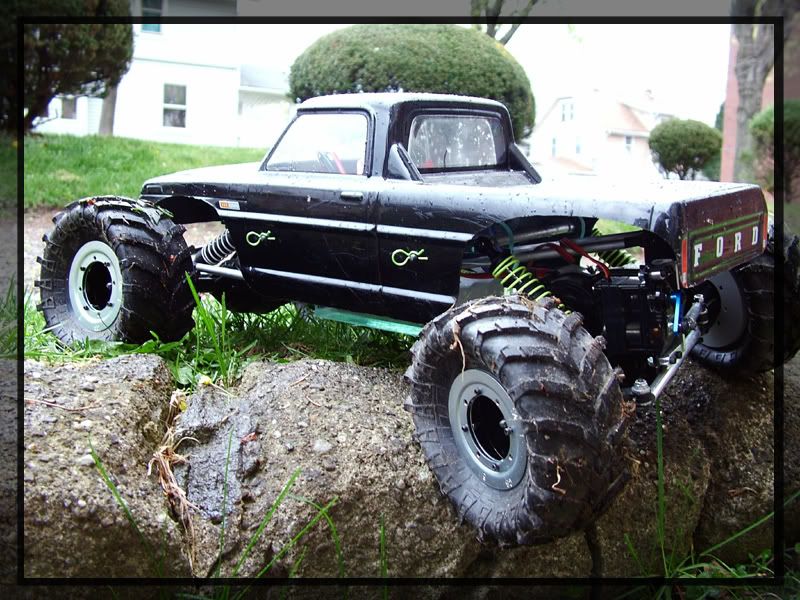 and the vid  |
|
| |
|
04-22-2006, 11:25 AM
| #76 |
| RCC Addict Join Date: Aug 2005 Location: Akron
Posts: 1,784
|
and some nakedness 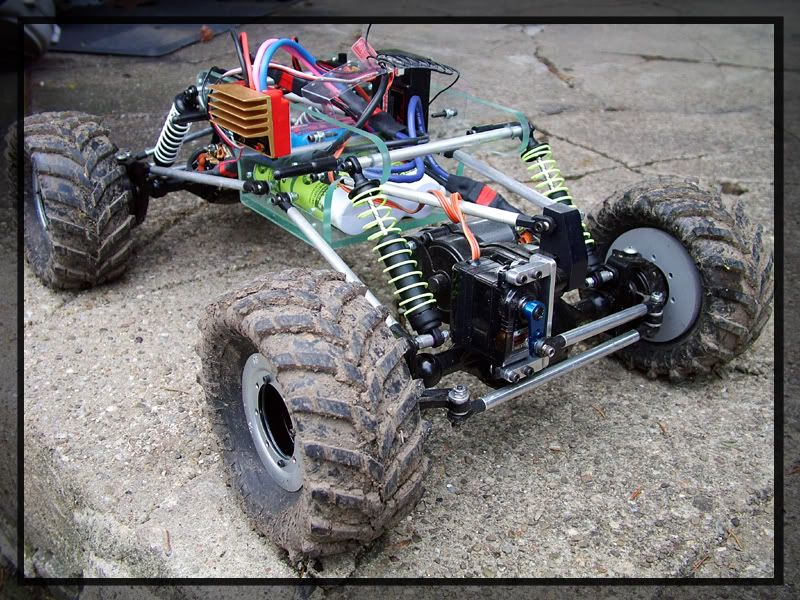 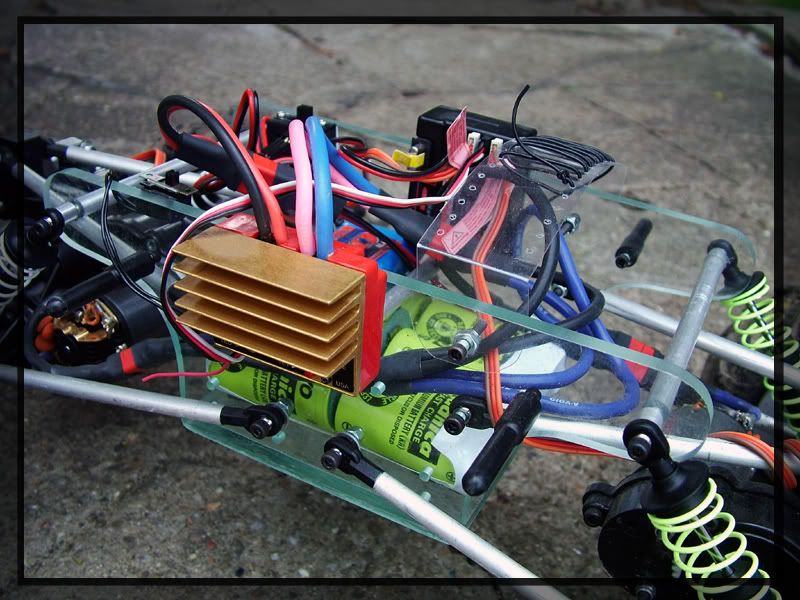 |
|
| |
|
04-23-2006, 12:52 AM
| #77 | |
| [HOONIGAN] 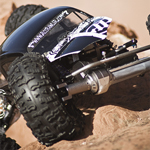 Join Date: Nov 2005 Location: Grand Junction
Posts: 4,269
| Quote:
As for the build, that thing is looking awesome! I love the stance on that thing, low and mean looking. Chassis is sweet too, being able to see right throught it is pretty cool looking. | |
|
| |
|
04-28-2006, 02:02 PM
| #78 |
| Pebble Pounder  Join Date: Mar 2006 Location: In a van down by the river!
Posts: 182
|
Nick, How do you like the star pattern cut foams? I may try that pattern for my 2.2 moabs. |
|
| |
|
04-28-2006, 03:49 PM
| #79 |
| RCC Addict Join Date: Aug 2005 Location: Akron
Posts: 1,784
|
So far i love it! It's not my idea. It's been on the board for some time now. Orginally I ran no roams but the truck weighs enough (since i'm using full c cells and an rx pack) that when all the weight was on one wheel the tire would collapse to the rim. These are perfect. Enough foam to keep them stable and not hitting the rim but still keeps the tire flex. |
|
| |
|
06-06-2006, 11:59 AM
| #80 |
| RCC Addict Join Date: Aug 2005 Location: Akron
Posts: 1,784
|
Much needed update. Got rid of the C cell pack and went with a pack I made like this. 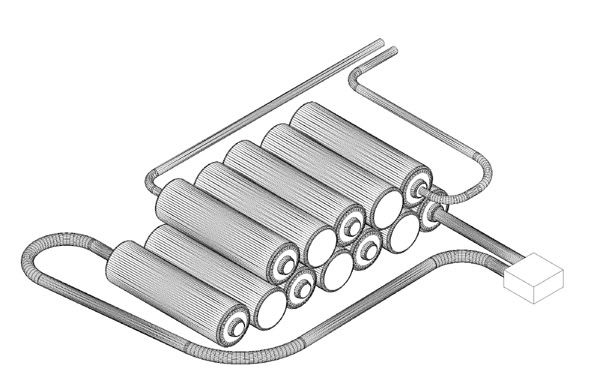 2500mah AA cell batteries. 5 on top for the servos and 7 down below for the motors. I wanted something with a little more wheel speed and the C cells I had were 3000mah so it wasn't that big of a loss. Truck performed GREAT. Got my beadlocks working perfectly. Snapped a few pics and got a couple videos. they aren't that great. I had my friend use my camera and he wanted to play with the fisheye lens. Problem is the viewing angle on a fisheye is really close to 180 degrees which makes it almost impossible to get away from sun glare. 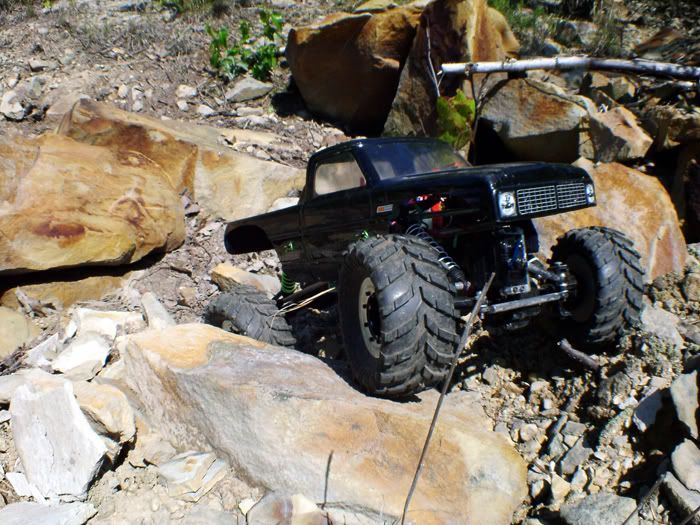 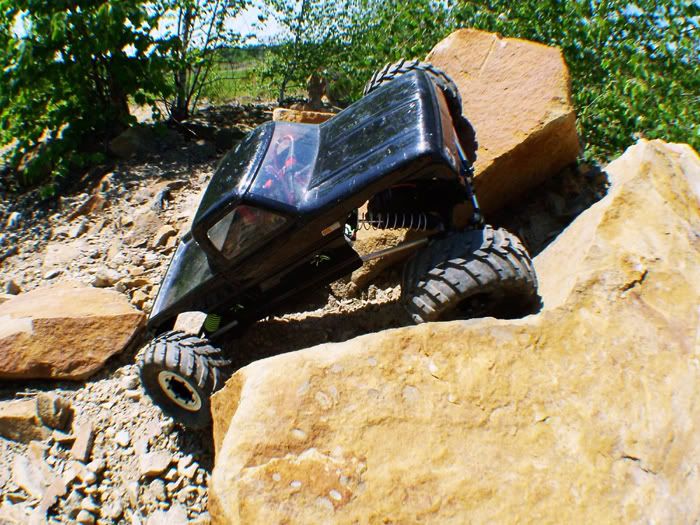 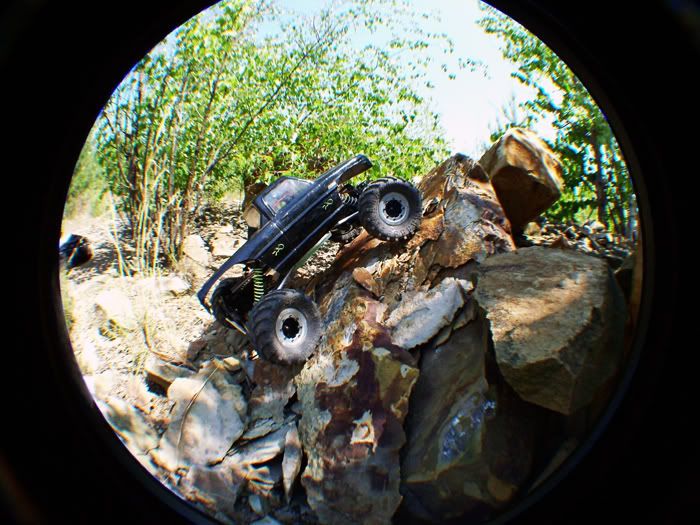 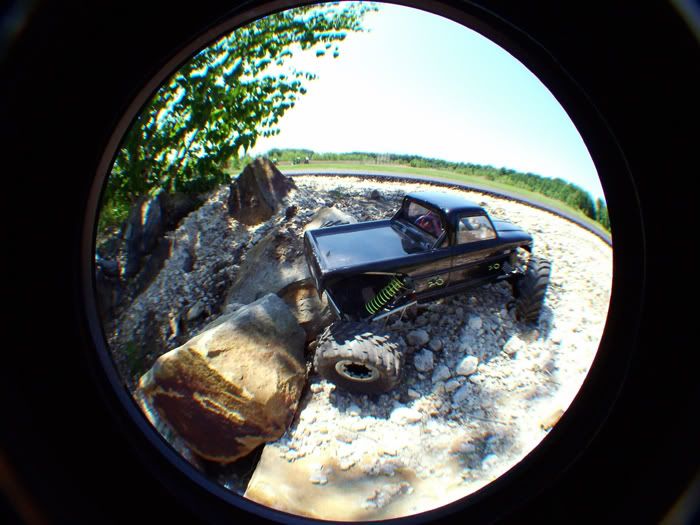 What goes up. 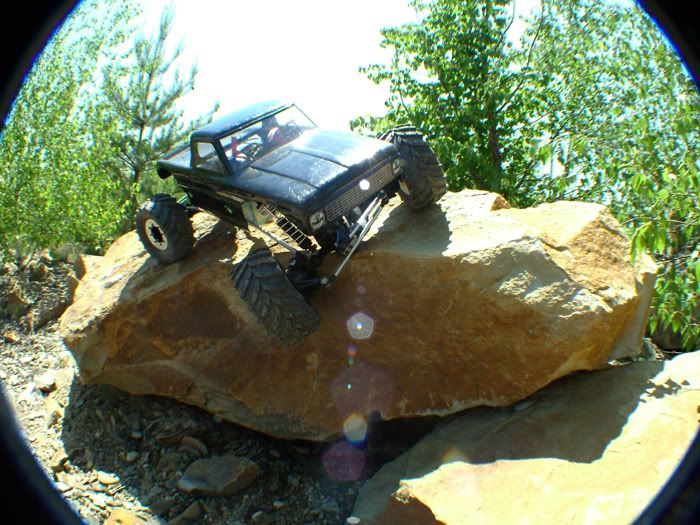 Must come down. Hard. 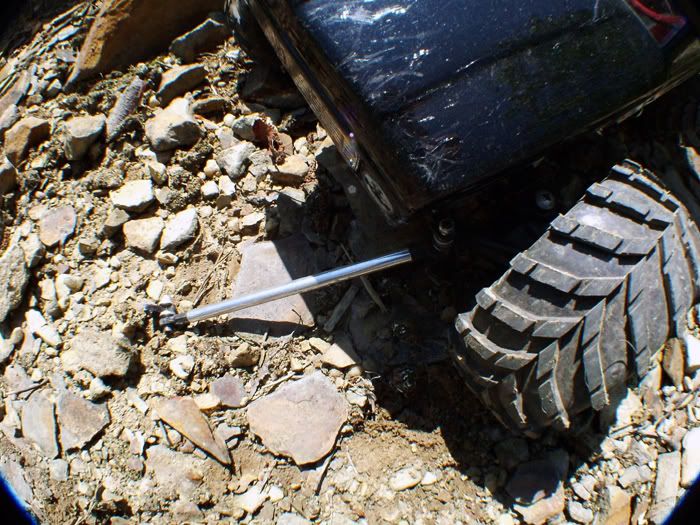 Who is running those aluminum knuckles? Do you like them? Heres a few vids. 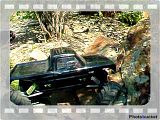 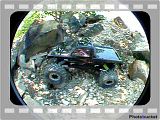 |
|
| |
 |
| |


 Linear Mode


