| |
 09-02-2009, 08:17 AM
| #141 | |
| RCC Addict Join Date: Sep 2008 Location: Philadelphia, PA
Posts: 1,048
| Quote:
I like the canti set up now. Its pretty much tweaked to where it works they way Tamiya intended. And its funky and unusual which I like as well. The CR motor has been working great. Nice and torquey and smooth. Its got runtime forever which is a gift and a curse, sometimes you just want the damn battery to die already! | |

|  |
| Sponsored Links | |
| | |
|
09-02-2009, 08:24 AM
| #142 | |
| RCC Addict Join Date: Sep 2008 Location: Philadelphia, PA
Posts: 1,048
| Quote:
The kit comes with light buckets and two types of stickers for the head and taillights, The translucent stickers if youre going to run LEDs and the opaque stickers if youre going to run no lights. I then bought the Tamiya TLU-01 w/white LED and Tamiya red LED. For the roof I got the smaller 3mm LED Last edited by 860Crawler; 09-02-2009 at 01:04 PM. | |
|
| |
|
09-02-2009, 11:21 AM
| #143 |
| Rock Stacker Join Date: Nov 2007 Location: UK
Posts: 78
|
Cheers for that  i just found a few on fleabay so time to make some bids. i just found a few on fleabay so time to make some bids.
|
|
| |
|
09-18-2009, 09:29 AM
| #144 |
| RCC Addict Join Date: Sep 2008 Location: Philadelphia, PA
Posts: 1,048
|
Scale run this past weekend at Rock Island. Everyone was invited to try out the new layout. 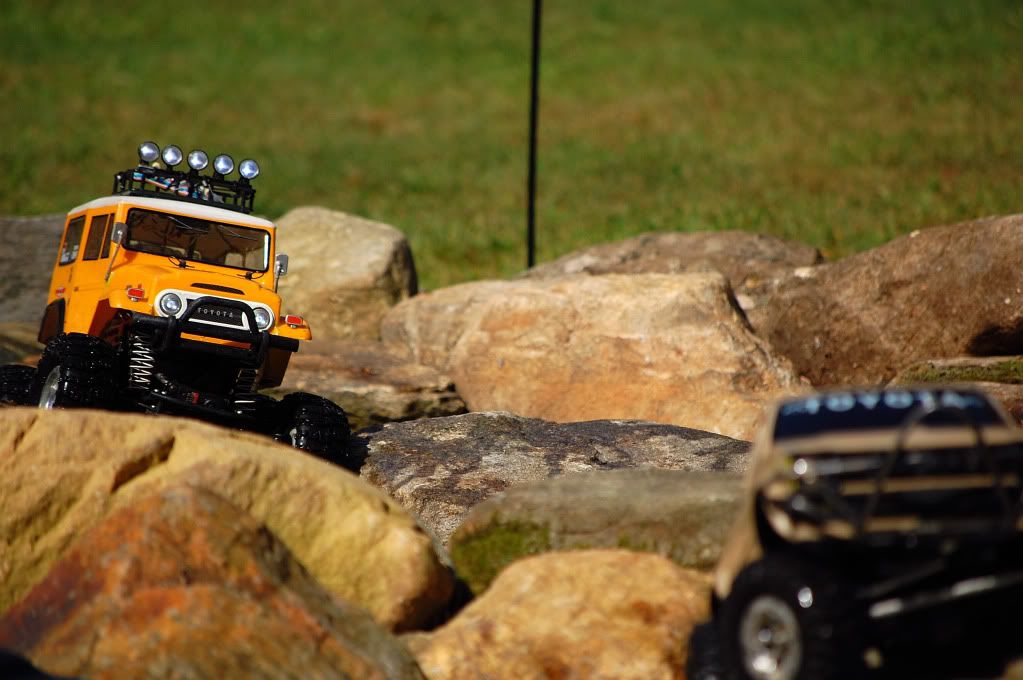 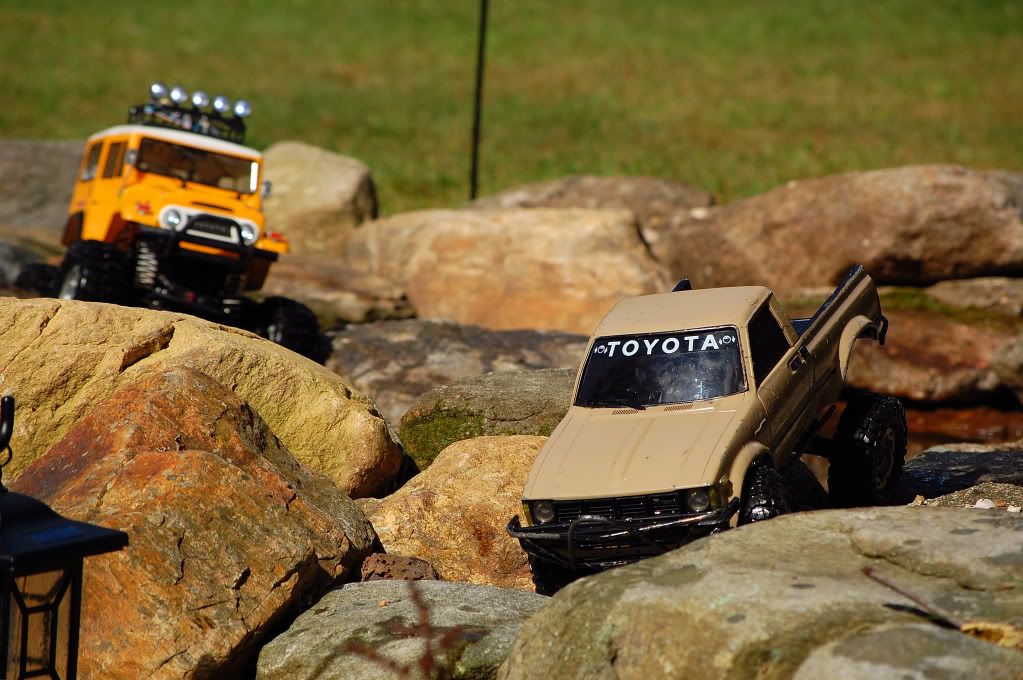 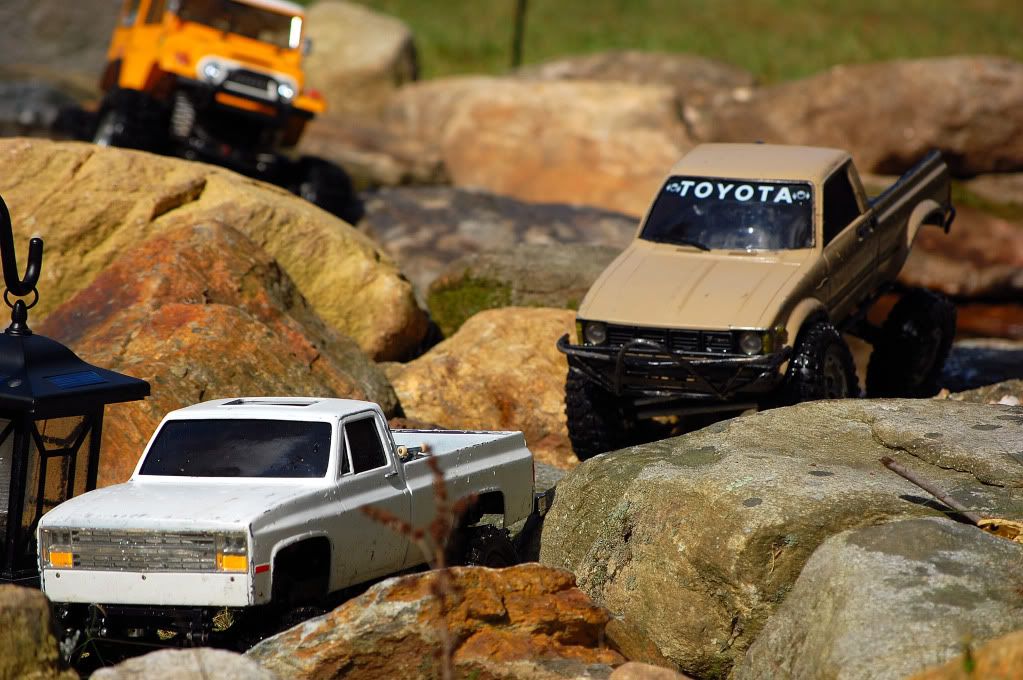 got some more to come tonight. Some deep water crossing, the new waterfall area had a nice big deep river now. Deep enough that my headlights went under in a few places Last edited by 860Crawler; 09-18-2009 at 09:35 AM. |
|
| |
|
09-18-2009, 07:31 PM
| #145 |
| RCC Addict Join Date: Sep 2008 Location: Philadelphia, PA
Posts: 1,048
|
More. Deep water crossing at Rock Island 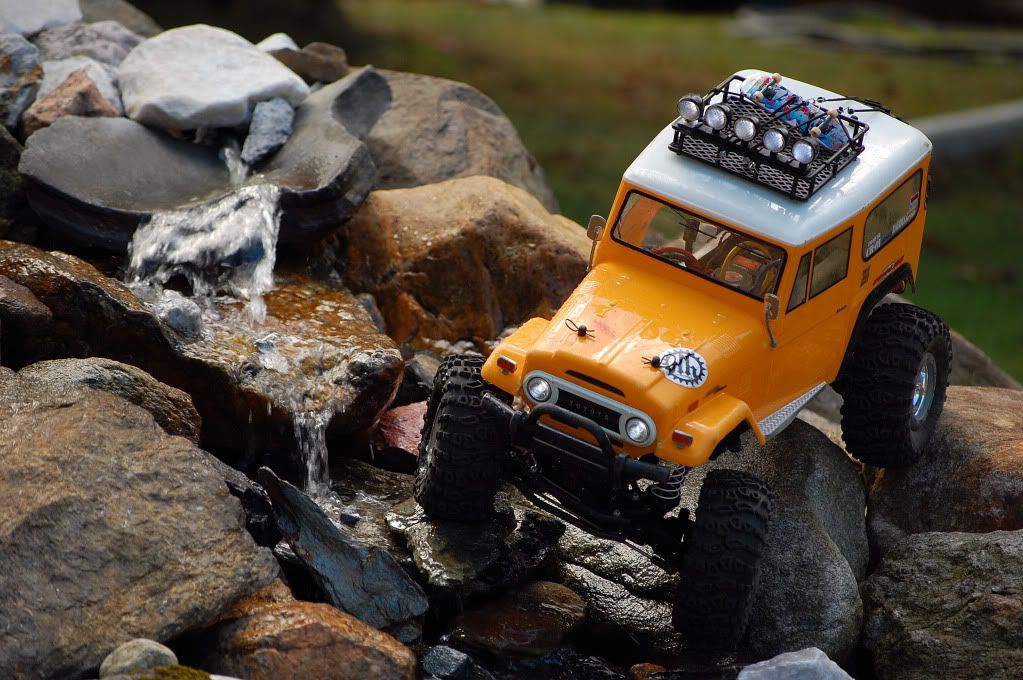 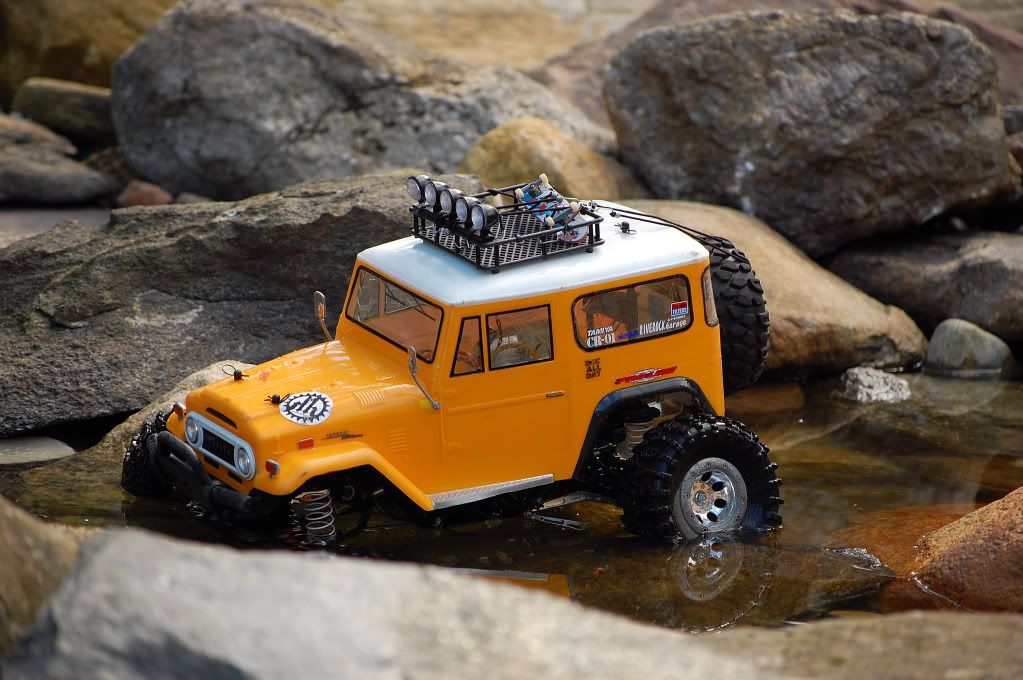 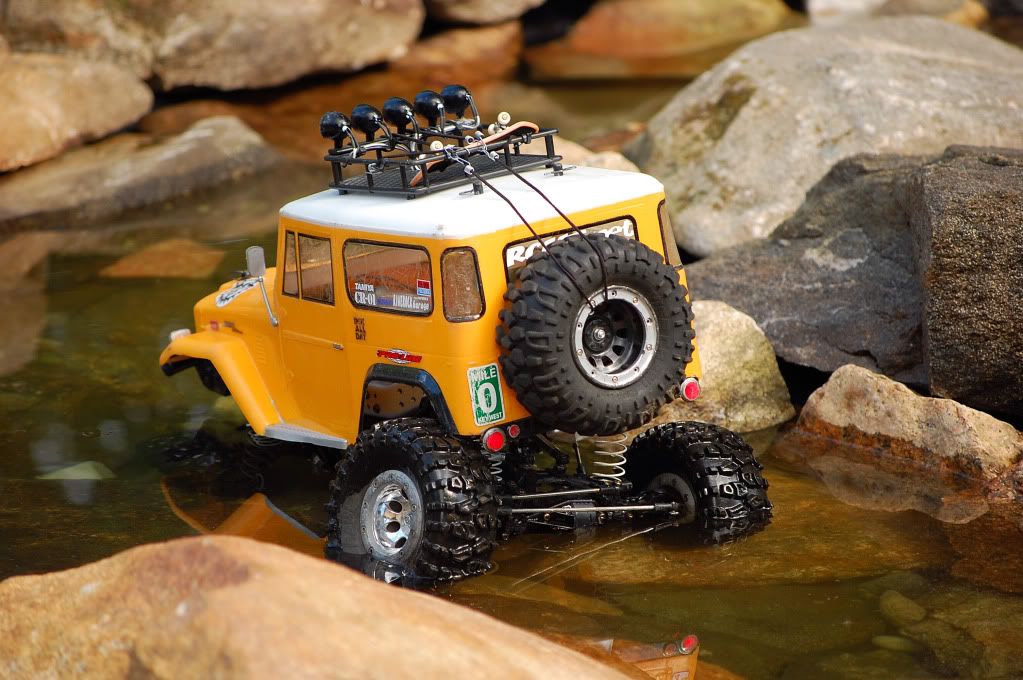 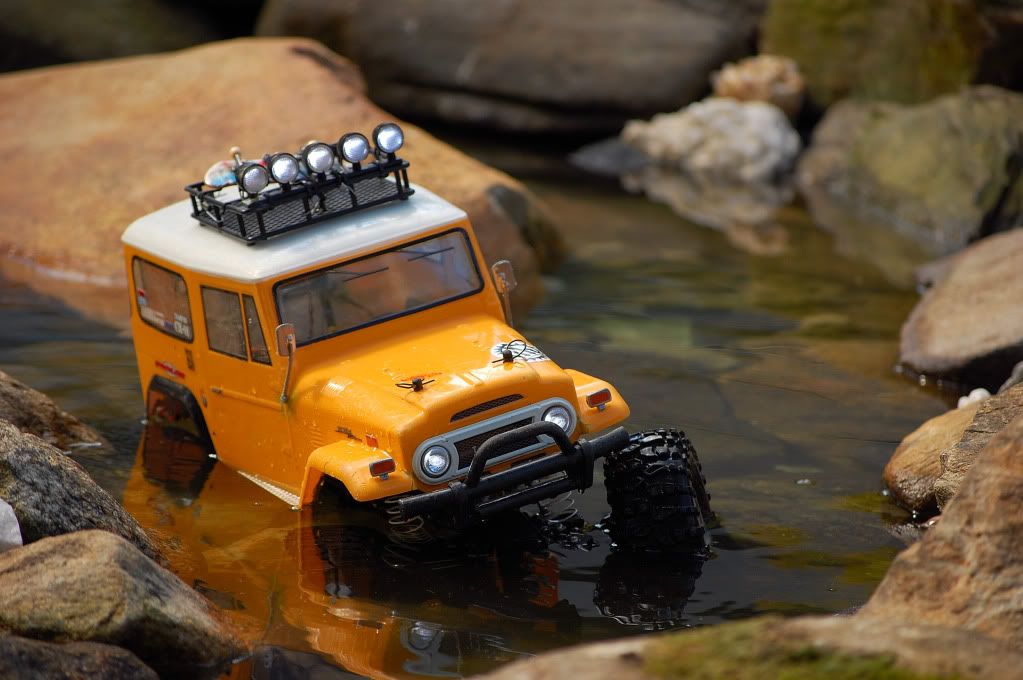 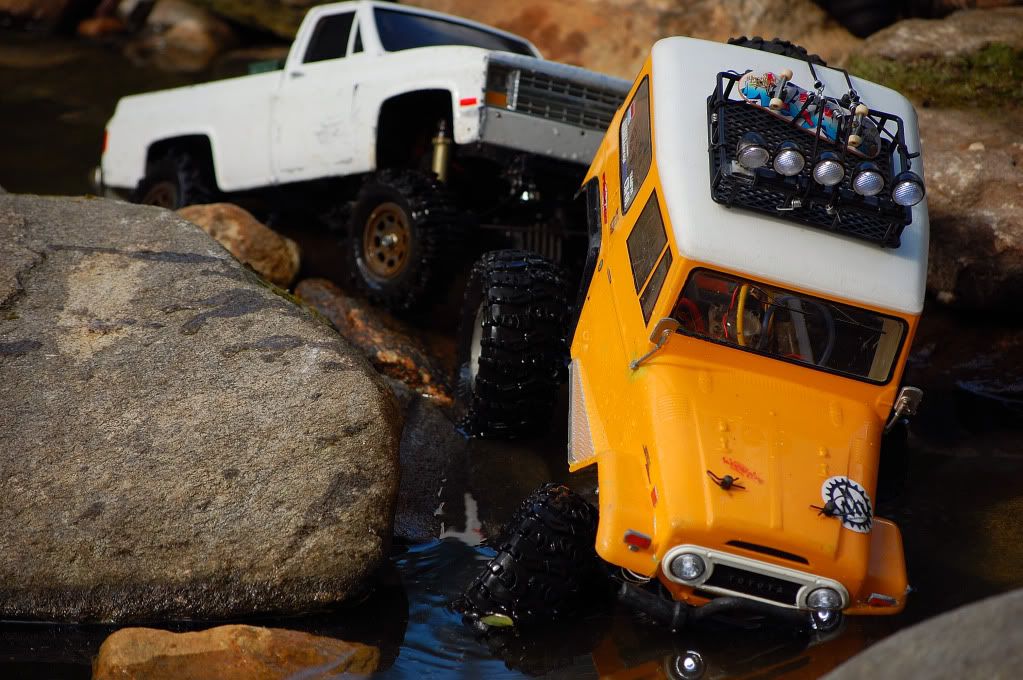 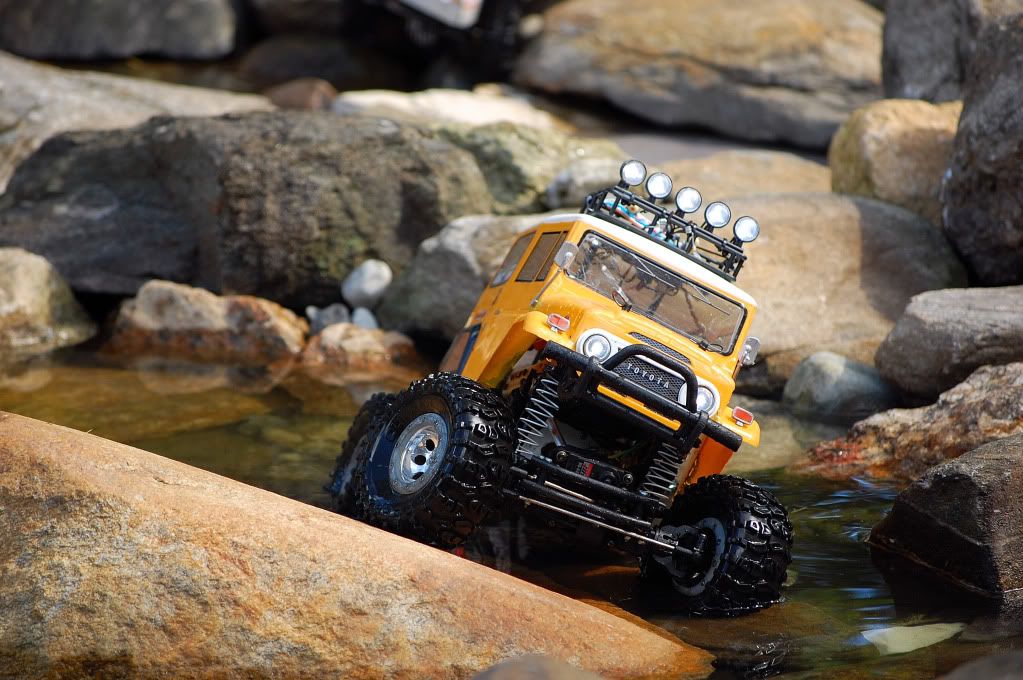 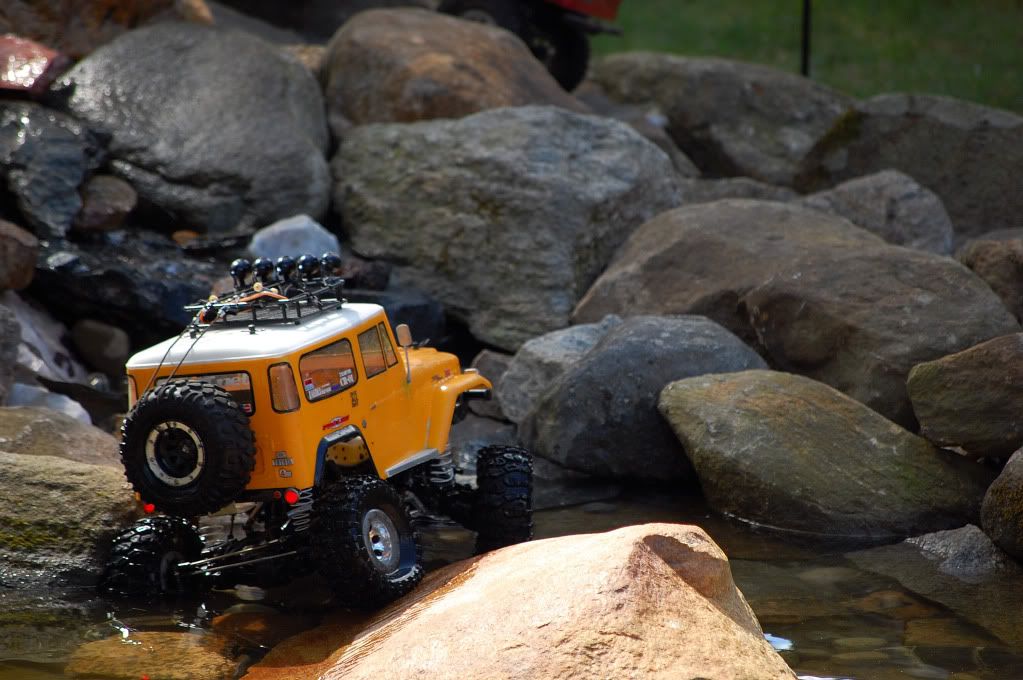 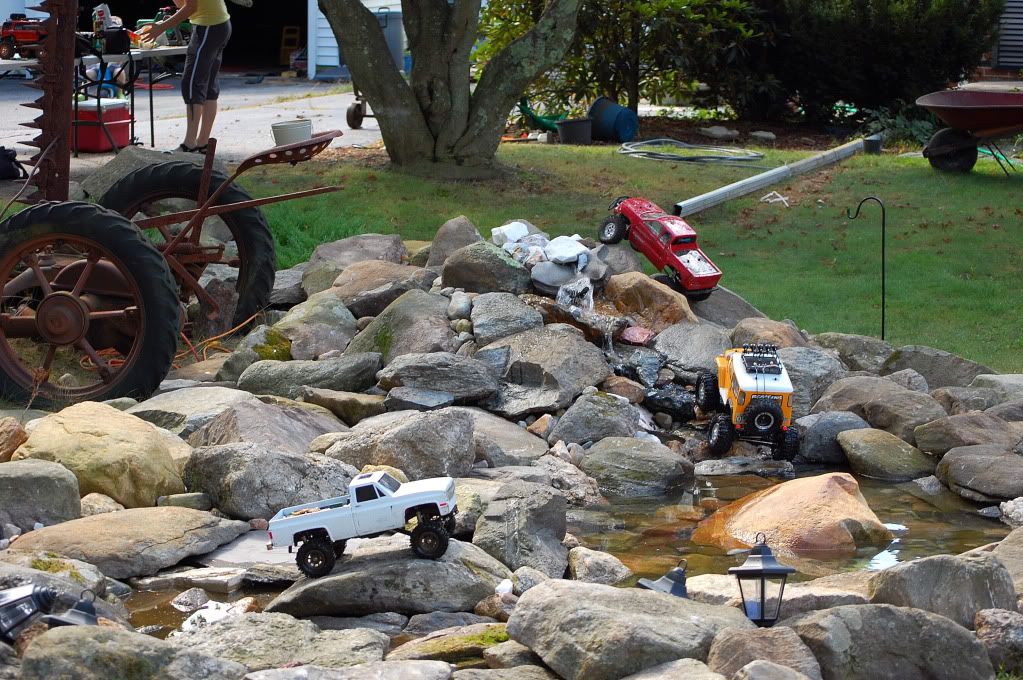   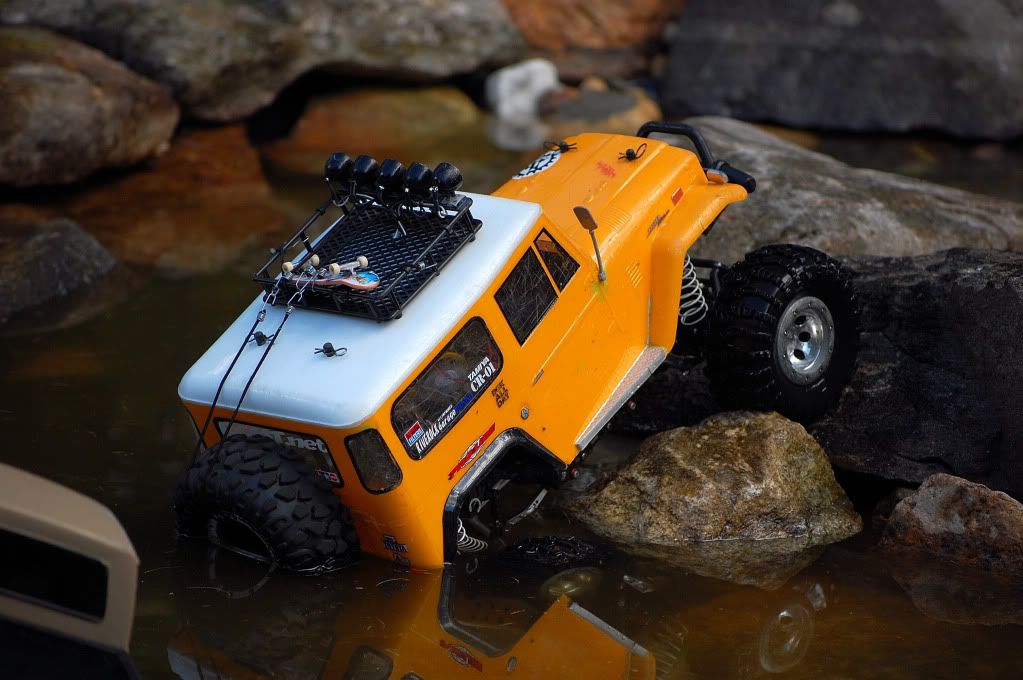 |
|
| |
|
09-29-2009, 01:04 PM
| #146 |
| RCC Addict Join Date: Sep 2008 Location: Philadelphia, PA
Posts: 1,048
|
Lowered this thing. Medium springs all around, it was too high with hard springs all around. Hits the body in the left rear more than before. Maybe should invest in some short barrell springs then I can go back to hard. The medium work well at the beach though and in all the wet nasty trails. 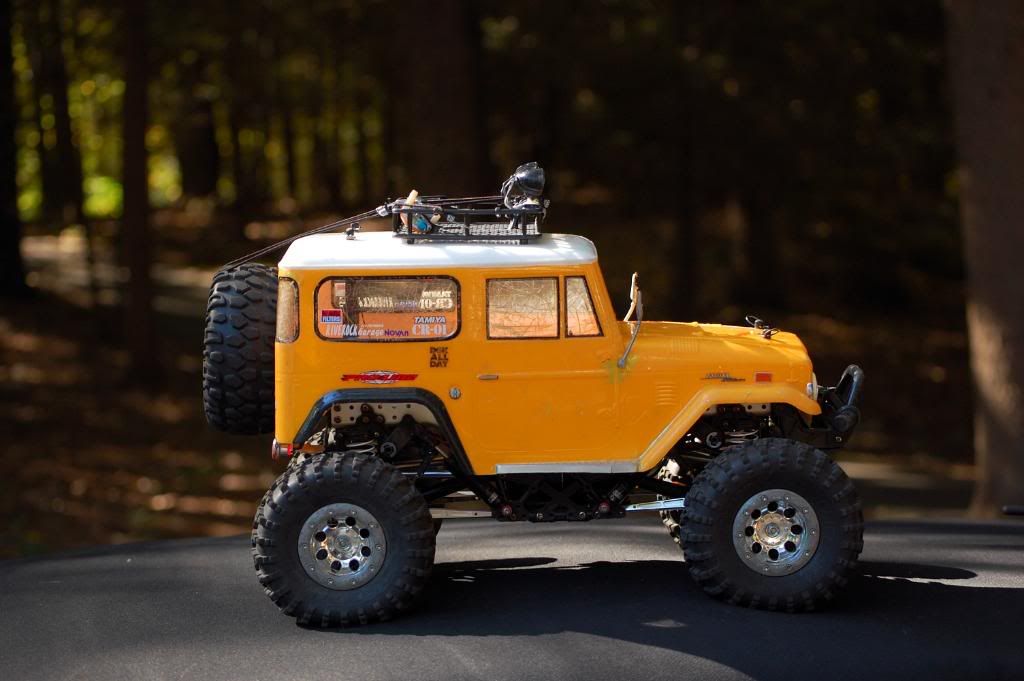 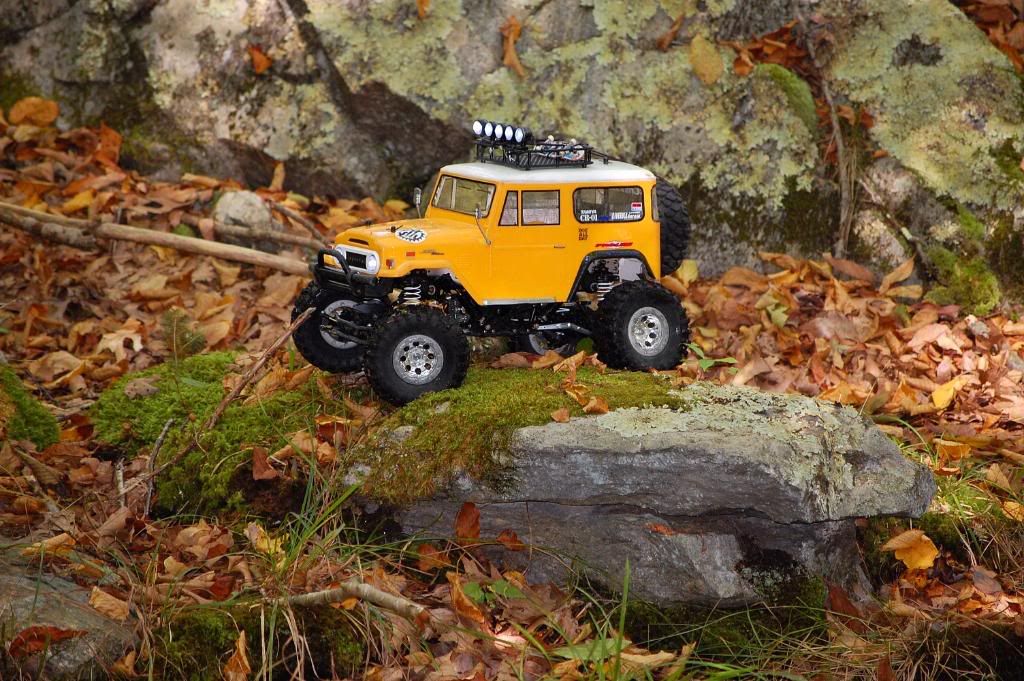 Also, killed off my last stock spare male driveshaft half. Almost time to look into some metal units |
|
| |
|
09-30-2009, 01:15 PM
| #147 |
| RCC Addict Join Date: Jan 2009 Location: ?????
Posts: 1,059
|
its this thread alone that makes me wish i hadnt torn and gotten rid of my cr01!!! |
|
| |
|
09-30-2009, 02:20 PM
| #148 |
| RCC Addict Join Date: Sep 2008 Location: Philadelphia, PA
Posts: 1,048
|
Here's a partial shot. This is literally like a quarter of the entire layout. Its huge, with rope bridges, log bridges, mud pit, and of course rocks and waterfall. I'll get a big pic when we do the Kreepy Krawl in two weeks |
|
| |
|
10-07-2009, 04:55 PM
| #149 |
| RCC Addict Join Date: Sep 2008 Location: Philadelphia, PA
Posts: 1,048
|
New lightbar installed. I broke the PL one long ago and had it glued etc. Must have glued it 30 times since almost everytime I went over the left end light broke back off again. Never again with this kit. Thick rollbar over the lights so i shouldn't break a light off ever. RPM lightbar for Slash It was a bit too wide for the mounts to work on the FJ40 shell so I attached it to the PL roof rack 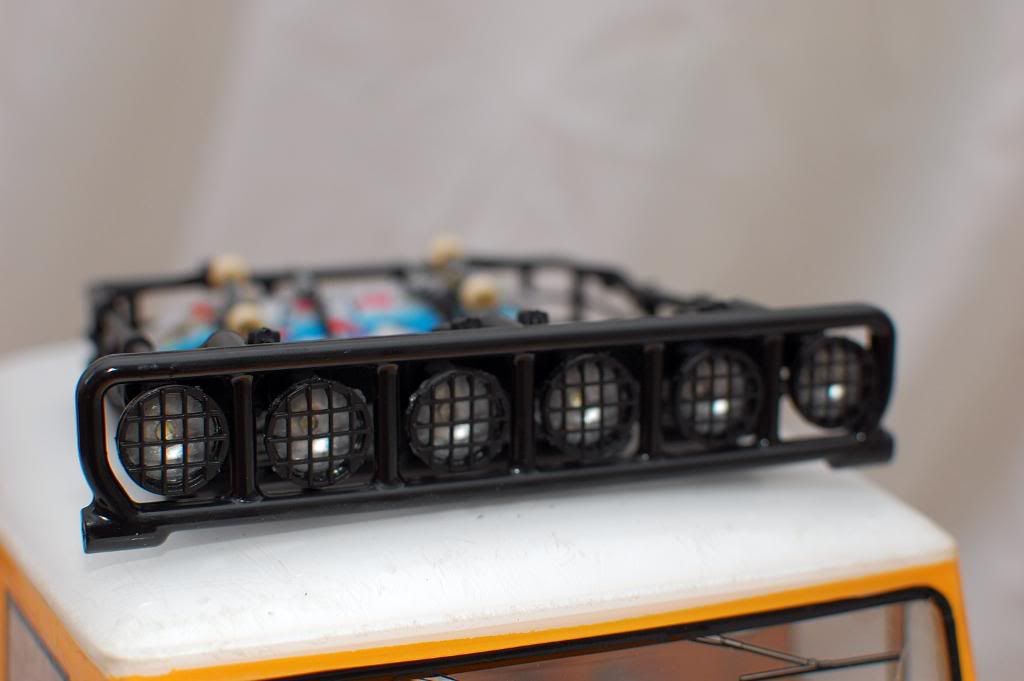  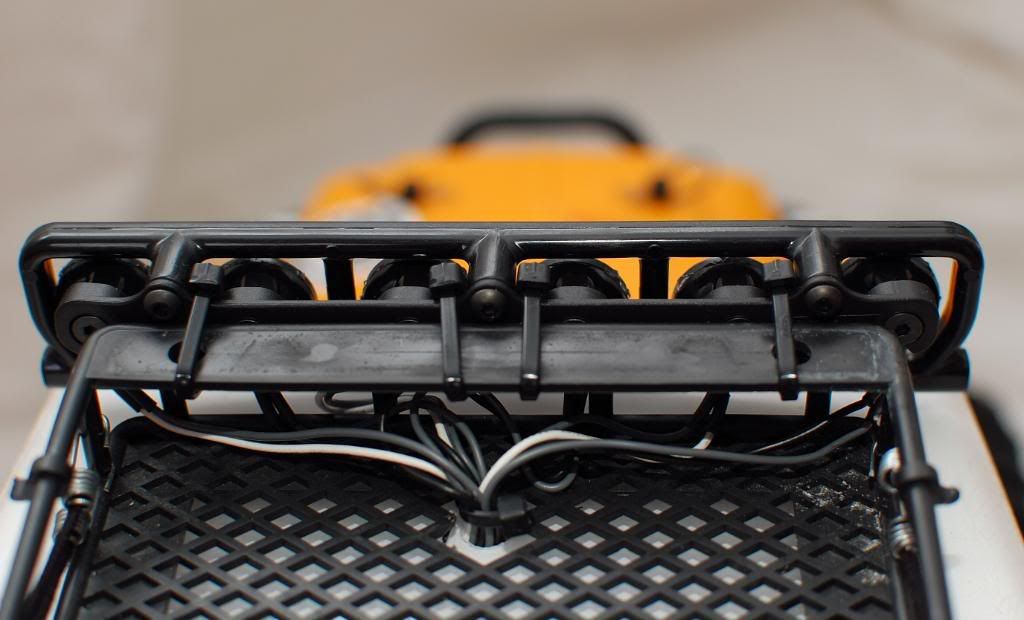 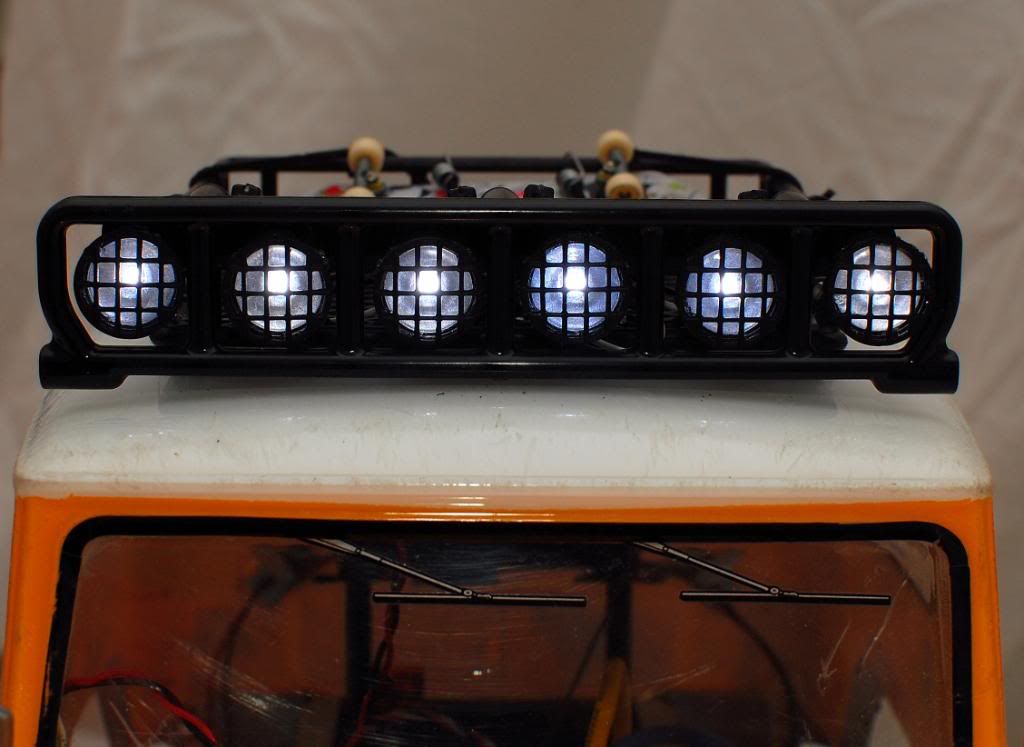 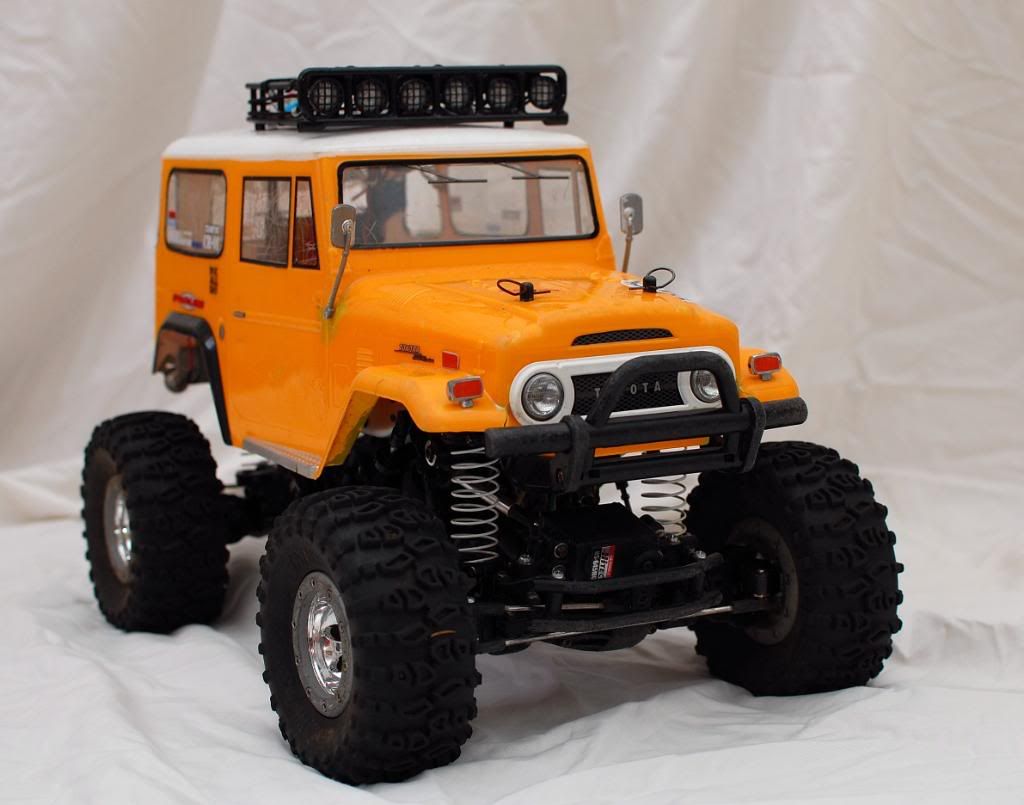 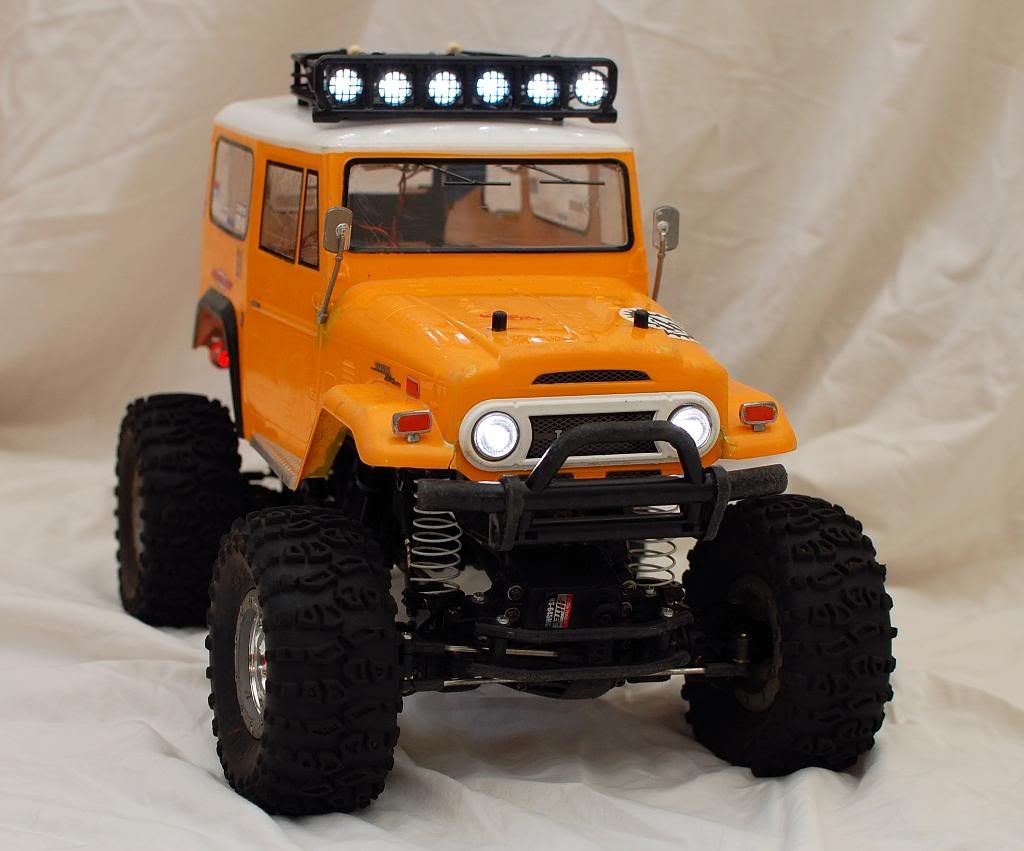 |
|
| |
|
11-01-2009, 09:44 AM
| #150 |
| RCC Addict Join Date: Sep 2008 Location: Philadelphia, PA
Posts: 1,048
|
The spur gear is starting to give me grief. Its done its duty with the rig being used anywhere from 2 to 5 times a week for over a year. Its pretty worn so it skips a bit when the gear mesh is set, its got a section of badly worn teeth. It doesn't skip if set tight. But then it sounds like shit when the gear mesh is too tight :? So time to invest in one of those.
|
|
| |
|
11-01-2009, 11:31 AM
| #151 |
| Quarry Creeper Join Date: Sep 2008 Location: South Glens Falls
Posts: 214
|
Just noticed the skate board in your roof rack, HA! |
|
| |
|
11-01-2009, 11:34 AM
| #152 |
| RCC Addict Join Date: Sep 2008 Location: Philadelphia, PA
Posts: 1,048
|
haha, I really should invest in some more realistic crawling accessories. Its like is this guy taking the offroad route to his favorite skate spot?
|
|
| |
|
11-01-2009, 10:20 PM
| #153 |
| Rock Stacker Join Date: Nov 2008 Location: Philippines
Posts: 55
|
Do you still have the stock prop shafts in there Nick?
|
|
| |
|
11-02-2009, 07:41 AM
| #154 |
| RCC Addict Join Date: Sep 2008 Location: Philadelphia, PA
Posts: 1,048
|
yes I do. And I've got one spare thanks to Eric. He sent me one when I got the Bronco body since I had used up my spares.
|
|
| |
|
11-02-2009, 07:47 AM
| #155 |
| RCC Addict Join Date: Sep 2008 Location: Philadelphia, PA
Posts: 1,048
|
I really think all the loose diff movement puts too much stress on driveline and tranny. Roll the rig a good inch or so before the diff lock catches. Hopefully, permanent lockers gets rid of it. Then some metal prop shafts. The new planetary gears should get me by for a bit, thats my main issue at the moment, the spur gear. I need to chill out on the purchases though...Or maybe drive it a bit less |
|
| |
|
11-02-2009, 07:54 AM
| #156 |
| Pebble Pounder Join Date: Oct 2009 Location: Whitmore Lake
Posts: 171
|
Good pic's i like the color.
|
|
| |
|
11-02-2009, 11:24 AM
| #157 | |
| Rock Stacker Join Date: Nov 2008 Location: Philippines
Posts: 55
| Quote:
Okay, I was just wondering if the gearbox wear/damage might have been caused by too much stress that would have been taken by the stock shafts, I guess not | |
|
| |
|
11-02-2009, 02:23 PM
| #158 |
| RCC Addict Join Date: Sep 2008 Location: Philadelphia, PA
Posts: 1,048
|
Its wierd I've always had the gear mesh set pretty good. If you moved the tires back and forth there was always just a slight gap between the teeth. I think it just took a hard stop one too many times and wore down the teeth in one area. Its got a stock pinion so no change there.
|
|
| |
|
11-05-2009, 05:13 PM
| #159 |
| RCC Addict Join Date: Sep 2008 Location: Philadelphia, PA
Posts: 1,048
|
Here's the aftermath... Anyone need a saw blade? 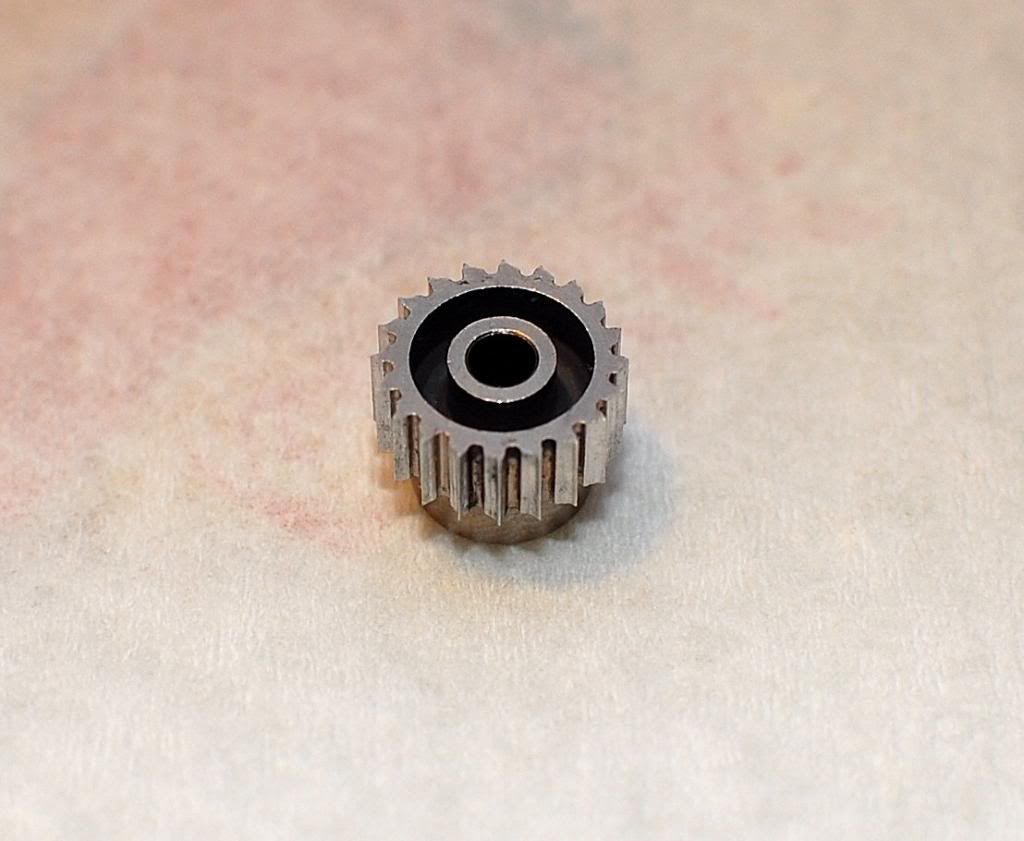 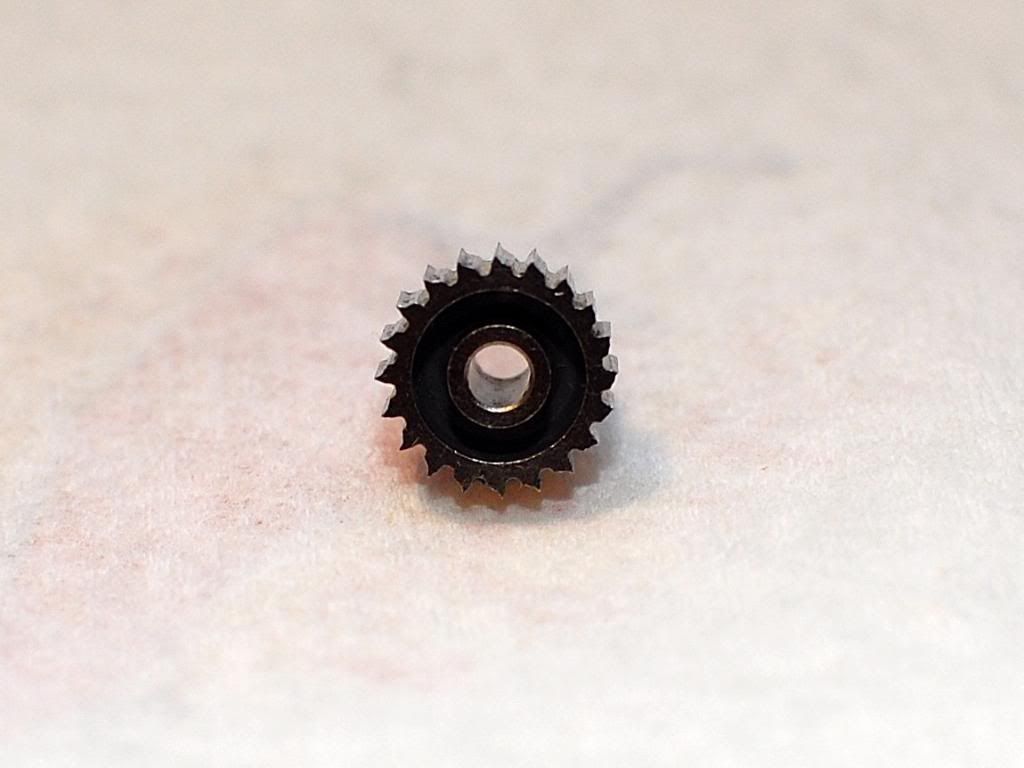 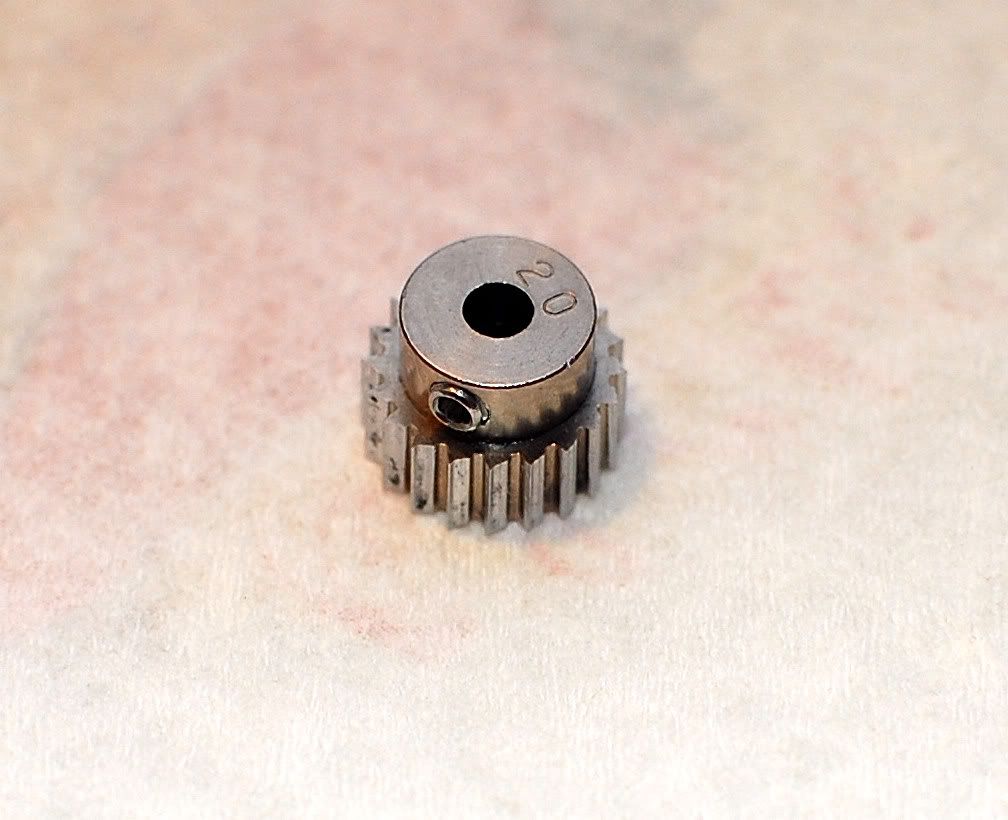 And other half  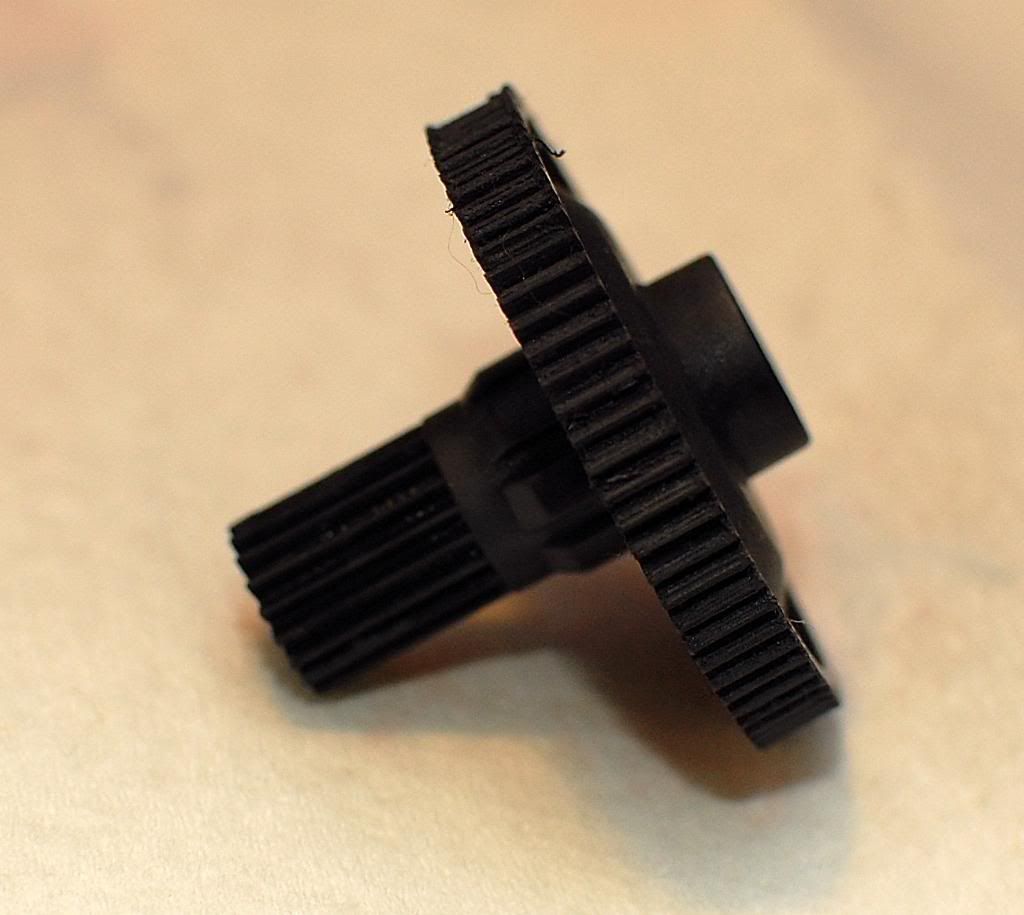 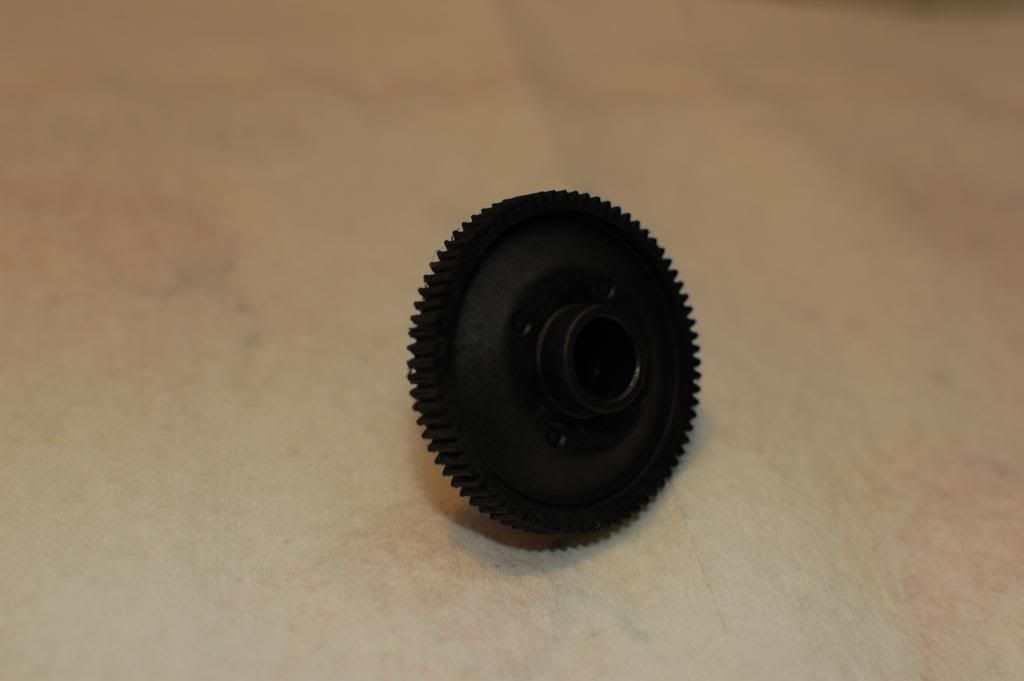 |
|
| |
|
11-05-2009, 05:17 PM
| #160 |
| RCC Addict Join Date: Sep 2008 Location: Philadelphia, PA
Posts: 1,048
|
I have installed the short barrel springs, though they won't be used until I get another pinion. 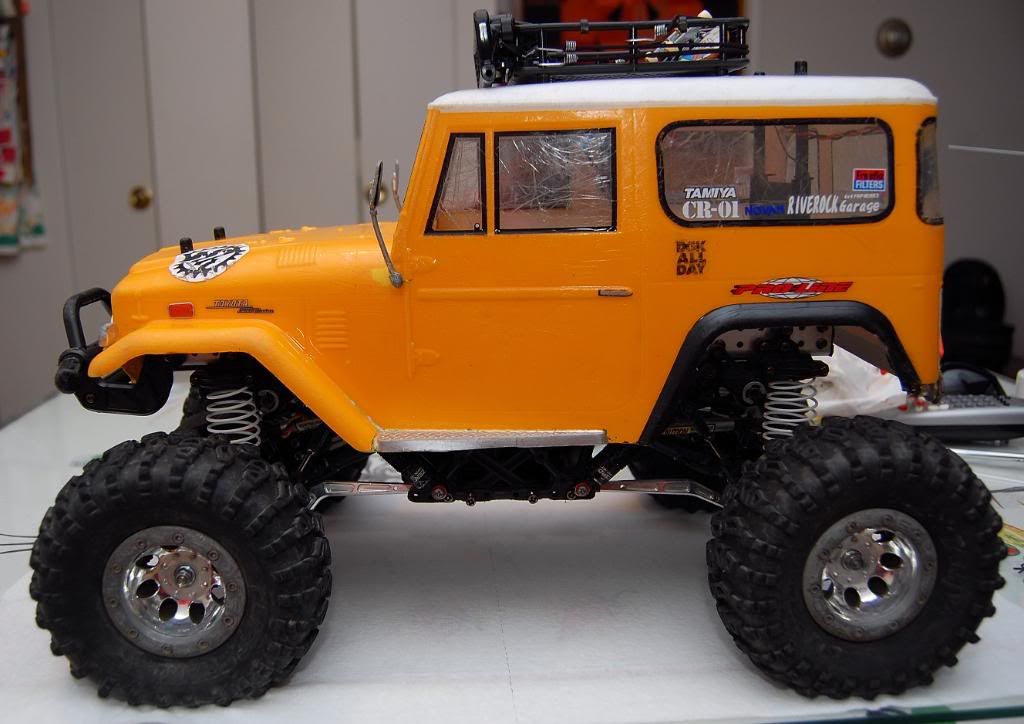 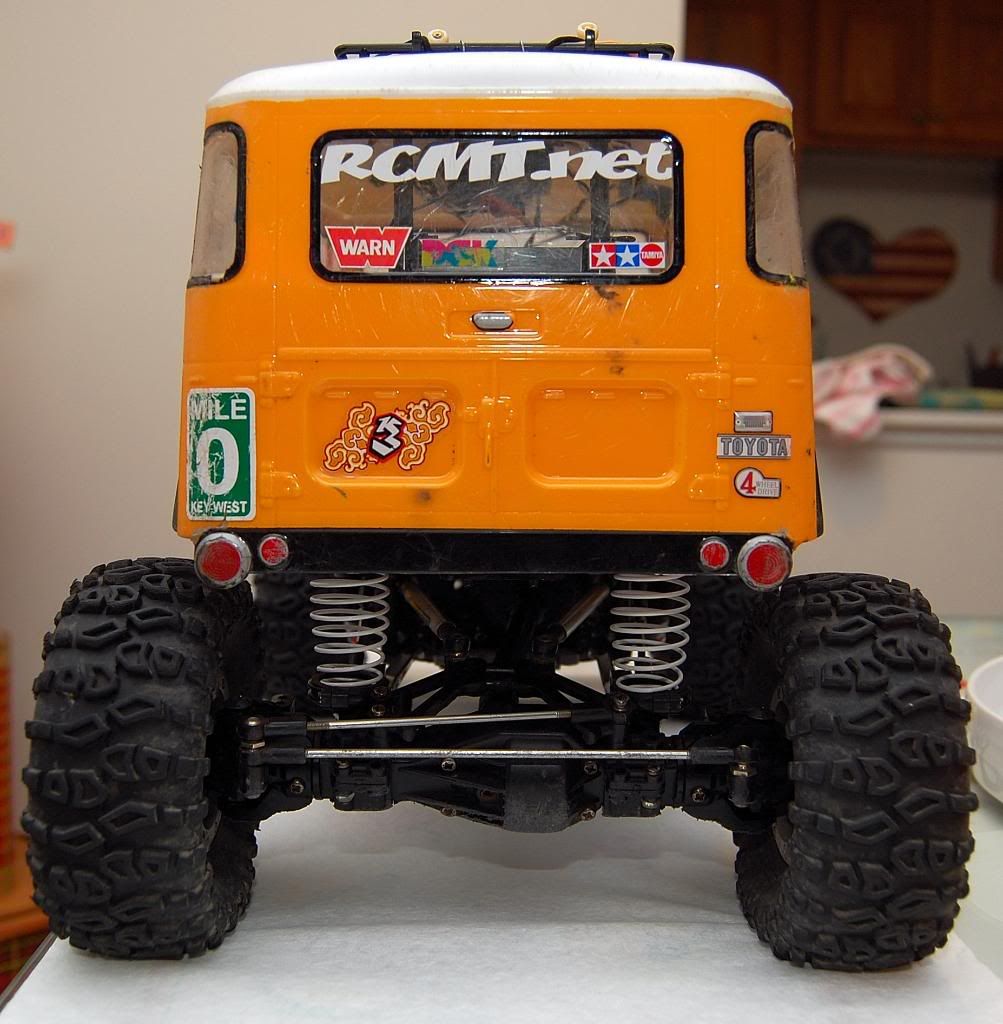 I like how they feel just moving the chassis around. They are a little bit thicker guage wire so they seem a bit more firm. This is a soft (red) barrel next to a medium (yellow) stocker. The wire looks about the same thickness. 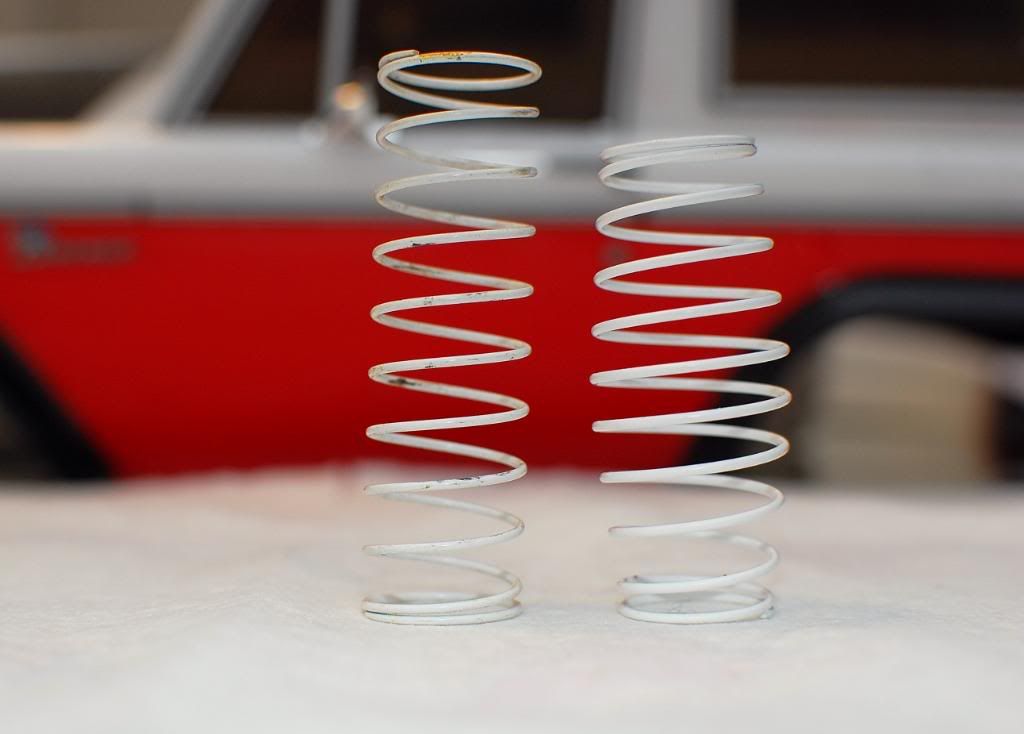 |
|
| |
 |
| |


 Linear Mode


