| |
 05-16-2008, 02:41 PM
| #21 |
| Rock Crawler Join Date: Jul 2007 Location: central PA
Posts: 679
|
Thanks Tanis. I got more done to the truck and have it pretty close to dialed in  An easy way I found to mount the battery on the front axle was to use 2 thin long zipties and the holes on the link plate. When tightened, it holds the packs alongside the servo, slightly above the axle casing. I think I will go lipo anyway here soon so I don't have to worry about batt mounting. I'll make a plate like BoNuS LiNe and others to mount things super low I also put the Proline mem foams in the rear. Seems better than before but still needs tuning. 2 7/8" under the skid. Maximum flex is around 5"+/-. Just about perfect for my driving style. With this ride height, the thing is just flat out capable. There is a spot where I crawl that is a climb where it starts at a 40*+/- angle and about a foot later that turns into an easy 80*. It is very high traction and the breakover is like a table corner. This rig makes it look easy compared to other trucks I've seen attempt it. As soon as those fronts hook, gun the throttle and hop right up. Last edited by Hildy; 05-16-2008 at 02:46 PM. |

|  |
| Sponsored Links | |
| | |
|
05-16-2008, 03:33 PM
| #22 |
| Keep it real  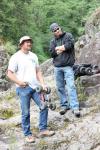 Join Date: Jun 2006 Location: Yakima,WA
Posts: 6,532
|
Nice, your truck is pretty much setup just like mine then for belly clearance and articulation |
|
| |
|
05-17-2008, 07:24 PM
| #23 |
| Rock Crawler Join Date: Jul 2007 Location: central PA
Posts: 679
|
Well, after a good amount of work I almost have a crawler Didn't want anything drastic looking, just stealthy along with the rest of the truck. The body still has to undergo a major amount of fender chopping before its final. I put my customized 22-250 rifle in the background just because I thought it looked cool as its dark and stealthy too 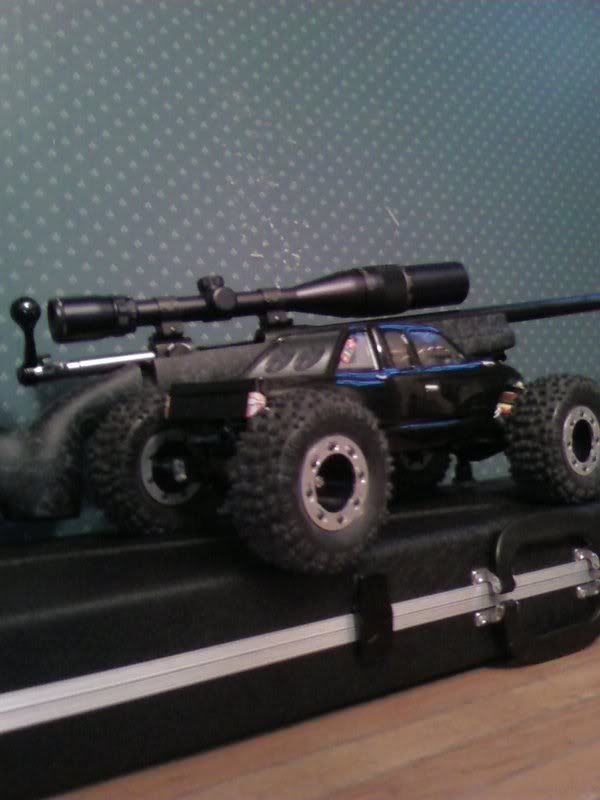 Some risky sidehillin' 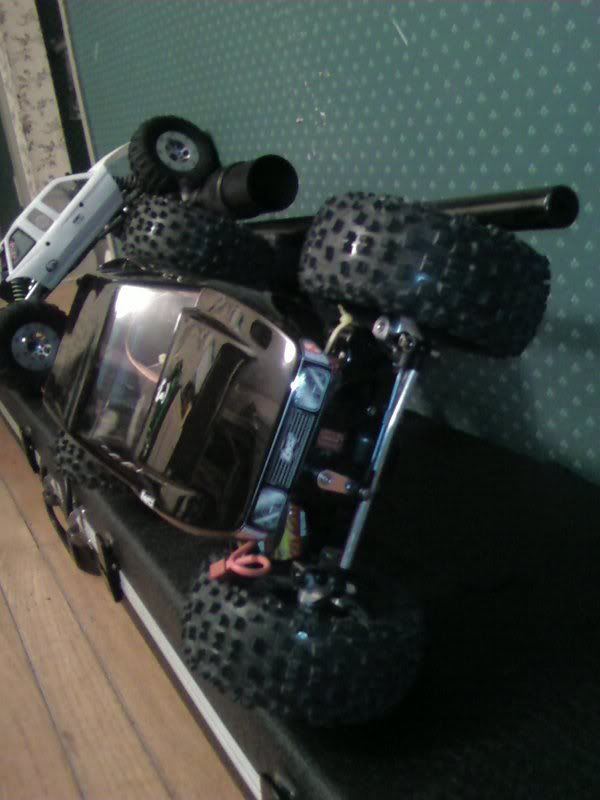 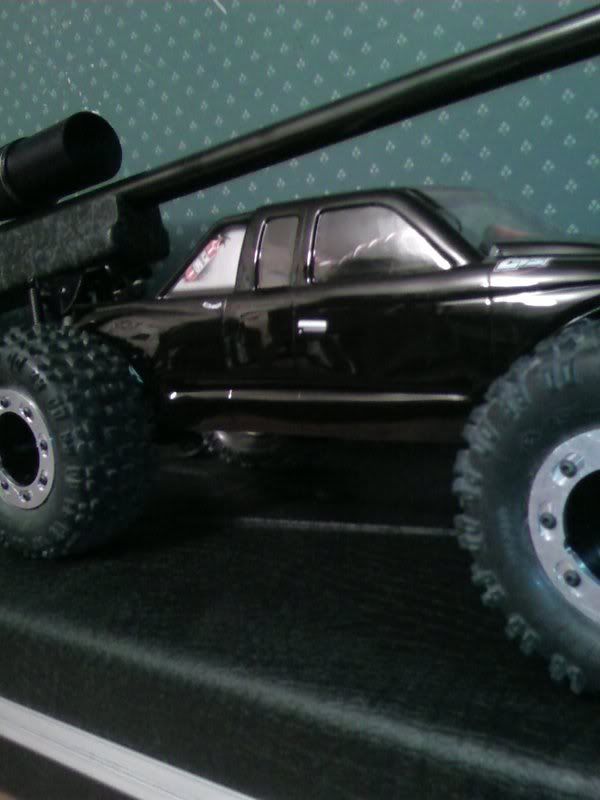 I'll get better ones when the thing is cut up |
|
| |
|
05-18-2008, 05:07 PM
| #24 |
| Rock Crawler Join Date: Jul 2007 Location: central PA
Posts: 679
|
Okay. Here are some shots of the truck outside under better lighting and with the body cut. 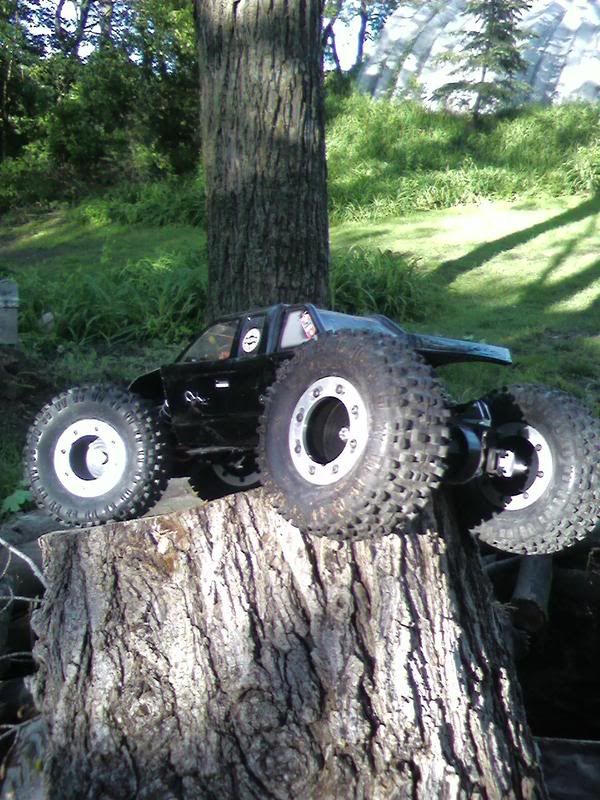 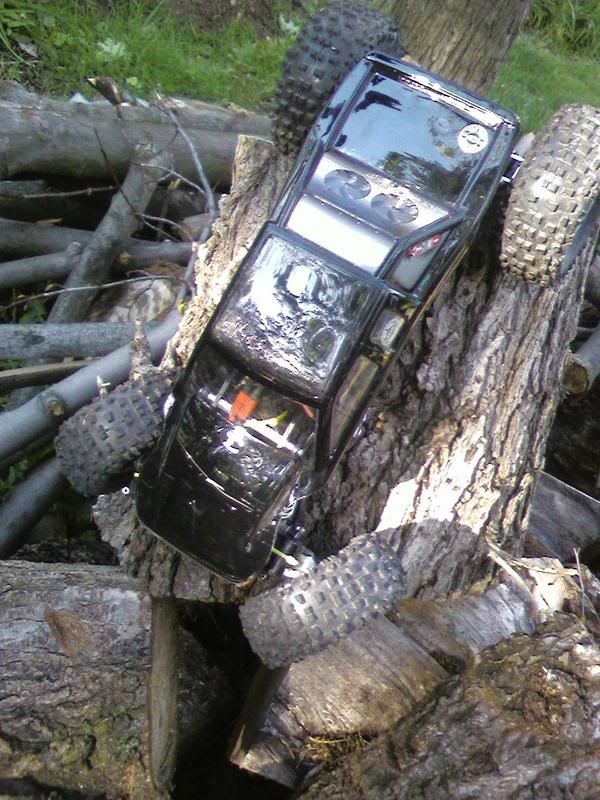 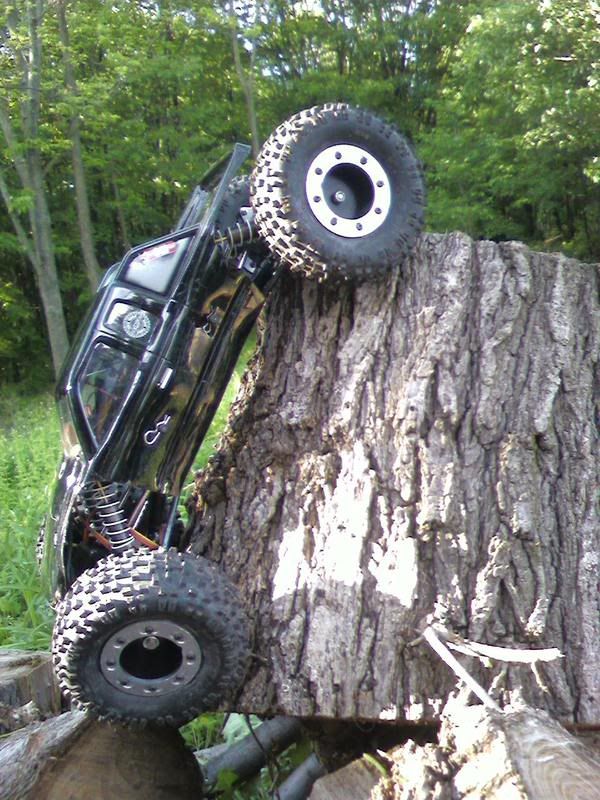 Here you can see how the side mounted body posts pull the bottom in without having to crease the body. Plus it keeps 'tension' on it to keep from vibrating or rattling around. 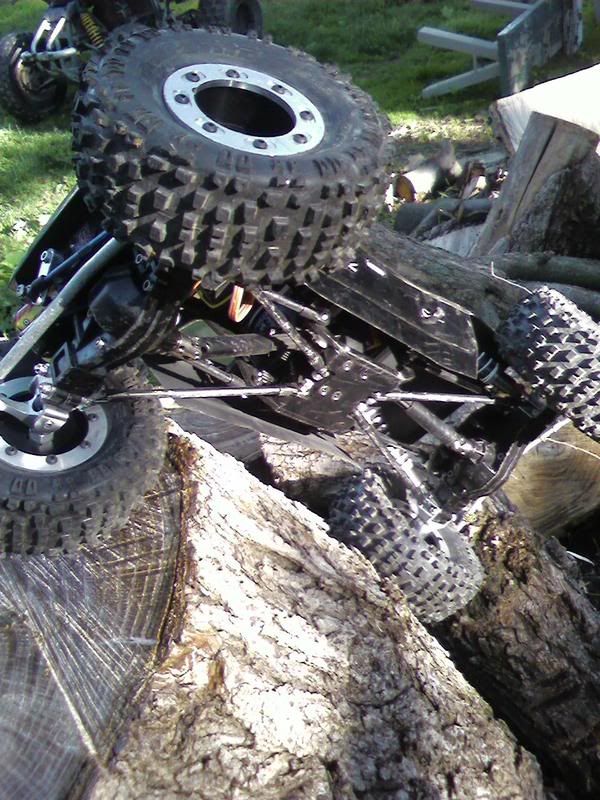 Besides new elecs, I have other plans for this truck including a 'possible' VF dig and some other cool stuff |
|
| |
|
05-19-2008, 02:53 PM
| #25 |
| Keep it real Join Date: Jun 2006 Location: Yakima,WA
Posts: 6,532
|
That turned out nice, simple and effective.....and stealthy |
|
| |
|
05-29-2008, 02:33 PM
| #26 |
| Rock Crawler Join Date: Jul 2007 Location: central PA
Posts: 679
|
Well I have been busy with other things recently and haven't gotten around to doing much with the GC2. Only thing I have gotten done is putting longer screws and nuts on the steering linkage. But I wanted to put some new pictures up anyway so here they are 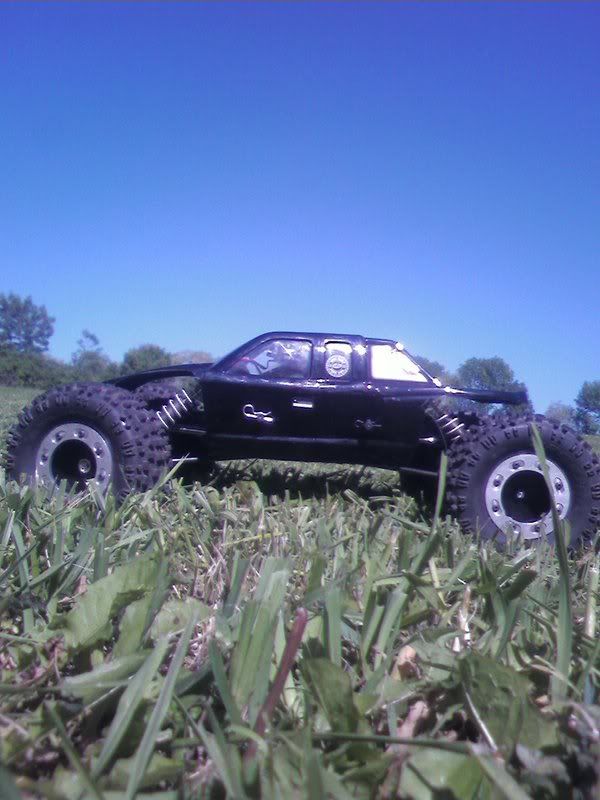 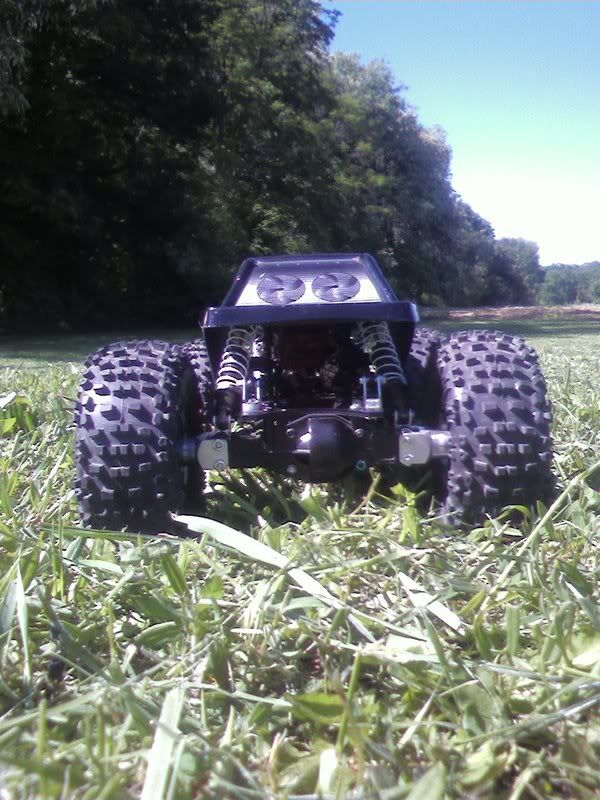 Tires fit the cutouts in the body nicely. 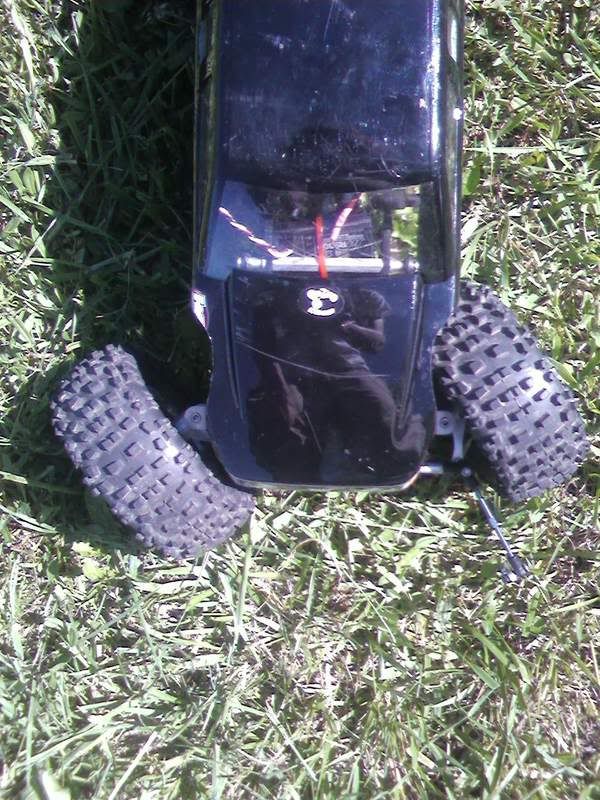 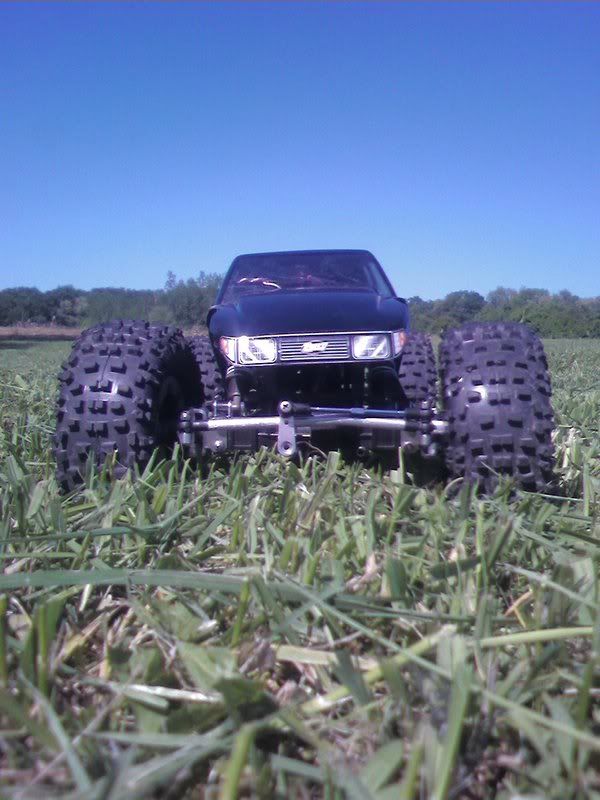 |
|
| |
|
05-29-2008, 09:27 PM
| #27 | |
| Keep it real Join Date: Jun 2006 Location: Yakima,WA
Posts: 6,532
| Quote:
| |
|
| |
|
05-30-2008, 12:44 PM
| #28 | |
| Rock Crawler Join Date: Jul 2007 Location: central PA
Posts: 679
| Quote:
Shhh....its a secret to lower cog. But really what its desperate for is a new steering servo. She puked up the Towerpro junkr so I guess its time for a Hitec TG and be done with it. | |
|
| |
|
06-02-2008, 09:19 PM
| #29 |
| Quarry Creeper  Join Date: Feb 2008 Location: New Rochelle
Posts: 363
|
how did you screw thoses down? SO it match up with the whole because i know it ment for hte axial and there arent the same.
|
|
| |
|
06-02-2008, 10:40 PM
| #30 | |
| Keep it real Join Date: Jun 2006 Location: Yakima,WA
Posts: 6,532
| Quote:
| |
|
| |
|
06-03-2008, 05:05 AM
| #31 |
| Quarry Creeper Join Date: Feb 2008 Location: New Rochelle
Posts: 363
|
Well that makes is easy enough thanks alot. Cant wait to get my chassis and start building. I have a novak rooster. integy 55turn. extrem hobbie links. alloy knucles up from. HD steering linkadge. A crap wheel set up that i got for from lol. For batteries I am not sure yet. I am not really a comp drive i got our with my friend for fun for like five hours. I have wondering what 6 integy 4200 matched batteries would give me in run time. I want to make the pack in the shape of a U so that i can fit it over my servo.
|
|
| |
|
06-03-2008, 05:07 AM
| #32 |
| Quarry Creeper Join Date: Feb 2008 Location: New Rochelle
Posts: 363
|
I am looking into a new set of tires for my rig to. I am deciding if i want badlands, moabs, or panthers. What are pros and cons.
|
|
| |
|
06-03-2008, 08:22 AM
| #33 | |
| Keep it real Join Date: Jun 2006 Location: Yakima,WA
Posts: 6,532
| Quote:
| |
|
| |
|
06-03-2008, 09:21 AM
| #34 |
| Quarry Creeper Join Date: Feb 2008 Location: New Rochelle
Posts: 363
|
4 hours? What would be awsome.
|
|
| |
|
06-03-2008, 10:16 AM
| #35 |
| Keep it real Join Date: Jun 2006 Location: Yakima,WA
Posts: 6,532
|
Depending on your setup and throttle usage, I'd say around 3hrs. With 2/3A 1500mah 8cell packs, I got between 45-60 minutes, with varied throttle.
|
|
| |
|
06-03-2008, 11:54 AM
| #36 |
| Quarry Creeper Join Date: Feb 2008 Location: New Rochelle
Posts: 363
|
sounds good then. Gate keeper just sent my chassis cant wait for the build
|
|
| |
|
06-05-2008, 06:26 PM
| #37 |
| Rock Crawler Join Date: Jul 2007 Location: central PA
Posts: 679
|
Well I can never leave well enough alone. I wanted to move my shocks down to where the links attach like an Axial axle so I switched out the link mounts for the one-hole units. This changed alot of things: 1-Better shock angle 2-narrower drag path for the rear links because I inboarded them a little 3-Allowed me to remove the shock limiters 4-Gives room to mount batteries on axle 5-In doing this, I also flipped the shocks back to upright The rideheight is still 2 7/8" and it articulates a tire 5" off the ground. Im sitting at about 10" wide up front and 9 1/2" in the rear with Eritex solids. My RC4WD/Claw combo gets me almost another 1/2" front and rear which I do like in certain rocks. Here are some shots of the new changes. I like the way the shocks sit now. 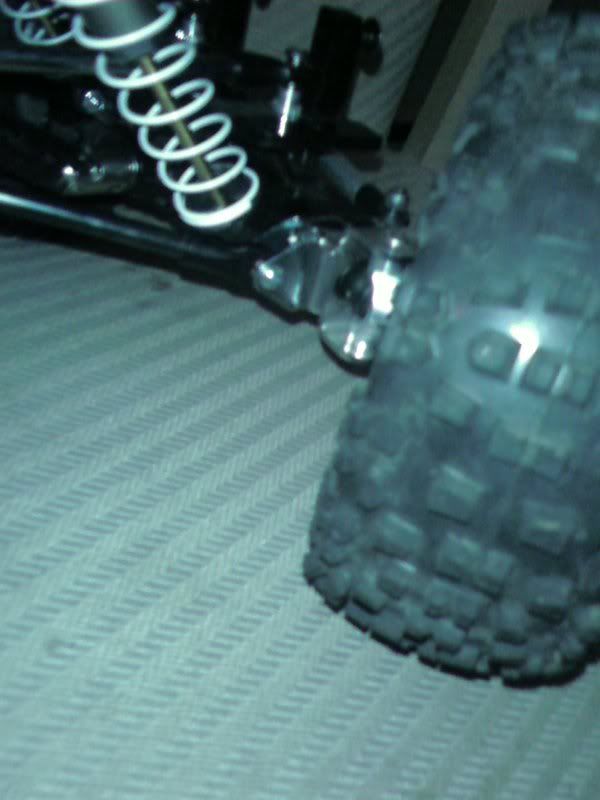 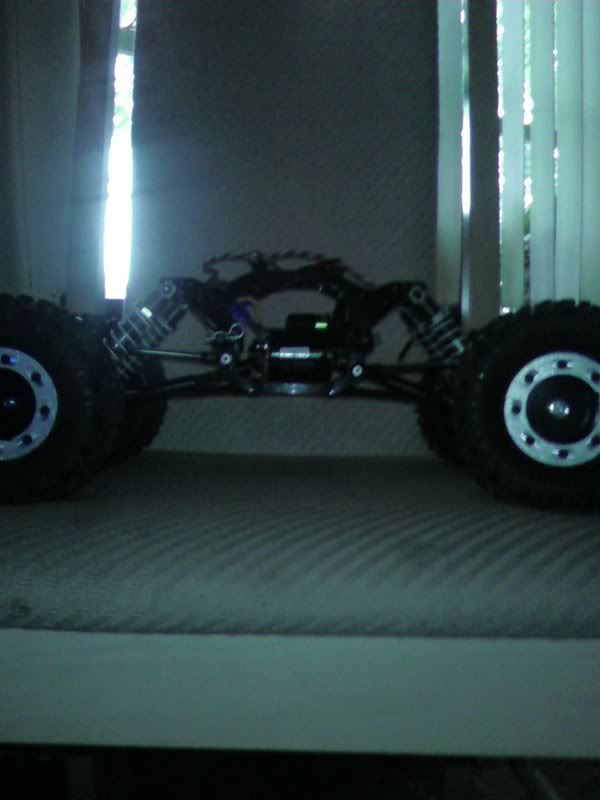 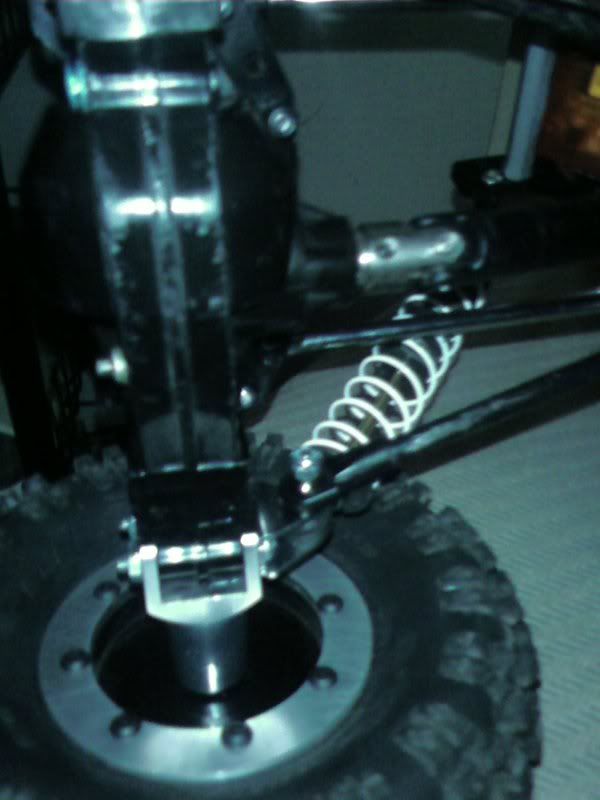 |
|
| |
|
06-05-2008, 08:18 PM
| #38 |
| Quarry Creeper Join Date: Feb 2008 Location: New Rochelle
Posts: 363
|
Are your rear top links mounted on the chassis higher then the front ones? Thats what it looks like in the pictures. Why is this? thanks Last edited by d-fly; 06-05-2008 at 08:19 PM. Reason: more clear |
|
| |
|
06-07-2008, 08:37 PM
| #39 | |
| Rock Crawler Join Date: Jul 2007 Location: central PA
Posts: 679
| Quote:
Yea and same with the axles. This is the setup that has been recommended for the GC2 from several guys who've run it for a while so I thought Id try this first. Seems to work well but who knows, I may try different setups still. I put smaller spacers under the front links last night to drop the roll center up front While I was at it, I made a rear driveshaft disconnect (no brake) for the truck. It has about 3 moving parts (servo horn/female slider/shifter fork) and is all plastic so its light. I was able to attach the servo horn directly to the shift fork so theres no linkage. I prefer the freewheel mode over the locked rear mode so I thought I would eliminate it completely. | |
|
| |
|
06-16-2008, 09:20 PM
| #40 |
| Quarry Creeper Join Date: Feb 2008 Location: New Rochelle
Posts: 363
|
I am working on my gc2 its almost done. if you would like i can post pictures so that we can compare?
|
|
| |
 |
| |


 Linear Mode


