| |
| |||||||
 |
| | LinkBack | Thread Tools | Display Modes |
 08-30-2007, 09:12 AM
| #61 |
| Quarry Creeper Join Date: Feb 2007 Location: Fresno
Posts: 472
|
Abe, its looking very nice. I never had any trouble turning the servo by hand, and I have done it alot, but the 3305 servo I used would turn the wheels to lock on both sides while the front end was in the air. It wouldn't, however turn them while sitting, but I ended up with like a pound of weight in each tire. I was unhappy with the Tower Pro MG995's I bought as well. Plenty of power, but glitchy and stumbly, and would release under load. The HS 645MG I am using now is much better, it steers my 7 pound truck with no problems. The radio HPI ships with the WK doesn't have EPA, though I dont know if its the same one that comes with the savage, but I think it is. The Futaba 2PH I picked up for my Mini-T doesnt have it either. I used the conical washers that come in the 4-40 rod end pack as spacers to lift the steering link up enough to clear the pumpkin and put it on the inner holes to further enhance aproach angle. If you haven't figured out the steering yet, try disconecting the steering link from the servo horn and use the radio to see how much throw it has with no load. Once you roll the truck, you may find the rest of your steering. When you measure rod length, go from the eye centers. Again, it looks great. Have fun out there. It just started raining and it is supposed to be 110 today. Ugh. I'm staying inside! |

|  |
| Sponsored Links | |
| | |
|
08-30-2007, 10:26 AM
| #62 |
| Quarry Creeper Join Date: Mar 2006 Location: Manitoba, Canada
Posts: 215
|
10-4, I'll make it happen no worrys about action shots, cause i'll get you vids too! I'll just throw the radio somewhere until I get a piece of velcro, litterally all i'm waiting for. |
|
| |
|
08-30-2007, 01:18 PM
| #63 |
| Quarry Creeper Join Date: Mar 2006 Location: Manitoba, Canada
Posts: 215
|
yes it got there by its self hard taking film and driving at same time, got a bit of film but it sucked so i'll get some better stuff. 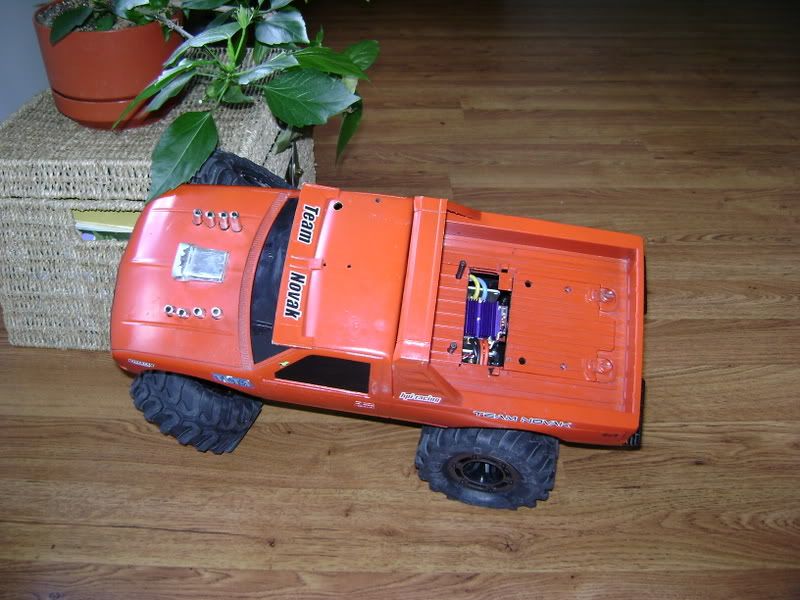 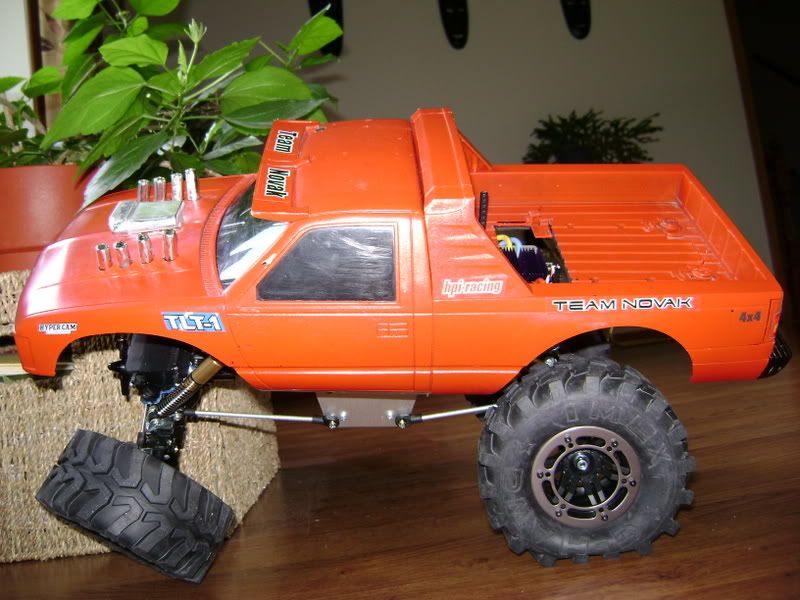 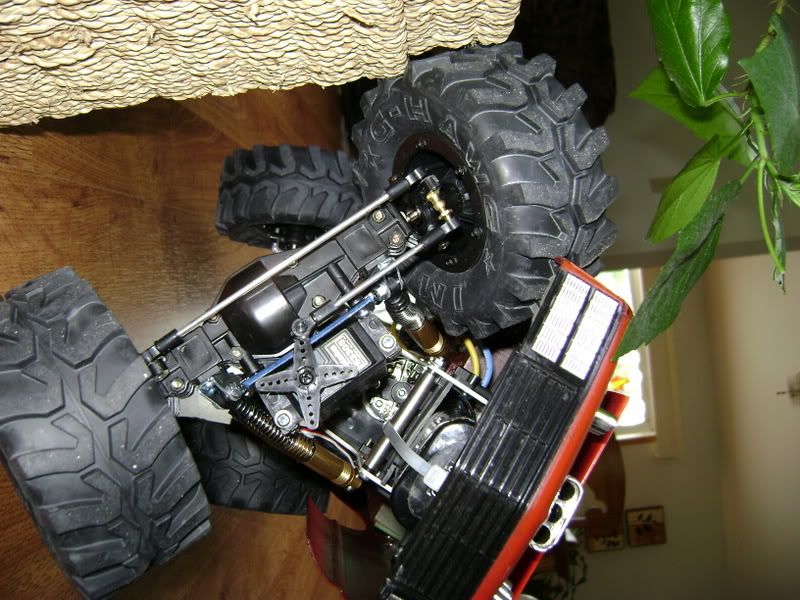  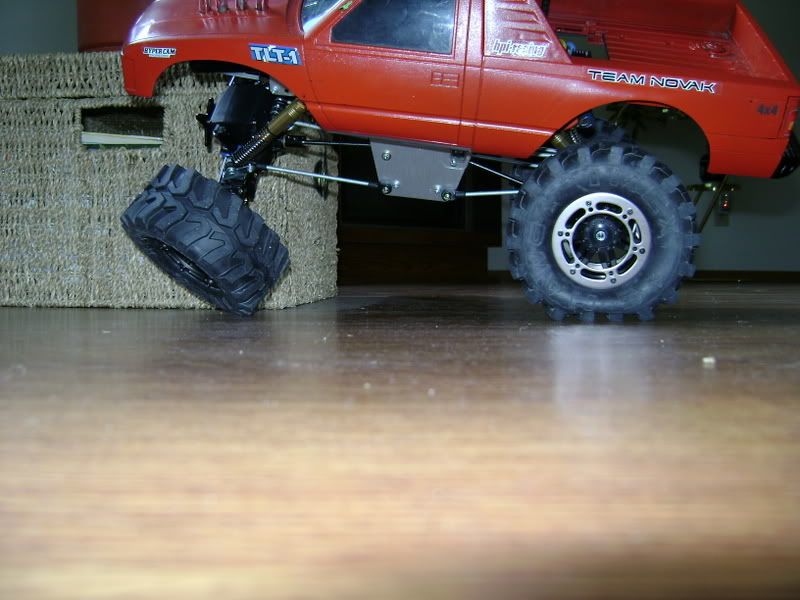 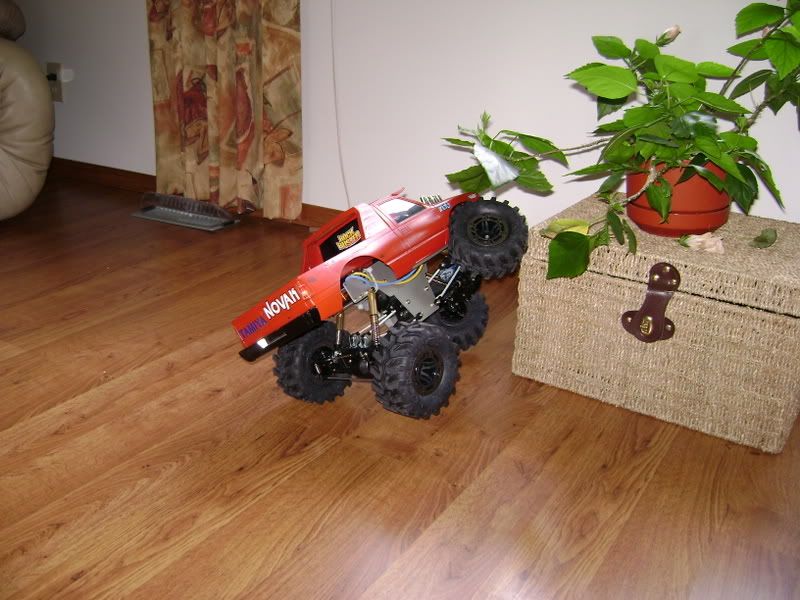 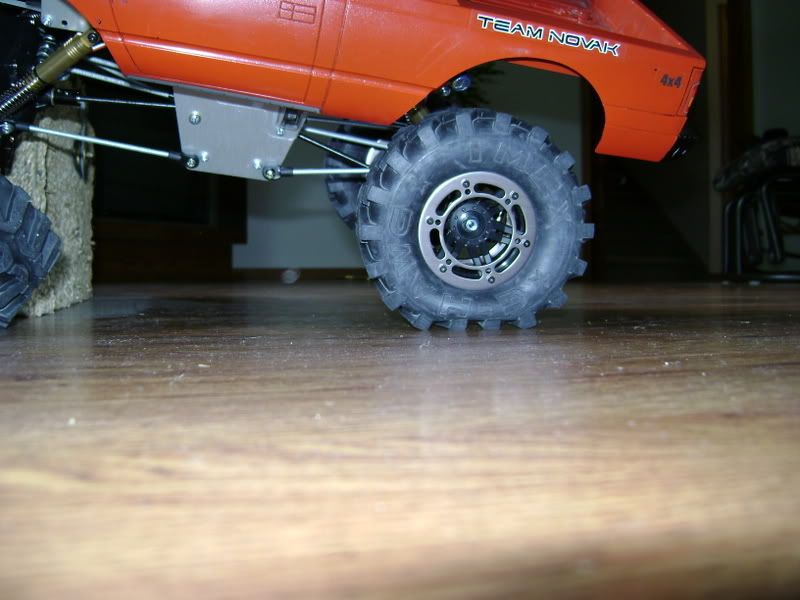 not bad for no foam or nothing in the tires eh? |
|
| |
|
08-30-2007, 03:39 PM
| #64 |
| Quarry Creeper Join Date: Mar 2006 Location: Manitoba, Canada
Posts: 215
|
motor is running pretty hot. at what point does it become dangerous for itself? I am asking alot of power from it and its putting out. I'm surprised with the batterys im using that they still have it in them especially from how old they are etc. im still on the first one and its got plenty of juice still. I tried an idea to get more out of my steering but it broke as i figured. i have a much smarter idea for it this time which i know will work better. I will post more pics and info on it once I finish it.
|
|
| |
|
08-30-2007, 04:42 PM
| #65 |
| Quarry Creeper Join Date: Mar 2006 Location: Manitoba, Canada
Posts: 215
|
in order to get more out of my steering servo (turn my tires fully) i decided i needed to make the connector* longer. i tried the old melt plastic and glue way but not surprisingly it broke, surprisingly though it held longer then i though. i also though i had more of it bonded together, wrong. 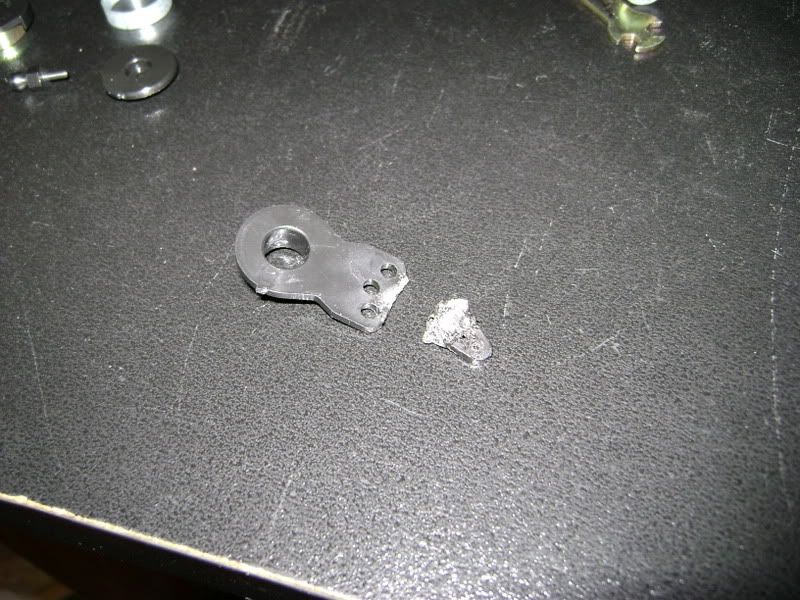 the second way is yet to be tested, but im positive it will work much better. let the pictures do the talking. and yes the fan is on high in the pictures! that is my method of drying krazy glued parts faster, like it? 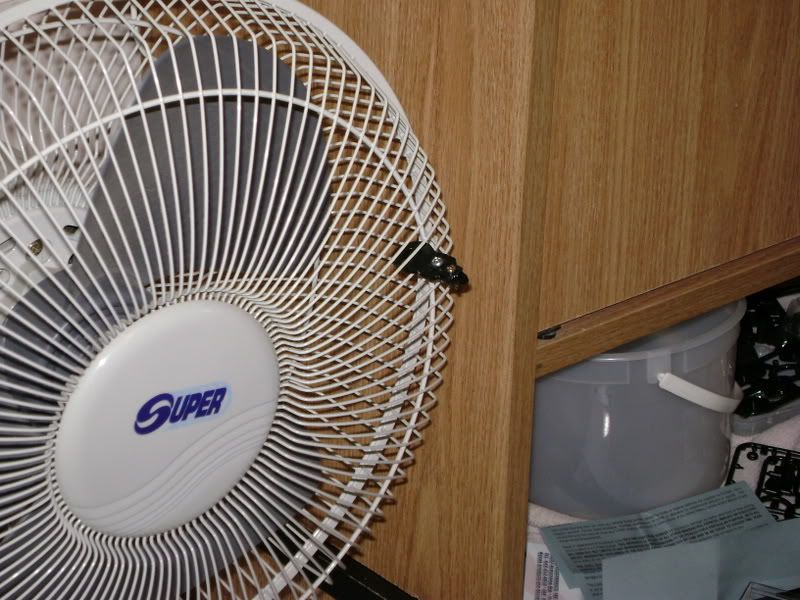  |
|
| |
|
08-30-2007, 05:49 PM
| #66 |
| Quarry Creeper Join Date: Mar 2006 Location: Manitoba, Canada
Posts: 215
|
locked the servo saver as i need to use it for that peice to work. 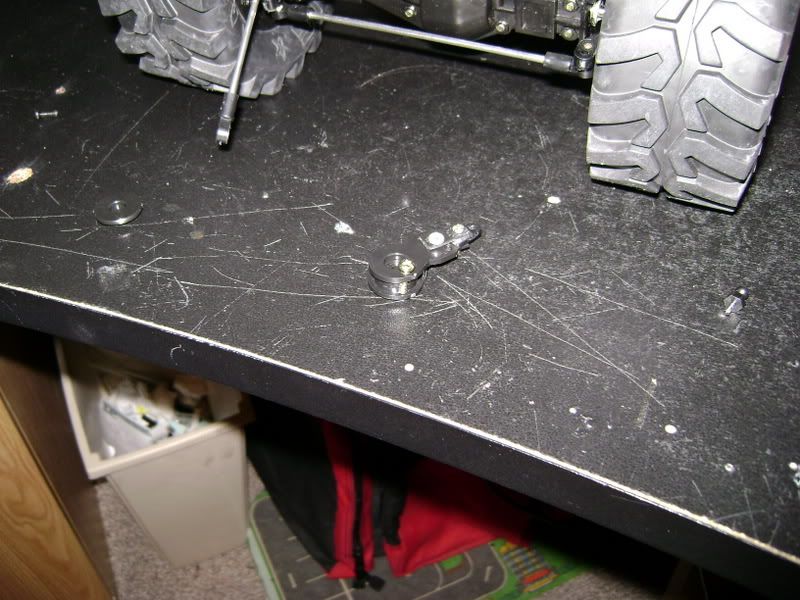 |
|
| |
|
08-30-2007, 06:03 PM
| #67 |
| I joined the Band! Join Date: Mar 2007 Location: woodstock
Posts: 246
|
hey man sweet build. I think i will do this with my tlt when i get it instead of going through the trouble of making stuff for it.  |
|
| |
|
08-31-2007, 09:16 AM
| #68 |
| Quarry Creeper Join Date: Mar 2006 Location: Manitoba, Canada
Posts: 215
|
for sure, hope i can help. and thanks too. everything here i have took from the kit and modified it to work. you'd be surprised some of the things i used, some stuff not even being a part just a chunk of plastic etc. any questions just ask like i say.
|
|
| |
|
08-31-2007, 09:18 AM
| #69 |
| Quarry Creeper Join Date: Mar 2006 Location: Manitoba, Canada
Posts: 215
|
one thing i'm notice-ing is that my rims dont fully bolt onto the axle. i think whats stopping alot of the bolt from fully going on is the little washer that goes before the bolt. it comes with the beadlocks. edit: any ideas anyone? |
|
| |
|
08-31-2007, 09:28 AM
| #70 |
| Quarry Creeper Join Date: Feb 2007 Location: Fresno
Posts: 472
|
Very nice. I'm suprised you were able to climb that with the floor, I just spin my tires on the hardwood and dont get enough bite to climb up anything. That could be the weight of my rig though. Don't use the washer is all that comes to mind here. I have never used those rims though. If you can hold your finger on the motor for 10 seconds without burning the skin off it's ok. If it burns you as soon as you touch it, its too hot. If you are locking the servo saver anyway, why not just use one of the servo arms that should have come in the little baggy with your servo? |
|
| |
|
08-31-2007, 09:32 AM
| #71 |
| Quarry Creeper Join Date: Mar 2006 Location: Manitoba, Canada
Posts: 215
|
servo: i needed to make it longer in order to get my wheels to turn fully. and the peice that comes with the tlt kit is the longest to start with, but not long enough. so i extended it more. and seens its a servo saver style i wanted to lock it or else it all would be pointless. it works VERY GOOD now, way better. motor: and if it does burn me? gear higher? or? |
|
| |
|
09-03-2007, 10:39 AM
| #72 |
| Quarry Creeper Join Date: Mar 2006 Location: Manitoba, Canada
Posts: 215
|
still having a problem with the front drive shaft coming out, its way better then it was, thats for sure. but just when it flexes just right with perfect weight it tends to drop out, shouldnt be to hard to fix i hope
|
|
| |
|
09-30-2007, 05:14 PM
| #73 |
| Quarry Creeper Join Date: Mar 2006 Location: Manitoba, Canada
Posts: 215
|
i am trying to develop a way to stop my axles at the ends from being loose, the tires can easily bend in and out from the amount of play. did a short search and didnt find nothing even though im sure there is something about it on hee
|
|
| |
|
10-01-2007, 05:09 AM
| #74 |
| I joined the Band! Join Date: Sep 2006 Location: ...
Posts: 515
|
well, a little tip is you can either put a little spacer on the side that isnt falling out, and you should adjust your 4 link a WEE bit. loosen the top links a little. that should fix ya right up |
|
| |
|
10-01-2007, 06:53 AM
| #75 |
| RCC Addict Join Date: Mar 2006 Location: Xxx
Posts: 1,118
|
Not sure if you did this, but ill post it. On your radio you should have both throttle and steering trim . Center both of them . Disconnect your servo horn from the servo. Turn your radio on then your truck. The servo will "center" its self. Then turn your steering wheel take a glance at the servo shaft , see if its turn left and right equally. Then place the horn back on and check your steering throw again. You also want to make sure your steering link and drag link are keeping the steering knuckles straight when in the neutrual steering position. Then connect the drag link to the servo horn. You should have the max steering you will get with that servo and radio. This is a great build , keep up the hard work lol. |
|
| |
|
10-01-2007, 07:10 AM
| #76 |
| Quarry Creeper Join Date: Mar 2006 Location: Manitoba, Canada
Posts: 215
|
prototype, i think i tried that but i could probably do it better. also i will read it better when i come home seens i just have 5 min and glanced over it bronco. yeah i was thinking of puttting a washer in there as i have found where play/problem is. pics soon(mabey tonight) |
|
| |
|
10-14-2007, 07:33 AM
| #77 |
| Quarry Creeper Join Date: Mar 2006 Location: Manitoba, Canada
Posts: 215
|
To my interested fans of this thread: I fixed my front axle falling out problem once and for all. The home made mount for the servo plus upper links flexed too much. It was leaving the axle bend to much out. I fixed the link connection very half ***, as you have already seen, but I put an end to the homemade mount flexing by skrewing it down on the back side of it also, very solid now. I also shaved down behind the hex and put a washer in to stop my wheels from having the side to side effect. If you don't know what I mean, tell me and I will let the pictures do the talking. I built a winch useing tlt parts and thin plastic. Got the idea from the scale section "scale winch how to" or "my scale winch how to" something like that. It's very cool and a must see thread! I can post a link if requested. That means now I need a bumper! I was limited to supplies to build it with, but I currently am building one that is similar to the scale warren one that you can buy. I think you will be surprised once I tell you what I built it with after I show you the finished picture. (even though it's not done yet! Shows my confidence!) I also added a ball point hitch and fruity mirrors on the side which I think I should either A:make better, or B: not put any on. The truck looks like it needs them, but then you put some on and you really second guess if it looks better without them. I also have a license plate to go on! Oh ya, gotta velcro down the front of the body too. And I also forgot I think im gunna attempt to put the genral lee's flag on the top of my truck too! We'll see. And my really old radio shack batteries just arn't cutting it, I gotta get a new venom 3000mAh next time I'm at my LHS. For those of you that havn't figured it out already. Its a mud bogger way more then it is a crawler. Not to mention I use it ten times more bogging then I do crawling. Action shots when I get my new battery. Can't do much till then. I have lied about it before, but now I acually will because it will be very worth while of course:-P; and that is that I will post pictures once it's all set up which truely is soon! Week or so If that, I just got to finish the bumper. Thanks for now and sorry about the no pictures yet! Big AL Last edited by Abednego; 10-14-2007 at 07:36 AM. |
|
| |
|
10-14-2007, 02:08 PM
| #78 |
| Newbie Join Date: Jul 2007 Location: Port Angeles
Posts: 41
|
everything looks great love the rims and body. now all you need is a REAL chassis like a K2-3L or a SW3
|
|
| |
|
10-14-2007, 07:17 PM
| #79 |
| Quarry Creeper Join Date: Mar 2006 Location: Manitoba, Canada
Posts: 215
|
a real chassis, heh. read my signature yet? haha. thanks oh ya that rediculous TLT-1 sticker is gone! making a chevy bow to go there |
|
| |
|
10-14-2007, 08:46 PM
| #80 |
| Rock Stacker Join Date: Apr 2007 Location: Canadia
Posts: 85
|
Looks good Alex, only thing i will suggest is thicker 4-links as those will bend. Maybe some 30 degree bent links for better breakover. Other then that she is good also what is the length from axle to axle?
|
|
| |
|
| |


 Linear Mode


