| |
| |||||||
 |
| | LinkBack | Thread Tools | Display Modes |
 12-26-2010, 05:22 PM
| #1 |
| Quarry Creeper Join Date: Mar 2009 Location: Phoenix
Posts: 213
|
Alright...Hi everyone! ive read alot in the team losi thread and foound tons of awsome information pertaining to the lcc and few key notes on the lnc. i made a trip to a lhs and they had both in stock, didnt get pics, but yes! they are super similar to one another and both based upon the same set up. With that main ? solved, lol i ordered a lnc online, (santa found one ALOT cheaper online)! there are a few guys/gals ive seen post a few ??? on the lnc here in the lcc area, so i wanted to break it all down for current and future lnc owners. the rtr set up really is impressive straight from the box. follow along, i got some good pics tearing into a fresh lnc...hope this becomes a helpful thread to some. Ryan getting started... 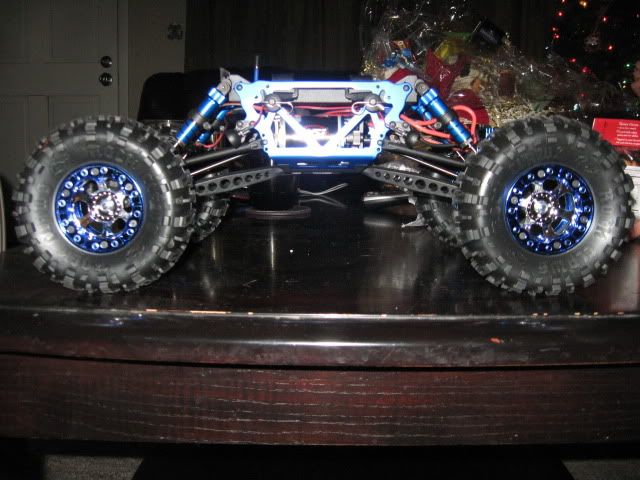 k, when you pull the wheels off, take the hex pin out and set it off to the side, they slip out easy from the shaft... 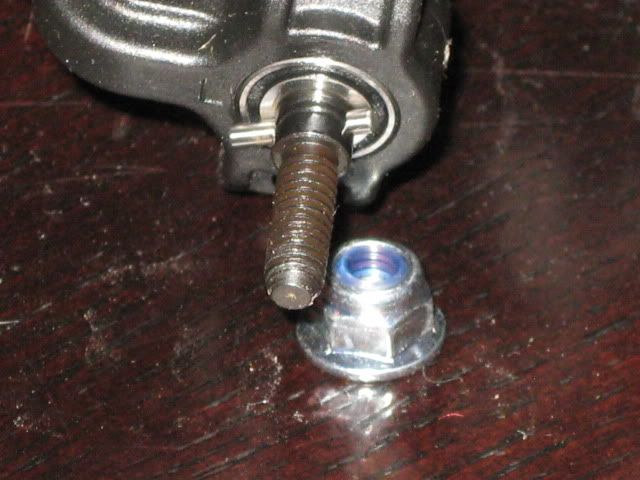 go ahead and remove the hardware from the lower shock mounts, upper and lower link mounts at the axle...i started with the front axle...and then remove it and youll have this... 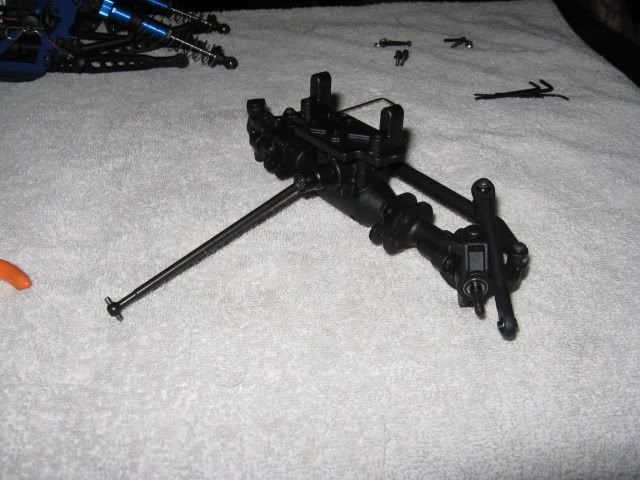 k, one of my front shaft set screws on the axle is locked for life! this will be an issue later, but for now i know i wont lose it right? lol. but remove both your set screw and slide the drive shaft off the pinion... 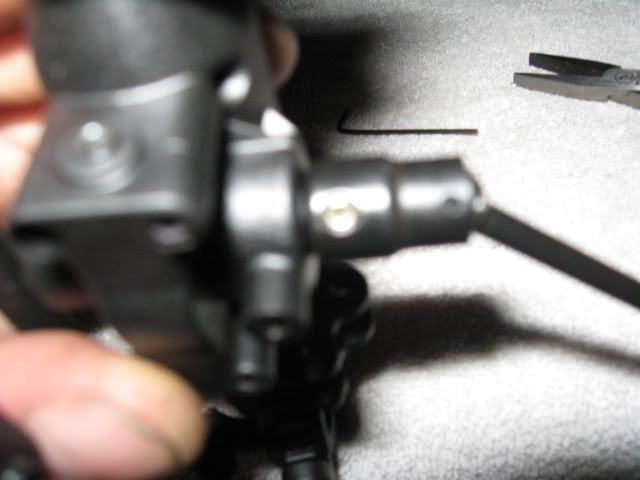 a couple notes for dissassembly here, i didnt remove the steering, just pulled the knuckles from the axle housing by removing the upper n lower king pins, which is a pretty cool set up compared to others ive seen, note where the set screws are for king pin removal, take both out per side and use a small flat head screw driver to gently lift them out. 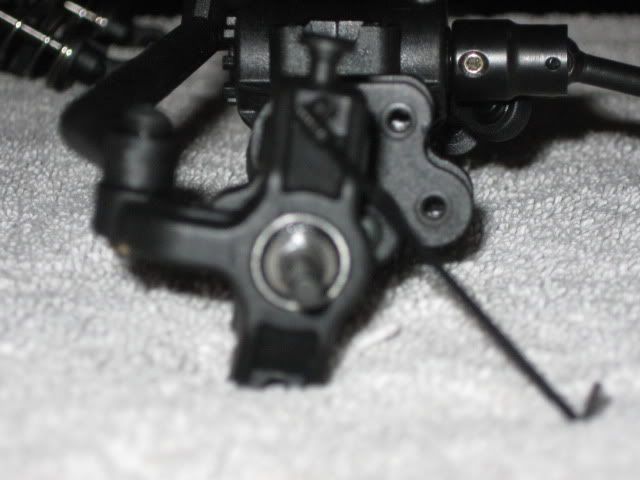 watch out for the bearing spacer, keep these with your shaft pins... 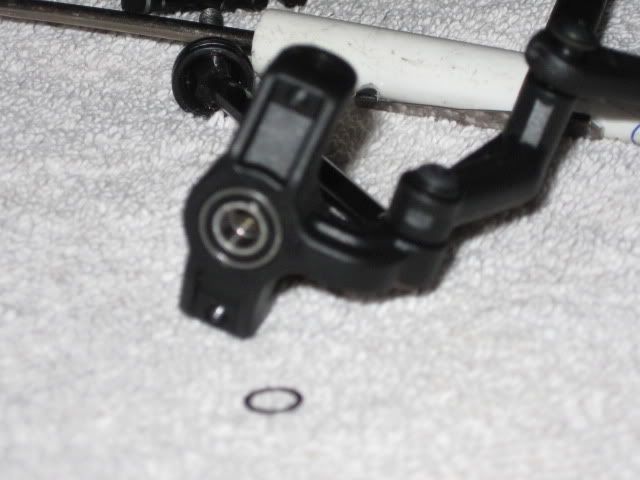 now when you go to remove the c-hubs, keep there position in mind, left/right, they are offset 10deg, putting the on backwards is possible, but not benifical by any means. 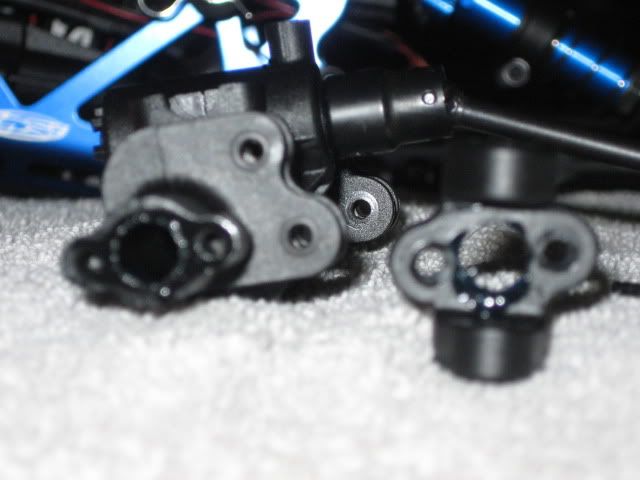 after removing the x4 allen bolts from the inside of the pinion side of the housing, remember theres x2 smaller allen bolts on the "face" as well. 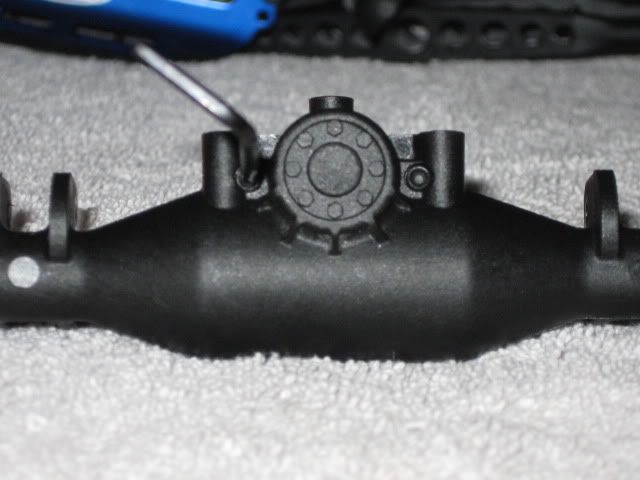 then pop the case halfs apart... 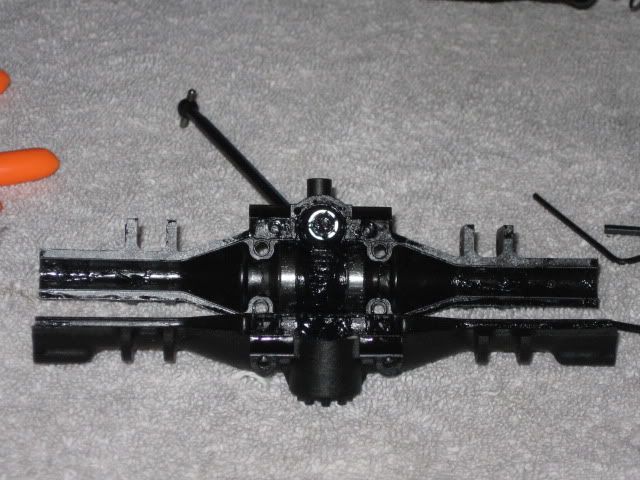 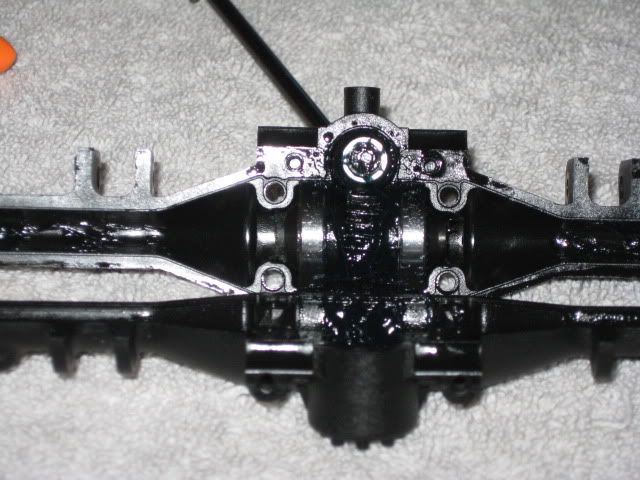 in my manual, it specifies and illustrates that there should be x3 shims on either side of the pinion, since my front drive shaft wont come off right meow, i kinda feel safe that since x3 are on the side i can see, theres gonna x3 more on the inside, i hope lol! 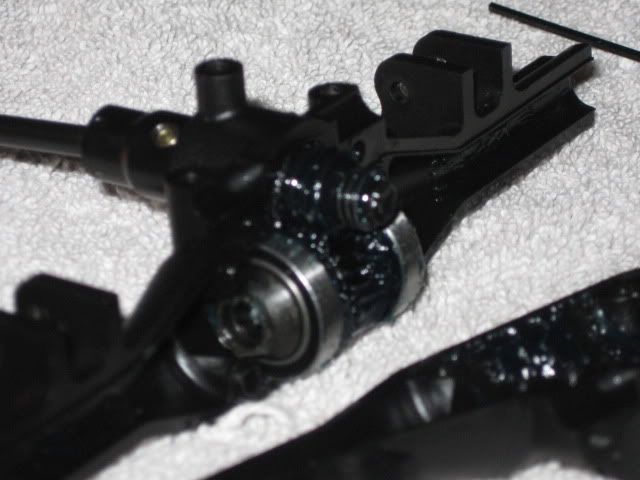 heres what i all took apart just for the axle inspection...  before reassembly i wanted to add a grease fill hole as ive read from others advise, however in choosing the location i looked at where the grease would be sprayed in the housing and thought tha right over the gear assembly would be wise. when you look in the housing, (it hard to see in the one pic i took of it), but you can see the section where the outter spool bearings rest, i drilled and pluged a hole just on the insde, under the pinion but right over the main spool gear, it should work pretty good between tear downs... 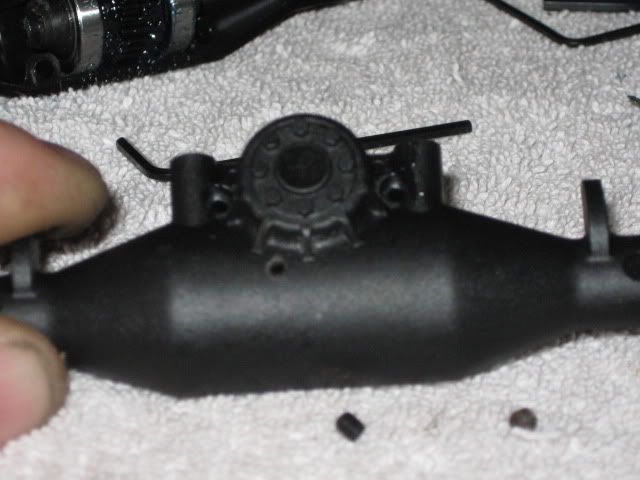 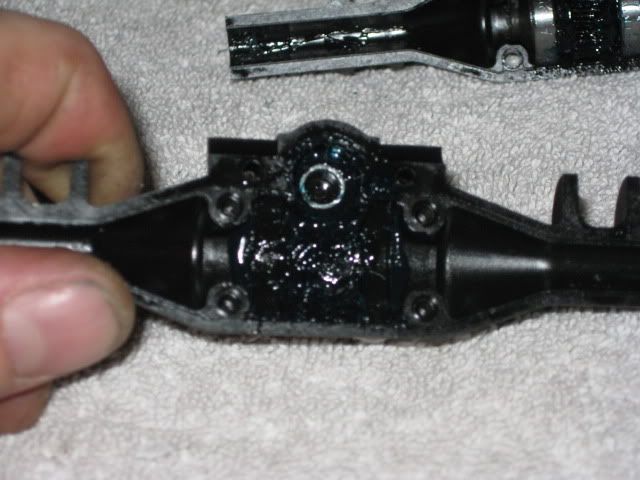 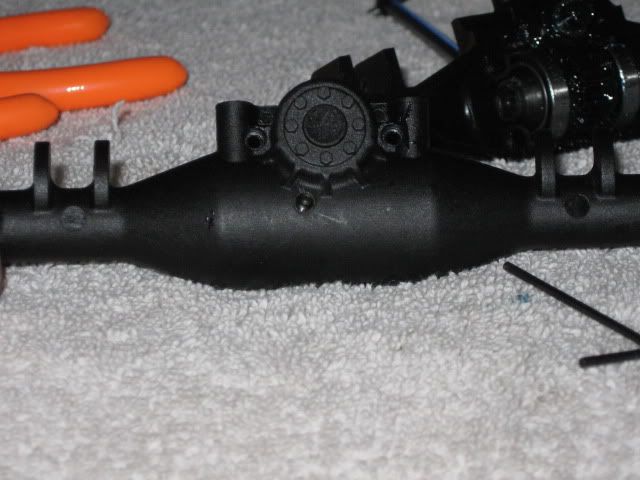 reassemble in a reverse order...dont forget your lil spacers... 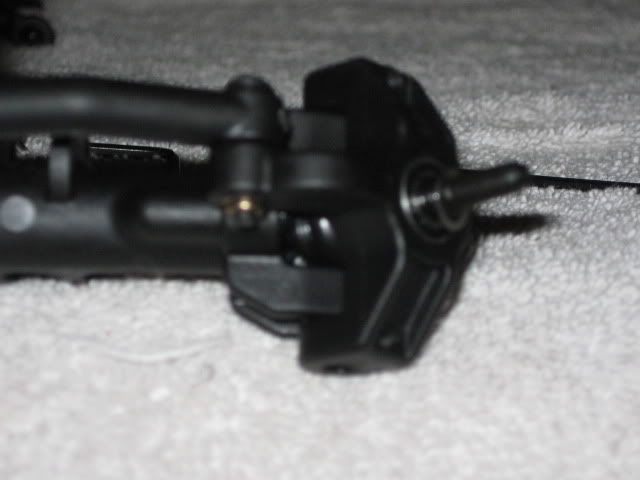 i didnt have any reason to re-grease yet, the factory puts a good amount of grease in the housing, next tear down/inspection i will clean and replace with the tacky red stuff. had to chuck up the drive shaft into the drill, (note my rusty back up drill..HAHA) it works, ran it both directions, about a comercial break time for each direction. 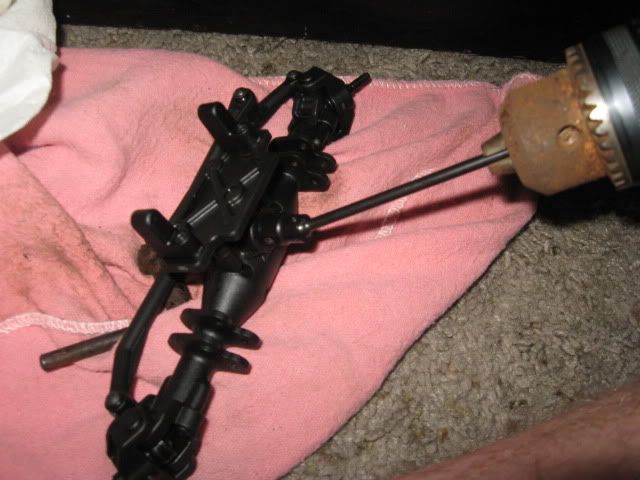 k, i read about this, and once i had mine, i saw it. when the suspension flexes, it over flexes! which creates contact between the upper/lower links and could eventually contact the driveshaft. will it hurt, no. but why right? so basically i just cycled my suspension til it hit, then backed it off a lil til bout it was bout a 1/4" from hitting then measured my shock, measured mounting hole to mounting hole, they measured 3.25", so then i removed the spring, measured the shaft and cut fuel line 9/16 piece and slid it over the shaft, reassembled and walla! my suspension stops 1/4" before any contact. 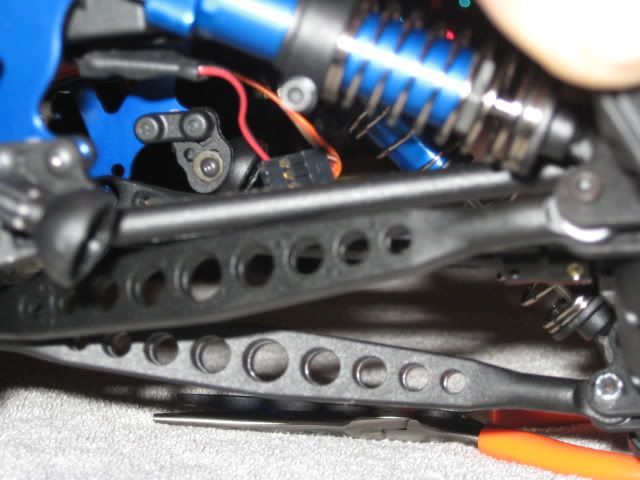 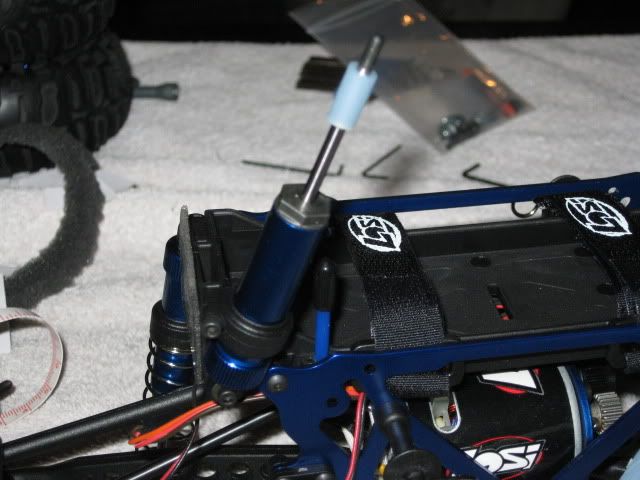 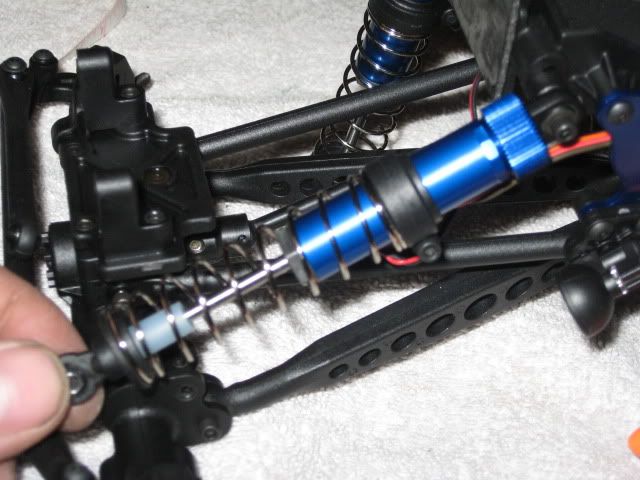 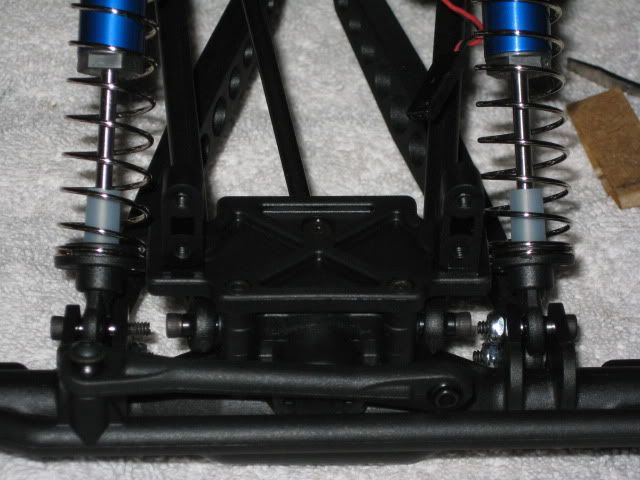 hmmm, the stock wheels/tires...well, the 12mm hex is plastic, probually gonna swap that out for some aluminums, heard some sceptical opinions on the guys so i thought id go ahead n try to make worthy while im working out the kinks on this crawler. shaved the corner edges to a slant for the hopes of a better side bite grab, and then just siply shaved a thin top layer all the way around the foam. all of this along with some automtive sticky wheel weights proved to do some good on the first run...heres what i did. fronts have 8.25 oz and rears ended up with 4oz. have not siped the tread yet. 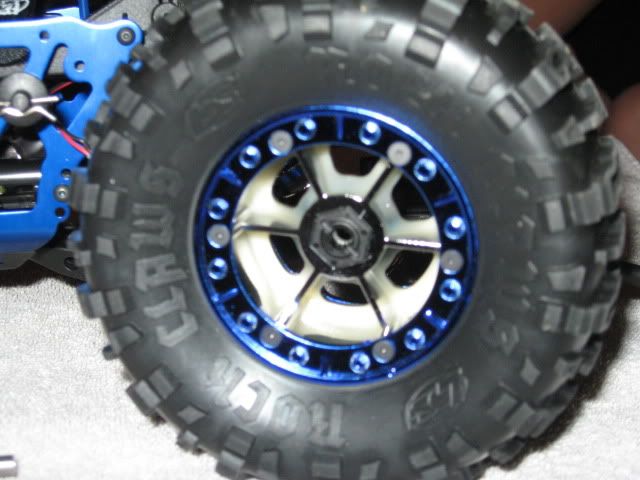 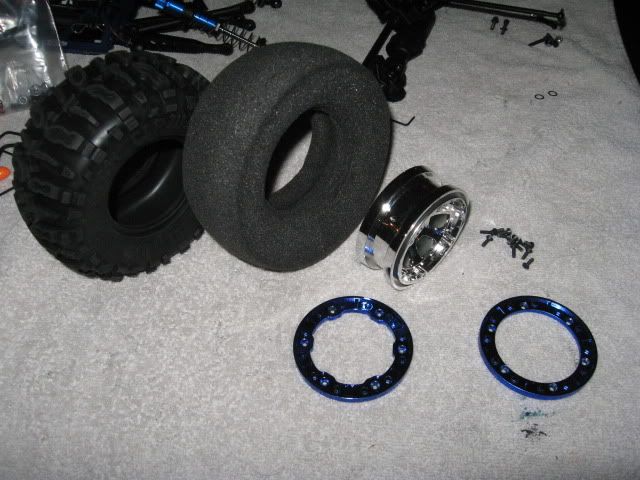 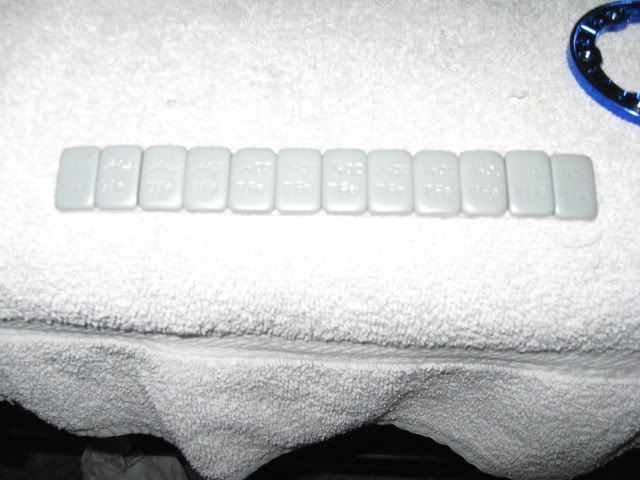 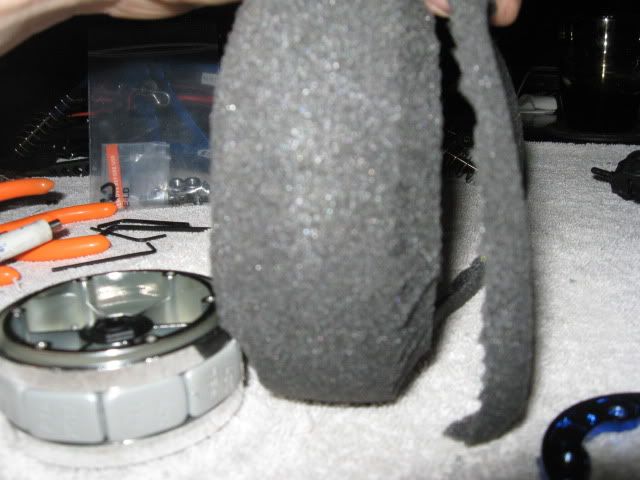 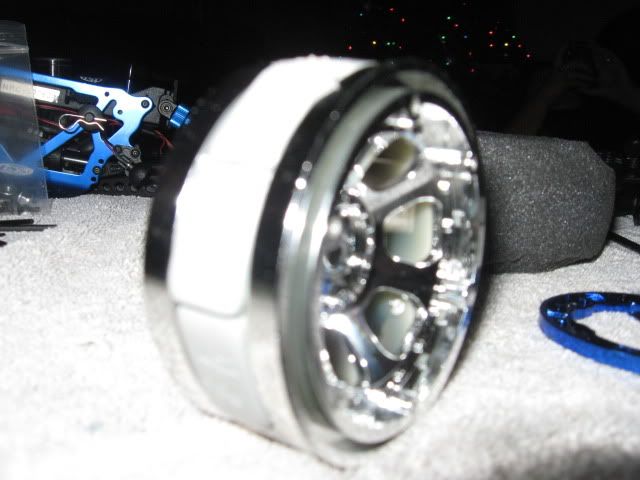 very very small difference in static heigth between a done and not yet assembly but there was... 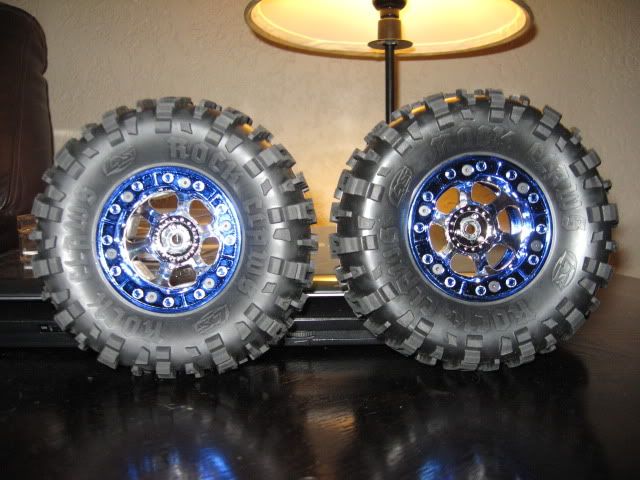 thats it for the moment. wont lie, lol i still have to do everything you just read to the rear! got super excited and wanted to crawl this thing!!! YAY!!! first run today! the girl and i took the fresh crawler to north mountain park and just started playing around on this large line of rocks and had a blast! nothing broke, took a few mental notes for mods and different stuff that will be needed to over come some stuff, but all in all after a lil over an hour of wheelin on these rocks, the lnc proved to be an awsome out of the box crawler and dont forget the upgrade possibilities for upgrades...anythin available for the lcc can be used onto the lnc! futures lookin good for this lil electrical creature of the rock! enjoy the rest of the pics and this will be my lnc build thread from here on out. hope it helps others. 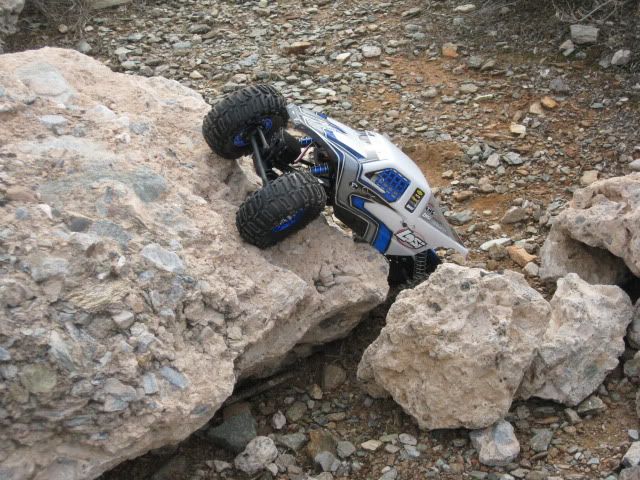 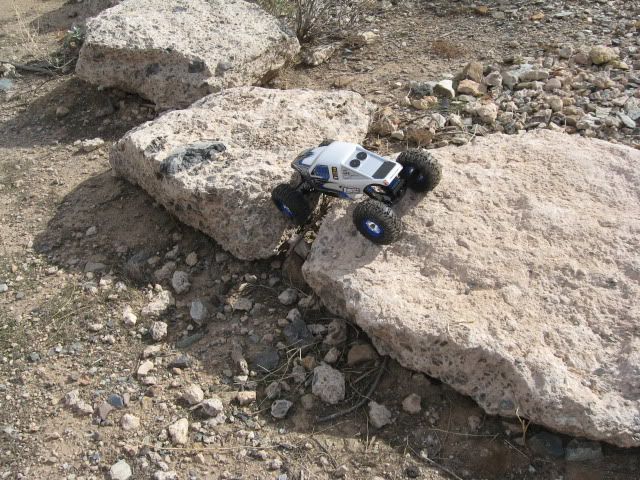  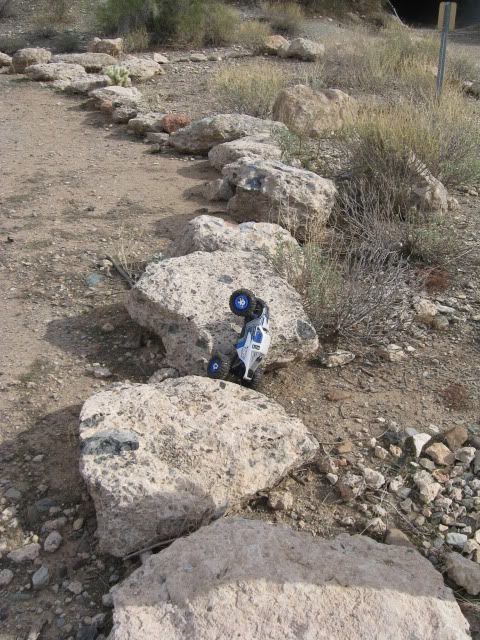  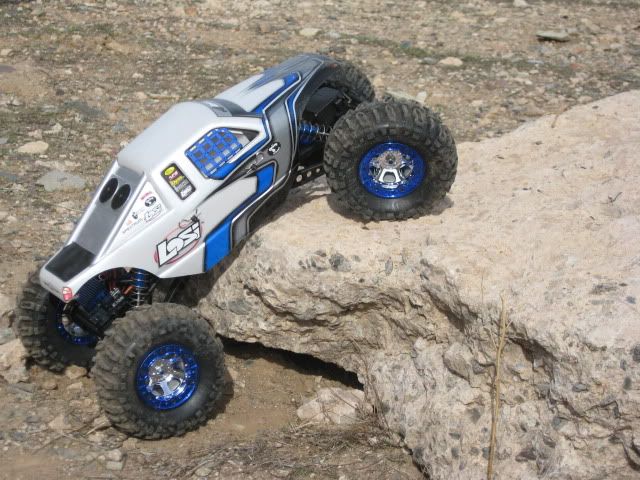 lol our objective was just to stay on the rocks and go all the way around! 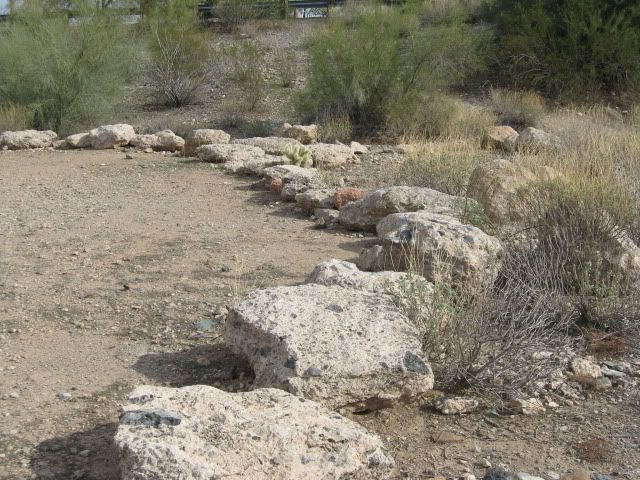 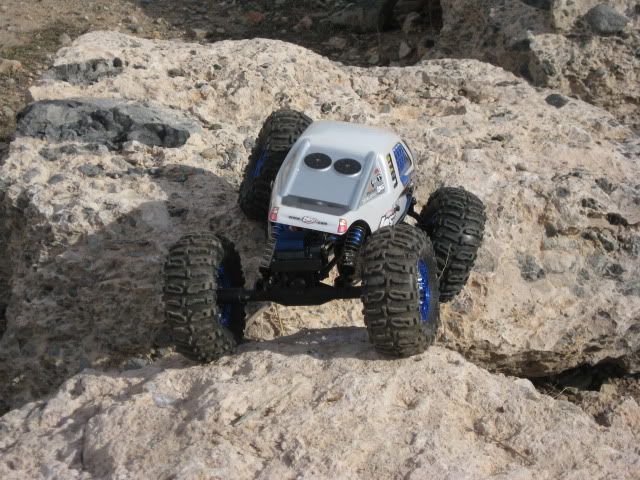 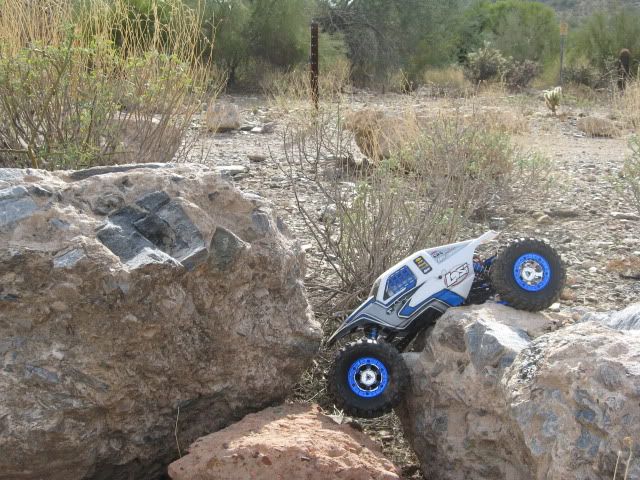 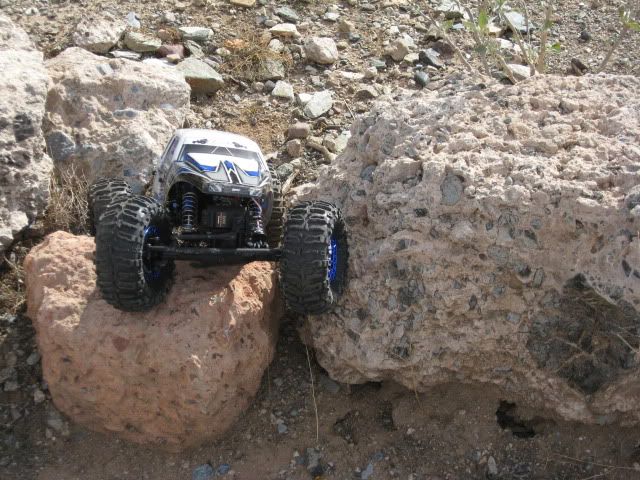 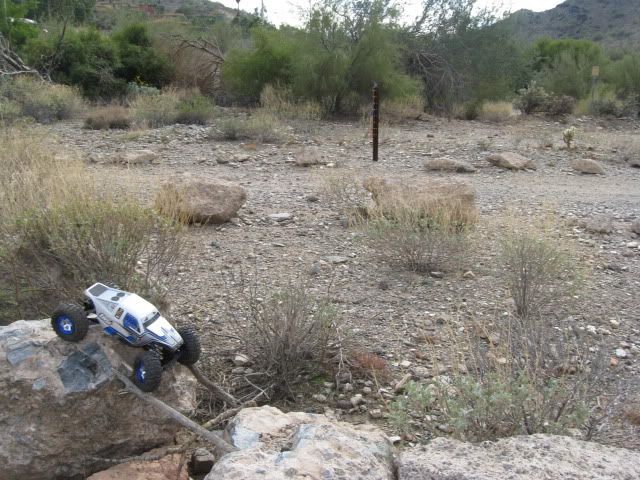 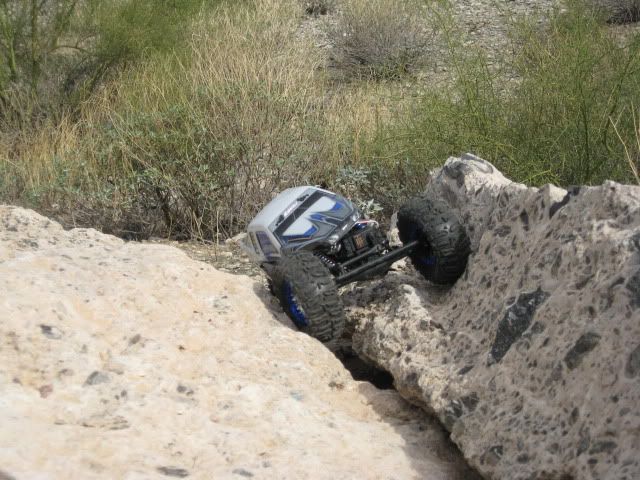 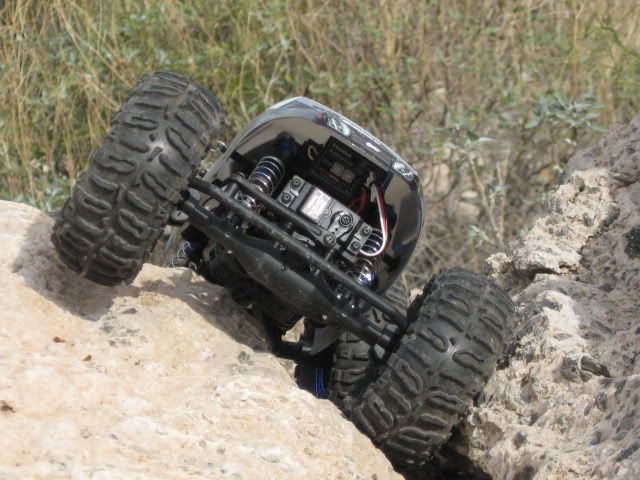 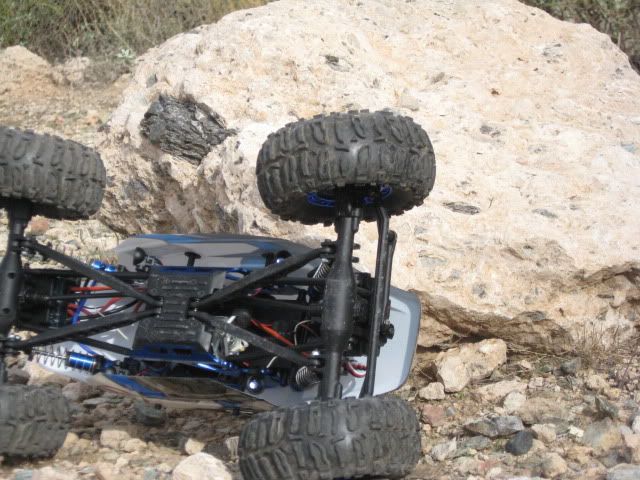 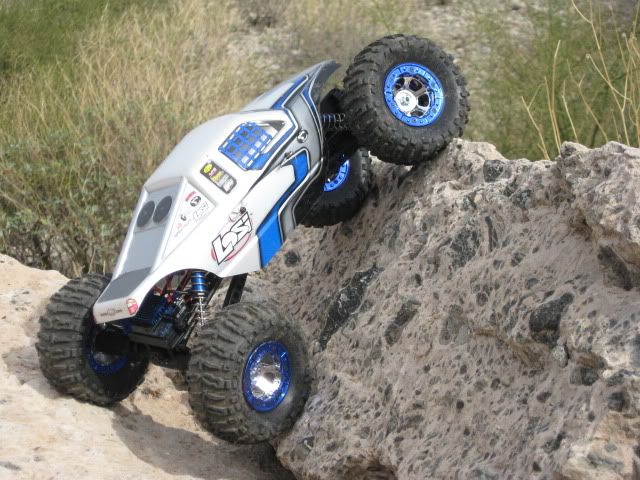 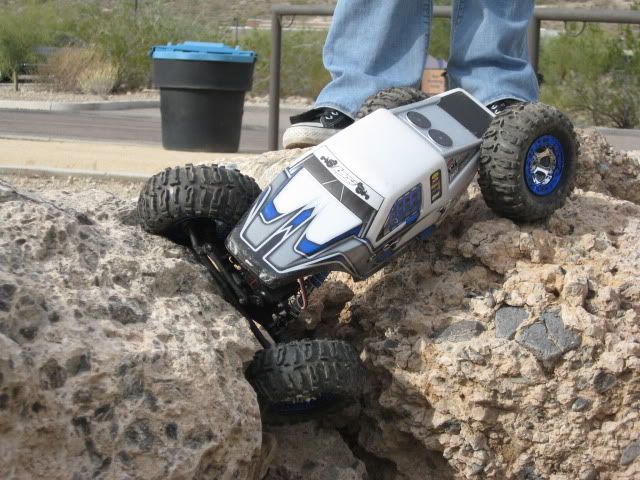 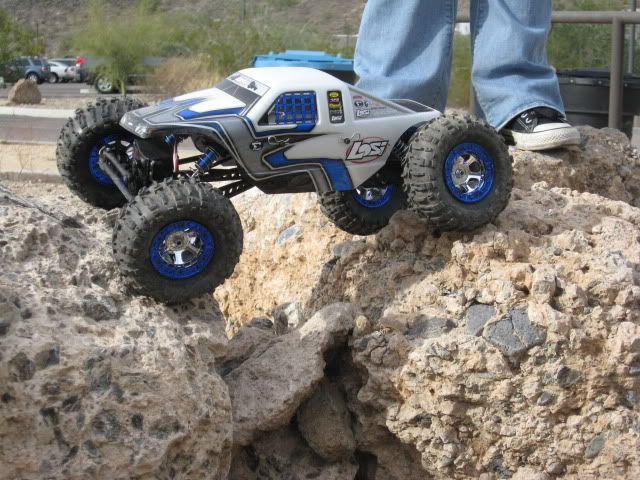 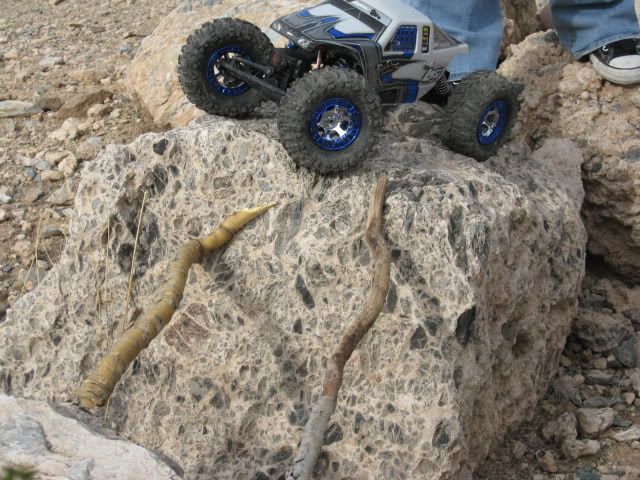 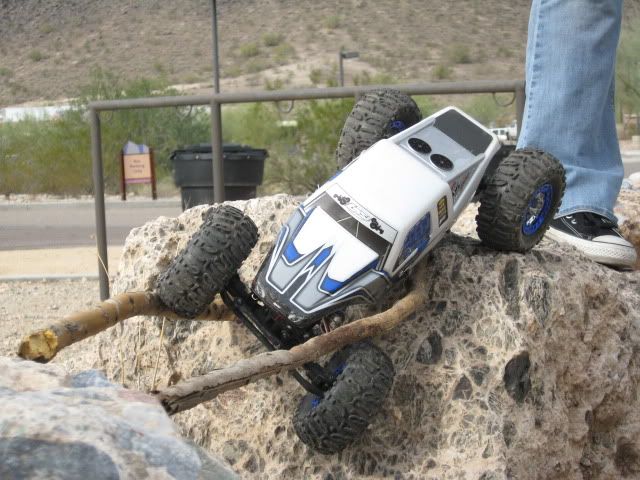 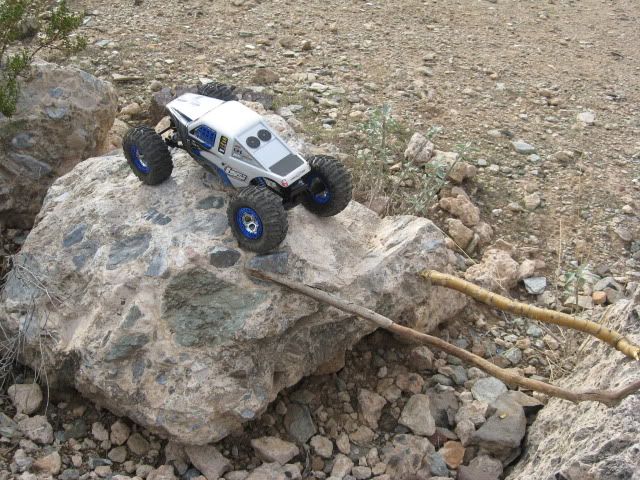 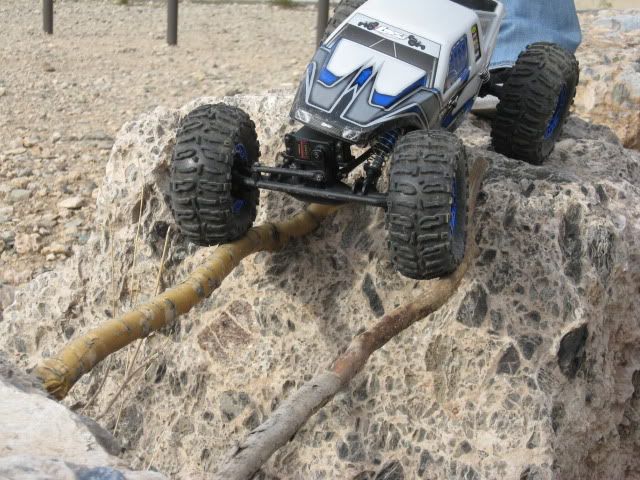 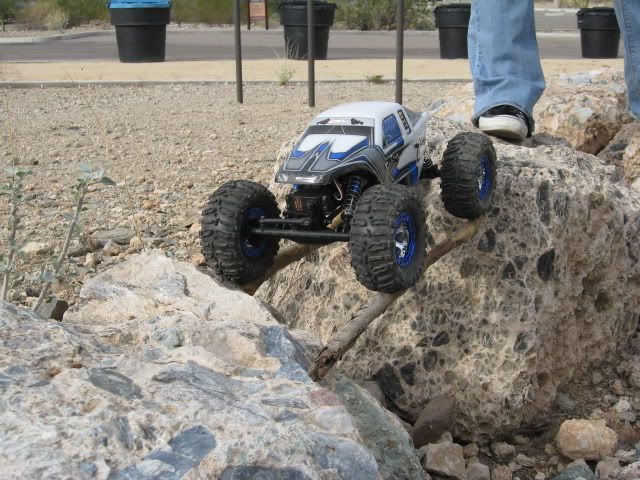 |

|  |
| Sponsored Links | |
| | |
|
12-27-2010, 04:40 PM
| #2 |
| MODERATOR   Join Date: Jul 2004 Location: Ohio
Posts: 18,928
|
Well done, and welcome to the freakin sickness. |
|
| |
|
12-27-2010, 05:38 PM
| #3 |
| Pebble Pounder Join Date: Aug 2006 Location: B.C. Canada
Posts: 139
|
What size of a hole did you drill into the housing? I have to do the same to my axels as well, but I cant decide on what size of a hole to drill. Nice pics by the way |
|
| |
|
12-27-2010, 09:52 PM
| #4 |
| Quarry Creeper Join Date: Mar 2009 Location: Phoenix
Posts: 213
|
Hey thanks EeePee, i tried! lol Canadian crawler, i used a 5/64 drill bit, then just hand tapped the set plug that fit the hole tight, not sure on the set screw size, sorry. |
|
| |
|
12-27-2010, 10:08 PM
| #5 |
| Quarry Creeper Join Date: Dec 2010 Location: Hector
Posts: 254
|
Little note: when you put the 2 axles housings back together rotate the drive gear by hand and tighten down the axle halfs slowly and evenly. Do not over tighten, you can feel the spool and worm gear turning real smooth with out any drag. If you over tighten the 2 half axle housings you will begin to feel drag , There is a fine line between snug enough & too tight. Same goes for the rear axle. Grease the drive shafts every were they pivot and slide. The smoother you get the axles and tranny to run the cooler the temps and the longer the run time. Big plus is it's more power you gain & that turns out to be H.P to the wheels. Also put a little grease in the tranny around the Dig forks and on the gears and shafts that slide or pivot. I found that the extra time spent doing this makes for a much smoother drive line system. I have yet to have any problem with the so called worm stalls. Oh that's right the LNC doesn't have dig. So grease the tranny up anyway. Next time I take mine tranny apart I will install a grease hole with a plug like I did with the Axles.,,,,,,,,,,,,,,, Great pics by the way.  |
|
| |
|
12-28-2010, 09:53 AM
| #6 |
| Quarry Creeper Join Date: Mar 2009 Location: Phoenix
Posts: 213
|
thankyou sir. good tips on the tightening factor, need to go back and double check that when i pull it apart to do the rear. idk why i didnt think about spinning the gears as i tightened. oh well. yea no dig on the lnc and thought about doing the grease ports on the trans but will probually get to that when i actually need to tear the case open. everything feels real good as far as the drive train goes for now, pretty happy with it from the get go. ha on the pics, i took alot to get the best for people to see what im doin, hate blurry pics, lol! |
|
| |
|
12-28-2010, 11:46 PM
| #7 |
| Quarry Creeper Join Date: Jan 2009 Location: Sandpoint
Posts: 260
|
Hey man how is the stock servo on this truck? If the tires are in a little crevise or something can it turn out? Does it have any strength?
|
|
| |
|
12-29-2010, 07:39 AM
| #8 |
| Quarry Creeper Join Date: Mar 2009 Location: Phoenix
Posts: 213
|
honestly dude idk. im running my futaba stuff i bought a while ago, (the servo is a S9451) and never got to use. in deep ruts tho my futaba wont steer, i dought the factory one would either, smaller ones if your in the throttle correctly when approaching id assume itd be okay. sorry, not much help. hear it works decent to get your feet wet, then enjoy the experience of upgrades! lol! one of the pics up top shows my g-friend crawling right into a tight spot, the tires dug in and she throttled and steered right out n up, dont think the servo would of steered just sitting in the rut tho ya know... Last edited by SIK_BOY; 12-29-2010 at 09:07 AM. Reason: forgot stuff |
|
| |
|
12-29-2010, 01:04 PM
| #9 |
| Quarry Creeper Join Date: Mar 2009 Location: Phoenix
Posts: 213
|
need some input guys/gals...really wanting to lower my cg after the first run the gf n i did, thought of internal spring and modify the pistons for a partial droop set up, got a million ideas in my head....what have some of you done, losi/non losi? want to try and to utilize my stock lnc shock bodies... thanks! |
|
| |
|
12-29-2010, 01:25 PM
| #10 |
| RCC Addict Join Date: Dec 2009 Location: Rock Bouncin' with the Patented Technique
Posts: 1,374
|
Have you already raised the stock spring all the way to the top of the shock?
|
|
| |
|
12-29-2010, 05:32 PM
| #11 |
| Quarry Creeper Join Date: Mar 2009 Location: Phoenix
Posts: 213
|
i have, but left some tension so that the coil wouldnt pop out the bottom retainer. also have the upper mount bolt on the highest point. its not bad, just think settin it up partial droop would work well.
|
|
| |
|
12-29-2010, 05:36 PM
| #12 |
| RCC Addict Join Date: Dec 2009 Location: Rock Bouncin' with the Patented Technique
Posts: 1,374
|
I would just lower it as low as you can with the stock shocks like I said earlier. It really don't matter if your coil pops off the bottom rod end. Unless you just have a really bad case of OCD. You don't want to lower the losi down way to low either, its very well known to be a belly dragger. I've got mine running the stock shocks lowered all the way down, and it performs flawlessly I think.
|
|
| |
|
12-29-2010, 07:21 PM
| #13 |
| Quarry Creeper Join Date: Mar 2009 Location: Phoenix
Posts: 213
|
hey, whats the specs on the different pistons losi offers for the shocks? which ones are you using? what weight oil too? truth be told now, im not sure i want it lower then where i set it up today, youre right they do belly drag. was just thinking more along the lines of letting the axle droop down over rocks instead of the truck rising as much. but i do need to go out again and do a full run with how its set now. i did move the shocks to the most upper hole on the upper mount, dont think i like the upper ball in that shock. im gonna look into swapping to the lcc shock and then play around with different set ups and just hang onto the factory lnc. |
|
| |
|
12-29-2010, 07:43 PM
| #14 |
| RCC Addict Join Date: Dec 2009 Location: Rock Bouncin' with the Patented Technique
Posts: 1,374
|
My shocks are all stock. I'm also running a Rover instead of the stock claw. Which gives me more ground clearance which makes it work alot better than with the Losi rock claw.
|
|
| |
|
12-30-2010, 07:43 AM
| #15 |
| Quarry Creeper Join Date: Mar 2009 Location: Phoenix
Posts: 213
|
ya, been lookin at new shoes for this thing, its hard to decide on a tire by a picture when looking online. im convinced that losi provided a tire/foam for FUN...lol! was thinkng that a set of aftermarket bead locks would be heavier and a taller tire would be nicer on approach in the rocks. your rovers night n day difference? what wheels are you running? i like pics!!! LOL http://prolineracing.com/scale/flat-...w/memory-foam/ i do how ever like these! looks kinda like a 1:1 "crawler" tire! http://prolineracing.com/wheels/titu...r-rear-wheels/ and matched up with theses, and their weight options seems like a winner winner chicken dinner! Last edited by SIK_BOY; 12-30-2010 at 09:38 AM. |
|
| |
|
01-02-2011, 09:09 PM
| #16 |
| Quarry Creeper Join Date: Dec 2010 Location: PATAGONIA, ALMOST AT THE END OF THE WORLD!!!
Posts: 230
|
Hi SIK BOY great decision Santa made for you getting a LNC for Christmas!!! Congratulations man!!! Got mine for my last birthday, almost half a year ago and it was just fun out of the box!!! About tires and wheels Im using HB Rovers soft white compound on stock wheels by now and they really made a difference compared with stock Losi Claws and as said county crawler they give you a better ground clearance. I run fronts with HB inserts and rears with stock Losi inserts it gives me better performance than running all tires with HB inserts, you know not having dig, I felt it better having the front soft and the rear a little bit firm, just my experimentation at the rock field, hope it help you!!! |
|
| |
|
01-03-2011, 07:46 AM
| #17 |
| Quarry Creeper Join Date: Mar 2009 Location: Phoenix
Posts: 213
|
great compare pics el vasco. i like the look of the new swamper tsl as well. not sure yet what im gonna end up with...as far as wheels go, i ve been checking out the cac ez-loks too! i like the optional track width option they give you. went back to northmountain yesterday for a couple hours, im really leaning towards some gearing ideas at the moment. the lnc performed awsome all after noon, its just at real steep inclines where ya find your rig at a 50/50...you either white nuckle your radio and watch it crawl real easy over the rock, obsticle, etc. or you gotta go go flip it back over! LOL!!! i like the oe radio equipment but i need to play with gearing to get me more real low end umpph instead of needing to throttle more to get and chance bumping myself over backwards. but traction is a part in that as well i suppose. |
|
| |
|
01-03-2011, 05:47 PM
| #18 |
| RCC Addict Join Date: Jul 2009 Location: Santa Rosa, CA
Posts: 1,349
|
I'd definetaly recomend HB white dot rovers or the new Losi boss claws. They are much taller then the rock claws and provide excellent traction. As for rims, I would look into anything Vanquish (VP) But id also stay away from the pro line flat irons, not that they are a bad tire, just they don't provide enough traction and are very short tires... Last edited by shelby; 01-03-2011 at 05:49 PM. |
|
| |
|
01-03-2011, 05:52 PM
| #19 |
| RCC Addict Join Date: Dec 2009 Location: Rock Bouncin' with the Patented Technique
Posts: 1,374
|
HB Rovers all the way. White Dot. I've ran Claws, Leopards, and my Rovers. The Rovers just plain out work. I've got 3 ounces on each front wheels too. Helps my set up alot and keeps it light. As for wheels VP wheels are pretty freaking sweet, but the Night crawler wheels are pretty dang skinny to begin with. Again I kept my night crawler wheels because they were light weight and very narrow.
|
|
| |
|
01-04-2011, 07:53 AM
| #20 |
| Quarry Creeper Join Date: Mar 2009 Location: Phoenix
Posts: 213
|
yea, im not oppose to keeping the lnc wheels, after all you can always scuff n paint em right? i was thinking about melting down some fishing weights and molding the lead in the inner groove on the stock lnc wheels, but honestly...dont know how to play with the lead. lol need to figure out my gearing and then look into traction! hey anyone know the differences between the shock pistons and springs? pistons come in black, orange, blue...not sure on springs, wondering on new shock set up, and thinkning of internal spring set up too, any ideas??? Last edited by SIK_BOY; 01-04-2011 at 10:28 AM. |
|
| |
|
| |


 Linear Mode


