| |
| |||||||
 |
| | LinkBack | Thread Tools | Display Modes |
 05-11-2014, 07:45 PM
| #21 |
| I wanna be Dave Join Date: Aug 2006 Location: under a rock and a hard place
Posts: 5,443
|
I was able to get this much flex, steering and stance before good ole sloppy turned into stiffy.    All those shots are at a 12.25"WB running tlt offset wheels. |

|  |
| Sponsored Links | |
| | |
|
05-11-2014, 08:11 PM
| #22 | ||
| I wanna be Dave Join Date: Jan 2004 Location: Austin Texas
Posts: 3,866
| Quote:
Thank you! I agree - it's always a performance vs. looks sort of situation with these rigs. Quote:
 | ||
|
| |
|
05-11-2014, 08:33 PM
| #23 |
| I wanna be Dave Join Date: Jan 2004 Location: Austin Texas
Posts: 3,866
|
Here's today's project: 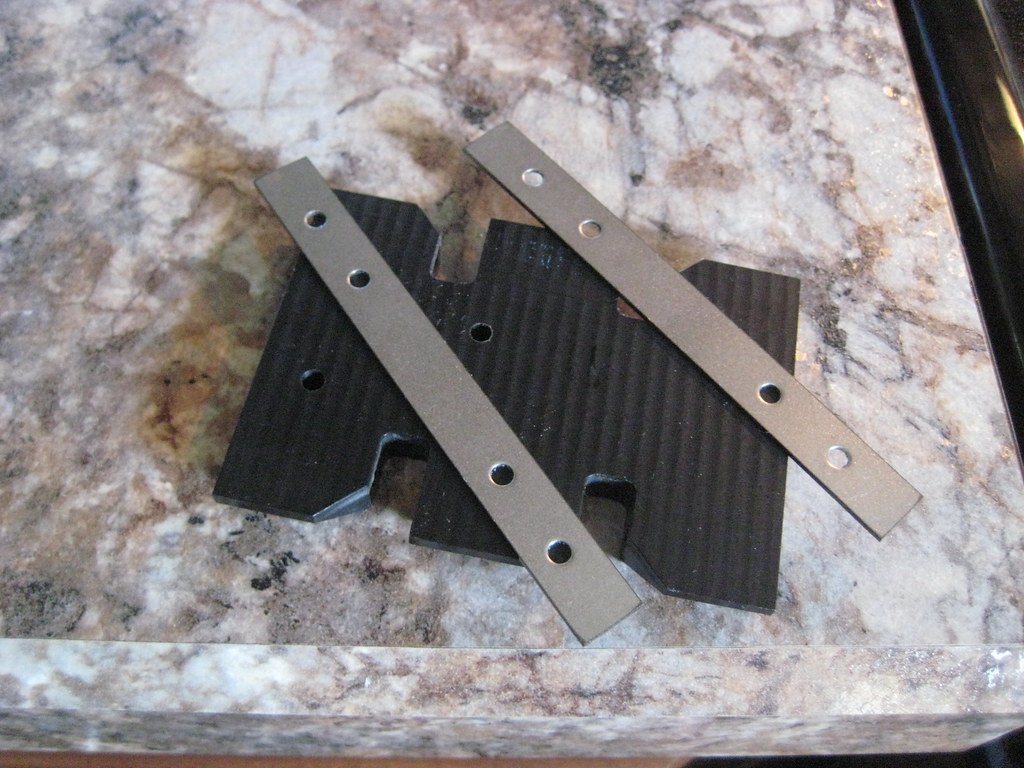 MadDogRc slider plates and a TSS smooth skid. I wanted to box the skid plate area so the skid can slide in an out while also smoothing out the skid place area. Silver Soldered in the drivers side bottom. 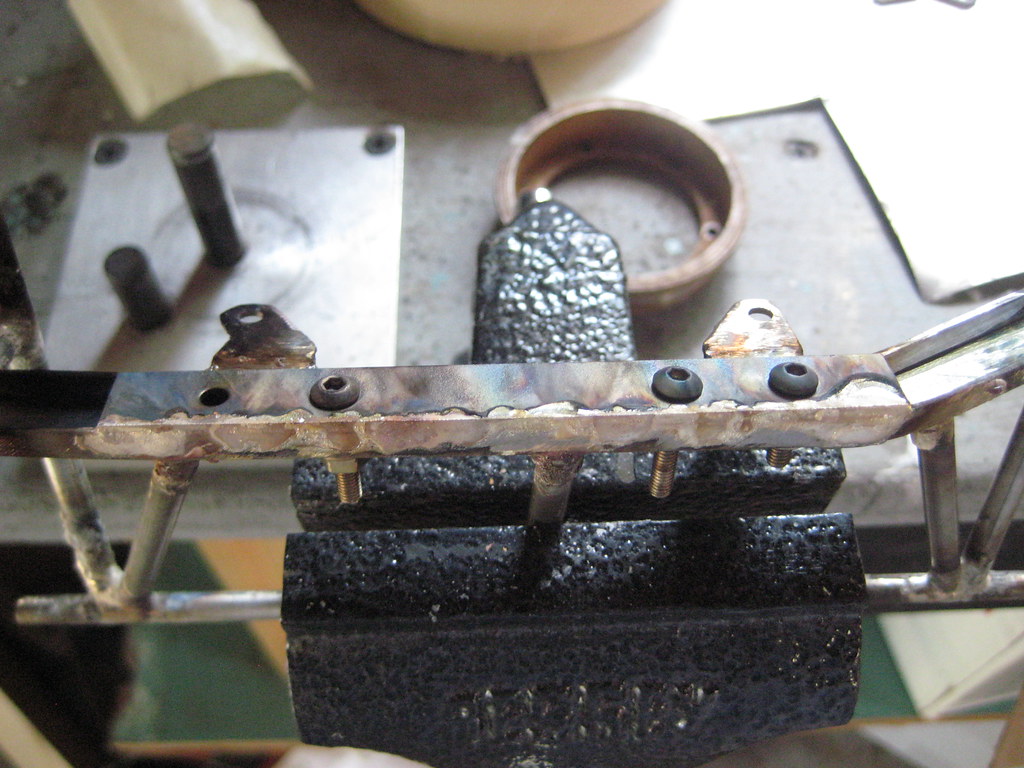 Then the top. I had to fill the area between the flat slider plate and the curve in the frame rails so I decided to try a tig technique. Basically I got the steel hot enough that the flux formed a puddle area - then I drug the filler accross the top to bridge the gap. I also ensured that the joint melded well with the upper link mounts. It's really neat what you can do with this tiny torch. 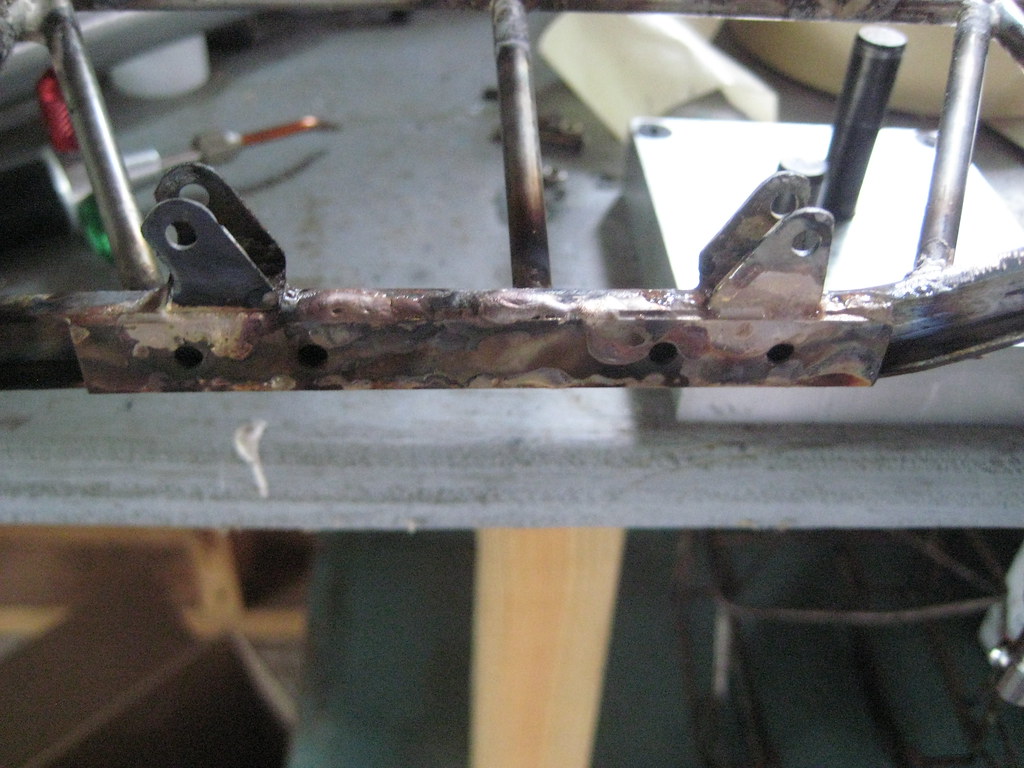 Then I smoothed it out. - I can't wait to sandblast this frame and get all the damn flux off it. 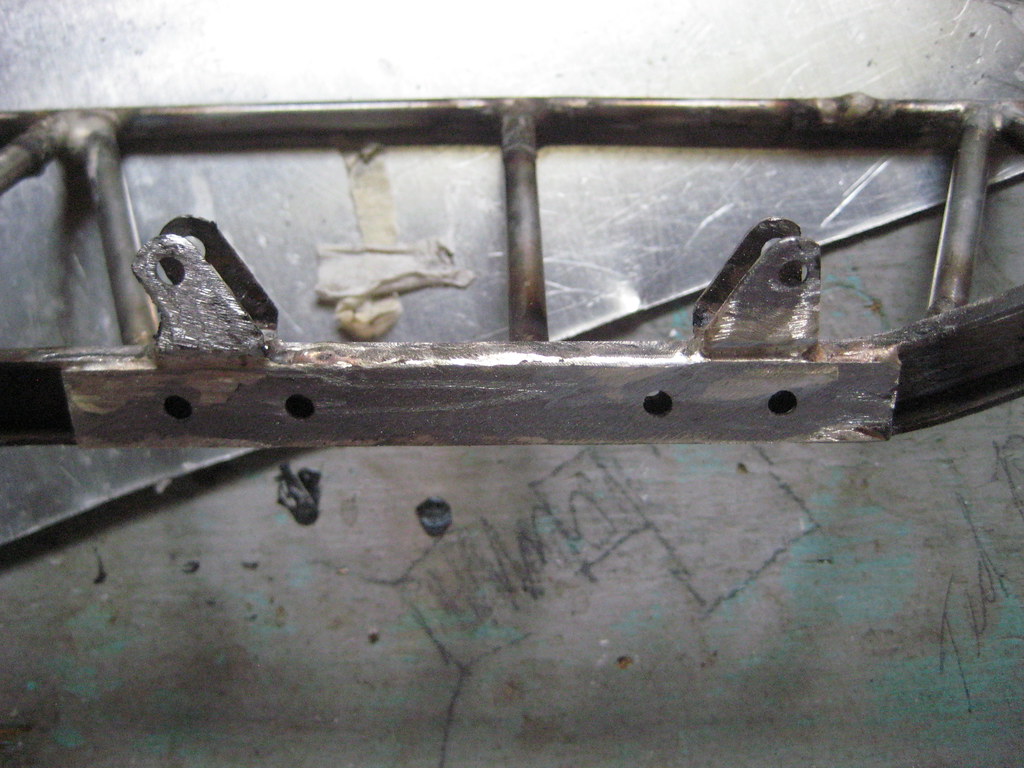 The other side had a gap that I cut to get the stock skid out - so I soldered in the slider plate. Then I soldered a seperate filler piece in to fill the gap. 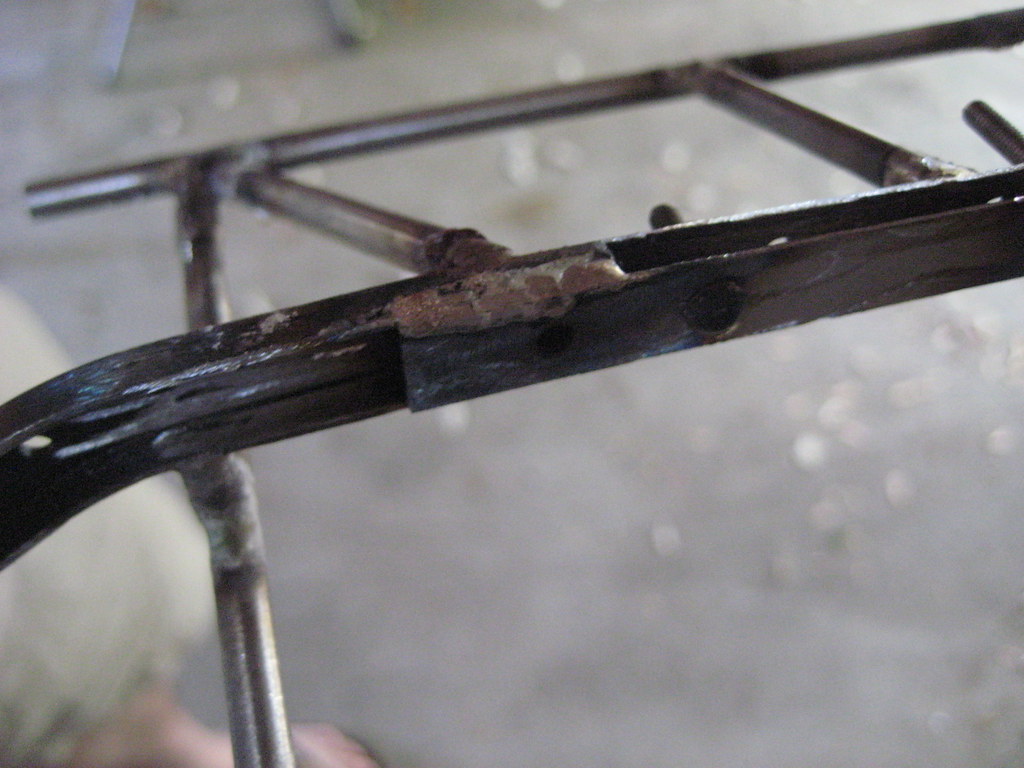 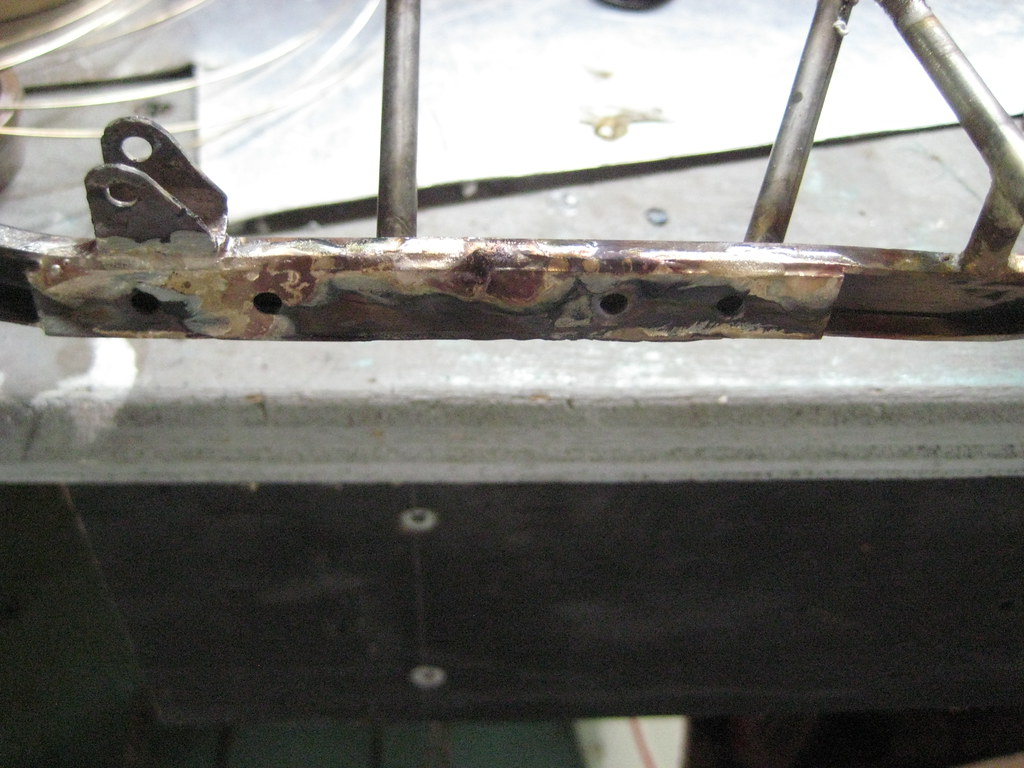 Can't tell there was ever a gap. 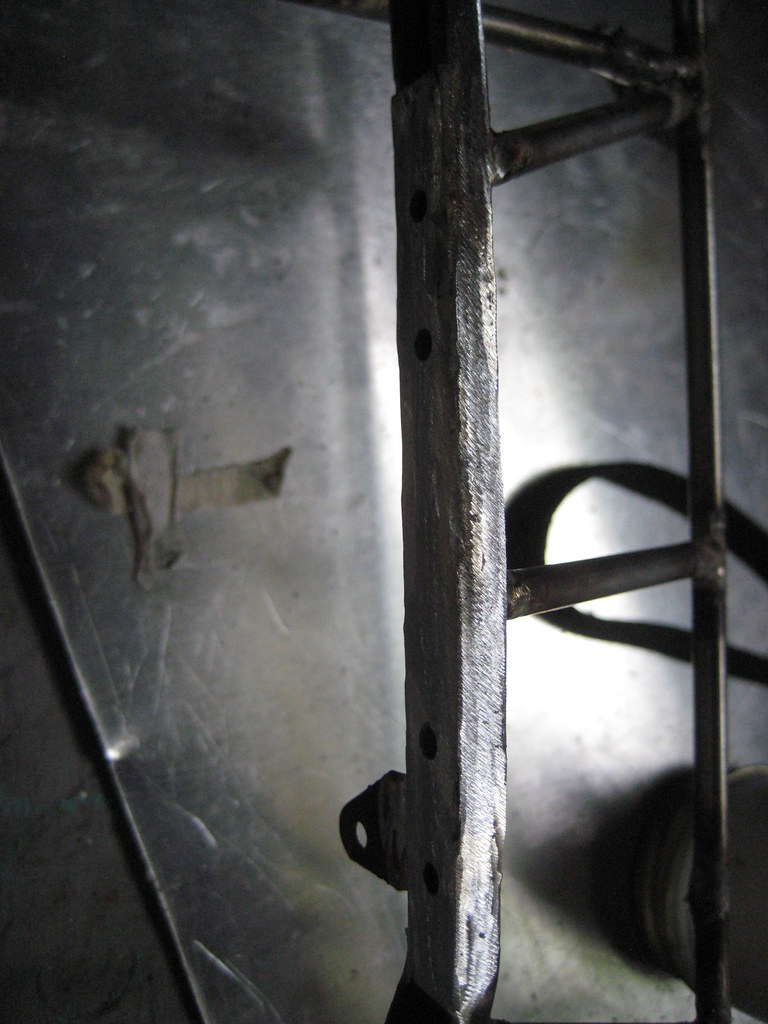 Now the stock smooth skid wouldn't fit because it can't slide into the rails anymore: 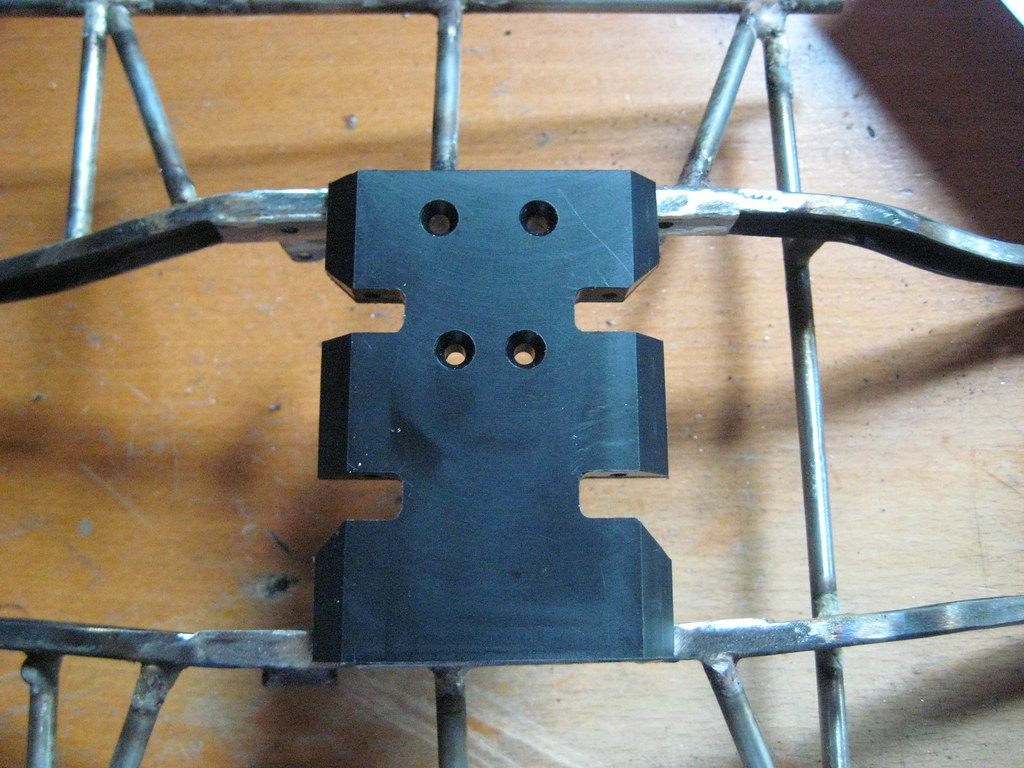 So I used my belt sander to trim it down to fit. It has an angle gauge so it made it easy to keep it true. I love my belt sander 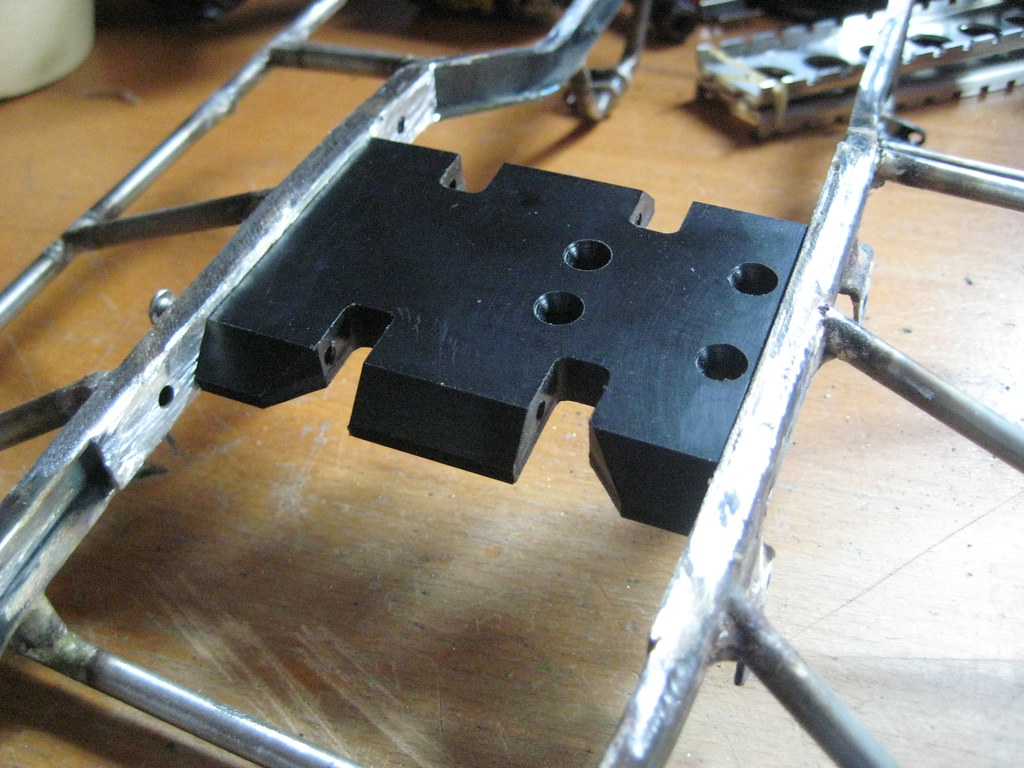 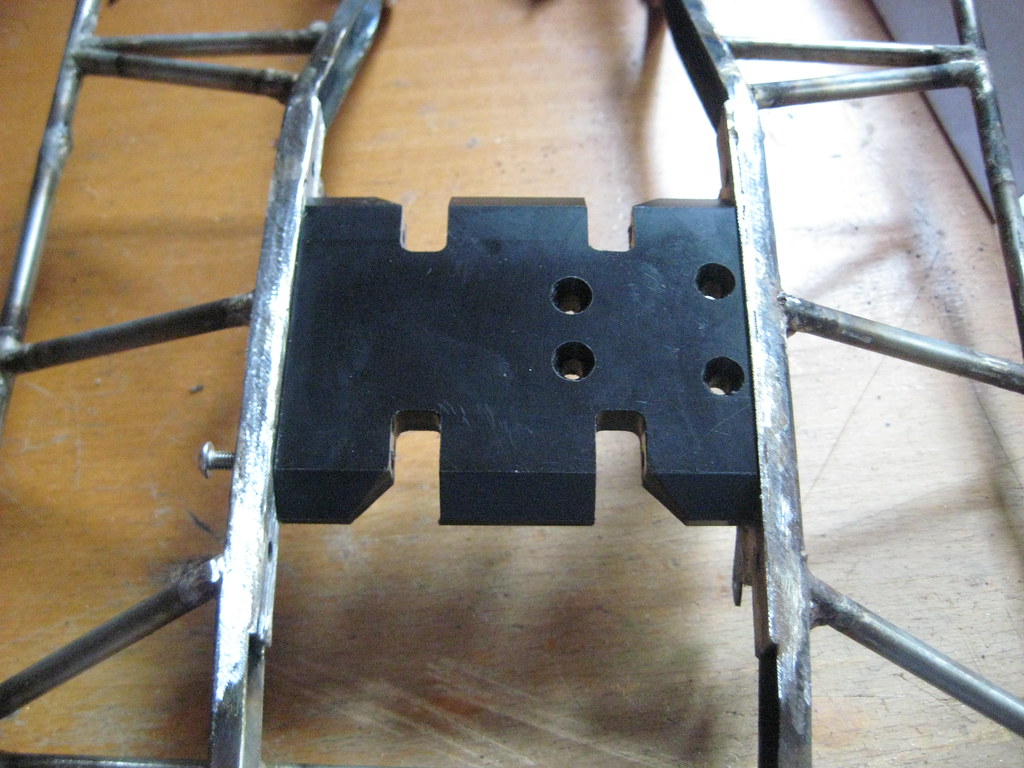 I also smoothed out the leading angles on both ends - super slippery! Here's the finished product. 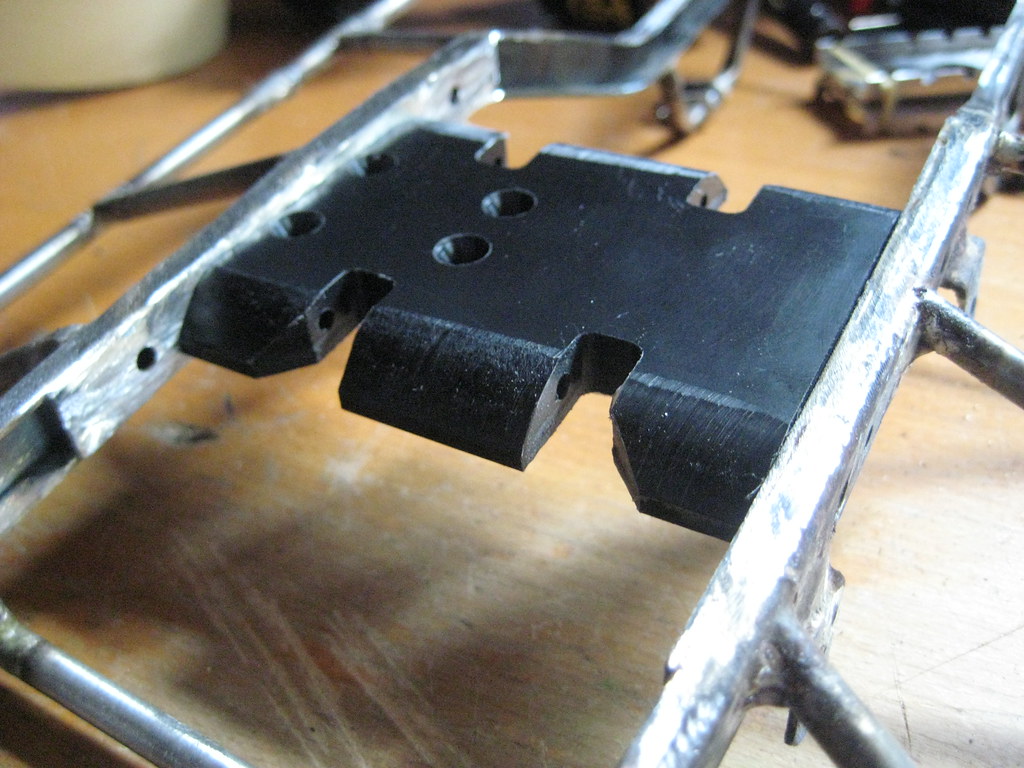 |
|
| |
|
05-12-2014, 07:39 PM
| #24 |
| I wanna be Dave Join Date: Jan 2004 Location: Austin Texas
Posts: 3,866
|
Today was servo mount day. I wanted to do something low profile and tough so I started with a nice chunk of steel. 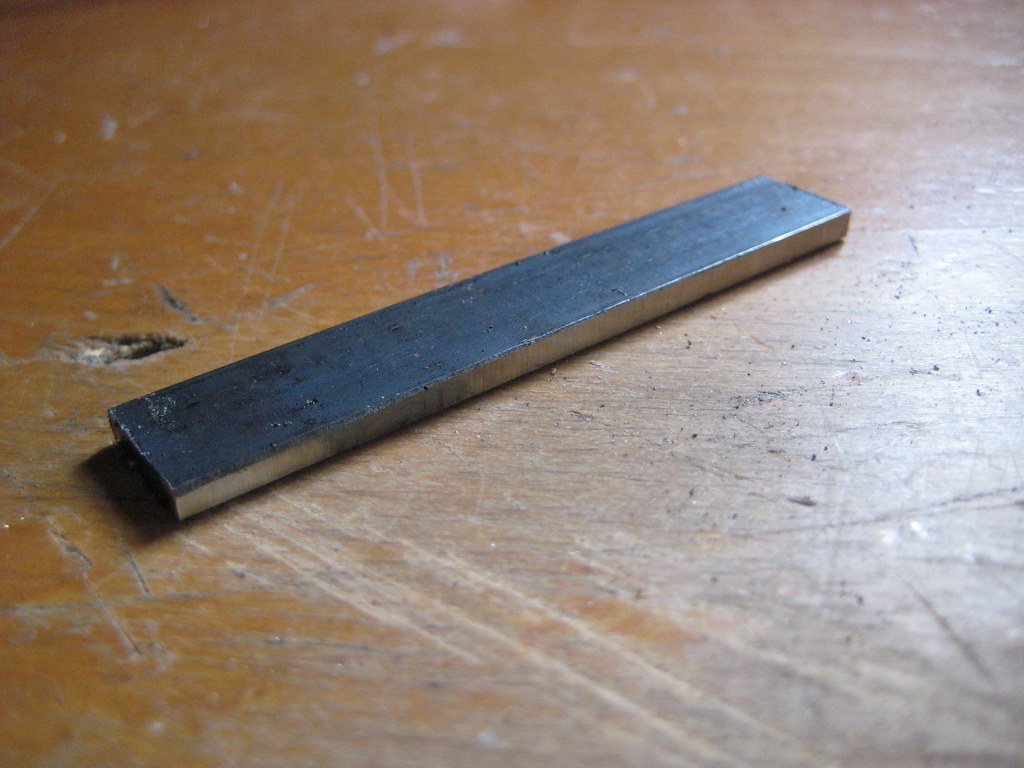 Drilled a bunch of holes. 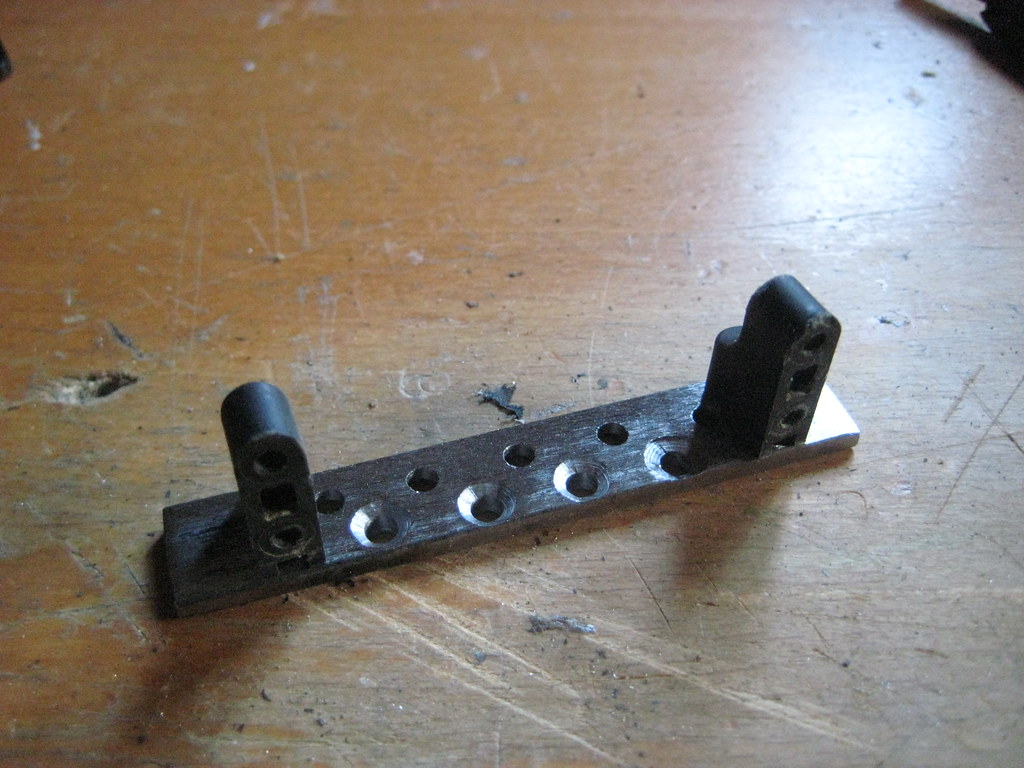 Got it in position. 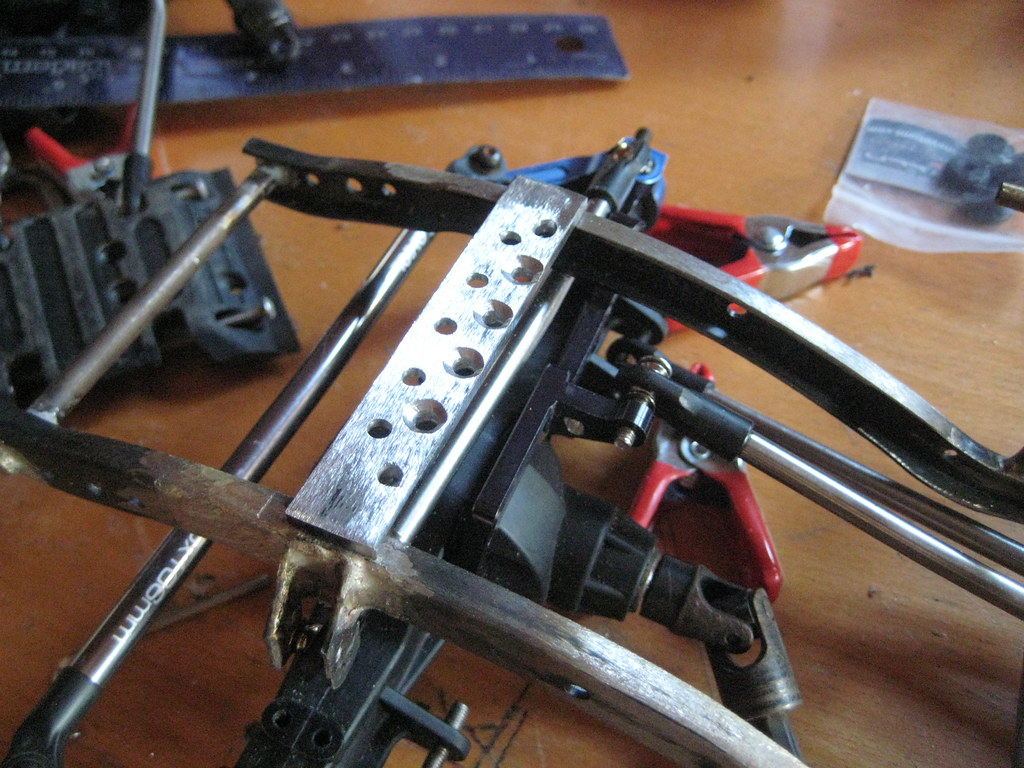 Brazed that sucker in there. 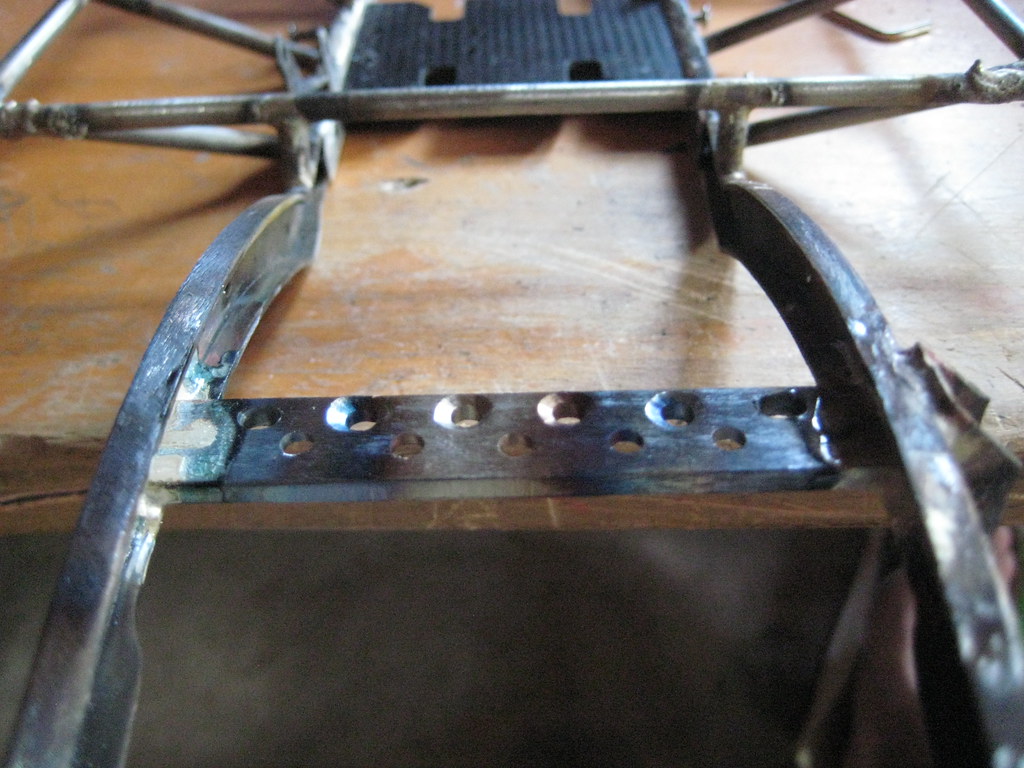 Nice and low: 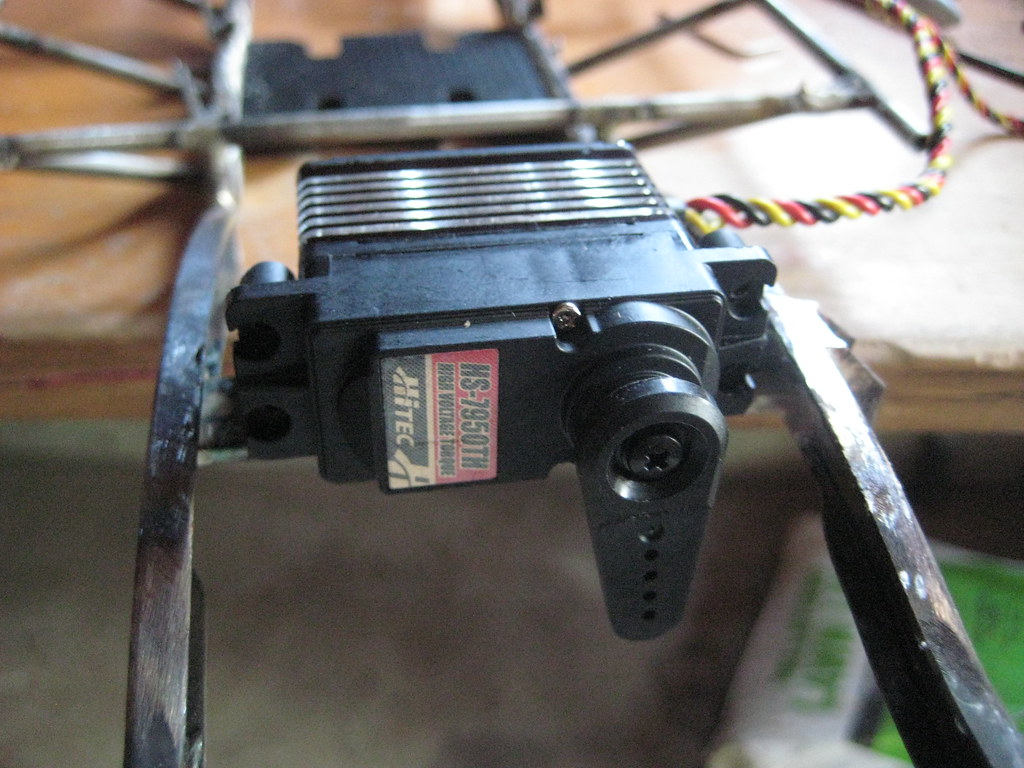 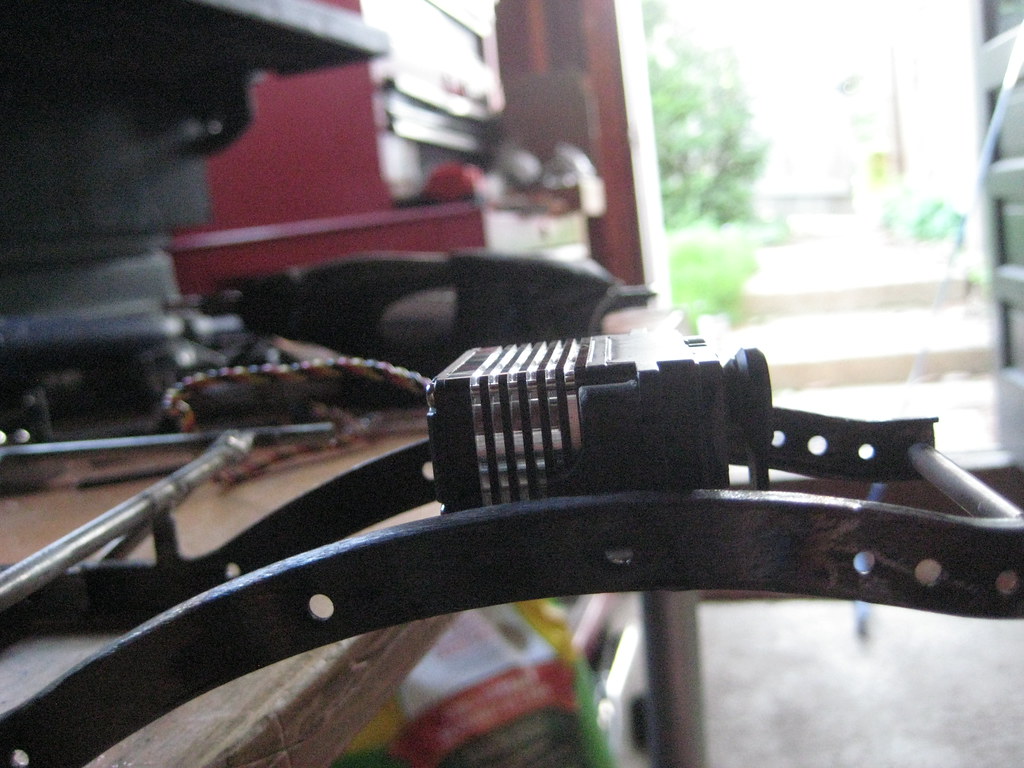 Now it was time to start cutting that 30 year old body some more. 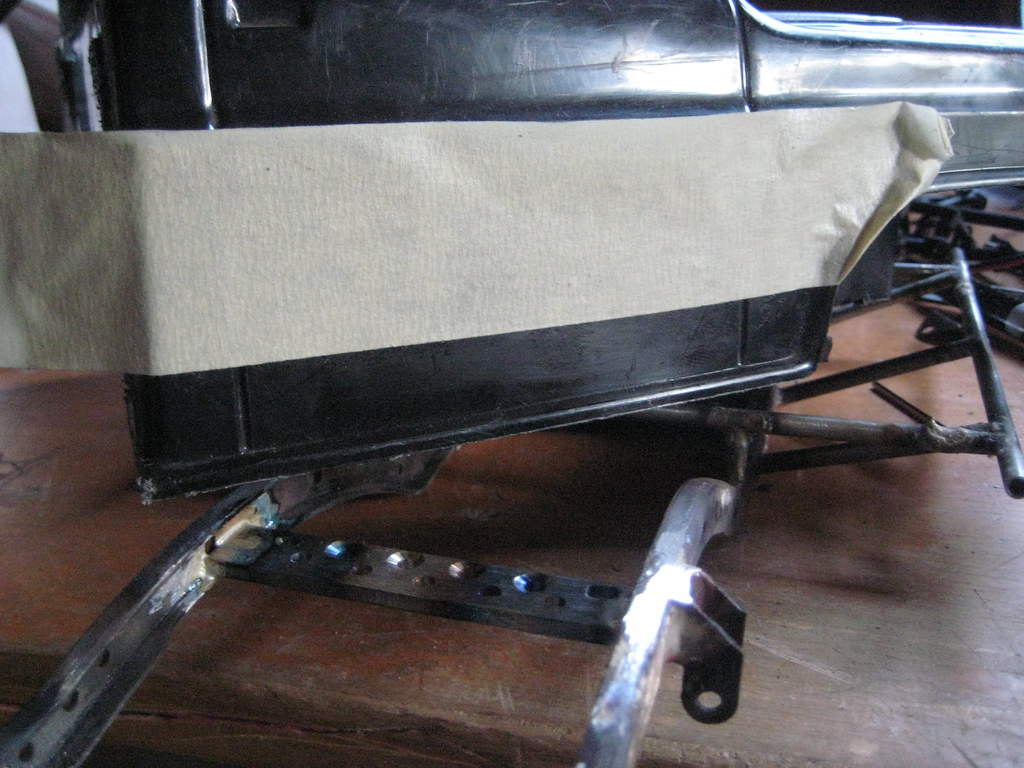 I'm pretty happy with it - I think I can keep most of the grill. 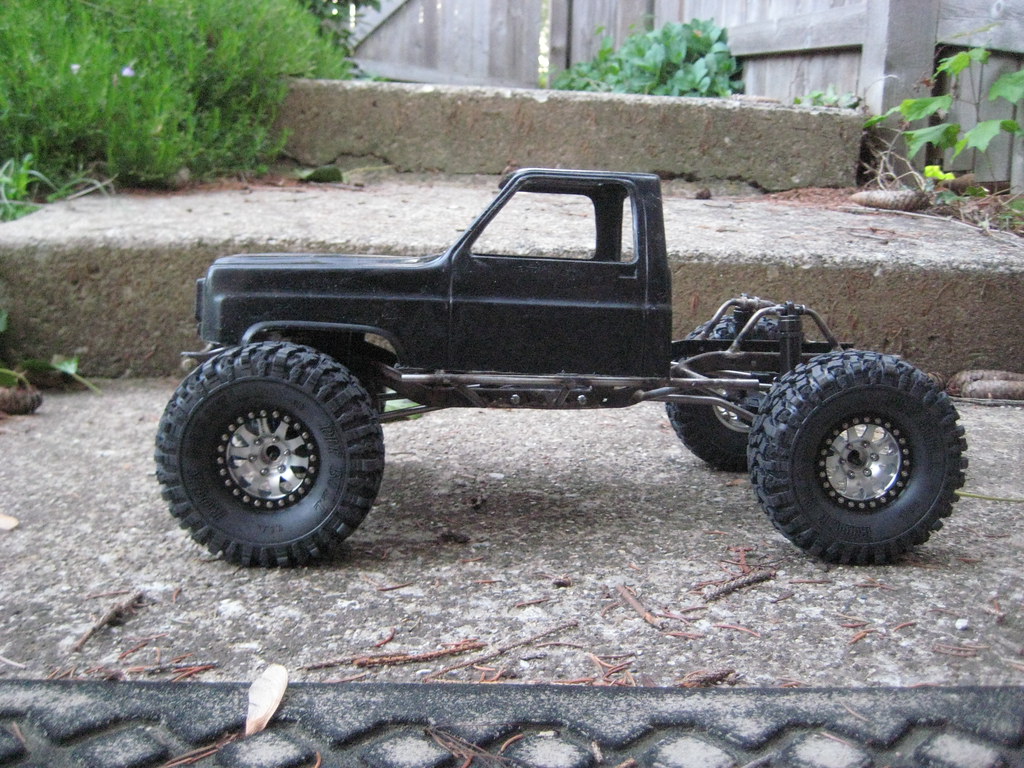 |
|
| |
|
05-14-2014, 06:16 AM
| #25 |
| Quarry Creeper  Join Date: Apr 2011 Location: Grillin & Chillin
Posts: 353
|
Looking sick man keep it up
|
|
| |
|
05-14-2014, 08:02 AM
| #26 |
| Quarry Creeper Join Date: Nov 2010 Location: Montreal
Posts: 308
|
I like it!!!! Go team Chevy ;)
|
|
| |
|
05-14-2014, 10:20 AM
| #27 |
| ~THE SCALE SHOP~ Join Date: Apr 2006 Location: KILLEEN TX
Posts: 10,056
|
Nice!
|
|
| |
|
05-14-2014, 12:23 PM
| #28 | |
| Oppan Gangnam Style   Join Date: Jun 2005 Location: Shingle Springs
Posts: 5,164
| Quote:
| |
|
| |
|
05-14-2014, 06:45 PM
| #29 |
| Rock Crawler Join Date: May 2012 Location: Washougal
Posts: 625
|
I like the chop Jon. That's just how I would do it too |
|
| |
|
05-14-2014, 10:21 PM
| #30 |
| I wanna be Dave Join Date: Feb 2009 Location: Cowtown, USA
Posts: 2,780
|
You know I am digging this! Looking sick!
|
|
| |
|
05-15-2014, 10:22 AM
| #31 |
| RCC Addict Join Date: Apr 2007 Location: Murfreesboro
Posts: 1,537
|
I dig the last cut you made, its starting to look awesome! Matt |
|
| |
|
05-15-2014, 11:32 AM
| #32 |
| I wanna be Dave Join Date: Jan 2004 Location: Austin Texas
Posts: 3,866
|
Thanks a lot guys - I really appreciate the compliments. I'm taking off work early today and I hope to get some more done on it.
|
|
| |
|
05-15-2014, 05:28 PM
| #33 |
| I wanna be Dave Join Date: Dec 2008 Location: ?
Posts: 5,055
|
Do you plan on opening the front fenders to fit the wheels?
|
|
| |
|
05-15-2014, 08:22 PM
| #34 | |
| I wanna be Dave Join Date: Jan 2004 Location: Austin Texas
Posts: 3,866
| Quote:
| |
|
| |
|
05-15-2014, 08:30 PM
| #35 |
| I wanna be Dave Join Date: Jan 2004 Location: Austin Texas
Posts: 3,866
|
Some more progress today. As with everything in my world - start with a chunk of steel: 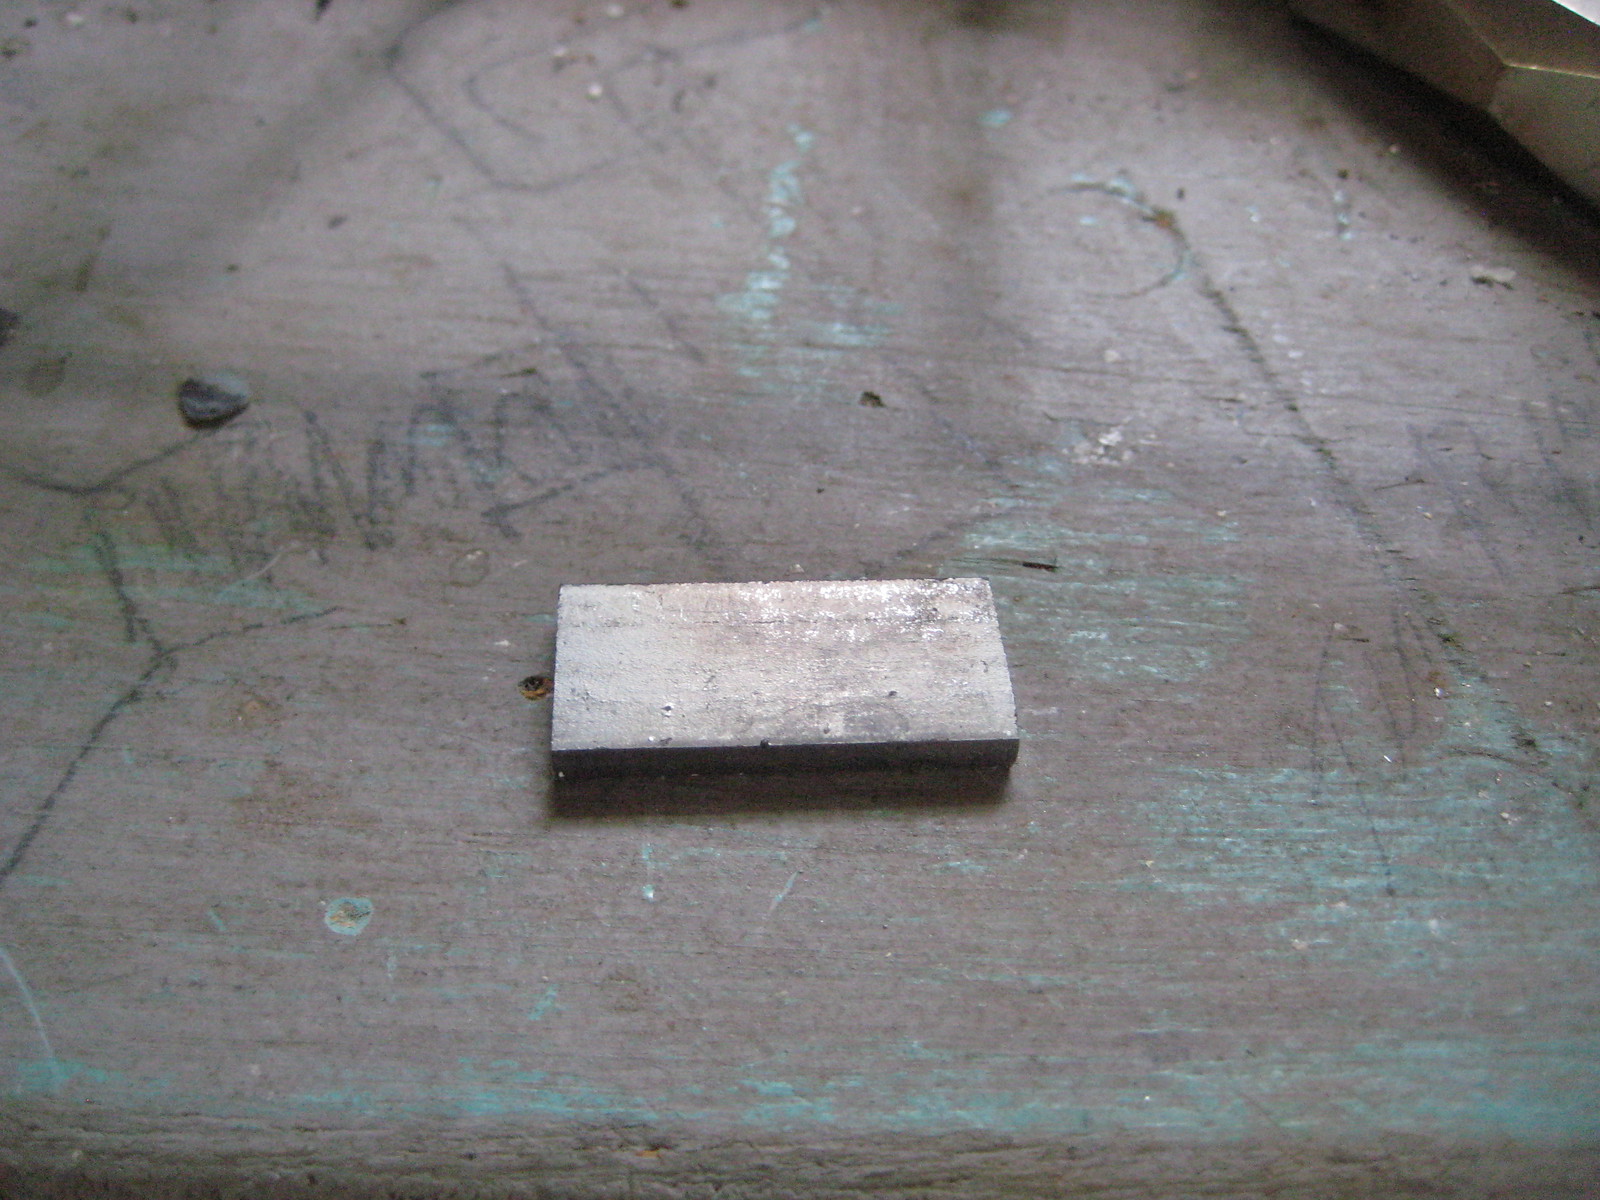 Cut it in half: 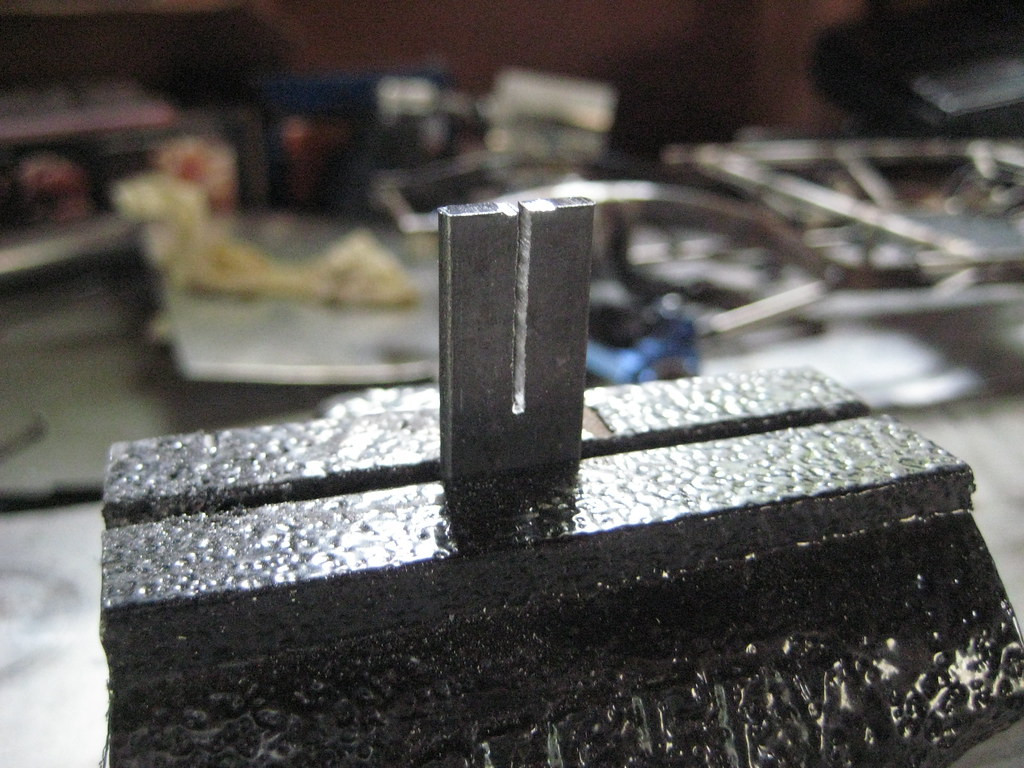 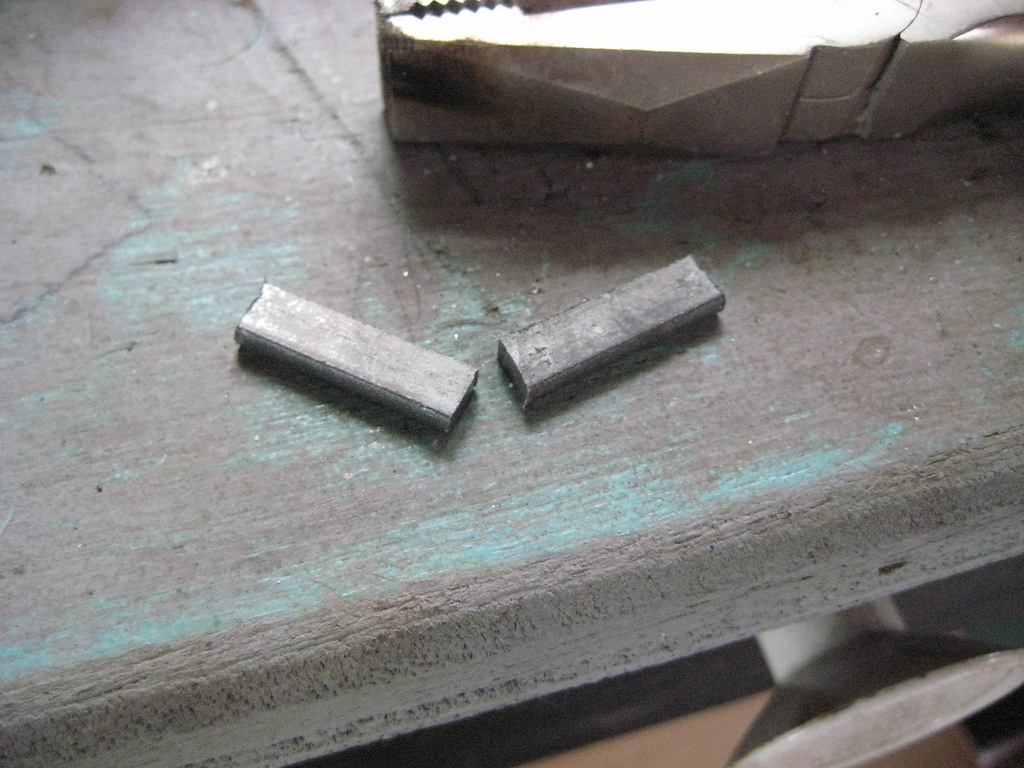 Glue it to the chassis with some paste. 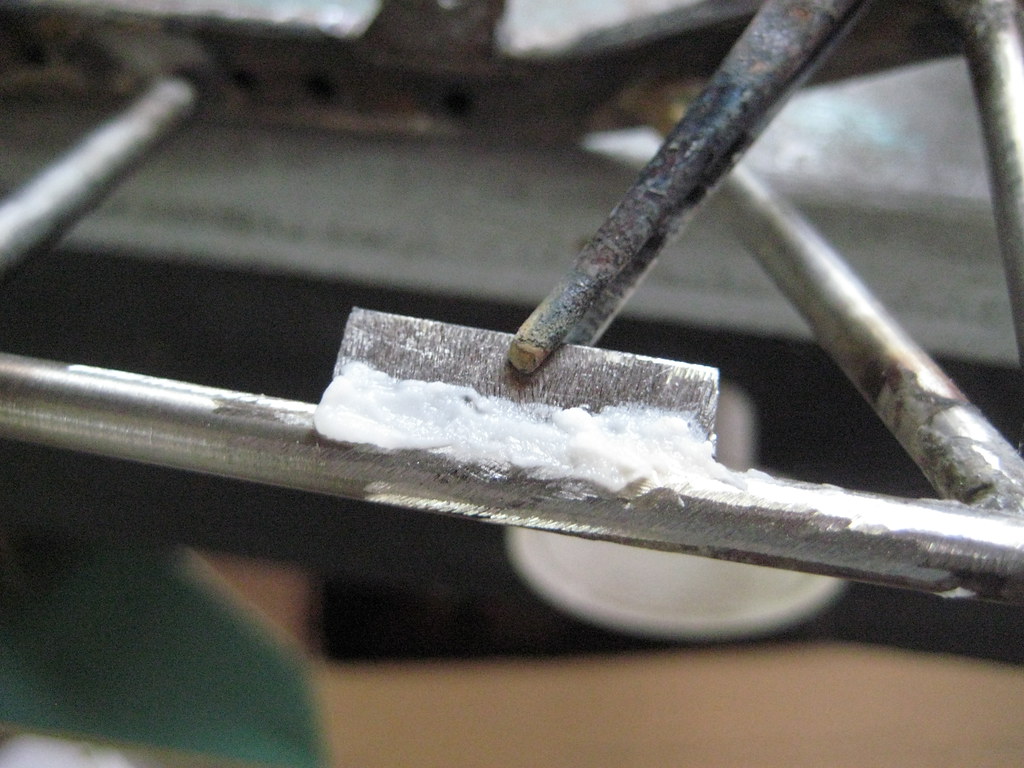 Solder roll-bar to pasted plate: 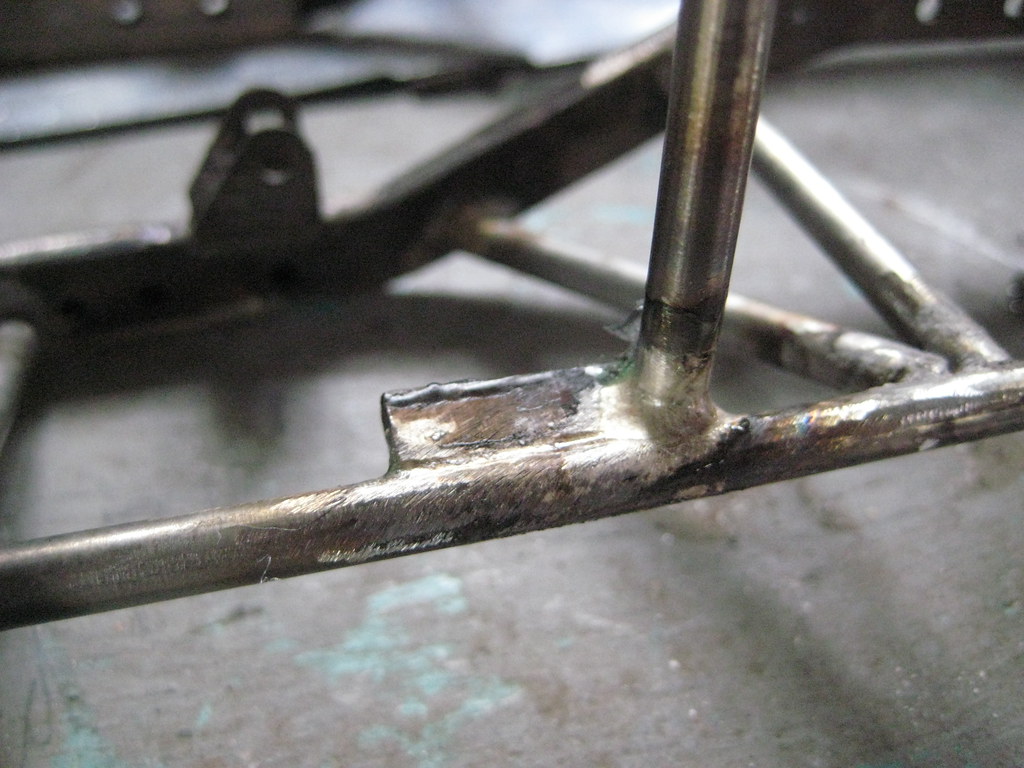 Check fitment: 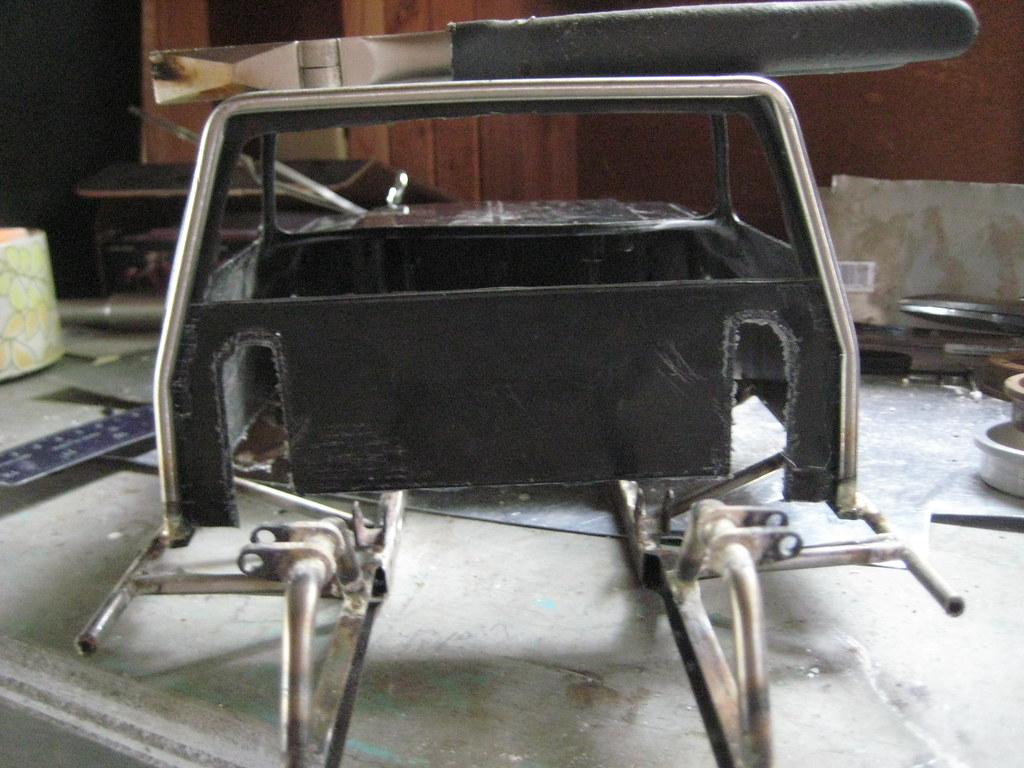 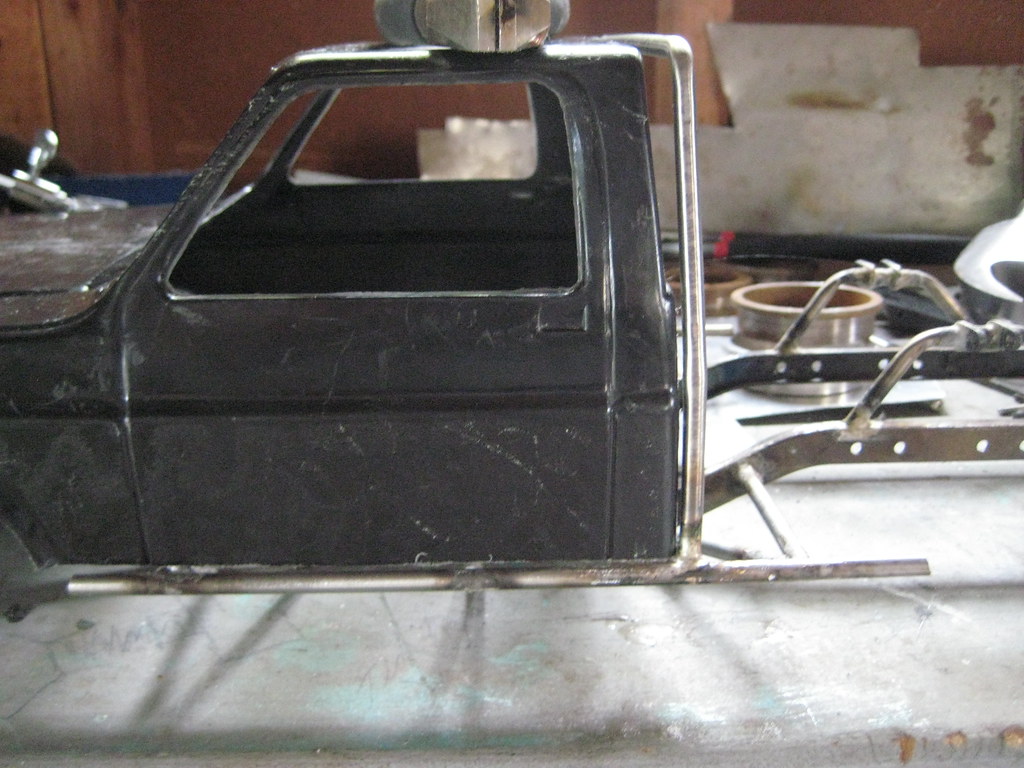 I'm not very happy with the gap between the top of the cab and the top of the roll bar - might have to revisit that later. I also bent up a template for the interior cage: 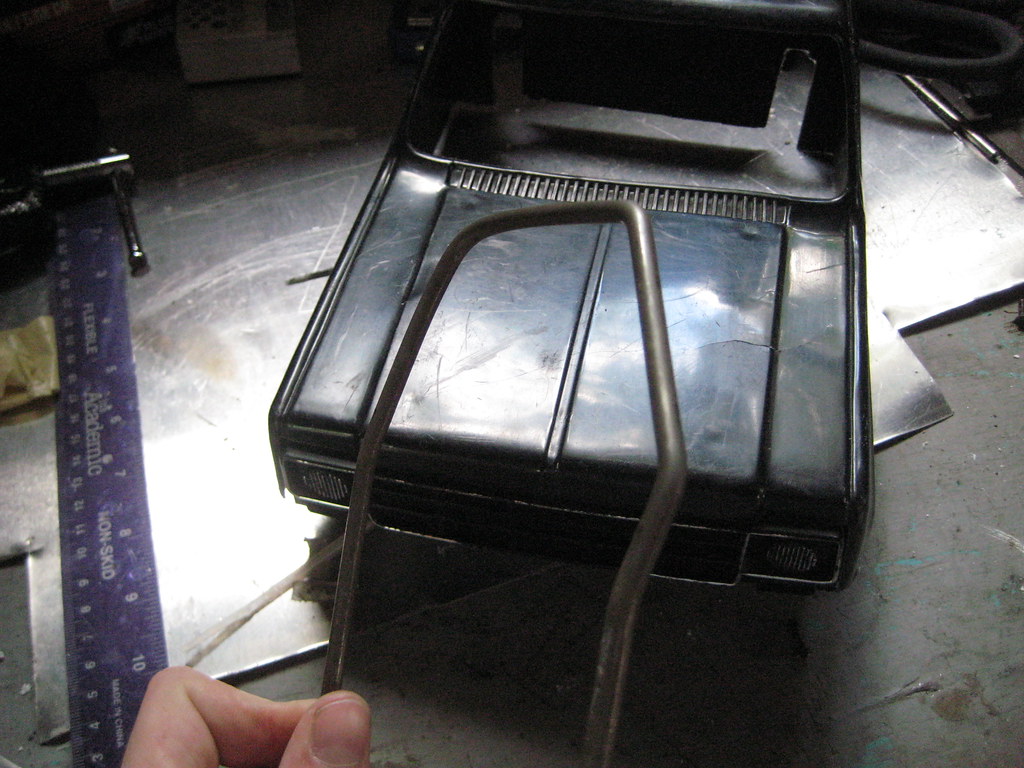 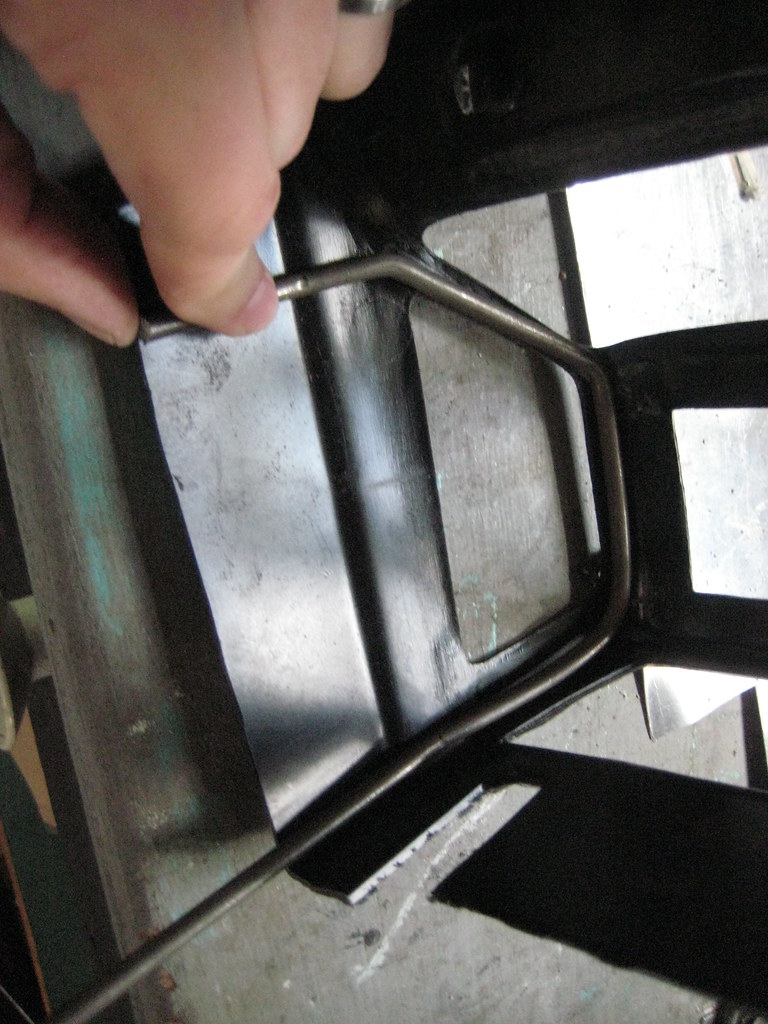 Aw yeah. Last edited by Highmark; 05-15-2014 at 08:51 PM. |
|
| |
|
05-15-2014, 09:00 PM
| #36 |
| RCC Addict Join Date: Aug 2011 Location: round pond (aka clarksville TN)
Posts: 1,454
|
what if you marked the rollbar on both sides just where the top half of the cab sorta breaks forward, then put just a slight bend at said marks so the top half of the rollbar leans with the cab just my $0.02....looking good by the way |
|
| |
|
05-16-2014, 01:12 AM
| #37 |
| Rock Crawler Join Date: Jan 2013 Location: Australia
Posts: 541
|
Very nice work. Keen to see how this turns out. Cheers H2Micr0 |
|
| |
|
05-17-2014, 06:18 PM
| #38 | ||
| I wanna be Dave Join Date: Jan 2004 Location: Austin Texas
Posts: 3,866
| Quote:
Thanks for the idea! Much appreciated. Quote:
| ||
|
| |
|
05-17-2014, 06:40 PM
| #39 |
| I wanna be Dave Join Date: Jan 2004 Location: Austin Texas
Posts: 3,866
|
Today was interior cage day. I built some twins of the template piece I made the other day in stainless tube and welded it up. 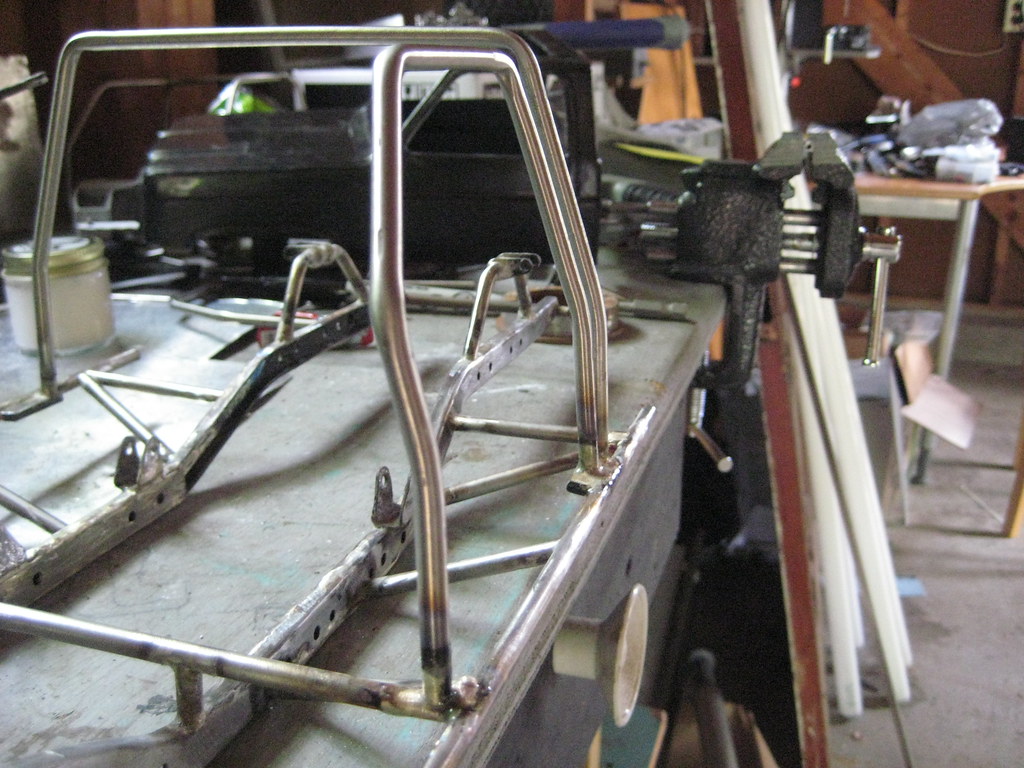 Fun joint.  Checked the fitment with the body. 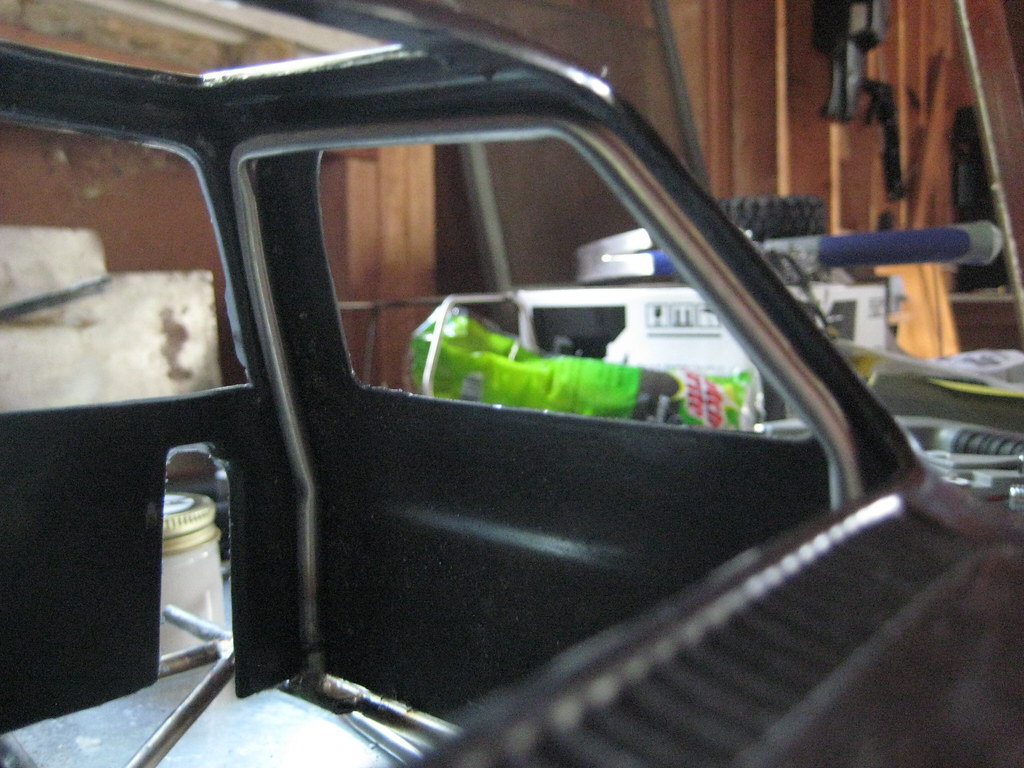 Then got the other one in there. I didn't notice how curved the A pillars are untill I got the bars in there. 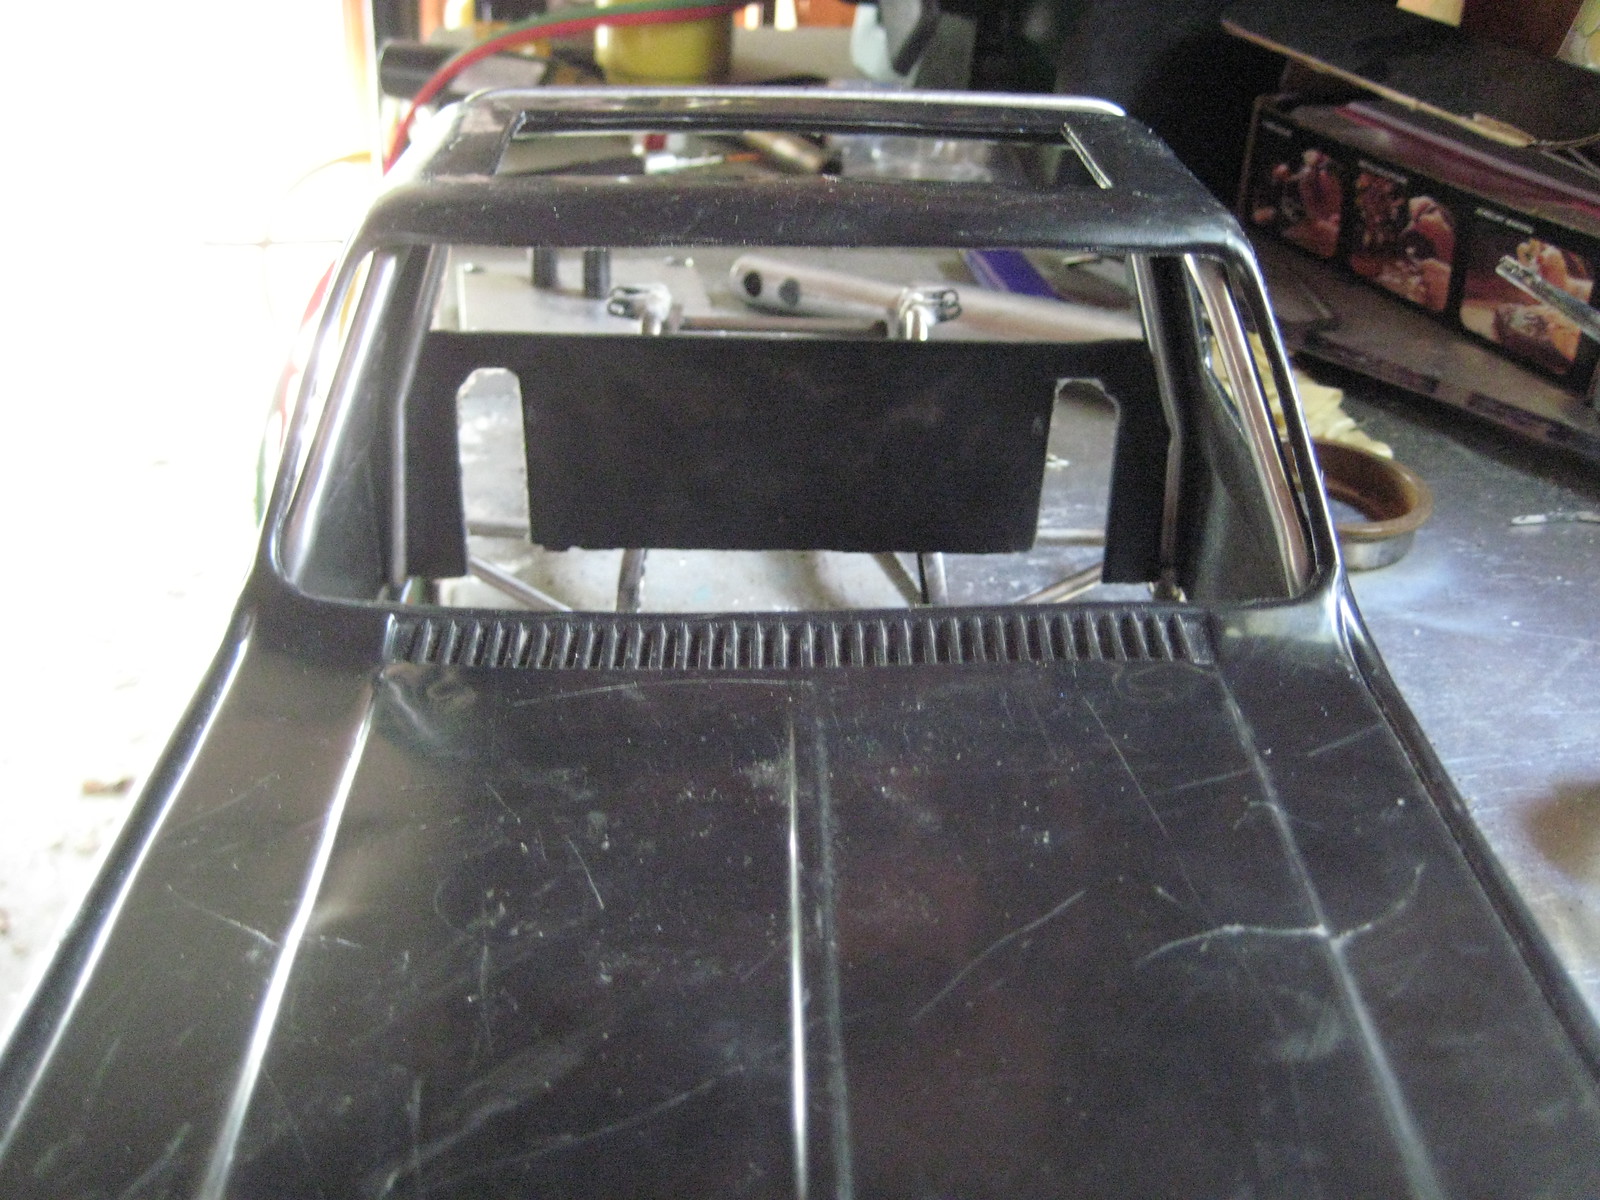 Also started with some ideas to finish the rear hoop. 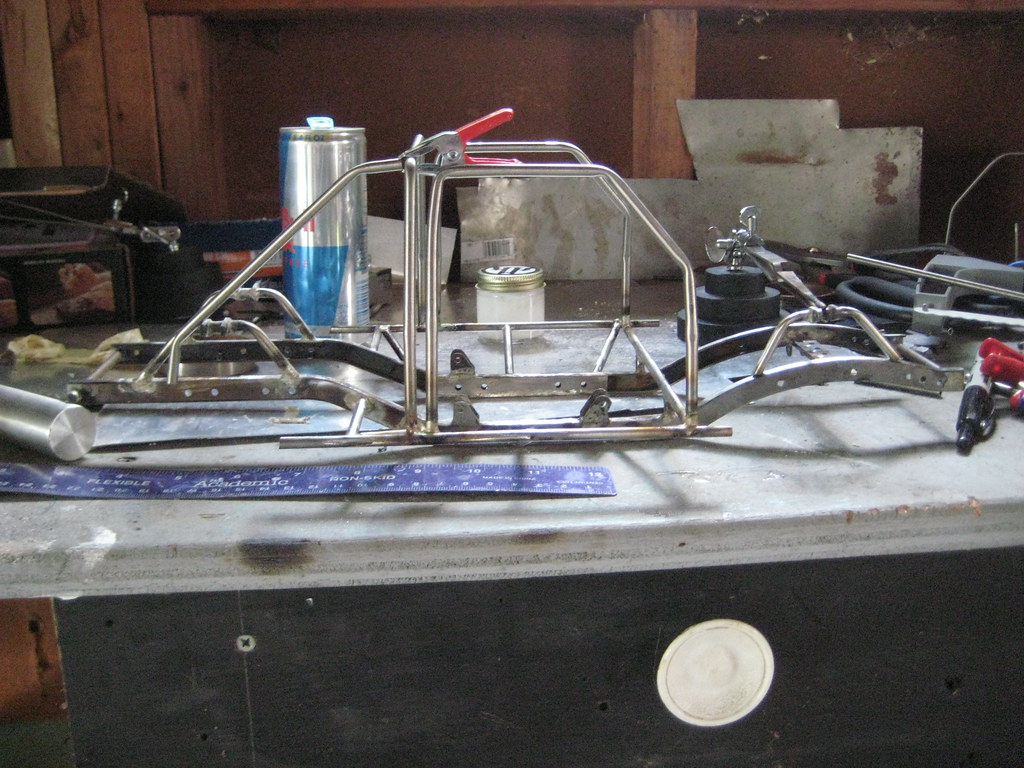 Starting to look like a real frame! |
|
| |
|
05-18-2014, 10:24 AM
| #40 |
| I wanna be Dave Join Date: Jan 2004 Location: Austin Texas
Posts: 3,866
|
Placed an order with DLUX today. Hrmmmm....  |
|
| |
|
 Highmark's Class 2: The Marmot - Similar Threads
 | ||||
| Thread | Thread Starter | Forum | Replies | Last Post |
| Highmark's LR @ FOTO | Highmark | Scale Videos! | 7 | 08-21-2011 09:43 PM |
| The Marmot - SCX10 Honcho - Rebuild with 100mm shocks | dystance | Axial SCX-10 | 41 | 06-20-2011 01:17 PM |
| Highmark's new CJ - Alby | Highmark | 1.9 Scale Rigs | 46 | 11-15-2010 12:21 PM |
| scx-10 The Marmot at Chaos Trail 1- Fort Collins Crawling | dystance | Videos! | 1 | 10-23-2010 06:02 AM |
| Marmot | wonder squirrel | Tamiya Txt-1 and Juggernaut | 17 | 09-29-2006 09:35 AM |
| |


 Linear Mode


