| | #41 |
| Pebble Pounder Join Date: Jul 2014 Location: Phippsburg, ME
Posts: 143
|
Being on a roll already, I continued on and made a rear door inner skin. I made it smaller than the front door so there was a little more clearance in the opening. 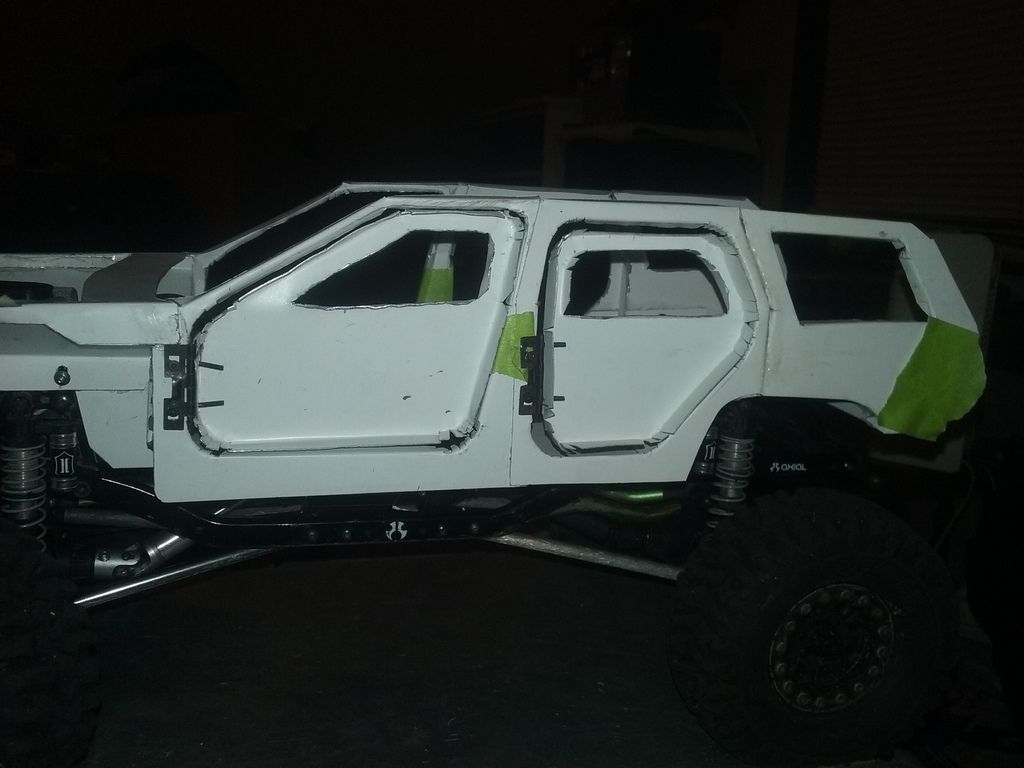 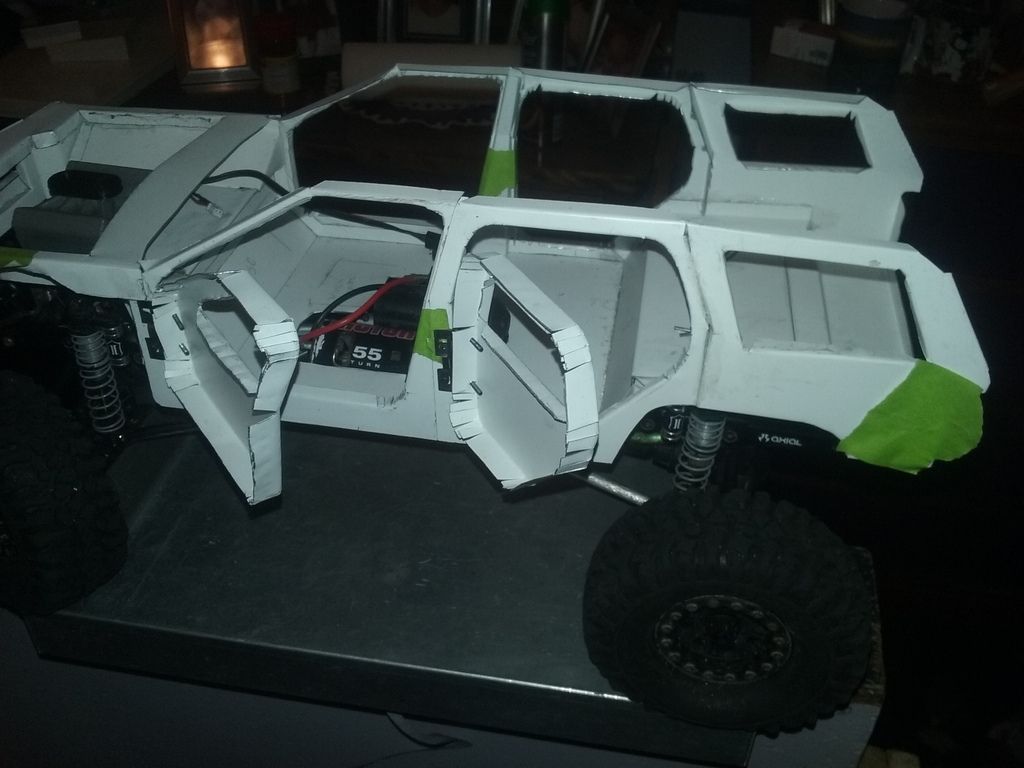 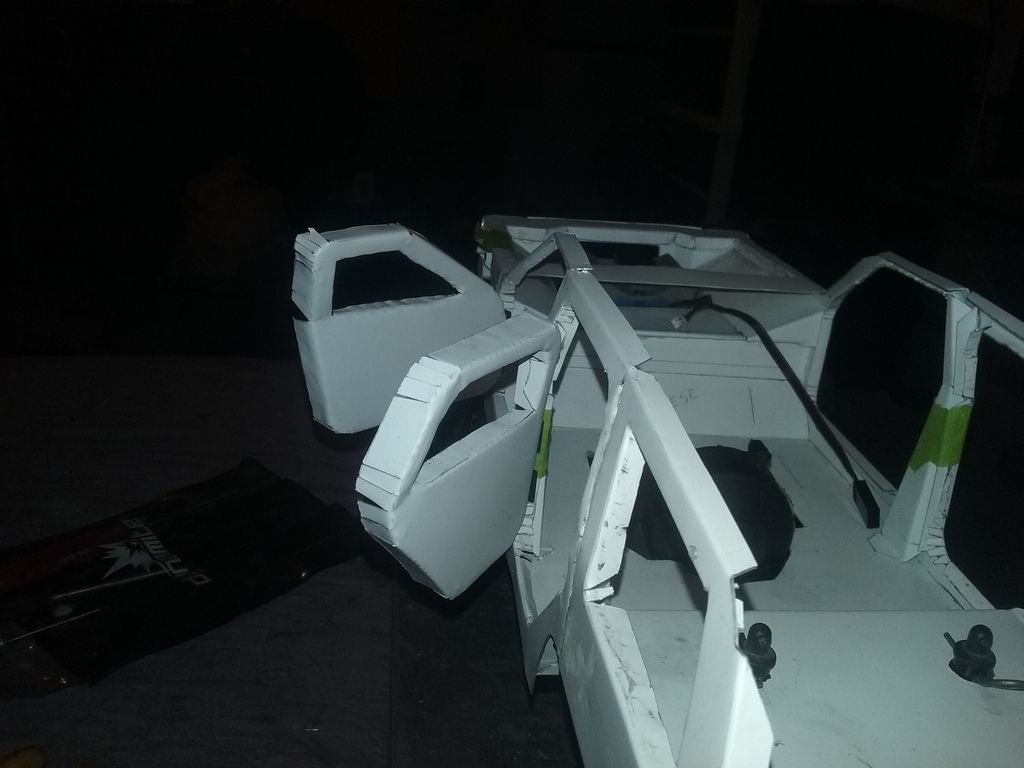 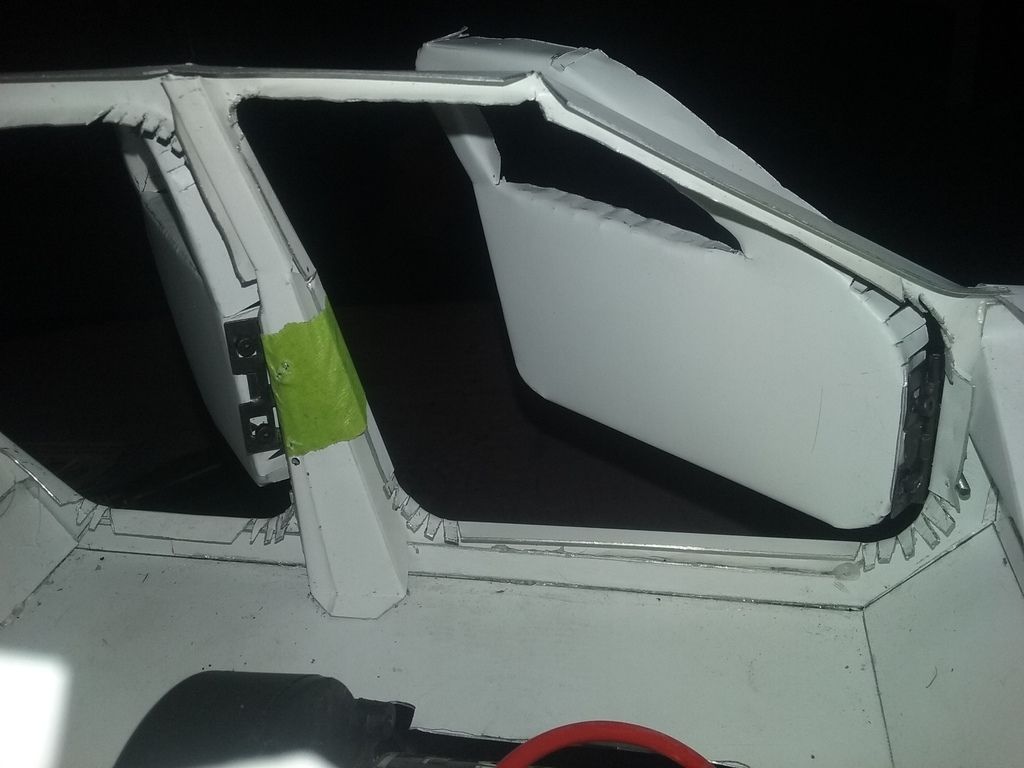 Then I was "testing" out the doors(playing with them Remember when I said I had scored the door on the line I was supposed to fold it on? I'll give you 3 guesses where I scored it..... 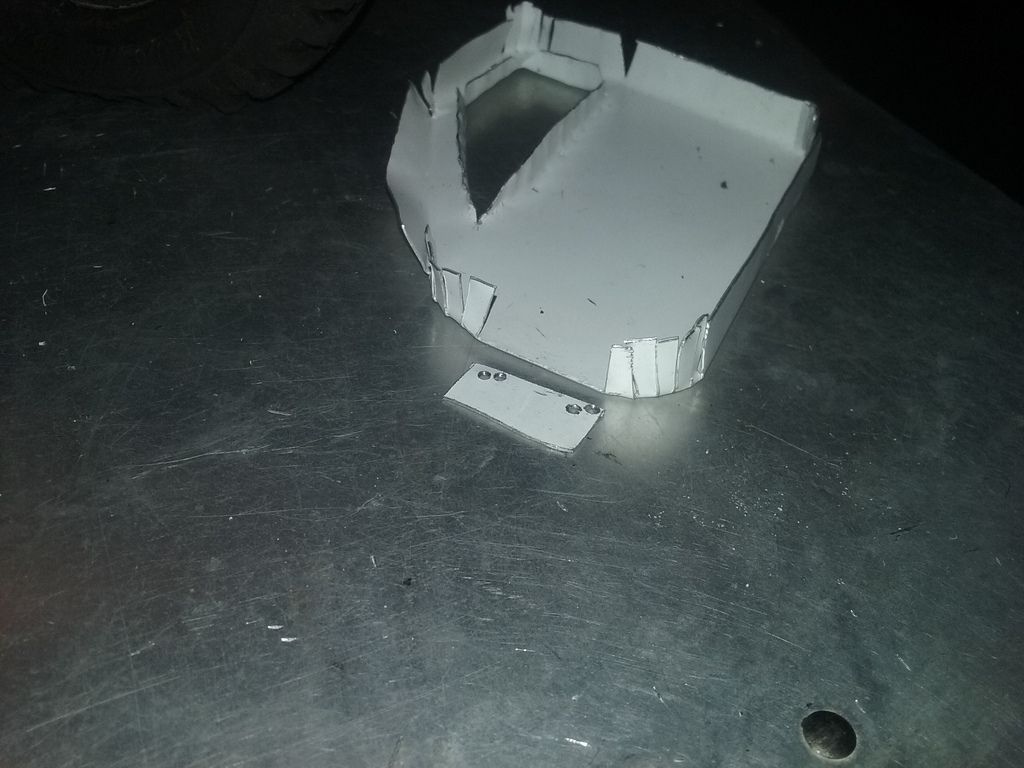 So, I had to make a new one..... I tried to shrink it a little bit to fit better in the opening, but it's only 1/32" shorter in two dimensions. Oh, well. I'm not going to sweat it.  But it does stick out farther, which is much better for when I attach the outer door skin.  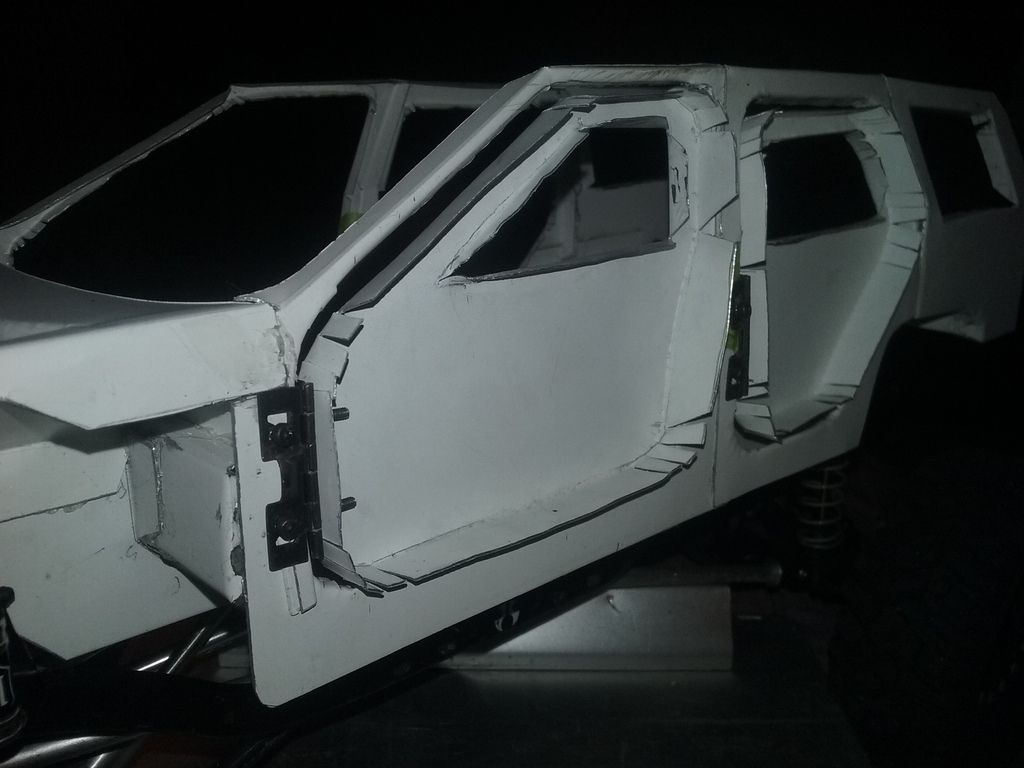 |
| |  |
| Sponsored Links | |
| | #42 |
| Pebble Pounder Join Date: Jul 2014 Location: Phippsburg, ME
Posts: 143
|
So, this mernin' as the coffee was finally starting to trickle through my bloodstream, it stirred up the urge to tinker some more. I got both passenger's side door inner skins made and installed!!  I have an idea in mind for a latch system for the doors, but I need to do some R&D first. 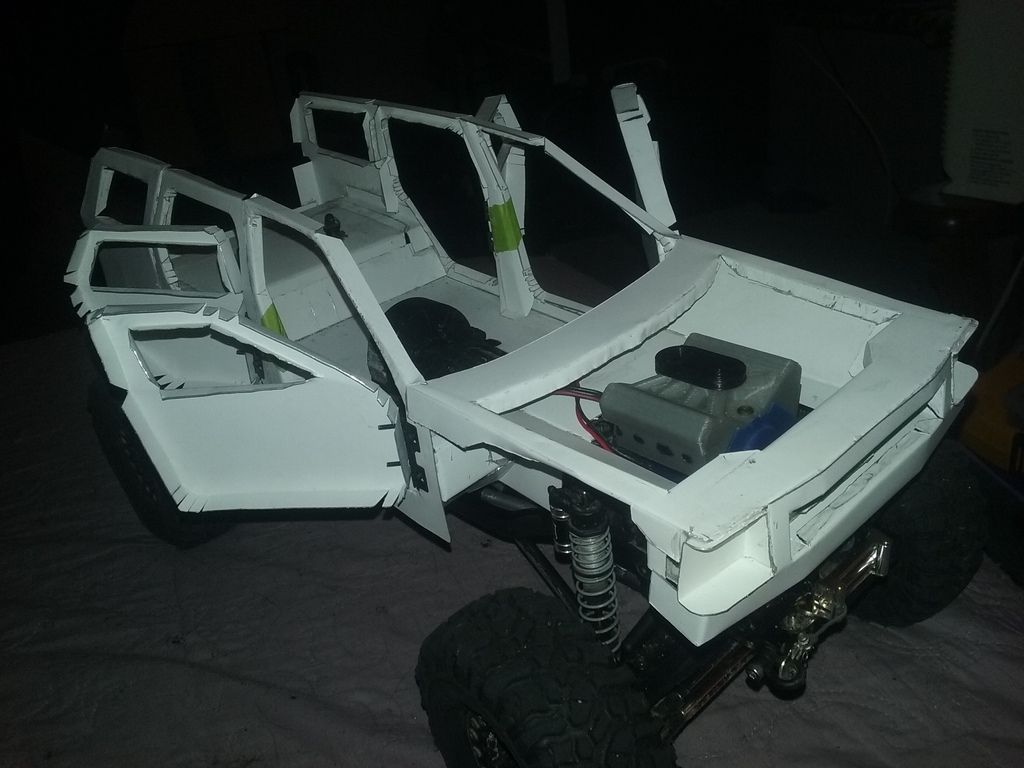 I have discovered that there is no way I can make the battery fit transversely in the body now that the doors are in place. It interferes with the doors one way or another. Installing the battery parallel to the frame presents some high C.O.G. issues, regardless of if it is in the front or the rear of the body. I might take the shrink wrap off one of my 7 cell NiMH packs and see if there is any way to move the cells around enough to fit inside the cabin. The tabs between cells probably aren't long enough to help me out any, but there is only one way to find out....... The hard way....  We now return you to your regularly scheduled program.   |
| |  |
| | #43 |
| Pebble Pounder Join Date: Nov 2014 Location: in the woods
Posts: 123
| Quote: |
| |  |
| | #44 |
| Pebble Pounder Join Date: Jul 2014 Location: Phippsburg, ME
Posts: 143
|
So, I made up some quickie roof cross braces and taped them in place for the time being. 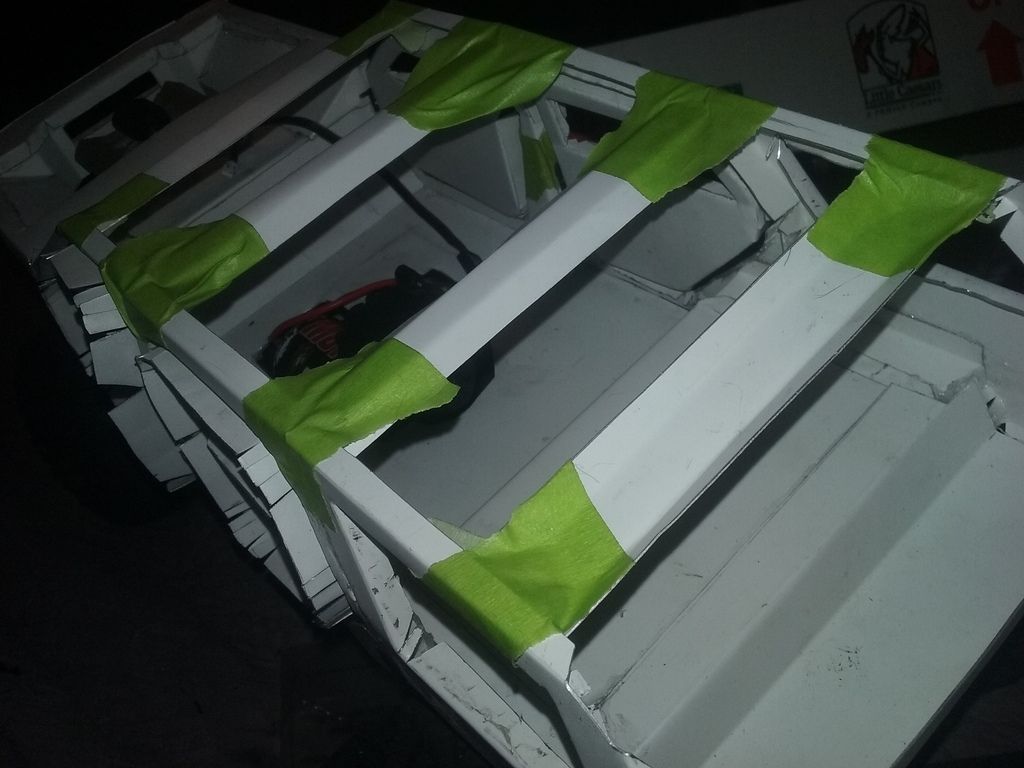 I had been hesitating on working on the hatchback area because I had forgotten a tab on the passenger's rear quarter. 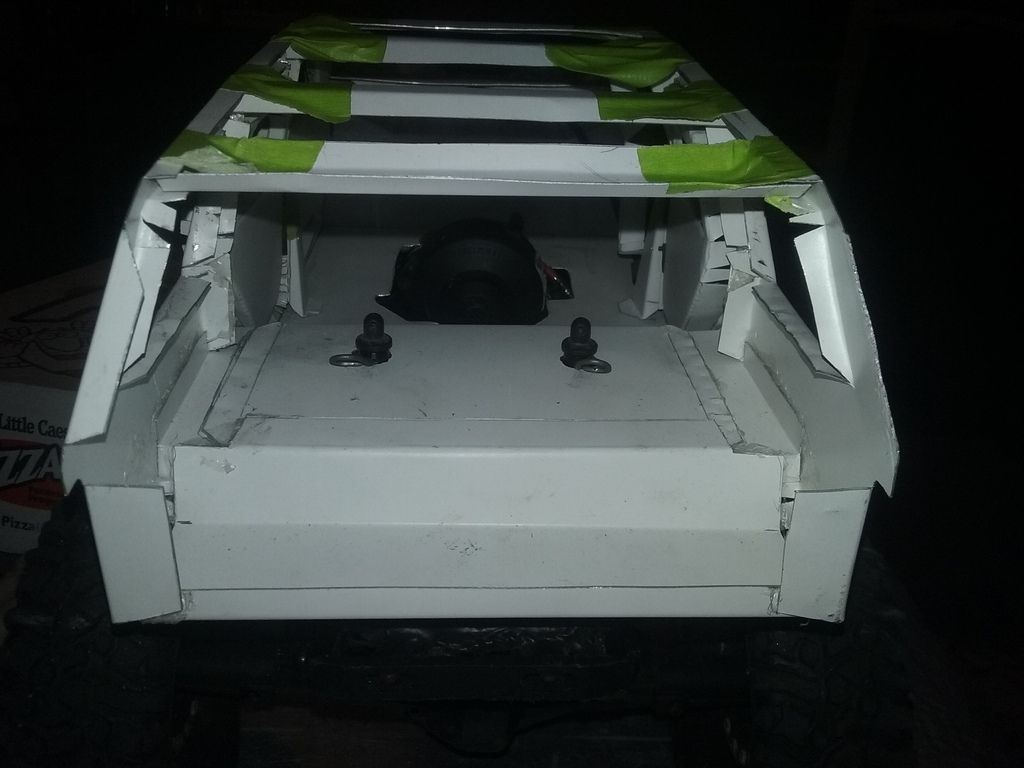 I finally got over myself and dove into it head first! I made a couple of side braces with a very complex profile. The driver's side has no tab and the passenger's side has a tab. They fit absolutely perfectly!! 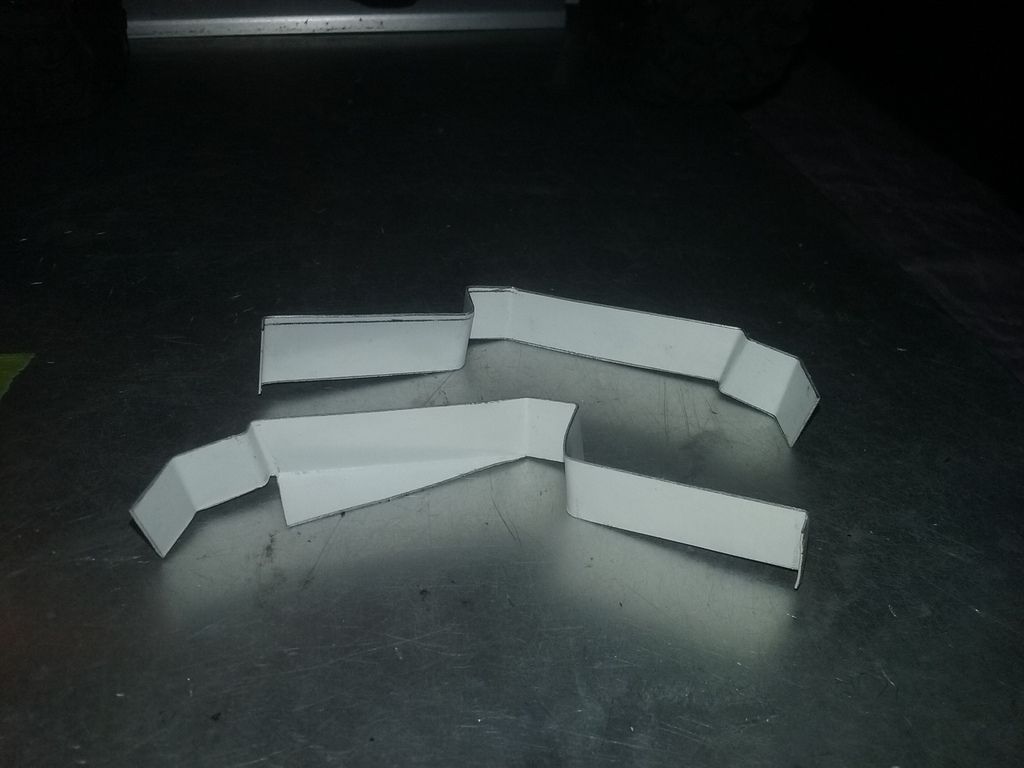 I then made a header panel and taped the whole mess together for a test fit before gluing. 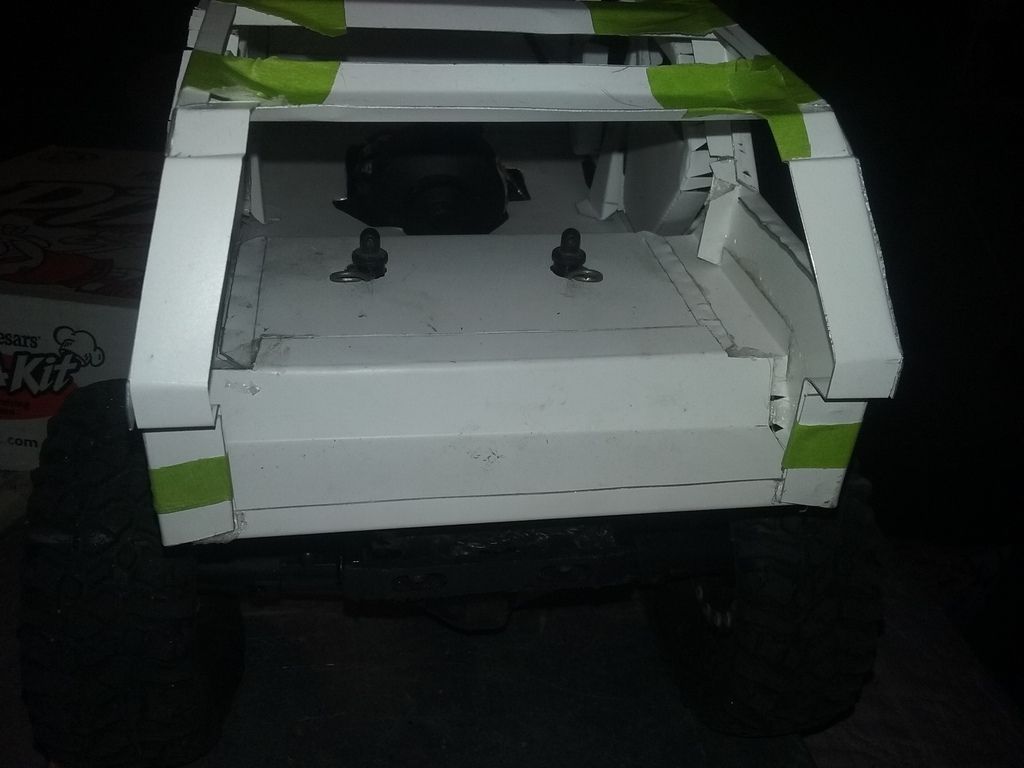 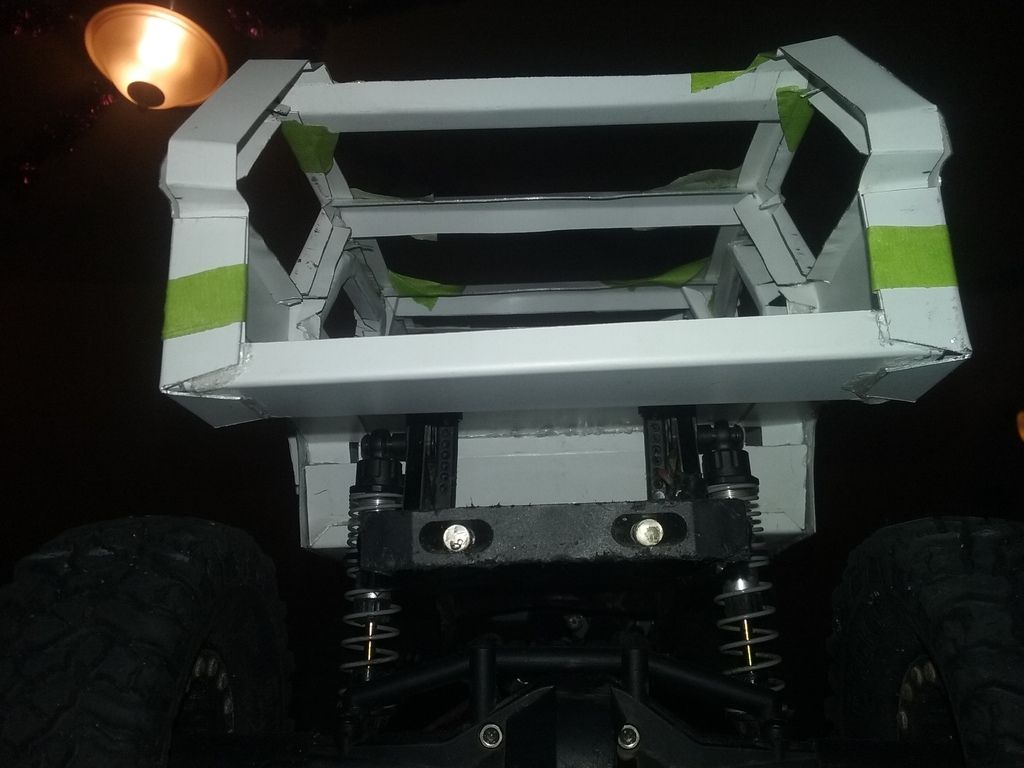 Glued, taped, and clamped. Waiting for the glue to dry. 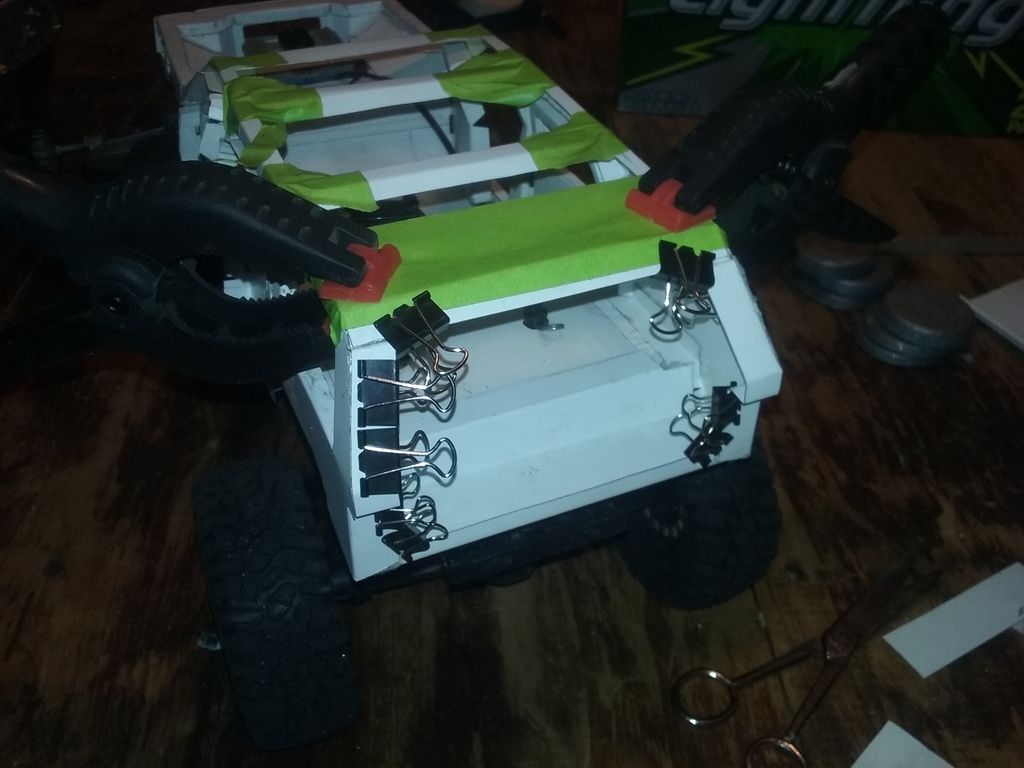 |
| |  |
| | #45 |
| Quarry Creeper Join Date: Apr 2013 Location: Oroville
Posts: 376
|
This has been a build so far and your doing a awesome job on this. What kind of glue are you using and is there any plan to do any welds to keep the panals from falling apart when you roll it?
|
| |  |
| | #46 | |
| Pebble Pounder Join Date: Jul 2014 Location: Phippsburg, ME
Posts: 143
| Quote:
Thanks! I'm using Shoe Goo, which is basically rubber cement. No, I don't plan to do any welding. The aluminum is way too thin to weld, it would just melt. I have quite a bit of confidence in the holding power of the Shoe Goo, it's stronger than you might think. ...and I've used quite a bit of it...  | |
| |  |
| | #47 |
| Pebble Pounder Join Date: Jul 2014 Location: Phippsburg, ME
Posts: 143
| |
| |  |
| | #48 |
| Pebble Pounder Join Date: Jul 2014 Location: Phippsburg, ME
Posts: 143
| |
| |  |
| | #49 |
| Rock Crawler Join Date: Aug 2011 Location: south shore Ma
Posts: 803
|
Maybe use shocks from a micro or mini to hold the hatch up. You may even be able to put a heavy spring inside for scale goodness. Sent from my ALCATEL ONE TOUCH Fierce using Tapatalk |
| |  |
| | #50 |
| Pebble Pounder Join Date: Jul 2014 Location: Phippsburg, ME
Posts: 143
|
So, today I experimented with bending panels to match the body contour. It's certainly not easy at all. There are a few challenges to the body contour, especially the front fenders. On top of just needing the correct angles and curvatures of the body contour the front fenders have a curved upper edge with a low leading edge and a high trailing edge. This curve turns to a 90 degree bend along the edge of the hood. Then throw in the slight downward slope of the top engine bay/upper inner fender plate to add to the difficulty of figuring out all the angles to make everything line up just as it should. I'm getting pretty good at making 90 degree bends, but making a sweeping arc of sheet metal without putting fold lines in it definitely takes lots of patience, practice, and knowledge. Of which, I only have a small fraction of each.  Finding various objects to use to bend the right radius bends on is definitely what consumed a fairly big chunk of my work time. A couple of hours(and 3 practice pieces) later I had a fairly close interpretation of how the body lines might go. Definitely not perfect(or even good, for that matter) but you get the concept of how the body contour goes, and the challenge I have ahead of me. More practice will help for sure!!  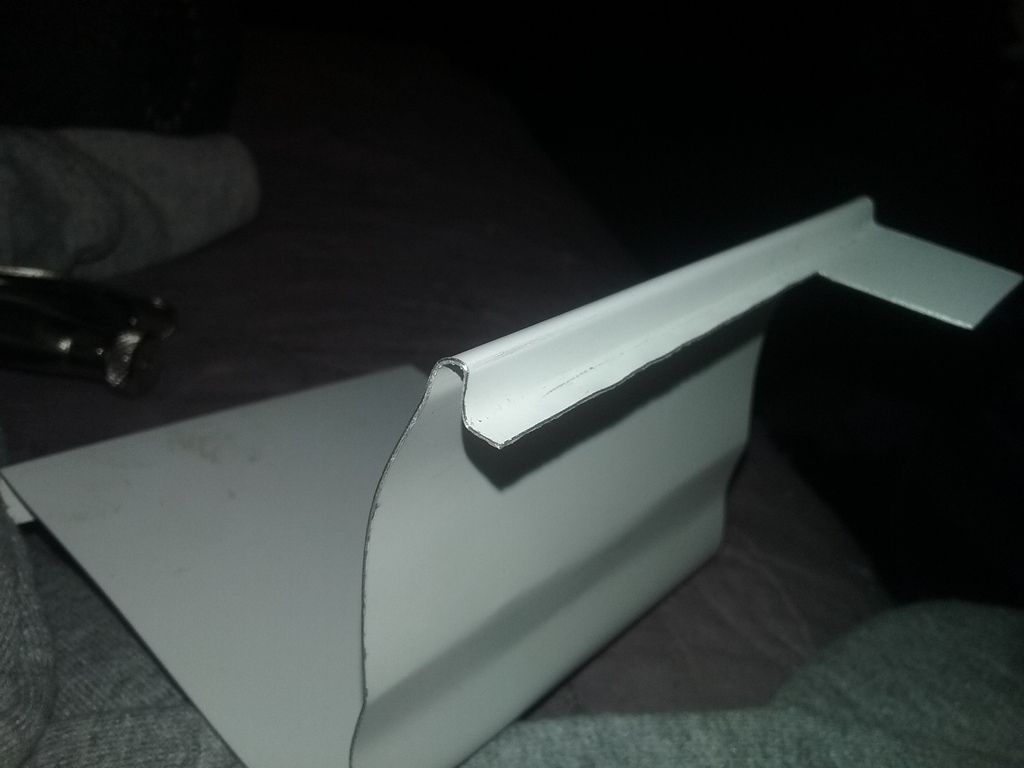 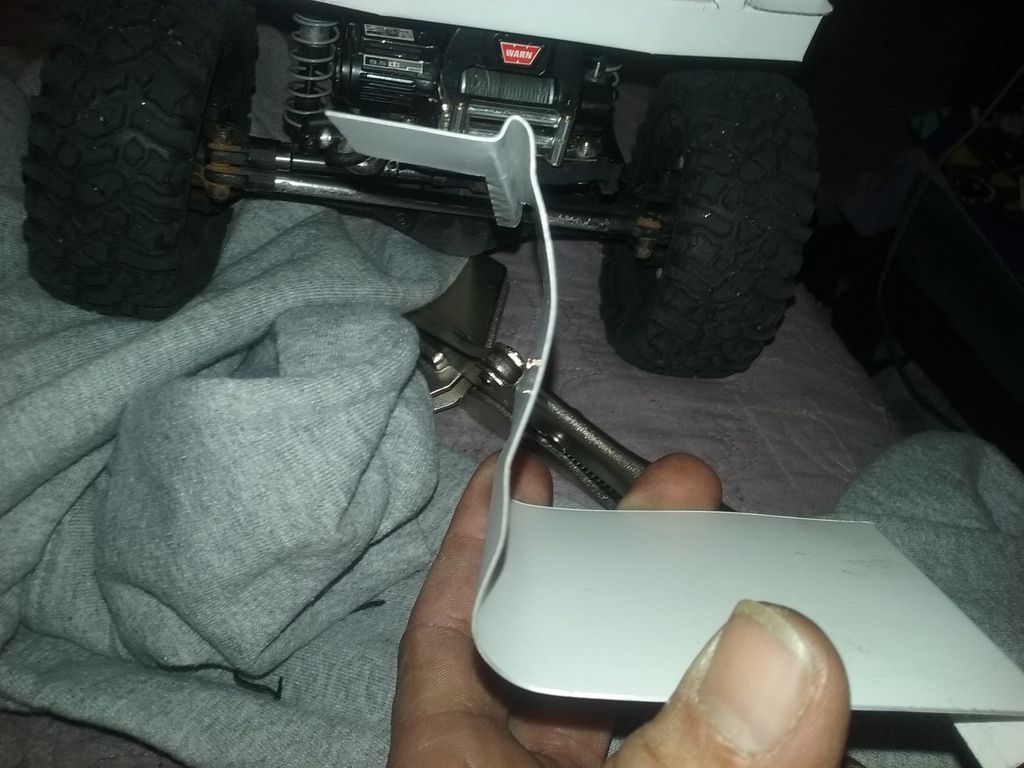 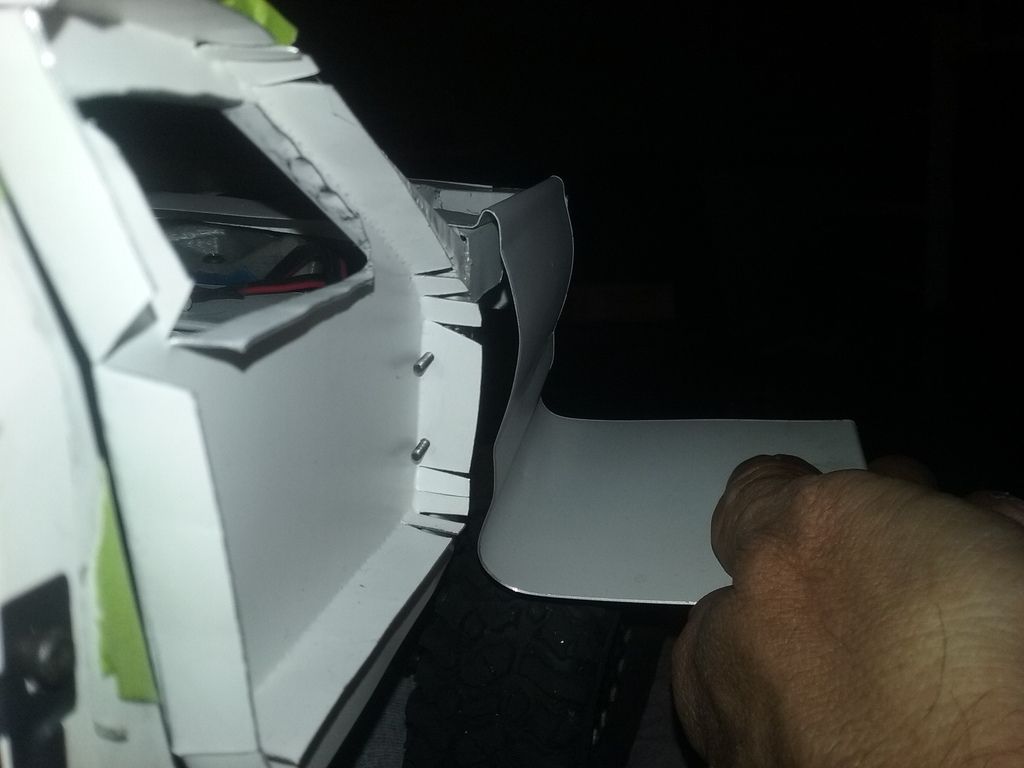 |
| |  |
| | #51 |
| Pebble Pounder Join Date: Jul 2014 Location: Phippsburg, ME
Posts: 143
|
I got to dubbing around with the fender details. I cut out a notch to fit the headlight housing and tried my hand at bending the front corner of the fender around to where it meets the side of the hood. Not too bad for my first try at it!! 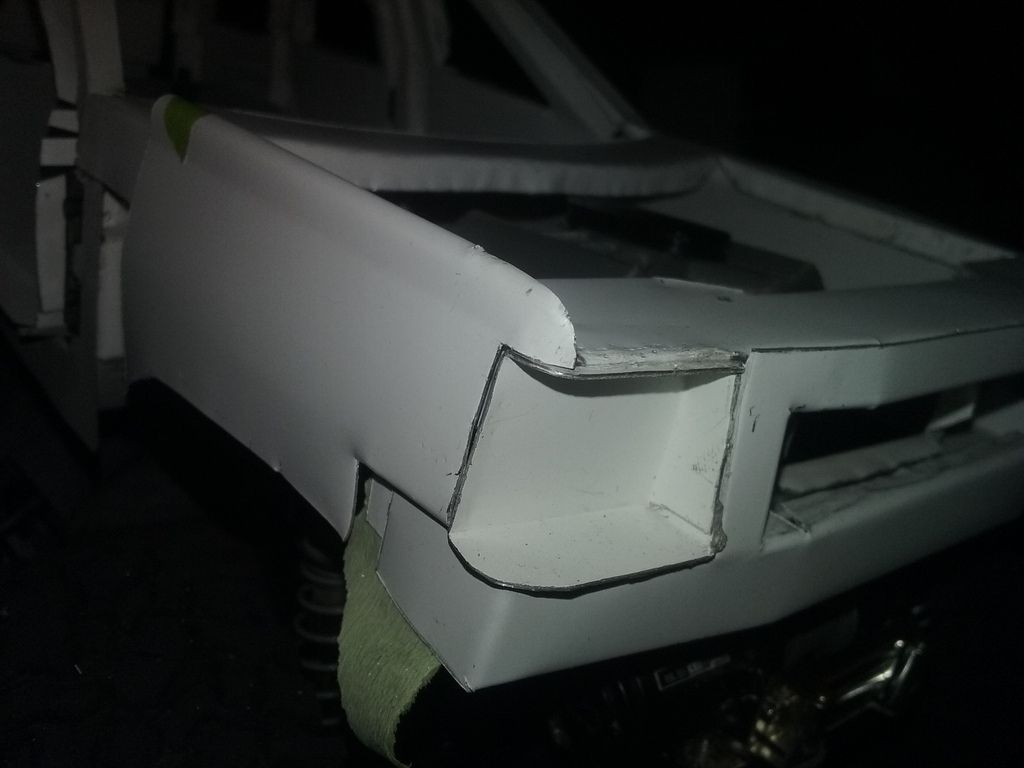 Then I got to thinking about the lower half body line, where the plastic cladding is along the sides. I took some measurements and discovered that my radiator support/headlights/bumper was 1/2" higher than the taillights are. That means that the body line would run at an uphill angle rear-to-front, rather than parallel with the rocker panel and roof line. I did some creative(and somewhat destructive) cutting and bending and managed to bring the whole nose clip down the full half inch. But it wasn't easy and I have some serious reinforcing to do. Pics later! On a side note: I have no fear of this thing falling apart!! I had to separate some glued seams and the Shoe Goo has a pretty tenacious grip on the aluminum!!! |
| |  |
| | #52 |
| Pebble Pounder Join Date: Jul 2014 Location: Phippsburg, ME
Posts: 143
|
So, here's the pics of the change. I had to cut along the sides of the engine bay where it bends into the inner fender and folded the sides over the inner fenders. 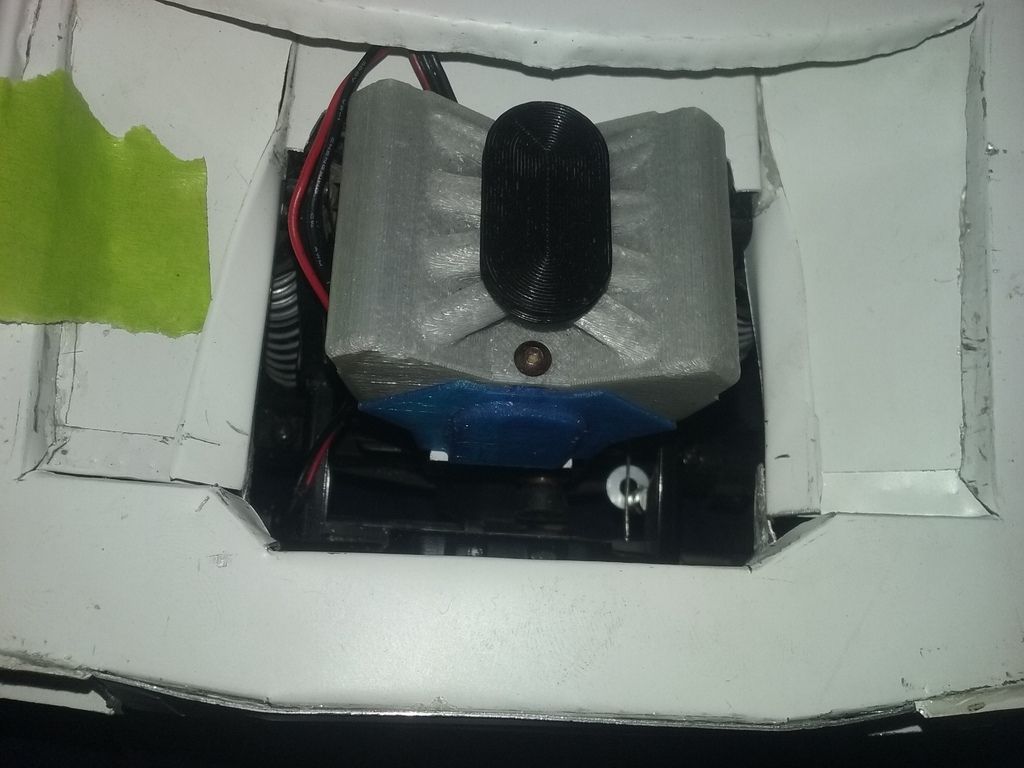 Here you can see where I had to bend the inner fenders downward to a more appropriate height. 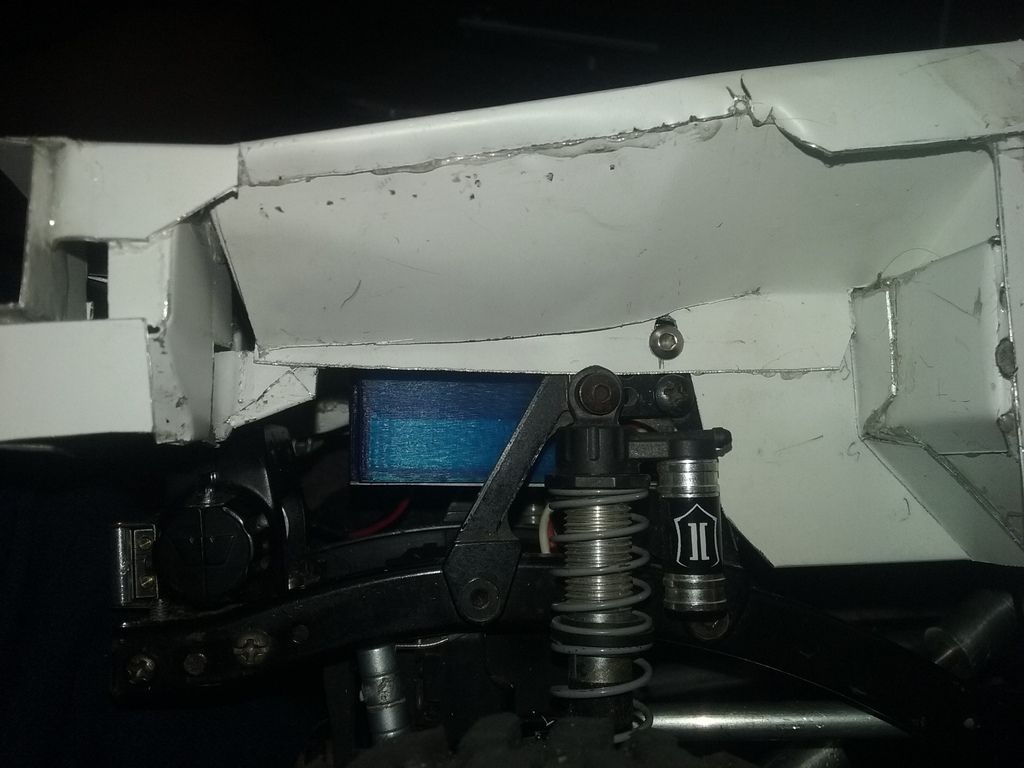 I also had to cut into the inner radiator support to provide clearance for the winch. 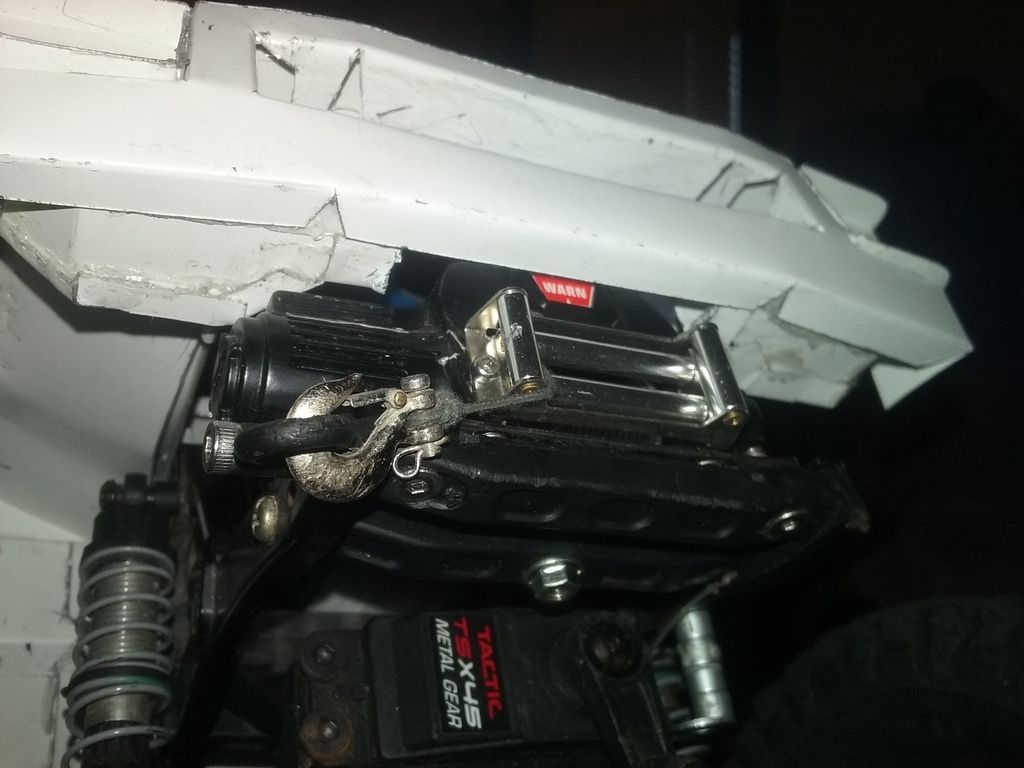 I made a couple of small plates to connect the tabs from the radiator support to the sides of the newly folded engine bay upright. I also made a couple of brackets to join the radiator support to the inner fenders just for some added strength. So, it's glued and clamped and waiting for the glue to dry. 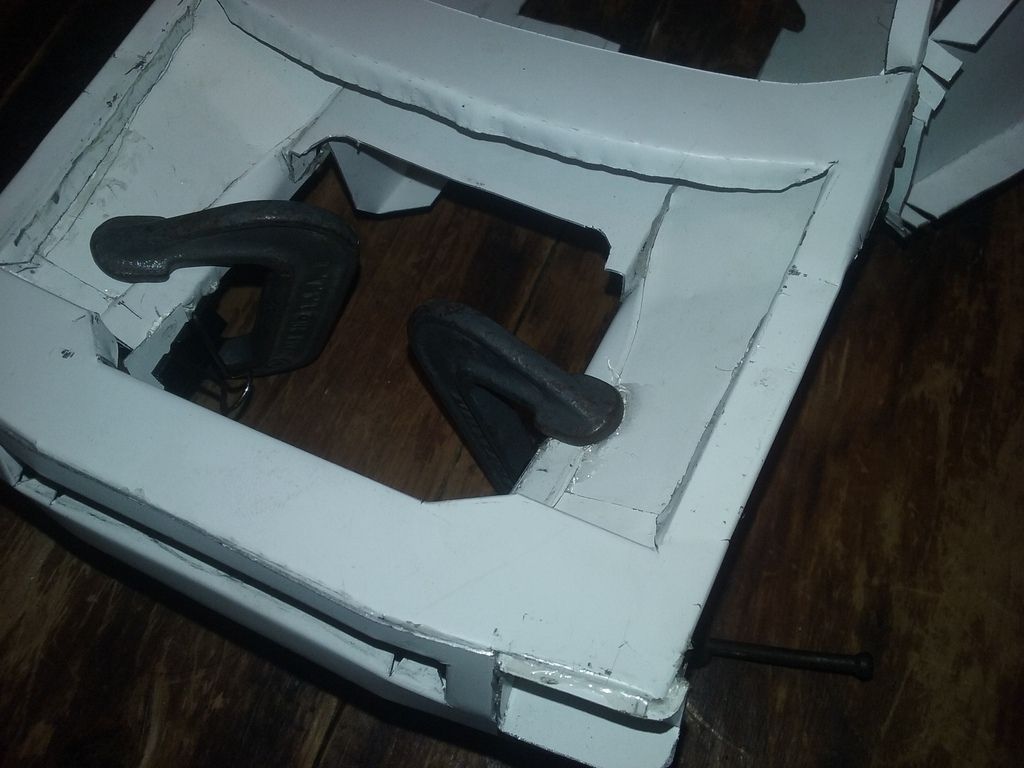 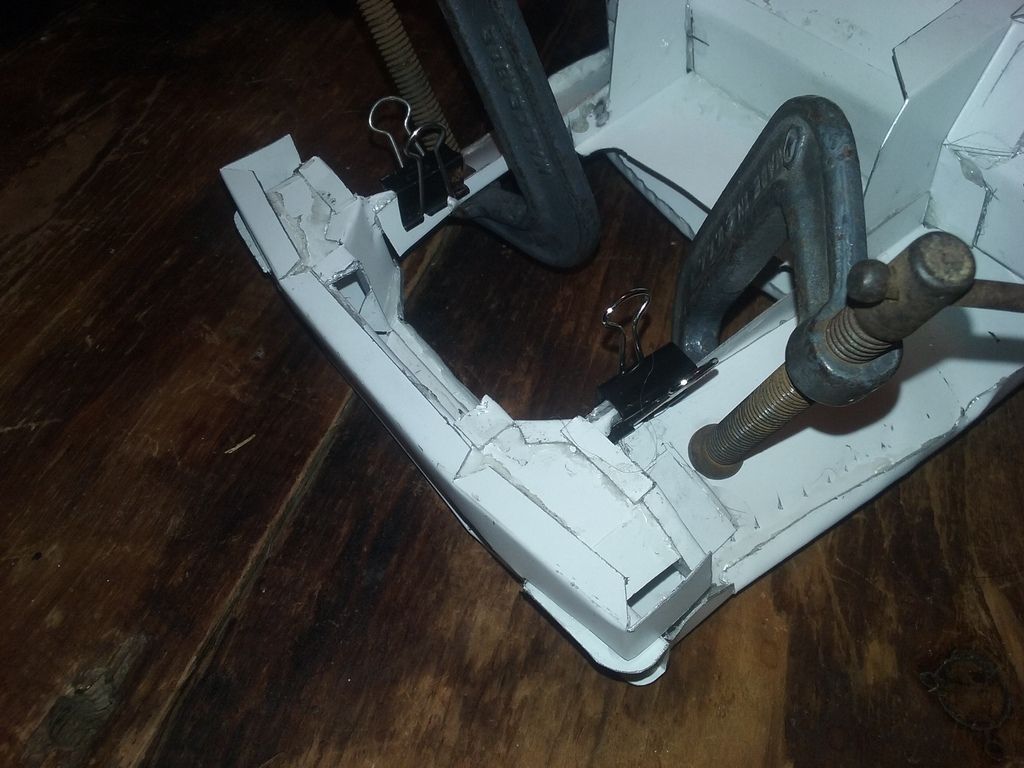 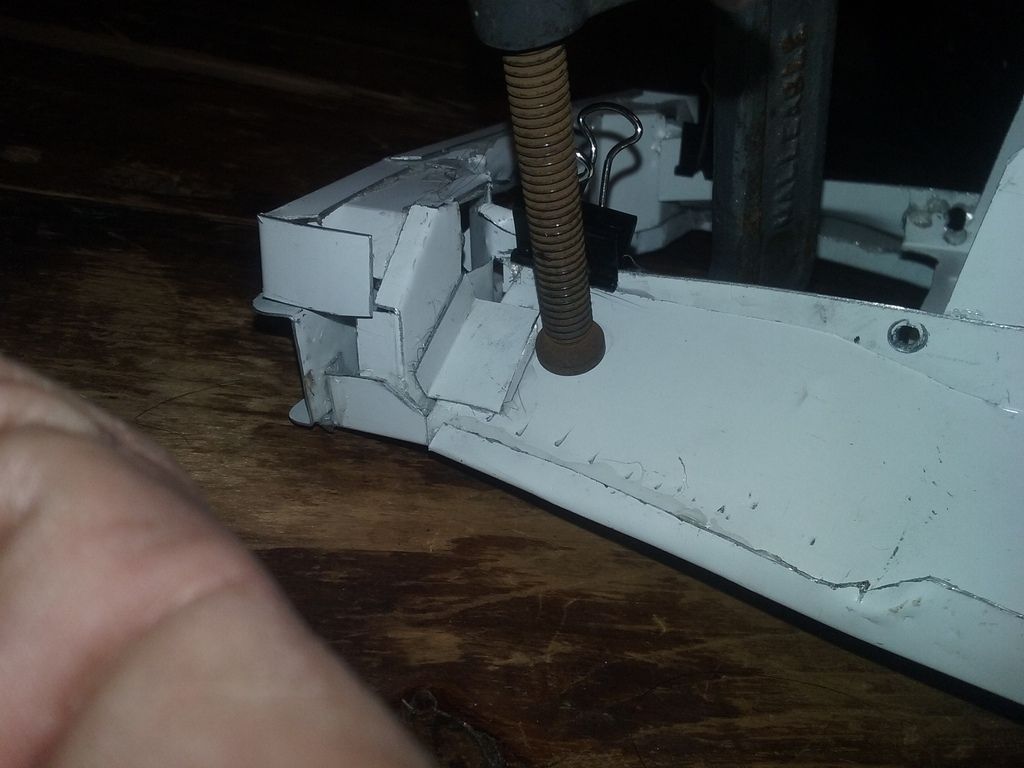 |
| |  |
| | #53 |
| Pebble Pounder Join Date: Jul 2014 Location: Phippsburg, ME
Posts: 143
|
Welcome back, I hope you all had a great Christmas!!! So, I started laminated 2 strips together to use for reinforcing the roofline and A,B,C, & D pillars. 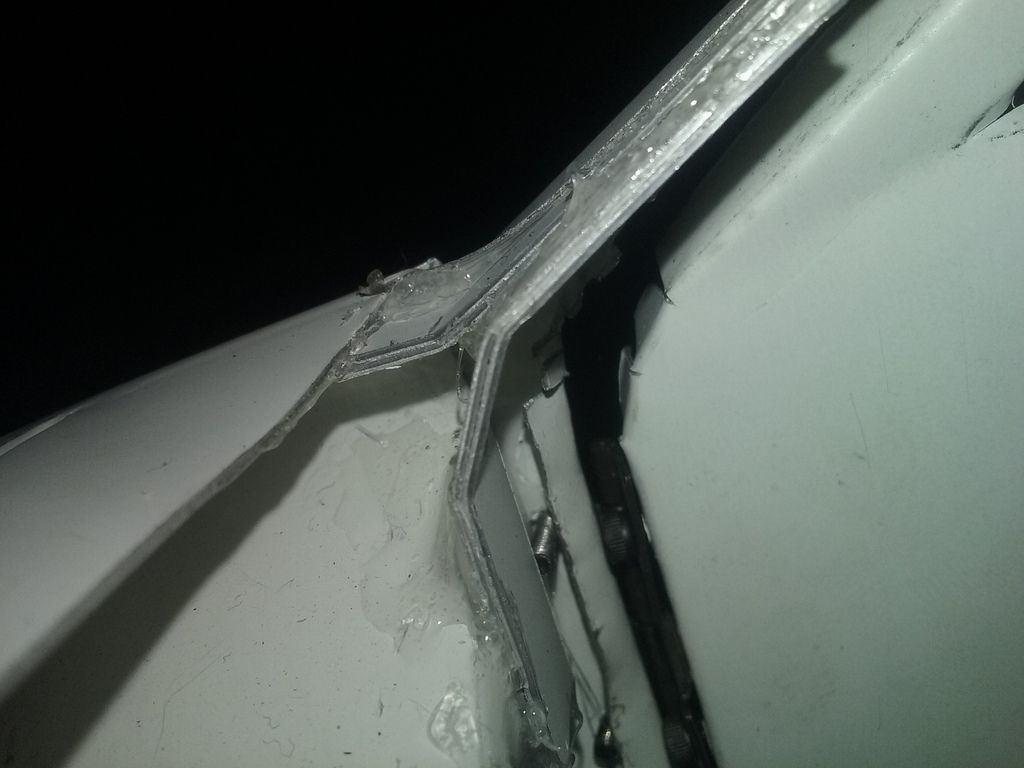 I cannot believe the amount of rigidity they added to the A pillar area, it's stupid strong now!!! 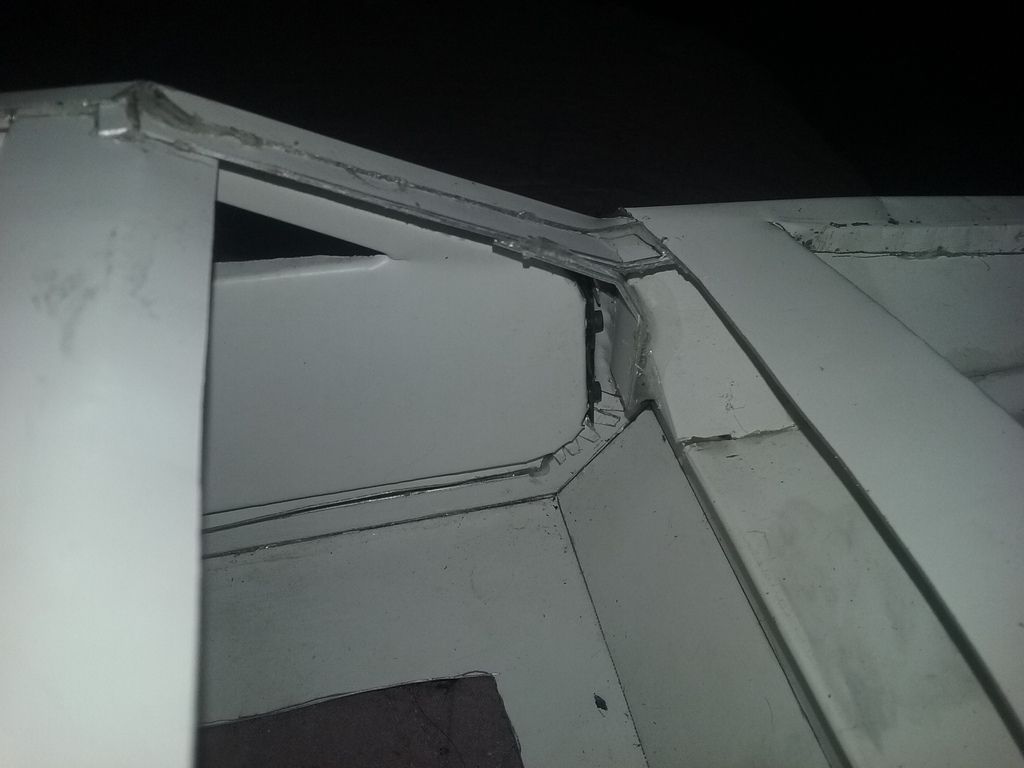 Then I got sick and tired of the doors swinging open every time I move the damn thing, so I made some brackets, glued a washer to each door, and glued a "rare earth" magnet to each bracket. Now the doors will stay shut!!! The magnets are super strong and it takes some force to open them!!!  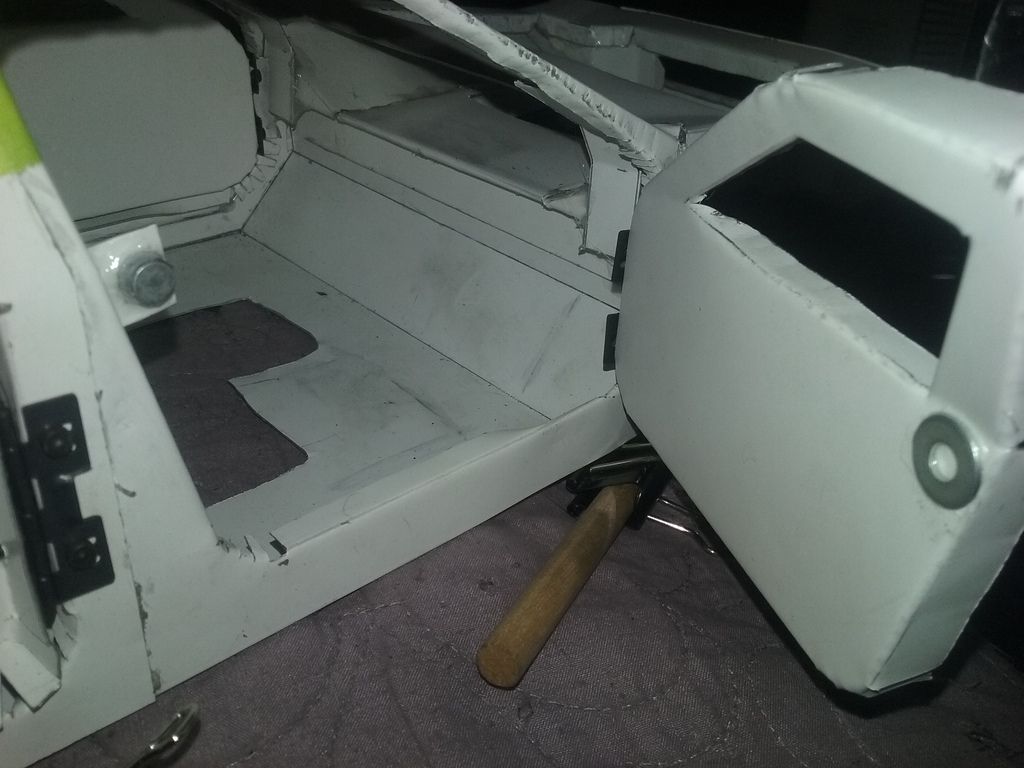 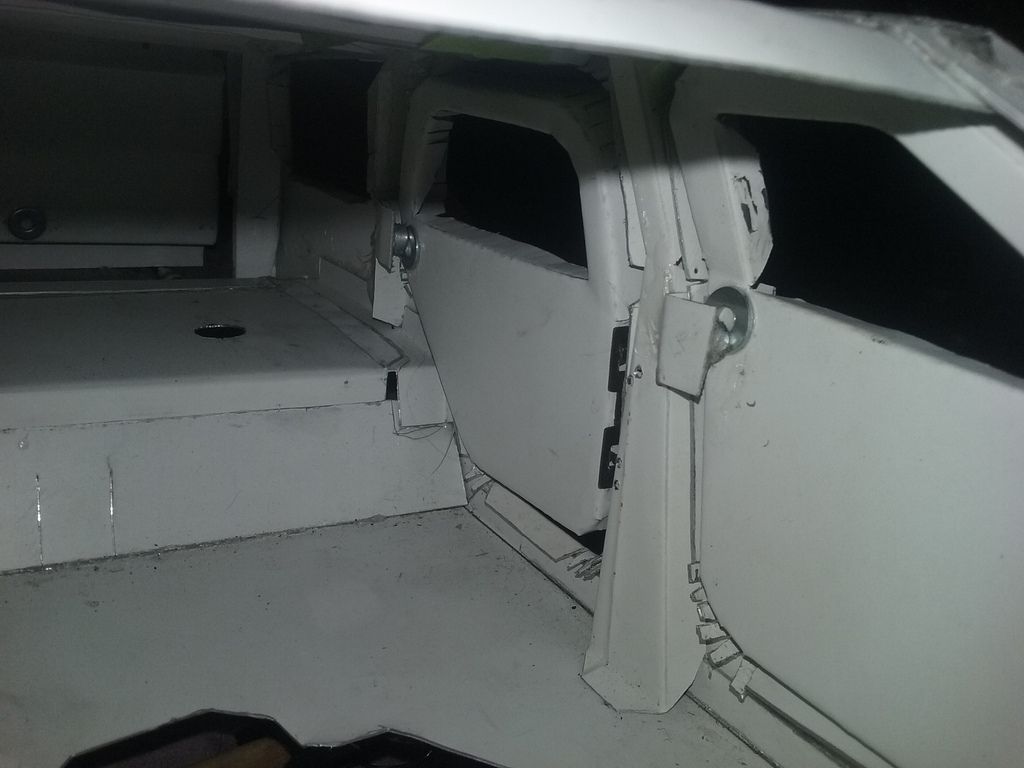 |
| |  |
| | #54 |
| Pebble Pounder Join Date: Jul 2014 Location: Phippsburg, ME
Posts: 143
|
I continued laminating reinforcement strips for the rest of what I was planning to reinforce. C & D pillars are complete. This stiffens the side, as well as locking the angle of the pillars in place. 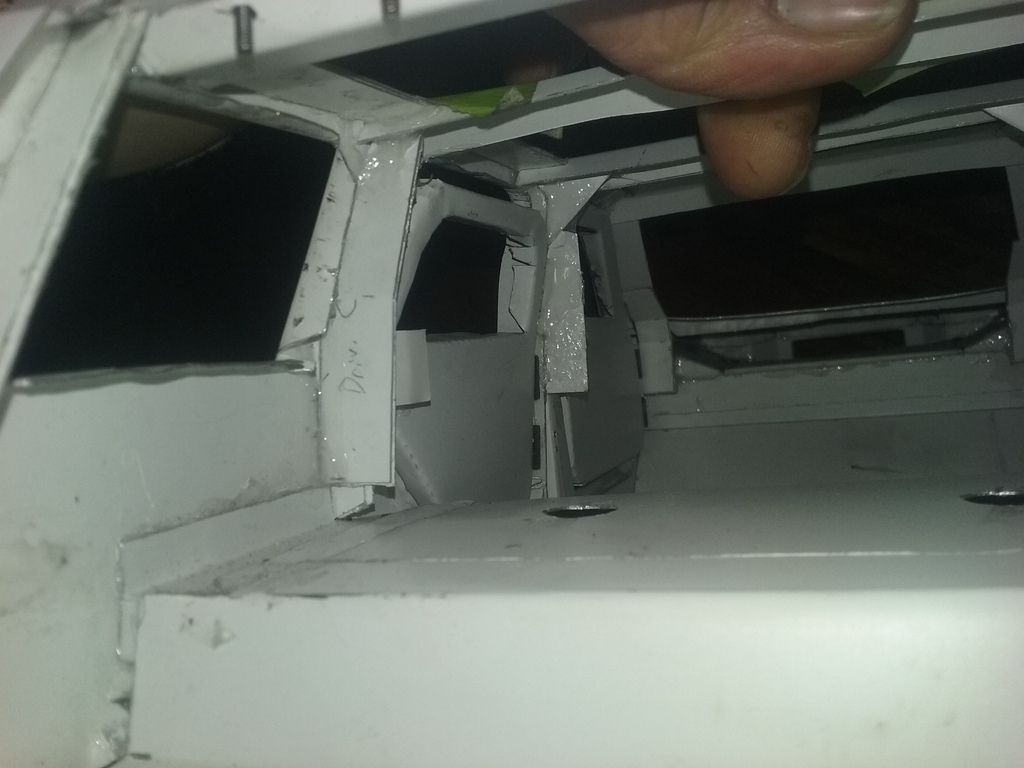 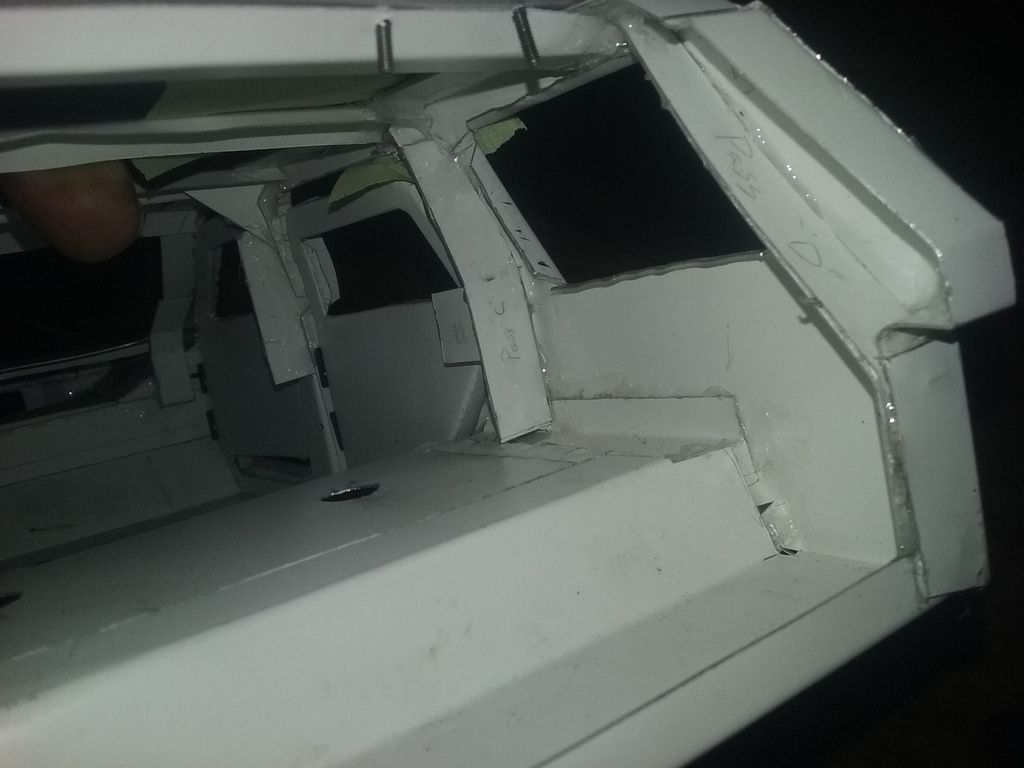 I also finished bracing the roof structure and door headers together. 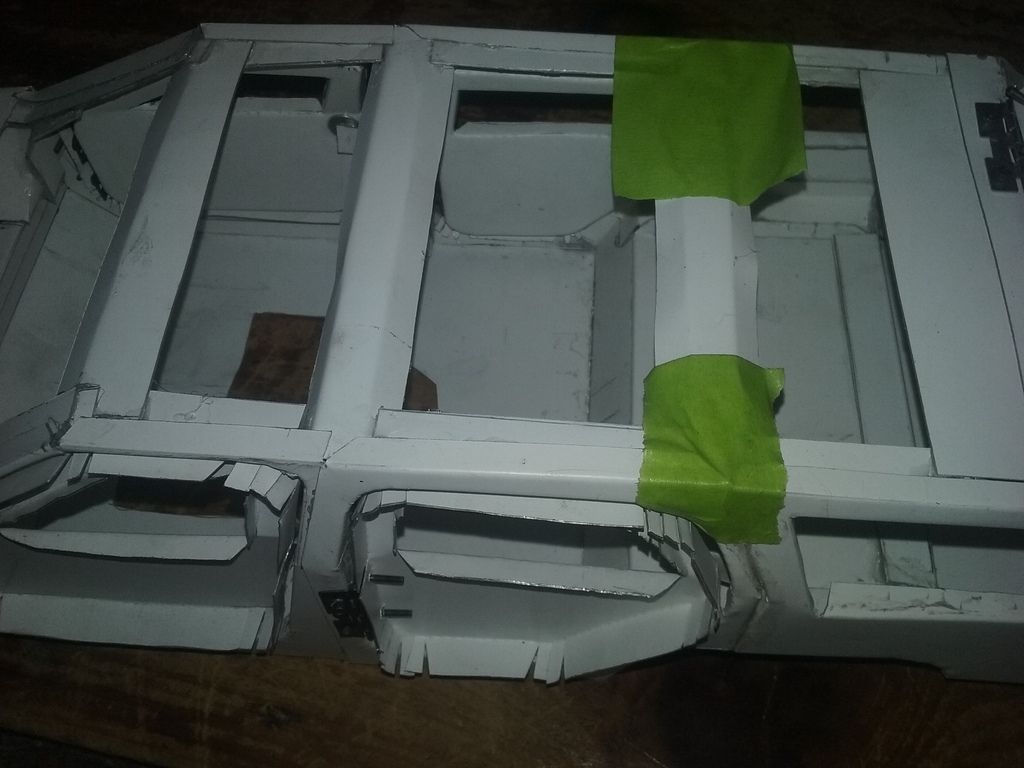 Since I had already made inner B pillar braces, I just made a plate to lock in the angle in the middle of the pillar. I also made some triangular gussets at the top to lock the pillar top to the roof line. 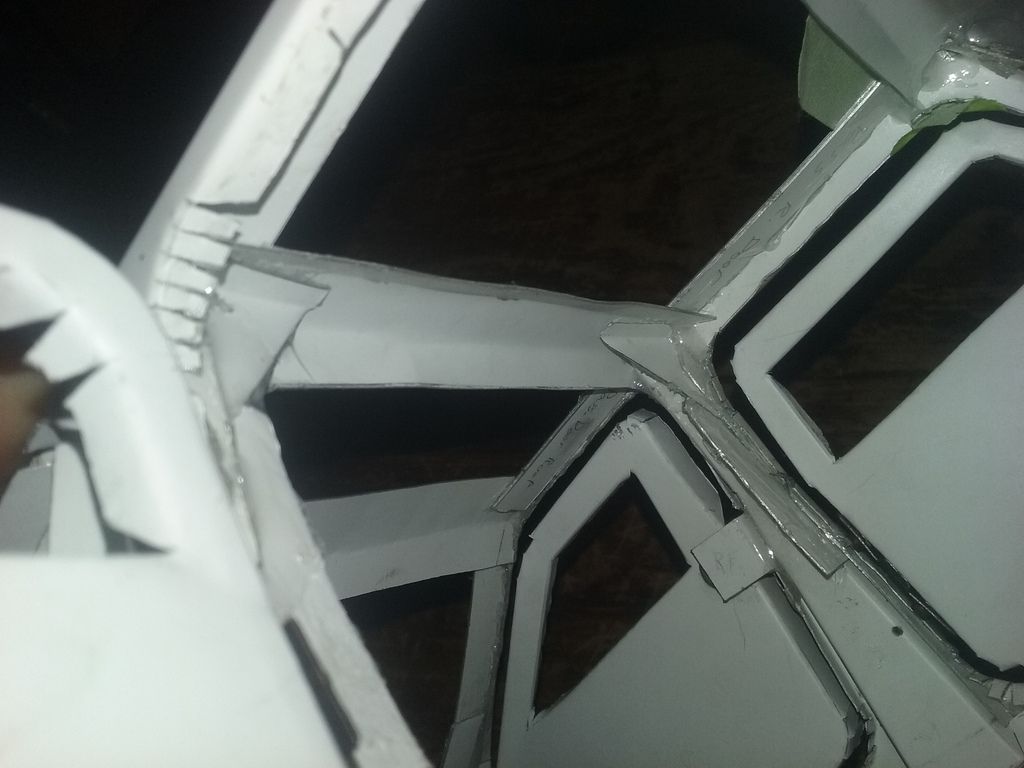 This body is getting to be pretty stout!!! Literally, I could mount all my running gear to the body and use it without a frame and not get one bit of flex out of the body during wheeling!!! What a good idea!!!! I may just try to figure out a way to do that!!!!  Maybe I should do the finish sheet metal first...   |
| |  |
| | #55 |
| Pebble Pounder Join Date: Jul 2008 Location: Denver
Posts: 148
|
If you can get away with using just the body I say go for it! Full on unibody construction, I think Jeep actually refers to it as uni-frame, but its all good. Would be really cool to see if you can accomplish that! Sent from my SPH-M830 using Tapatalk |
| |  |
| | #56 |
| Pebble Pounder Join Date: Jul 2014 Location: Phippsburg, ME
Posts: 143
|
I was just sitting here looking at it. It would take some work. The control arms mount about an inch lower than the bottom of the floor. I'd have some really steep control arm angles, which makes the wheelbase stretch significantly upon suspension compression. I suppose longer control arms mounted closer to the center line(of the transmission) might help out some. I'll be thinking about it. Trust me!!  |
| |  |
| | #57 |
| Pebble Pounder Join Date: Jul 2008 Location: Denver
Posts: 148
|
They do make Long Arm suspension conversions for ZJs, wouldn't look to far from scale if you did that! Pic for example:  |
| |  |
| | #58 |
| Pebble Pounder Join Date: Jul 2014 Location: Phippsburg, ME
Posts: 143
|
JB, I think you're on to something!!! I've been thinking seriously about doing that!!! In the meantime, I haven't had a whole lot of time to tinker, but I did manage to make time to figure out roughly how and where I wanted to mount my battery, ESC, and Warn winch remote. I took the shrink wrap off one of my batteries to see how much "play" there was on the tabs connecting the cells. There wasn't much play, but I managed to "bend" it in somewhat of a U shape. 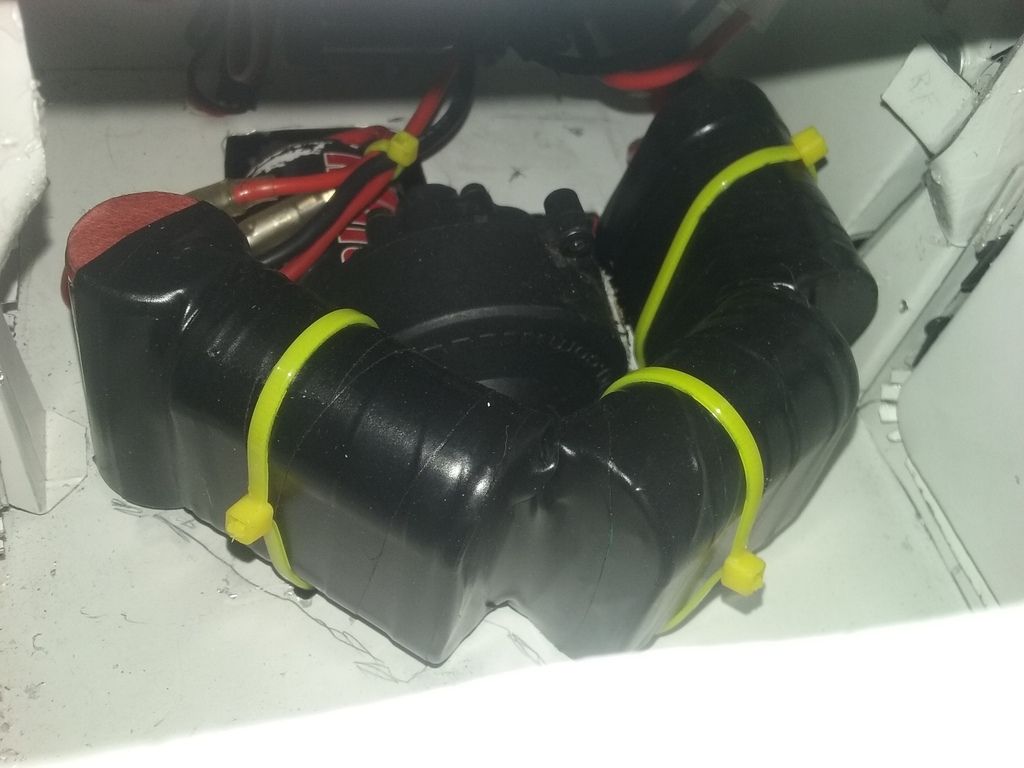 I mounted the ESC on the up-slope of the floor boards, and tucked the winch remote in the void below the cowl top plate. 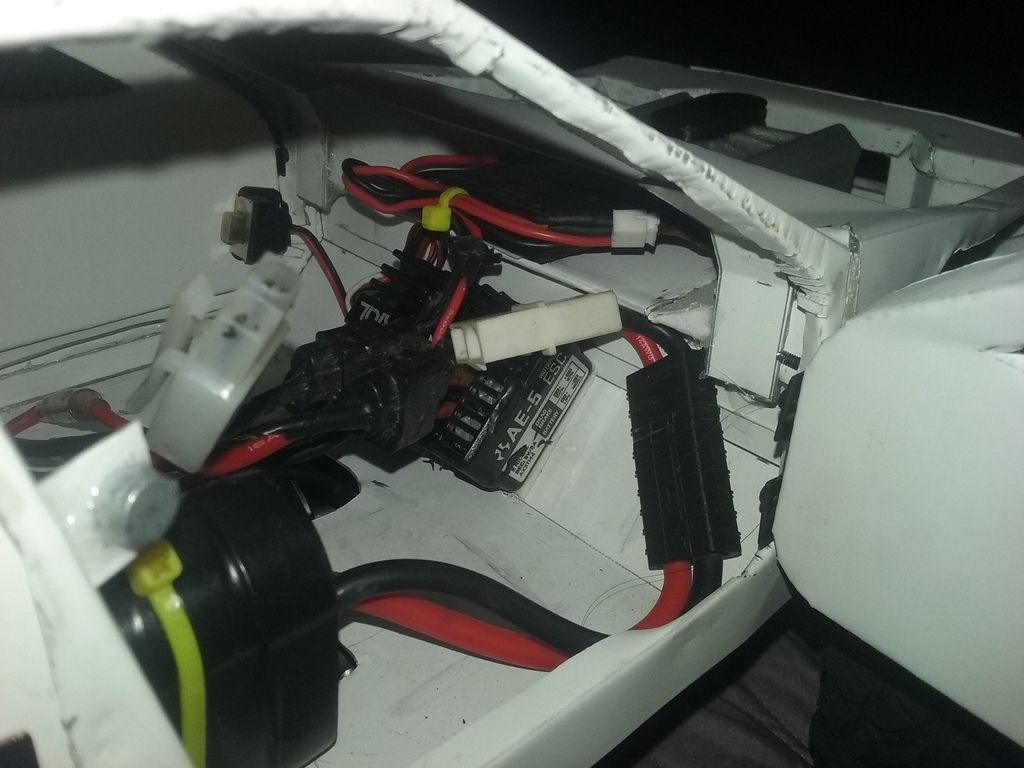 After a few minutes of debating, I finally decided on the perfect place for the ESC's on/off switch! 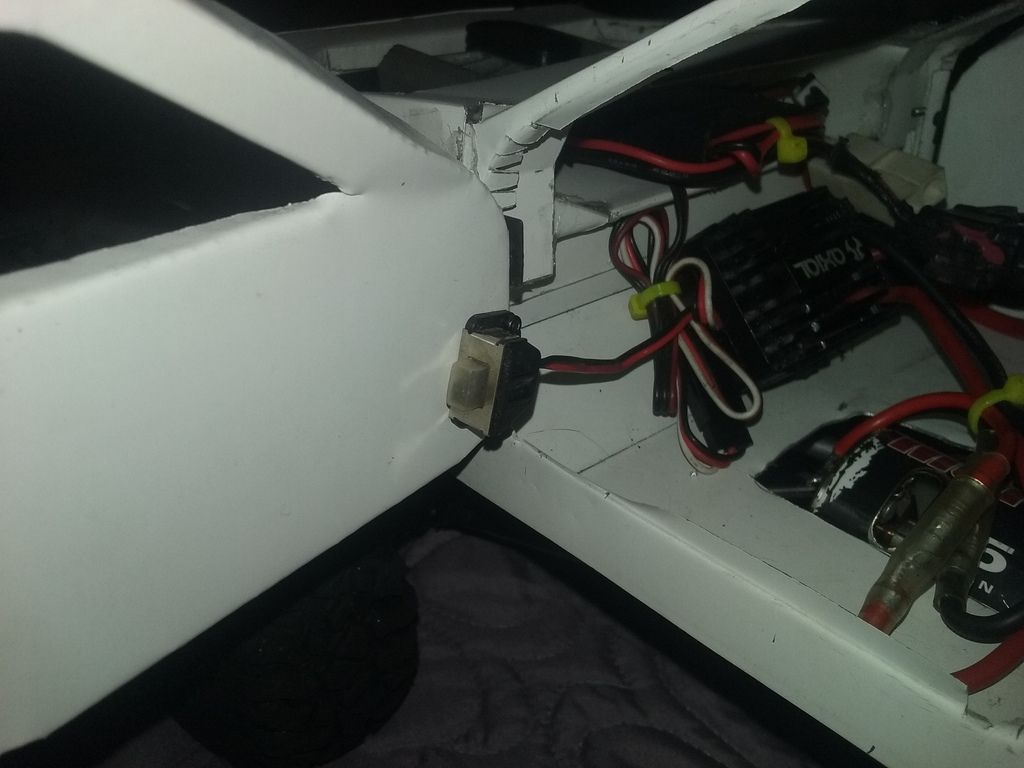 Looking at it in the perspective of having a true uni-body(frameless) rig, the battery will have to move slightly to the rear to make room to mount the transmission fully inside the cabin. Long arms would definitely be no problem at all! I have twenty RC4WD alloy 8-32 rod ends just waiting for all-thread and aluminum tubing, like the other control arms I have made in the past!!! Last edited by Full Throttle Rob; 12-29-2015 at 06:11 PM. Reason: typo |
| |  |
| | #59 |
| Pebble Pounder Join Date: Jul 2014 Location: Phippsburg, ME
Posts: 143
|
So now that the "easy" part is done, it's time to move on to the finish sheet metal. The curves and bends involved in forming the outer body shape is definitely going to require multiple attempts at each panel due to my lack of knowledge and experience, but I'll figure it out sooner or later. I made a rear quarter panel and tried it on for fit without the body line bend at the bottom of the window. Turns out my dimensions were a little short in all directions. 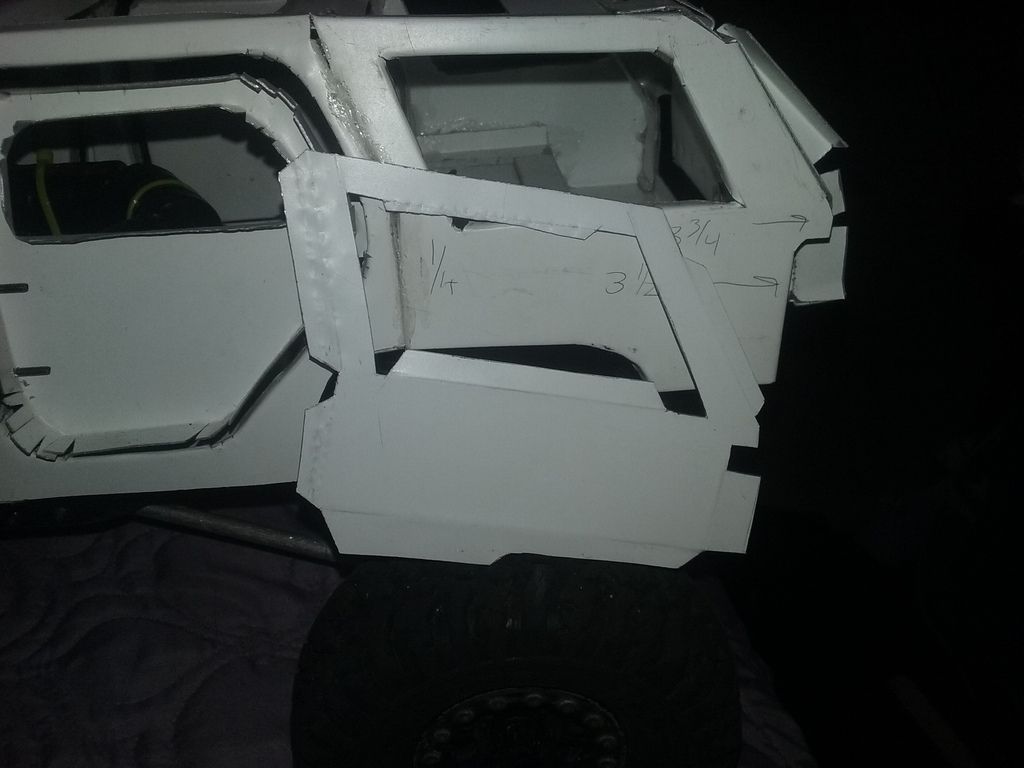 So I made another panel and made it 1/32" bigger all around. I told you it was a LITTLE short....  I'm going to try the window bottom bend and the top of the door curve before I do any of the other bends that need to be done. I guess we'll see what happens. 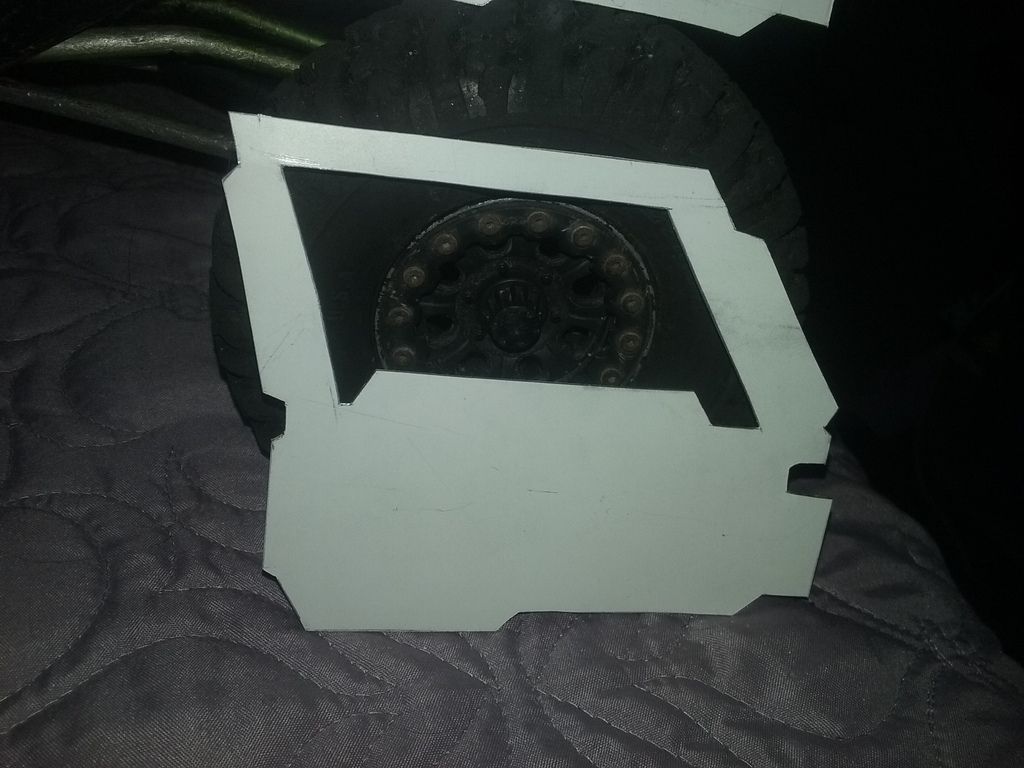 Stay tuned, I'll either figure it out or take a sledgehammer to it....  |
| |  |
| | #60 |
| Pebble Pounder Join Date: Jul 2014 Location: Phippsburg, ME
Posts: 143
|
So, attempt #2 of the rear quarter panel left me short still in two areas. The curved part just below the window needs to be about 1/8" longer in order to keep the window tight to the inner superstructure, as well as to bring the notch that sweeps up over the taillight down another 3/64" to meet the same line as the notch in the superstructure. The top curve above the window needs about another 1/8" of height as well. I gave it a test fit(it was supposed to be a driver's side rear quarter, but I bent it the wrong direction.... 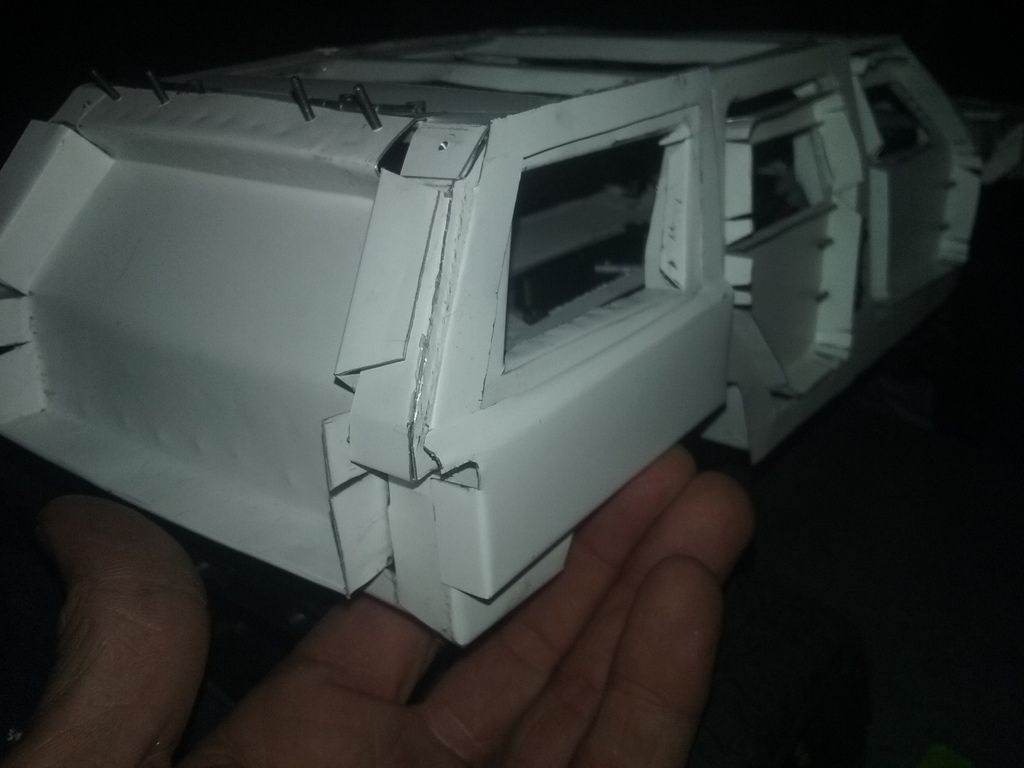 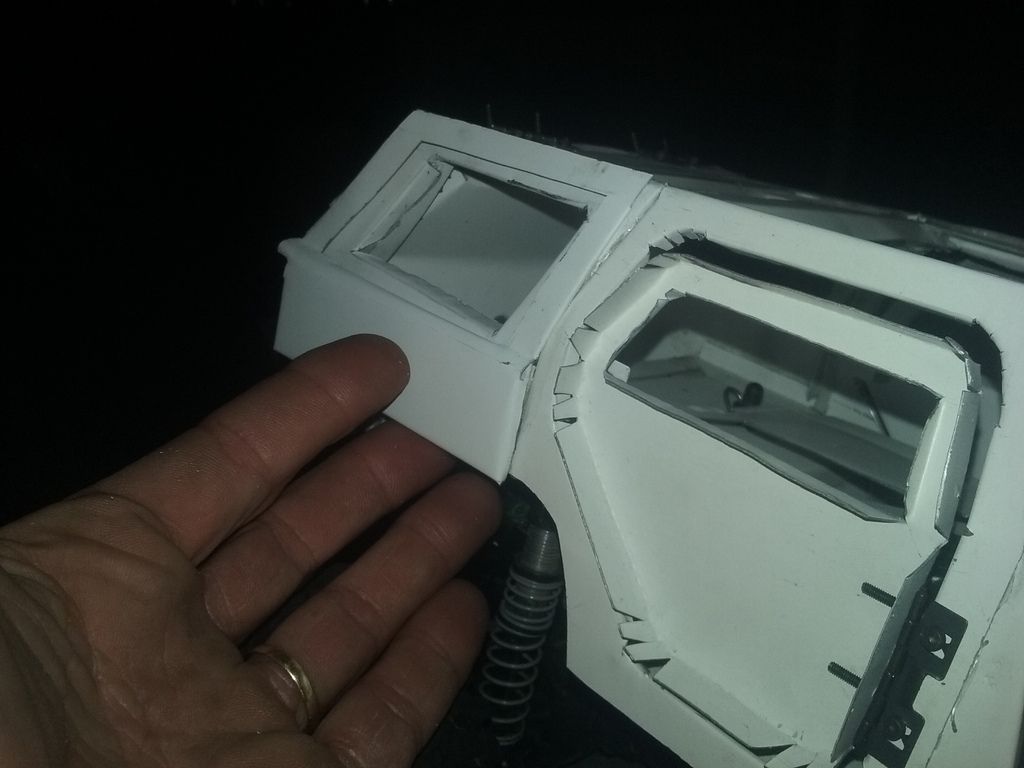 Plus the curve below the window is not straight it's got a slight arc to it, and gets wider in the rear than in the front. It's also not parallel with the body, it runs downhill front-to-rear... 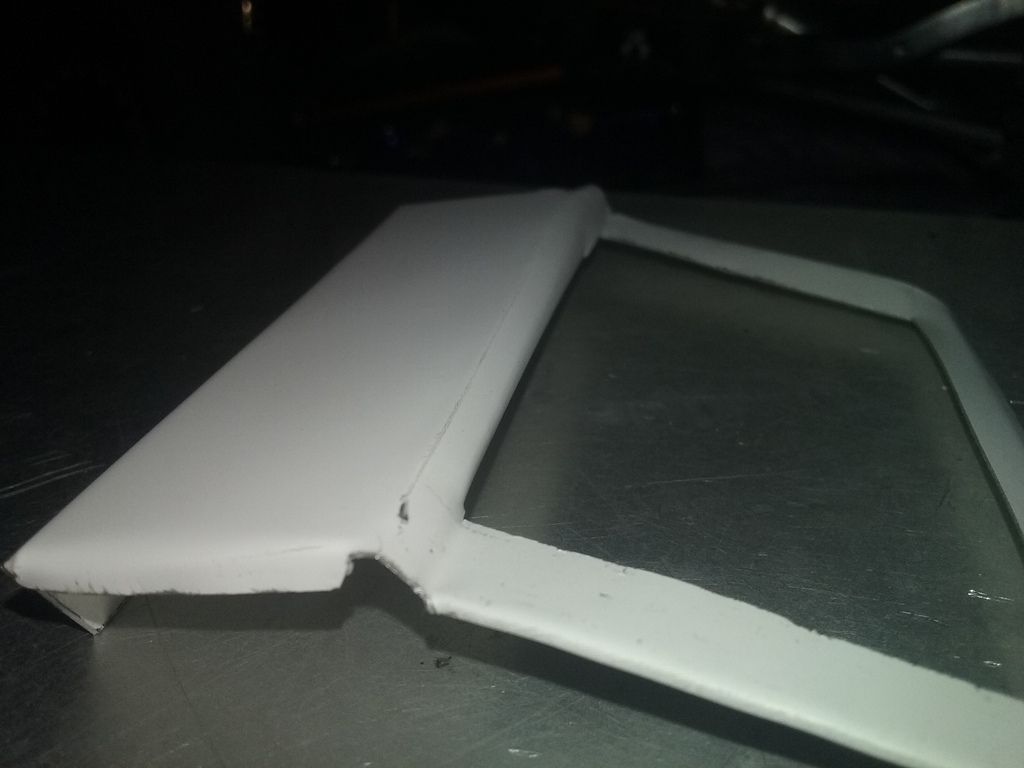 So, rear quarter panel attempt #3 is just around the corner.... I might try to attempt forming the 4 raised ridges in the roof panel next, but we'll see if I can scrounge up some more ambition.  P.S. : I most DEFINITELY am going total uni-body on this rig. AFTER I finish doing the outer sheet metal(Read: maybe mid-'16  )!!! )!!!
Last edited by Full Throttle Rob; 12-31-2015 at 05:27 PM. Reason: added P.S. |
| |  |
 |
 Slow 1/10th scale aluminum ZJ body build. - Similar Threads
 | ||||
| Thread | Thread Starter | Forum | Replies | Last Post |
| 10th scale rules for a build | Bamfapotamus | Newbie General | 2 | 03-05-2009 01:31 PM |
| 1/10th Scale Tonka Build | edward87 | Newbie General | 14 | 07-29-2007 10:51 AM |
| 1/10th scale body | srfrkyle1234 | Newbie General | 4 | 11-21-2006 10:06 AM |
| |