| |
 09-08-2009, 08:26 PM
| #101 | |
| Quarry Creeper Join Date: Jul 2009 Location: SW Hell
Posts: 241
| Quote:
| |

|  |
| Sponsored Links | |
| | |
|
09-15-2009, 12:43 AM
| #102 |
| Rock Crawler Join Date: Aug 2009 Location: crawlerado springs
Posts: 859
|
4 words! YOUR A BAD ASS! lol you should try the house of color bullet proof clear coat! i it will slightly save your panels so you dont beat them up so quick!  |
|
| |
|
09-15-2009, 01:39 AM
| #103 |
| Pebble Pounder Join Date: Jul 2007 Location: Selangor
Posts: 121
|
Simple and amazing job here... May i know what is the total weight of the chassis only and weight of the whole rig? TQ |
|
| |
|
02-05-2010, 10:12 PM
| #104 | |
| RCC Addict  Join Date: Aug 2005 Location: New Oxford PA
Posts: 1,290
|
Thanks for the comments guys. Quote:
Well the total weight on the truck was 7lb 5.3oz. The chassis alone with the boat sides was 1lb 9.7oz but I have now redesigned the chassis and is the reason i'm updating this thread. I needed to make my old truck more competitive. I can't afford MOA's so I'm stuck with this for now and since i refuse to be normal I'm sticking with the aluminum body but with a couple refinements. First off i wanted to lighten the chassis a considerable amount. I couldn't find the aluminum i wanted in time so i went with steel tubing but with only minimal amounts. I started by using an old AX10 skid plate and making new boat sides that were almost 1/2" narrower than the old ones. They also are now incoporated into the lower links 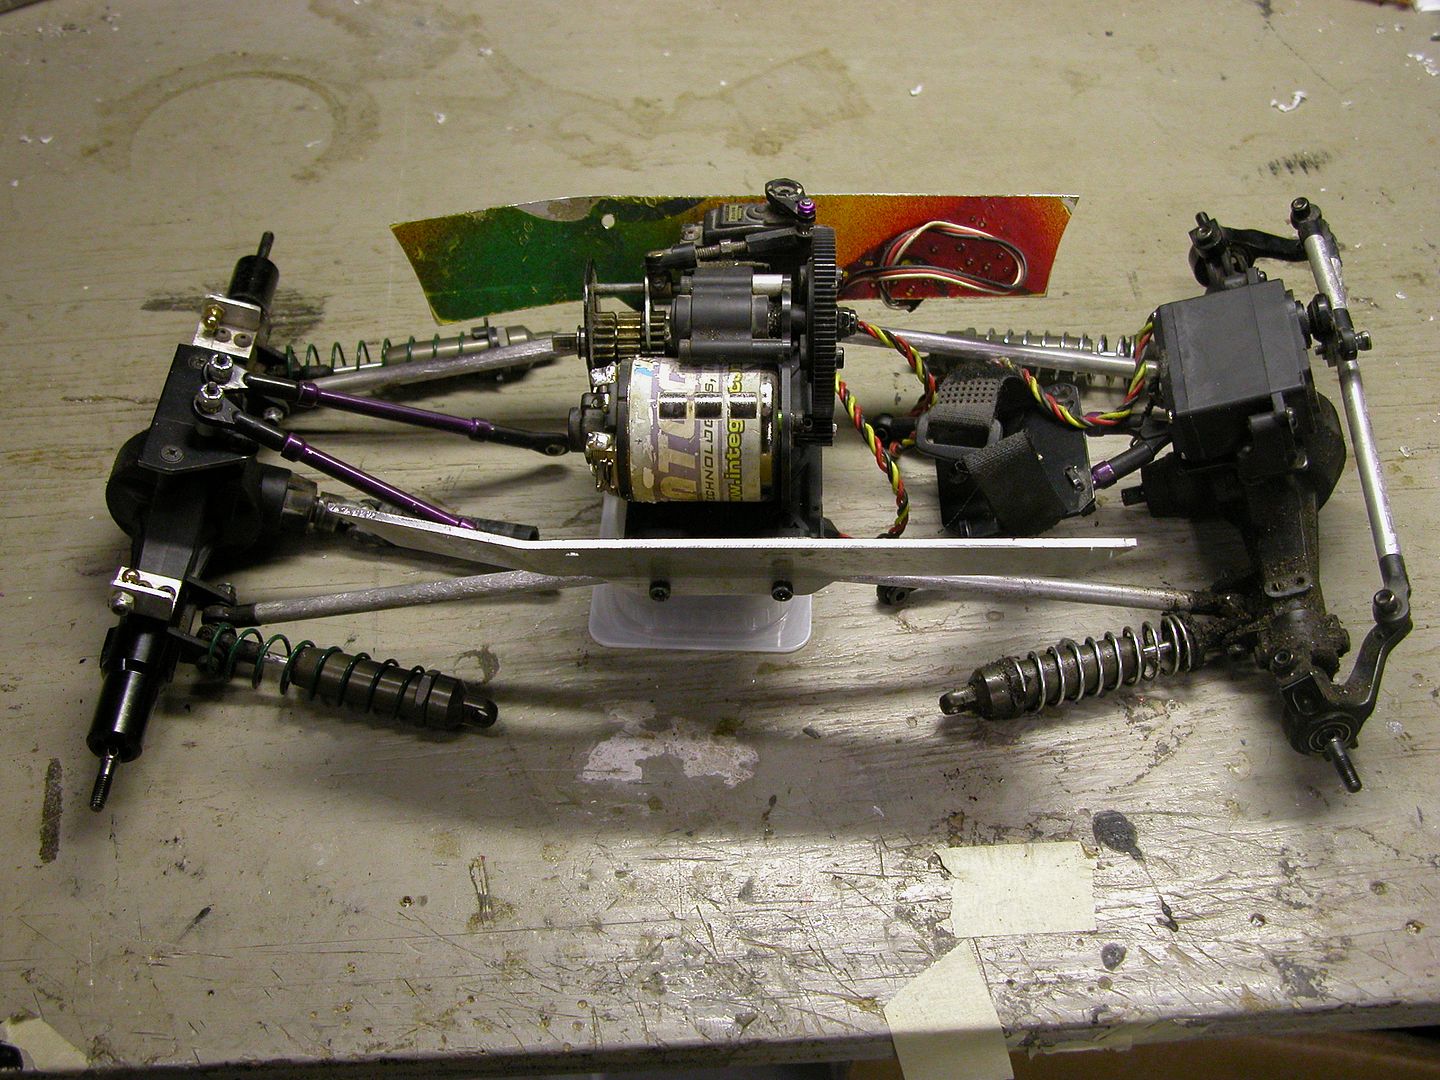 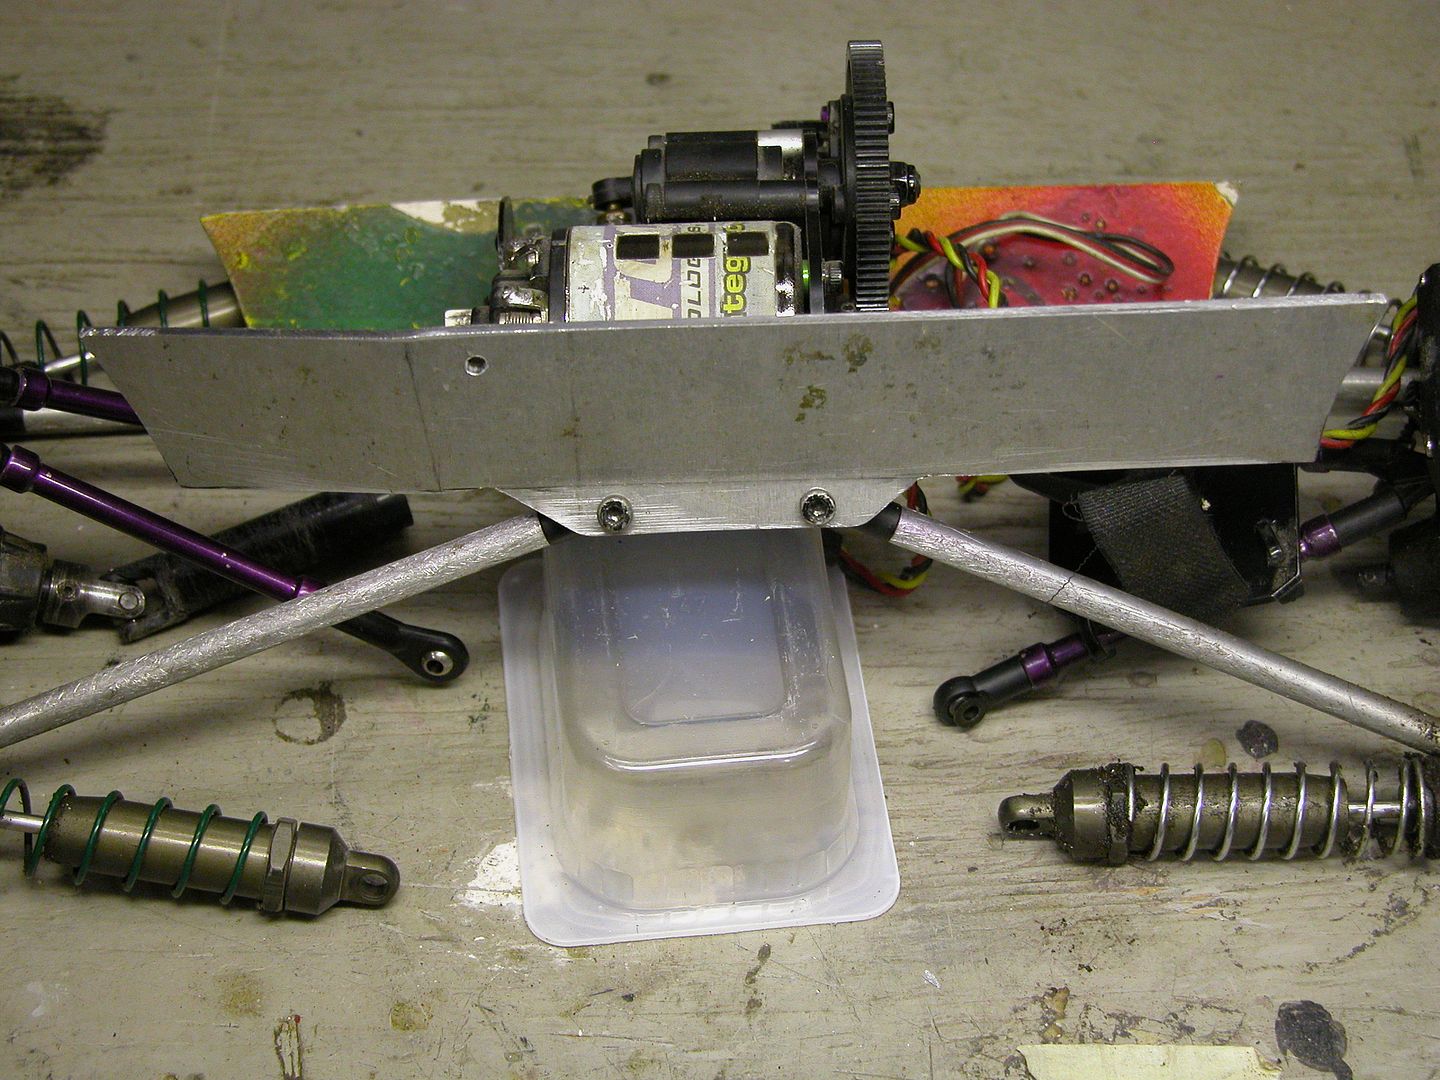 These new sides also narrowed up the whole body by 1 1/2". Next i started on the main hoop. this time though, I attached the hoop directly to the boat sides with a plate. i also added the hoop for the rear 1/4's taking about an inch of the back 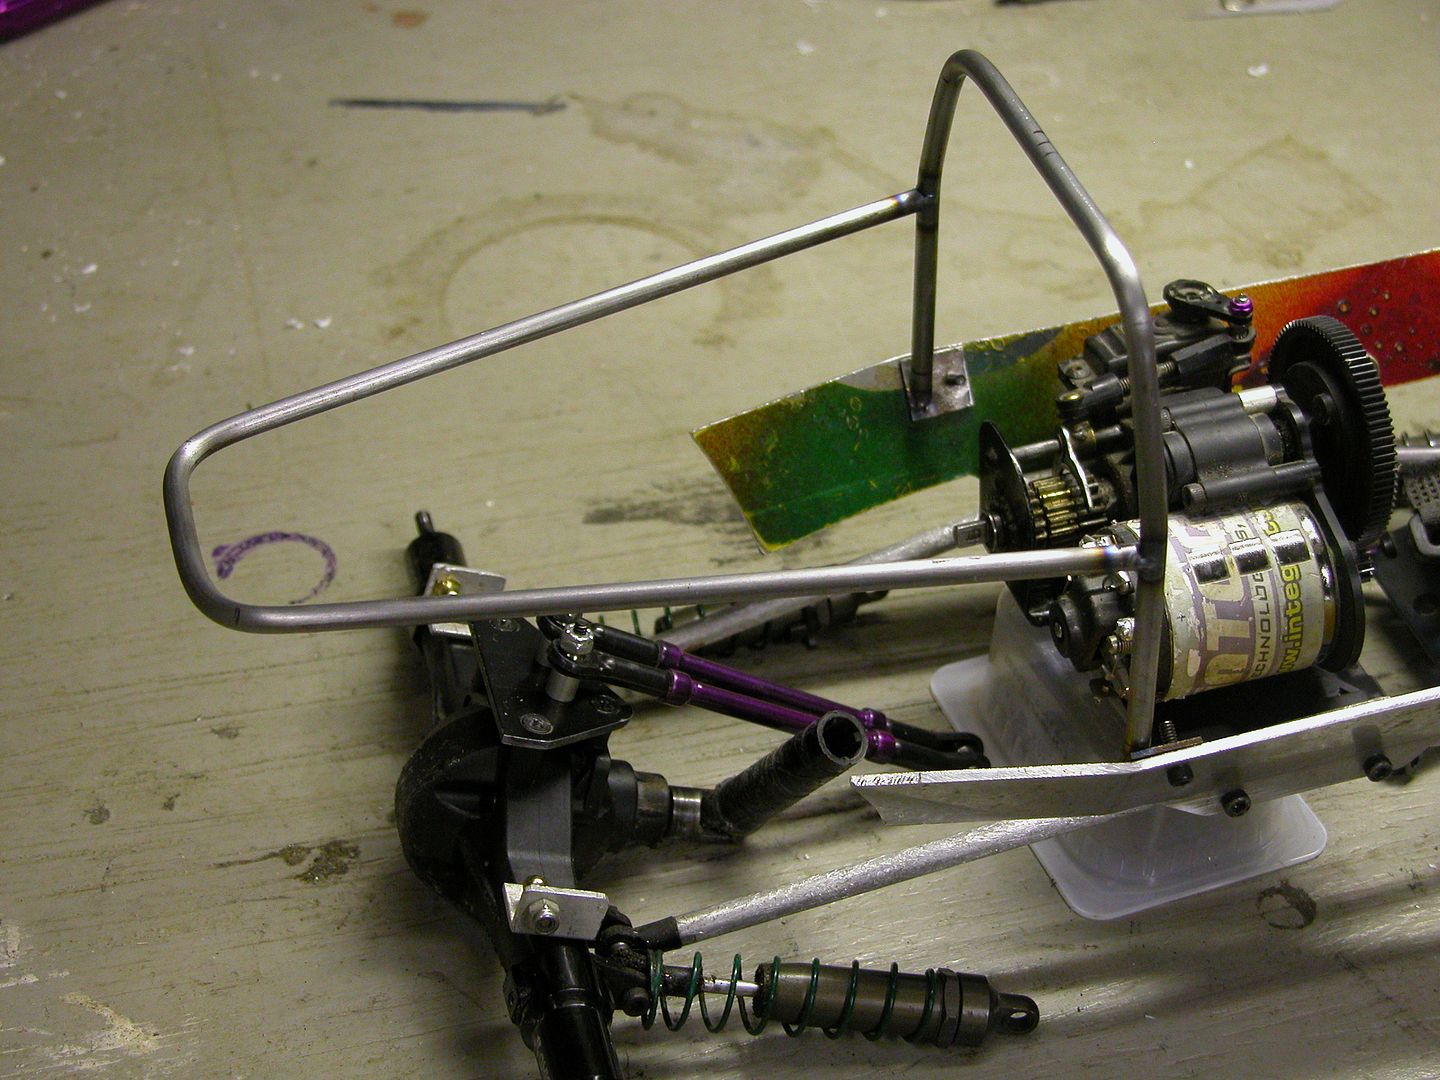 Then i test fit the old panels 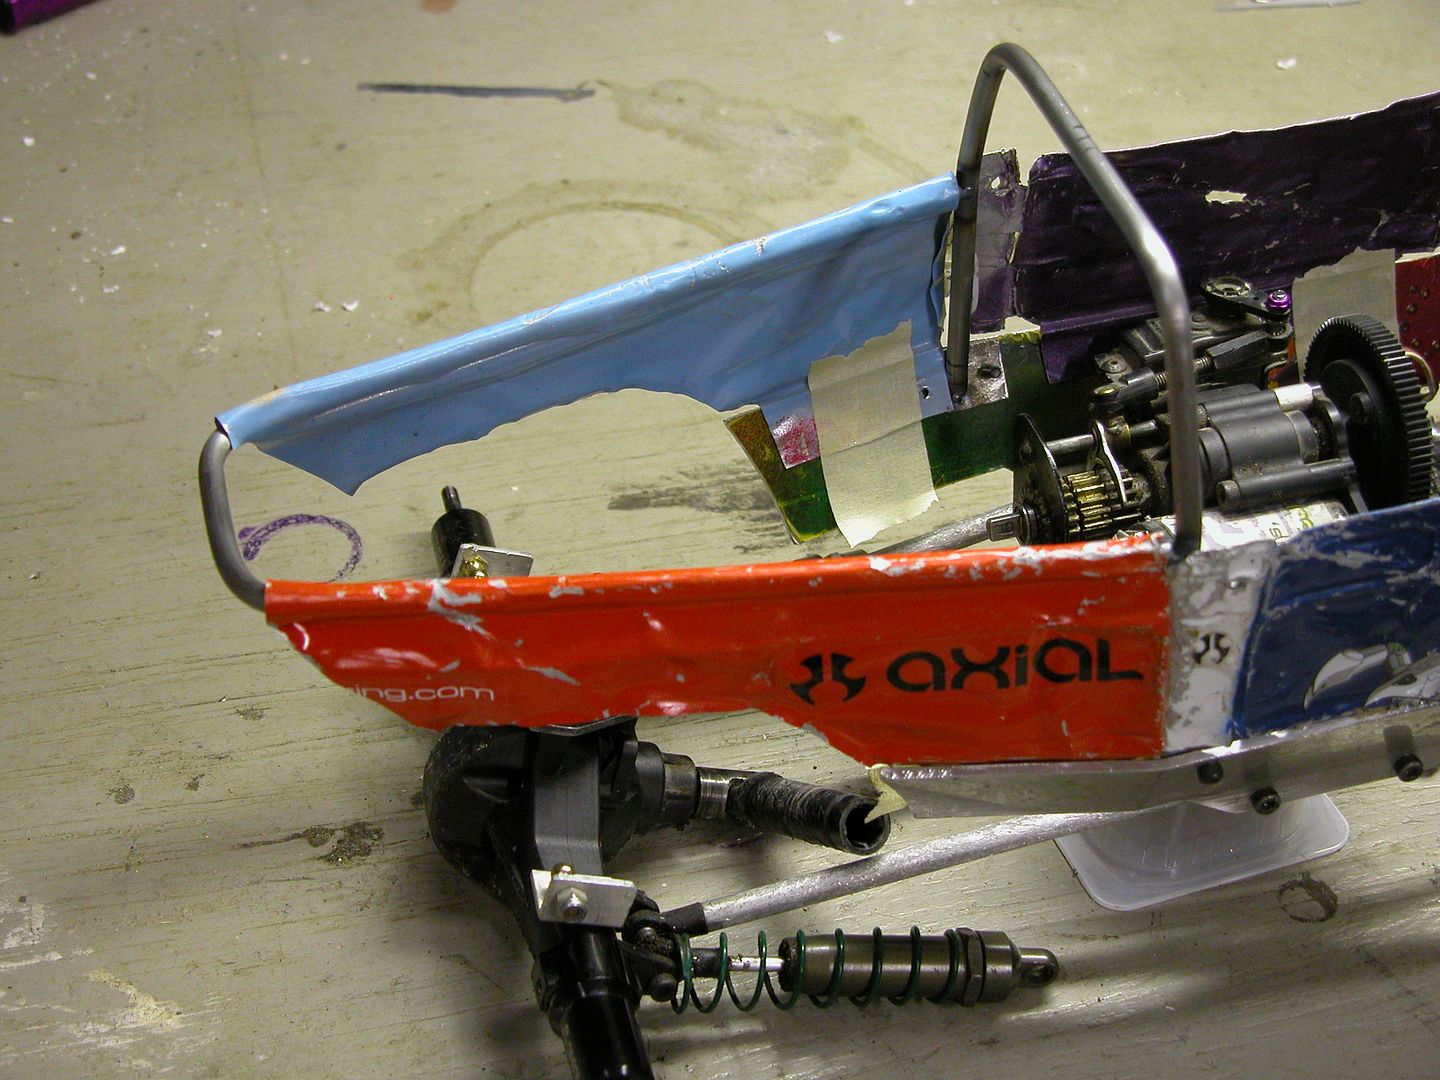 Next i added a lower tube that connected the rear hoop to the skid plate. this also became the mounting points for the upper links and shocks. I also decided to go to a 4 link in the rear while i was at it. 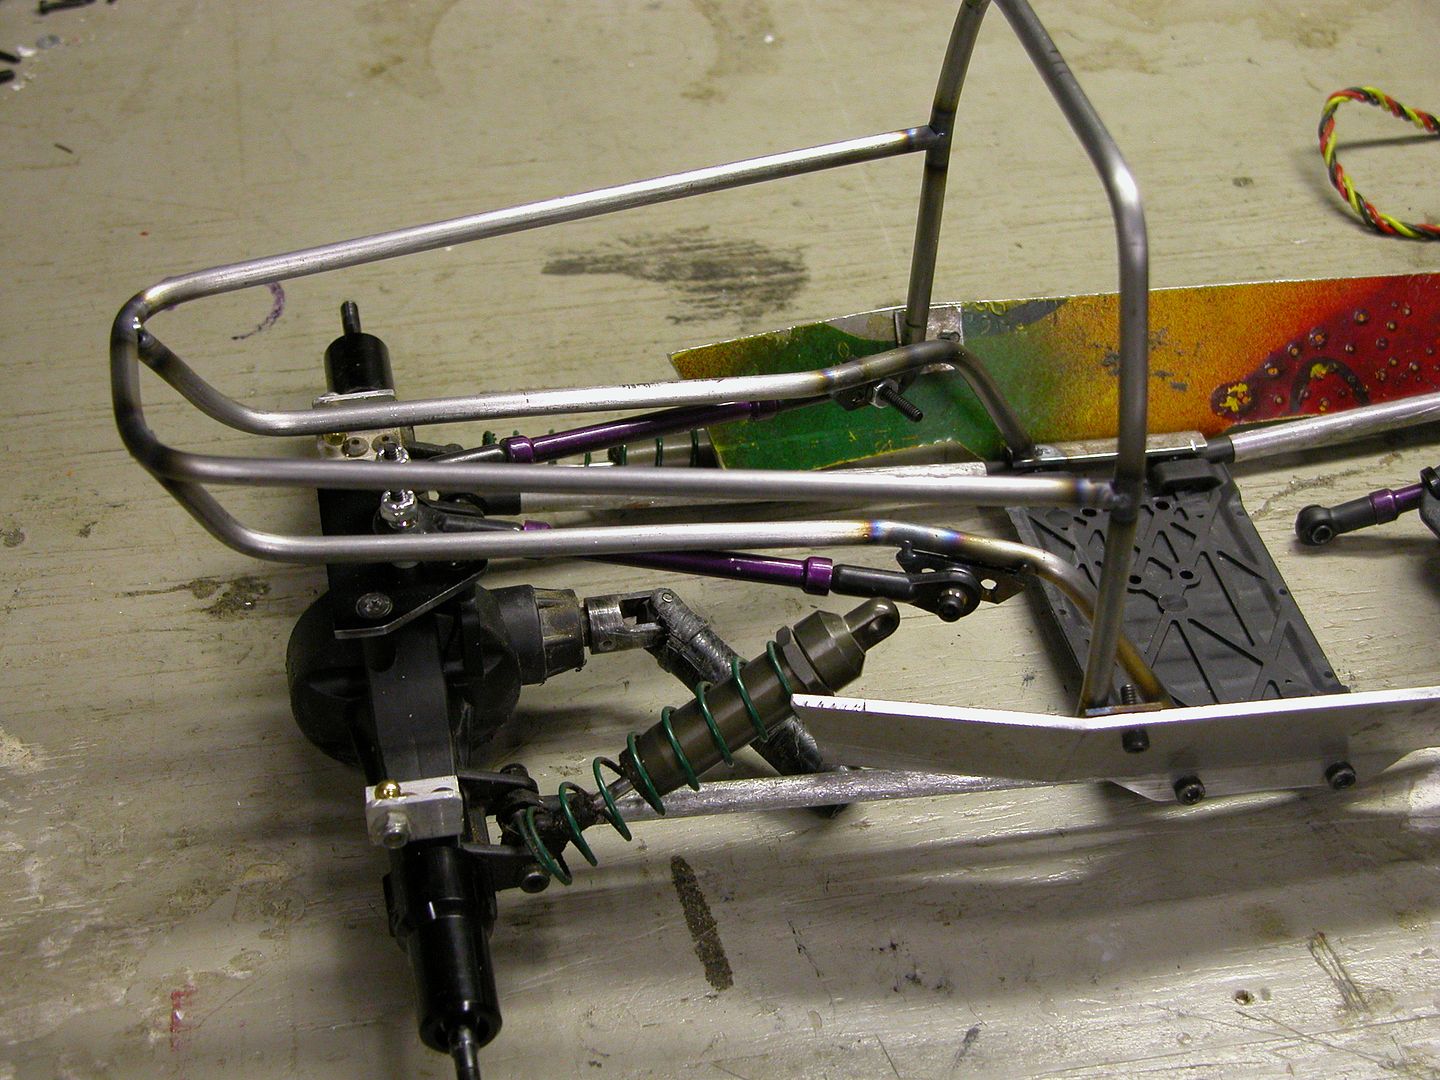 then i made up the rest of the cab taking another 1/2" out of the top. 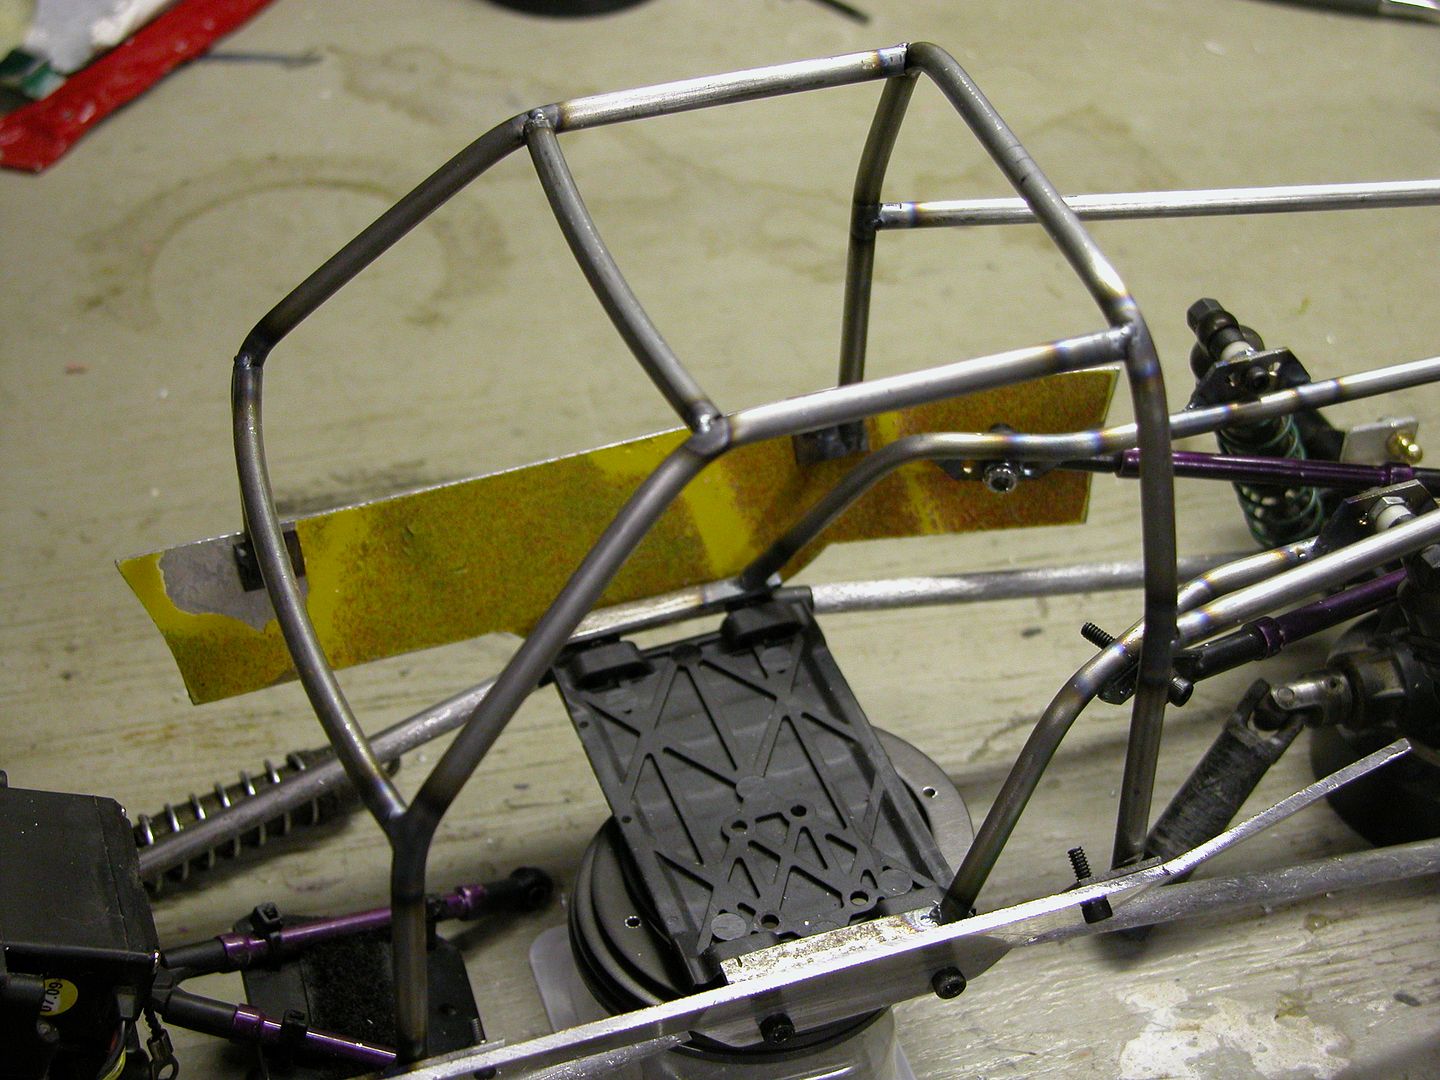 and finally I completed the front pretty much the same as the rear 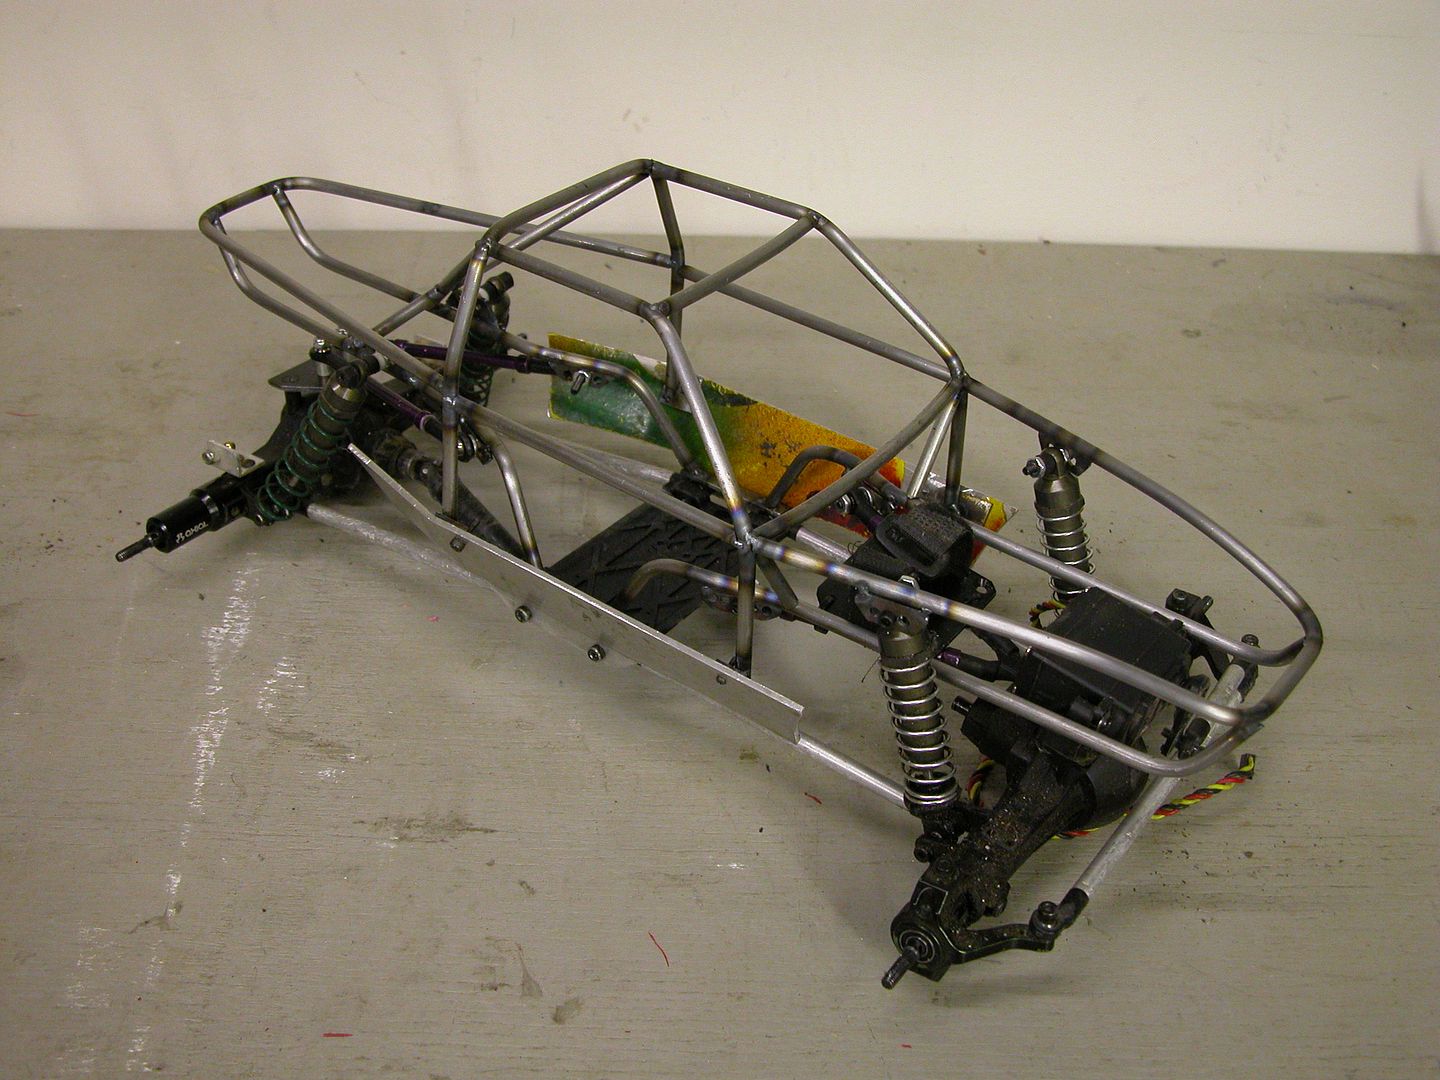 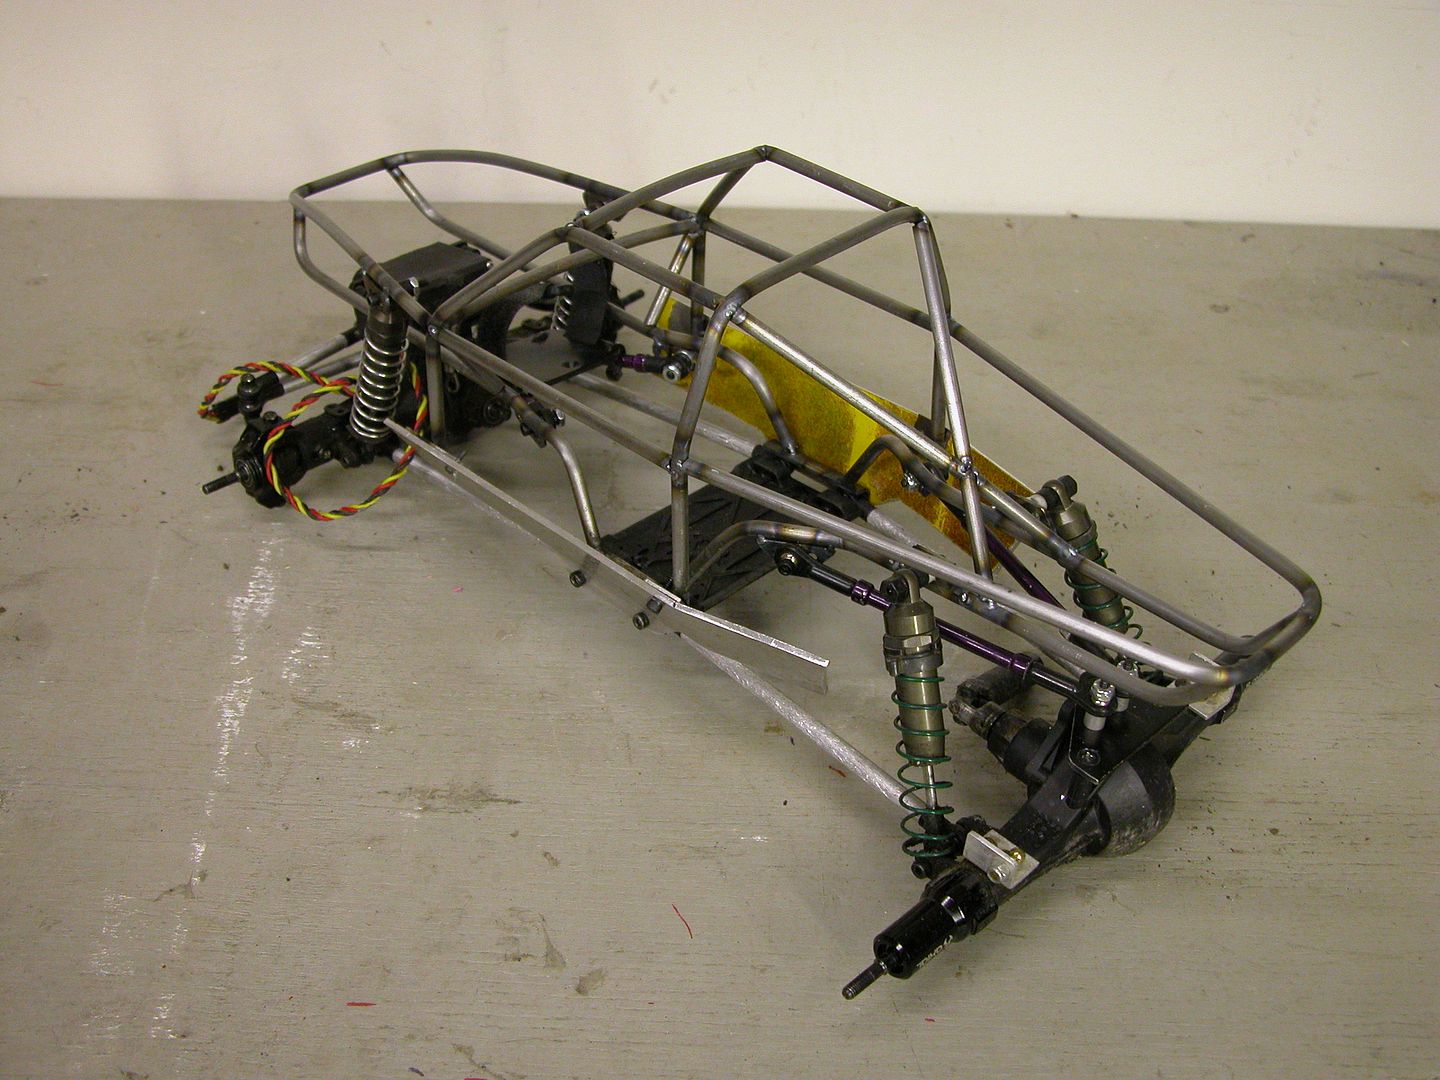 and here it is as a rolling chassis with some new shoes 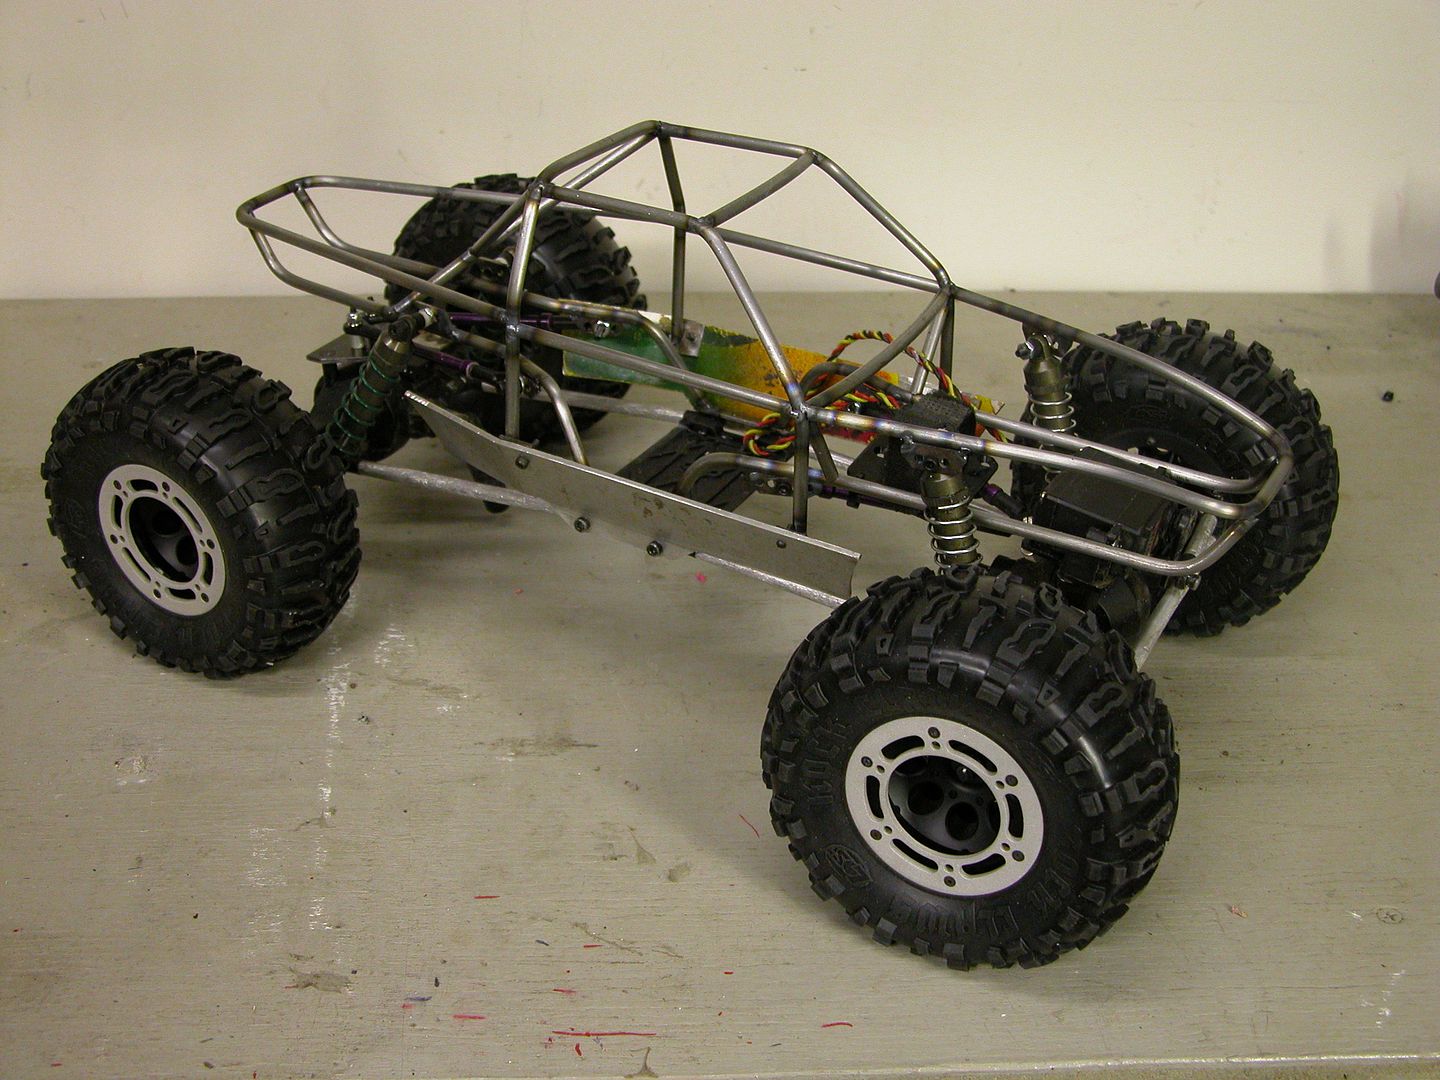 Then i blew it apart and did all the final welding including adding the tabs for the body panels. 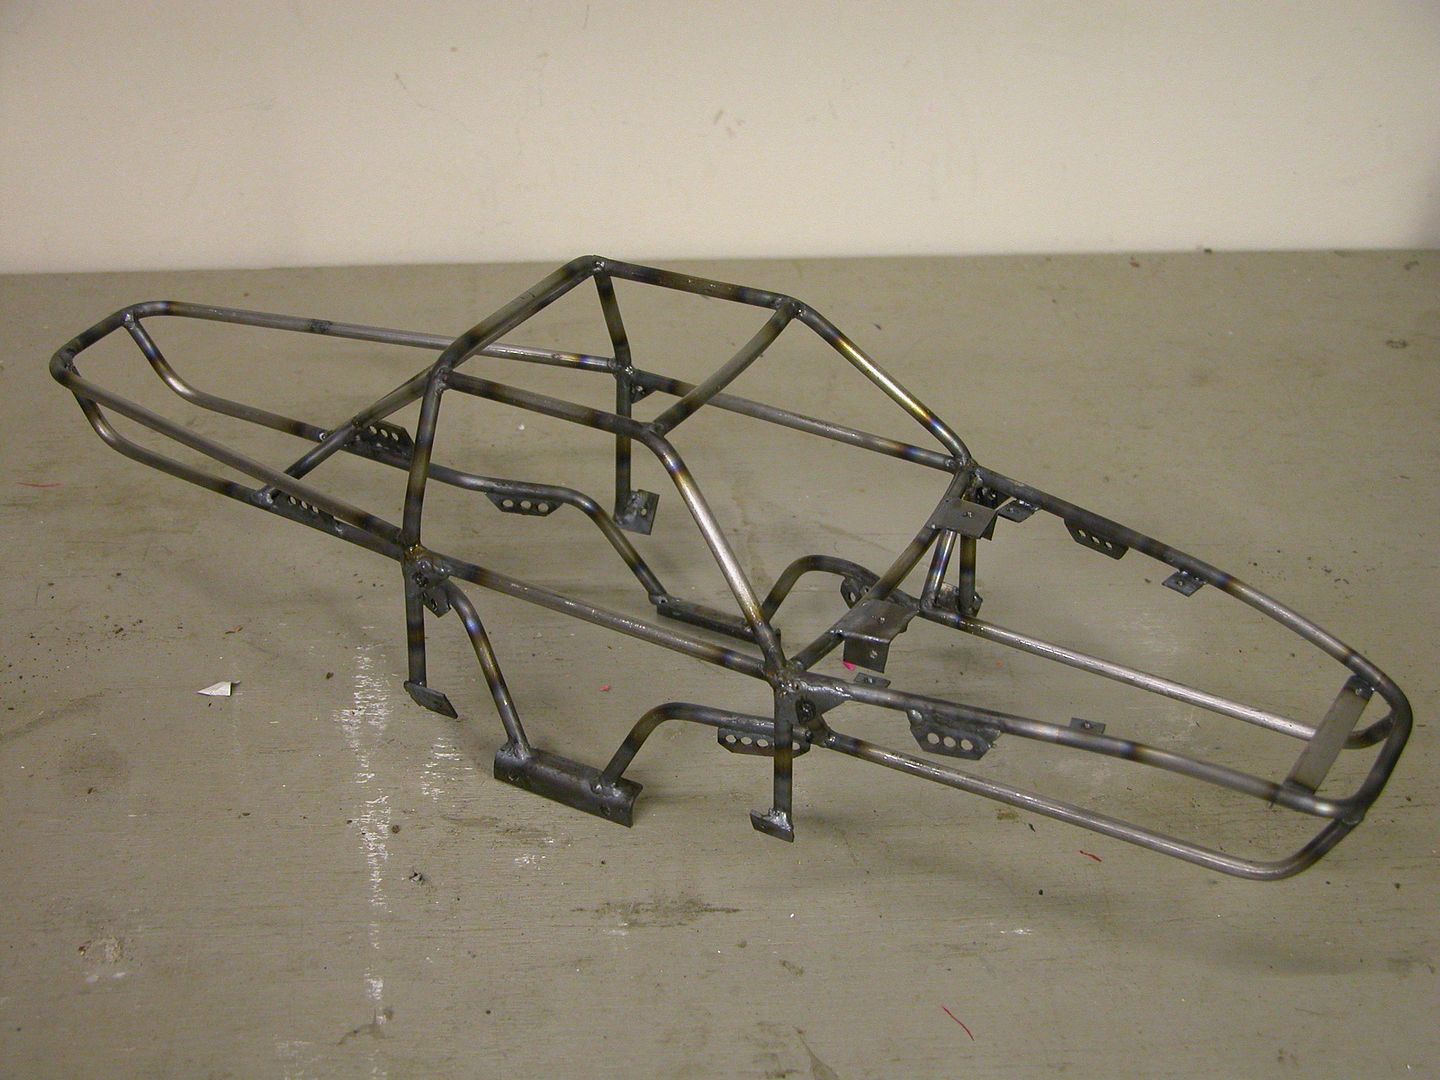 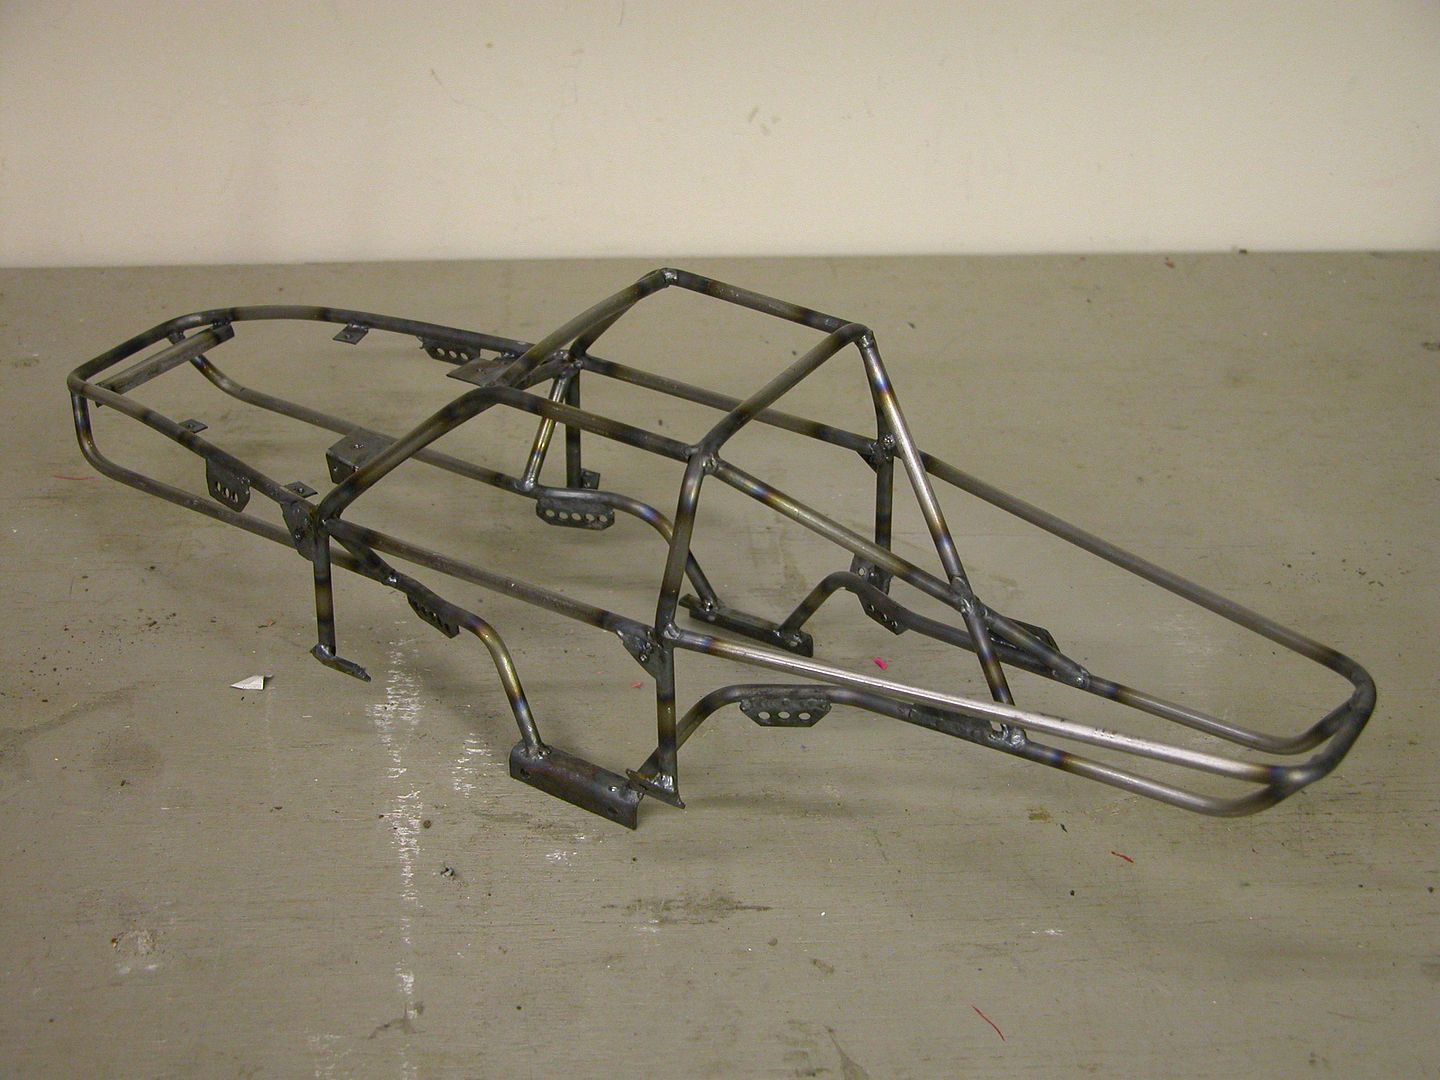 you can see how bare minimum the chassis is now and how it ties everything together with out any extra material. Now here is a comparison to the old chassis 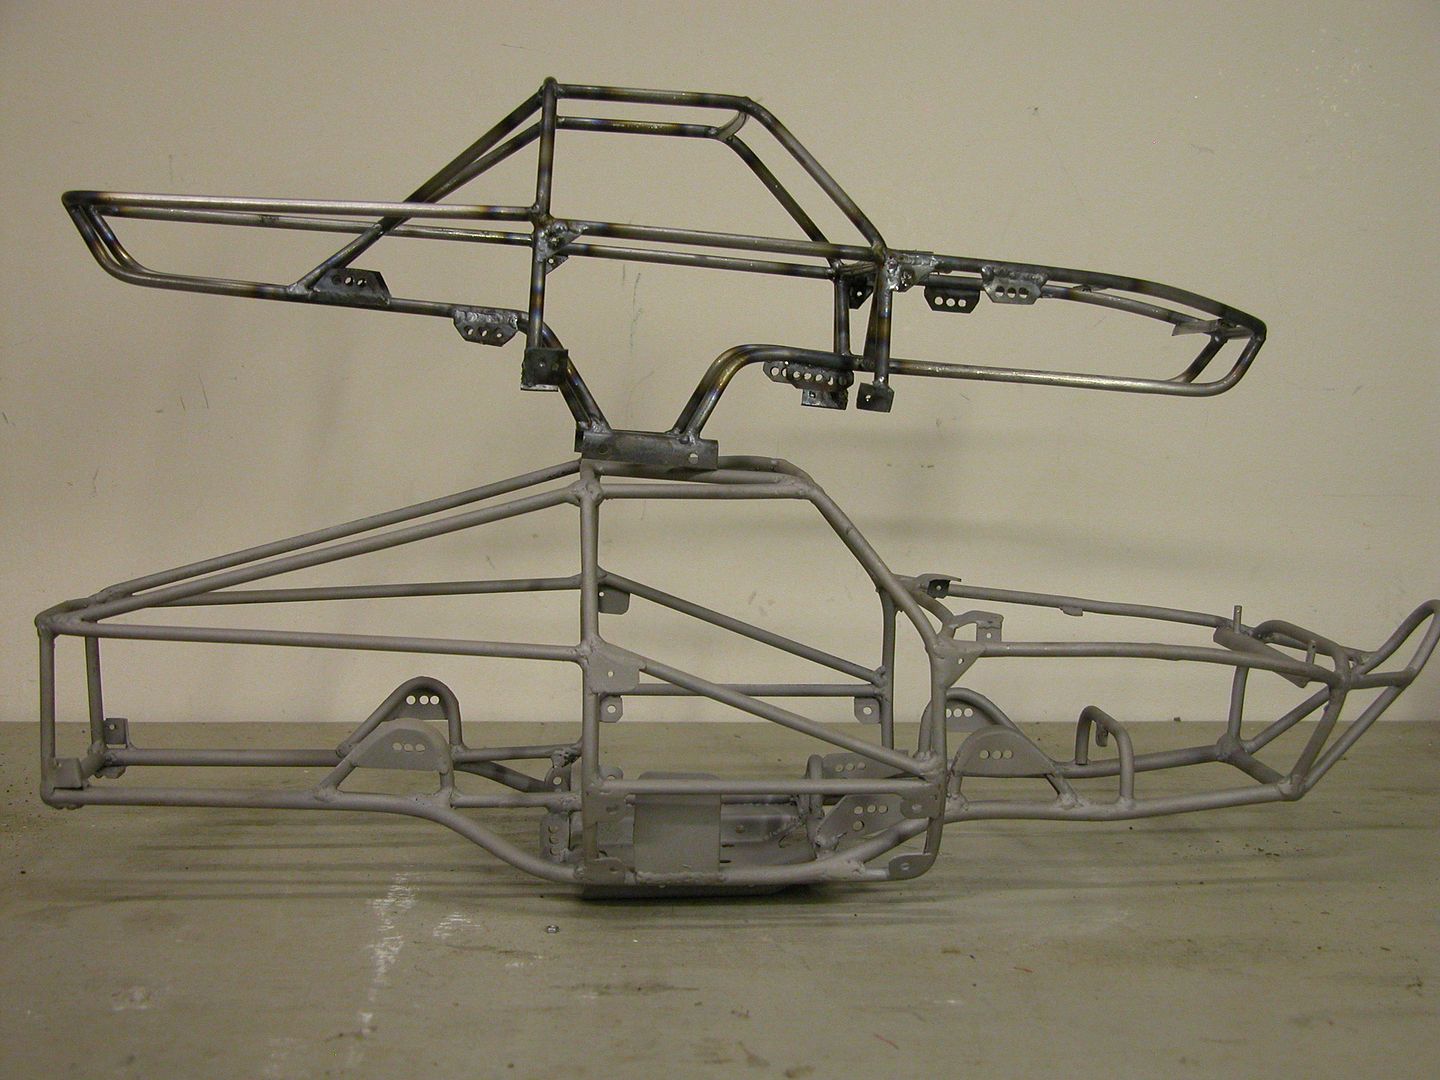  and this shows the weight difference between the old and new chassis. 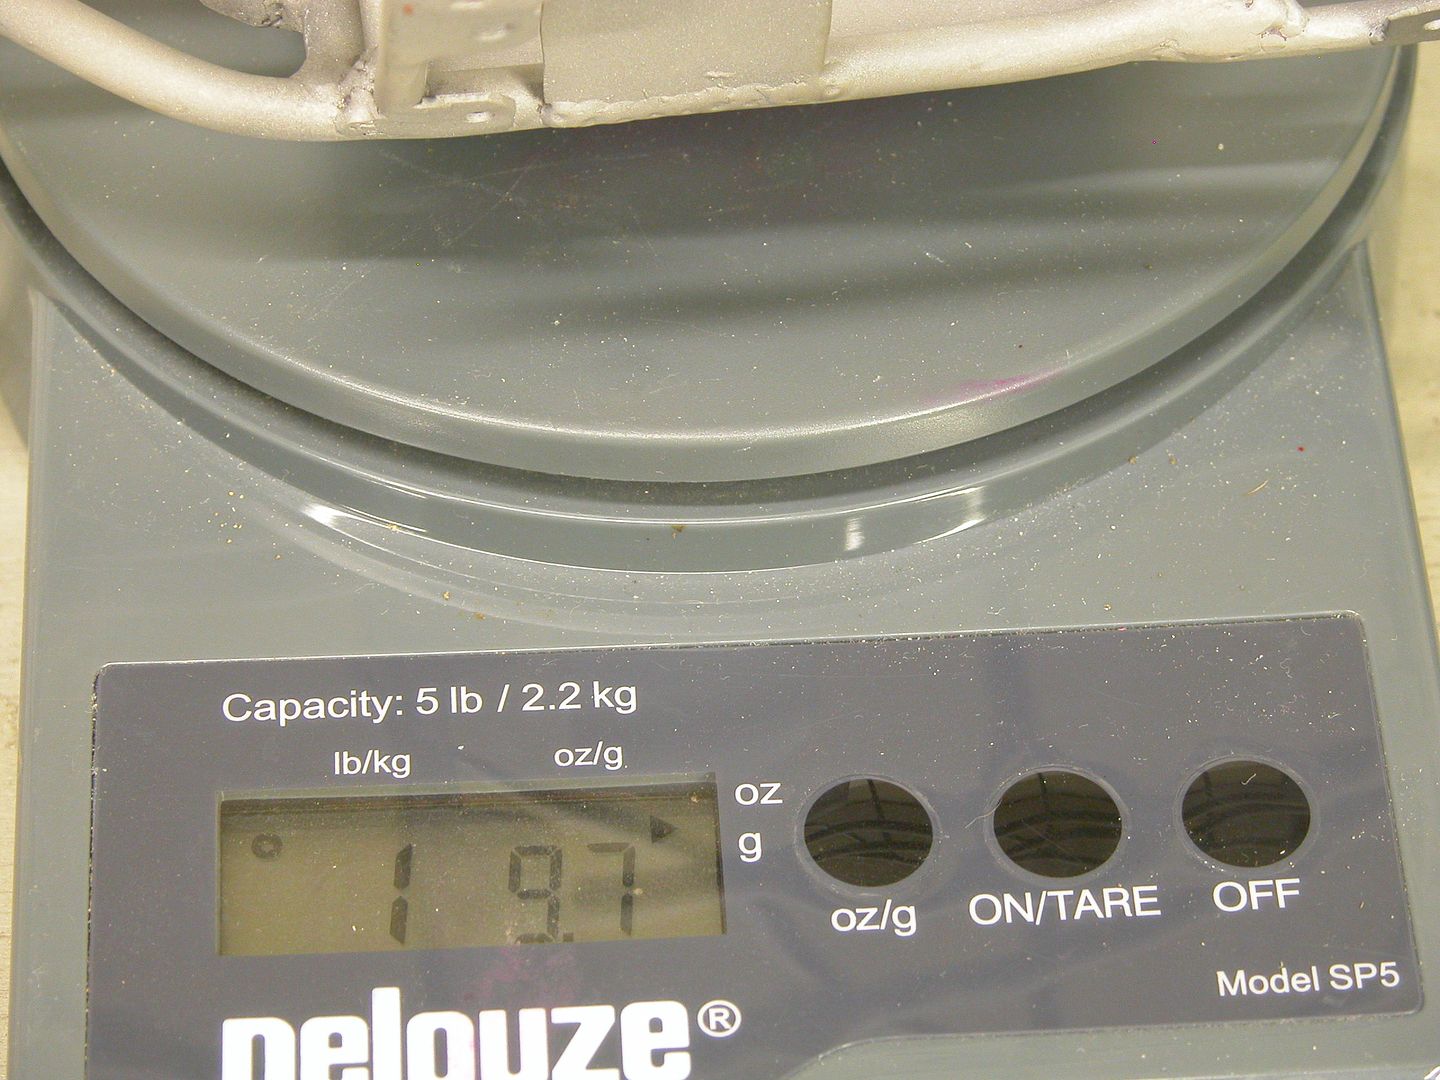 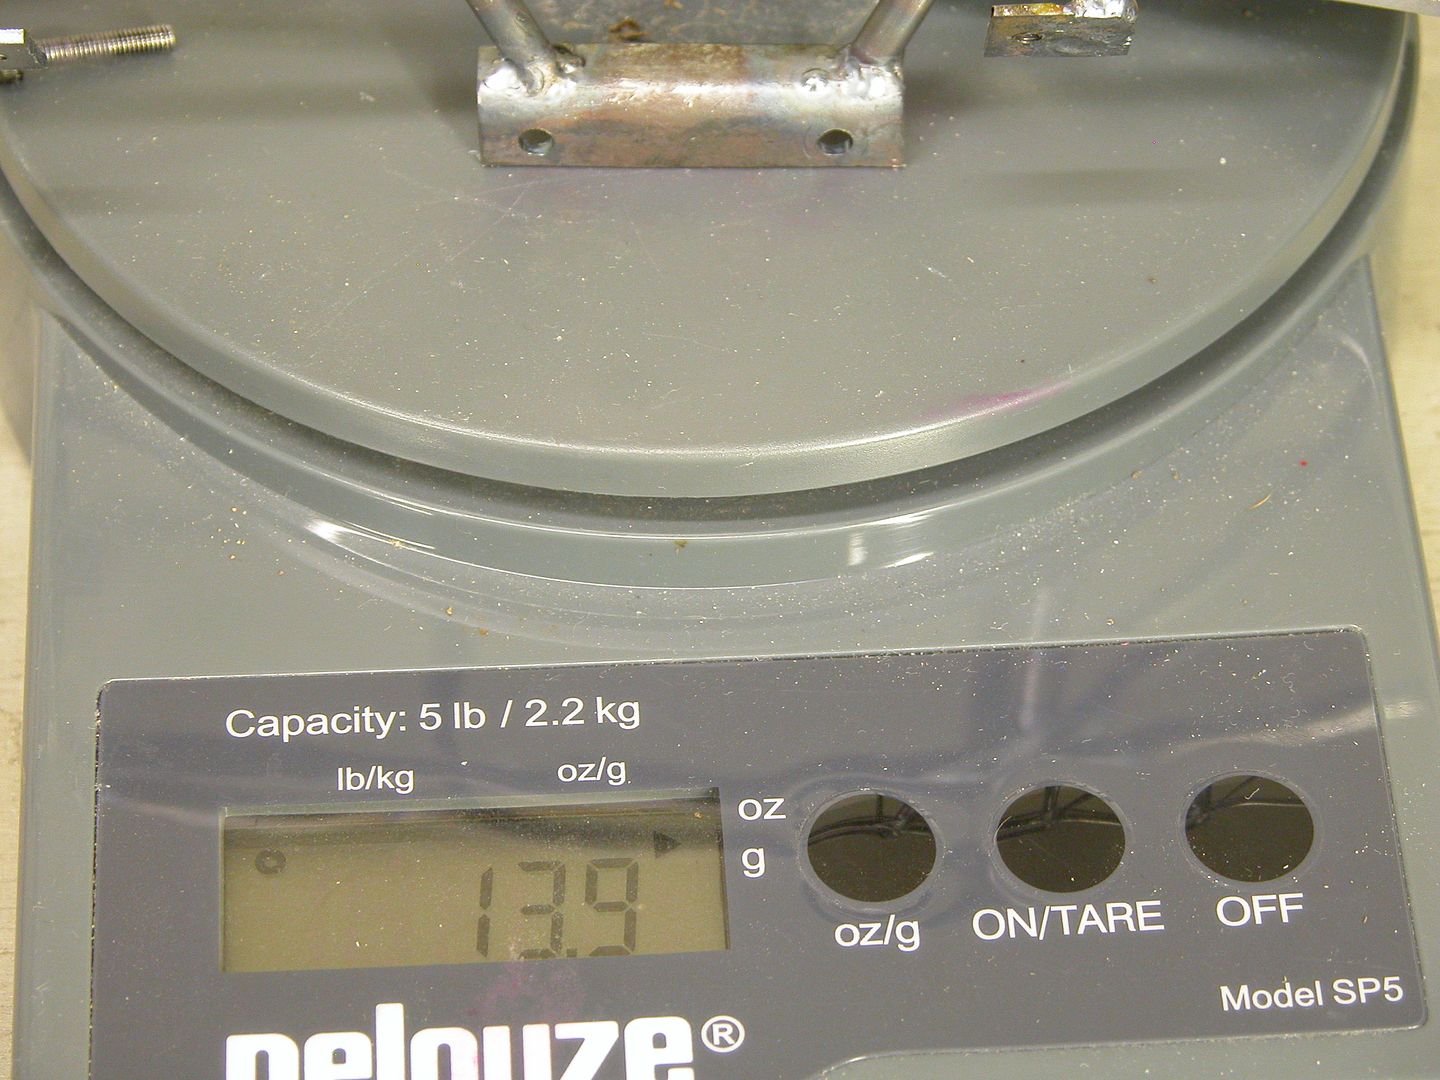 I shaved off almost 12 ounces! Now here it fully assembled and running. I threw on the old panels for teasing purposes. I'll have new ones made shortly. 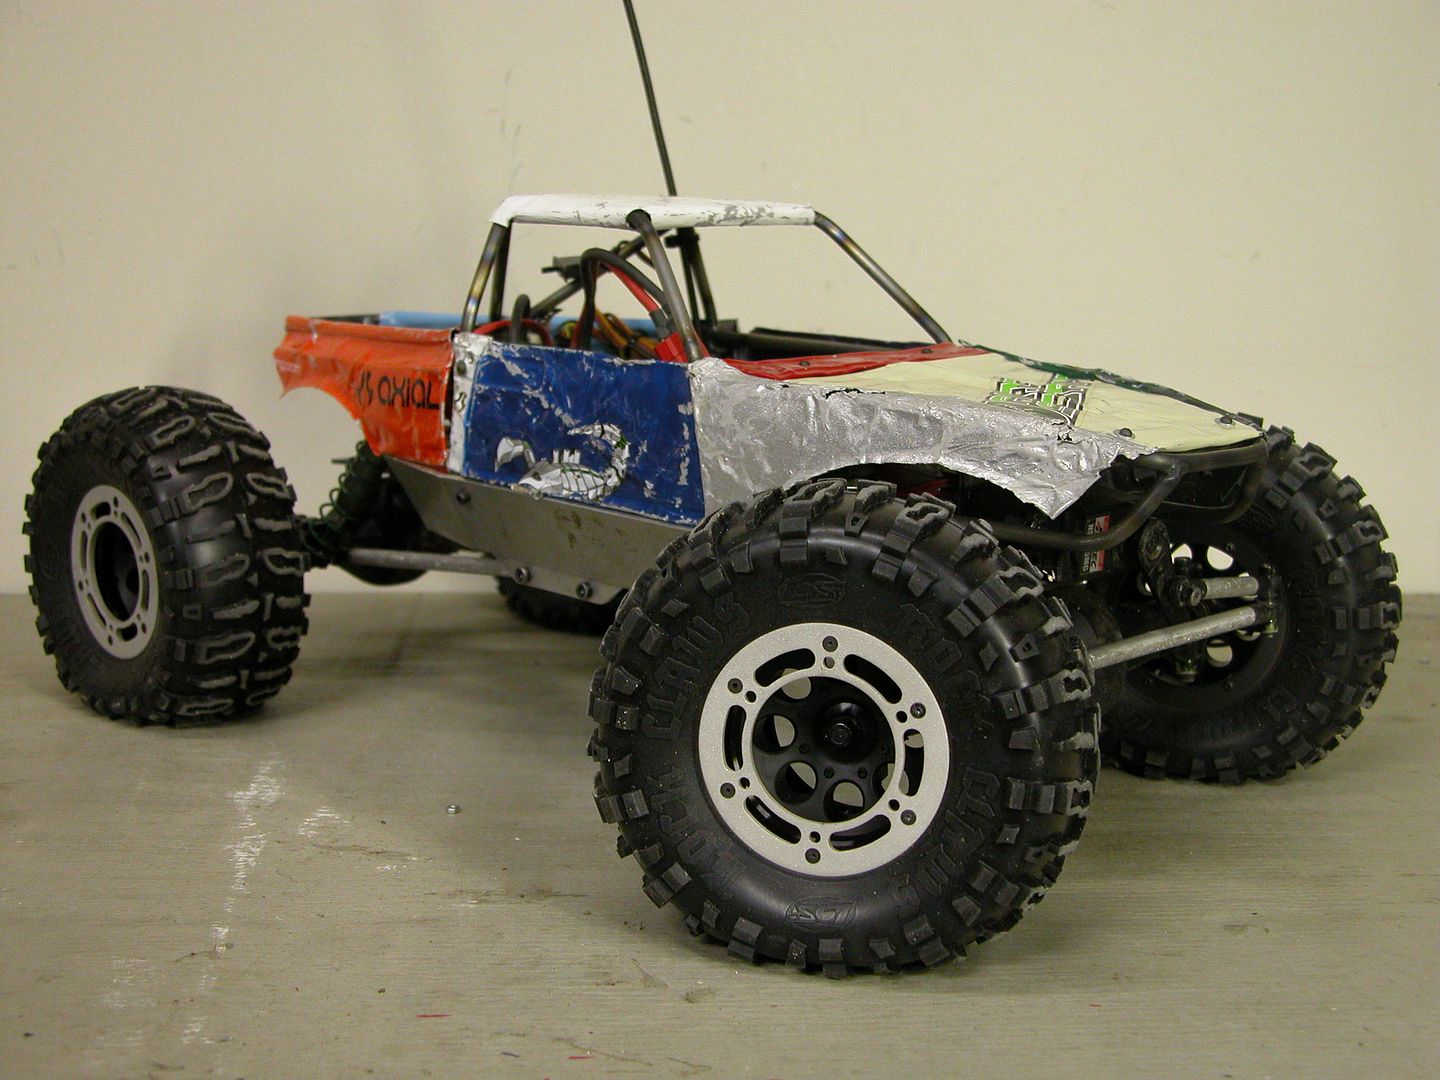 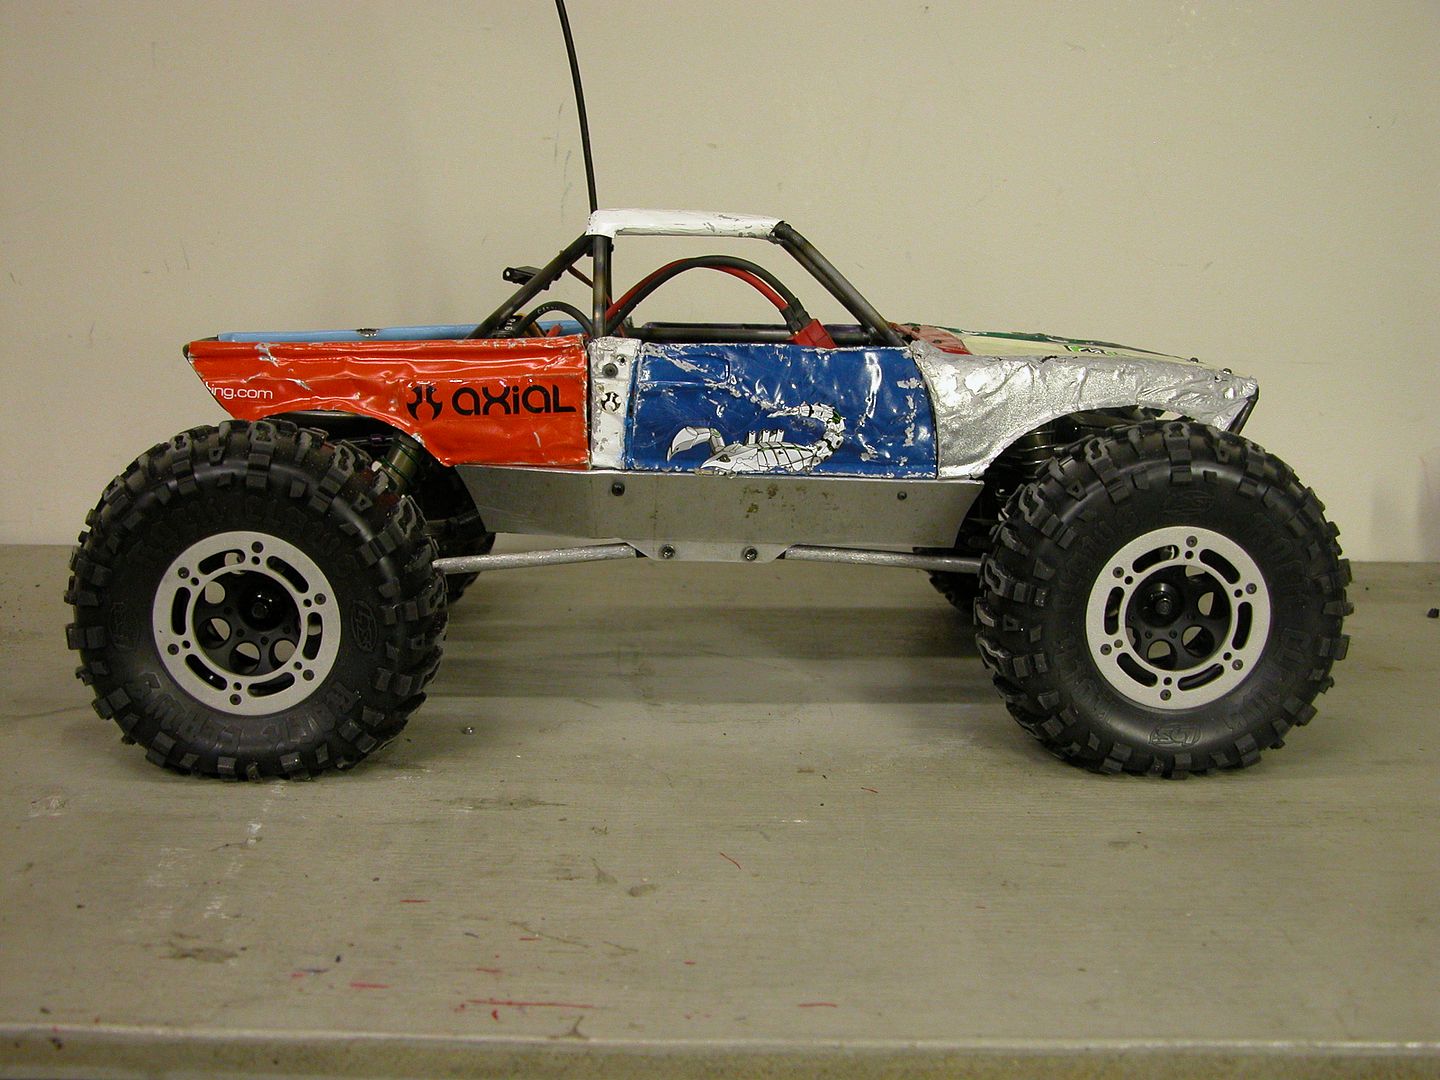 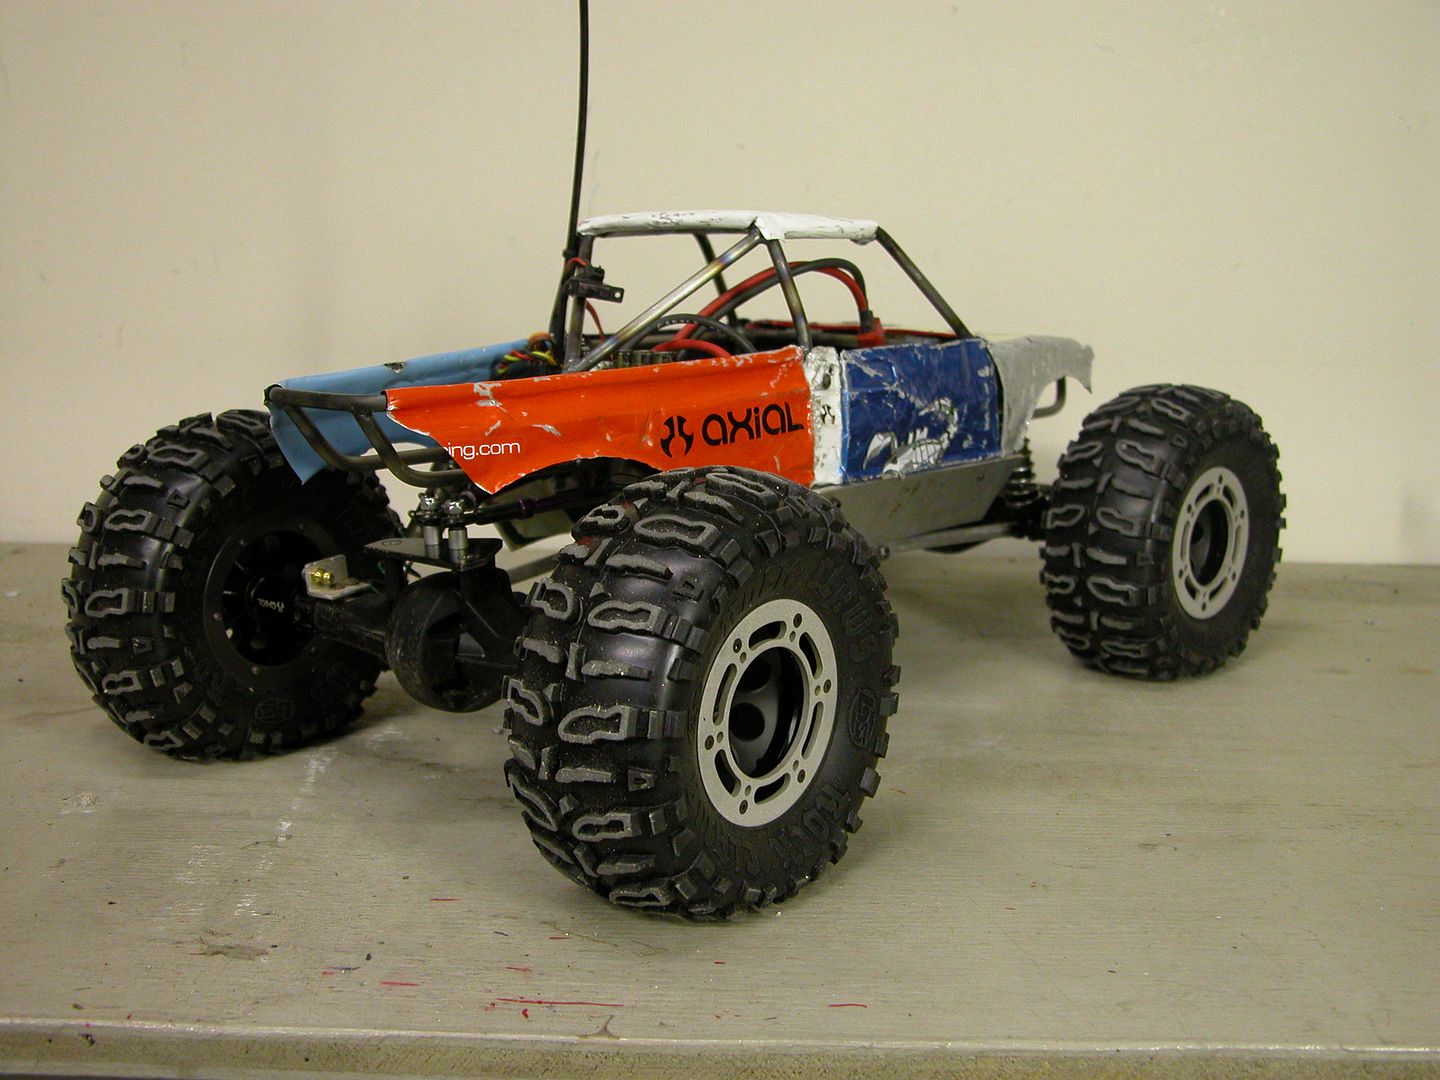 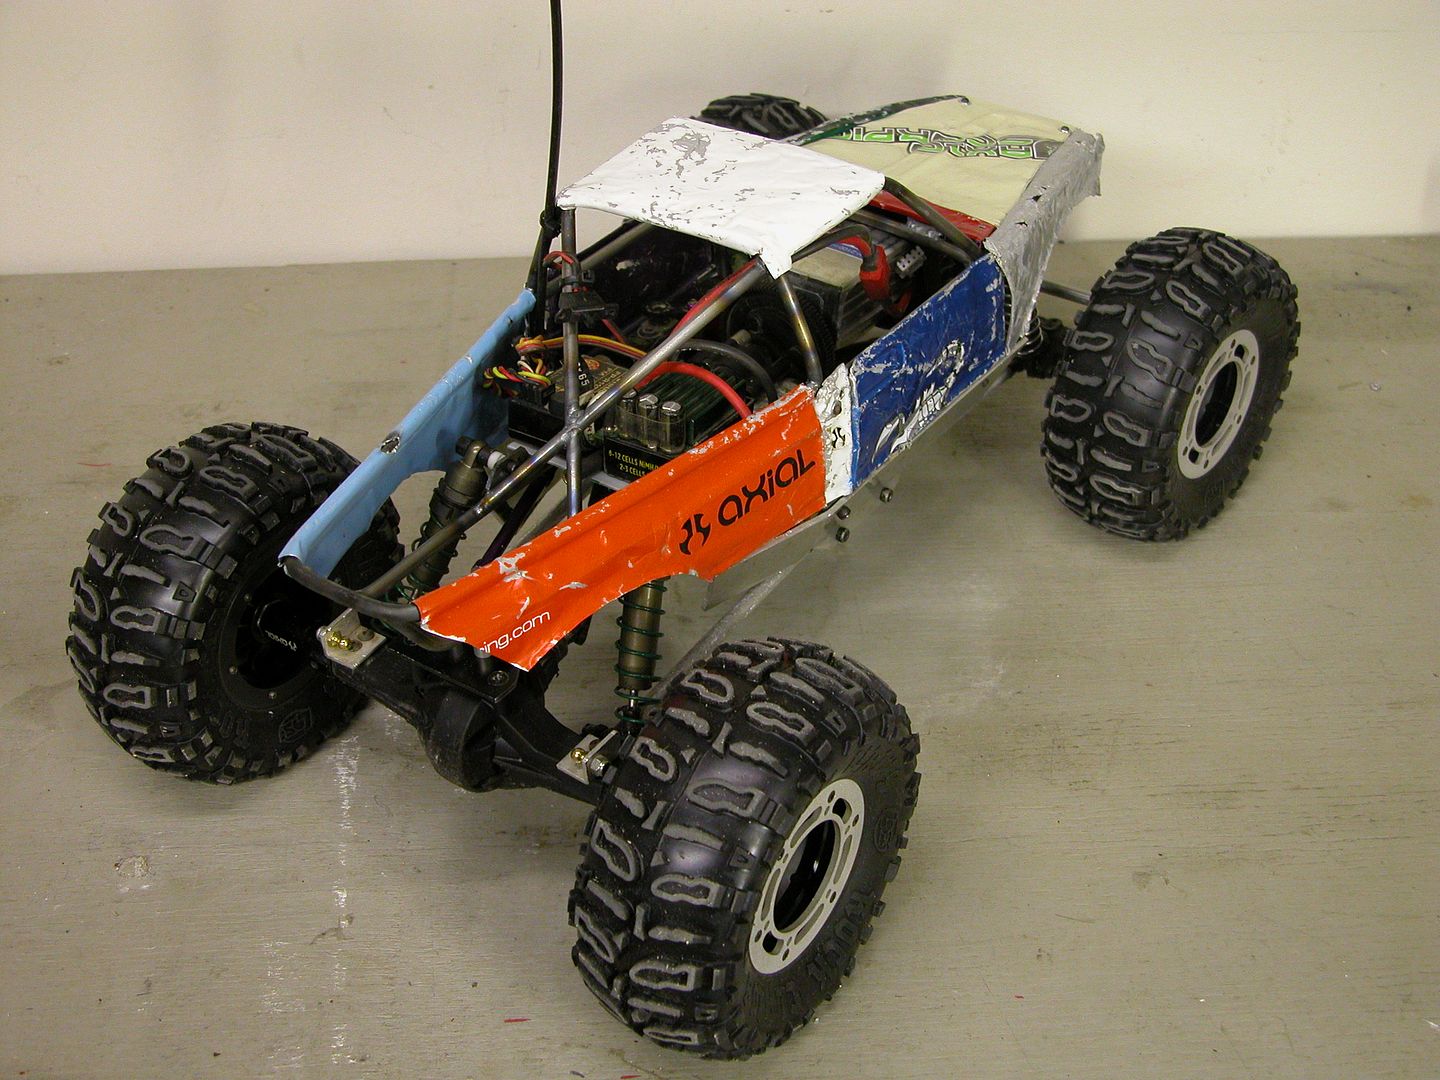 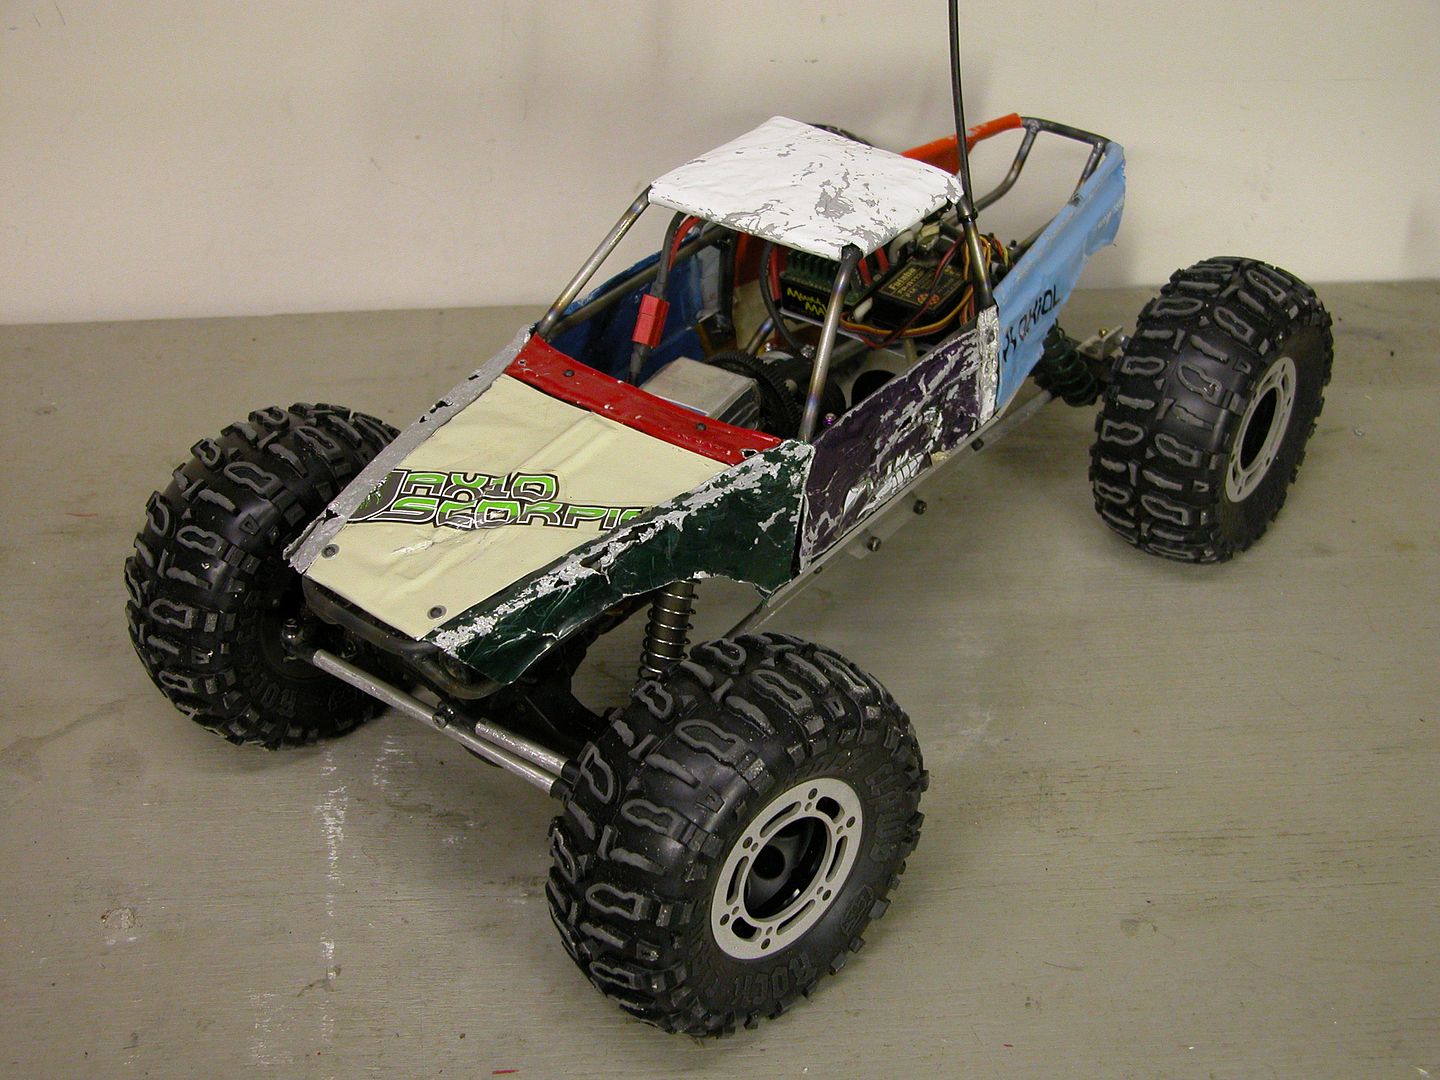 And all the electronics fit snug inside 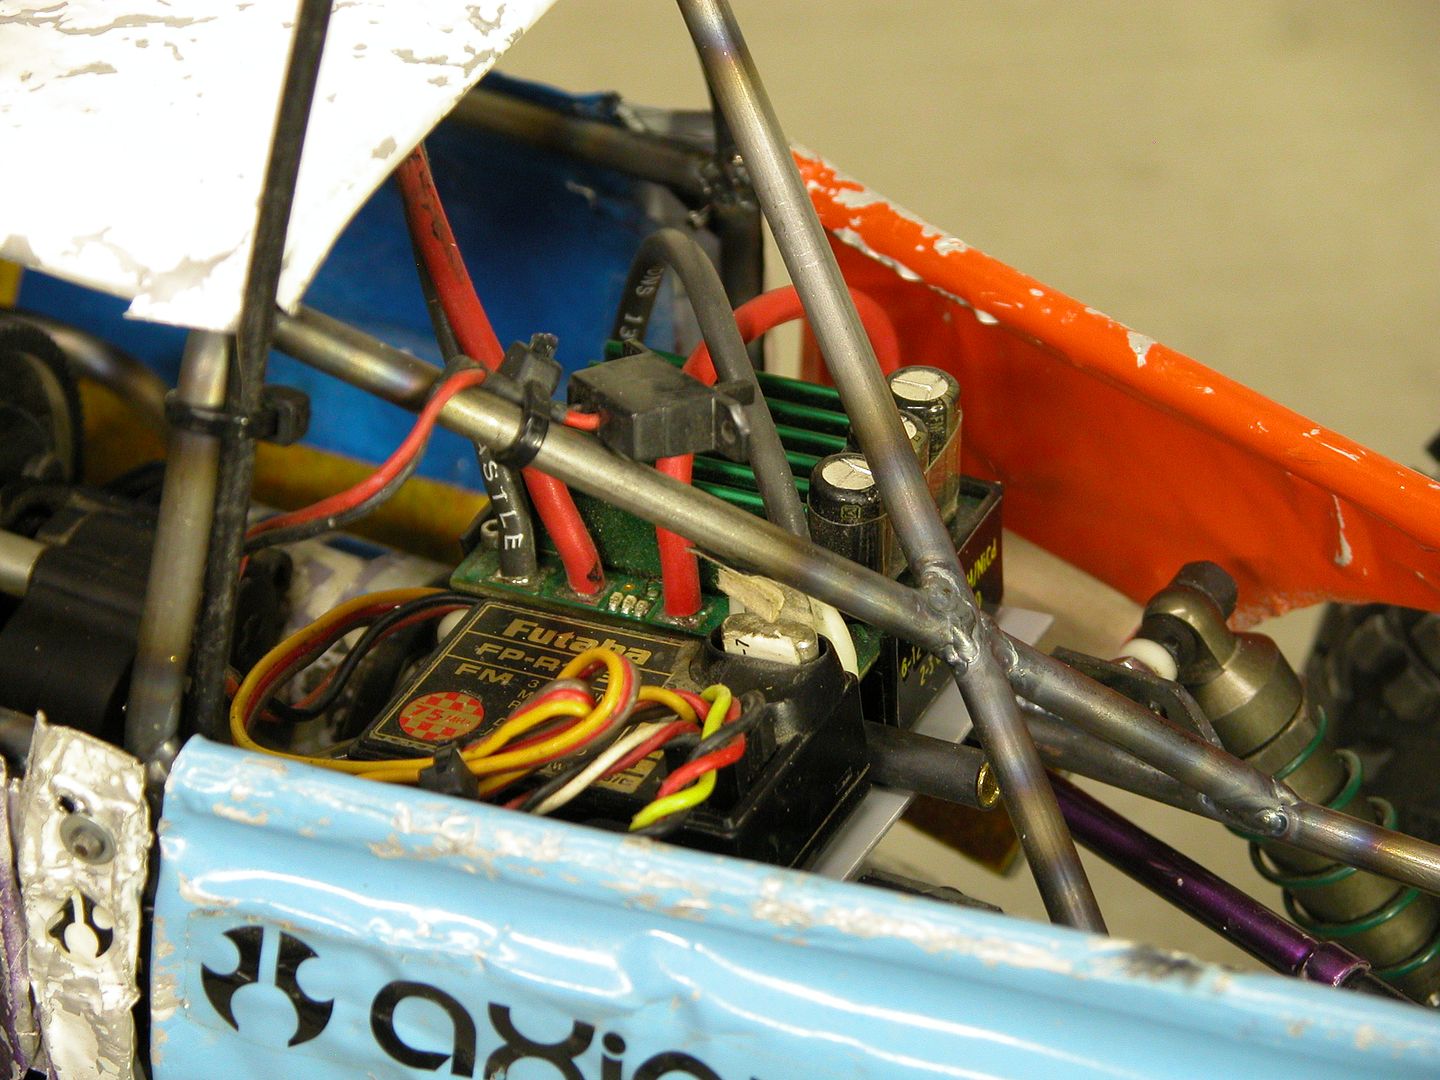 I really like the stance now and some preliminary testing shows it to be more stable. Now all i have to do is tear it apart again, tweak the suspension a bit, paint, re-assemble and i'll be ready for Motorama! | |
|
| |
|
02-06-2010, 12:51 AM
| #105 |
| Pebble Pounder Join Date: Dec 2009 Location: Magalia, CA
Posts: 140
|
WOW!! I am truely amazed by your work, definetly thinking outside the box with all the aluminum body parts you sculpted!! Nice job!! |
|
| |
|
02-06-2010, 12:13 PM
| #106 |
| RCC Addict Join Date: Nov 2005 Location: Kansas
Posts: 1,280
|
The true body damage aspect of this thing is awesome! I like your second version of a chassis better... looks real low slung, and should compete just a hair better Oh, and thank god for the new shoes eh? That was one thing that really stood out at first: the crappy tires... |
|
| |
|
02-06-2010, 12:38 PM
| #107 |
| Rock Crawler Join Date: Dec 2009 Location: Lynnwood
Posts: 569
|
this is prob truely one of the best forum post on any forum out there that ive seen great job man that rig is the most badass comp/ scaler ive seen everything is true to style all my buddy have yotas and ive seen the work and seen your work and all the tube and panels and stinger and dovetail bob job everythng is true to size great build
|
|
| |
|
02-07-2010, 02:12 PM
| #108 |
| Newbie Join Date: Feb 2010 Location: NY
Posts: 25
|
That was so awsome,you did a great job and love the pics,your very talented you should build and sell those tube chassis's (newer version) I know I'd buy one as I'm sure many guys here would also |
|
| |
|
02-07-2010, 07:33 PM
| #109 |
| Pebble Pounder Join Date: Jul 2007 Location: Selangor
Posts: 121
|
Thank man. looking more great on your new chassis. So now i assume the weight now more less than before right? Let us know how it perform later with video might be awesome.
|
|
| |
|
02-07-2010, 10:58 PM
| #110 |
| Quarry Creeper Join Date: Nov 2008 Location: sacramento
Posts: 438
|
nice let us know how it performs |
|
| |
|
04-13-2012, 01:49 AM
| #111 |
| Pebble Pounder Join Date: Oct 2010 Location: Dunedin FL
Posts: 146
|
I keep coming back to your posts, I read them, analyze the pics, and then read some more. I'm getting ready to buy an SCX10 and spend some time having fun with it. I hope to build a simple rendition of what you've done here. And I hope it will measure up to the inspiration. Really good work man...just amazing |
|
| |
|
04-15-2012, 09:33 PM
| #112 | |
| RCC Addict Join Date: Aug 2005 Location: New Oxford PA
Posts: 1,290
| Quote:
Here is how it looked when i first finished it 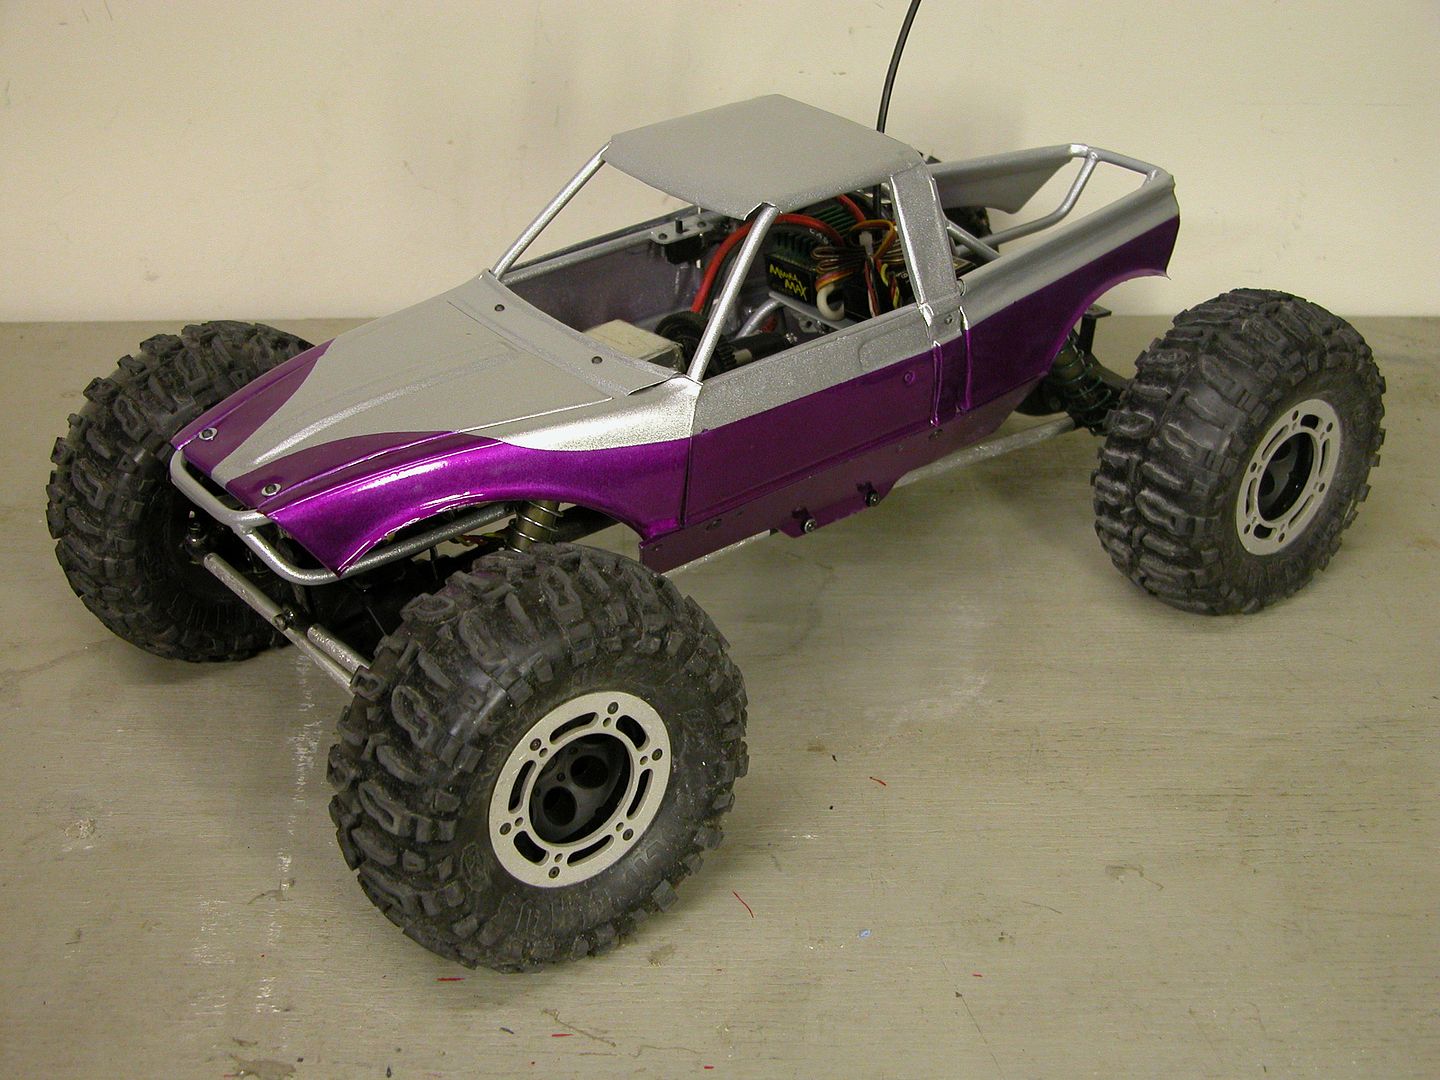 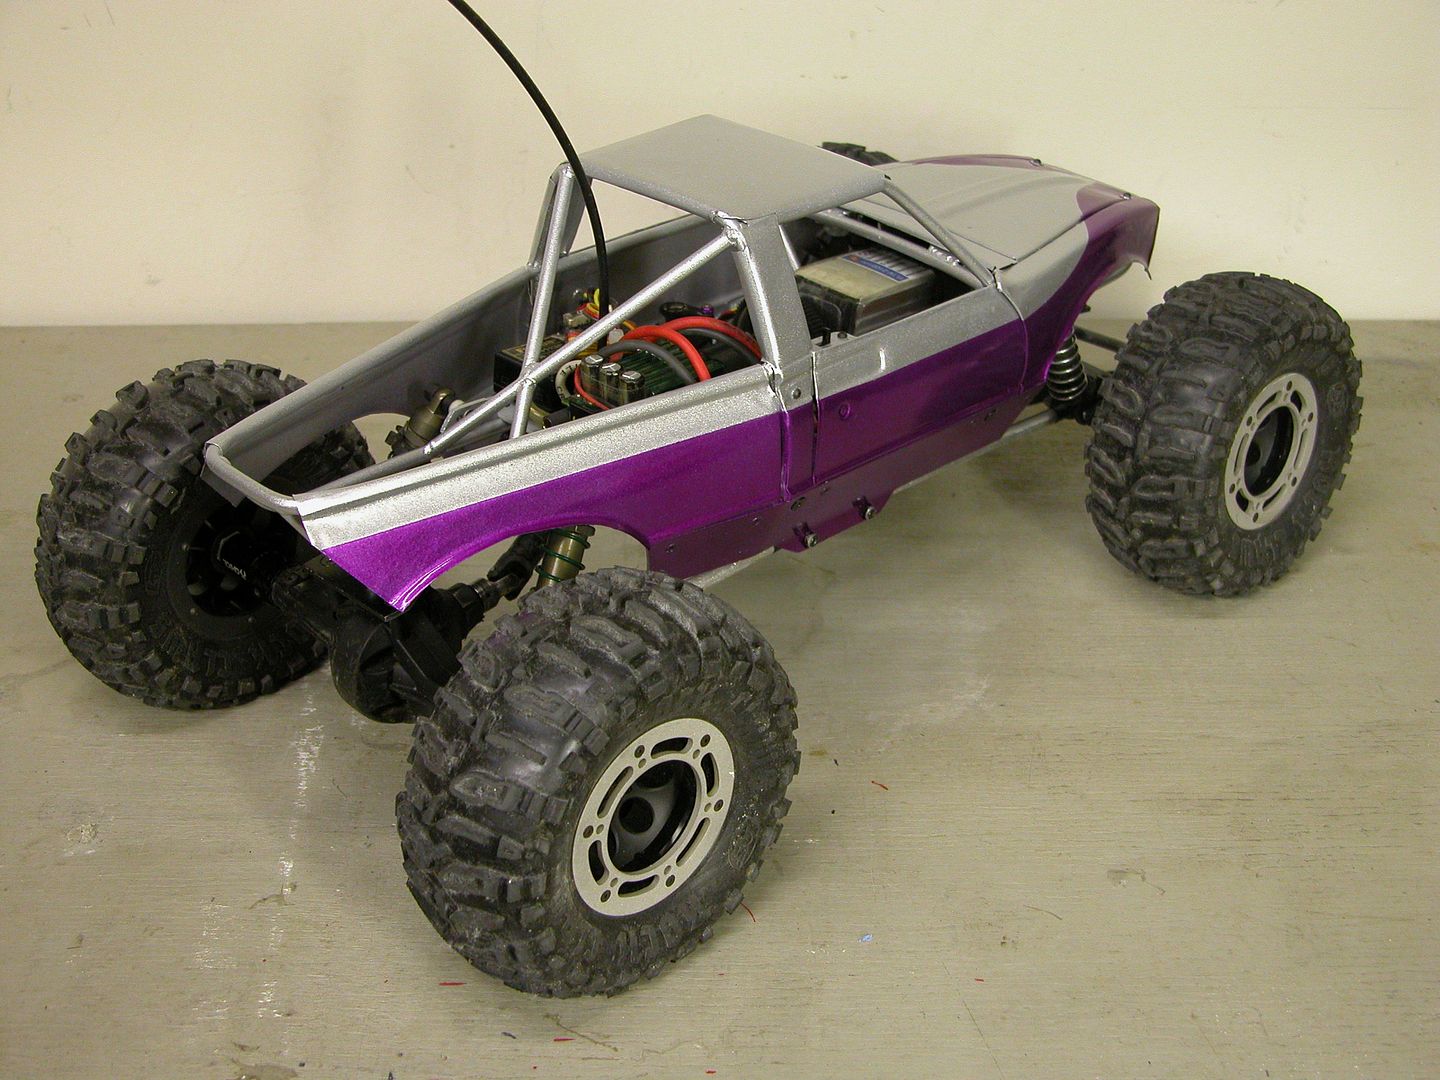  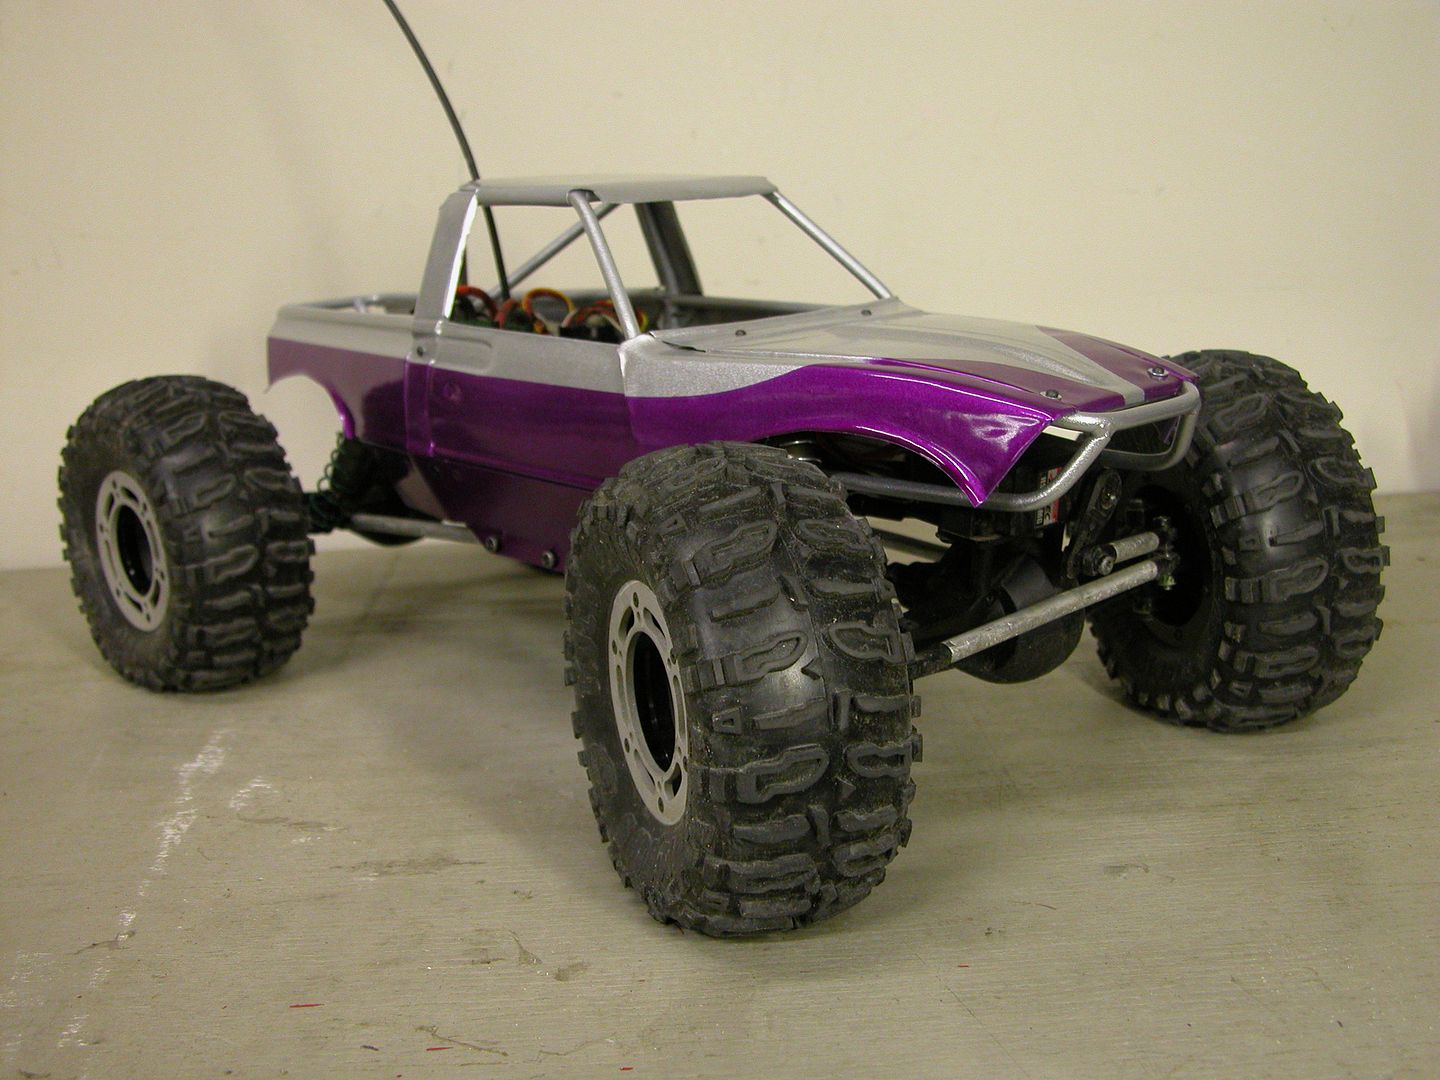 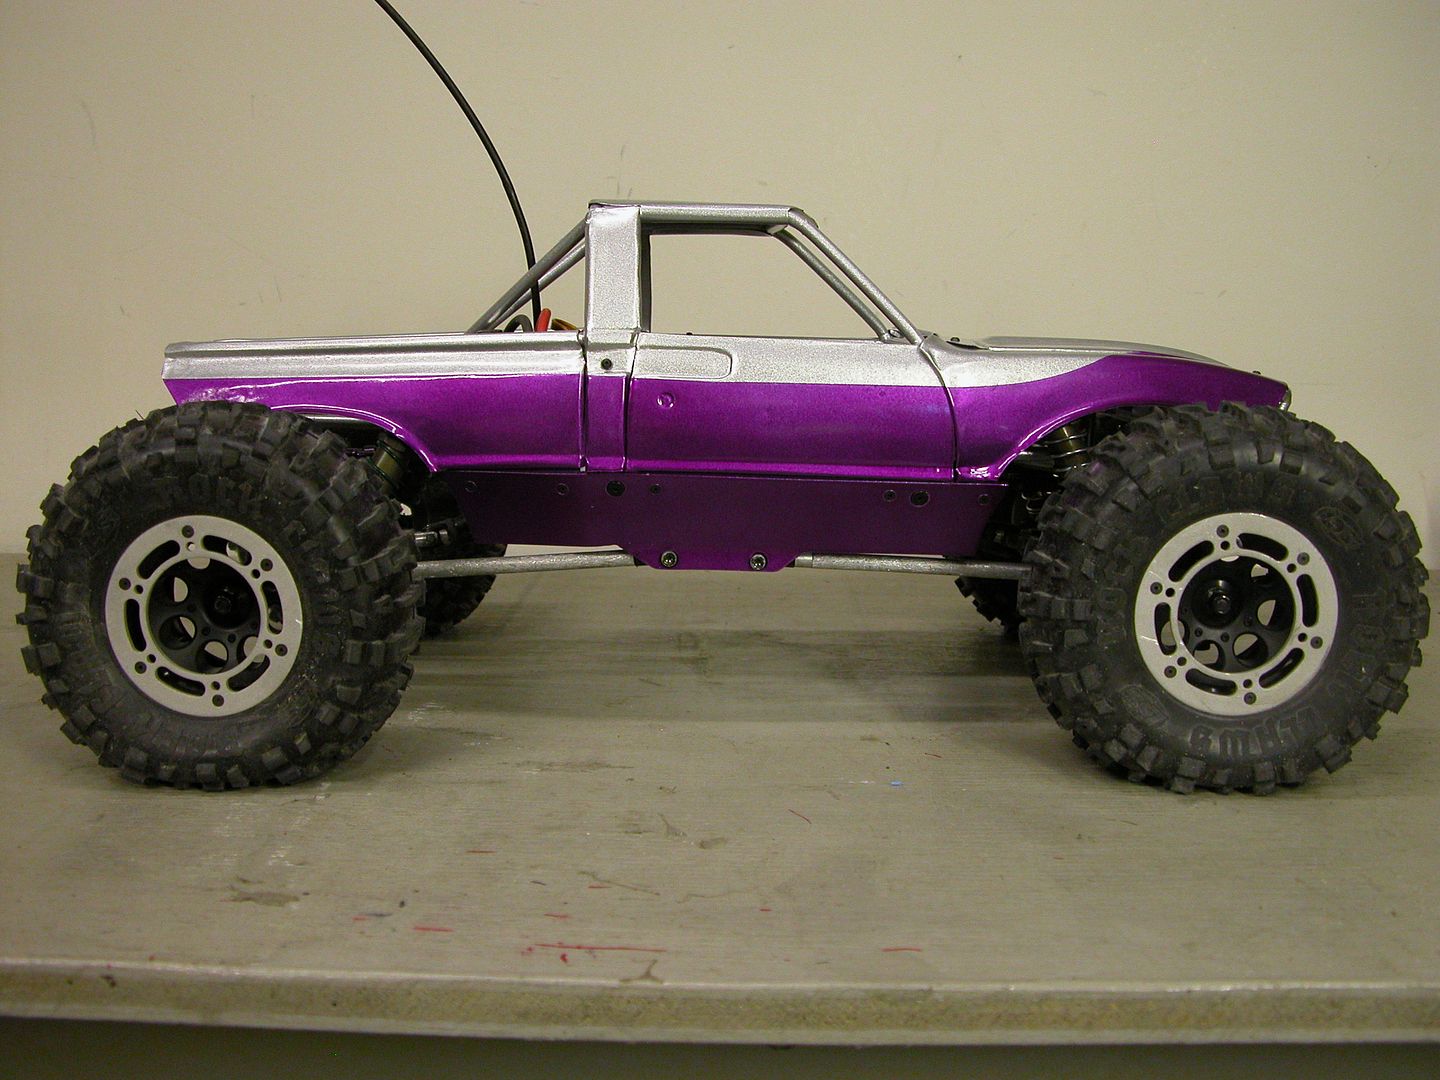 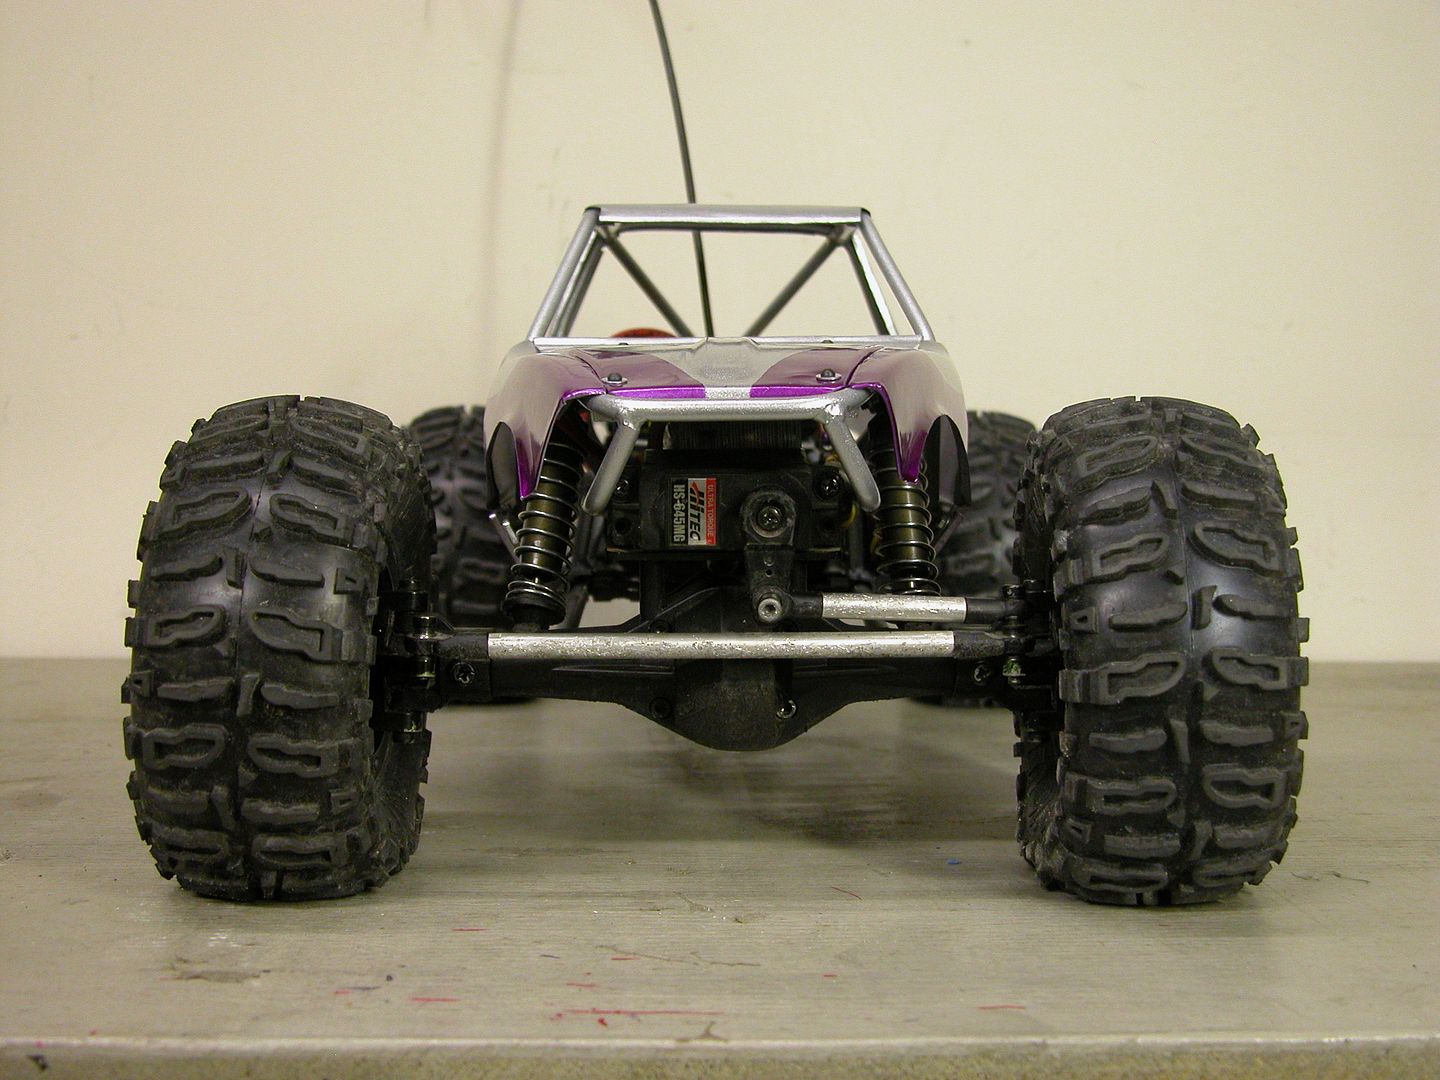 Since then i ran it for 2 seasons in our local sportsman class and used it as an extra basher for my daughter and nephews and it just keeps on trucking. The only change i made was the addition of an SCX10 skid in place of the AX10 skid and i swapped in a cheap PCM radio and an FXR ESC. Right now i have it torn apart just to clean it and repaint with new panels but there may be plans for a conversion to class 3 TTC scale truck Thanks for keeping an eye on this. I surly haven't  | |
|
| |
|
04-16-2012, 02:01 AM
| #113 |
| Shelf queen  Join Date: Aug 2008 Location: Internet
Posts: 5,857
|
That looks sick yo!
|
|
| |
|
04-17-2012, 10:08 PM
| #114 | |
| RCC Addict Join Date: Aug 2005 Location: New Oxford PA
Posts: 1,290
| Quote:
I guess i'll go a bit more into detail with the updates. Right after i first completed the truck i competed in the 2010 Motorama. It did pretty good for a shafty and a tuber to boot.  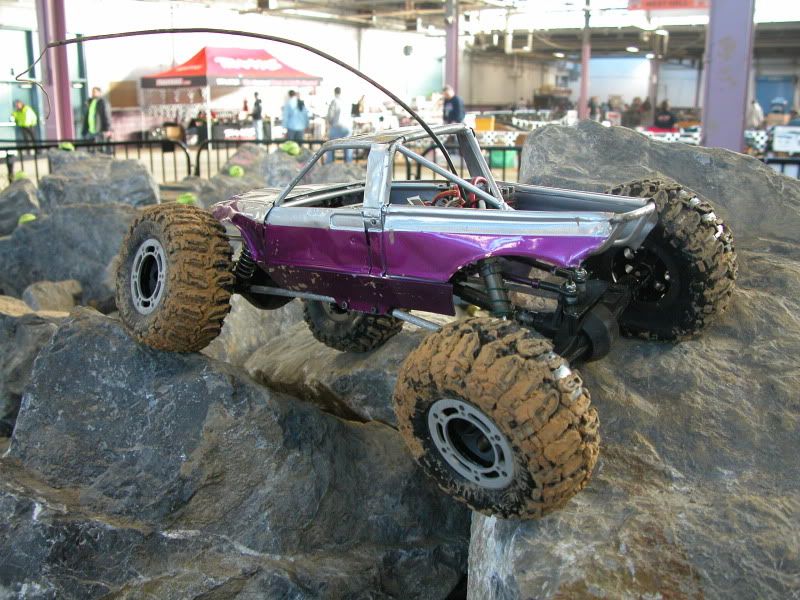 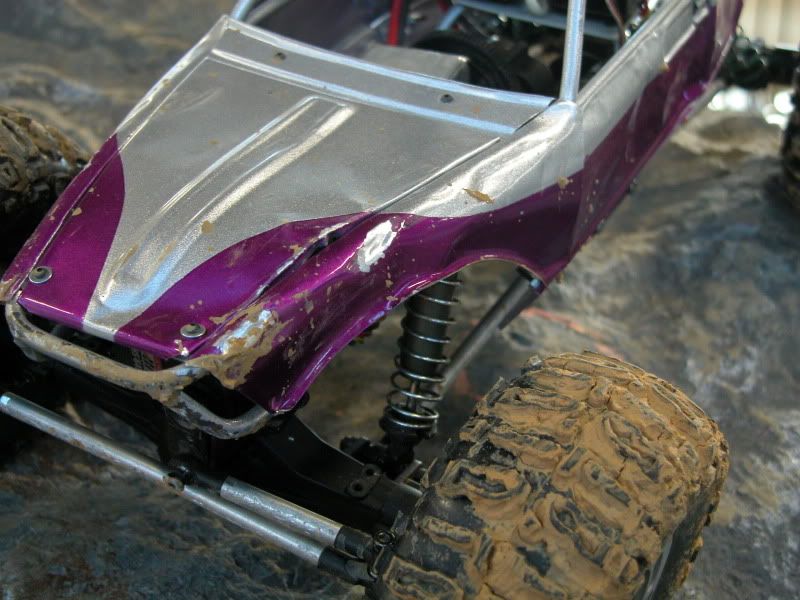 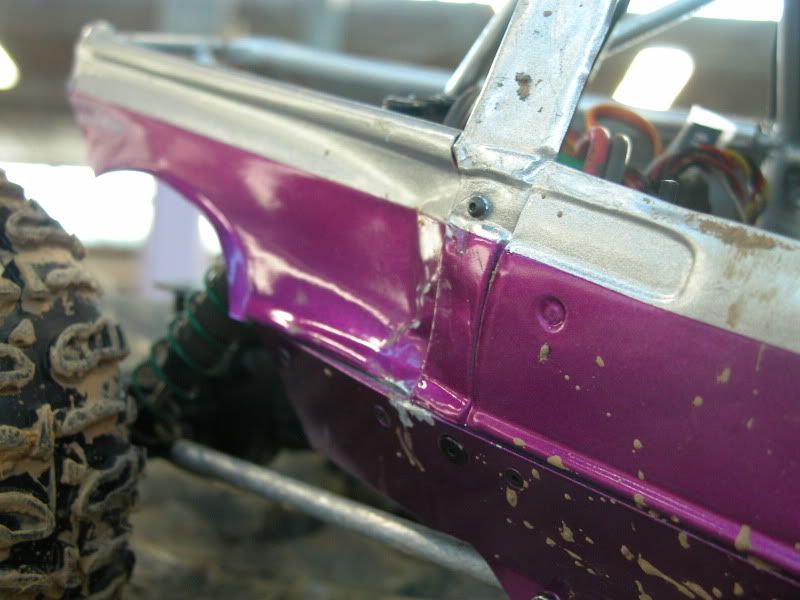 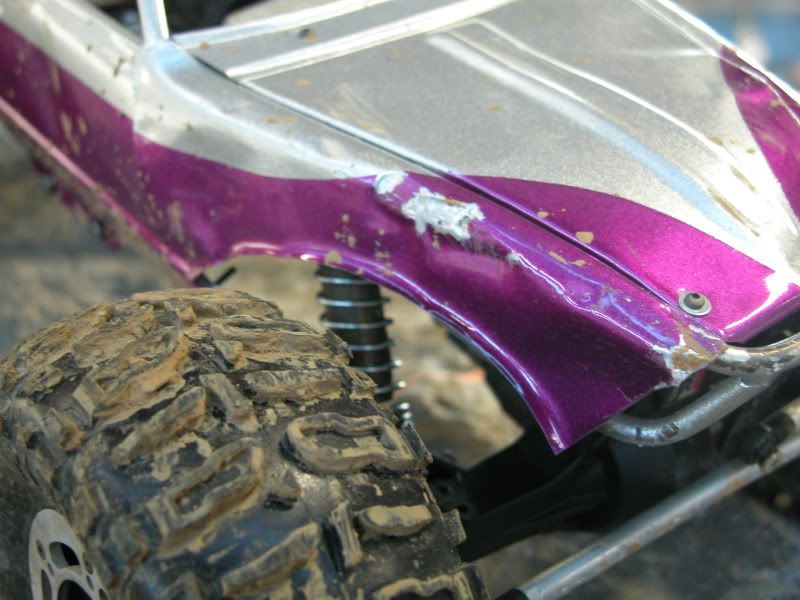 Then over the last 2 years i made some modifications. Along with the electronic change and skid plate swap i also extended the wheelbase to actually meet spec with some bent links i had lying around. Then i threw on some 2.2 swampers. 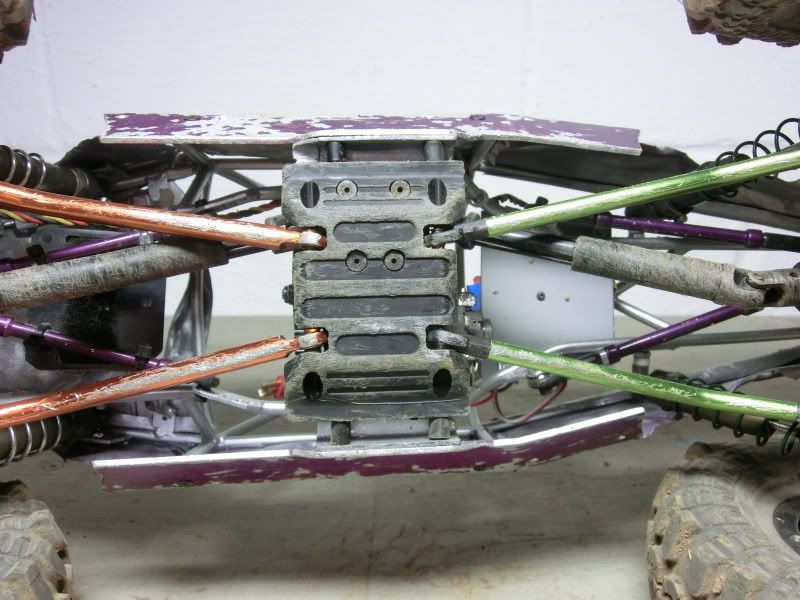 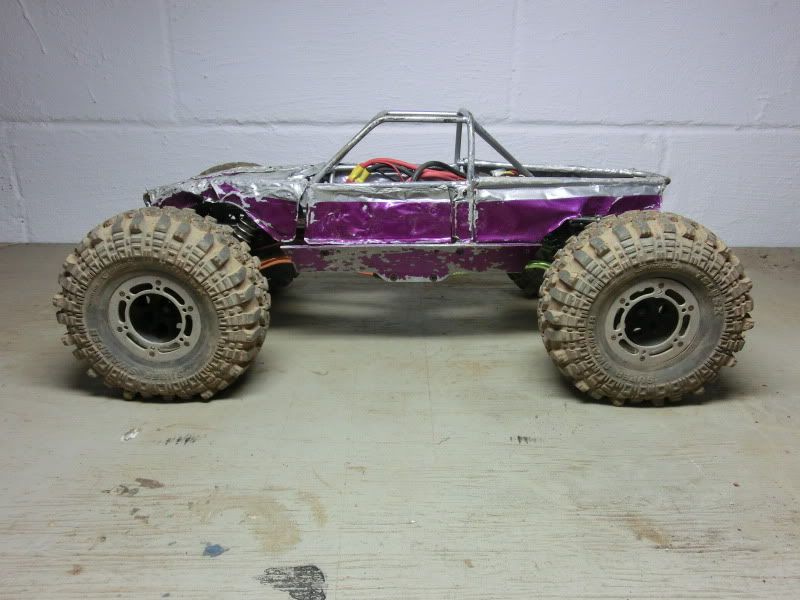 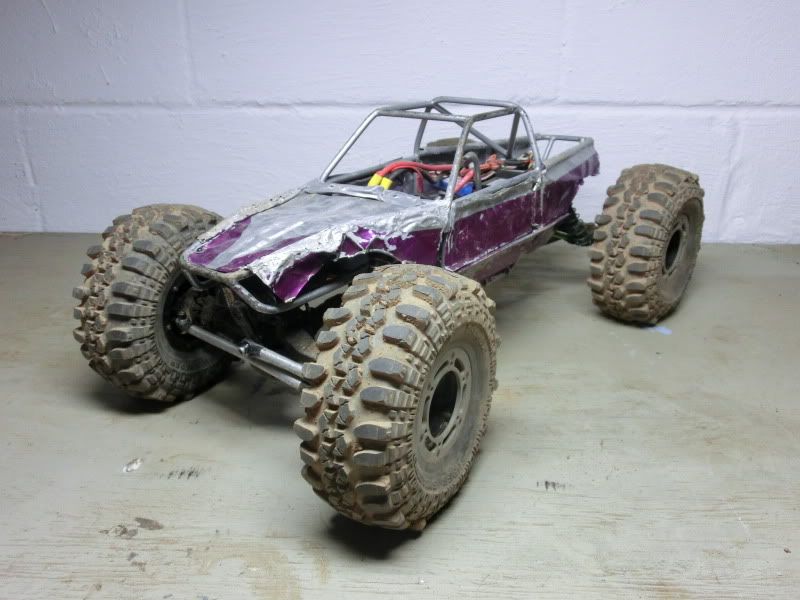 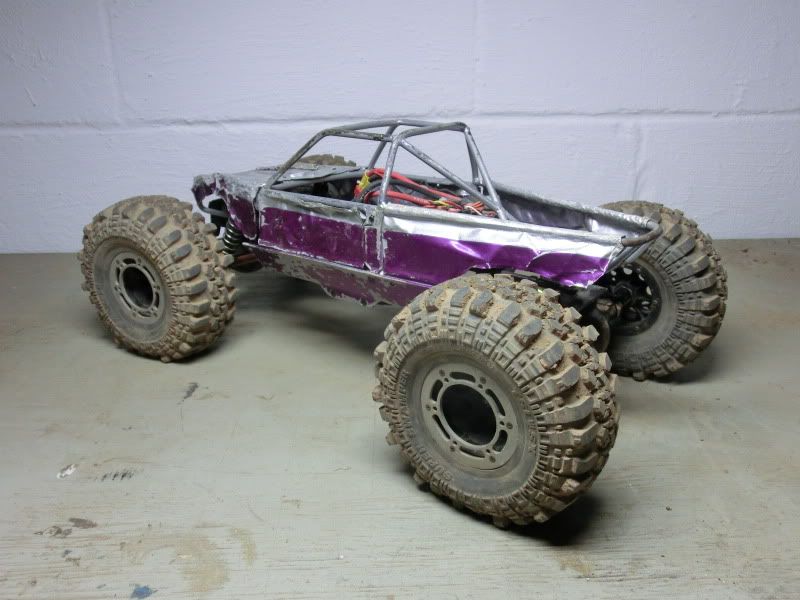 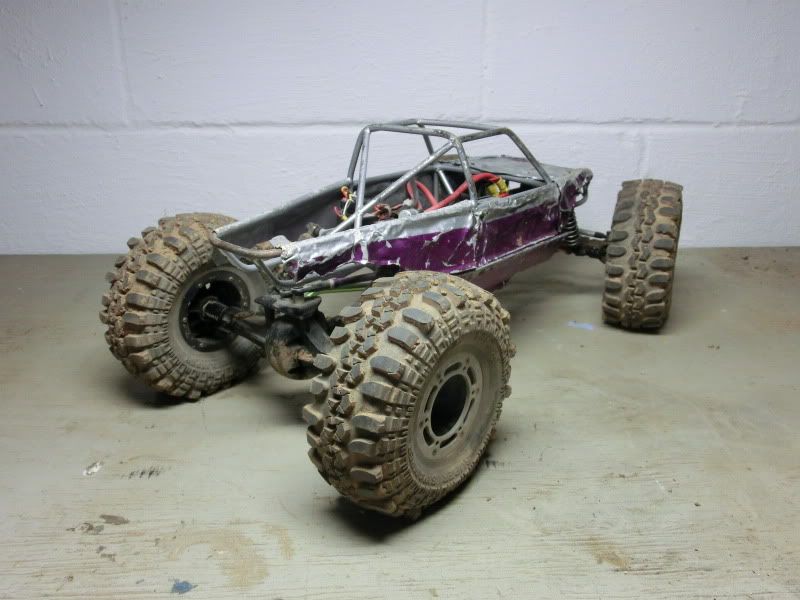 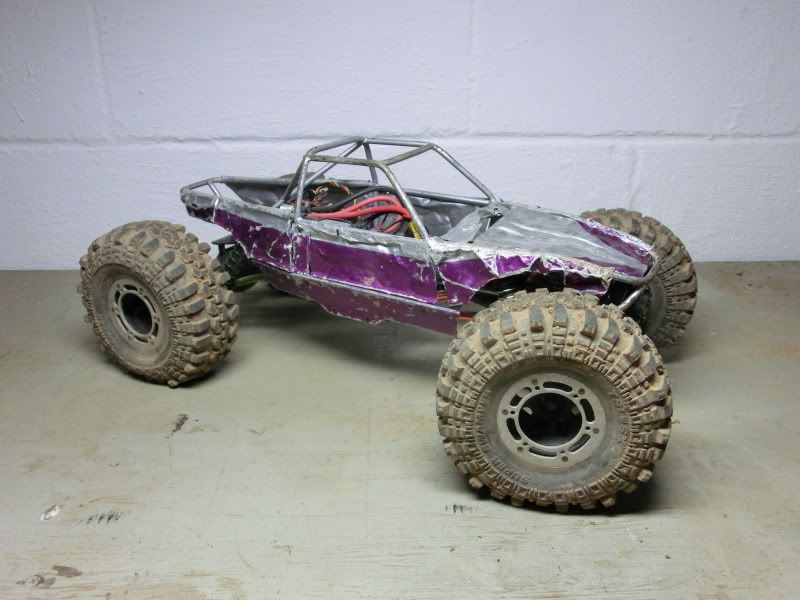 After 2 years of beating it was pretty looking ragged so now i have it torn down for a repaint but i'm thinking about converting it over to a class 3 scale truck. We'll see | |
|
| |
|
04-17-2012, 10:38 PM
| #115 |
| I wanna be Dave Join Date: Aug 2011 Location: Burque
Posts: 3,805
|
Wow man this thing is sick. The rugged, torn up look looks pretty cool. I can't wait to see how the rebuild goes |
|
| |
|
04-17-2012, 10:59 PM
| #116 |
| Quarry Creeper Join Date: Dec 2010 Location: gastonia
Posts: 295
|
Id say go with a little thicker aluminum for the panels and leave the rest of the battle scars. Who wants a pretty showroom truck anyways. Awesome build and great ideas. Was this brazed or actual wire welding?
|
|
| |
|
04-18-2012, 04:53 PM
| #117 |
| Quarry Creeper Join Date: Feb 2008 Location: chico
Posts: 293
|
You just inspired me to start on mine again. Whats up with true scale?
|
|
| |
|
06-11-2012, 04:08 PM
| #118 |
| Quarry Creeper Join Date: Oct 2011 Location: Roanoke, Va
Posts: 205
|
very cool. I'm keeping this thread in mind for any ideas.
|
|
| |
 |
| |


 Linear Mode


