| |
 05-23-2011, 05:26 PM
| #1 |
| Quarry Creeper Join Date: May 2011 Location: USA
Posts: 384
|
EDIT: Other people have got this chassis to work, I was not able to do so... this chassis takes some thinking that I could not come up with, me personally there are better chassis's out there then this one, however I have read on here success stories from others... which appears to boil down to does the chassis work for "you" or not, as it did not work for me but it might for you. However the Blade TMC is still a very good chassis, but the RidgeBack TMC just is not, imo. EDIT: The setup; Tekin B1R esc BWD Beadlock rims BWD Wheel Wideners MiClaw tires HS-65MG servo Predator 90t motor DSM receiver Custom cut upper and lower links 56t aluminum spur dear Brass pinion More pictures as I progress, and as I get things that I have ordered in... [My previous Build] Blade TMC: Losi Micro Crawler Blade TMC build Last edited by Evilinside; 10-24-2011 at 07:28 PM. |

|  |
| Sponsored Links | |
| | |
|
05-23-2011, 06:03 PM
| #2 |
| Quarry Creeper Join Date: May 2011 Location: USA
Posts: 384
|
As I am unable to find directions for this build, this is trial and error, so let's begin. Deburr, check; 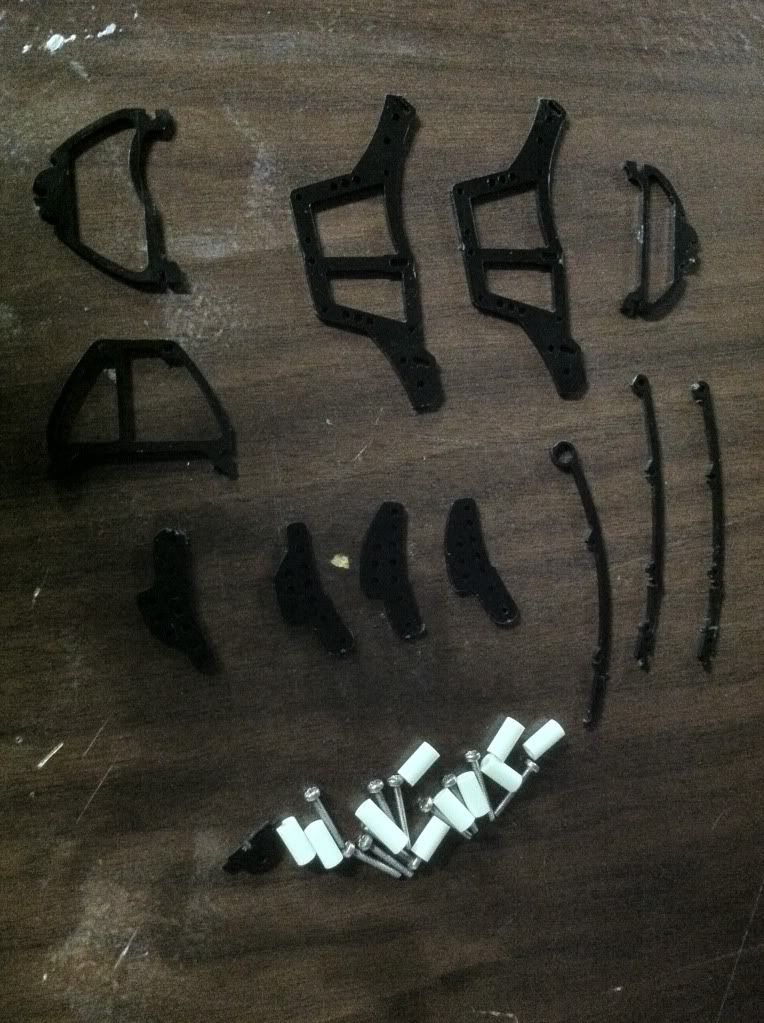 First off, not all screws are the same length. Two are longer than the rest. Also, not all the round plastic tubes are the same length, one is longer than the rest. 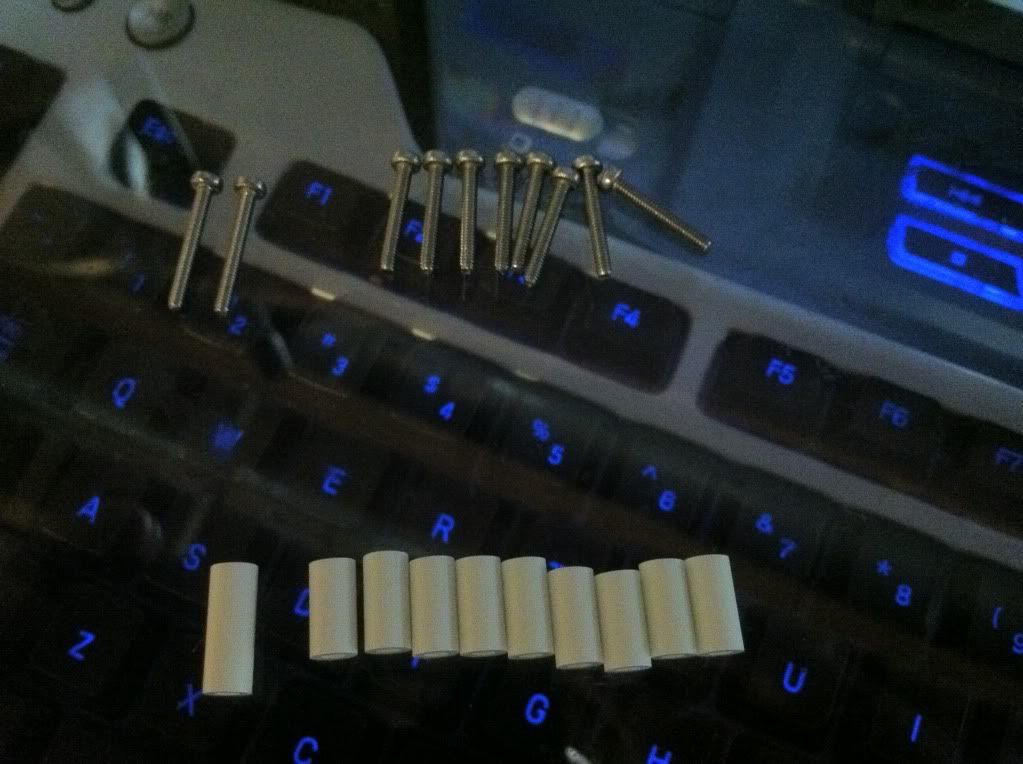 I'll start with the front, just to piece this all together. Now, it would appear the longer tube and one of the longer screws provides the front.  I noticed that one of the side pieces here the screw slipped through with ease and the other side piece it needed to be threaded through. So I opted to slide it through the first piece and allow the threaded side to be at the end to hold everything together. 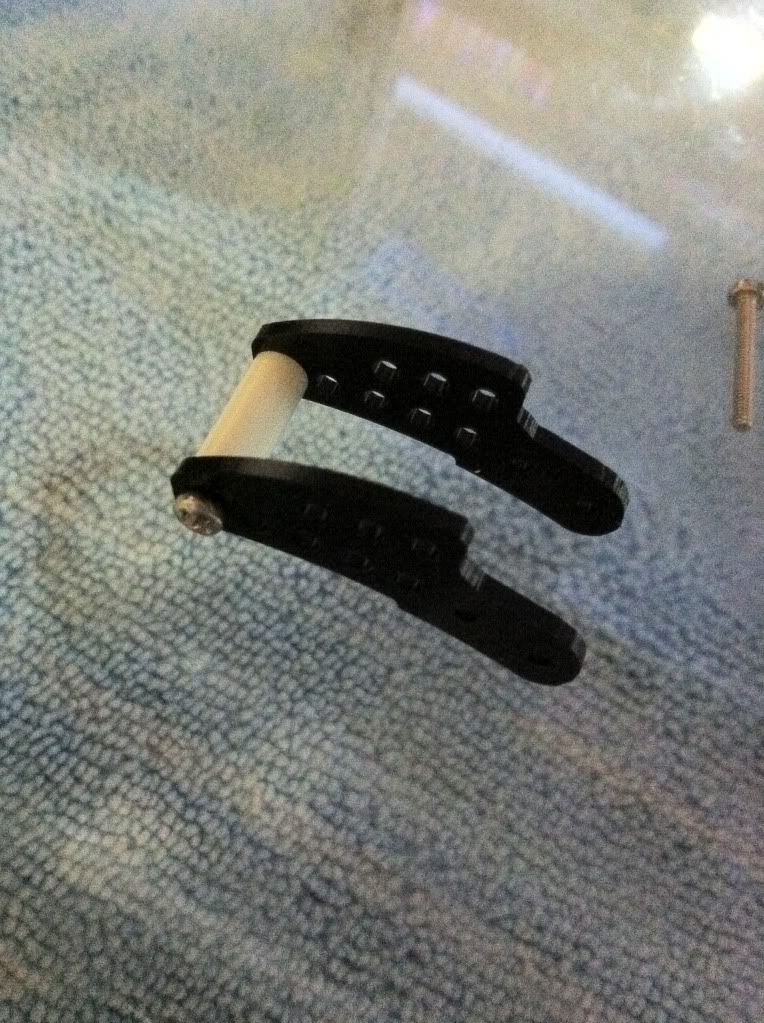 |
|
| |
|
05-23-2011, 06:15 PM
| #3 |
| Quarry Creeper Join Date: May 2011 Location: USA
Posts: 384
|
Ok, now let's see about the main side panels. Four of the shorter screws, and only the shorter tubes remain, so that's an easy deduction, four of those too! First side panel; 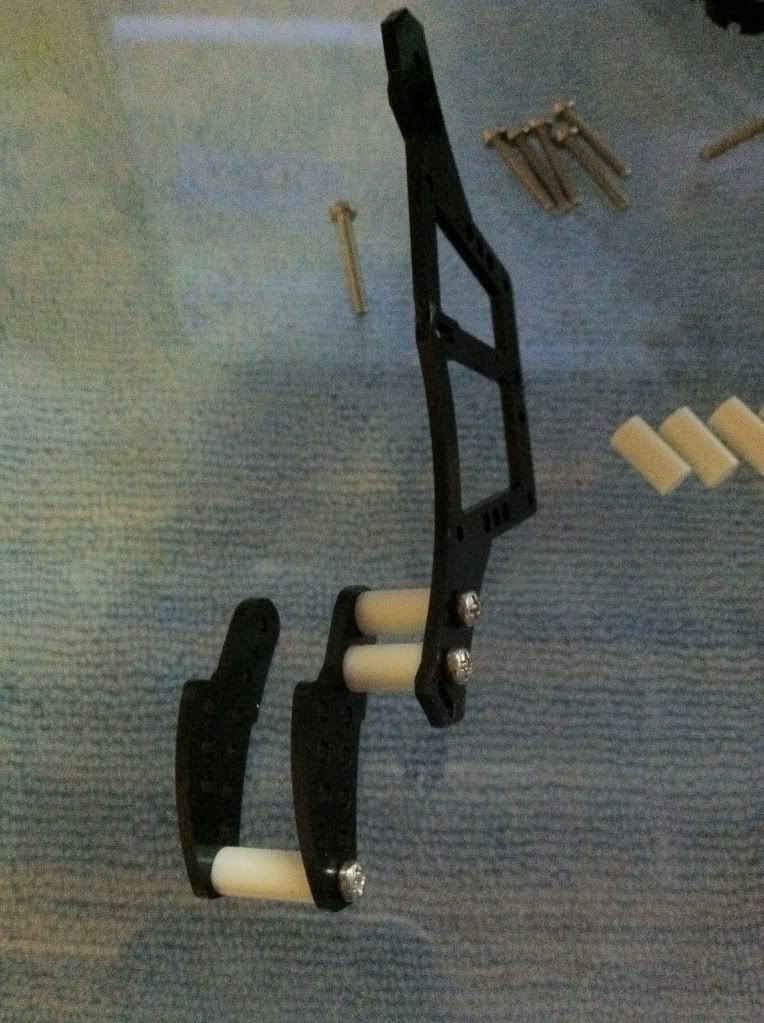 Second side panel; 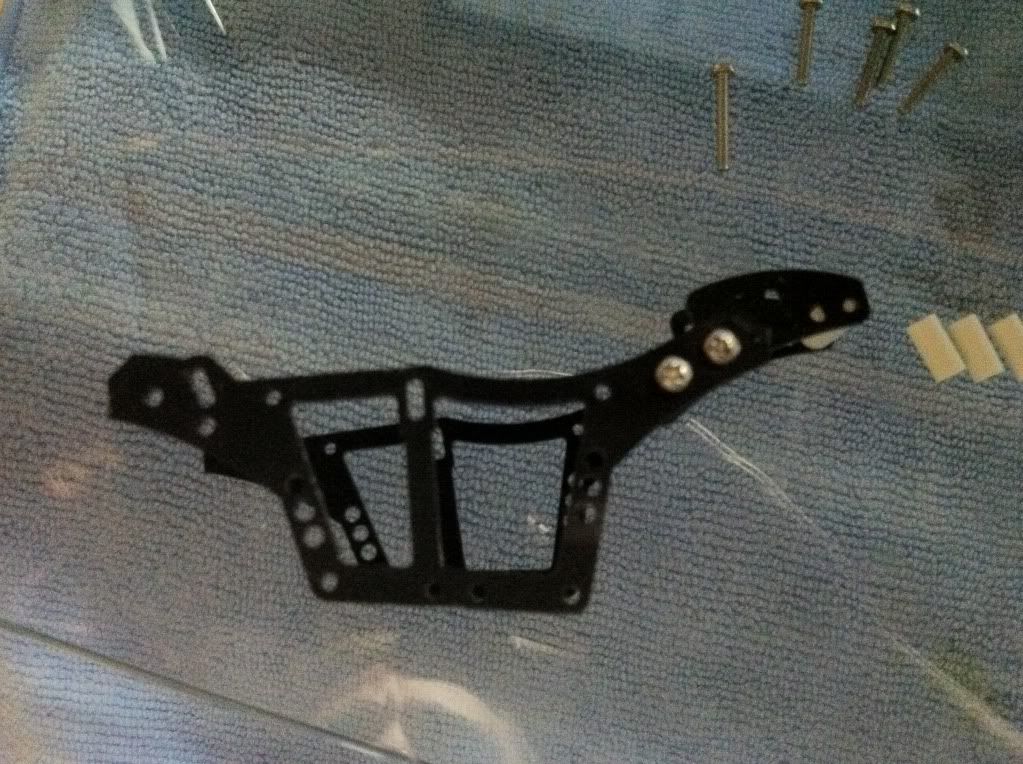 Both on and just tight enough to be held together but still plenty of wiggle room incase I need it; 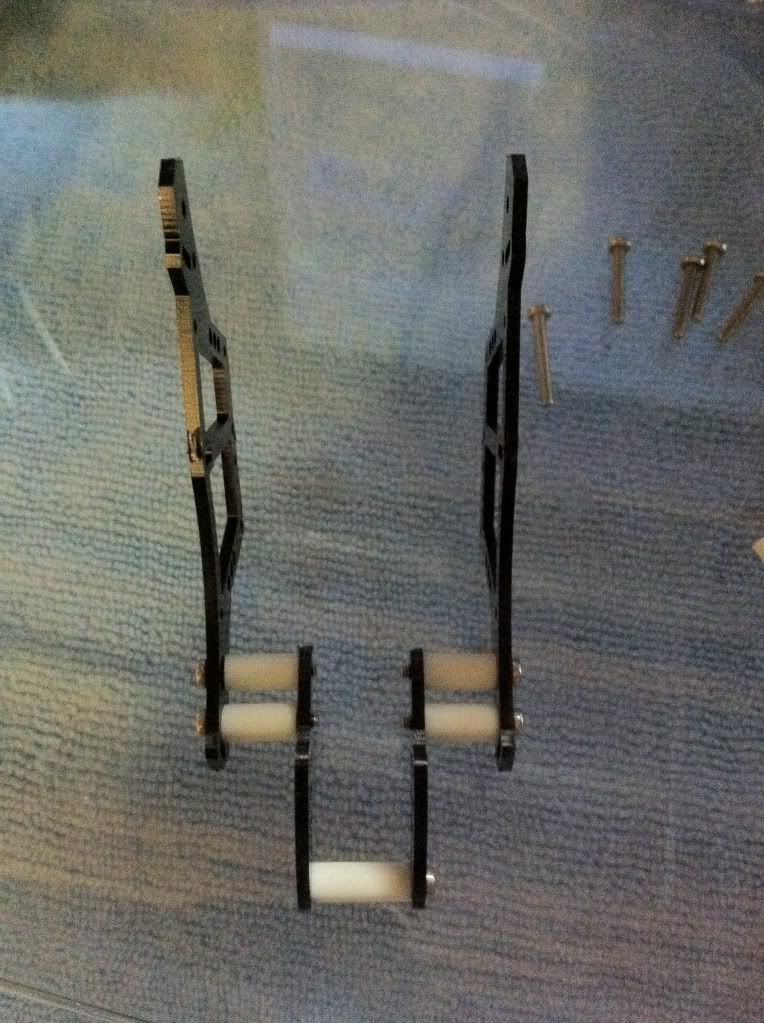 |
|
| |
|
05-23-2011, 06:34 PM
| #4 |
| Quarry Creeper Join Date: May 2011 Location: USA
Posts: 384
|
I'll throw on the windshield frame for good measure... 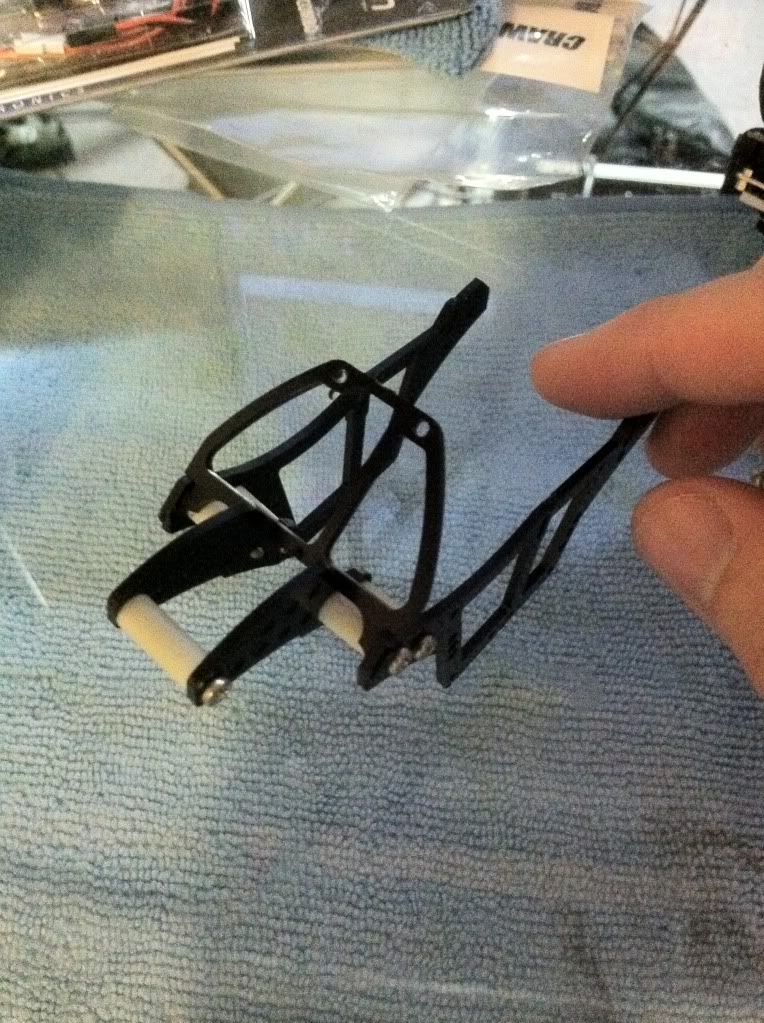 Let's look at the tail.  The tail is as the front, one panel the screw fits right through, while the other panel it has to be threaded through, so start by sliding the screw through the panel that does not need to be threaded.  It appears that the longer screw is for the tail, but there is no more longer tubes... because the "ridgebacks" actually end up on either side of the tube and a longer tube would not fit with the extra length added by the spines.  So the screw passes through one spine, into the tube, then the center spine goes around the tube, finally the screw passes through the other spine before threading into the panel. 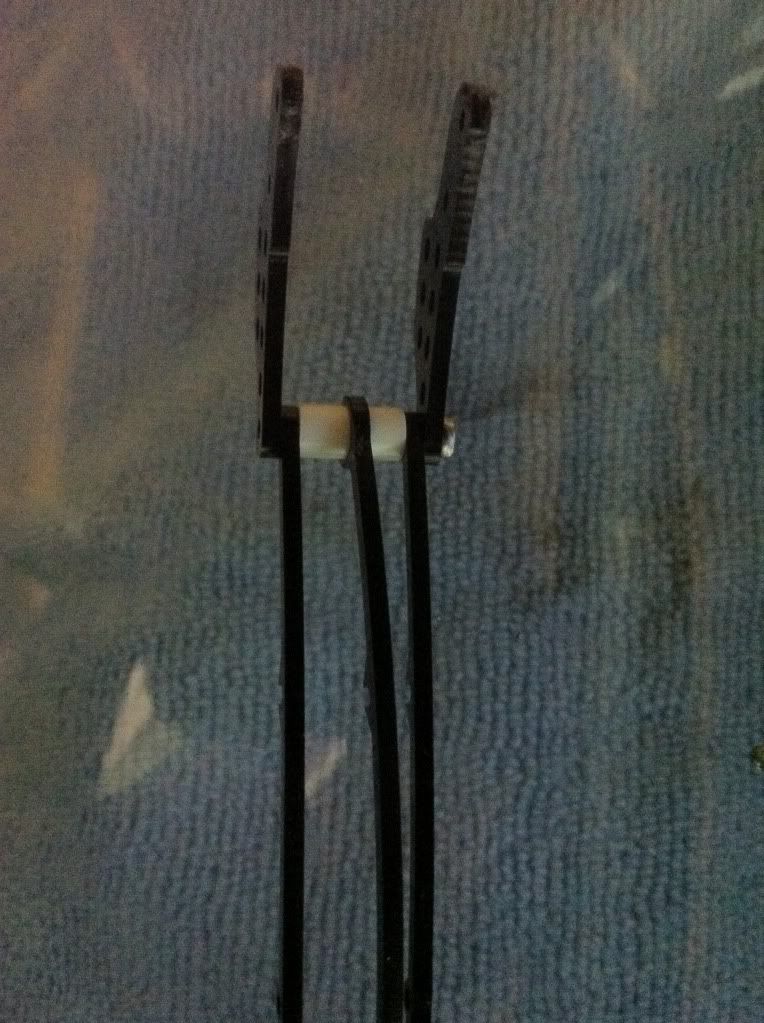 |
|
| |
|
05-23-2011, 06:37 PM
| #5 |
| Quarry Creeper   Join Date: Jun 2004 Location: Utah
Posts: 458
|
Sorry about the directions I have the pics taken just havent gone through them and got them organized so thanks for the pics and info, cant wait to see more. Blade |
|
| |
|
05-23-2011, 06:42 PM
| #6 |
| Quarry Creeper Join Date: May 2011 Location: USA
Posts: 384
|
Ok, putting the tail on the main frame. First side; 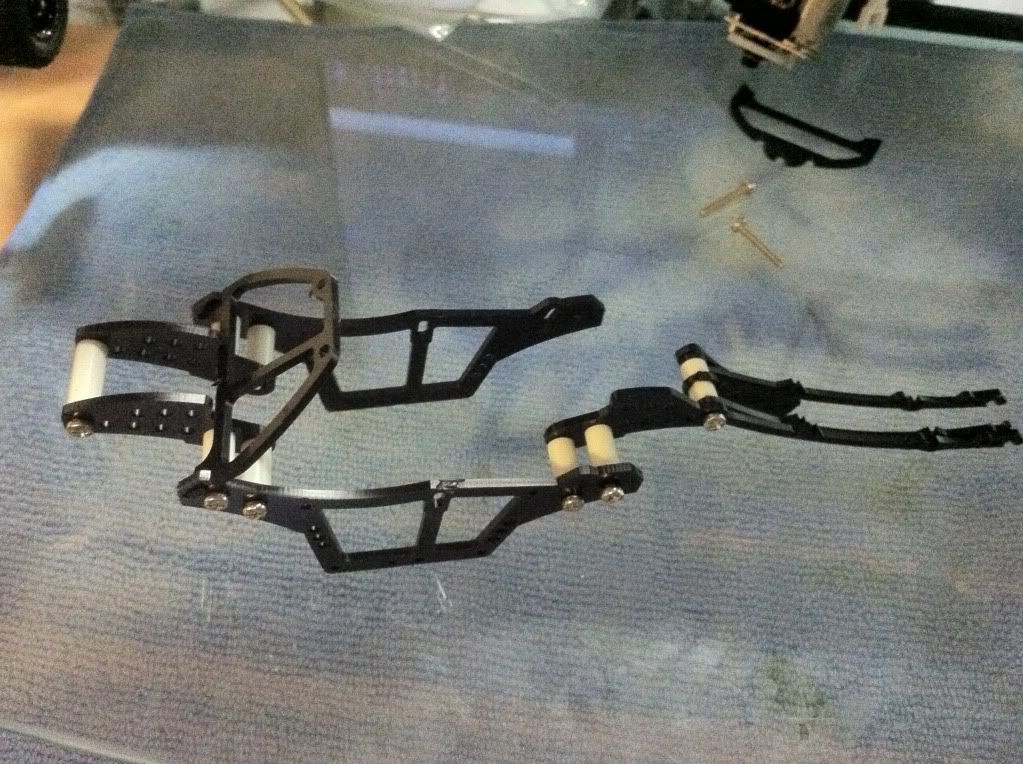 And last side; 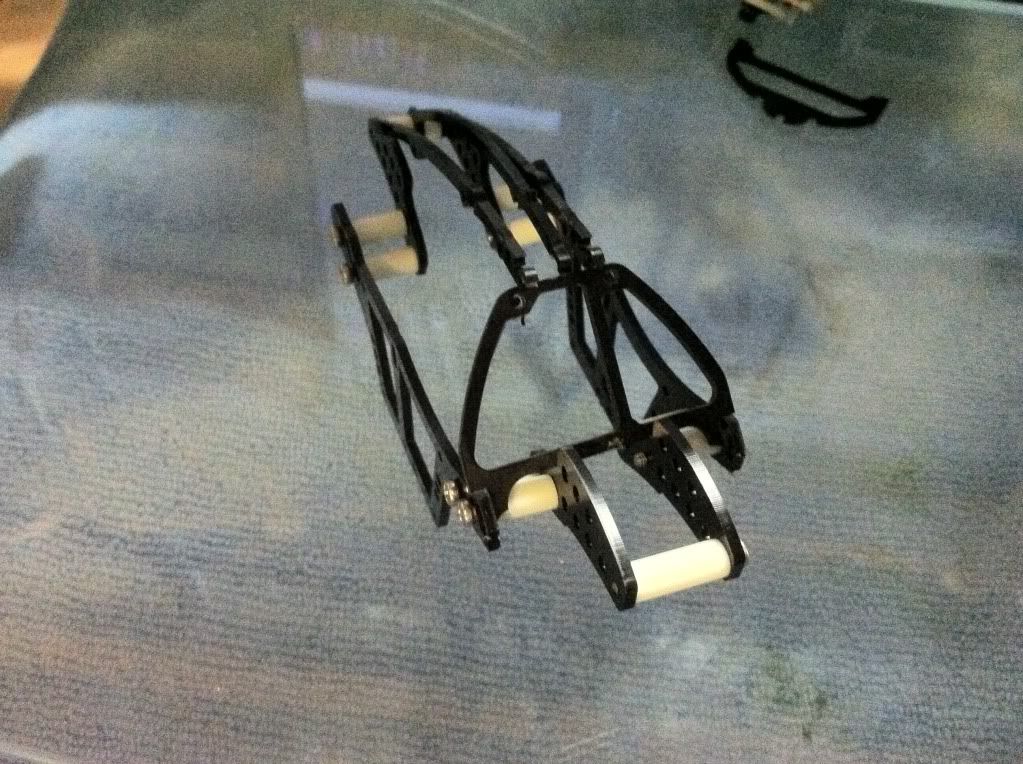 Snug them up enough to hold but still enough in case I need the wiggle room; 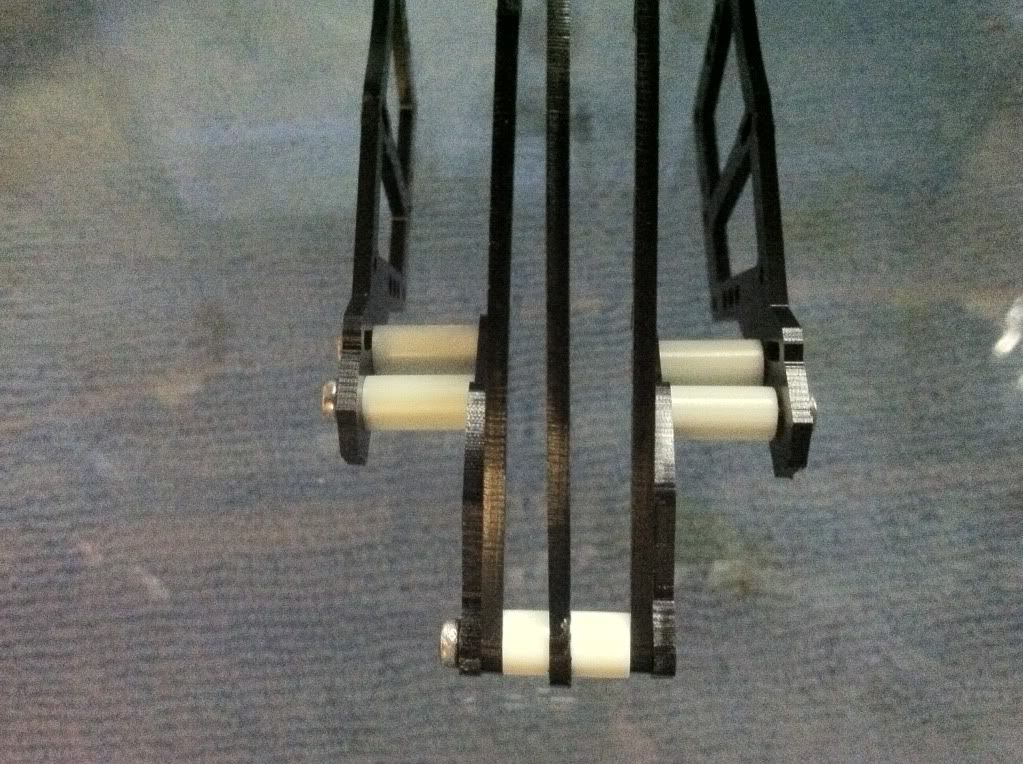 |
|
| |
|
05-23-2011, 06:45 PM
| #7 | |
| Quarry Creeper Join Date: May 2011 Location: USA
Posts: 384
| Quote:
 | |
|
| |
|
05-23-2011, 06:48 PM
| #8 |
| Quarry Creeper Join Date: May 2011 Location: USA
Posts: 384
|
The center rollcage. 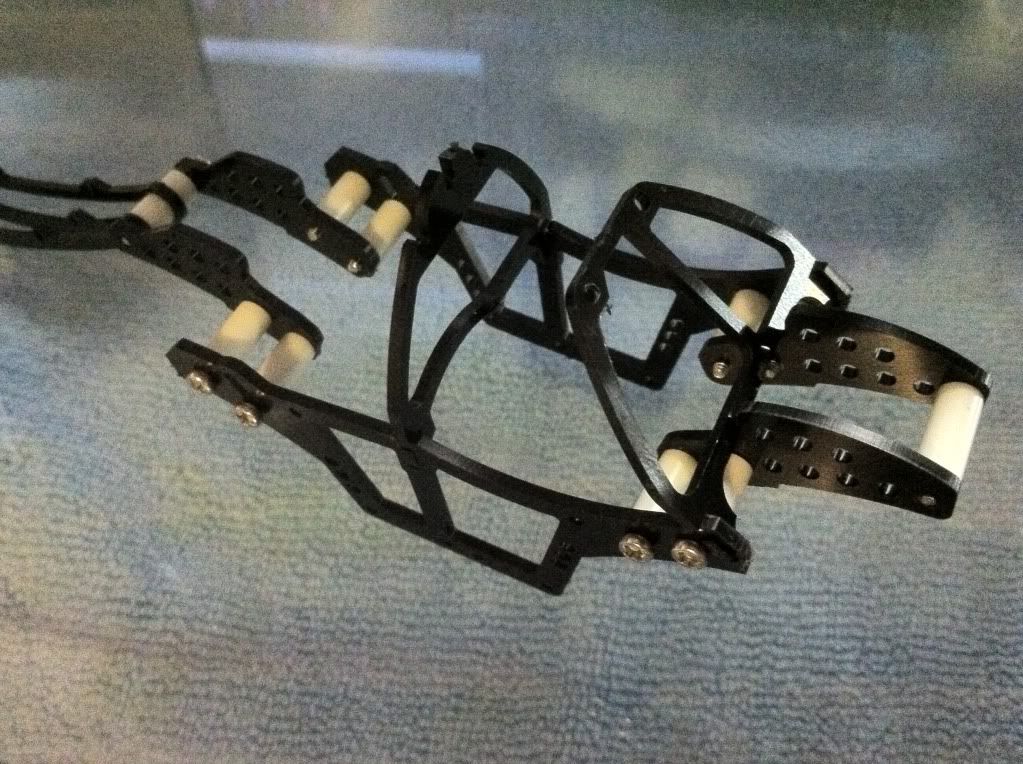 It would seem that if the motor is going to be rearward mounted, instead of forward mounted like the Blade TMC, then the center roll cage will need the transmission hump on the "passenger side" of the frame. 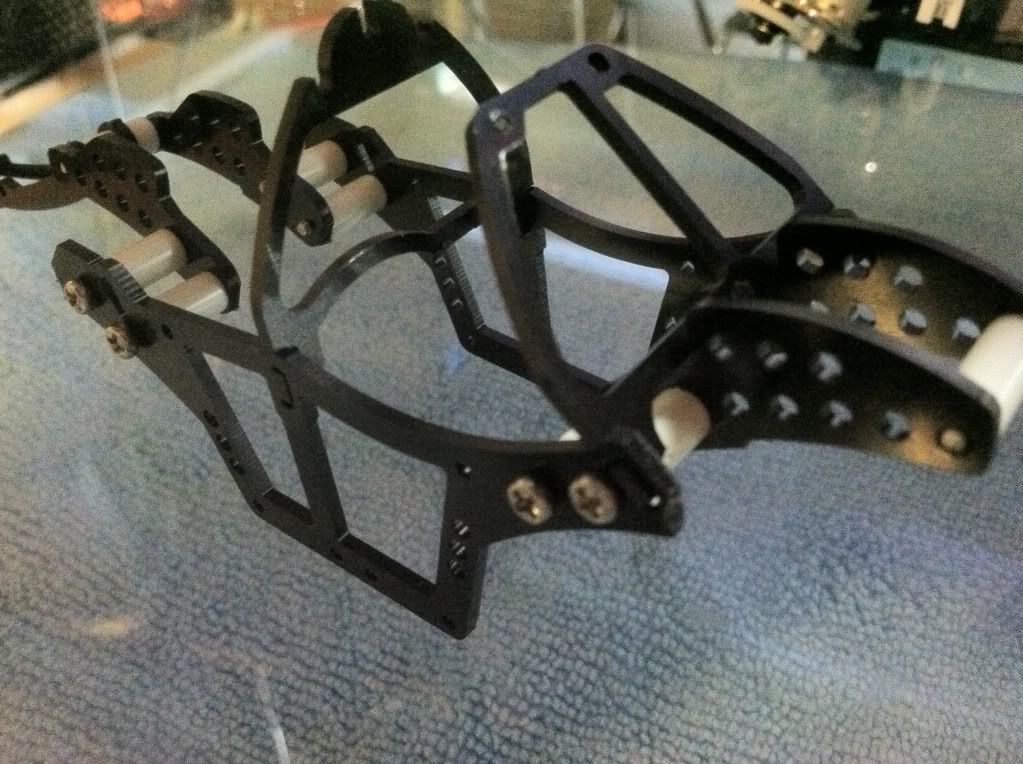 |
|
| |
|
05-23-2011, 07:08 PM
| #9 |
| Quarry Creeper Join Date: May 2011 Location: USA
Posts: 384
|
The final two pieces;  The rear roll cage is symmetrical, so doesn't matter how you throw that on; 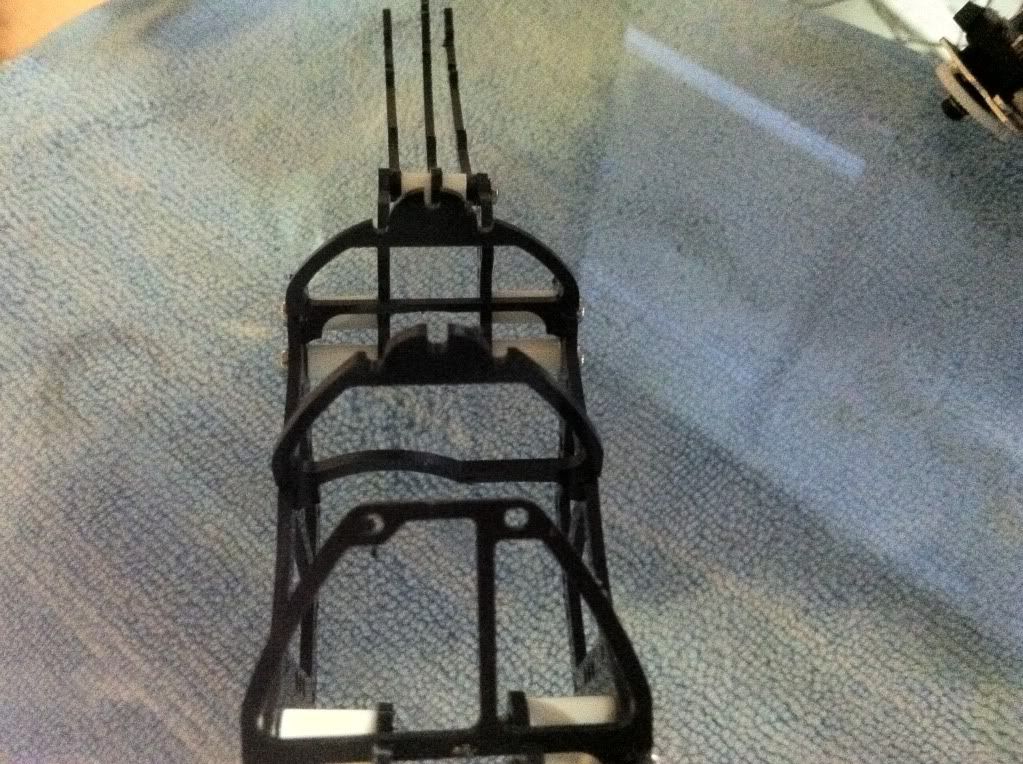  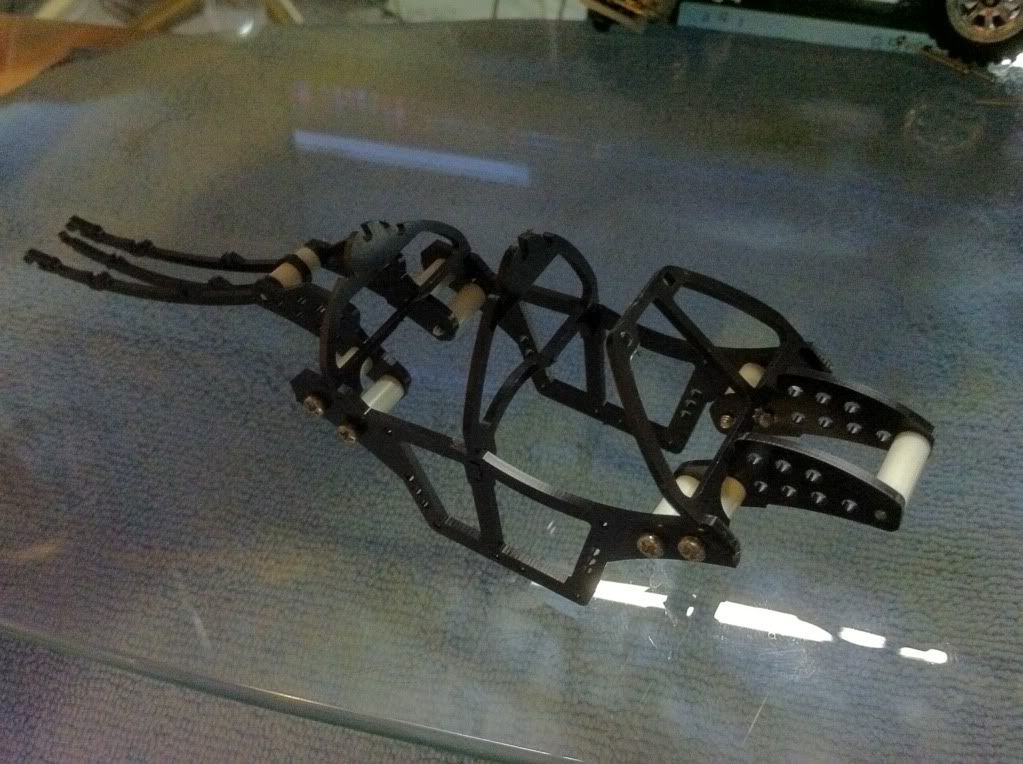 Now putting the pines in to the rear roll cage, matching notch to notch; 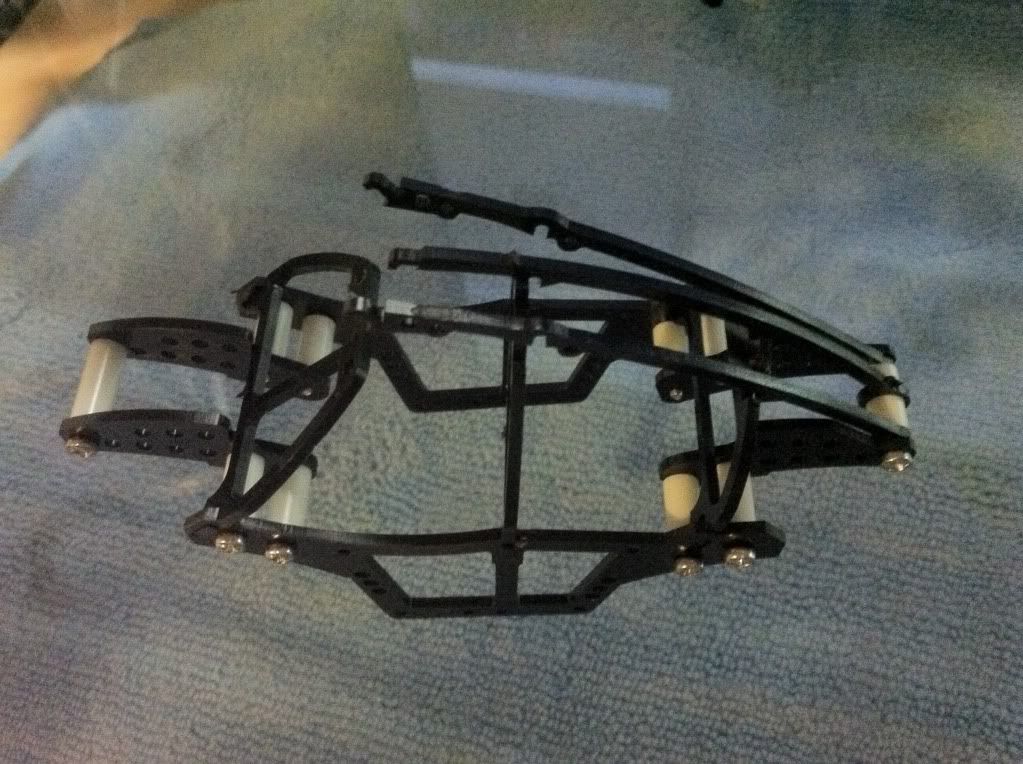 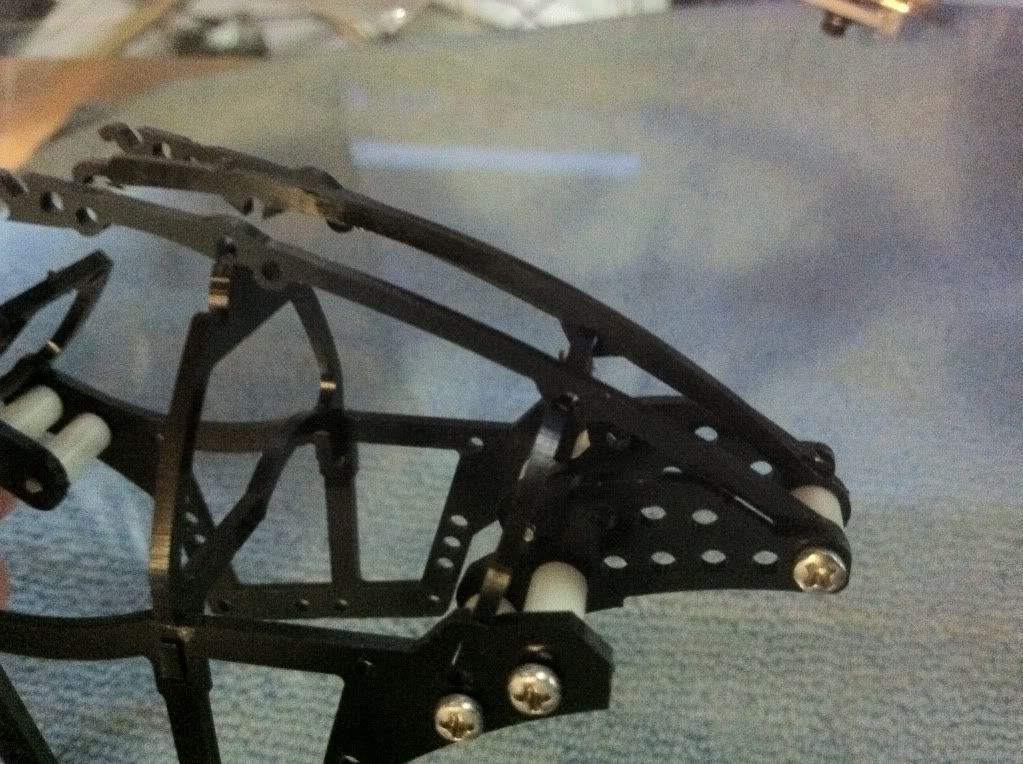 That turned out impossible for me to do, I simply could not get the notch to notch lined up properly. So, as I stated about leaving wiggle room, this is a good example of needing that... I had to pull the rear roll cage off and line up the roof spines notch to notch and place them together this way; 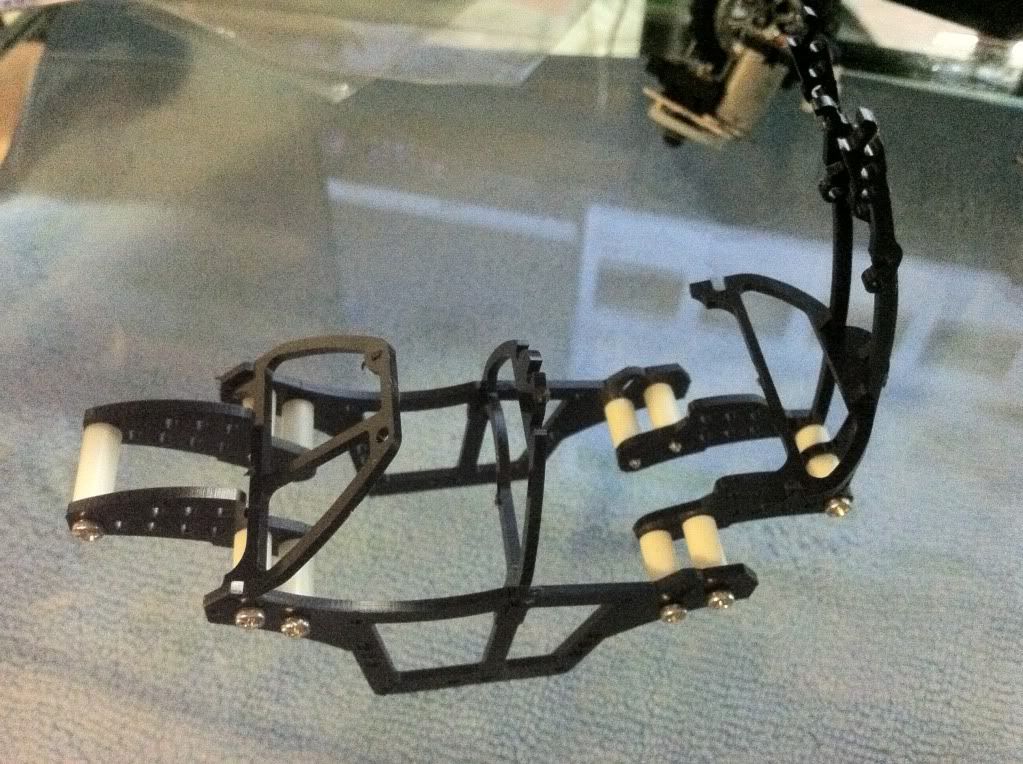 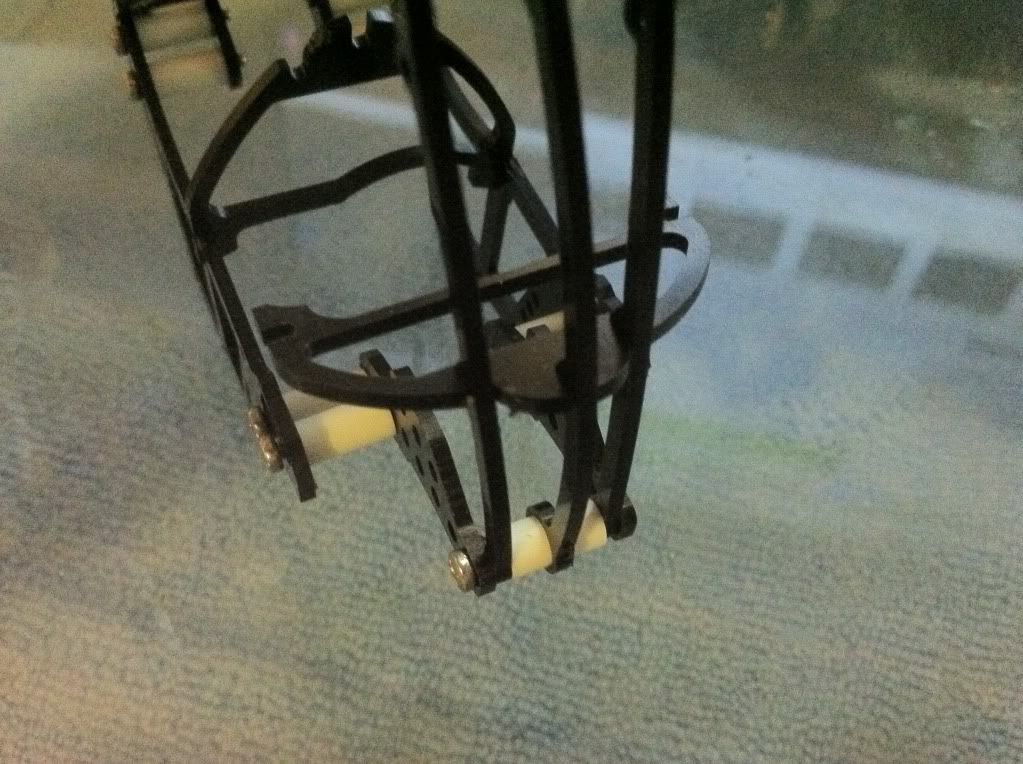  |
|
| |
|
05-23-2011, 07:08 PM
| #10 | |
| Quarry Creeper Join Date: May 2011 Location: USA
Posts: 384
| Quote:
| |
|
| |
|
05-23-2011, 07:26 PM
| #11 |
| Quarry Creeper Join Date: May 2011 Location: USA
Posts: 384
|
Ok, last piece; 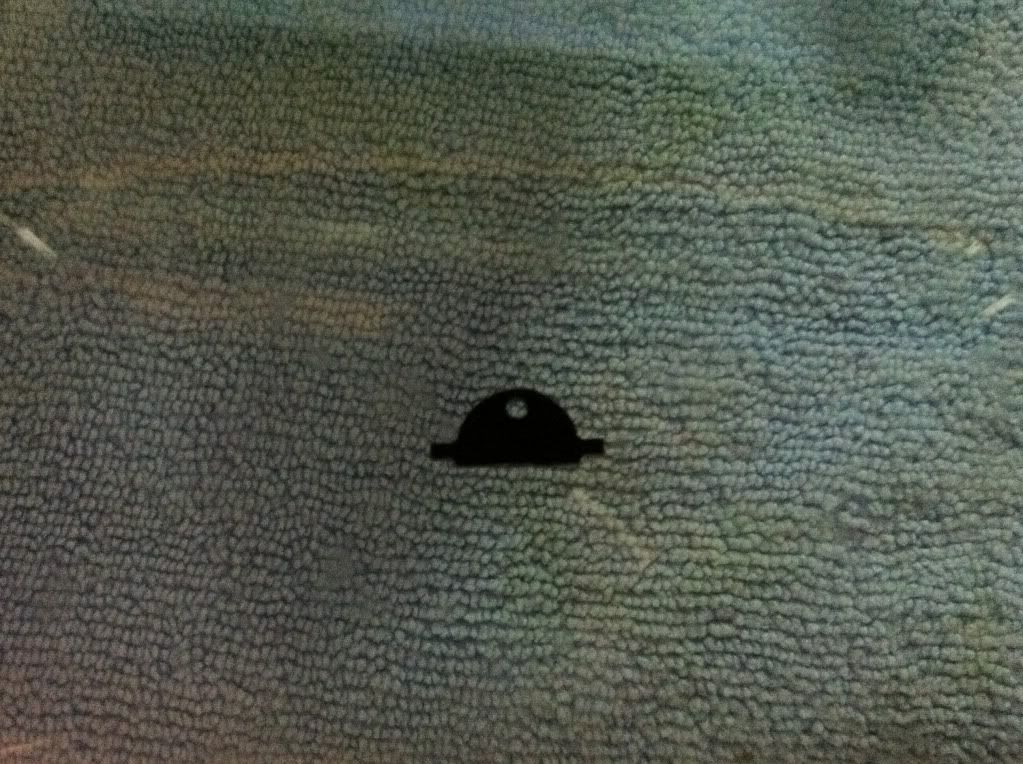 I found that putting this thing on upside down and after it is on, rotating it right side up, was much easier; 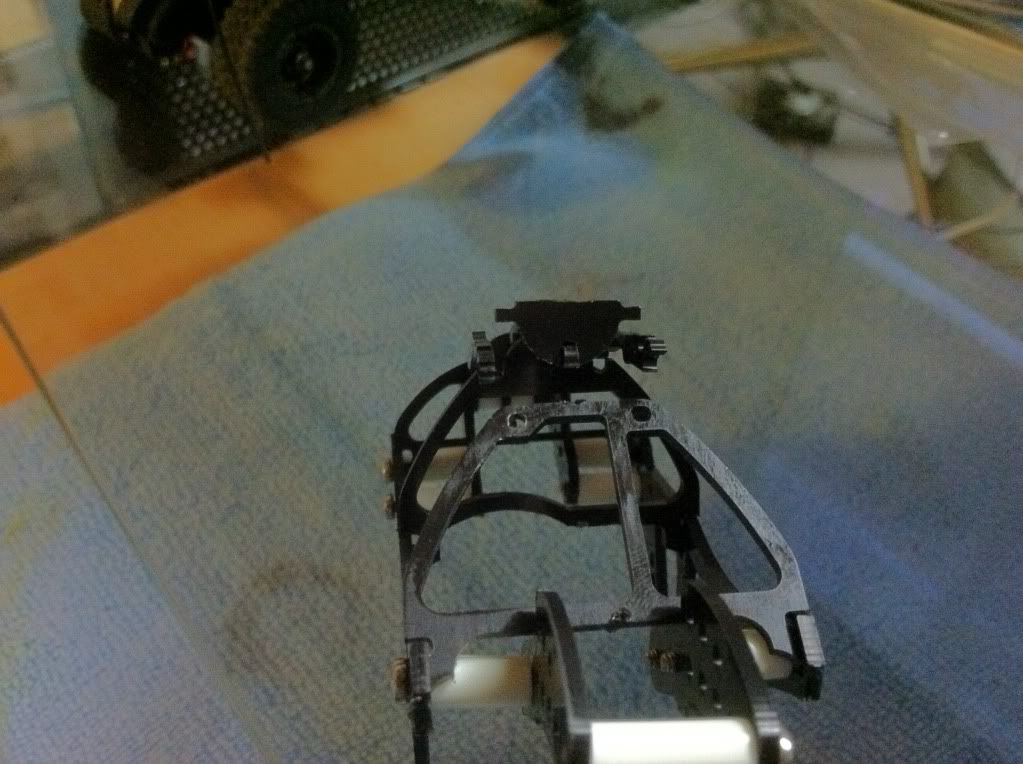 New discovery! Putting this last little end piece on first, is just a good idea, helps make things easier;  New new discorvery! The spines are easiest when worked on from REAR to front. So assemble the rear first and work your way the oppisite direction I did....  |
|
| |
|
05-23-2011, 07:30 PM
| #12 |
| Quarry Creeper Join Date: May 2011 Location: USA
Posts: 384
|
See those little hooks at the end there? Well those hooks need to hook into the front windshield frame, while it can still be done with just taking the window frame off and attaching it, the issue is the downward angle of those hooks, so the holes need to be lifted up into them... kinda weird but the hold really well once on.  |
|
| |
|
05-23-2011, 07:38 PM
| #13 | |
| Quarry Creeper Join Date: Jun 2004 Location: Utah
Posts: 458
| Quote:
http://www.rccrawler.com/forum/showt...70#post3106970 Blade | |
|
| |
|
05-23-2011, 07:40 PM
| #14 |
| Quarry Creeper Join Date: May 2011 Location: USA
Posts: 384
|
And the final product; 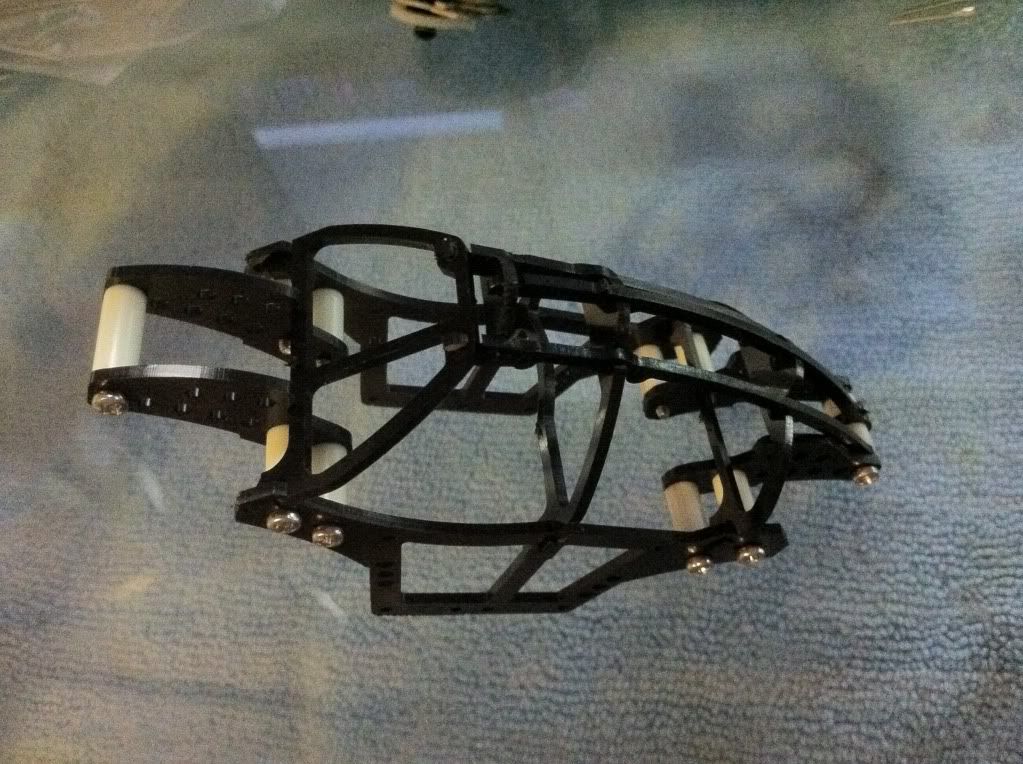 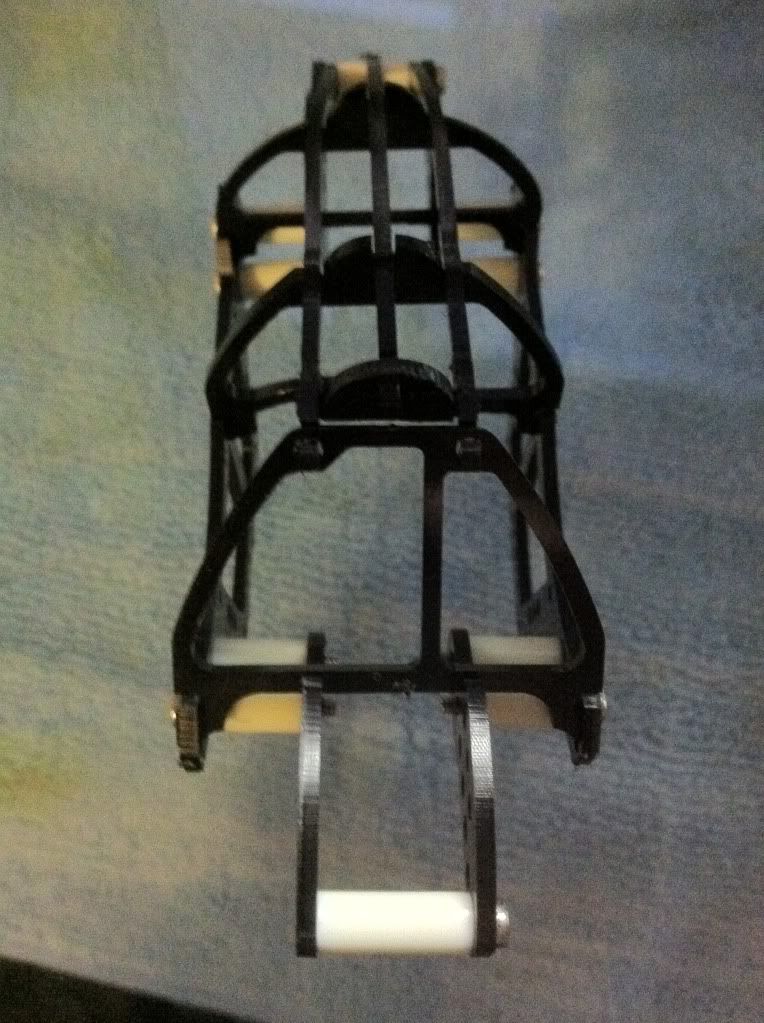 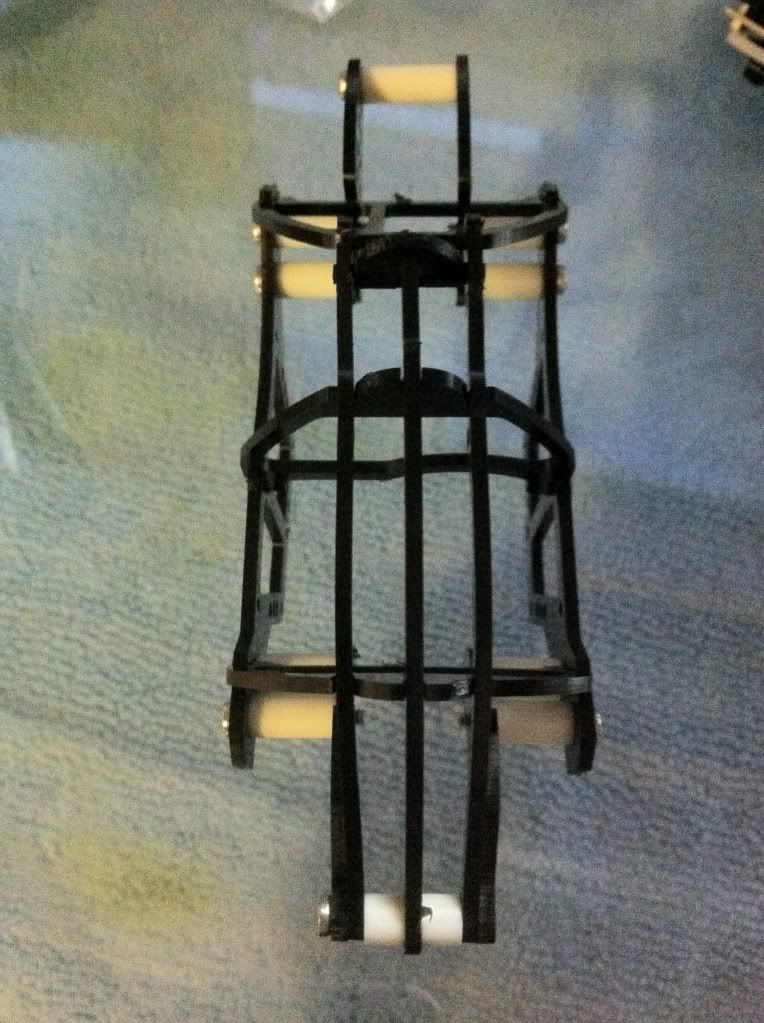 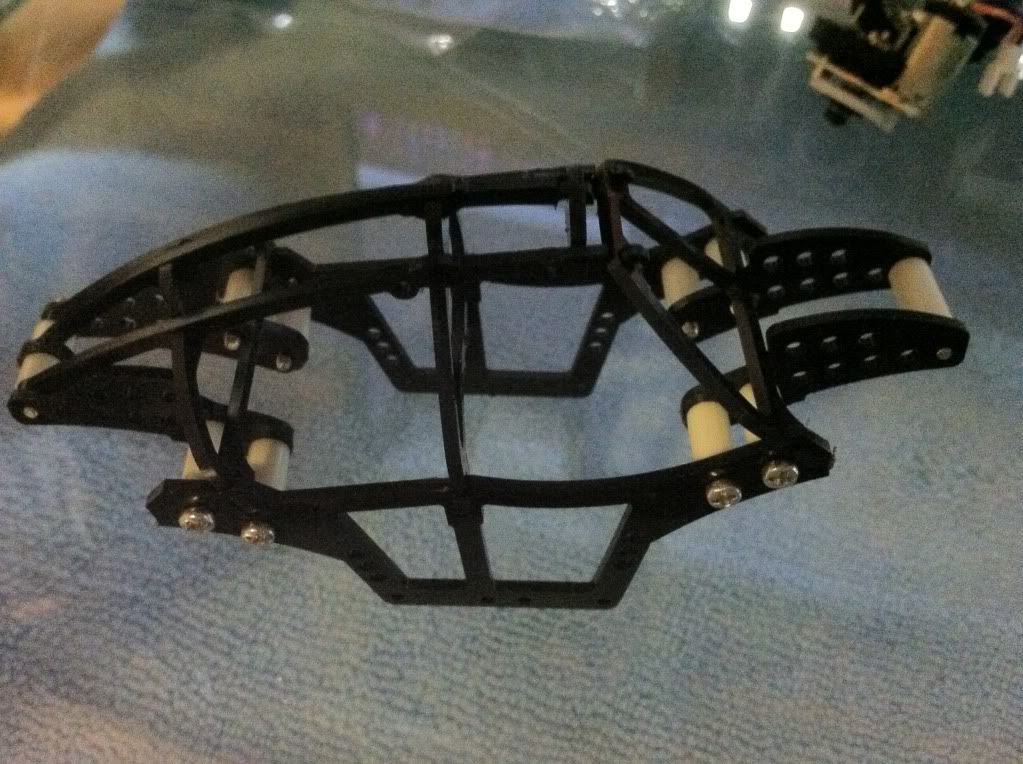 |
|
| |
|
05-23-2011, 08:15 PM
| #15 |
| Quarry Creeper Join Date: May 2011 Location: USA
Posts: 384
|
What should be arriving this week in the mail; ESC RX MiClaw tires Wheel Wideners New Shocks Brass pinion set Wheel weights |
|
| |
|
05-23-2011, 09:39 PM
| #16 |
| Quarry Creeper  Join Date: Apr 2011 Location: Dallas
Posts: 288
|
looks like a structural schematic for a beetle. can we get a weight on that chassis plz? BTW good job chinese puzzling that one together.
|
|
| |
|
05-23-2011, 11:05 PM
| #17 |
| Quarry Creeper Join Date: May 2011 Location: USA
Posts: 384
|
I do have a scale incoming this week. I have found out... I am NO GOOD at link bending... Not sure I can grasp that art. Link bending is NOT for me. /slamfaceintowall Blew through all my rods... no idea how the hell the damn aluminum housing is supposed to go on bent rods either... I'm at a lose for the links... |
|
| |
|
05-23-2011, 11:47 PM
| #18 | |
| Quarry Creeper Join Date: May 2011 Location: USA
Posts: 384
| Quote:
Some pre-made bent links that can be purchased at length categories, like 5" wheelbase links, 5.25", 4.75", etc. I'm really having a hard time making my own links, I'm either totally oblivious to something I'm missing, or I just don't have the right tools. I bought the make your own kit from your site, but failed... | |
|
| |
|
05-24-2011, 01:25 AM
| #19 |
| Pebble Pounder Join Date: Apr 2011 Location: KC
Posts: 93
|
Link bending is quite easy if you have the available tools for it, rod, some pliers, a torch and a large rod to form the bend on. You dont even need to bend the tube housing, Check out Getbent's Eclipse links, he uses the joint cups and the rod is screwed in until before the apex of the bend, maybe way before the apex. then the straight tube housing covers the bend, presto "Freudian-straight-bent-links" P.S. i believe you dont want to cook the rod you're heating up. You want to heat it to the point you notice the metal changing colors, you dont really want to glow it up cuz the rod may get brittle when it becomes cool |
|
| |
|
05-24-2011, 07:24 AM
| #20 | |
| Quarry Creeper Join Date: Jun 2004 Location: Utah
Posts: 458
| Quote:
Blade | |
|
| |
 |
| |


 Linear Mode


