| |
| |||||||
 |
| | LinkBack | Thread Tools | Display Modes |
 11-19-2011, 05:18 PM
| #41 | |
| RCC Addict Join Date: Aug 2011 Location: round pond (aka clarksville TN)
Posts: 1,454
| Quote:
 | |

|  |
| Sponsored Links | |
| | |
|
11-21-2011, 12:48 PM
| #42 |
| Fan of wheelspeed Join Date: Jun 2011 Location: Southern IN
Posts: 3,369
|
Looks good man. I did a easy mod the other day on the Redcat chassis. I flipped the electronics tray over. It lowered the tray by a good half inch. Then I waterproofed the servos. Here are a few pics & a link to my "How To" thread. 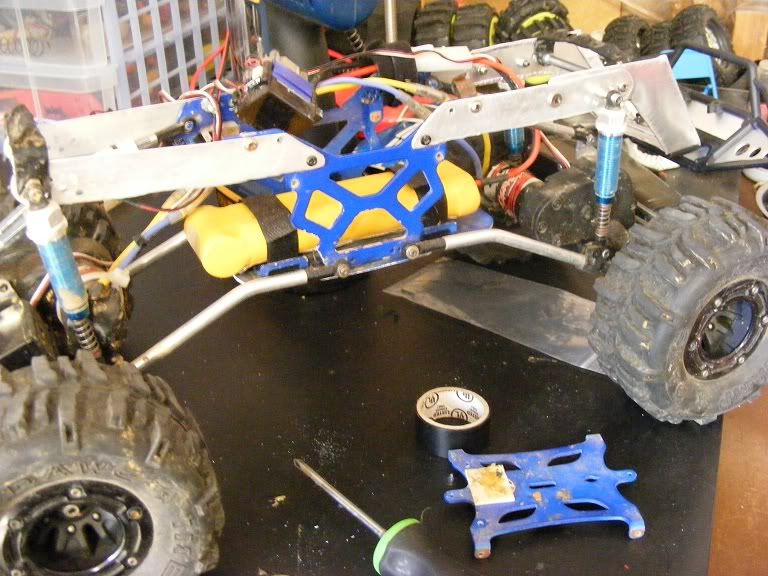 Here's how I positioned the antenna on the chassis. I bowed it over to get rid of the glitch, and it works like a charm. 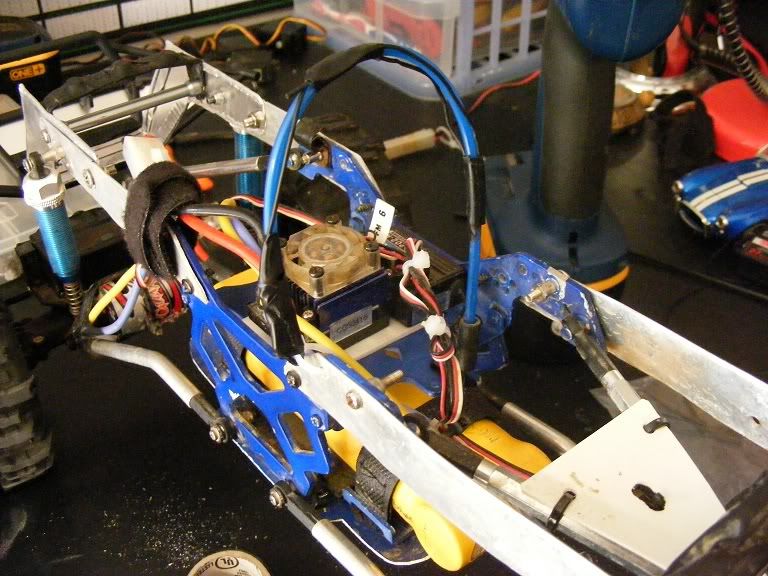 Here are a few pics of the rig on my course. 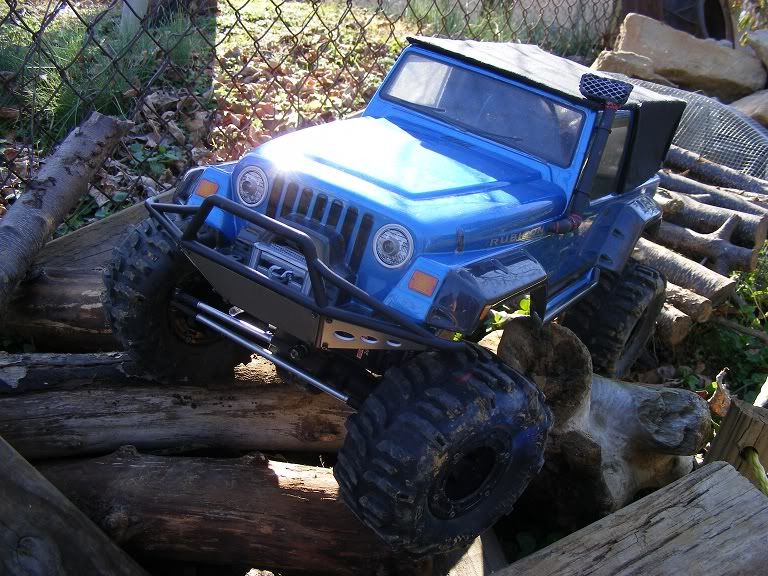 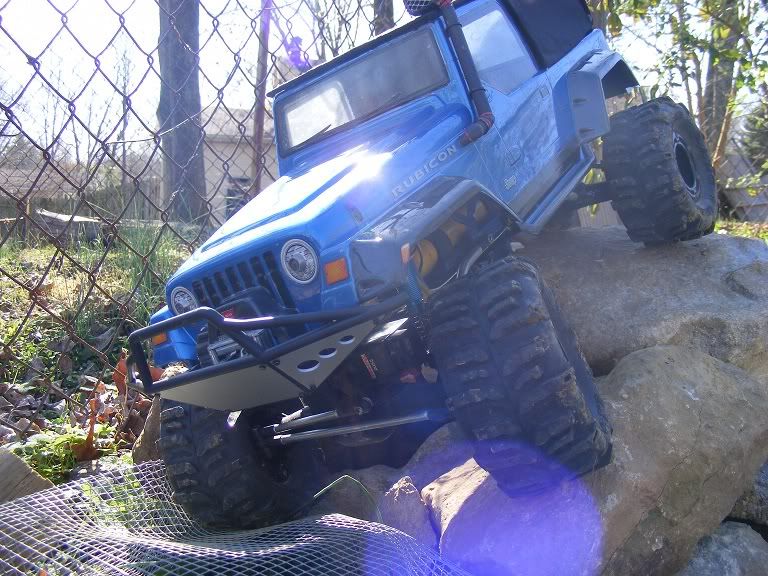  Here's the link to the servo thread RC Bashers • View topic - How to water proof a servo. |
|
| |
|
11-21-2011, 04:32 PM
| #43 |
| RCC Addict Join Date: Aug 2011 Location: round pond (aka clarksville TN)
Posts: 1,454
|
for starters that is a nice jeep u got there do like those swamp dawgs i mean do they flex nice or not and do u know how tall they measure on your stock wheels the boy was wonderin
|
|
| |
|
11-21-2011, 05:53 PM
| #44 |
| Fan of wheelspeed Join Date: Jun 2011 Location: Southern IN
Posts: 3,369
| Imex Swamp Dawgs: Height: 4.75" Width: 2.5" Weight: 109g. I love them for trail riding, mud, dirt hill climbing just about anything offroad. As far as climbing goes, they are good on sharp edged rocks. For your standard smooth edged rocks I'd go with a Rover or a set of Losi Claws, something a little softer compound . I run the Dawgs with star-cut foams, I trimmed one small lug out just in front of each big lug. That made a huge difference in climbing. For the kind of driving I do with them they work great. |
|
| |
|
11-21-2011, 09:32 PM
| #45 | |
| RCC Addict Join Date: Aug 2011 Location: round pond (aka clarksville TN)
Posts: 1,454
| Quote:
| |
|
| |
|
11-22-2011, 08:34 AM
| #46 |
| Fan of wheelspeed Join Date: Jun 2011 Location: Southern IN
Posts: 3,369
|
I love em. I've got these, the losi claws and the cut-n-narrowed tractor tires. The tractor tires look good and mudbog like nobodies business, but I love the look and sound of the Dawgs. They sound like 1:1 mud tires when on pavement or hard dirt. You get the rubber squeel at fast take off and stops. I bought them off here in the classifieds on the cheep! Those flat irons look good with every short lug trimmed out too. Search RCC and you'll find some really good ideas on cutting lugs out.
|
|
| |
|
11-22-2011, 09:43 AM
| #47 |
| RCC Addict Join Date: Aug 2011 Location: round pond (aka clarksville TN)
Posts: 1,454
|
one spot we just started goin to at my buddies creek would be a good spot for them probably, some rock but mostly dirt we cleaned a few different lines and made some nice,short,(about 20 or 30 feet)and steep hill climbs overall good spot if water aint up 2 high
|
|
| |
|
11-22-2011, 05:53 PM
| #48 |
| Fan of wheelspeed Join Date: Jun 2011 Location: Southern IN
Posts: 3,369
|
As long as the esc, battery and rx don't get submerged you're ok in water. Water proof your servos and you're good. I posted a "how to" link above on the servos. Mud may pose a threat to the motors, but water is ok. There's a guy on here that did a waterproof box for the elec in his Cat. I closed off my vent hole on the motors to keep the mud out. That other guy used a peice of cloth to act as a filter to keep mud out of em.
|
|
| |
|
11-22-2011, 06:18 PM
| #49 |
| RCC Addict Join Date: Aug 2011 Location: round pond (aka clarksville TN)
Posts: 1,454
|
yea we pretty much stay out of the water except when we r done we may run back and forth through a shallow puddle just to clean our tires if they r muddy but no trying to dry the holes up |
|
| |
|
11-28-2011, 08:59 AM
| #50 |
| Fan of wheelspeed Join Date: Jun 2011 Location: Southern IN
Posts: 3,369
|
Well, I finally bought some aluminum stock to build a chassis. I started out with some 1/2" C-channel from Home Depot and used my basic pattern I posted on here previously. 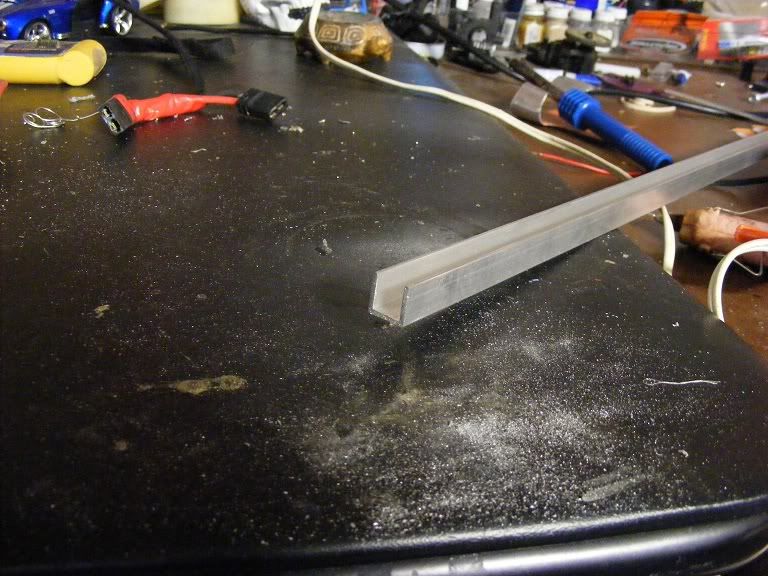 I dismantled the Redcat. I had alot of time and work into the ol' pieced together heep of aluminum. But it's fixin to get better. 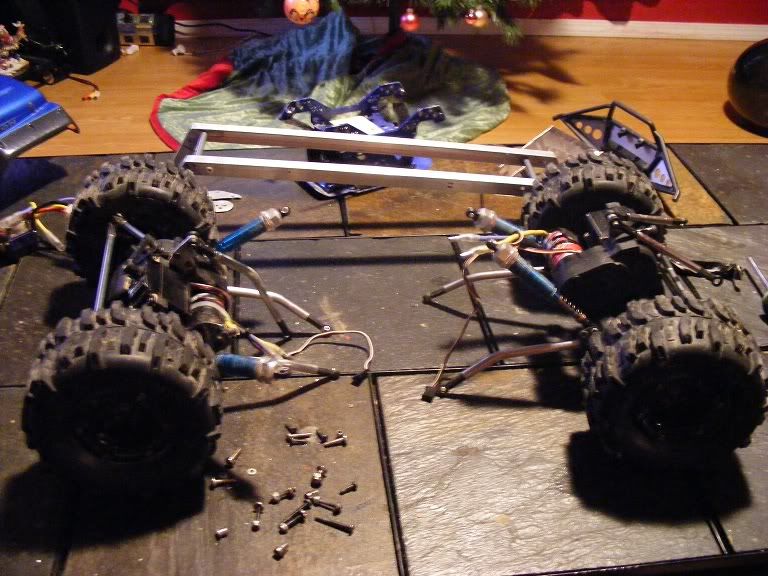 I got my basic w.b. measurement that I transfered from the original setup, made a few "birdmouth" notches and pop riveted a "L" bracket into place for support. I can braze, well...I could back in high school, but I don't have any of the proper equipment for it now so rivets will have to do. This pic shows the drop down tray for my battery and lower links. 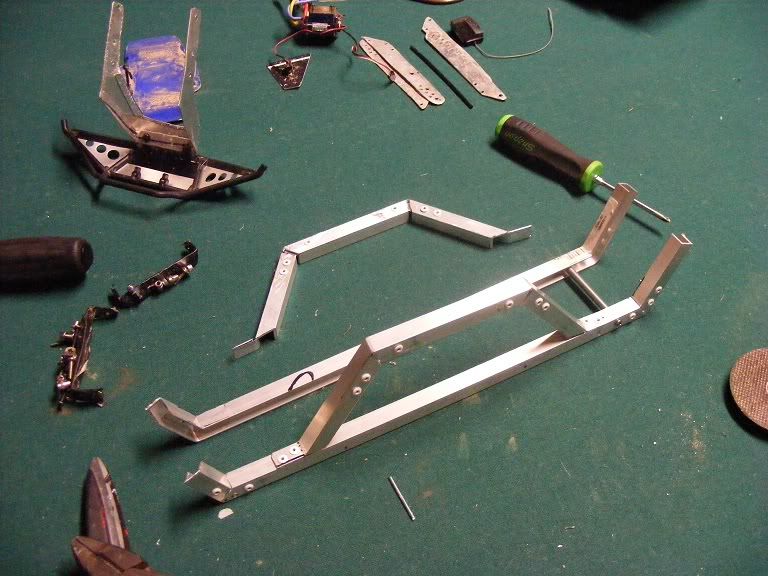 Here's a preliminary shot of the bottom of the chassis. I'm using the stock battery & elec. tray still. With the c-channel it fits real snug in the recess. Between the bends and the channel it's a very tight fit. 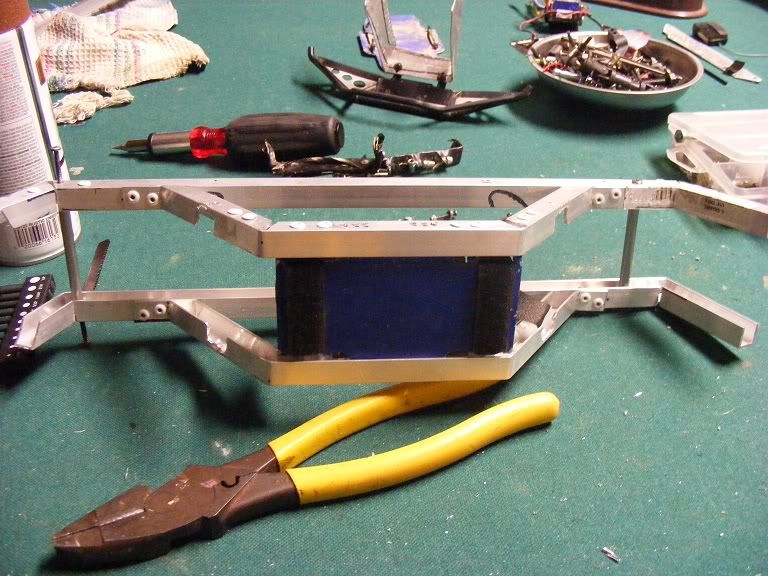 Here is the assembly so far. At this point I was smoothing down joints and filling any voids for paint. I'm just going with a high dollar primer and some rustoleum black. I'll bake the paint on to help prevent as much "rock rash" as possible. 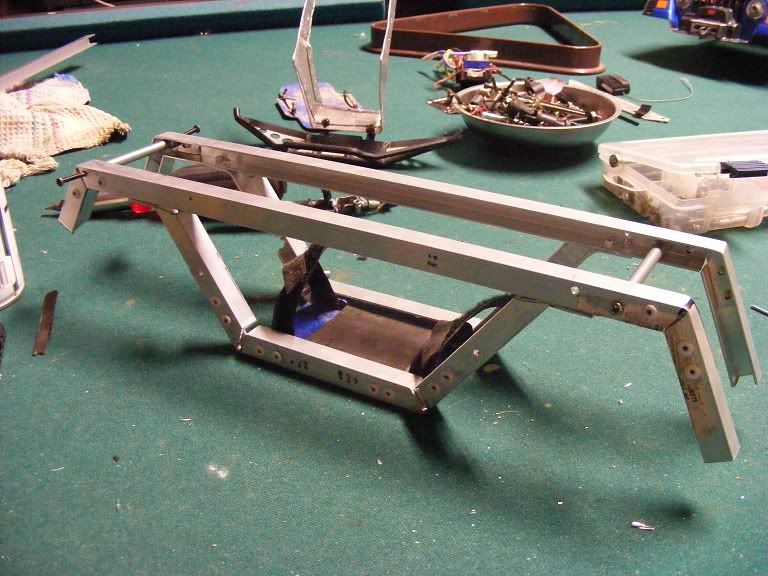 The front bumper mount still has to be mounted to the chassis, I'm waiting until final assembly to do the rear bumper and delrin skid. I smoothed out the openings for the upper links. The screws for the lower links pass through the chassis and into the batt tray as it does in the stock config. I got it painted last night, so tonight after work I'll be doing touchups and hopefully starting re-assembly. Not bad for 5 hrs work. |
|
| |
|
11-28-2011, 09:04 AM
| #51 |
| RCC Addict Join Date: Aug 2011 Location: round pond (aka clarksville TN)
Posts: 1,454
|
looking good! keep us posted
|
|
| |
|
11-30-2011, 08:21 AM
| #52 |
| Fan of wheelspeed Join Date: Jun 2011 Location: Southern IN
Posts: 3,369
|
So here are some pics, mid re-assembly. I got a good coat of Rusto black baked on overnight. So far everything is lining up great. 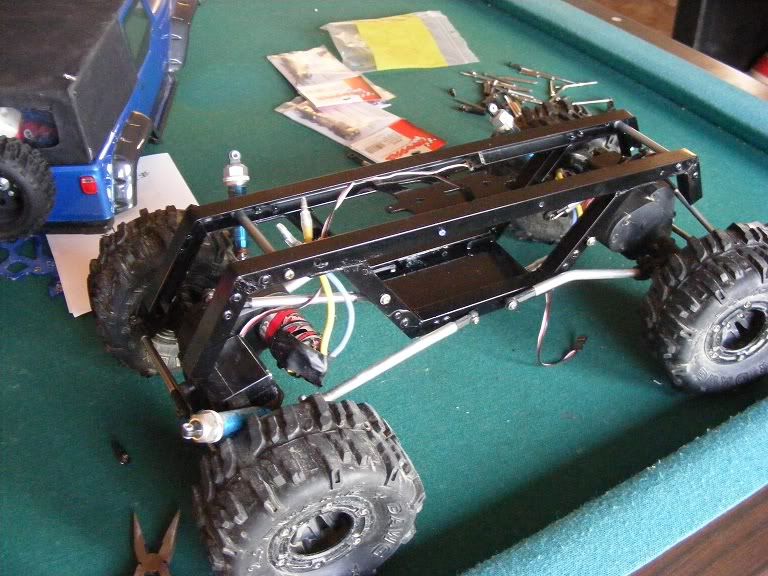 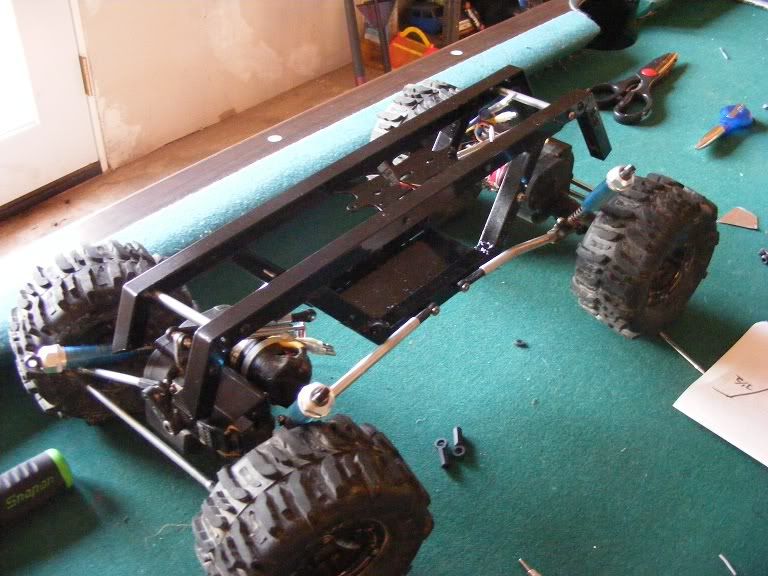 I've got some adjustments to make yet. I've got to adjust the frame around the upper link mounting points. You can see where they are now, and where I need to be for me to get some more travel. 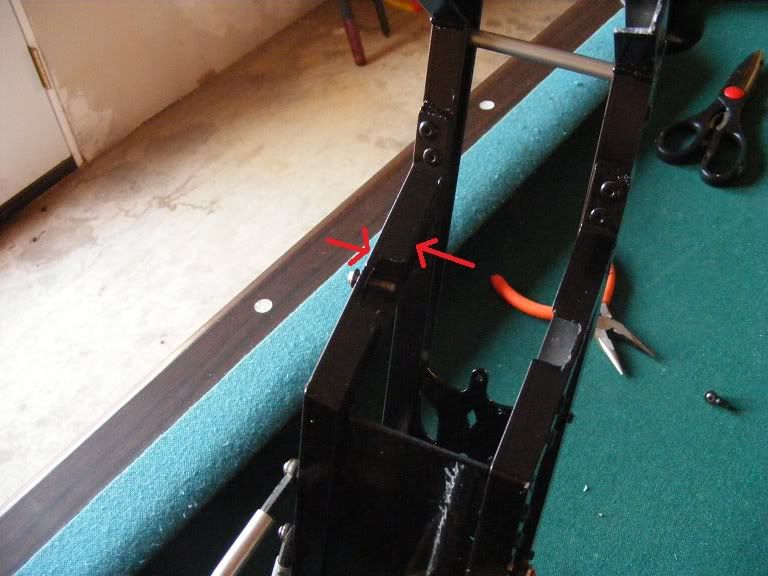 All in all it seems stout. I'm going for a scale/trail type frame here. I know it's not ideal for all out crawlin, but as long as it still scales my wall I'm good. I've got a short wall that I gauge my mods on, and so far I keep getting up it faster and easier. I switched the LED power source from 9.6v to running off the RX and that got the rig to where I can scale the wall with the body in tact, where as before I couldn't. |
|
| |
|
12-01-2011, 04:11 PM
| #53 |
| Fan of wheelspeed Join Date: Jun 2011 Location: Southern IN
Posts: 3,369
|
So here is the build so far. I'm trying to work out something with magnets for the side panels. I found some thin lexan type plastic for a 6x8 card holder. I'm hoping to paint the back side and use either magnets or velcro to attach it. I have to have easy acces to the inner part of the frame to instal and remove the battery. Here are some pics so far. I also have a idea I need help pulling off, but I'll tell you more on that towards the bottom. 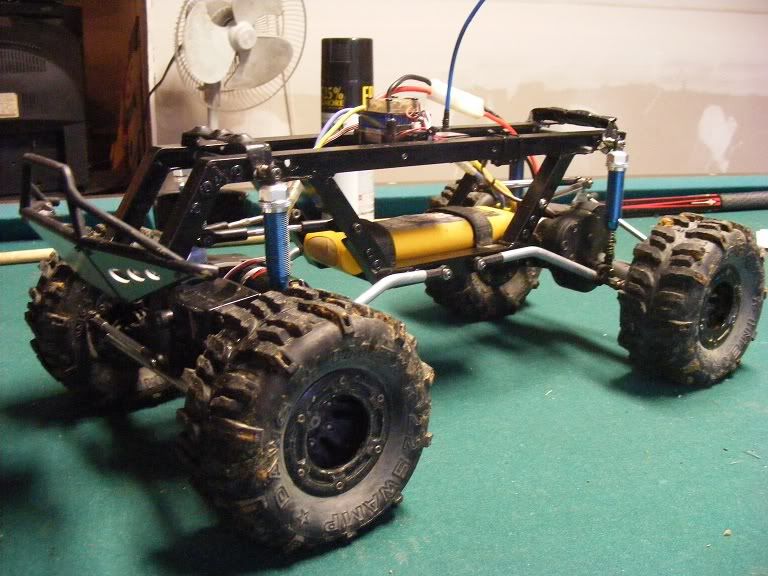 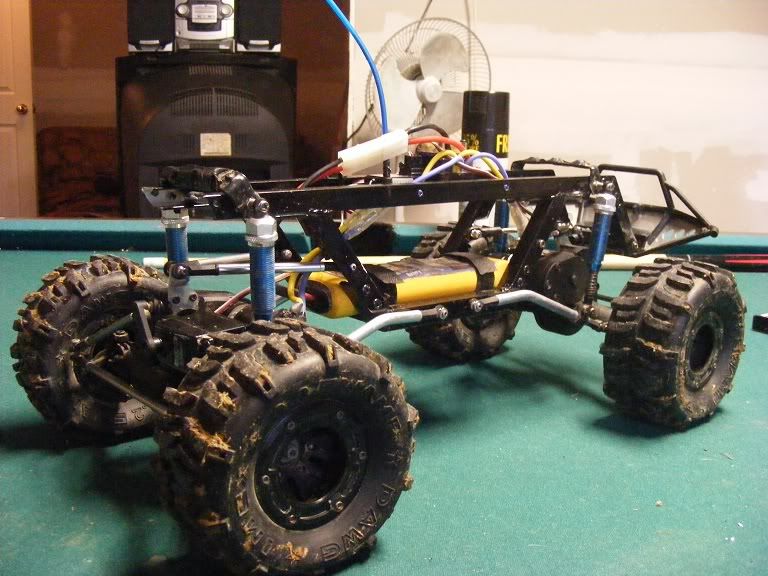  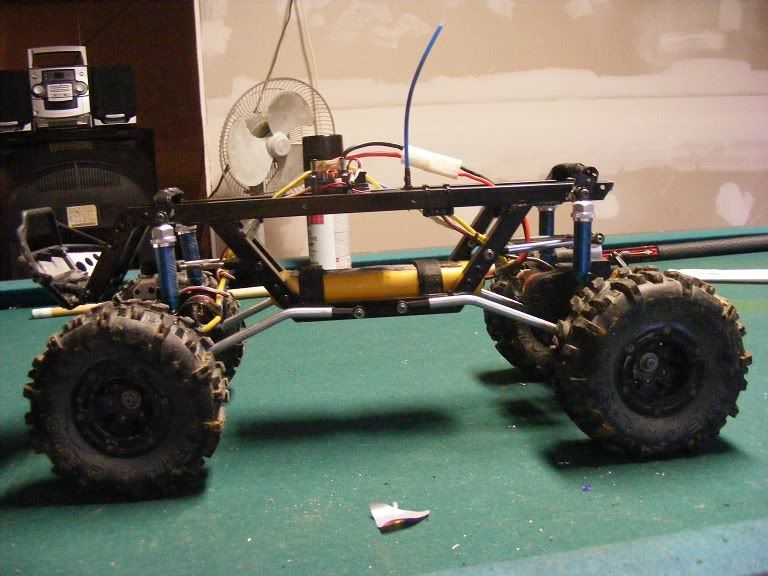 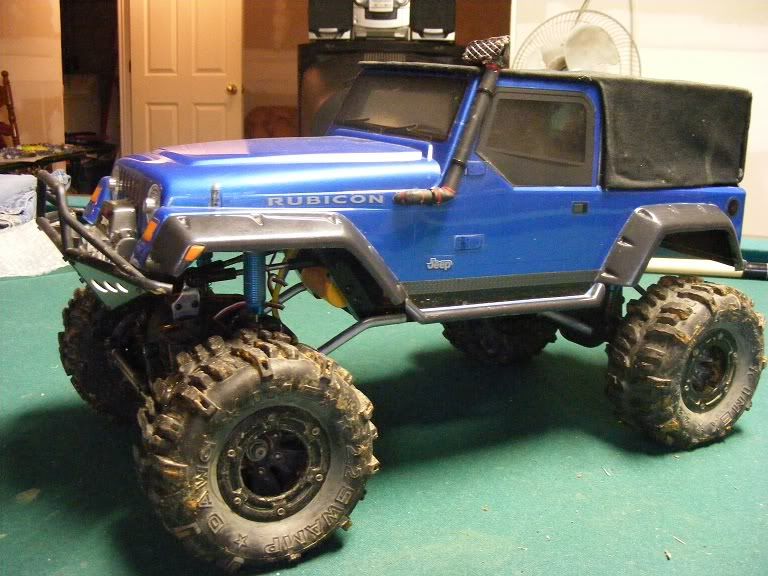 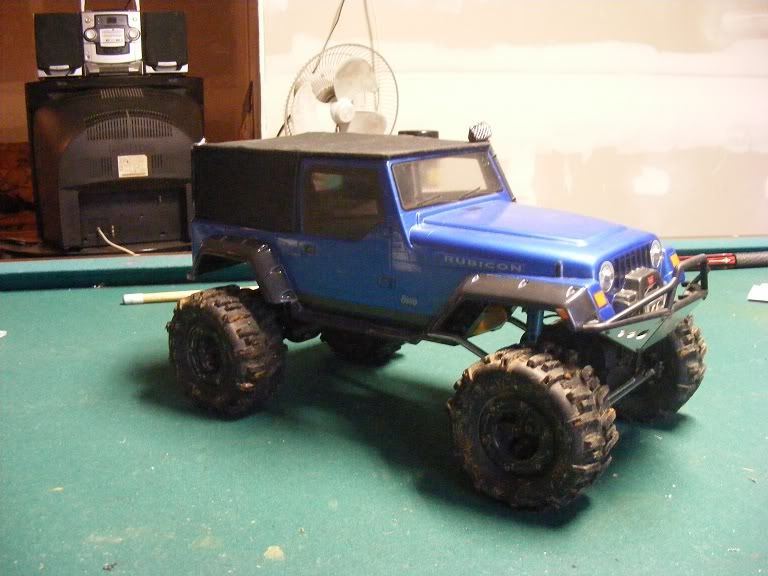 I think I've went backwards a little on capabilty. It won't break over my test wall now. So, I have a idea and I need your help pulling it off. I want to do remote height control for the rear. As you may have noticed, the rear is lower than the front. It's easily fixed by moving up my magnets on the rear. But I'm interested in seeing if I can do the RHC. I plan on using the 3rd channel for it. I'm thinking that it has to be somewhat flexible to allow the rear susp to flex. If you realy think about it the rear doesn't travel up and down alot, it usualy twists. So I'm thinking servo with a saver on it mounted to the rear of the frame with a link going down to where the rear links meet on top of the axle. On the servo mount, use a hinge on the rear of it and a stiff spring of some kind on the front to allow for some travel. Or maybe vice versa, hinge on the front and spring on the back. By doing this I think I can use the servo to raise the back on command. So, I have a couple of questions. 1) Will this work? I realy want to do this, so if you have any input don't hesitate to lend your $0.02 2) Should or can I connect the rear steer servo to the front so I can still have 4ws(just not on command). 3) What do you think about my $0.50 body? 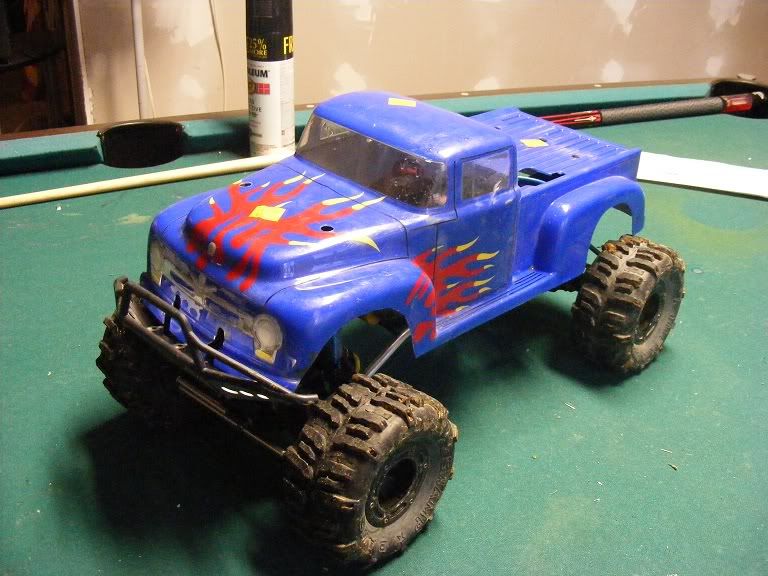 I'm thinking flat bed flat black ratrod or maybe something for the FOFF. |
|
| |
|
12-01-2011, 04:29 PM
| #54 |
| RCC Addict Join Date: Aug 2011 Location: round pond (aka clarksville TN)
Posts: 1,454
|
man i had kinda same trouble with mine at one point, i do the same thing u do as in crawlin the same spot when i do mods/adjustments-all i do now when i make changes to my chassis is to make sure at ride height(and i'm talkin with the body off)that the rear is kicked up slightly higher than the front, the nose down look
|
|
| |
|
12-01-2011, 04:56 PM
| #55 |
| RCC Addict Join Date: Aug 2011 Location: round pond (aka clarksville TN)
Posts: 1,454
|
here's apic of my badd bug chassis sittin on level surface without the battery 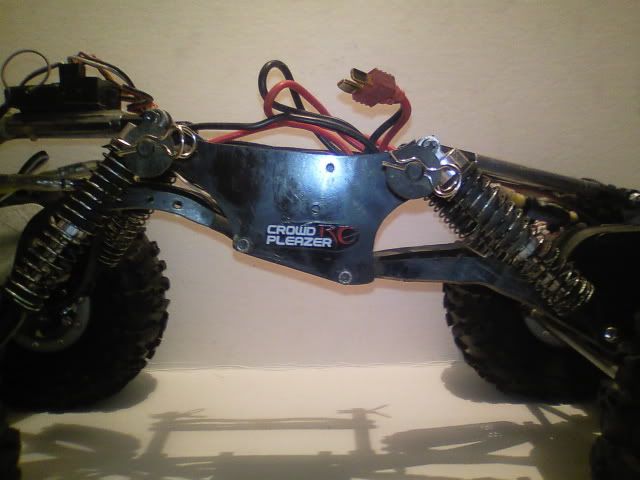 if you look close the rear top shock mount (the one on the left of pic) is just slightly higher than the front-which in turn puts more weight on the nose of the rig which helps the front tires "bite" a little more/better...you may try sliding your battery as far foward as possible also |
|
| |
|
12-01-2011, 06:01 PM
| #56 |
| RCC Addict Join Date: Aug 2011 Location: round pond (aka clarksville TN)
Posts: 1,454
|
as far as "closing" up the sides of your chassis, you could cut some panels out of a black (motor) oil quart, sandwich between the lower links and chassis with link bolts...you could just hold out on it while you change the battery out, it will spring rite back--i did this on my stock rs10 chassis to make it look a bit more scale lookin while i was still runnin it---the oil container color want change color when scratched... |
|
| |
|
12-01-2011, 07:16 PM
| #57 | |
| Rock Crawler Join Date: Feb 2011 Location: Courtenay
Posts: 716
| Quote:
P.S. if you are using the stock TX, the third channel won't work for a RHC. It is only controlled by the steering knob, and would always return to "center" And for full time 4WS, study some of the shafty rigs that mount their servos on the chassis, and run link and pivot systems down to their steering setups. This should be able to be run in both directions with some creativity! The theory is good. I would Love to see it built. | |
|
| |
|
12-01-2011, 07:21 PM
| #58 |
| RCC Addict Join Date: Jun 2011 Location: Lindsborg
Posts: 1,708
|
1:1 comp rigs use wenches to adjust their preload and ride height, just food for thought.
|
|
| |
|
12-01-2011, 07:30 PM
| #59 | |
| Rock Crawler Join Date: Feb 2011 Location: Courtenay
Posts: 716
| Quote:
 "wenches" "wenches"I'm sure five chics in the back seat would do it, But maybe we should try some winches instead. Probably costs less in the long run! | |
|
| |
|
12-01-2011, 07:39 PM
| #60 | |
| RCC Addict Join Date: Aug 2011 Location: round pond (aka clarksville TN)
Posts: 1,454
| Quote:
| |
|
| |
|
| |


 Linear Mode


