| |
 03-10-2013, 10:19 PM
| #161 |
| Rock Stacker  Join Date: Oct 2011 Location: Brimfield
Posts: 97
|
Scale radiator. Old computer heat sink. Drilled down through all the fins on the drill press. Then added some copper bonding wire threw the holes. Gonna go in the back of my wraith.   |

|  |
| Sponsored Links | |
| | |
|
03-10-2013, 10:22 PM
| #162 |
| Rock Stacker Join Date: Oct 2011 Location: Brimfield
Posts: 97
|
Oh $hi+ handles. Rope and heat shrink. 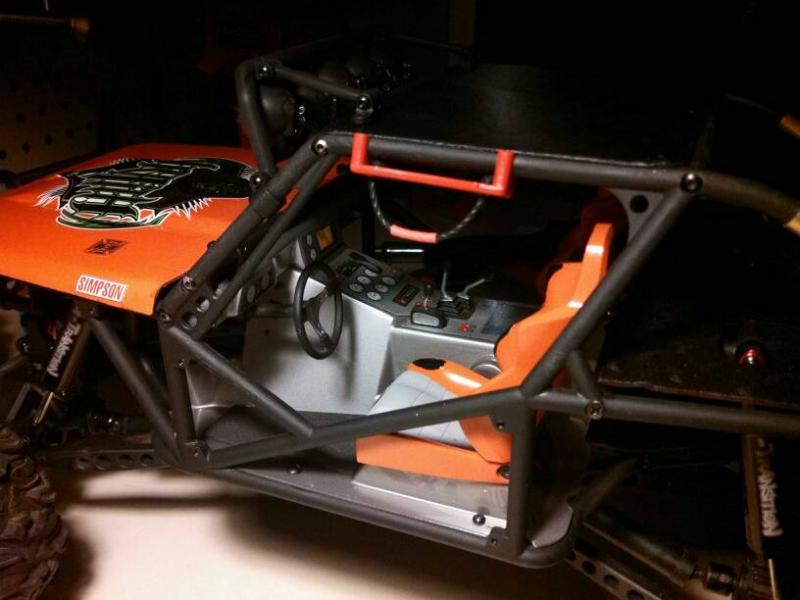 |
|
| |
|
03-31-2013, 09:50 PM
| #163 |
| Rock Stacker Join Date: Mar 2013 Location: Victoria
Posts: 88
|
Unfortunately, I don't have any pictures. I found a way of making scale bullets the other day! If you clip off the end off an old, ballpoint pen, clean it out with a very fine wire and draw on an old piece of paper until the ink runs out, and clean it up with some steel wool or paper towel. You now have a scale bullet, and if you get a bunch of them, they look so good! |
|
| |
|
08-05-2013, 10:04 AM
| #164 |
| Pebble Pounder Join Date: May 2008 Location: In Hendertucky
Posts: 103
|
how many of you, has had this happen to you? your out crawling and your crawler flips or rolls over and all your scale goodies go spilling out even though you had bungee cords holding them down. then your like I have a scale accessory tip that'll put a end to that. sorry I don't have any pics but try to picture this in your head. I removed my roof rack from the top of my wraith I then cut a rectangular piece of clear lexan 4'' x 1'' . I got the sheet of lexan from my LHS. I then placed the lexan under my roof rack and screwed in a screw into each of my scale accessories like my cooler, gas can, water jug etc. now everything is secured down and wont fall out of the roof rack. now my bungee cords are there for just decoration...LOL...im sure im not the first one to come up with this very inexpensive idea but it is very helpful. Last edited by hard rocker; 08-05-2013 at 10:06 AM. Reason: mis spell |
|
| |
|
08-05-2013, 10:09 AM
| #165 |
| Scale Detail Engineering Join Date: Apr 2010 Location: Turtle Island
Posts: 5,573
|
servo tape ftw!
|
|
| |
|
11-22-2013, 11:10 PM
| #166 |
| Newbie Join Date: Aug 2013 Location: jakarta
Posts: 16
|
my homemade drive axle   made it from :  Last edited by THX_138; 11-22-2013 at 11:40 PM. Reason: Image much too large |
|
| |
|
03-23-2014, 02:54 PM
| #167 |
| Newbie Join Date: Feb 2014 Location: Phoenix
Posts: 42
|
Not sure if it's been thought of, but you can make a free antenna with a plastic spray tube from a can of wd40 or canned air, spiral wrap string or thin wire up it, and wrap with electrical tape. I used a small axial servo mount to attach.  Sent from my iPhone using Tapatalk |
|
| |
|
03-23-2014, 02:56 PM
| #168 |
| Newbie Join Date: Feb 2014 Location: Phoenix
Posts: 42
|
Tie down straps from flat shoe laces and plastic coated paper clips. Stuck a piece of fuel line over the hook for grip, and a clean finish.  Sent from my iPhone using Tapatalk |
|
| |
|
04-22-2014, 10:59 PM
| #169 |
| Rock Crawler Join Date: Mar 2014 Location: Union City, CA
Posts: 621
|
My take on a Home made scale tow line, Heavy Duty! The base line is 1/4 inch, 3.5 ft long ish with an eye in each end. Hook in the scale shackles and tug the hell out her. |
|
| |
|
06-10-2014, 04:19 PM
| #170 |
| Newbie Join Date: Apr 2014 Location: Summerville
Posts: 45
|
I know this stuff always comes in handy on the trail. 1. Find a thin piece of cardboard and cut off a strip about 2/10's wide and a inch long. Wrap it around a pen while applying glue to form a roll. 2 Next tear the corner of you roll of duct tape and start wrapping around your roll. Trim excess off and bam a roll of silver fix all.  |
|
| |
|
09-12-2014, 10:58 PM
| #171 |
| Quarry Creeper Join Date: Nov 2007 Location: Orygun
Posts: 448
|
Scale Sleeping bag. Scrap material from the sewing box. Cut a rectangle, Fold it in half, sew together and stuff with padding....finish sewing. Scale Fire Wood: 1/2" wood dowel... Cut 3 pcs @ 3" long. Stand each piece on edge and tap a flat blade screw driver into it to split it. It splits very easily. Gather up the pcs, and use SS safety wore and pliers to bind it together.  Spare tire carrier: I mounted this to my Rock armor bumper. I happened to have a 4-40 tap here which was handy. Drill and tap the corners of the bumper for 4-40 screws, but don't go all the way thru. Make the tire rack out of 1/4" square stock. Cut your pieces to desired lengths and weld or braze together. The offset mounting piece to mount the wheel is an aluminum wing mount from one of my off road rc's. I drilled and tapped one end with the 4-40 tap to mount to the carrier. The other end is for a 10-32. I used a long screw and cut off the head. I used a nylock to secure the wheel. It's quite stable and has survived some tumbles. Hitch/pull point is also made from 1/4" solid stock. I used a small threaded eylet, and drilled a hole in the end of the hitch to insert the eyelet. Tack weld or braze in.     Last edited by Hotrodvw; 09-12-2014 at 11:01 PM. |
|
| |
|
01-06-2015, 09:58 AM
| #172 |
| Rock Stacker Join Date: Jan 2011 Location: Columbus
Posts: 61
|
Checked around on the forum, guess I never posted pics.... I took some white netting (fish aquarium or some sort of small goal net), cut it into a square and painted it red. A little shoe goo inside the body and you have yourself an off road window net, with the right type of net, it looks spot on.
Last edited by THX_138; 01-24-2015 at 10:33 PM. Reason: Image repair |
|
| |
|
02-13-2016, 02:04 PM
| #173 |
| Newbie Join Date: Nov 2015 Location: Wagoner
Posts: 4
|
I handmade full and fuctional soft tops for both my G6 and Rubicon Unlimited out of an old duffle bag, zip lock bags and velcro to attach to rollcages and attach individual window section to the main top. 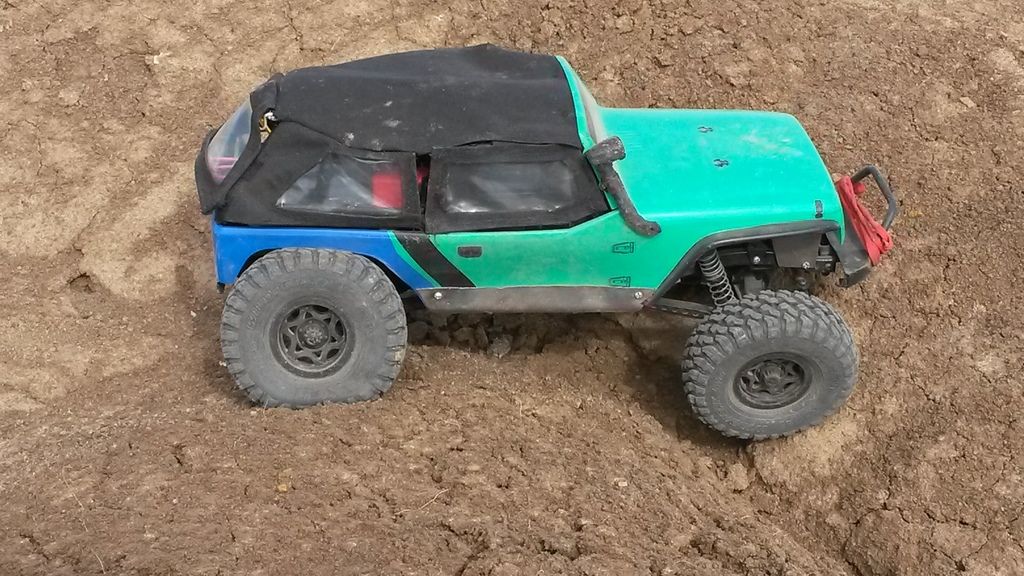 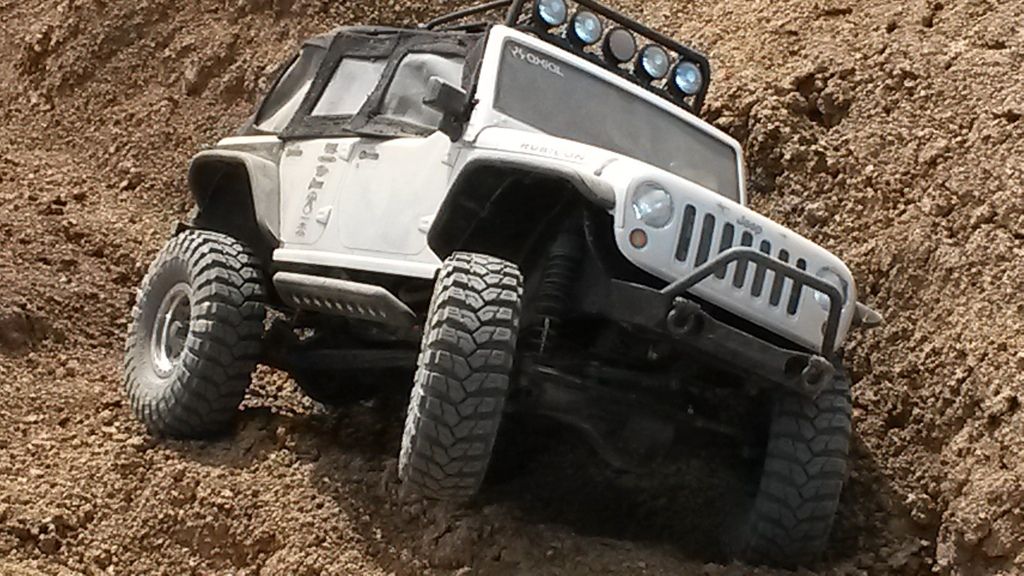 And I hand made a spare tire cover with one of my daughter hair ties and part of an old duffle bag 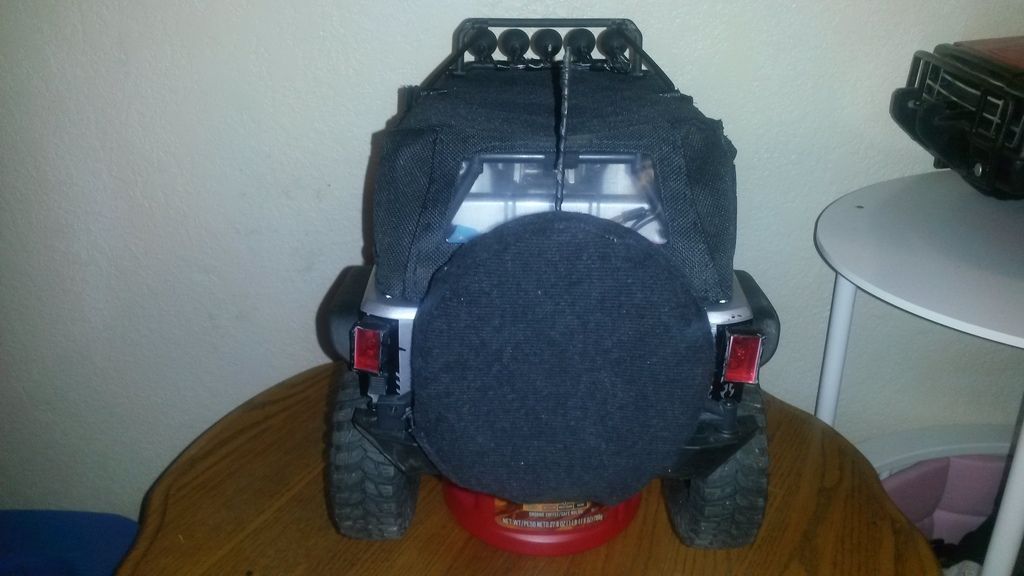 All three of these were either hand sewn or sewn on a sewing machine. No where in searching have I seen a complete and fuctional soft top for either the G6 or the Rubicon Unlimited so as far as I know I have the only ones!! I may make a new thread showing my how to make the soft tops! Last edited by Okcrawler74; 05-15-2016 at 08:51 PM. |
|
| |
|
07-14-2017, 01:45 PM
| #174 |
| Pebble Pounder Join Date: Oct 2015 Location: Fraggle Rock, CO
Posts: 161
|
Finally got a driver in the Rubi. Unfortunately, he is a drinker... I picked up these mini beer cans off the Zon. My intention was to just glue one to the drivers hand, but, as usual, my brain got ticking and I had the idea of foaming beer.. So, a few dabs of "White Gorilla Glue" and the foaming beer was born. WWE 6" action figure, fyi.   Sent from my VS987 using Tapatalk |
|
| |
|
03-05-2018, 01:15 PM
| #175 |
| Pebble Pounder Join Date: Oct 2015 Location: Fraggle Rock, CO
Posts: 161
|
Alright here's a quick project for y'all. I used the chain link I bought for tire chains and designed this hanging tire rack Parts needed: A Couple feet of whatever desired diameter chain link. I used 68 links in total, or somewhere there abouts. Whatever diameter square or round tube. I used 12" of 1/8x .014 square. So, for my size chain, its 23 links hanging from the top, and a pair of 11 links hanging from that. I simply drilled my holes in the square tube, spread a link, and clamp it in. Gravity holds them in place, but if I see issues ill use a cross brace to close off the triangle. Sure didnt take long, and it looks really good and keeps them out of the way!  Sent from my VS987 using Tapatalk Last edited by THX_138; 05-15-2018 at 09:28 PM. |
|
| |
|
05-02-2019, 08:18 PM
| #176 |
| Quarry Creeper Join Date: Feb 2018 Location: Melbourne Australia
Posts: 390
|
This thread is rad. Great to see what people did to make things before you just had to click and wait.... would love to see it get up and going again... |
|
| |
|
05-03-2019, 04:22 AM
| #177 |
| Newbie Join Date: Dec 2015 Location: Left Coast
Posts: 26
|  |
|
| |
|
02-09-2021, 03:40 PM
| #178 |
| Newbie Join Date: Jan 2021 Location: North Wales, UK
Posts: 43
|
Rusty first aid box made out of an old mints case. 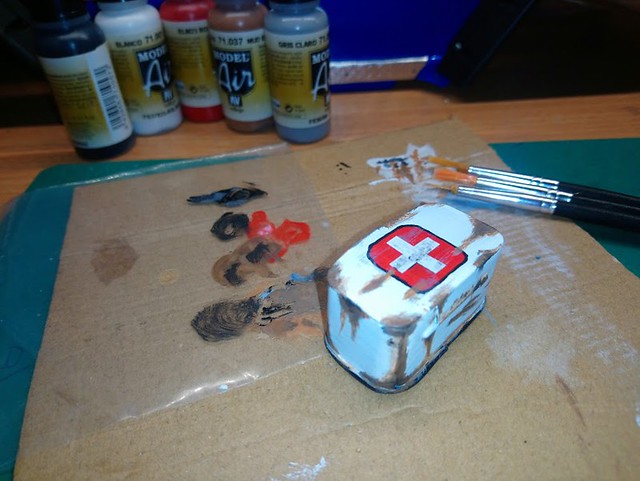   Cut down to size, kept the lid so it could be opened. Removed the base and glued it into the new box. Sliced the outer plastic off a small electrical wire and used it to cover where I'd cut the tin and to also hold the base in. Then painted with brushes. The white '+' symbol is cut out of some waste decal vinyl. |
|
| |
|
02-18-2021, 09:19 AM
| #179 | |
| Newbie Join Date: Jan 2021 Location: Holly Springs
Posts: 34
| Quote:
Very very cool! I think I might attempt something like this... Sent from my iPhone using Tapatalk | |
|
| |
|
04-07-2021, 03:43 PM
| #180 | |
| Newbie Join Date: Sep 2018 Location: Woodinville
Posts: 7
| Quote:
| |
|
| |
 |
| |


 Linear Mode


