| |
| |||||||
 |
| | LinkBack | Thread Tools | Display Modes |
| Sponsored Links | |
| | |
 03-31-2020, 11:49 PM
| #2 |
| I wanna be Dave Join Date: Aug 2016 Location: Orange County, CA
Posts: 3,643
|
Part 1 - Axles (Steps 1-15) Getting ready to begin!  Some preliminary reading material  You'll need bags A, B, and C  Starting off with Bag A 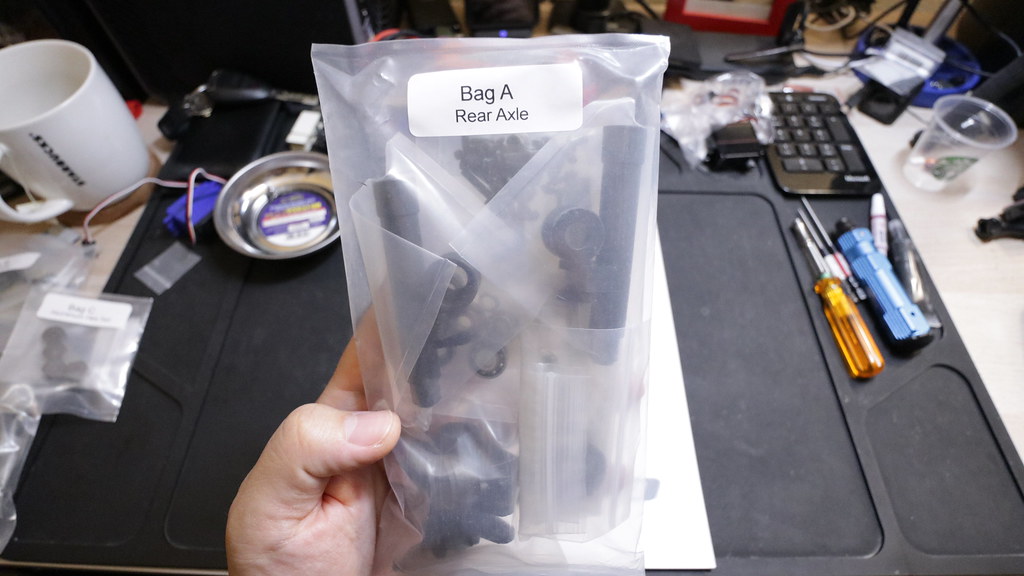 Rear Axle - Steps 1-6 Step 1   Step 2    Step 3  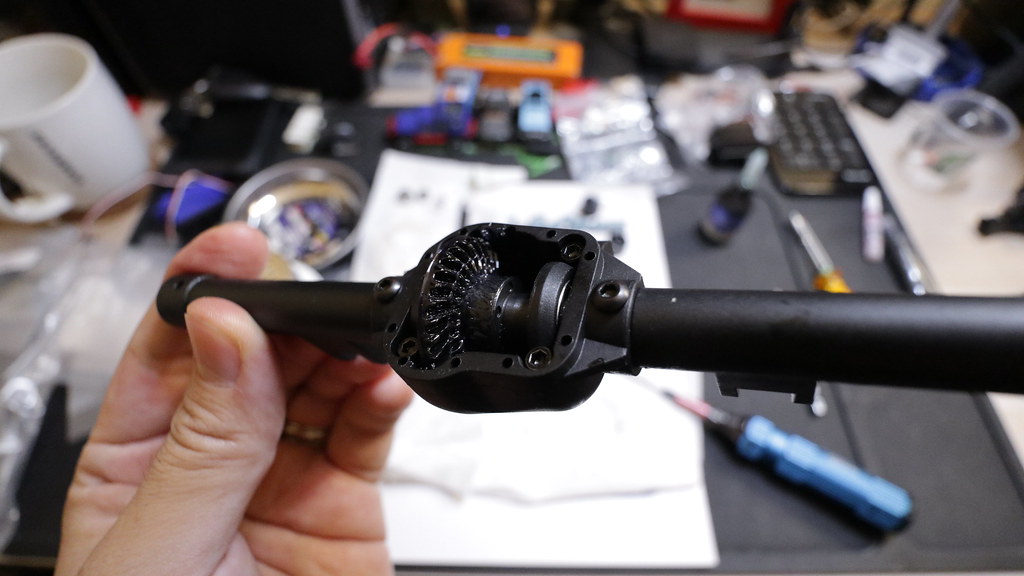  Step 4 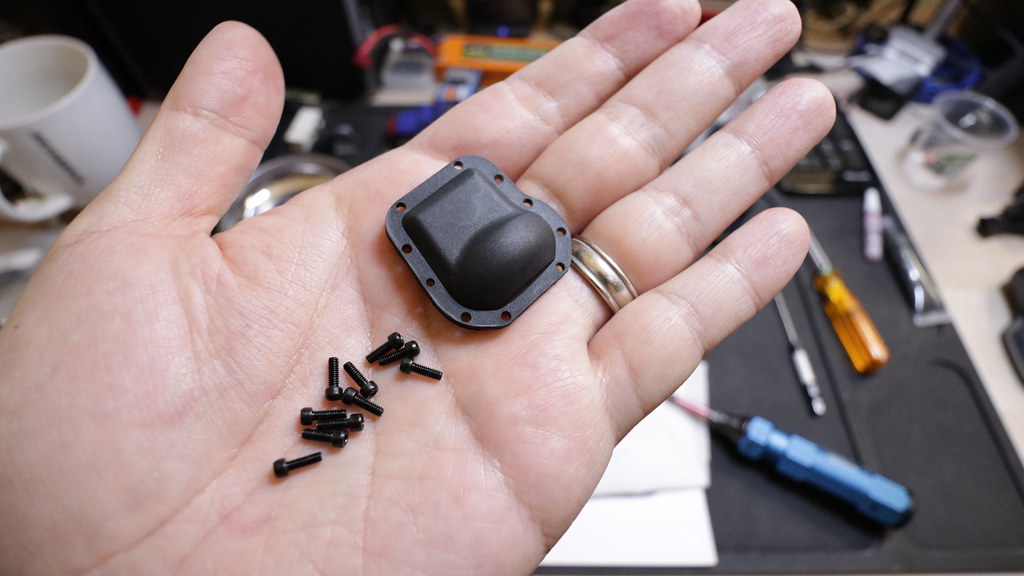  Step 5  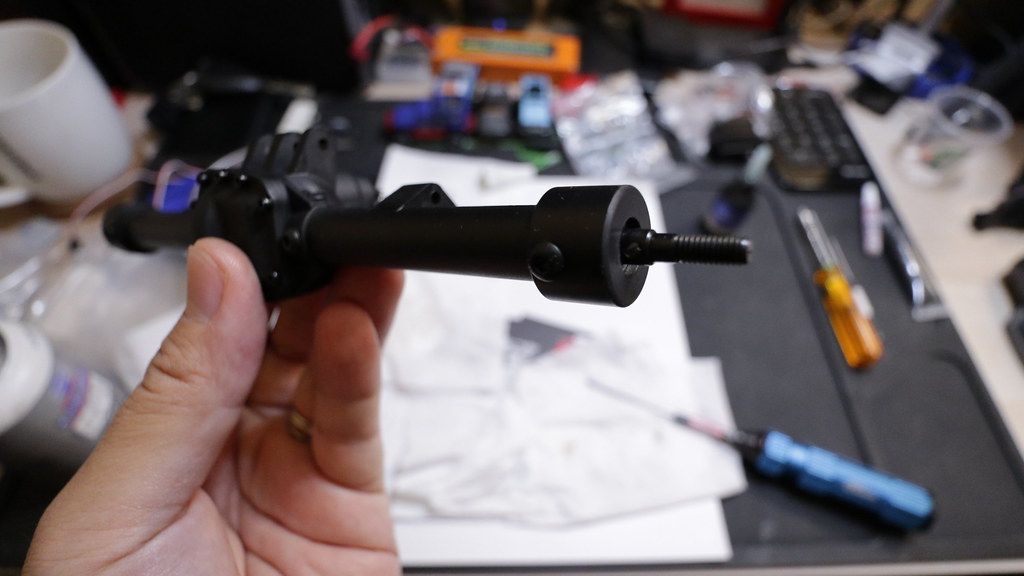   Step 6      Front Axle - Steps 7-15  Step 7   Step 8    Make sure there are no protruding screws (meaning you used the correct ones)  Step 9   Step 10   Step 11    Step 12   Step 13   Step 14 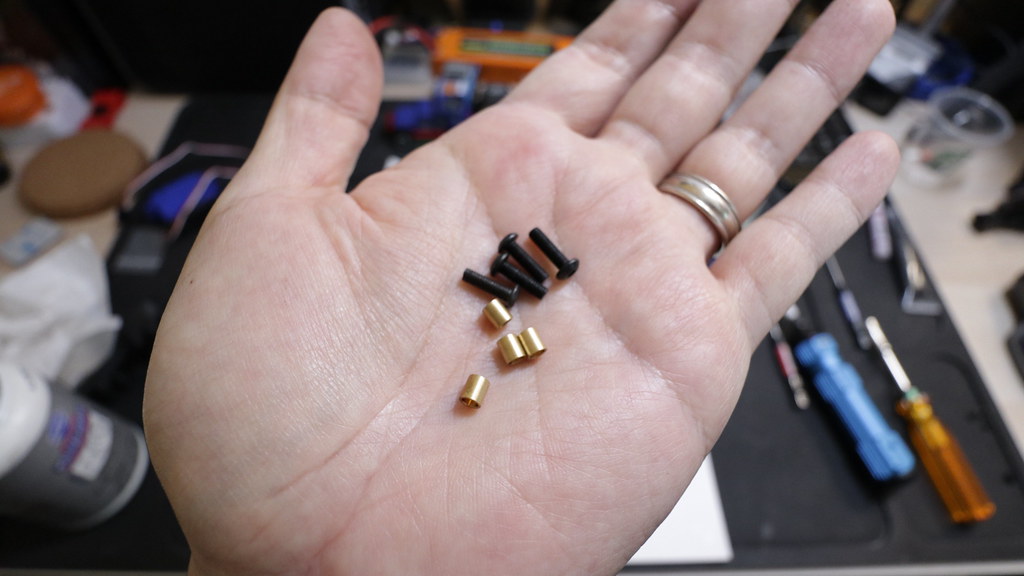   Step 15   Front and rear axles are done! That concludes Part 1.  Last edited by soze; 04-01-2020 at 01:56 AM. |

|  |
|
04-01-2020, 05:46 AM
| #3 |
| Gold Star Baby!   Join Date: Dec 2017 Location: Las Vegas
Posts: 2,554
|
Glad you got this one started! Ill be following along. Nice body choicE and colors. Should be a looker.
|
|
| |
|
04-01-2020, 06:16 AM
| #4 |
| RCC Addict Join Date: Feb 2016 Location: Princeton, North Carolina, USA
Posts: 1,499
|
Did you sleep better getting that posted right before bedtime?  Looking forward to this one, as almost always! |
|
| |
|
04-01-2020, 10:37 AM
| #5 |
| Pebble Pounder Join Date: May 2016 Location: East Indiana
Posts: 137
|
Lookin forward to this also!! I need to catch up on your YT videos too, I'm way behind!! Keep up the great work! brian |
|
| |
|
04-01-2020, 10:47 AM
| #6 |
| Go Buckeyes!  Join Date: Jun 2017 Location: Mid-Ohio
Posts: 4,135
|
Nice to see another build! I'm a few episodes behind on YT, but with all of my free time now I should be able to get caught up! I am really liking this kit, but with so many new cool kits that have come out recently, I'm not sure when or if I will be able to pick this one up! Subscribed and following along! |
|
| |
|
04-01-2020, 11:35 AM
| #7 |
| I wanna be Dave Join Date: Aug 2016 Location: Orange County, CA
Posts: 3,643
|
Thanks guys. I've been kind of slow to post anything lately for a reason. Every build thread I post here, I actually also post on my own personal site. Well, it was all going good until.... I found out my site was hacked and my content all gone as well as my login. It was running off Wordpress, and to make matters worse, my hosting provider only had backups for up to a few days, so I didn't catch it in time to recover a backup with all the data. I've been having issues with this host anyway (I only chose them, because they supported the programming language I was using). Anyway, I've spent the last few months gleaming through all my threads on a few forums to recover all my content to put into a new system that I will be using that uses a github repository so that I don't lose it again. Will be moving off of Wordpress, to something that's not as feature rich, but will serve my purpose. Also going to cancel my hosting service once I move my other sites over to the new setup as well. The new setup might almost be free, depending on how much traffic I get, which is probably not going to be enough to have to pay. Getting my site up doesn't mean I stop posting my stuff here though. It's just a way for me to have a backup for all my build content... and really just another side-hobby of mine creating content sites. |
|
| |
|
04-01-2020, 12:46 PM
| #8 |
| I wanna be Dave Join Date: Jun 2017 Location: Humboldt county
Posts: 4,482
|
Past due? I hope it wasnt starting to smell too bad! Bummer about your site getting hacked, sounds like there was nothing of value (for them) so they just trashed the place, not cool! |
|
| |
|
04-01-2020, 07:12 PM
| #9 |
| I wanna be Dave Join Date: Aug 2016 Location: Orange County, CA
Posts: 3,643
|
Part 2 - Transmission (Steps 16-29) Moving onto one of the more fun parts of this build. The very nice SSD Scale Transmission. For this part of the build, you'll need Bag D, G and the motor of your choice. I am going with a Holmes Hobbies Crawlmaster Sport 16T 540.  Step 16   Step 17   Step 18   Step 19   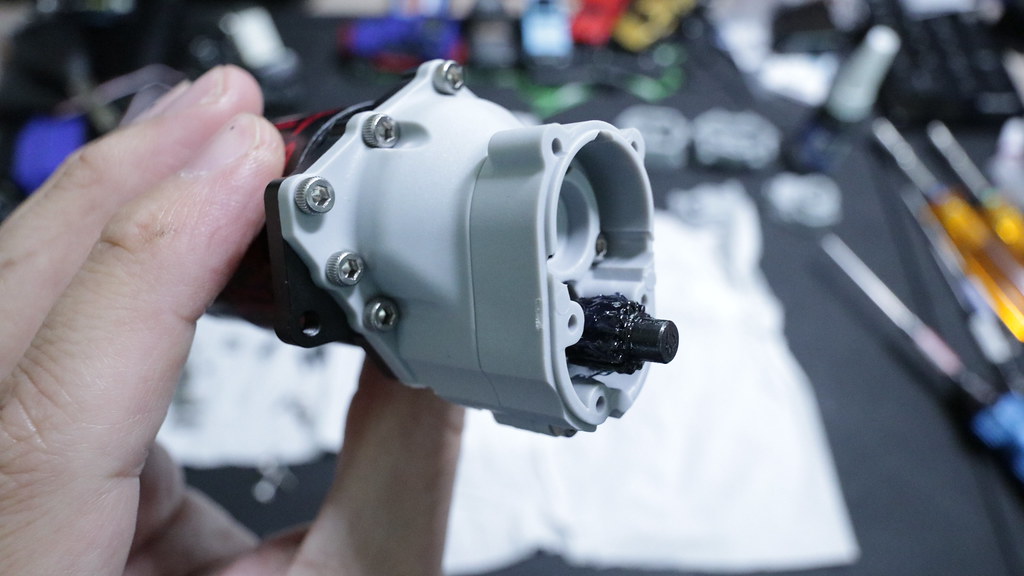 Step 20   Step 21   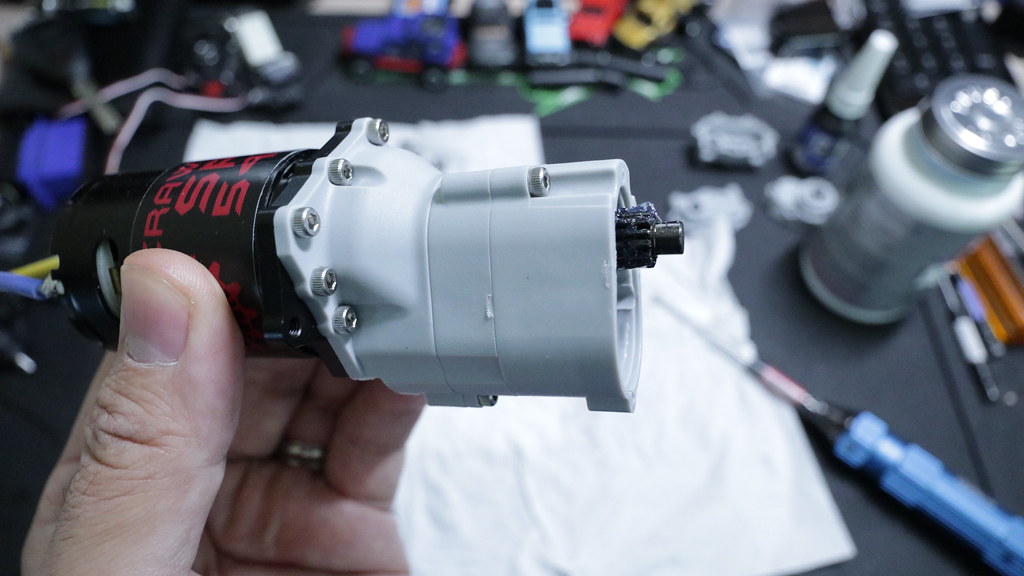 Step 22   Step 23    Step 24   Step 25 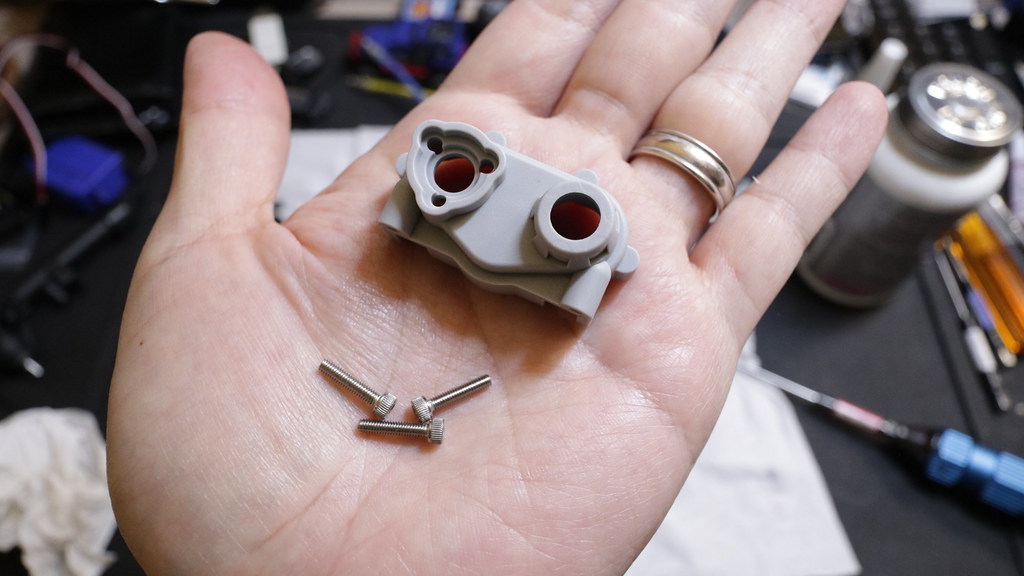  Step 26   Step 27 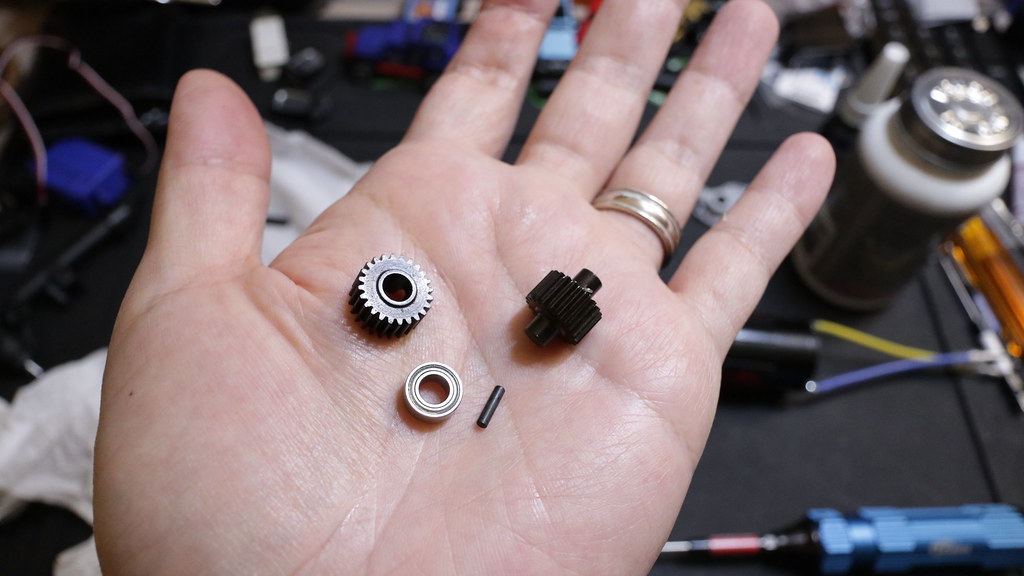  Step 28 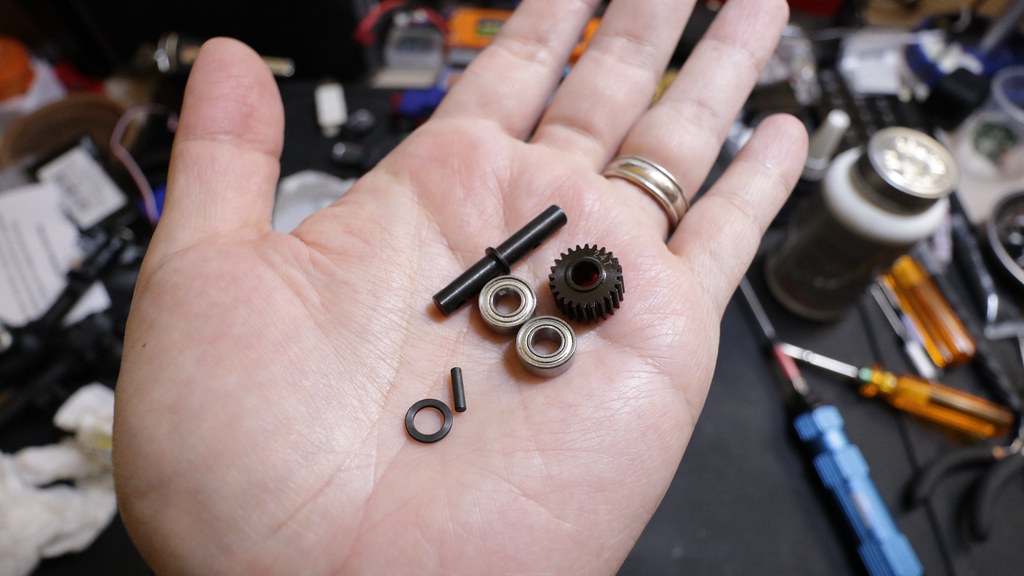  Step 29  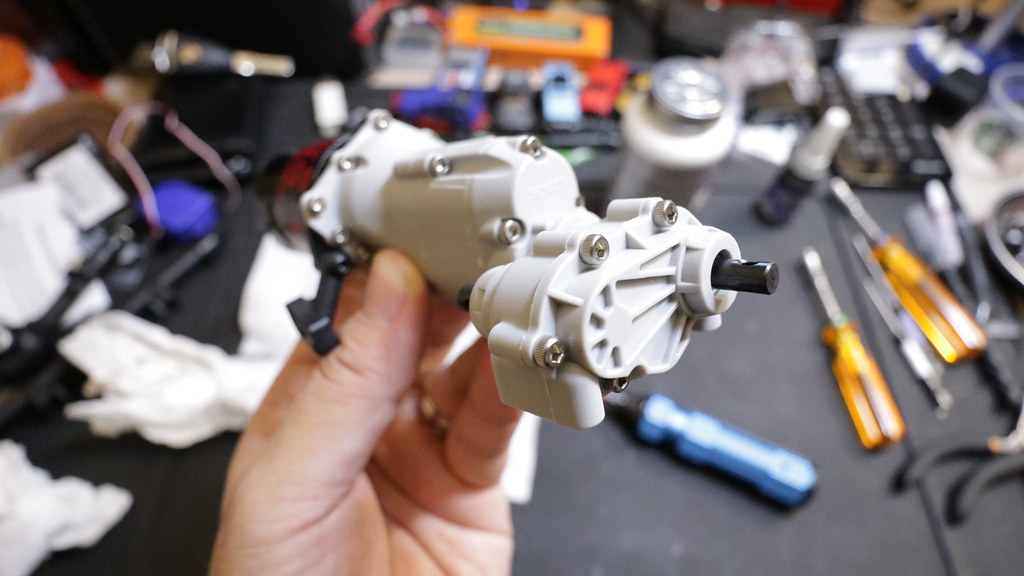  And there you have it. Part 2 of this series is done, and we have a nice looking SSD Scale Transmission. |
|
| |
|
04-01-2020, 08:05 PM
| #10 |
| I wanna be Dave Join Date: Aug 2016 Location: Orange County, CA
Posts: 3,643
|
Part 3 - Links & Chassis (Steps 30-48 ) Well onto the next part. Links, which everyone hates building, and chassis where we start getting excited about stuff we'll be mounting to it. Starting with the links (Steps 30-36) we'll need bags E and F.  Bag E first  Step 30   Step 31   Step 32  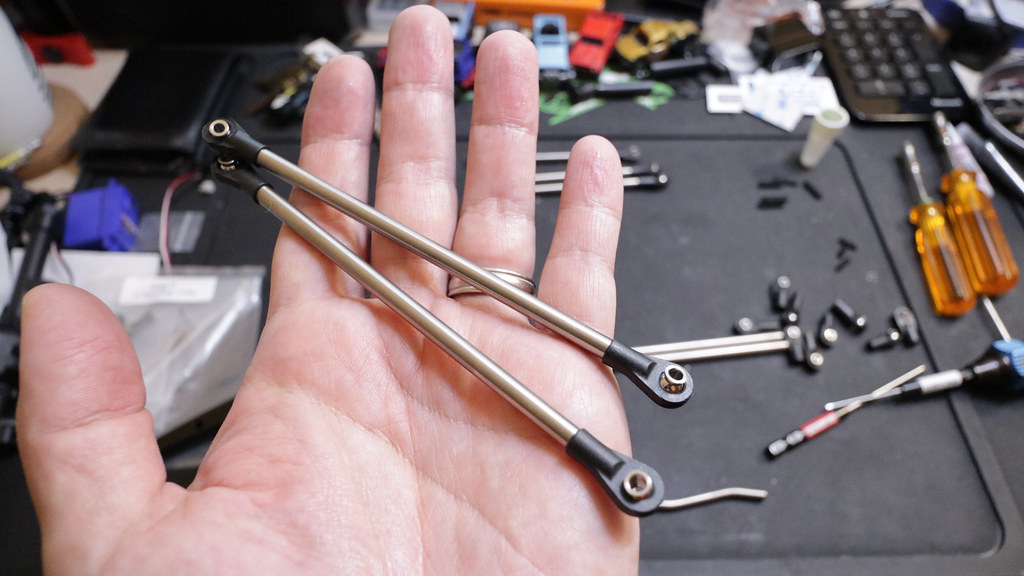 Step 33 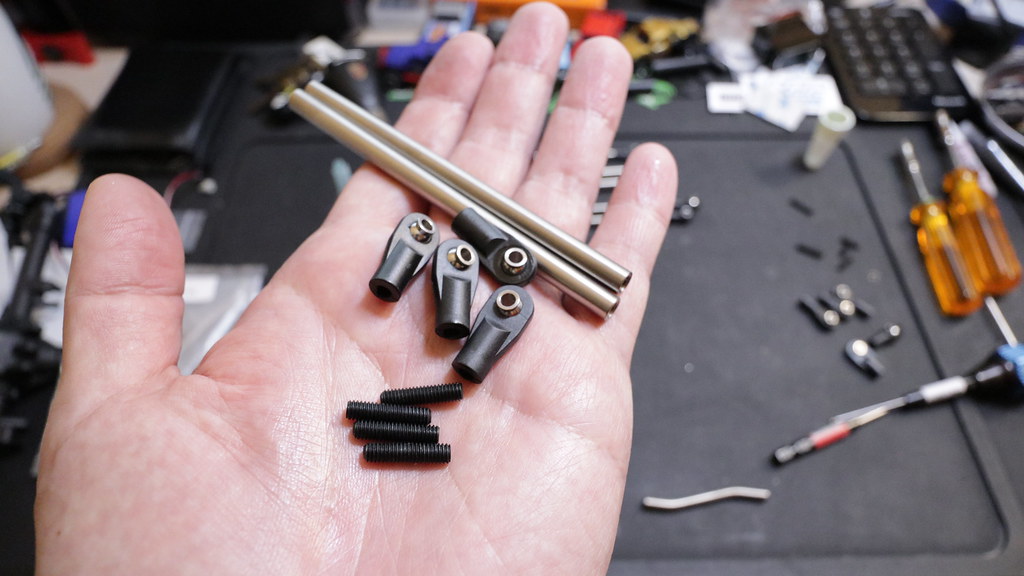  Step 34  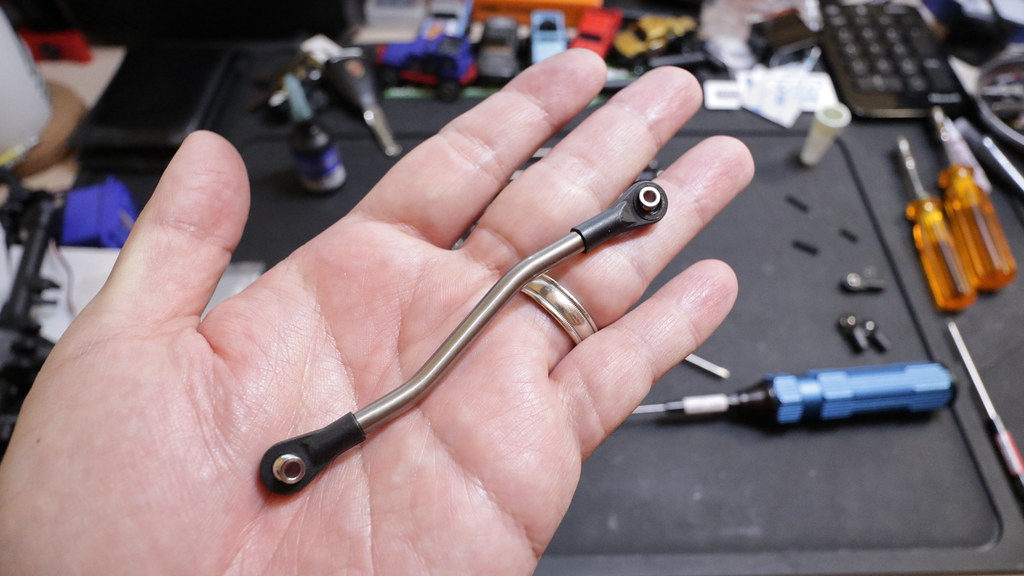 Now Bag F needed for the steering links  Step 35  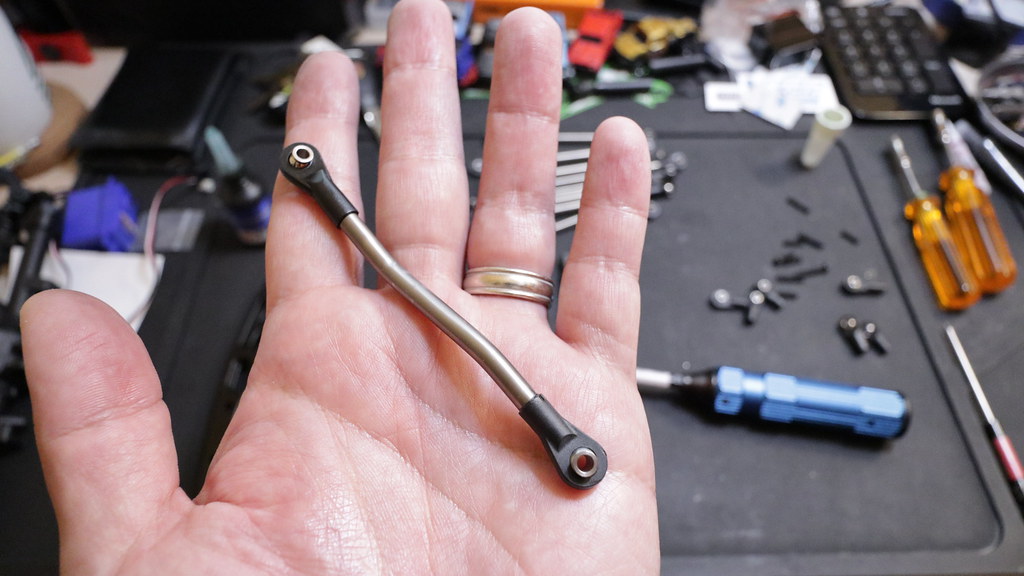  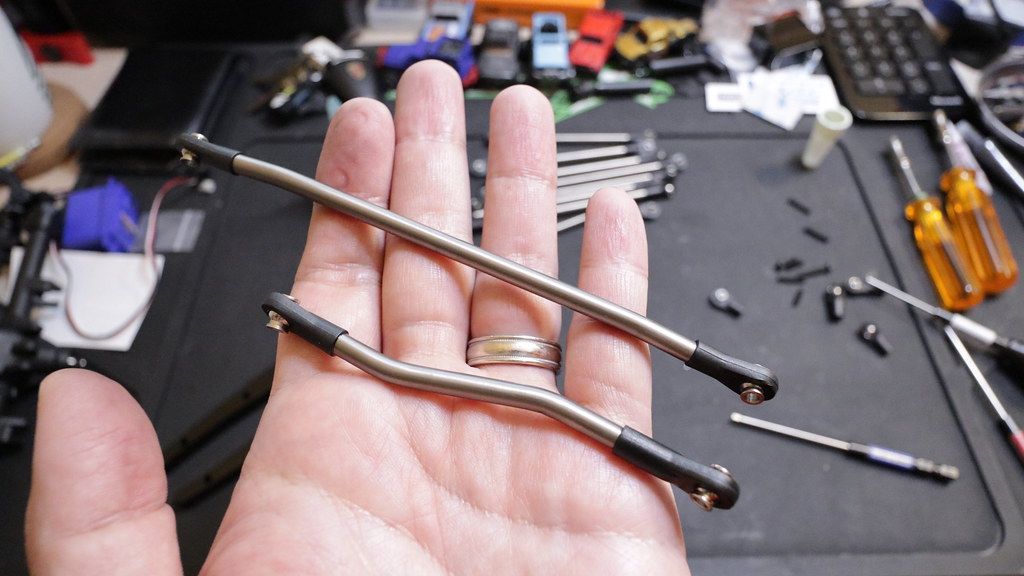 Step 36   Links are all done! My handy Pro-Tek Shock pliers as usual are a great help when putting these links together!  Now we move onto the chassis (steps 37-48 ). You'll need bags H,J,K, and the chassis rails.  Step 37   Step 38  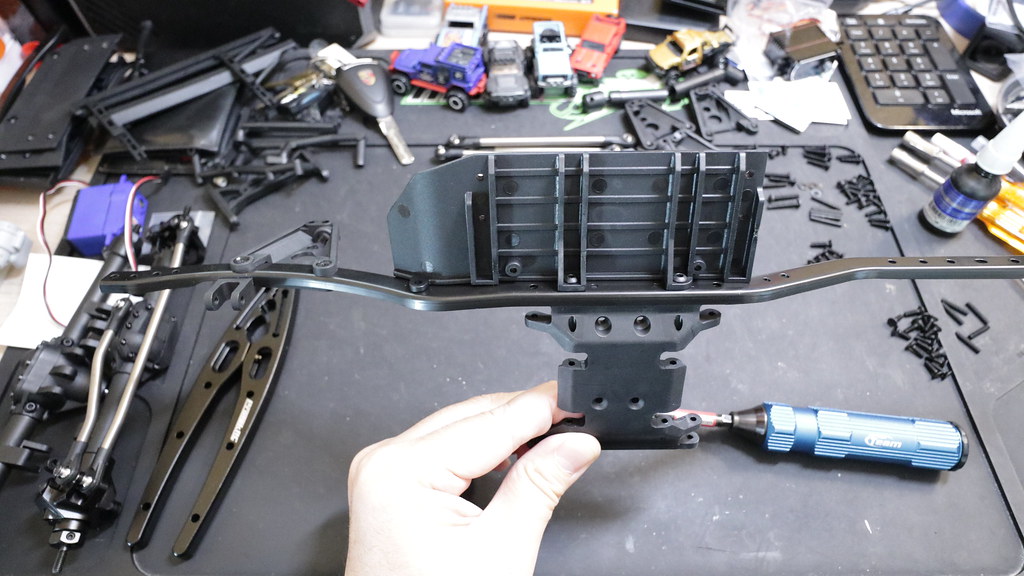 Step 39  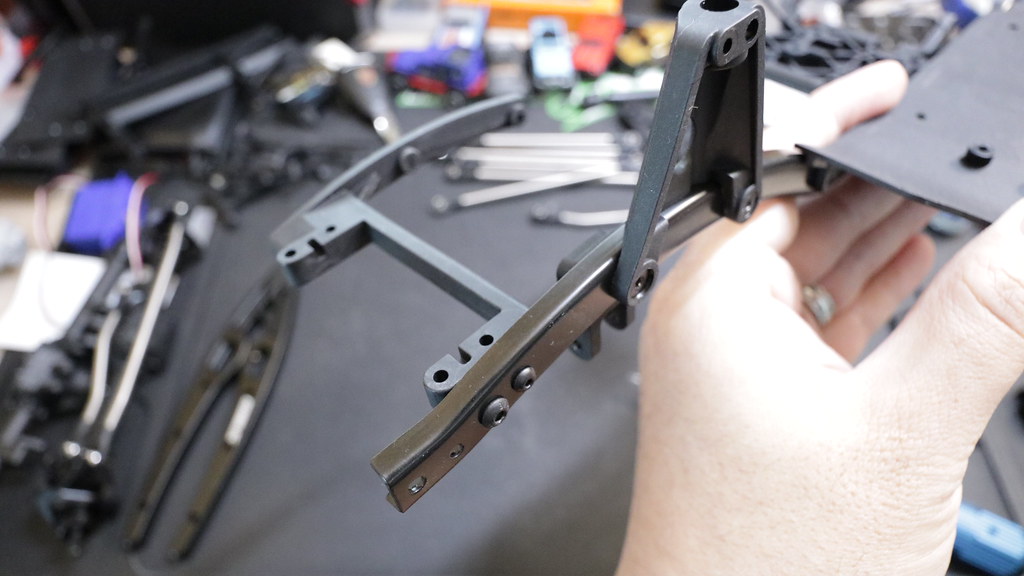 Step 40   Step 41   Step 42    Step 43   Step 44   Step 45   Step 46   Step 47   Step 48   Links and Chassis done! |
|
| |
|
04-01-2020, 10:15 PM
| #11 |
| I wanna be Dave Join Date: Aug 2016 Location: Orange County, CA
Posts: 3,643
|
Part 4 - Mounting up Axles, Drive-shafts and Shocks (Steps 49-62) It's getting exciting! Finally start seeing the kit come together. I always like this part where you start mounting up the axles. Step 49   Step 50   Step 51   Step 52   Step 53   Step 54 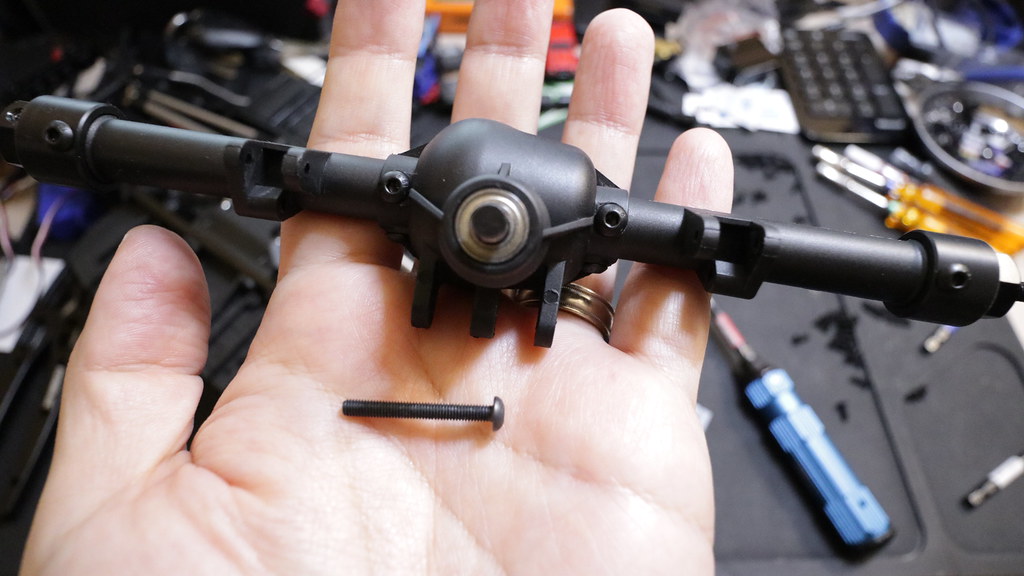 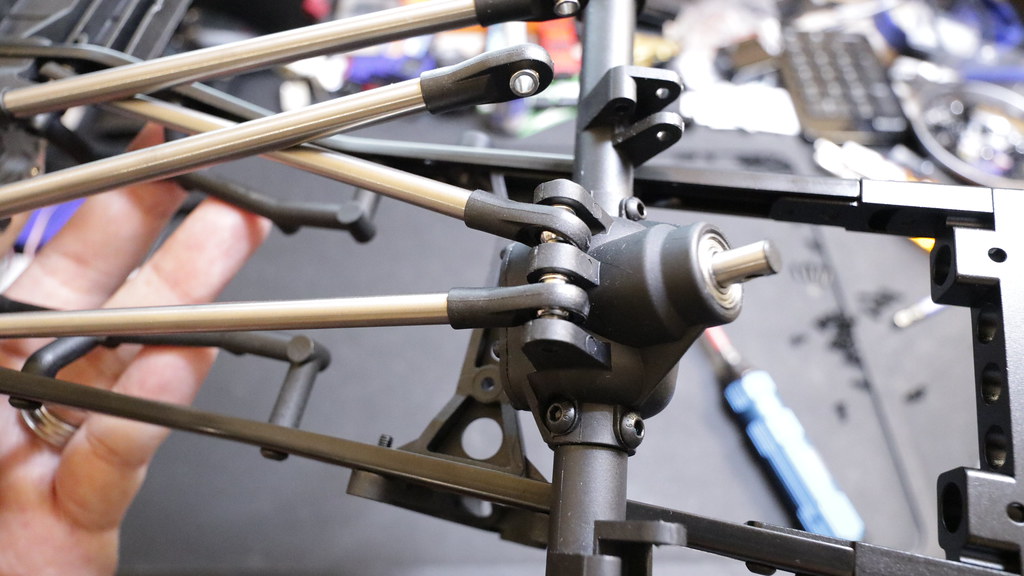 Step 55   You'll need the drive-shafts from bag M  Step 56 - Look at this beautiful drive-shaft.   Step 57  Step 58   Step 59    Step 60   Step 61   The shocks can be found in bag P  Step 62 - The shocks come pre-assembled, and you just need to add oil.  I took them apart and also added noleen grease      And that concludes this part of the build! Last edited by soze; 04-01-2020 at 10:25 PM. |
|
| |
|
04-01-2020, 11:53 PM
| #12 |
| I wanna be Dave Join Date: Aug 2016 Location: Orange County, CA
Posts: 3,643
|
Part 5 - Servo, Sliders, Battery Tray, Motor Cover (Steps 63-84) In this part we cover mounting the steering servo, adding slider plates, battery tray, and the scale V8 engine motor cover. This part covers steps 63-84. Step 63 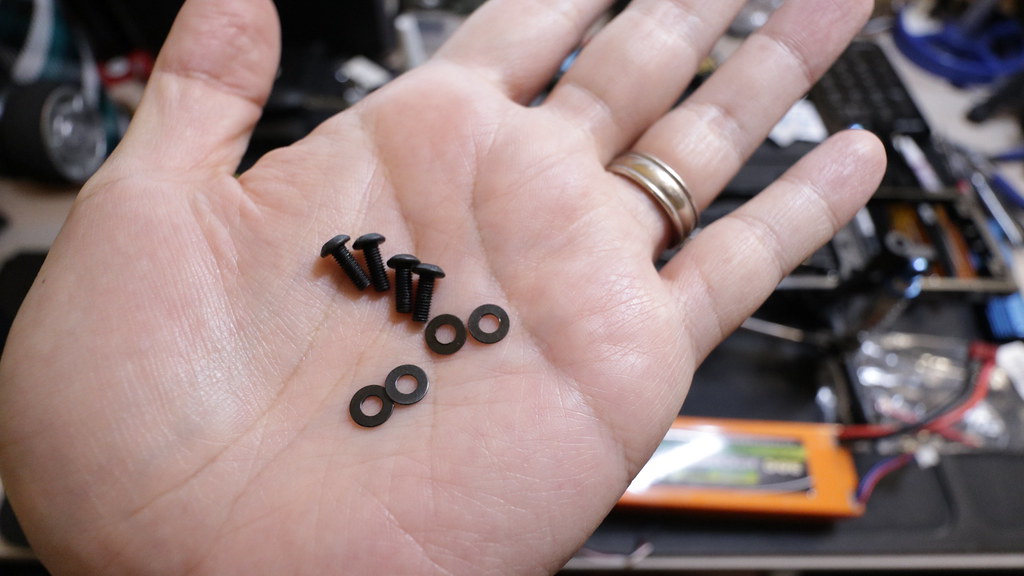 Trying out this "unbranded" servo that I purchased a while back. 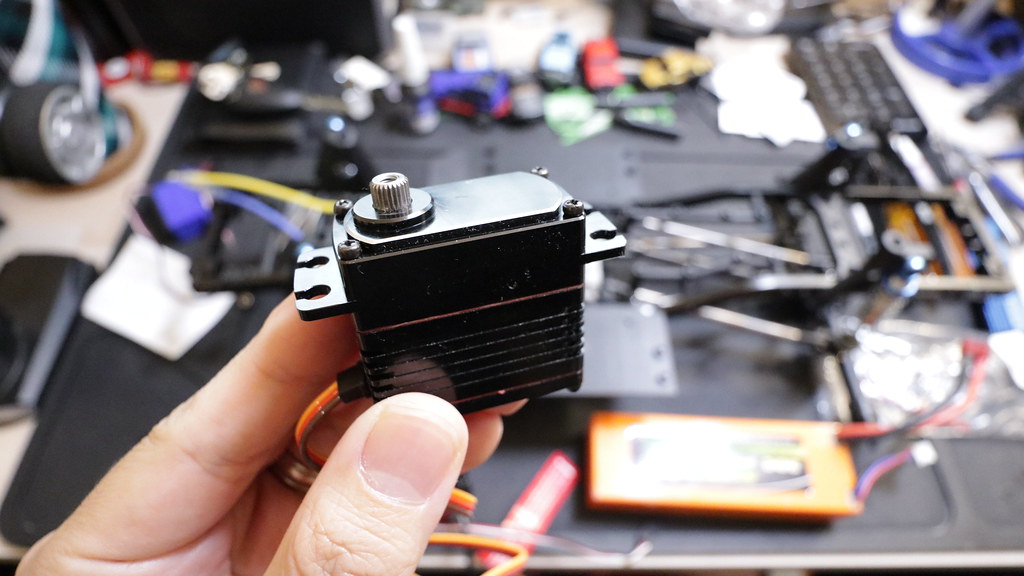 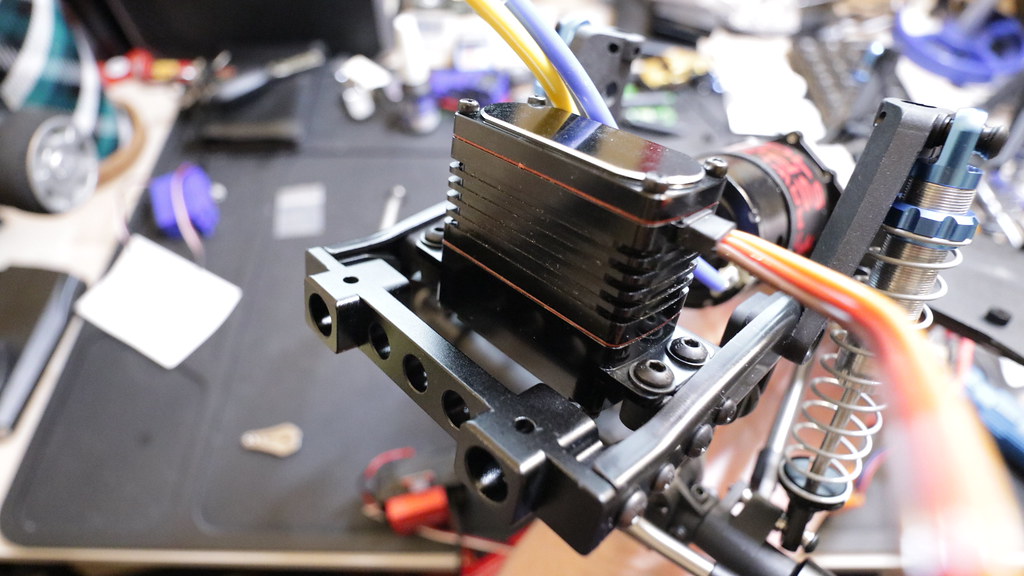 Step 64 - At the time I took these pictures I used a Boom Racing Servo low profile servo horn. I've since swapped it with the SSD one that I had on my GMADE BOM.   Step 65   Step 66  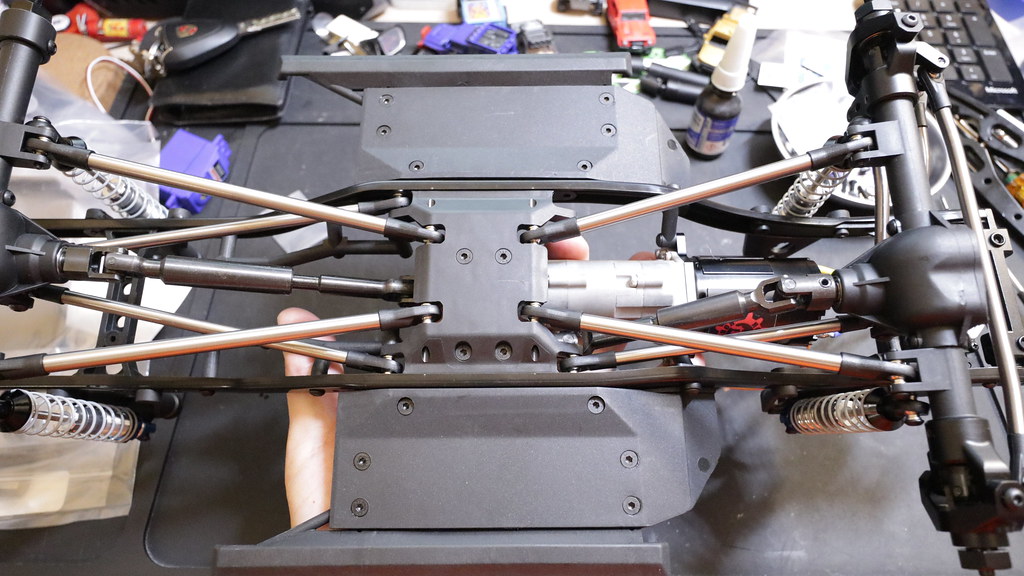 Step 67 - You'll need the battery strap from bag Q    Step 68  Ran into a slight issue here... luckily I was able to find an extra one in a later bag in the kit.   Step 69 - You'll need bag R. I was planning to paint the fuel cell, but got lazy. Maybe I'll do it some other time.     Step 70  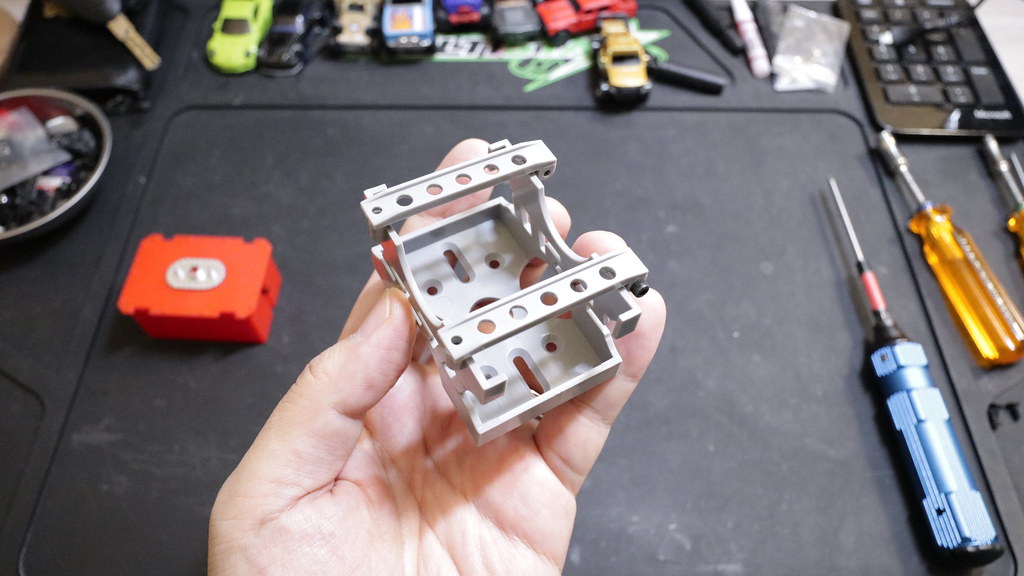 Step 71   Step 72   Step 73 - You'll need bag S. I just happened to not be too lazy to paint the motor cover.   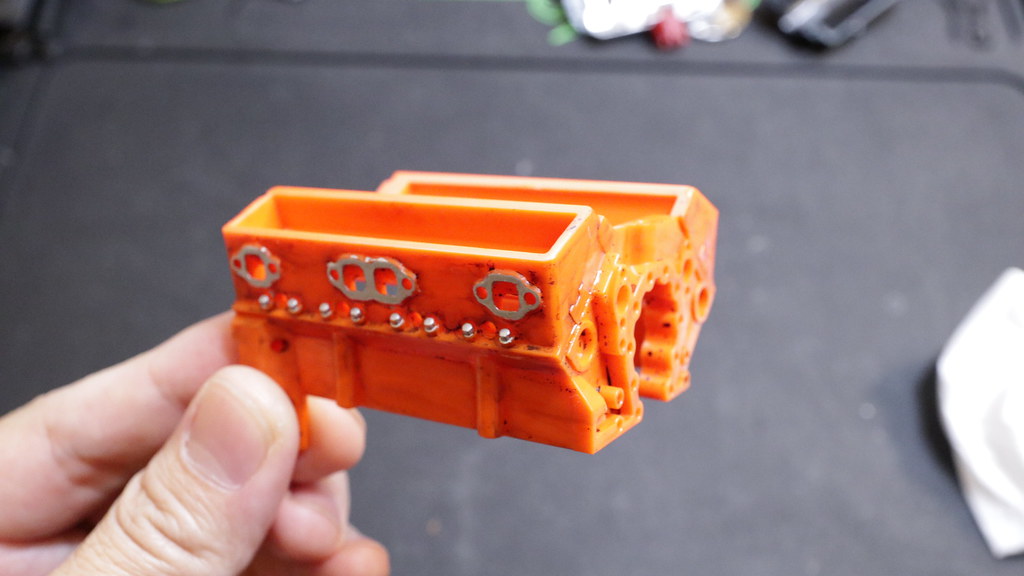  Step 74   Step 75    Step 76   Step 77   Step 78   Step 79   Step 80   Step 81 & 82   Step 83 & 84      This completes this part of the series, and completes the entire SSD Trail King kit in stock form as a slider. As far as the motor cover goes, I am not done detailing it yet. Still waiting for my 3D printer to arrive so I can get going on printing out some scale parts. |
|
| |
|
04-02-2020, 01:29 AM
| #13 |
| I wanna be Dave Join Date: Aug 2016 Location: Orange County, CA
Posts: 3,643
|
Part 6 - 3D printed Motor Spacer, SSD Wide Front Shock Hoops and Electronics Using the 3D printed spacers provided by SSD on Thingiverse 23mm and 15mm versions  Using the stock shock hoops will not allow you to add headers to the motor cover, and it just makes the motor cover a tight fit overall. So... I added the SSD Wide Front Shock hoops (find on eBay)  For electronics, I'm using the following (links to item on eBay) - Hobbywing 1080 ESC - Castle Creations 10A BEC - Gearhead RC RX Bypass Adapter - Flysky GT5 Radio - Flysky FS-BS6 Receiver   Here's how the 15mm spacer looks  Here's how the 23mm spacer looks  I decided on the 15mm spacer and the SSD Wide Shock hoops (find on eBay) give you plenty of room up there.   Can't use the oil-pan with the new motor cover position though, since it's extended out and no longer lines up. It's for the better though, I didn't want the motor fully encased in there trapping heat anyway. |
|
| |
|
04-02-2020, 01:44 AM
| #14 |
| I wanna be Dave Join Date: Aug 2016 Location: Orange County, CA
Posts: 3,643
|
Part 7 - Wheels, Tires and Foams So for this build, I wanted to go with something more simple as far as wheels go, and a real tire was a must. I picked up the following: (links to the items on eBay) - Pro-Line 1.9" BFGoodrich KM3 G8 - SSD RC Steel Beadlock Wheels - Crawler Innovations Lil Nova Comp Cut Medium Foams   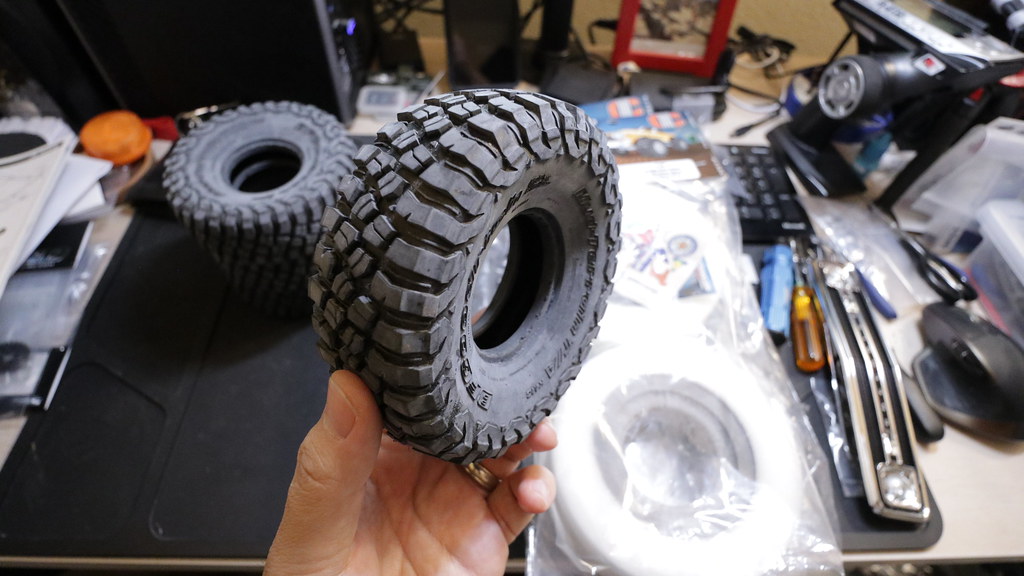    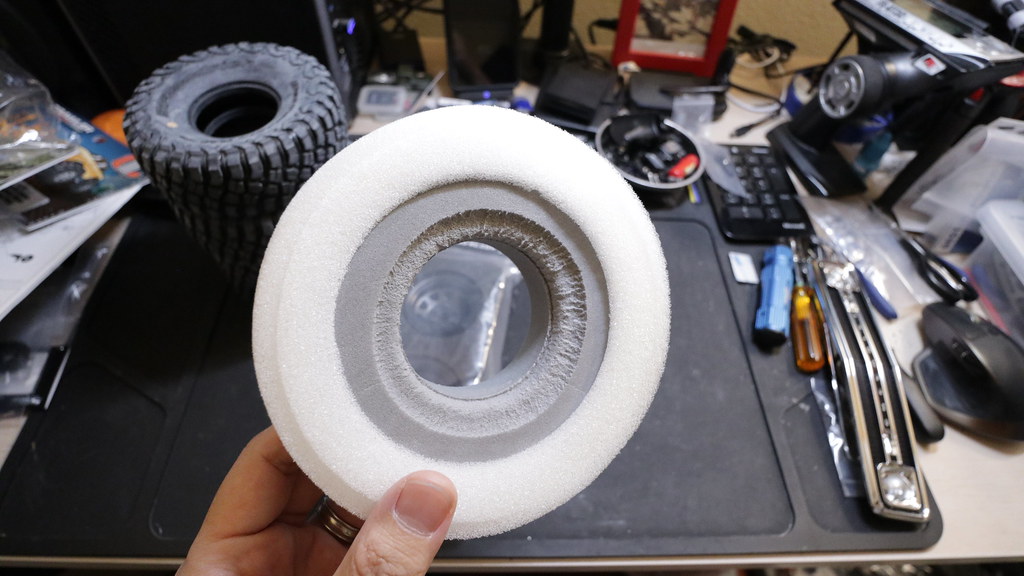 Foams inserted 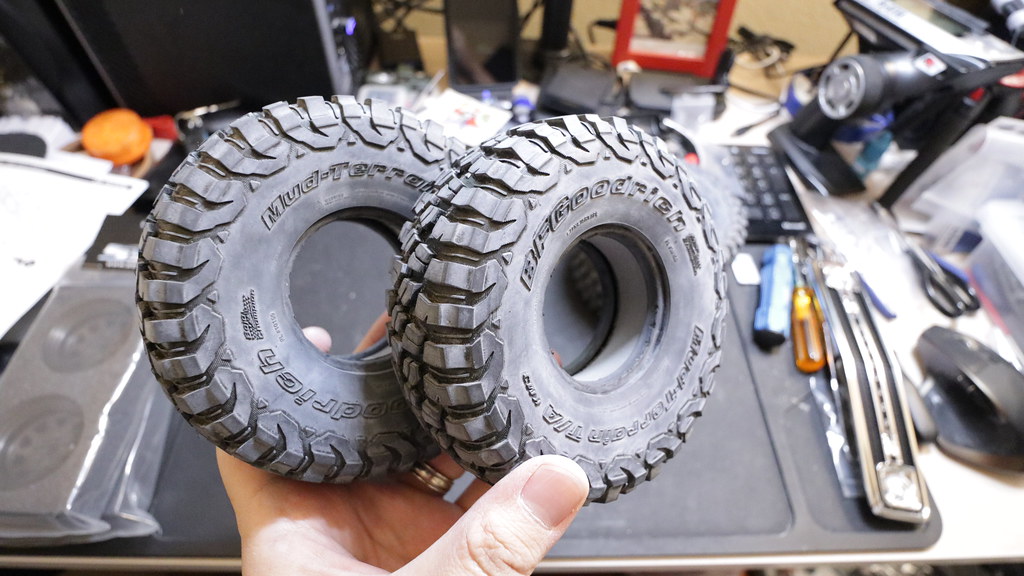 A look at the nice steel wheels     All mounted up!   I was surpised that the SSD Trail King didn't come with Wheel Nuts. Anyway, I had bought pack of some Axial serrated ones previously, and I had some left over to use.  The Trail King can now roll!    |
|
| |
|
04-02-2020, 09:09 AM
| #15 |
| I wanna be Dave Join Date: Jun 2016 Location: Austin
Posts: 6,013
|
Looking really good. Anxiously awaiting body and paint choices! |
|
| |
|
04-02-2020, 10:43 AM
| #16 |
| Pebble Pounder Join Date: May 2016 Location: East Indiana
Posts: 137
|
^^^ Me too!!! Lookin good soze!!
|
|
| |
|
04-02-2020, 01:38 PM
| #17 |
| Moderator   Join Date: Sep 2008 Location: PA
Posts: 13,935
|
It looks good. I don't remember seeing those wheels on any rig before. They look great. Reading over your thread makes me want to build this truck again. I had so much fun with it. I'll be curious to see what you think of that "Sfeer" servo. What are you wrapping your wires in? BTW lots of cool stuff on that desk, but the coolest thing is those Porsche keys! |
|
| |
|
04-02-2020, 02:00 PM
| #18 |
| I wanna be Dave Join Date: Aug 2016 Location: Orange County, CA
Posts: 3,643
|
Part 8 - Bumpers and Body Ever since I saw the motor cover on this kit, I decided it had to be a Chevy Blazer. I had originally decided to use the RC4WD Camo Chevy Blazer body that I have, until... I found out how short the wheelbase was. I still might use a RC4WD Chevy Blazer, but I don't want to hack up the camo version. It's probably better if I sell it and pick up an unpainted one to cut up and extend the bed for the correct wheelbase. So the other 2 options are the Traxxas Blazer, and the Axial Blazer. I ended up picking up both, but in the end I used the Axial Blazer body, because I wasn't ready to mess up a really expensive body set like the Traxxas one. The nice thing about the Axial set is that it comes with an interior and driver, so at least it'll look pretty decent. The only bummer about the Axial Blazer is that it's 300mm wheelbase. More on that later... I also decided to use the Axial Blazer hard-top addition as well. Here are the parts you'll need for the Axial Blazer setup. - Axial K5 Blazer Front Bumper - Axial K5 Blazer Rear Bumper - Axial K5 Blazer Body - Axial K5 Blazer Hard Top     I painted up the front-grille. I didn't check to see that decals were included for the grille, but nevertheless... painting it always looks better anyway.   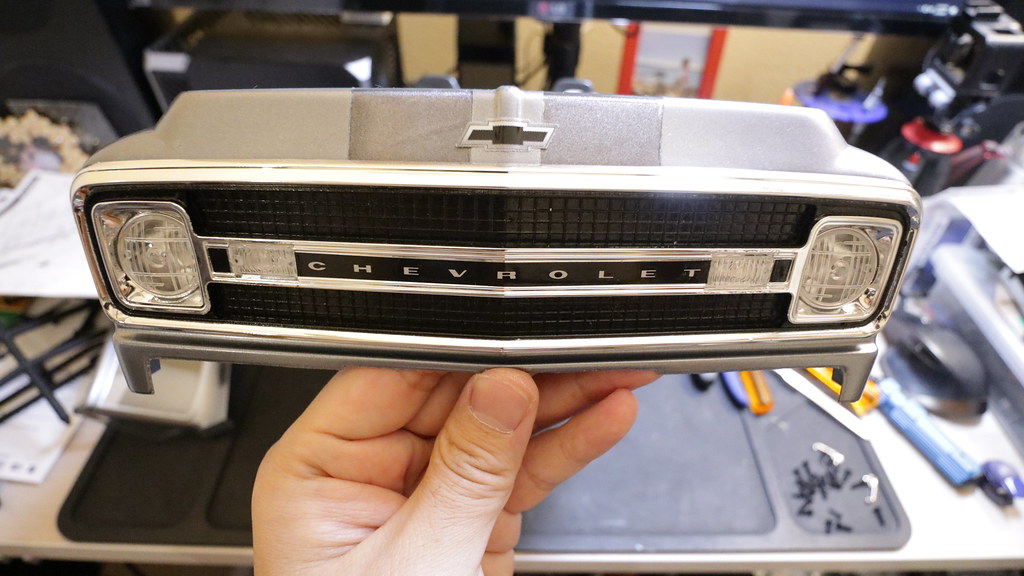 Painted up the driver's head   Started putting together the rear cage    The body is painted on the outside with Tamiya PS-63 Bright Gunmetal and then covered with PS-55 Flat Clear. The darker stripe is Tamiya PS-23 Gunmetal painted on the inside. Everything backed on the inside with PS-5 Black.  Here's a look at the Hard-Top. The rear hinged lid is a nice touch.   I think it came out ok. It'll be my scratch it up body, and I'll eventually pick up the RC4WD hard body.      Ok back to the 300mm wheelbase. The Trail King is 313mm Wheelbase, and I was reluctant to shorten it. I'm also using magnets to mount the body. So I lined up the rear wheel well to the rear wheels, and in the front, I had to trim it a little bit. It's not perfect, and we'll see how it goes... but I think it'll do for now.  You'll also notice that I left off the side mirrors. We all know what happens to those out on the rocks. Last edited by soze; 04-02-2020 at 02:12 PM. |
|
| |
|
04-03-2020, 08:34 AM
| #19 |
| Gold Star Baby! Join Date: Dec 2017 Location: Las Vegas
Posts: 2,554
|
Came out really nice! I dig it. The topper and hinge flap are pretty cool. Glad you were able to get the body to fit without having to change wheelbase and hack it up. Good call on ditching the mirrors. Mine broke off minutes into the first run and now I have a stub on one side and holes on the other. Regarding the rear Chevrolet decals, IMO itd be a little cleaner without the black one on top, just my .5 cents. Love the build |
|
| |
|
04-03-2020, 09:22 AM
| #20 |
| Moderator Join Date: Sep 2008 Location: PA
Posts: 13,935
|
That body is so awesome. Nicely done!
|
|
| |
|
 Soze's Past Due SSD Trail King Build Thread - Similar Threads
 | ||||
| Thread | Thread Starter | Forum | Replies | Last Post |
| My Take on the SSD Trail King | neilus | SSD Trail King - Pro Scale Chassis Builder Kit | 48 | 03-24-2020 03:09 PM |
| TRX4 vs SSD Trail King - Help me decide! | Bob_in az | General Crawlers | 19 | 02-26-2020 04:23 PM |
| SSD Trail King is now $369.99! | SSD | New Products and Great Deals | 0 | 10-04-2019 03:13 PM |
| SSD Trail King | Toothless9 | General Crawlers | 2 | 09-03-2019 05:57 PM |
| |


 Linear Mode


