| |
 04-20-2007, 05:28 PM
| #101 | |
| RCC Addict Join Date: Sep 2005 Location: Tempe, AZ
Posts: 1,262
| Quote:
| |

|  |
| Sponsored Links | |
| | |
|
04-20-2007, 08:54 PM
| #102 |
| 20K Club   Join Date: Jul 2004 Location: Sending illegals home one Hayabusa at a time.
Posts: 22,981
|
I don't think you need to glue it, just use a sharpie and trace it. Or you can tape it on and use a spray can to mark it. I like using the spray can so you can see exactly what you need to get rid of. You'll do better the second time. It always gets better. |
|
| |
|
04-20-2007, 10:26 PM
| #103 | ||
| RCC Addict Join Date: Aug 2006 Location: ****, SL,UT
Posts: 1,610
| Quote:
Quote:
| ||
|
| |
|
04-20-2007, 11:23 PM
| #104 |
| Quarry Creeper Join Date: Apr 2007 Location: Harrisville, UT
Posts: 321
|  Sweet design! I'm pretty new to crawling and its nice to see the different ideas that everyone has, speaking of which, I went a little different route then you guys, i hope the pics explain what I did, try to keep in mind that the plate was made with a dremel, 2 lb sledge, and a block of wood. but it seems pretty sturdy and works decently enough. Sweet design! I'm pretty new to crawling and its nice to see the different ideas that everyone has, speaking of which, I went a little different route then you guys, i hope the pics explain what I did, try to keep in mind that the plate was made with a dremel, 2 lb sledge, and a block of wood. but it seems pretty sturdy and works decently enough.
|
|
| |
|
04-21-2007, 12:28 PM
| #105 |
| Newbie Join Date: Apr 2007 Location: Sand Springs,OK
Posts: 30
|
my final product did a little mods to it  |
|
| |
|
04-21-2007, 12:34 PM
| #106 |
| 20K Club Join Date: Jul 2004 Location: Sending illegals home one Hayabusa at a time.
Posts: 22,981
|
DAAAMMNN! THat looks great man, looks like you hit up the polishing wheel too. Cutting that 4th hole off will have probably have very little effect on it, but removing the mount on the opposite side add some flex. Although you did make yours out of some thick chit. Great job, you make it look easy. Josh |
|
| |
|
04-21-2007, 12:41 PM
| #107 |
| Newbie Join Date: Apr 2007 Location: Sand Springs,OK
Posts: 30
|
thanks, yeah the polishing wheel grabed it out of my hand and threw it across the shop so it has some little dings on it:-( but no biggie and i got 6 more if it dont work
|
|
| |
|
04-21-2007, 07:07 PM
| #108 |
| Quarry Creeper Join Date: Mar 2007 Location: AZ
Posts: 229
|
I have a couple pieces of aluminum, one 1/8" piece and a 3/64". What would be the best to use for the servo mount? I plan on cutting it out using a dremel with a cutoff wheel. Any other ideas to cut it out that doesn't involve a machine shop? 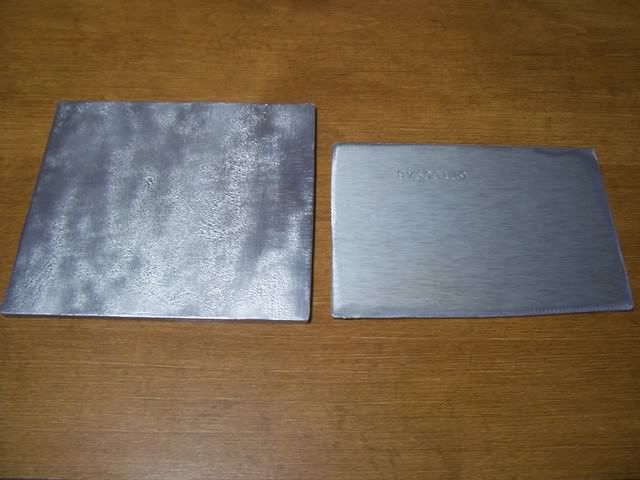 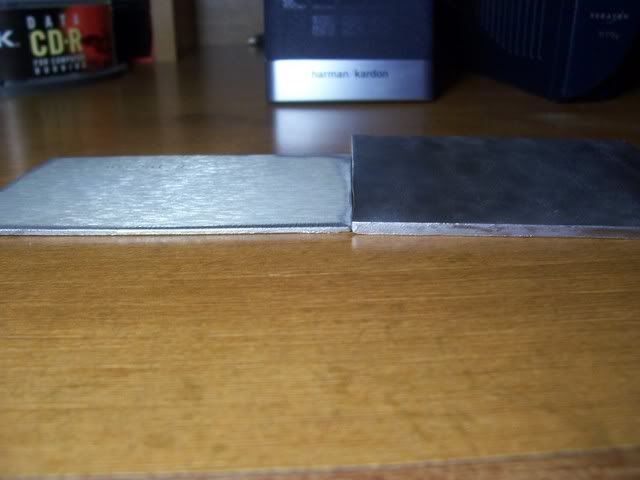 |
|
| |
|
04-21-2007, 07:44 PM
| #109 |
| Newbie Join Date: Apr 2007 Location: Sand Springs,OK
Posts: 30
|
i went with 1/8 any thiner than that i think is kinda pushing it
|
|
| |
|
04-21-2007, 08:07 PM
| #110 |
| Quarry Creeper Join Date: Mar 2007 Location: AZ
Posts: 229
|
Thanks, i'll go with the 1/8" Hope the dremel can handle it...
|
|
| |
|
04-21-2007, 08:12 PM
| #111 |
| Newbie Join Date: Apr 2007 Location: Sand Springs,OK
Posts: 30
|
it will, if i didn't work where i do i would have to use one, but i still use one |
|
| |
|
04-22-2007, 02:49 PM
| #112 |
| Quarry Creeper Join Date: Mar 2007 Location: AZ
Posts: 229
|
Ok, Here we go, just finished it a couple minutes age, it took about 2 hours, but was worth it. It seems like it turned out ok. That servo mount template is great! Here are the pics, I'm just doing a mock up till i get the screws i need and also the steering linkage. 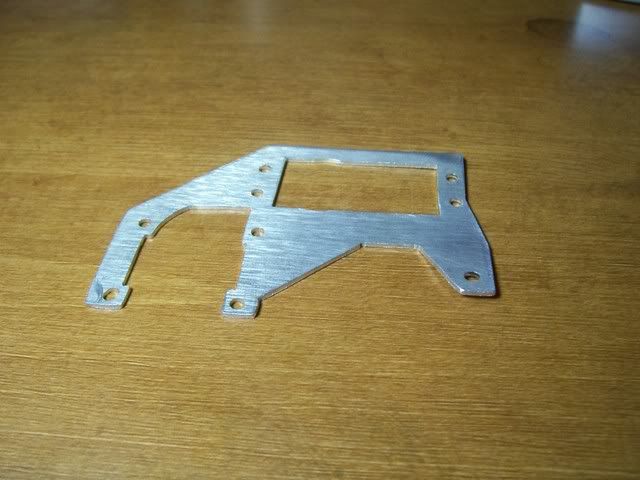 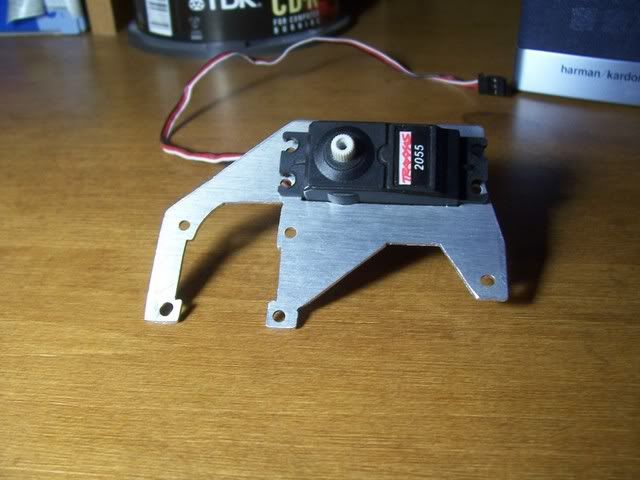 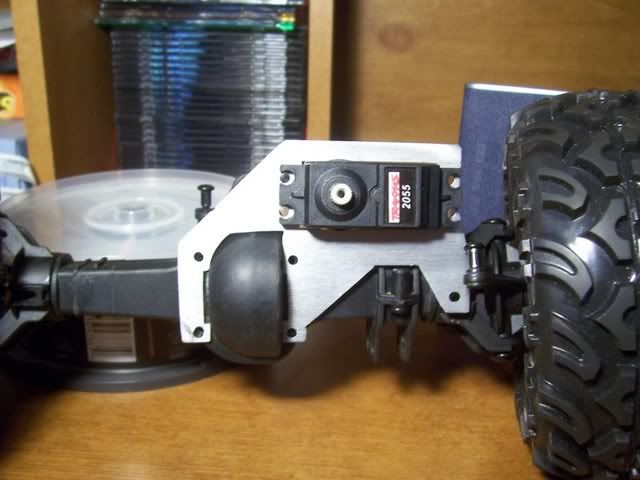 |
|
| |
|
04-22-2007, 03:14 PM
| #113 |
| Newbie Join Date: Apr 2007 Location: Sand Springs,OK
Posts: 30
|
that looks really good, good job |
|
| |
|
04-22-2007, 06:51 PM
| #114 |
| 20K Club Join Date: Jul 2004 Location: Sending illegals home one Hayabusa at a time.
Posts: 22,981
|
Looks like you did a fantastic job. Thanks for the complements on the template. I am actually happy with how many people have asked for it, makes it feel like I didn't waste my time. Mine didn't end up getting cut the other day, but I was told maybe monday. I'm not complaining becuase they are free.
|
|
| |
|
04-22-2007, 09:28 PM
| #115 |
| RCC Addict Join Date: Sep 2005 Location: Tempe, AZ
Posts: 1,262
|
I cut another one and yes the new template works great I will post pics soon. Also found a great place for the battery mount. |
|
| |
|
05-01-2007, 09:35 PM
| #117 | |
| 20K Club Join Date: Jul 2004 Location: Sending illegals home one Hayabusa at a time.
Posts: 22,981
| Quote:
Clark, thanks for starting this thread too. It has actually helped me with quite a few things. Thanks again to everyone for the interest and the input for this servo mount. Now everyone that used it please send me $10 ahahahah total joke. Some of you guys really made some great looking pieces. I have also seen a couple modified versions of it as well which looked great. ^^^^^Sounds like a friggin Grammy speach Peace out Josh | |
|
| |
|
05-01-2007, 09:37 PM
| #118 |
| 20K Club Join Date: Jul 2004 Location: Sending illegals home one Hayabusa at a time.
Posts: 22,981
|
Sticky worthy?
|
|
| |
|
05-01-2007, 09:41 PM
| #119 |
| Quarry Creeper Join Date: Mar 2007 Location: AZ
Posts: 229
|
I think it should be. It's a great thread and a great template.
|
|
| |
|
05-01-2007, 09:47 PM
| #120 |
| RCC Addict Join Date: Sep 2005 Location: Tempe, AZ
Posts: 1,262
| Pictures as promised. You can also see the battery mount on the right for a 8 cell 2/3a pack. |
|
| |
 |
| |


 Linear Mode


