| |
 03-09-2009, 09:29 PM
| #81 |
| RCC Addict  Join Date: Aug 2005 Location: New Oxford PA
Posts: 1,290
|
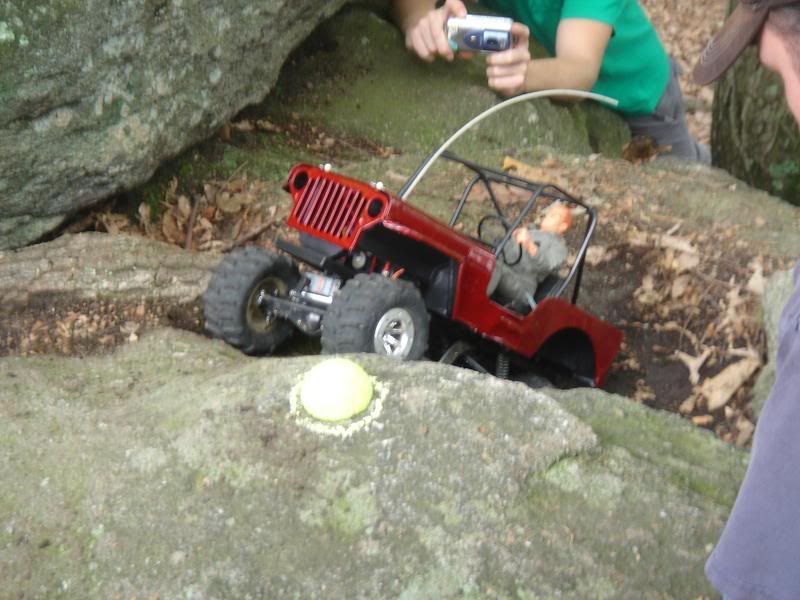
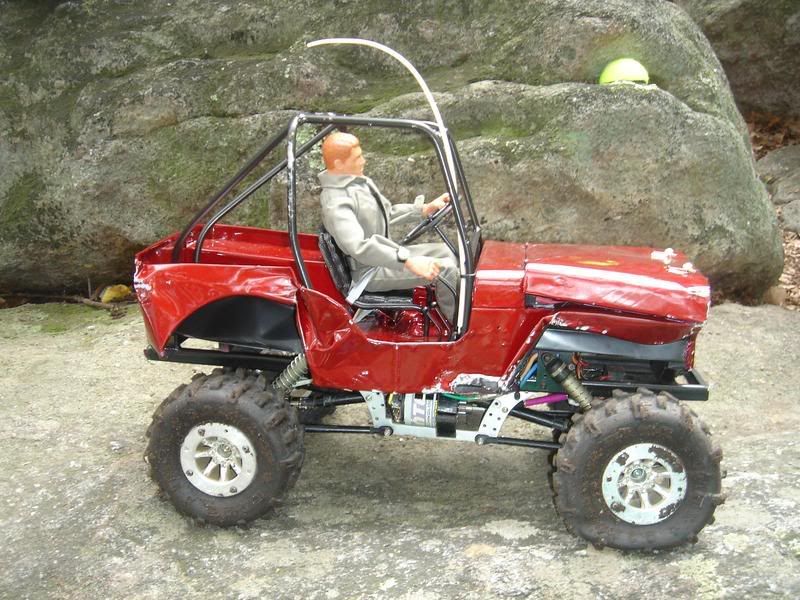
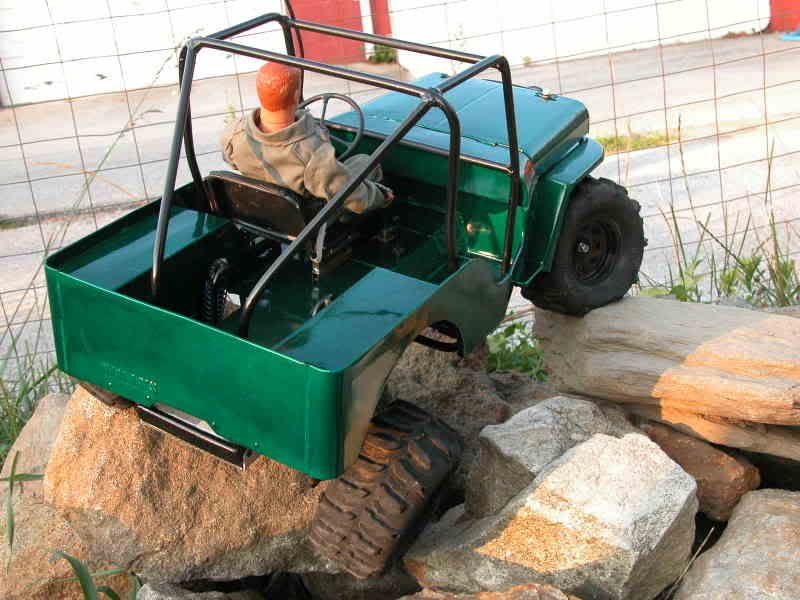
Thanks for all the positive feed back folks. Sorry I haven't been keeping up with updates, I've been real busy with other stuff. So here is a little update. Last fall I took Joe out with a friend of mine for some playing after a comp and Joe was gracious enough to let my buddy drive. Well my buddy seems to have the same driving style as Joe because he really put a hurting on the old Jeep. I'll let the pics do the talking  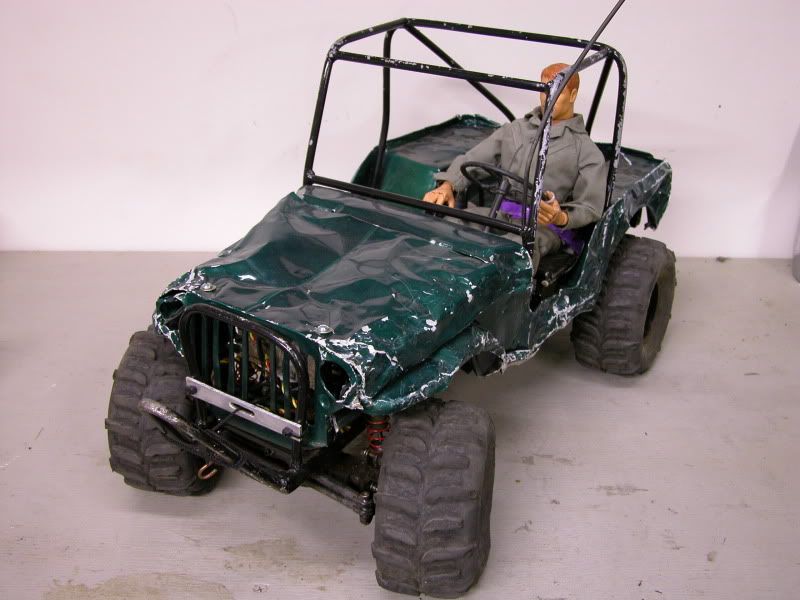 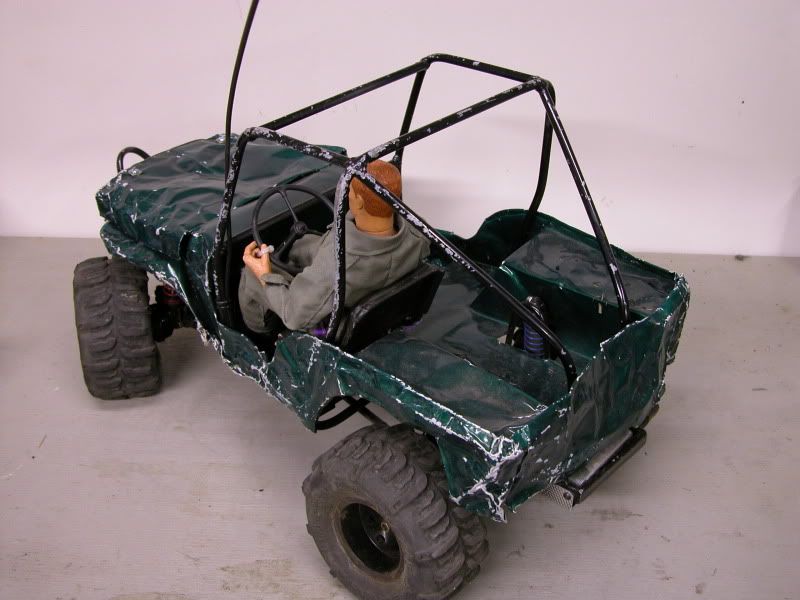 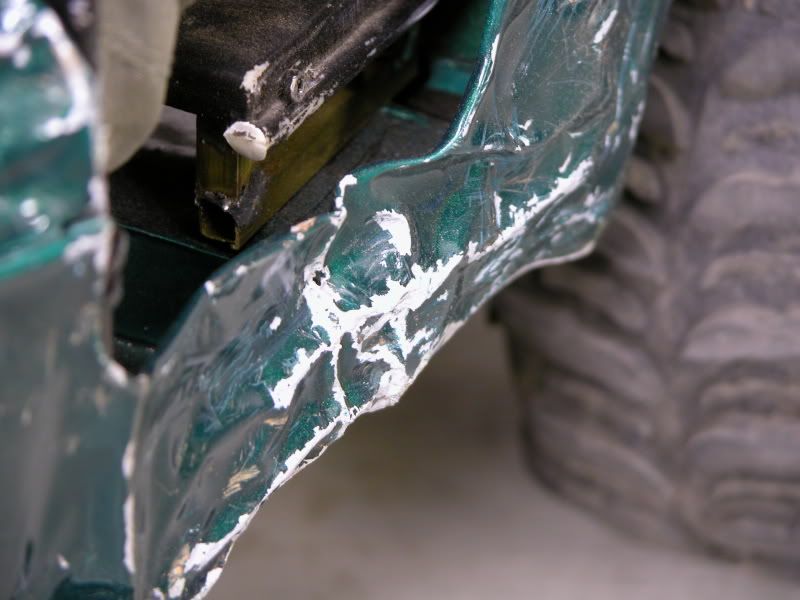 The Jeep took a heavy hit on the cowl 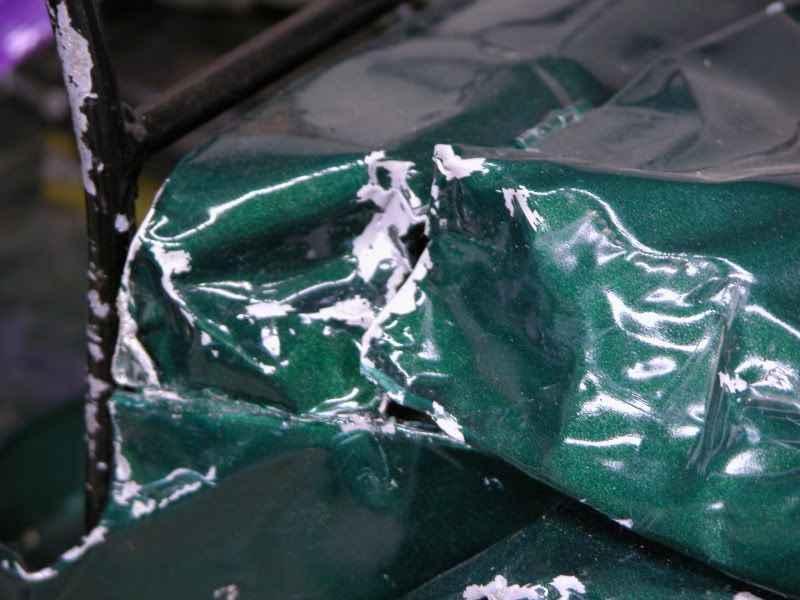 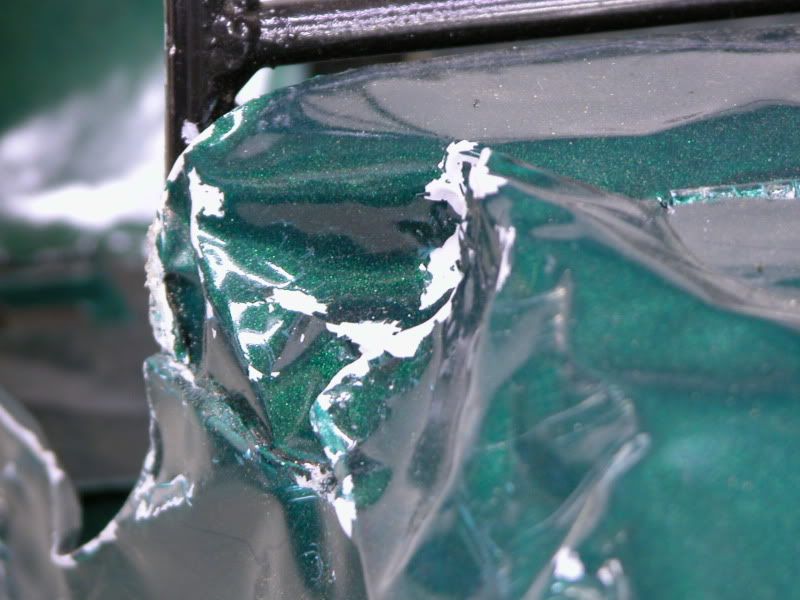 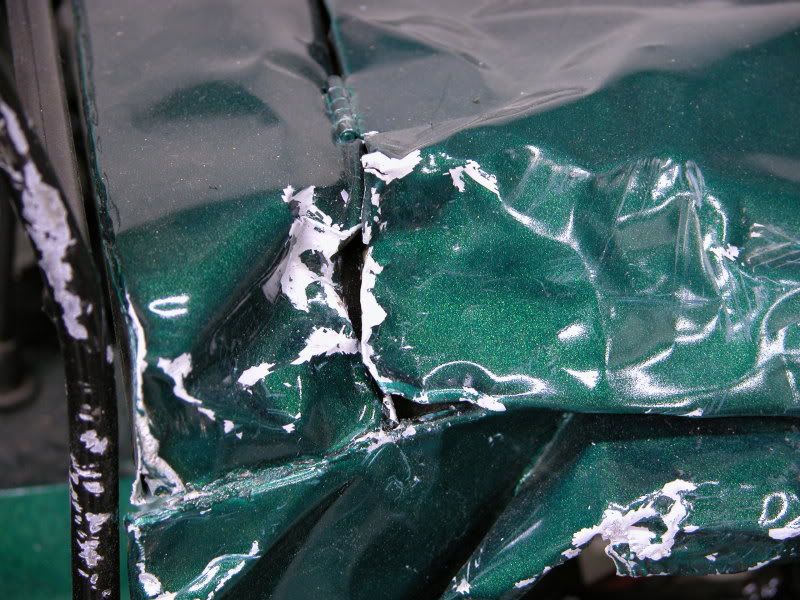 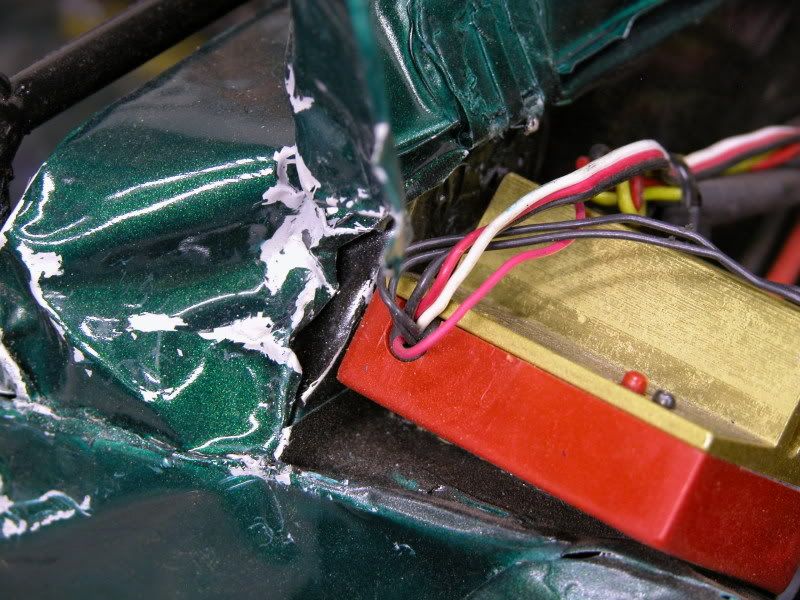 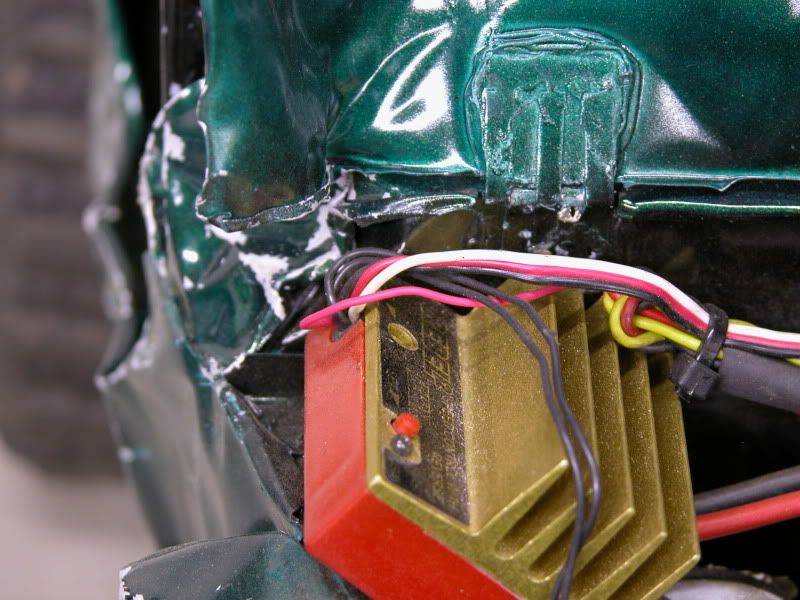 But we managed to beat it out pretty good 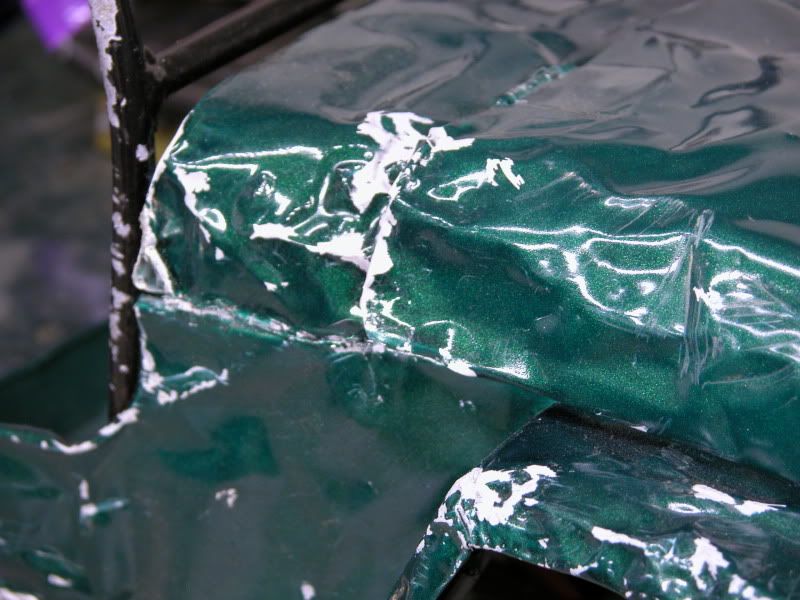 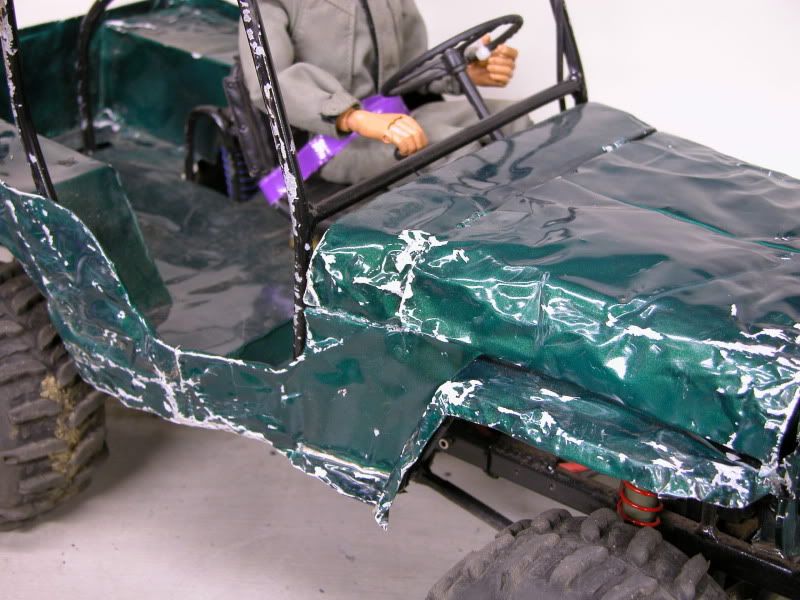 Ready for some more wheelin!  |

|  |
| Sponsored Links | |
| | |
|
03-09-2009, 09:41 PM
| #82 |
| Pebble Pounder Join Date: Feb 2006 Location: Carlisle, Pa
Posts: 115
|
It didn't look that good on Sunday. You need some current shots. |
|
| |
|
03-10-2009, 03:36 PM
| #83 | |
| I joined the Band! Join Date: May 2006 Location: Between a rock and a hard spot!
Posts: 1,786
|
It took some time to build it as you did and to realy make it scale you sent it to the rocks> I Love it. Maybe some body armor after you get some of the kincks out, would be cool. Quote:
| |
|
| |
|
03-10-2009, 07:54 PM
| #84 | ||
| RCC Addict Join Date: Aug 2005 Location: New Oxford PA
Posts: 1,290
| Quote:
Quote:
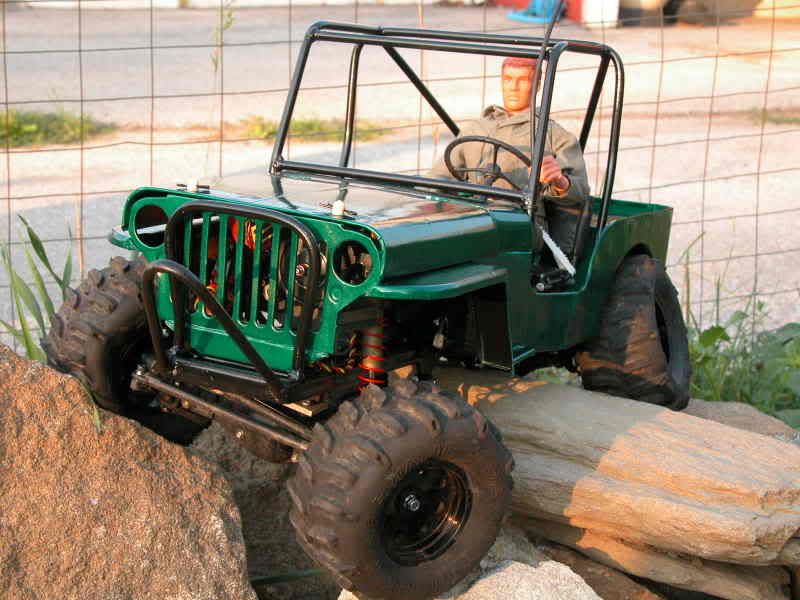
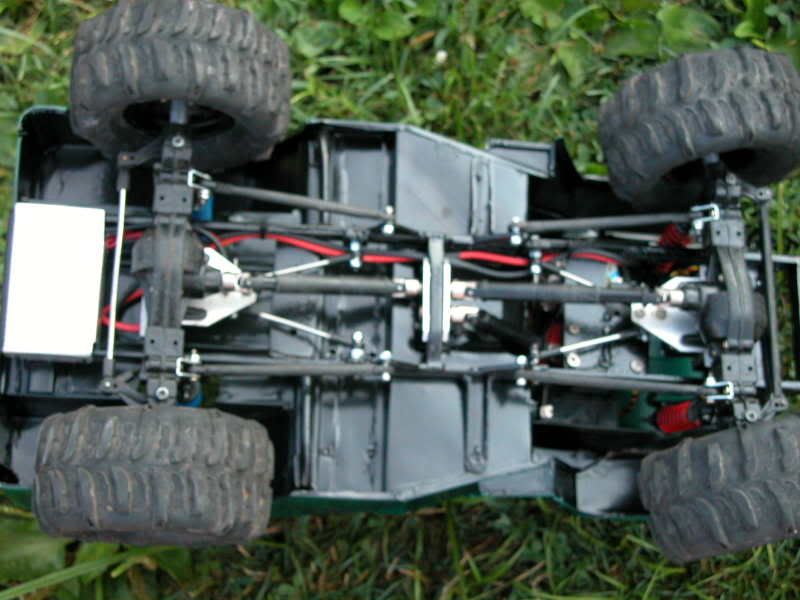
Well This past weekend a bunch of the club member got together for a little wheelin and Joe was in a rare mood and took it out on the truck 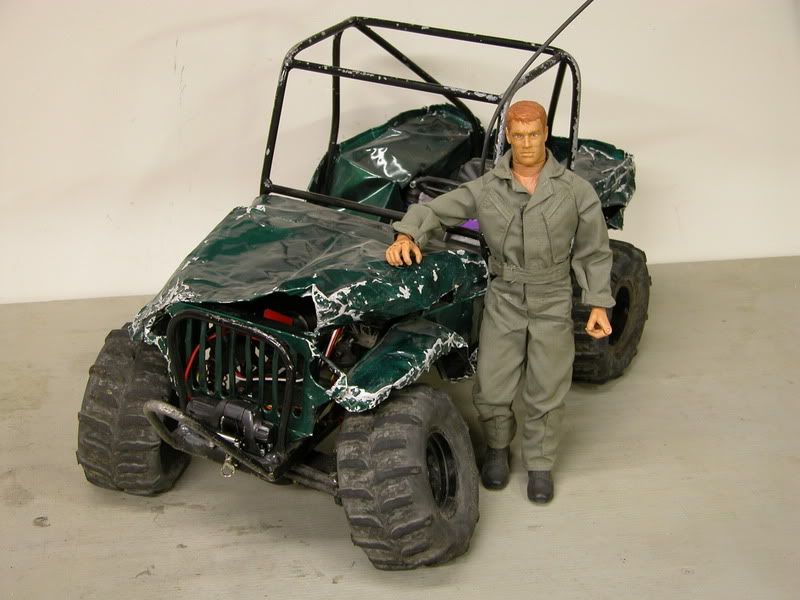 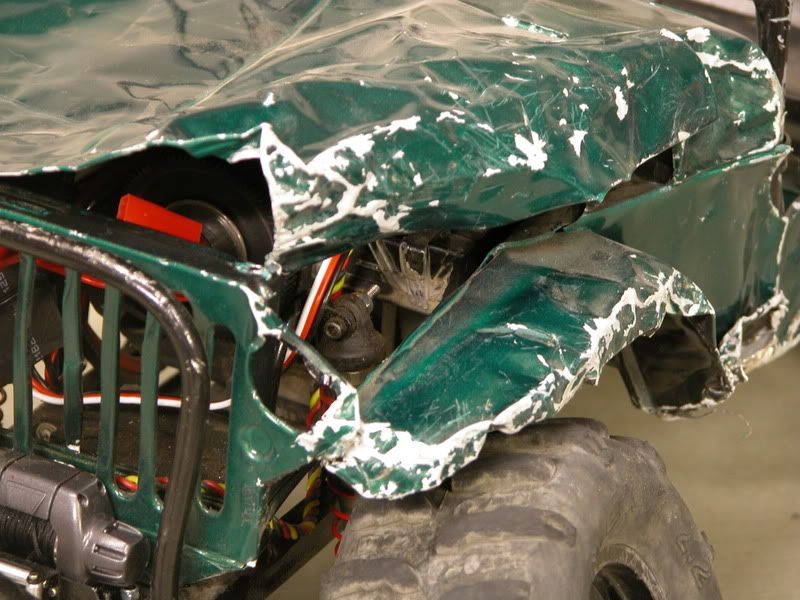 He took a nasty tumble off a rock right onto the rear 1/4 and caved it in good 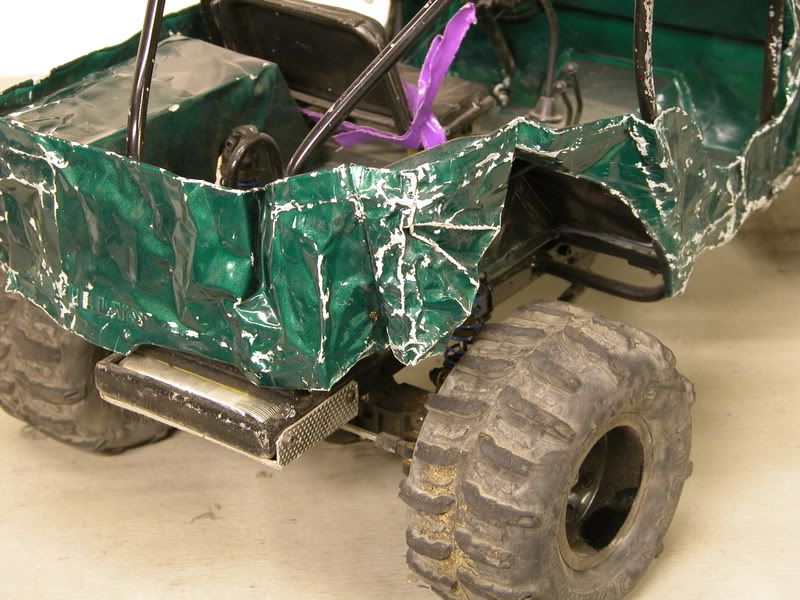 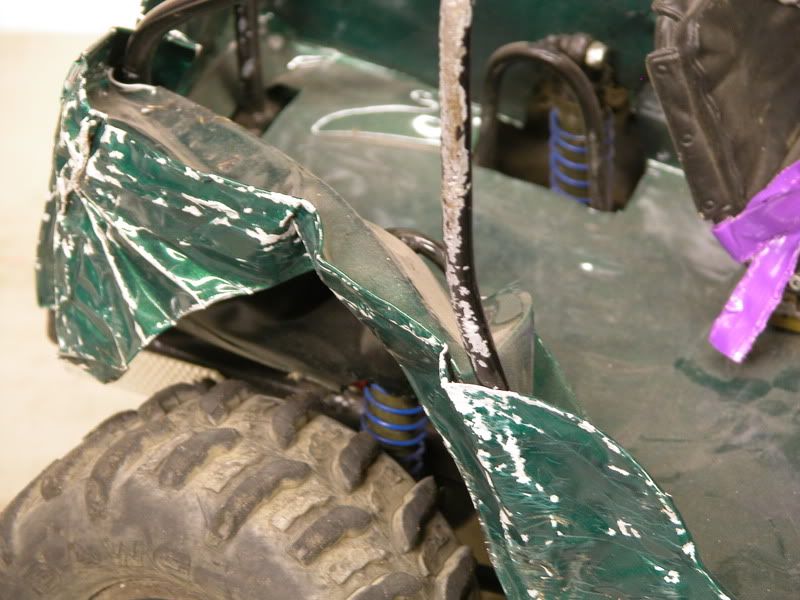 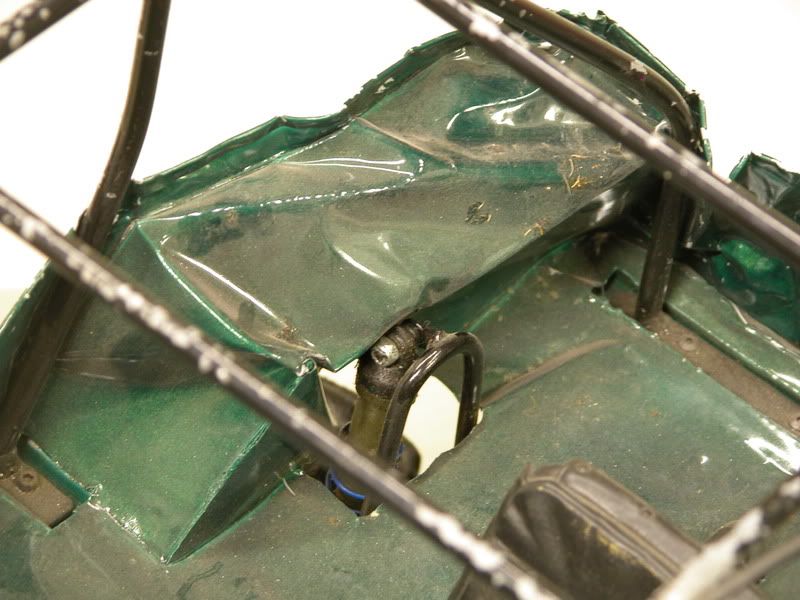 I must admit that after almost 2 years of pounding the bone stock TLT axles, he finally broke one. 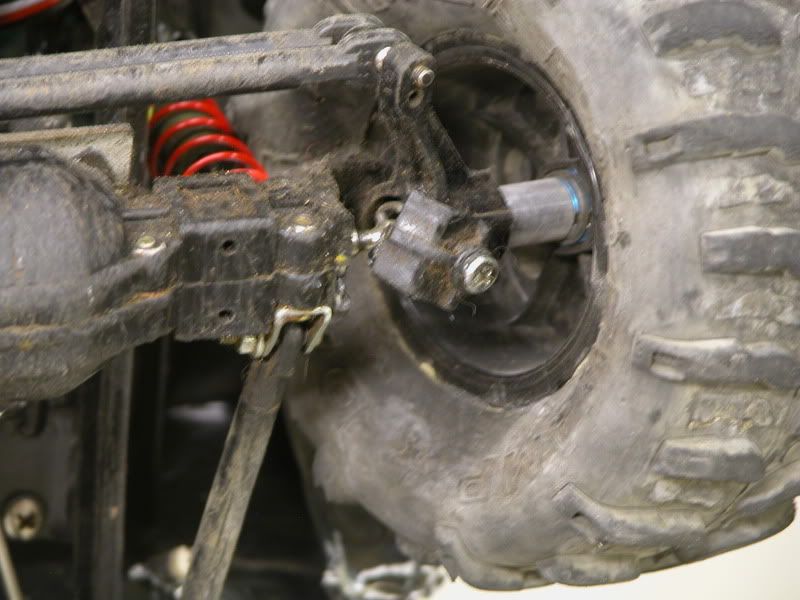 It's just the C and should take no time to repair A quick check under the hood revealed all was well 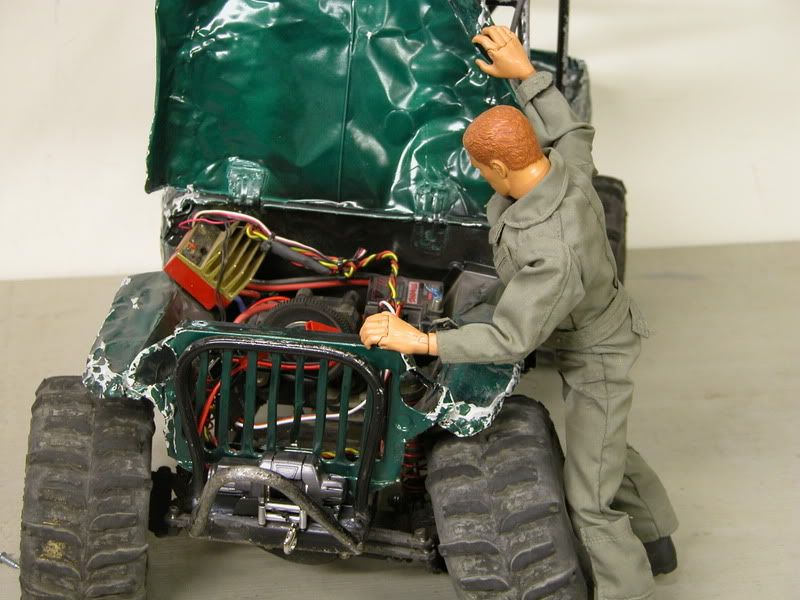 And I forgot to mention Joe purchased a new winch before the last run which came in really handy when he snapped the axle 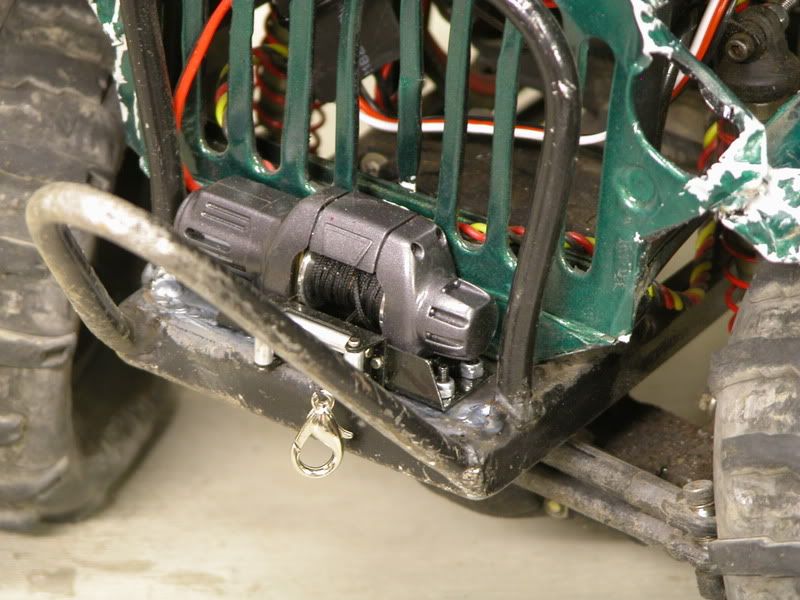 Well after some body massaging Joe dug into the front axle to check out the damage 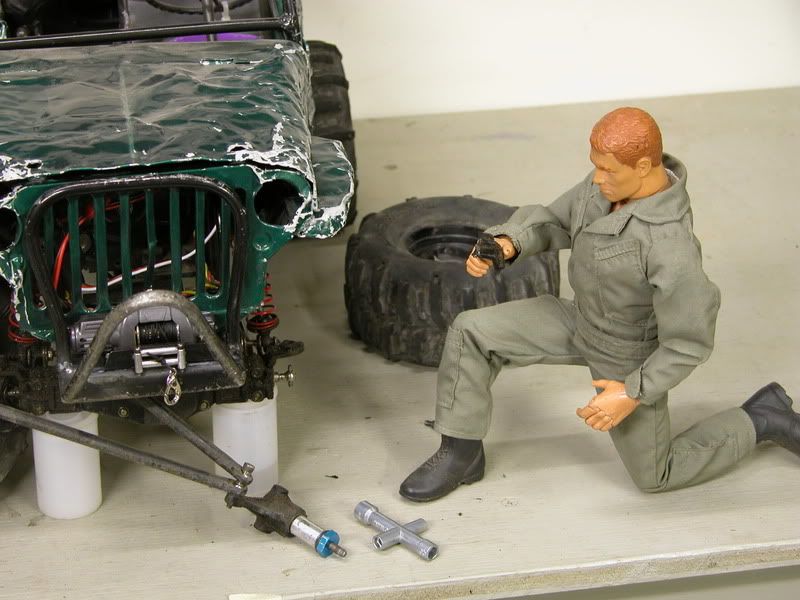 Yep Joe I think it's broke The axle will need to wait for now but Joe mentioned he wanted to go to a scale comp this weekend being held by my club so we figured it was time for some details to gain negative points since he'll probably max himself out on the course the first item up was lights I needed a bucket to hold the LED's and scrounging around found some old blackfoot buckets that seemed to fit the opening 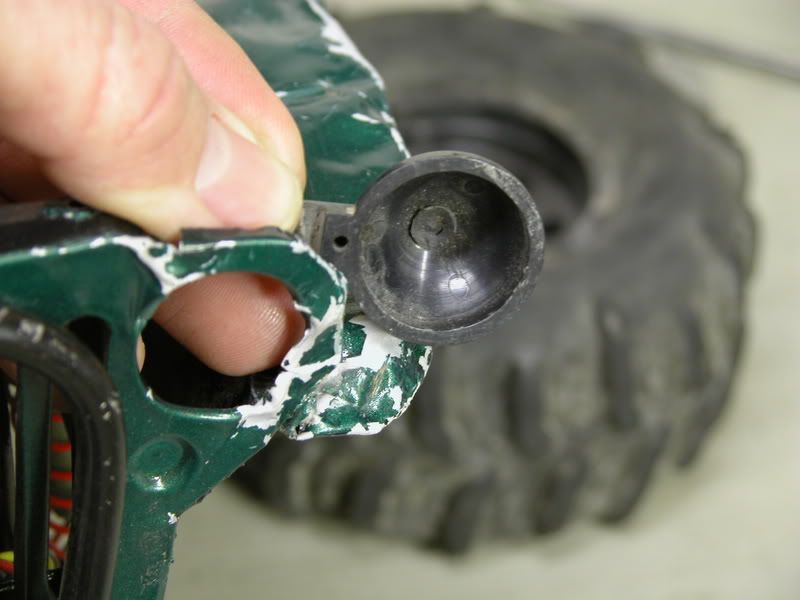 They would work but I didn't like the idea of the heavy plastic, so after a bit of experimenting I came up with a better solution. I started with a flat sheet 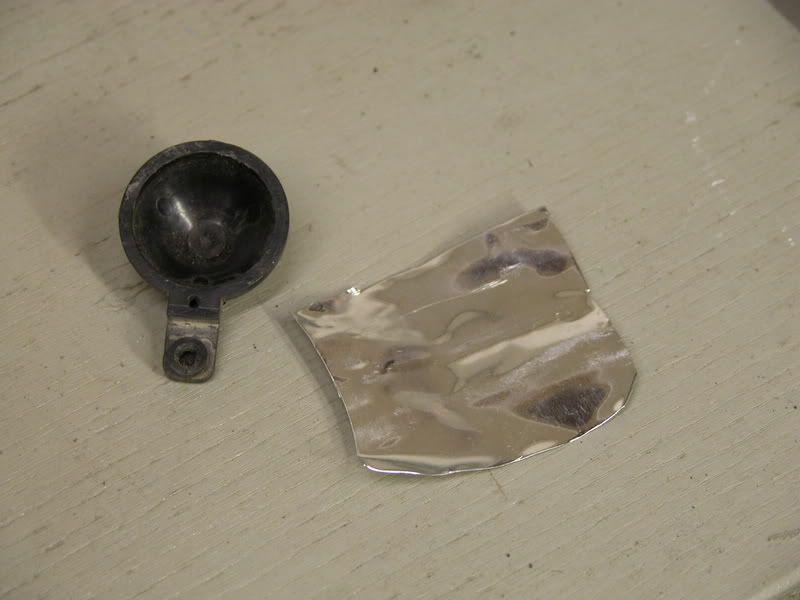 Then, using my finger nails, stretched the metal into a rough bucket shape 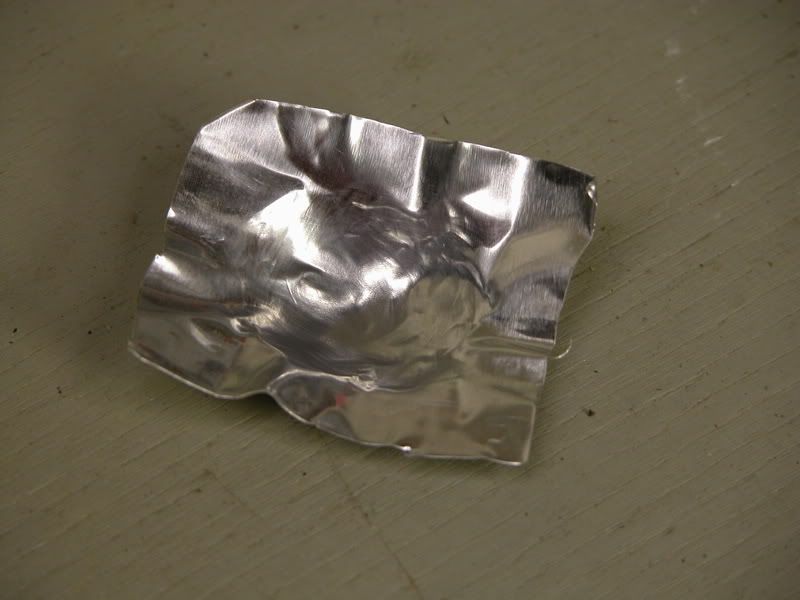 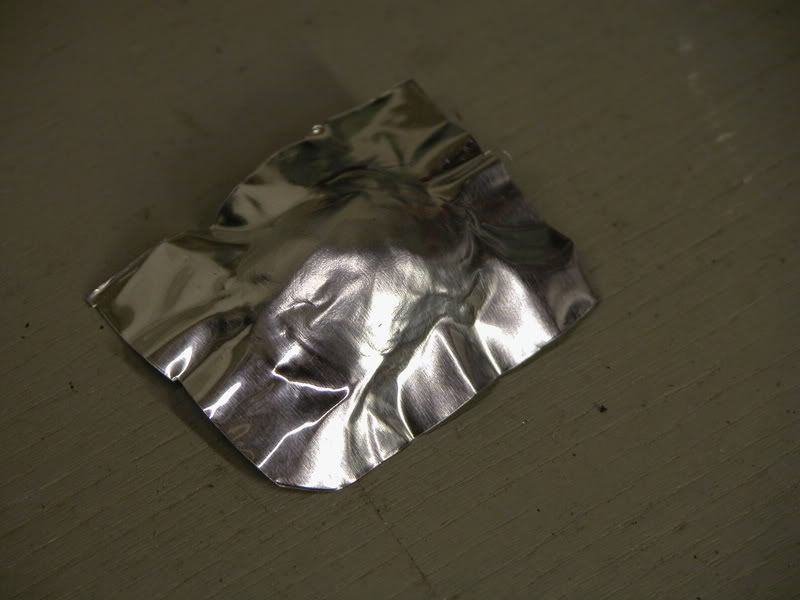 Then i forced it into the light bucket 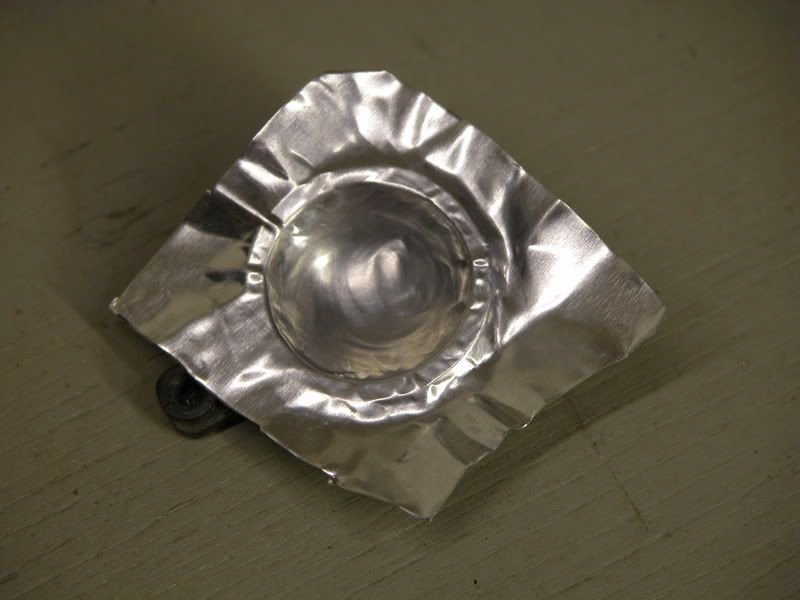 Then to get the final smooth shape, I forced the butt end of a screw driver into the housing   Finally I smoothed and trimmed the edge. Now I have a perfectly round light bucket...  Or moon style hubcap!  Now to make it a light I first punch a small hole in the middle  Then force an LED from the front through to make a place for the light 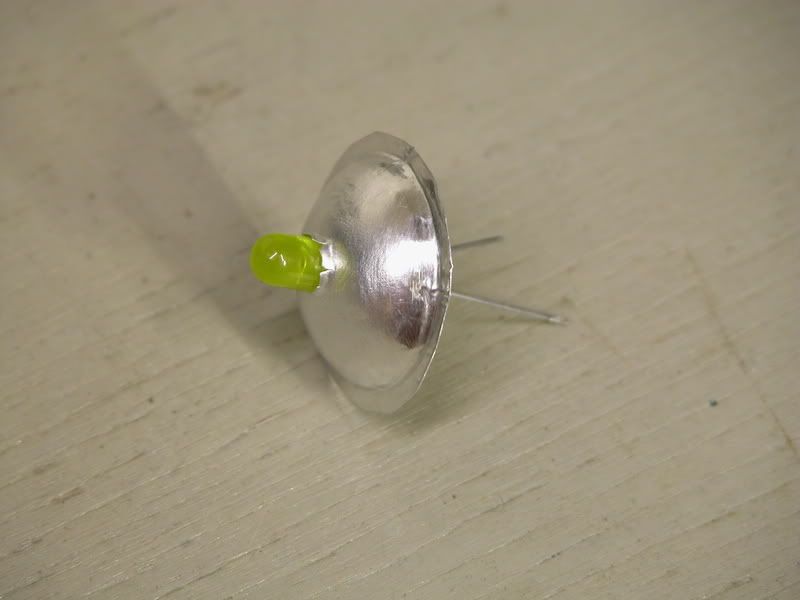 LOL! looks like an alien spacecraft! anyways here it is with the light in place 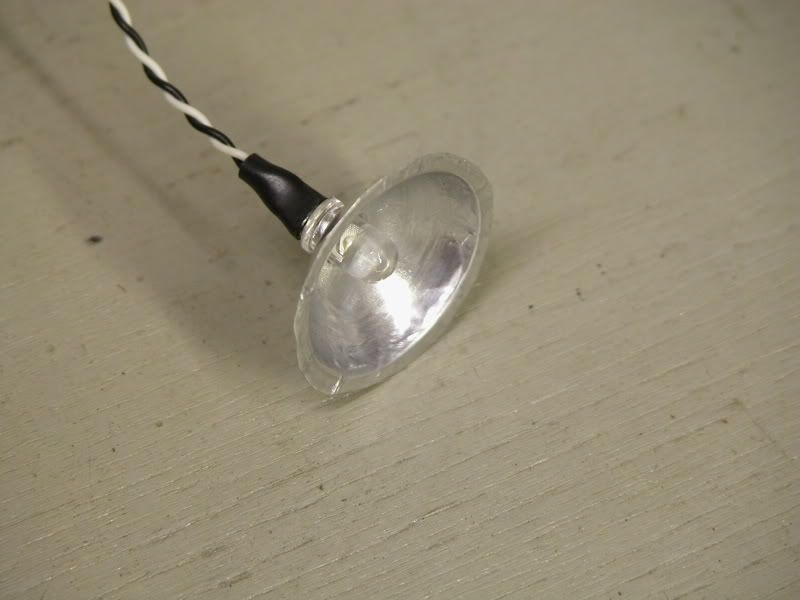 and the lens cut out of thin plastic 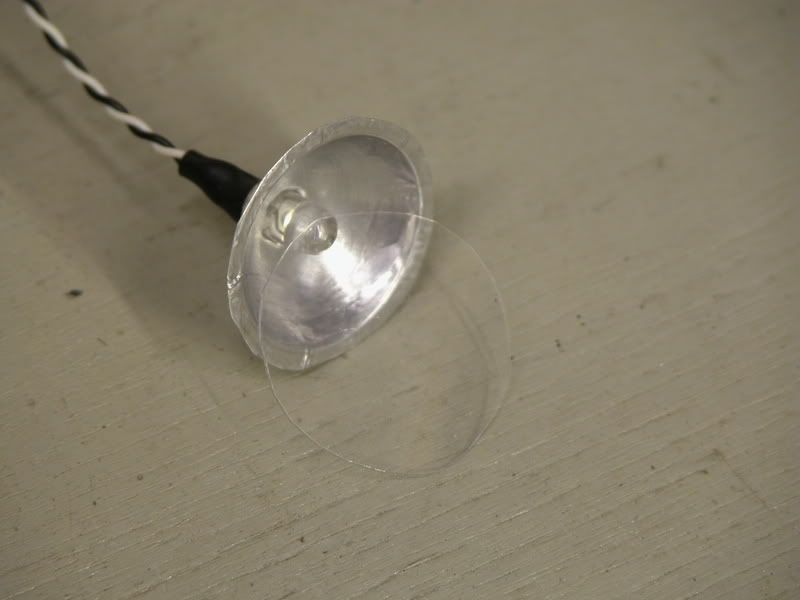 With the buckets done I handed them to Joe for a test fit. 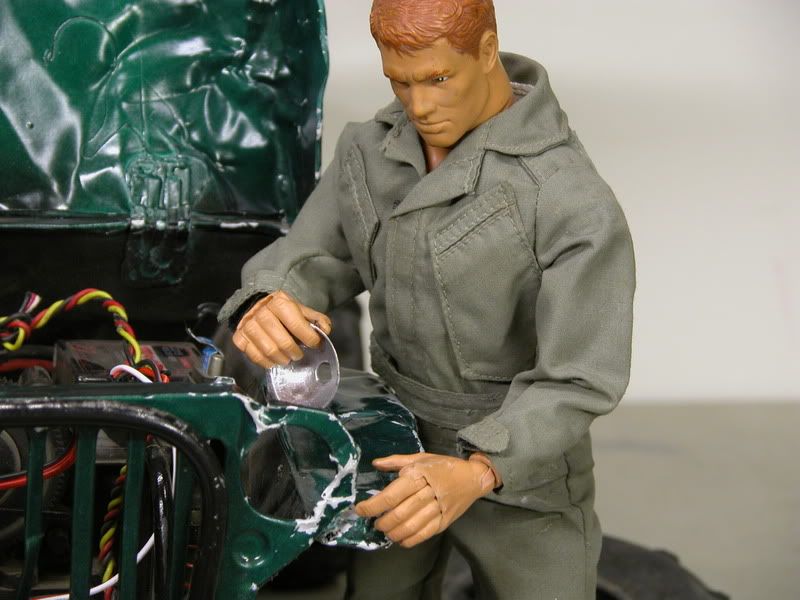 I think they will work real good 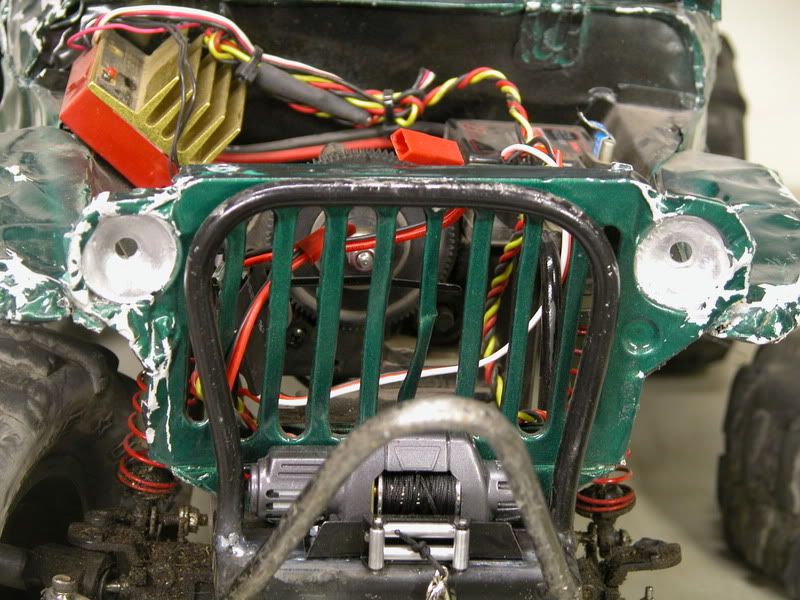 I'll post up pics once there fully mounted and wired. Joe's gotta take off and so do I. | ||
|
| |
|
03-10-2009, 09:07 PM
| #85 |
| Pebble Pounder Join Date: Feb 2006 Location: Carlisle, Pa
Posts: 115
|
Where is the scale comp? I will be at SL on Saturday morning. The pics are awsome. We had some minor carnage on Sunday. That heavy pig silver Dodge did awsome. We took a good bit of videos. |
|
| |
|
03-11-2009, 04:35 AM
| #86 |
| Rock Crawler Join Date: Mar 2006 Location: Arrowhead Diggin
Posts: 622
|
Hey I like Joe's seatbelt Any way likin the headlights Overall I think this is just about as scale as you can get......CARNAGE!! JP |
|
| |
|
03-11-2009, 04:40 AM
| #87 | |
| RCC Addict Join Date: Aug 2005 Location: New Oxford PA
Posts: 1,290
| Quote:
| |
|
| |
|
03-11-2009, 06:20 AM
| #88 | |
| I joined the Band! Join Date: May 2006 Location: Between a rock and a hard spot!
Posts: 1,786
|
Is awsome. This is your calling in the rc world. Lets see how long this one last. Quote:
| |
|
| |
|
03-17-2009, 08:02 PM
| #89 |
| RCC Addict Join Date: Aug 2005 Location: New Oxford PA
Posts: 1,290
|
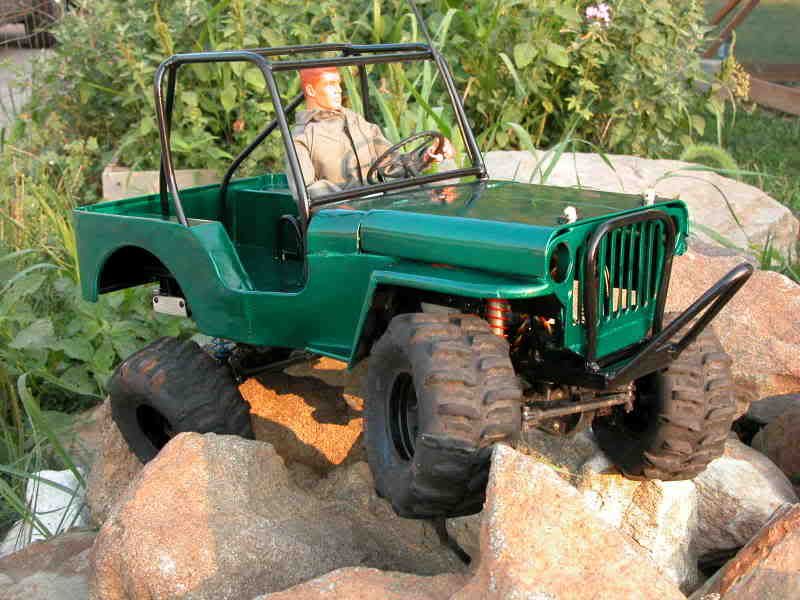
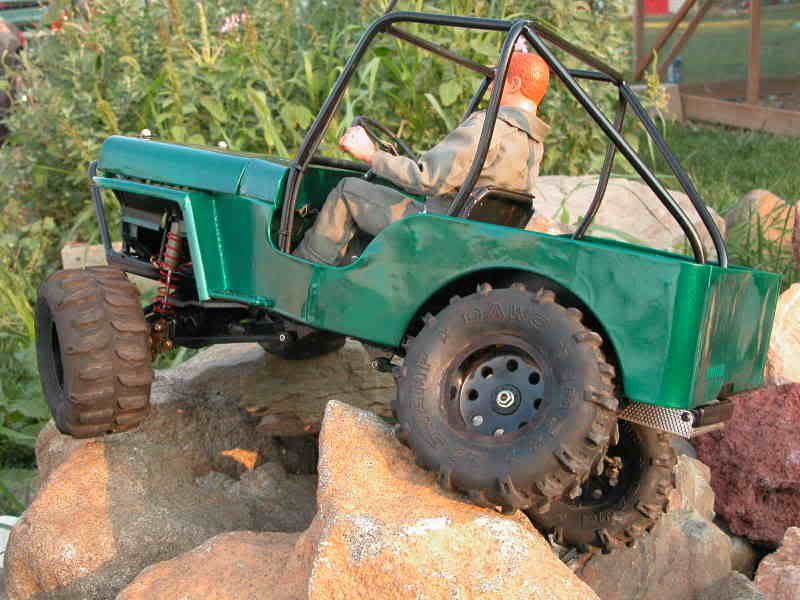
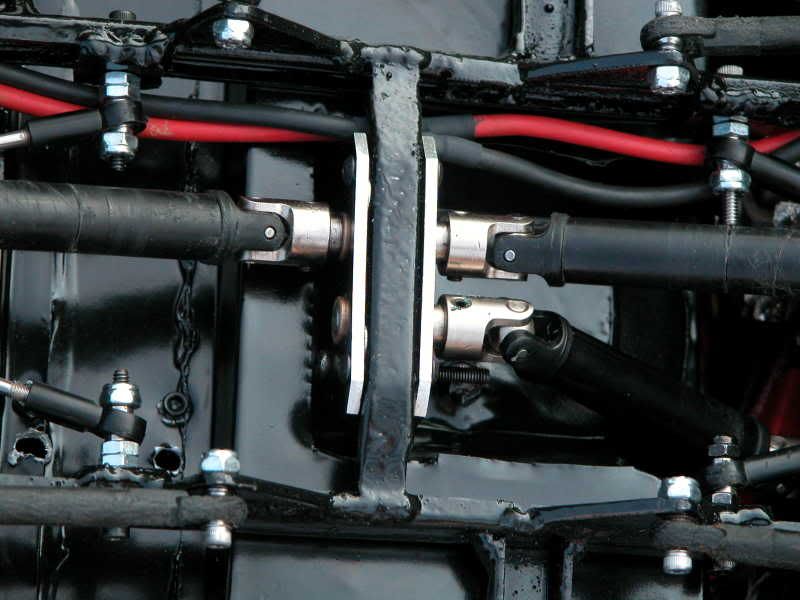
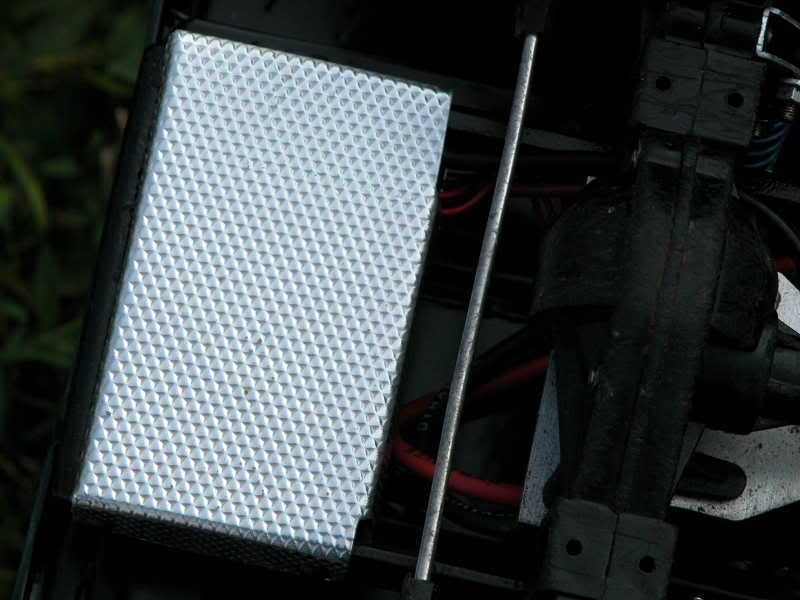
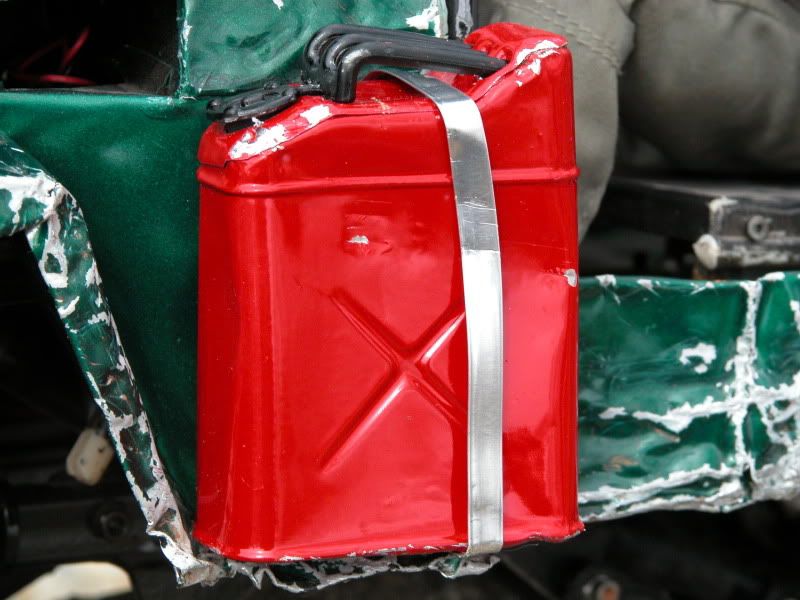
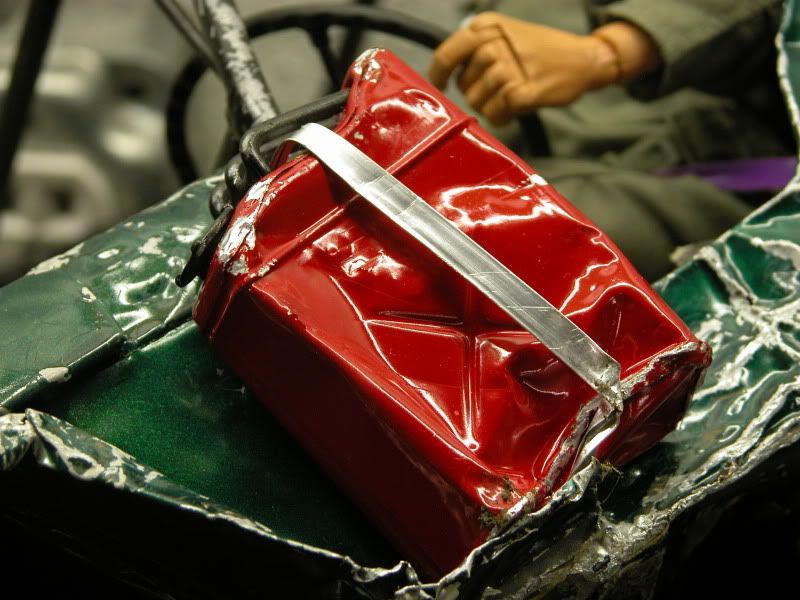
Well I got the lites finished. For the front I got the bulbs glued in and the lenses and buckets in place 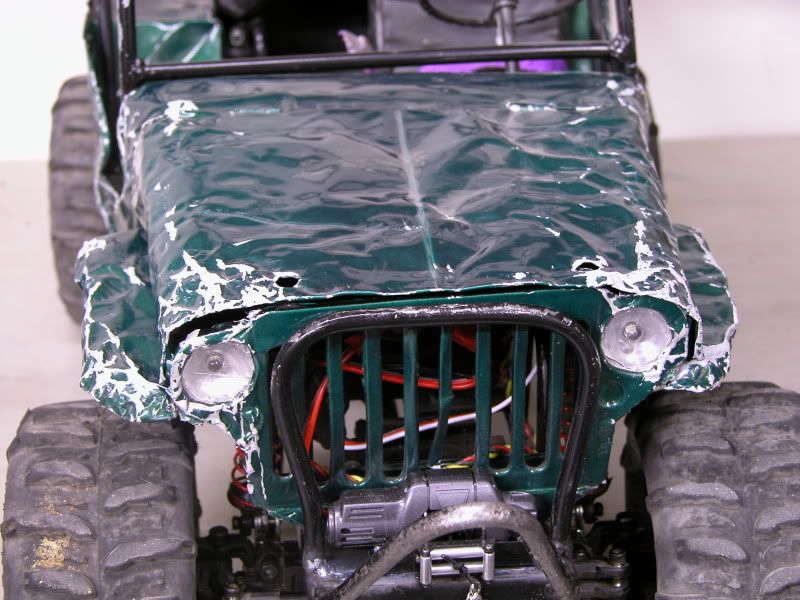 then I got them wired up 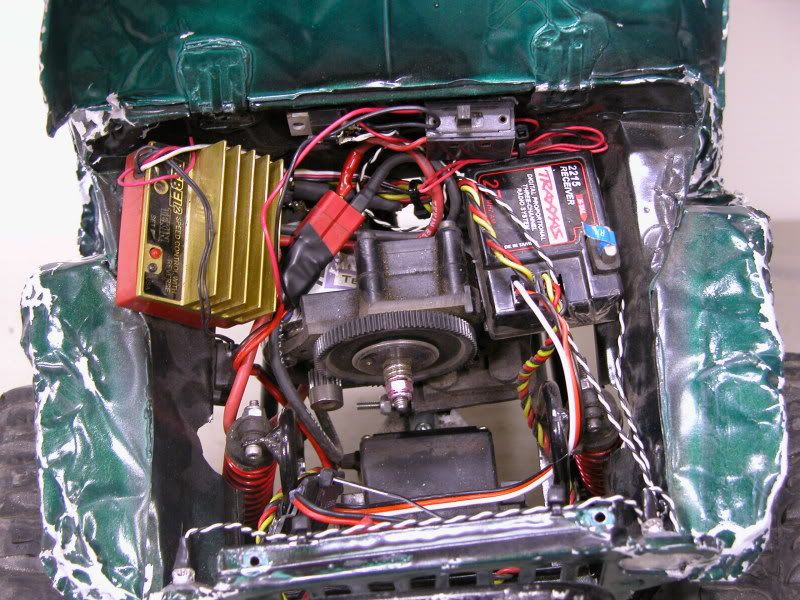 for the rear I made a bucket out of scrap 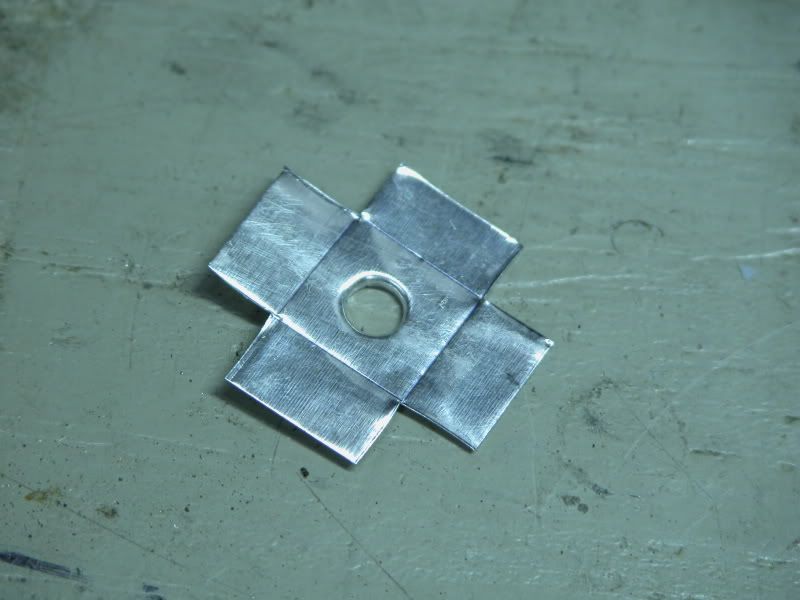  then I glued the lite to the bucket  I punched a hole in the back of the rear fender  and glued the bucket in place   I fed the wired through the frame and tied them up 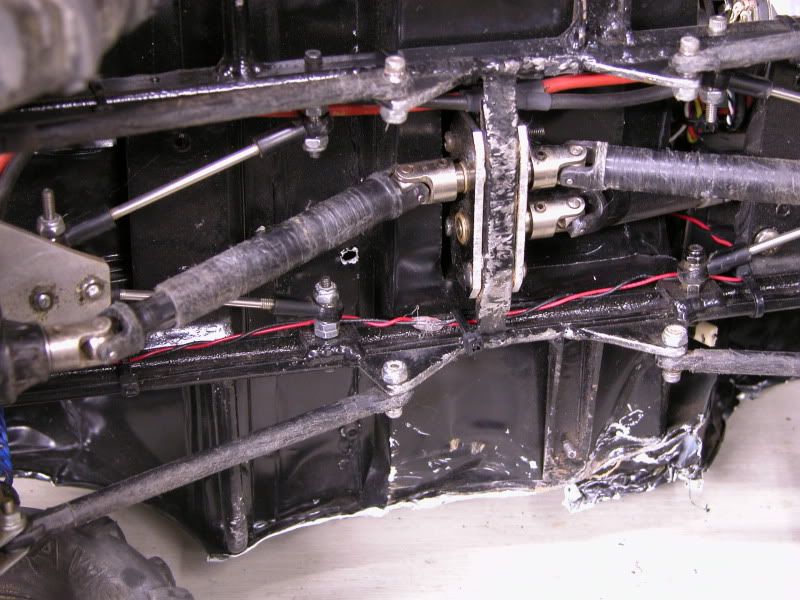 once they were all wired up I gave them a test run 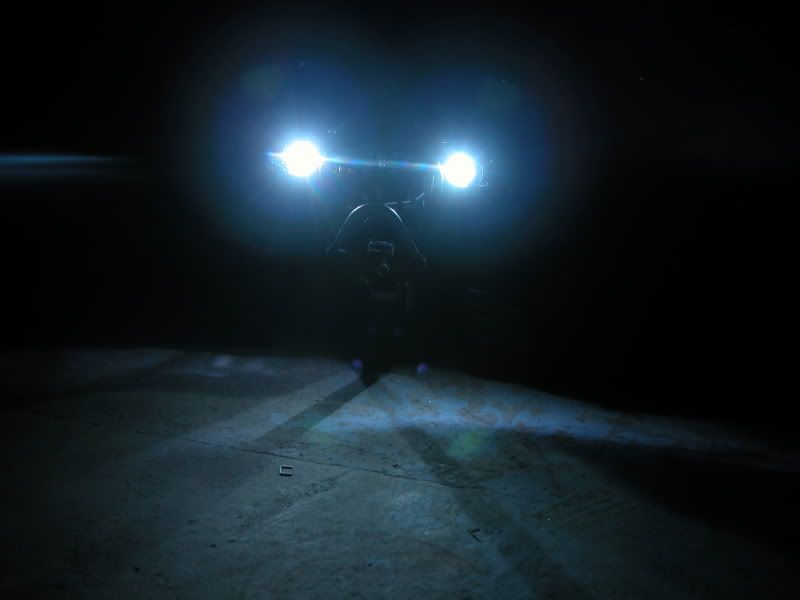 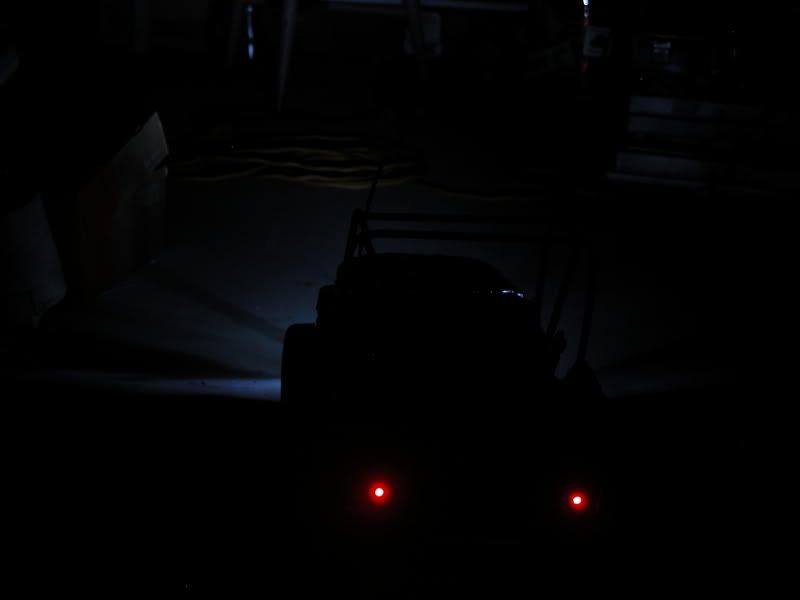 they work pretty good! Next I wanted to add more details for the comp this past weekend. I had some gas cans that came with the plastic Jeep that i used to mold the body from 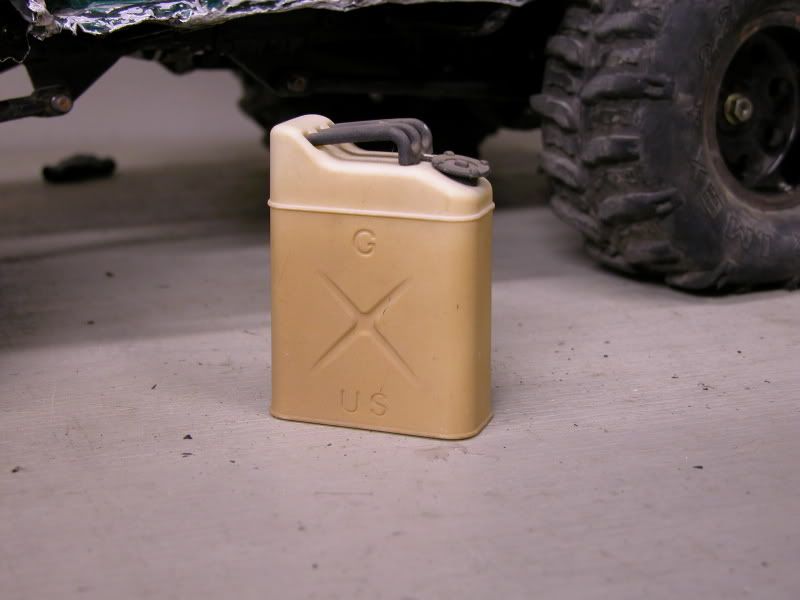 but one I got to looking at it I thought "a plastic can just ain't right" So O course I promptly molded one out of aluminum 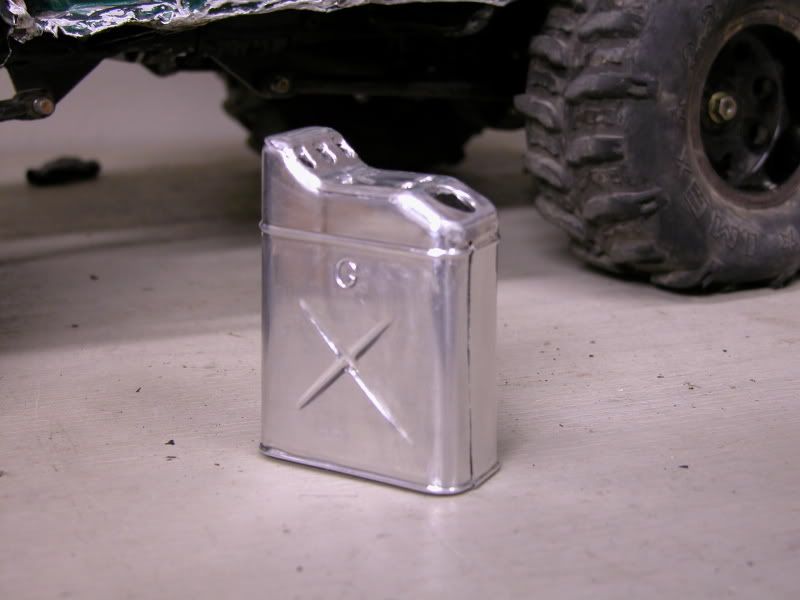 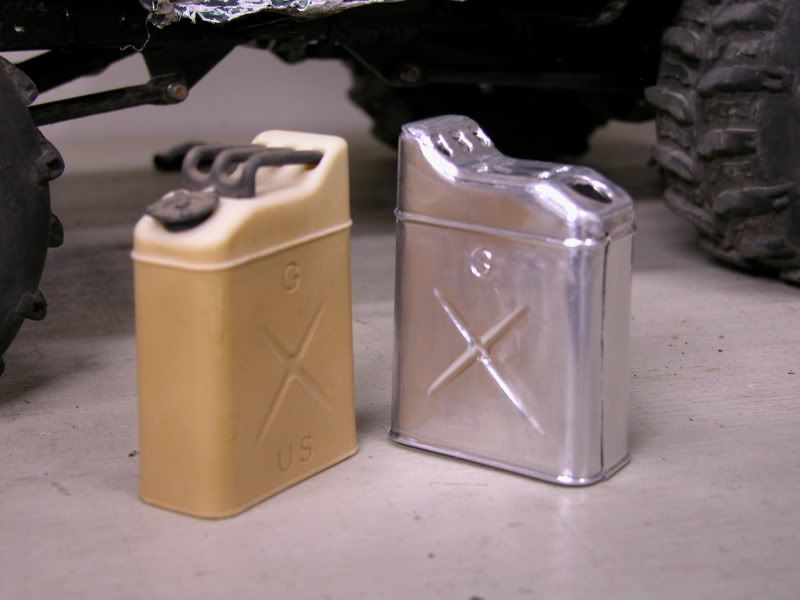 A little red paint and the addition of the original handle and it was lookin good 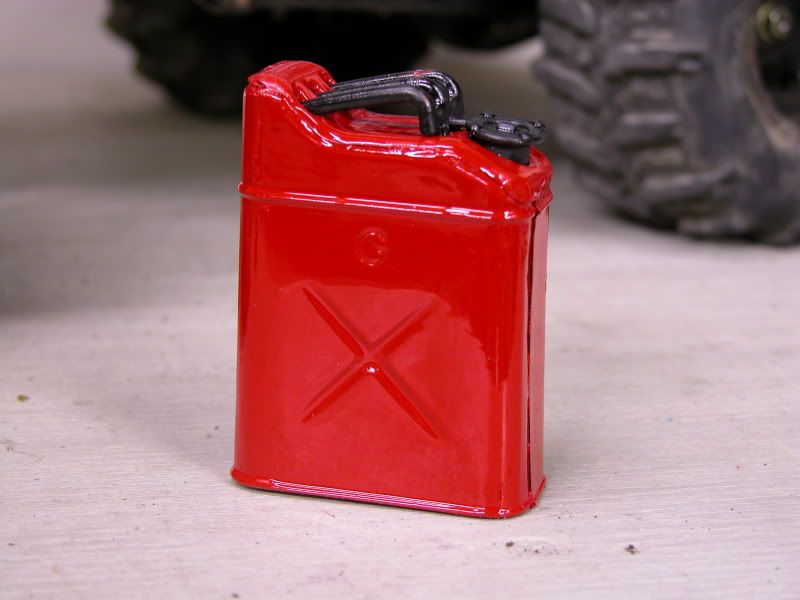 now I wanted it to get some damage of course so the most logical place to put it was on the side with a strap of metal i folded and glued to the body 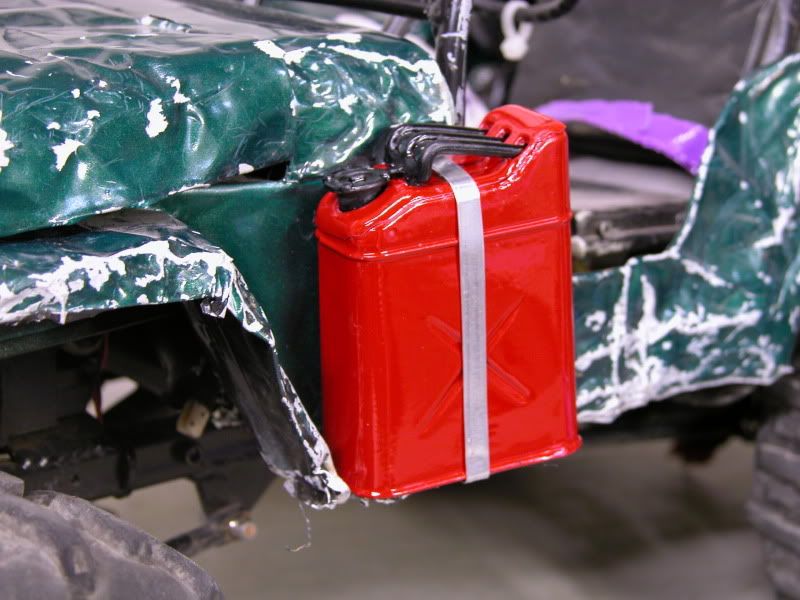 I also added some other quick accessories to gain some points at the comp spare tire, shafts, strap and a cooler 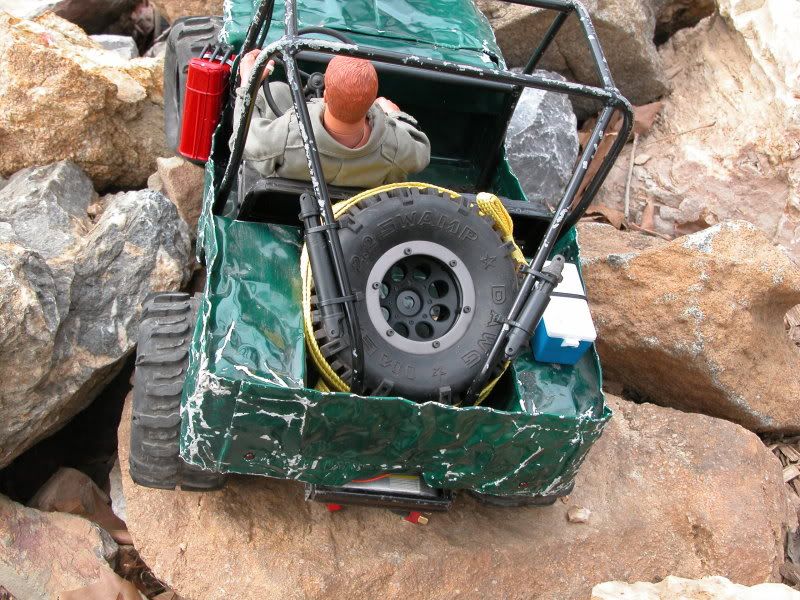 and finally I added the passenger seat 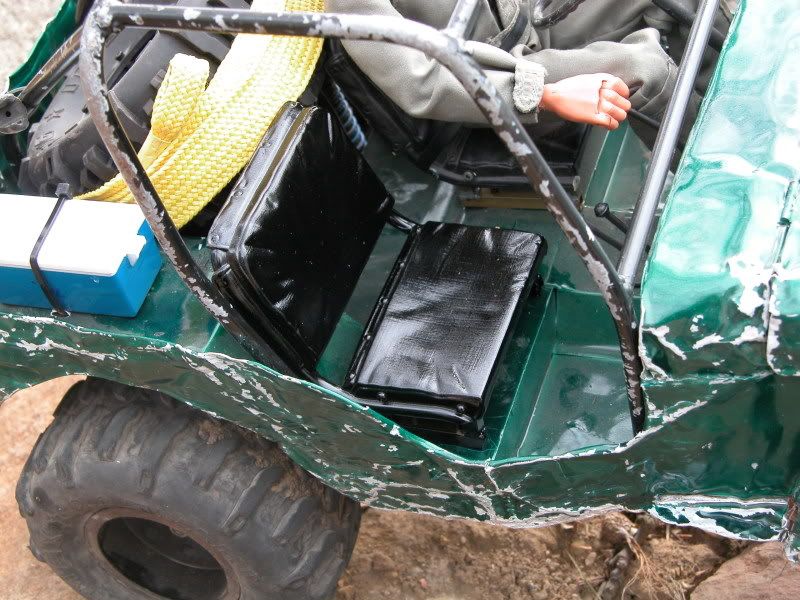 Now Joe is happy that it's looking like a complete truck 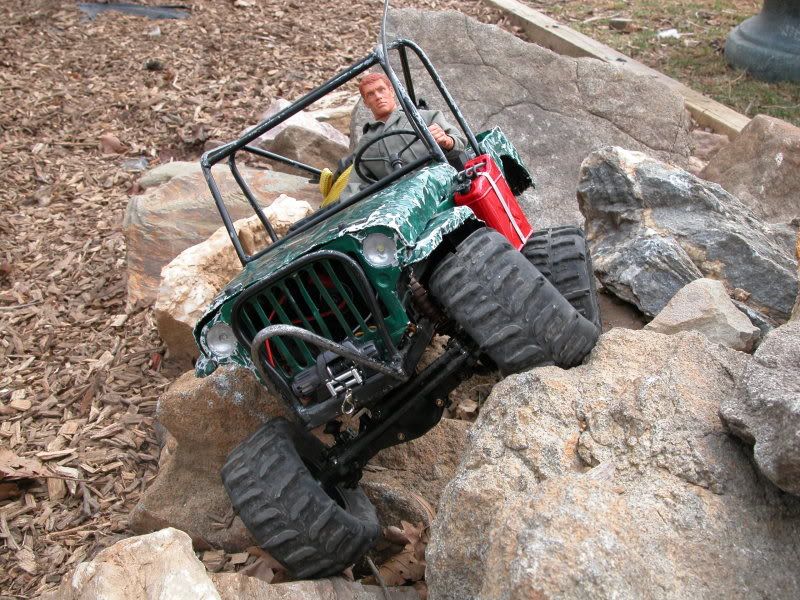 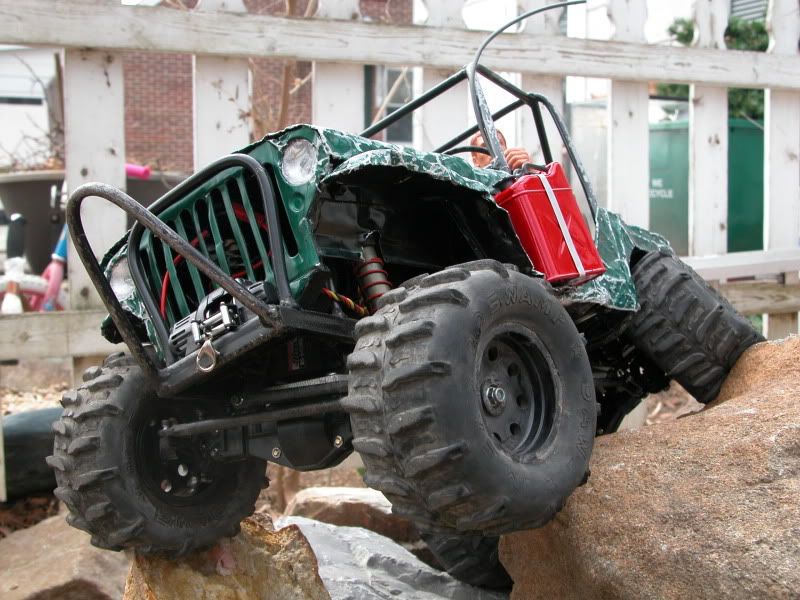 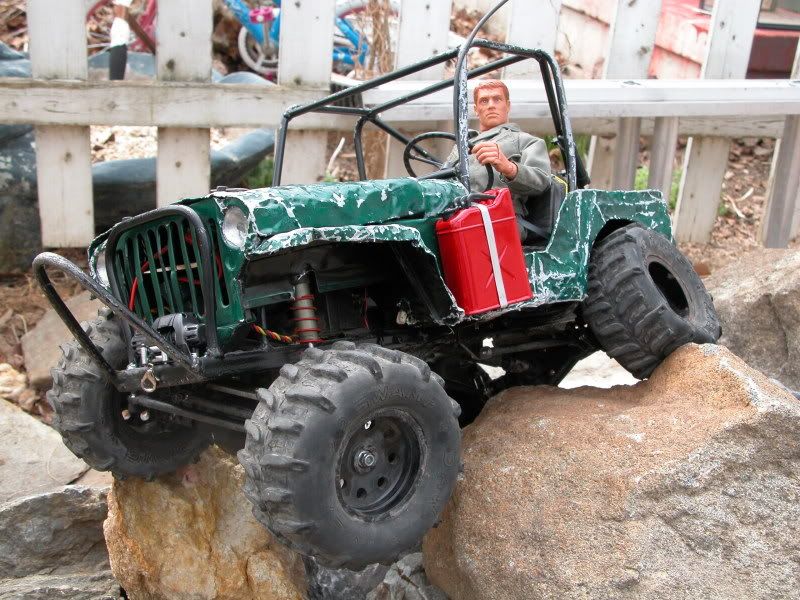 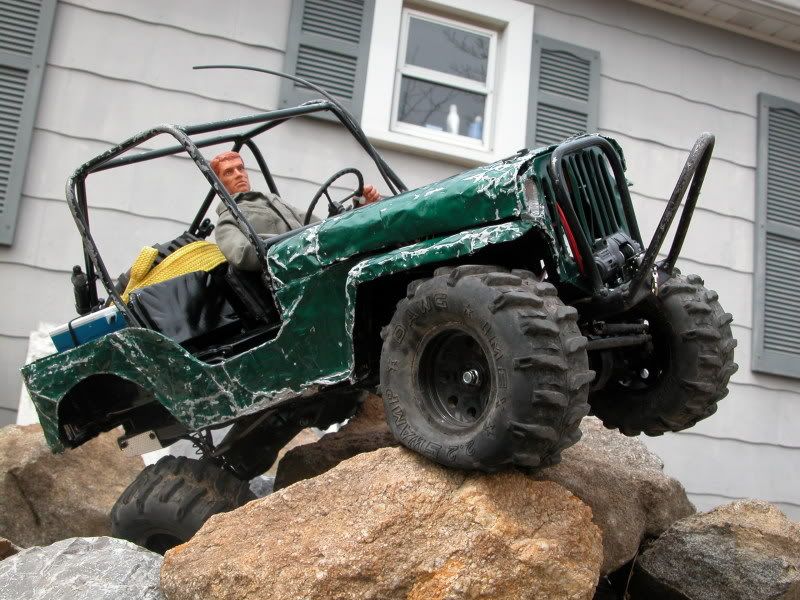 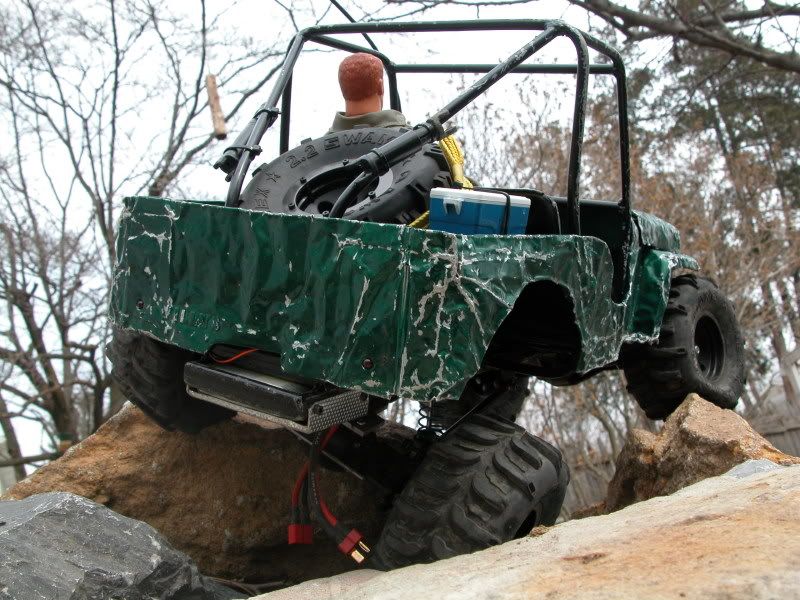 Now it's time to beat it up! |
|
| |
|
03-17-2009, 08:14 PM
| #90 |
| Rock Crawler Join Date: Nov 2008 Location: Lake Texoma, texas
Posts: 519
|
thats just cool!!! |
|
| |
|
03-17-2009, 09:11 PM
| #91 |
| RCC Addict Join Date: Jun 2004 Location: Bruiser Heaven!!!!
Posts: 1,463
|
man that is alot of carange and awsome pics, too.
|
|
| |
|
03-17-2009, 09:18 PM
| #92 |
| Pebble Pounder Join Date: Feb 2006 Location: Carlisle, Pa
Posts: 115
|
One word, Awsome!!!!!! |
|
| |
|
03-18-2009, 11:41 PM
| #93 |
| Quarry Creeper Join Date: Sep 2008 Location: by a river
Posts: 253
|
that looks so realistic with the dents and all mate so all i can sae is i have to build one now |
|
| |
|
03-26-2009, 04:04 PM
| #94 |
| Rock Stacker Join Date: Mar 2009 Location: bellingham
Posts: 73
|
dude thats awsome you should enter it for rc car actions readers of the month
|
|
| |
|
03-26-2009, 04:06 PM
| #95 |
| Rock Stacker Join Date: Mar 2009 Location: bellingham
Posts: 73
|
sorry i meant readers ride of the month
|
|
| |
|
03-26-2009, 05:59 PM
| #96 |
| Rock Crawler Join Date: Mar 2006 Location: Arrowhead Diggin
Posts: 622
|
Hey man that doesnt look right Anyway the jerry can, the headlights, the seats, everything looks AWESOME!! JP |
|
| |
|
03-30-2009, 01:20 AM
| #97 |
| RCC Addict Join Date: May 2006 Location: Roseville
Posts: 1,469
|
So refresh my memory... Those are the cheapy baking pans like you use at Thanksgiving that you have smoothed out and formed. Are you using Shoe Goo or rubber cement to hold all the panels together? Back in the 80's I did something similar, but used thin brass and solder, wonder if I can do that again?? Hmm...
|
|
| |
|
03-30-2009, 07:53 PM
| #98 |
| Quarry Creeper Join Date: Jan 2008 Location: Portland OR / SLC
Posts: 462
|
lol awesome build |
|
| |
|
04-01-2009, 10:01 PM
| #99 | |||
| RCC Addict Join Date: Aug 2005 Location: New Oxford PA
Posts: 1,290
| Quote:
Quote:
Quote:
| |||
|
| |
|
04-05-2009, 12:21 AM
| #100 |
| Pebble Pounder Join Date: Feb 2009 Location: Wisconsin
Posts: 138
|
Truly amazing, i love the look, and the scale stuff makes it even sweeter!!!! keep up the amazing work, i love the pics!!!
|
|
| |
 |
 LinkBacks (?)
LinkBack to this Thread: http://www.rccrawler.com/forum/2-2-scale-rigs/82901-joes-flatty-revival.html | ||||
| Posted By | For | Type | Date | |
| Зарубежные проекты 1.9 - Страница 4 | This thread | Refback | 10-05-2011 03:36 AM | |
| |


 Linear Mode


