| |
 03-13-2013, 12:44 PM
| #21 | |
| I wanna be Dave  Join Date: Jun 2005 Location: On the G-Train!!!!!
Posts: 6,081
| Quote:
Are you coming to The Shaka Brah Classic II G6? | |

|  |
| Sponsored Links | |
| | |
|
03-13-2013, 03:33 PM
| #22 |
| Pebble Pounder Join Date: Mar 2013 Location: Honolulu
Posts: 196
|
Yes. I will chech it out at least one of the days. What do I need to add to my Honch to make it G6 ready? I've read the requirements but am unsure on what are the required scale items? Last edited by cox308; 03-13-2013 at 03:44 PM. |
|
| |
|
03-13-2013, 03:52 PM
| #23 | |
| Pebble Pounder Join Date: Mar 2013 Location: Honolulu
Posts: 196
| Quote:
What is the consences on other RC4wd parts? I really like the looks of their bumpers and their esc bracket. Last edited by cox308; 03-13-2013 at 03:55 PM. | |
|
| |
|
03-13-2013, 05:55 PM
| #24 | |
| I wanna be Dave Join Date: Jun 2005 Location: On the G-Train!!!!!
Posts: 6,081
| Quote:
RC4WD is hit & miss. They have some really good stuff & some that are plain garbage. Almost everything looks great & that's where the new guy gets fooled. I guess it depends on what you're looking for. | |
|
| |
|
03-13-2013, 08:47 PM
| #25 |
| Pebble Pounder Join Date: Mar 2013 Location: Honolulu
Posts: 196
|
Thanks for the help DTP! It is much appreciated. I went with with another Rc4wd part Also picked up some Traxxas rod ends with metal balls #1942. I've heard these are a pretty decent upgrade to the plastic balls. 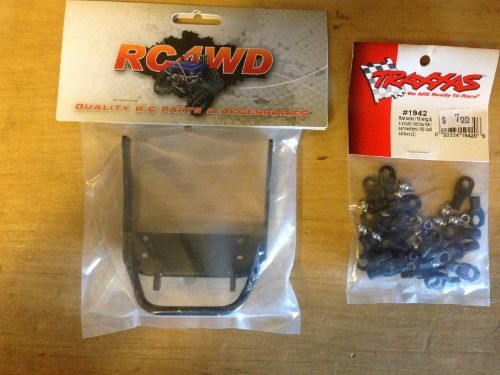 Also picked up some Axail HD Bevel gears. Factory drive 38/13 Front P/N AX30395 Underdrive rear 43/13 P/N AX30402 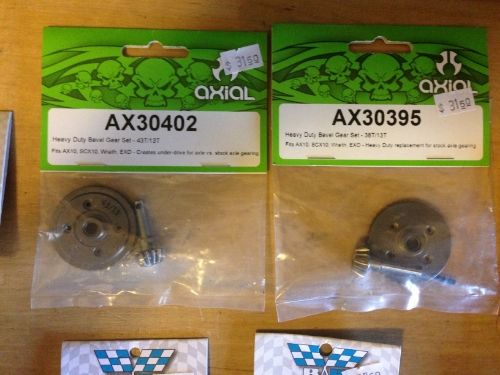 Finally a RRP steel Idler gear P/N 1541 and a RRP Hardened aluminum Diff gear P/N 1540. I went with this one instead of the solid one because I like the idea of the pin through design and my Honch already came with the Upgraded steel outdrives. 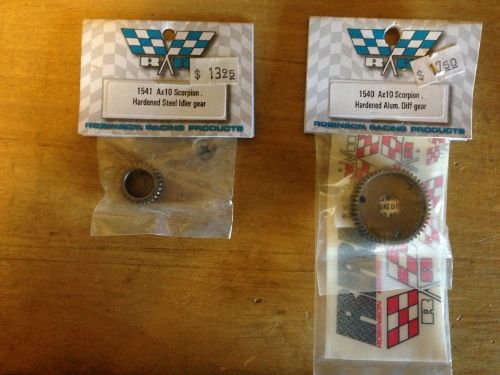 Oh yeah...MIP Driveshafts are on their way too  Last edited by cox308; 03-14-2013 at 03:30 AM. |
|
| |
|
03-13-2013, 09:31 PM
| #26 |
| Newbie Join Date: Feb 2013 Location: Rexburg
Posts: 33
|
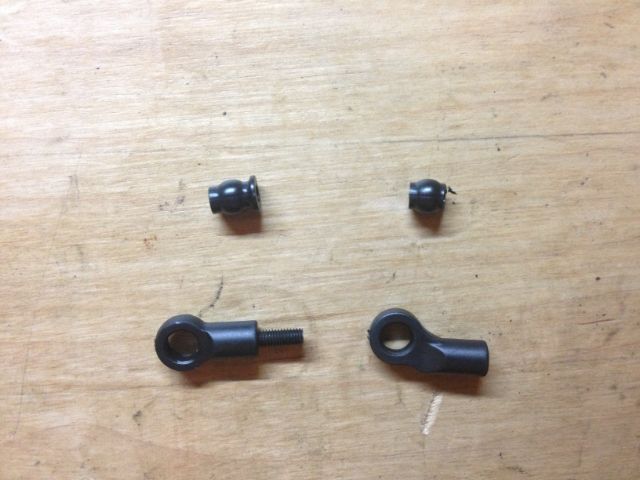
Looks good! I want to see that bumper mounted. Great idea on the angled rod end for the servo linkage! Going to do that right now, lol. Man, I would love to go crawl the lava rock in Hawaii, I might be there later this summer. We have lots of lava rock here in Idaho, but it's hard to find good spot because of all the sage brush. Again, looking great my friend!
|
|
| |
|
03-13-2013, 10:22 PM
| #27 |
| Pebble Pounder Join Date: Feb 2008 Location: 808
Posts: 136
|
The stubby bumper is a solid piece and good call on beefing up the drivetrain!!
|
|
| |
|
03-13-2013, 10:27 PM
| #28 | |
| Newbie Join Date: Mar 2013 Location: San Diego
Posts: 9
| Quote:
| |
|
| |
|
03-14-2013, 03:23 AM
| #29 |
| Pebble Pounder Join Date: Mar 2013 Location: Honolulu
Posts: 196
|
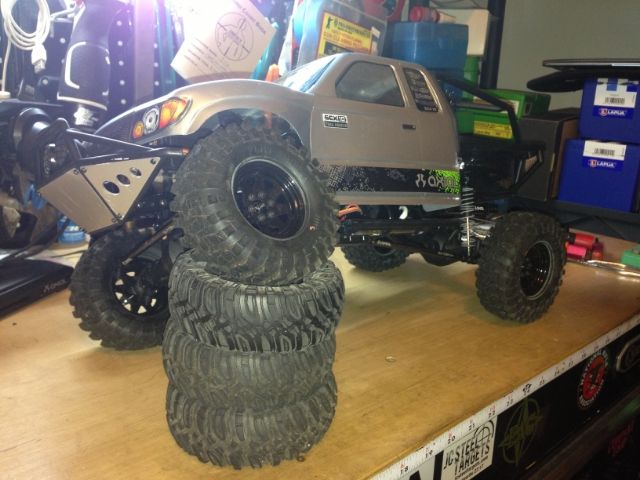
^^^ Thanks for the encouraging words guys! Bumper installed. I really am liking it but it does stick out pretty far. I may have to modify it to make it sit further back. Looks like if I drill an extra hole on each side and chop some off the back of the mounting brackets I can get it back another 5/16". I installed the lights on it to fill the gap unlit I get a wench. Also swapped out the plane light grills with the PIAA grills since I lost one today. I epoxied these one's on so they aren't going anywhere. Pic's as requested Body on 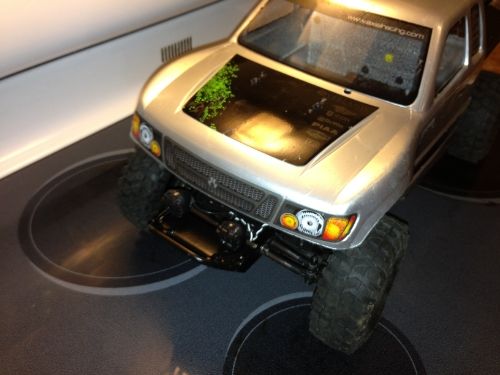 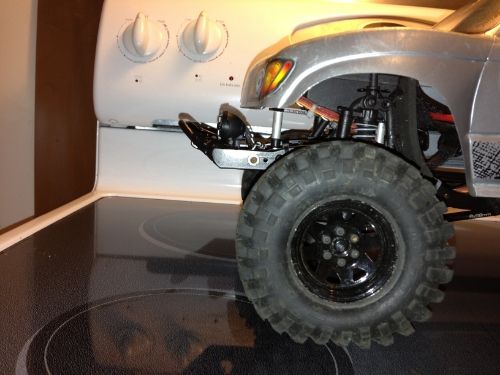 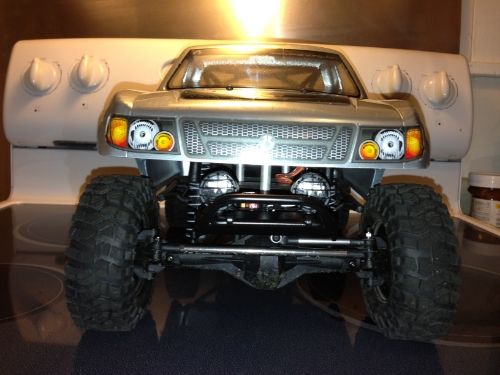 Body off 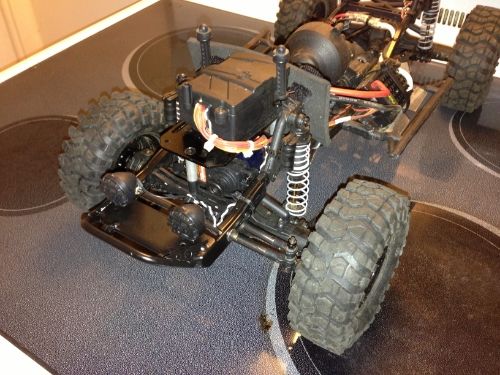 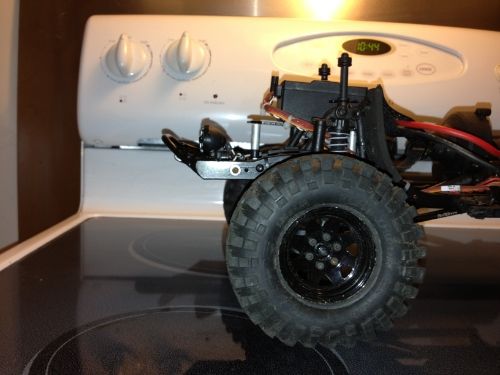 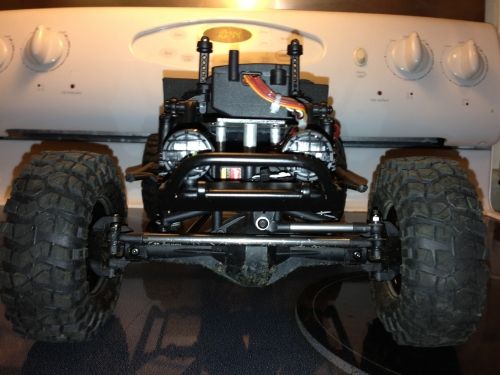 Last edited by cox308; 03-14-2013 at 03:29 AM. |
|
| |
|
03-14-2013, 03:34 AM
| #30 |
| Pebble Pounder Join Date: Mar 2013 Location: Honolulu
Posts: 196
|
Something I'm glad I noticed tonight before I went out and had it fail on me tomorrow. My rear drive shaft is just starting to look like a Twizler. Not sure if it is close to failing or not but I just replace it with one from the spare parts that came with the truck. The spare was a little long so I just chopped it to length with an utility knife. 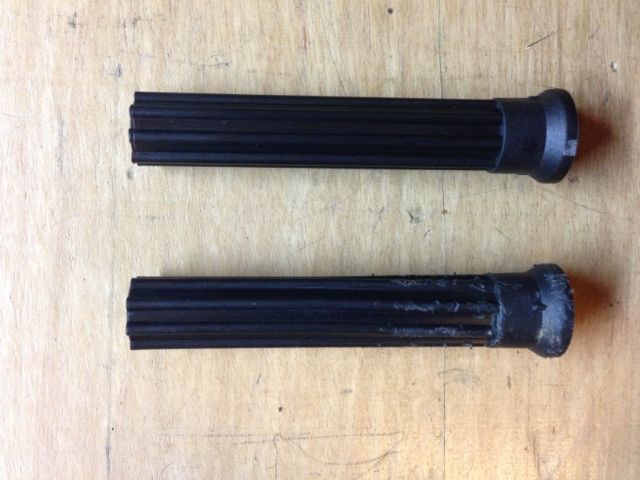 Can't wait for my MIP's to show up already! |
|
| |
|
03-14-2013, 03:58 AM
| #31 |
| I wanna be Dave Join Date: Jun 2005 Location: On the G-Train!!!!!
Posts: 6,081
|
Looks good braddah! See if you can find some all-thread to stuff in the male shaft. It twists because it's hollow & that allows it to collapse. Not sure if you can lower your body, but I try to run mine as low as possible. Have fun tomorrow while the rest of us work. |
|
| |
|
03-14-2013, 05:52 AM
| #32 |
| Pebble Pounder Join Date: Mar 2013 Location: Honolulu
Posts: 196
|
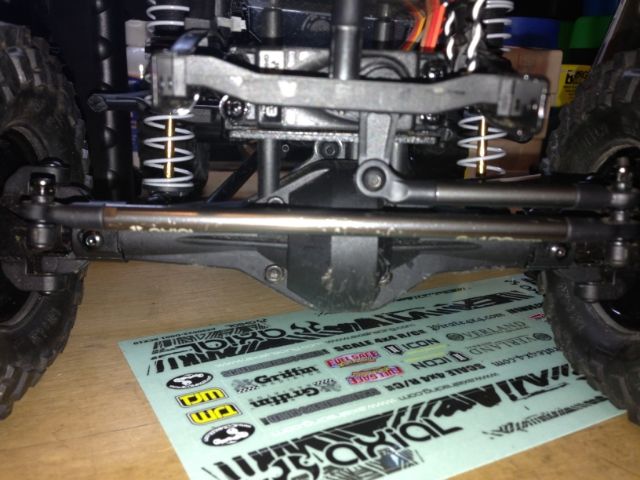
Rite on DTP^^^Good idea on the all-thread for the stock shafts. My MIP's should be here any day now so I'm just going to wait on them. We think alike! Definitely needed to lower the body a lot but, a lot of trimming was in order first to clear the tires when at full flex. I also ended up having to trim the sides along the door line so the lowered body would clear the rock sliders. I lowered the front 2 notches which sounds like a little but was actually huge IMO! 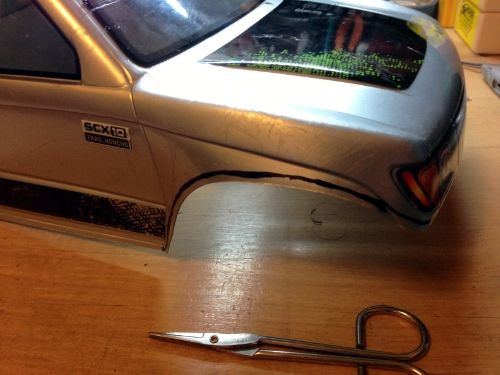 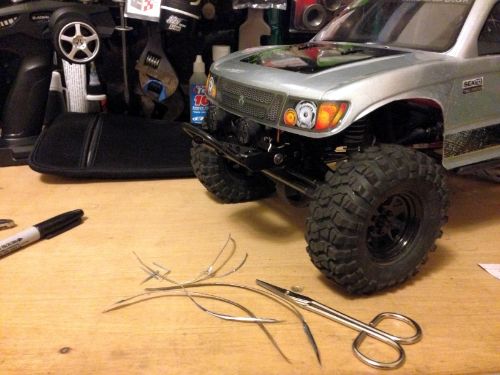 Here's how I lowered the back since it was at it's lowest setting already. Simply flipped the body post upside down and put the rubber washer on that side. This lowered the back over a 1/8" keeping the back pretty level with the front. It is also a perfect hight because at full flex the rear tire just barely touches the bed frame now 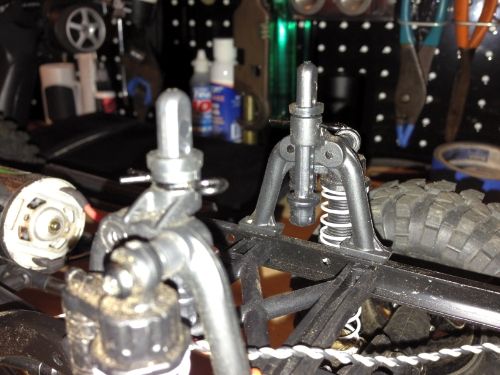 To top it off I added some new decals 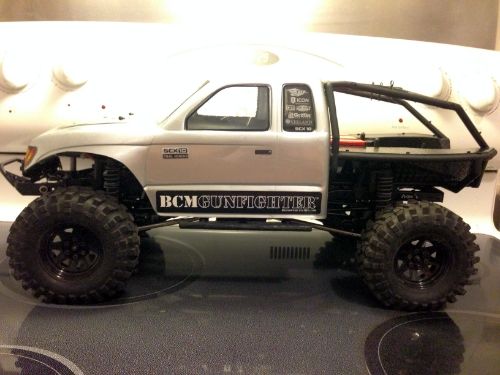 Now I'm really lovin the way the Hawn Honch is lookin! Should crawl a little better too with the lowered COG Last edited by cox308; 03-15-2013 at 04:29 AM. |
|
| |
|
03-14-2013, 08:28 AM
| #33 |
| Newbie Join Date: Apr 2012 Location: Frederick
Posts: 1
|
Nice ride. Thanks for posting your mods. I have got me motivated to get my Honcho out and start playing again.
|
|
| |
|
03-15-2013, 01:35 AM
| #34 |
| Pebble Pounder Join Date: Mar 2013 Location: Honolulu
Posts: 196
|
Thanks for the comments^^^ A few small updates. Got a chance to install the front and rear diff gears. I don't think the stocks were going to fail anytime soon but the difference in quality is amazing. I like the helical design of the teeth too! They should be a lot smoother as well as stronger.  Also installed the idler gear and the larger transmission gear. Glad to get rid of those stock plastic gears! BTW those improved Axial out shafts are beefy. Hard to imagine them failing. 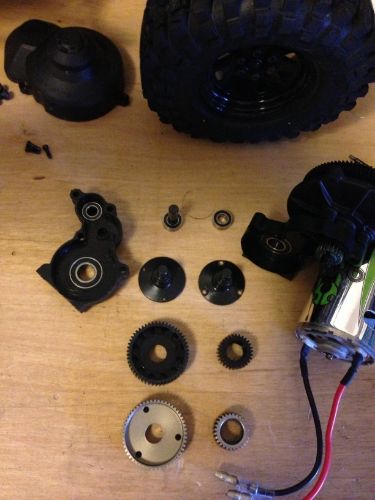 Off to Makap'u point for a test run. I was having to much fun to take pics! Made it all the way to the top! Stopped by my LGS on the way home because I lost a body pin. Ended up buying a couple other goodies. New Proline extended Hex's (p/n 6097-00) and finally the Metal Futaba servo horns were back in stock! 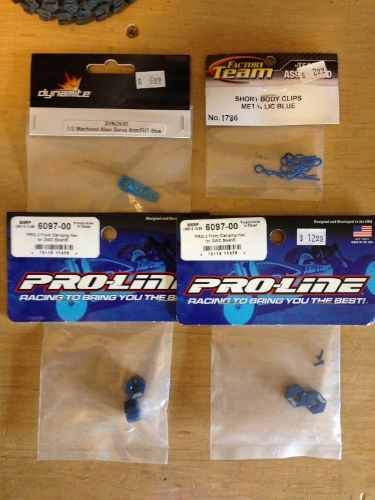 The new hex's are almost double the thickness of the stock hex's. I did the math and It extended the wheel base 1/4" total. We'll see if that was worth it... 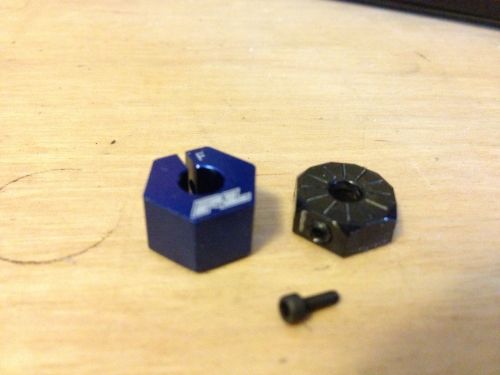 Installed the steering metal steering horn and also the Traxxas rod ends w/ metal balls. As for the off set ends I reused them and installed metal balls in place of the plastic. I also added aluminum spacers I have left over from the Axial link set to raise my steering link. FREE High link! I had to mount the rod end to the back of the servo horn for clearance issues. No biggie. Also had to reuse my "low pro" ball end here. 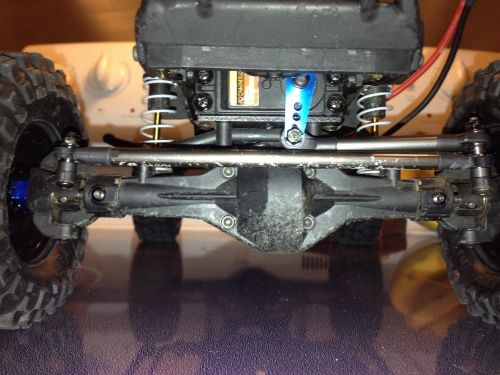 The RC4WD bumper worked great today however... It was better than the stock bumper but I felt there was quite a bit of room for improvement. I was just to long and the angle could be better. I ended up chopping of much of the mounting bracket and drilled my own mounting holes that also gave it a steeper UP angle. Finished it with flat black. 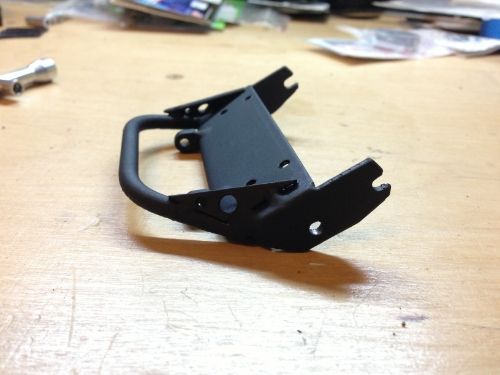 The bumper ended up pulled back 0.65" and at a much improved angle I had to mount the light further forward and higher using a more leftover spacers from the Axial link kit. Also had to inlet the body for the lights because I didn't want to raise the body back up. Came out Awsome IMHO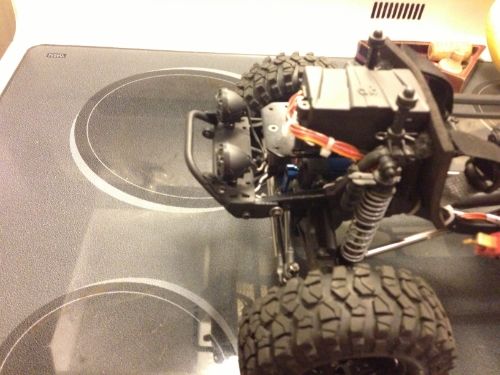 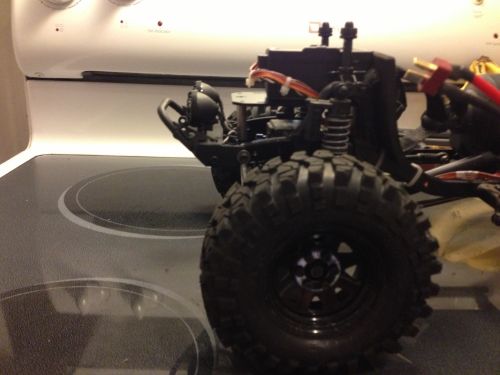 before after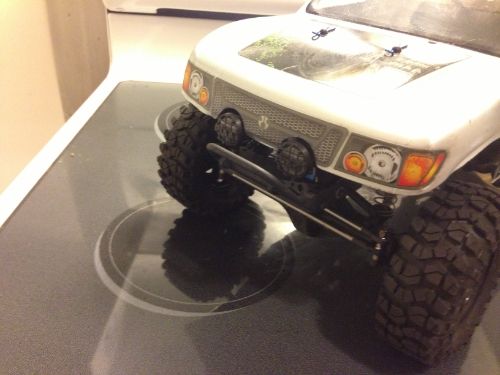 before after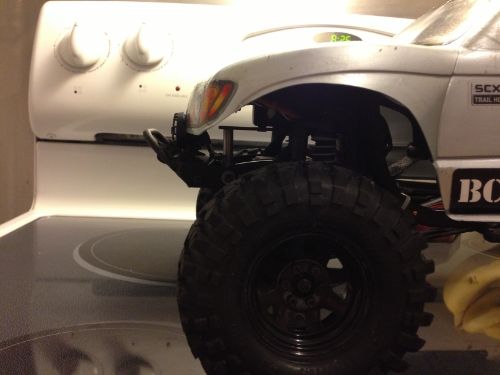 That's all I got for you guys today Hope i'm not boring you. lolBTW: I scored a great deal on some used Axial Aluminum chubs and Knuckle's. Can't wait to receive them. Also still waiting on my MIP shafts and My new ESC/Motor Combo. That ones a surprise! (don't spoil it if you know!) ALOHA! Last edited by cox308; 03-15-2013 at 04:32 AM. |
|
| |
|
03-15-2013, 02:38 AM
| #35 |
| Pebble Pounder Join Date: Feb 2008 Location: 808
Posts: 136
|
I like the mods you did to the stubby! Your rig is coming along great. I went on a shake down run today also down kahaluu side, busted my right side knuckle. Placed a order for sum new high clearance replacements.
|
|
| |
|
03-15-2013, 06:16 PM
| #36 |
| Newbie Join Date: Nov 2011 Location: Kaneohe
Posts: 26
|
Nice thread, i like the mods on the stubby bumper too. Nice clean and tucked in |
|
| |
|
03-16-2013, 09:24 PM
| #37 |
| Pebble Pounder Join Date: Mar 2013 Location: Honolulu
Posts: 196
|
Thanks^^^ MIP Driveshafts came in! I ran down to my LHS and grabbed some Associated hardware to replace the set screws that came with the MIP's. If you were to use the solid gear with out the hole in the outdrive's you wouldn't need these. 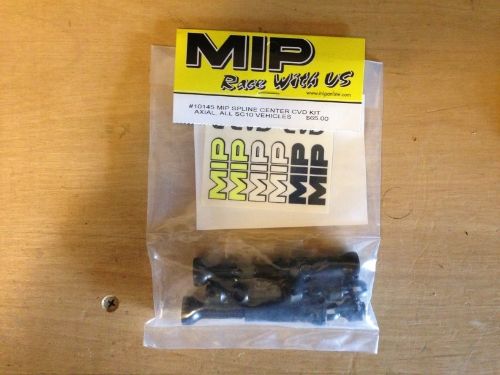 One pack would have been enough but I wanted spares so I bought 2 packs. 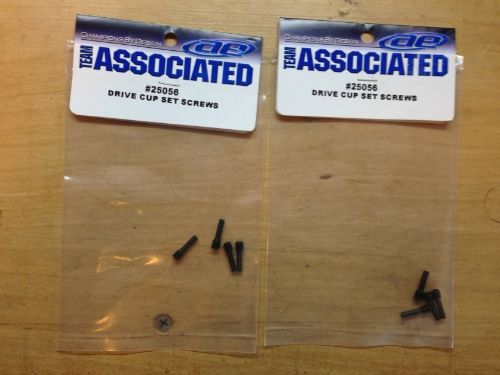 The Associated pins are a little long which is ok for 3 of them but I had to shave about 1/16" off of the one under the transmission due to clearance issues. No biggie. Picture of the end of the pin sticking out. 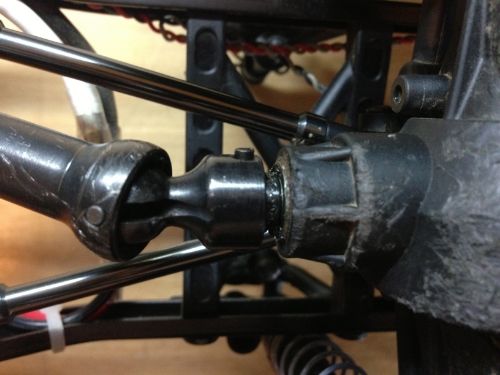 Took the Honch out for a test run with the new shafts. Ran perfect! 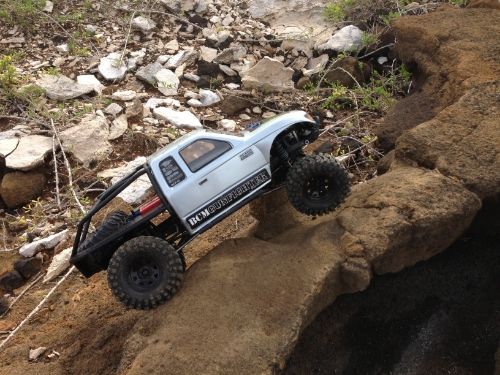  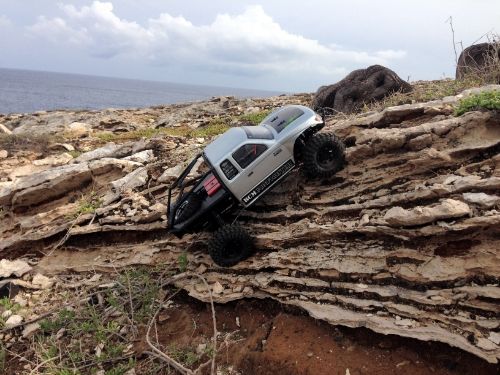 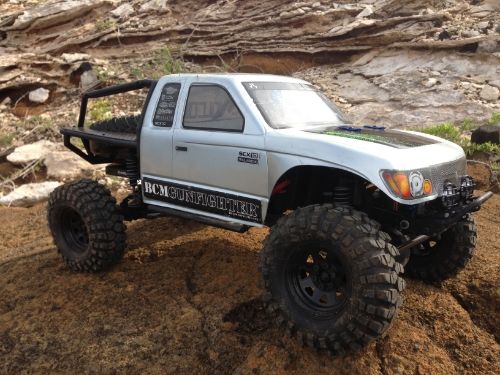 Last edited by cox308; 03-16-2013 at 10:41 PM. |
|
| |
|
03-16-2013, 10:17 PM
| #38 | |
| Pebble Pounder  Join Date: Dec 2012 Location: Orlando
Posts: 186
| Quote:
| |
|
| |
|
03-17-2013, 12:48 AM
| #39 |
| Rock Crawler Join Date: Jan 2013 Location: Cen Cal
Posts: 556
|
You have some amazing crawling terrain (jealous). Great job on keeping busy with the mods...good times. |
|
| |
|
03-17-2013, 03:42 AM
| #40 |
| Pebble Pounder Join Date: Mar 2013 Location: Honolulu
Posts: 196
|
Thanks again for the positive comments! I forgot to mention...the pinion/spur dust cover wouldn't fit with the MIP drive shafts installed. Not cool! I'll show and explane to you guys what i did to solve this tomorrow when I can get on my computer and load the pics. Last edited by cox308; 03-17-2013 at 03:44 AM. |
|
| |
 |
 Hawaiian Honcho build! - Similar Threads
 | ||||
| Thread | Thread Starter | Forum | Replies | Last Post |
| One Nada Local boy. Hawaiian Hawaiian | kailuaboy | Tamiya Txt-1 and Juggernaut | 12 | 12-17-2006 08:04 PM |
| |


 Linear Mode


