| |
 03-09-2013, 06:44 AM
| #1 |
| Pebble Pounder Join Date: Mar 2013 Location: Honolulu
Posts: 196
|
Howzit, First post here. Thought I'd start a build thread to maybe help out others who need ideas on what to do with their Honcho's Big thanks to this Forum and all the contributing member that make it so informative. A bunch of the stuff I did here is from the sticky's. Thank you if you posted the tip/trick that i'm using. This is my first RC since my RC10GT days of many many years ago so bare with me as I am sort of a newb at this all over again. Here we go.... I was planning on buying a Losi MRC and Thank god the guy at my local Hobby store convinced me otherwise. I ended up taking home the Honcho instead!  Also took home a Ready 7.4v lipo battery 25c 3400mah. I went lipo since I already had a nice lipo charger from my airsoft equipment. Also took home a Ready 7.4v lipo battery 25c 3400mah. I went lipo since I already had a nice lipo charger from my airsoft equipment.After my first drive the first thing I noticed is that it like to flip over pretty easy. This is partially due to my lack of crawling skills but none the less i got to work. First thing I wanted to do is lower the COG and increase FLEX! Here's a list of upgrades, adjustments, etc that I did that night to basically get squared away. ZERO $ SPENT! 1. Removed bump stops on the shocks 2. Cut bump stops to about 1/8" and put over body mounts to eliminate body slop. 3. flipped the motor/trans 180" (not sure if this ready did much but I've read it can help with "torque twist" 4. Shaved rock sliders, flipped them upside-down, and adjusted to follow body lines. 5. topped off all shock with 30wt. oil. (I noticed 2 of my shocks were "dead" out of the box) 6. Spaced out front bumper 1 notch to better clear the tires 7. Relocate, Electric box, ESC, and Battery.(I will better explain this a little further down in picture description) 8. Ditched the spare tire. (looks cool but too top heavy for me) After all that I still wanted a little more so back to my local hobby store for a little more. My goal this time was to put some weights in the wheels and buy metal steering linkages. $200+ later here's a list of what I ended up leaving with... 1. Rc4WD Blk Steelies 6 lug beadlock's P/N Z-w0130 2. Rc4WD 1.9" Hex hub adapters P/N Z-s0779 3. Proline Flat Irons 1.9" G8 w/ memory foam P/N 1147-14 4. Axial scx10 link set P/N AX30550 5. Stick on wheel lead 6. Dean Plug's I ended up going with new rims and tires since I learned that cutting off my tires and re-gluing them is not really an ideal way to put lead in your rims. I got the hex adapters to keep the stance wide and also because I like the convenience of them. I chose the Flat irons because I like them, that's what I run on my 1:1. I went with the full link set instead of just the steering because I figured I want full set eventually and I did't want to end up with and extra set of steering links if I were to by that now then the full set down the road. Finally I went with the Deans because it's the best connectors hands down. I spent a hell of a lot more than I was anticipating but I figured buy once cry once. Ok...on to some pictures! Not much going on in the first 2 pics. You can see the new wheels/tires and you can also see my body pin storage on the roll cage (tip from stick's )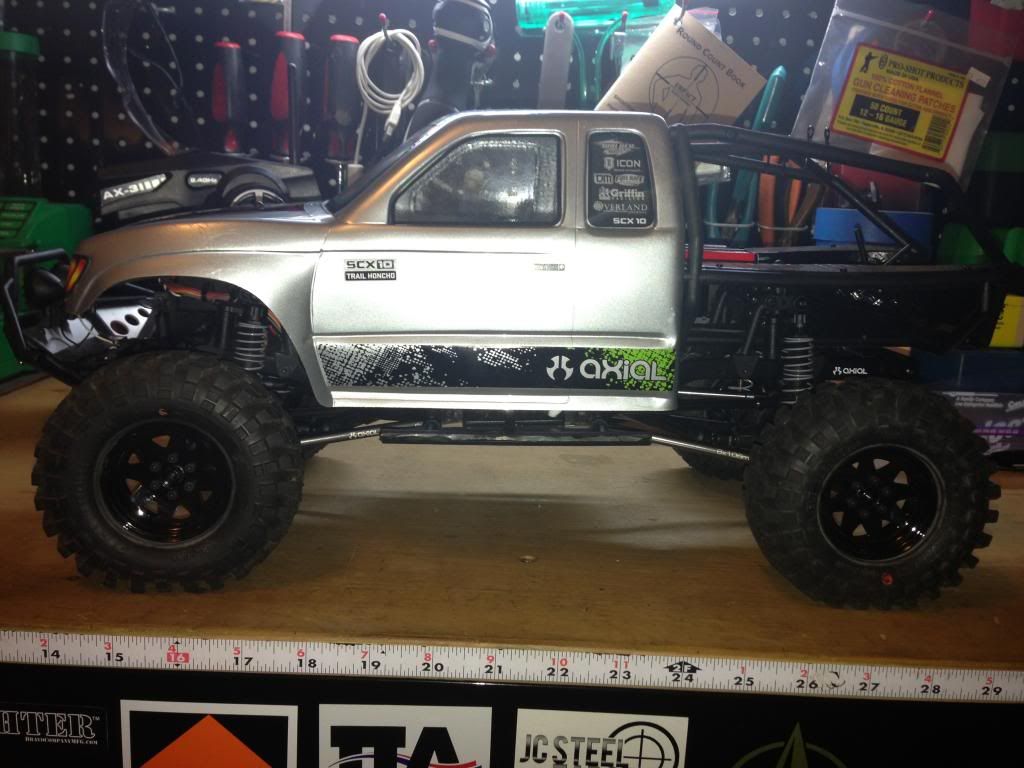 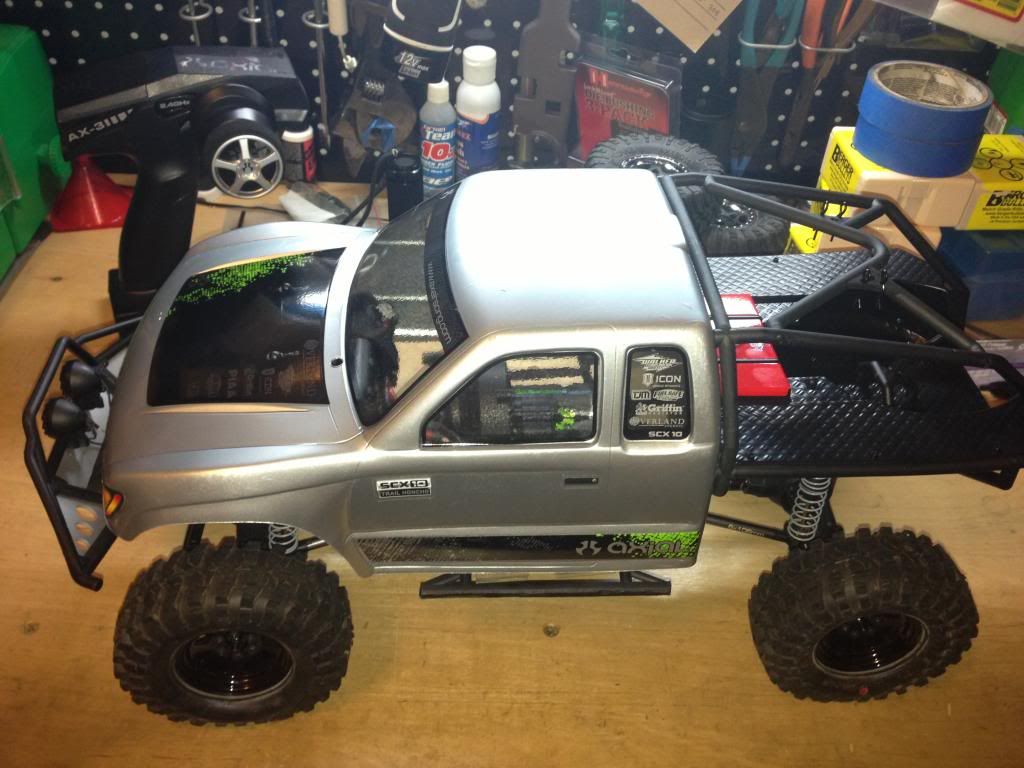 Next 2 pics are top and bottom pics with body removed. You can see my layout here and also the metal links! Sexy! 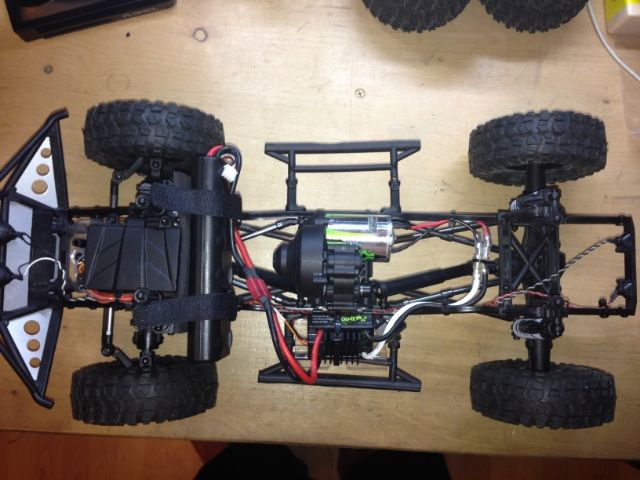 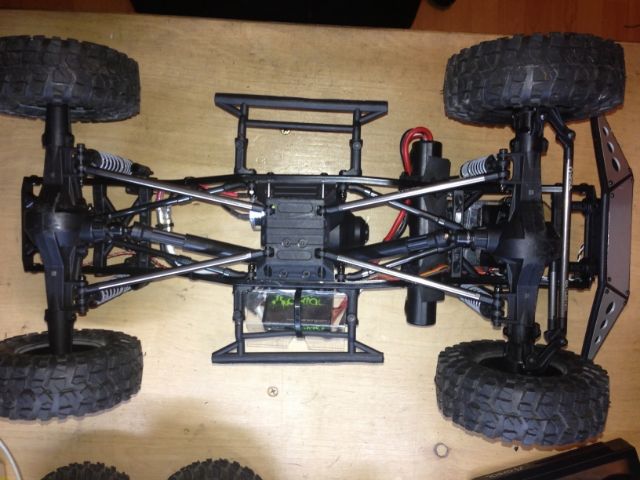 In these next 3 pics you can see how my battery is mounted. (Another tip from the sticky's) Simply cable tied the velcro straps to the shock hoops and used a piece of foam from the packaging of rims I just bought. It looked a bit ugly at first but it turned out pretty clean looking in the end. I'd still like to clean up the wires a bit. 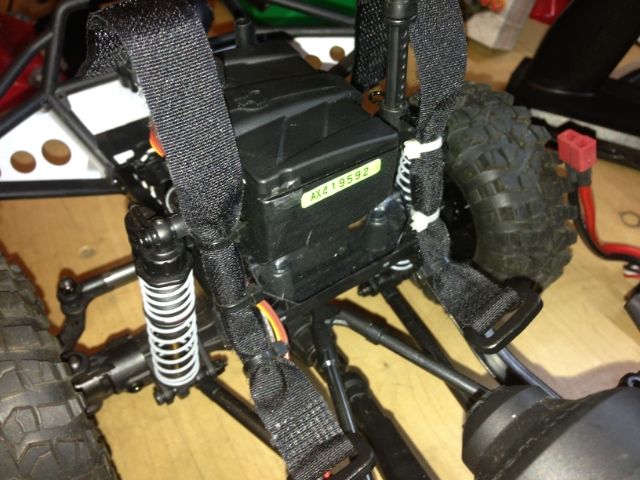 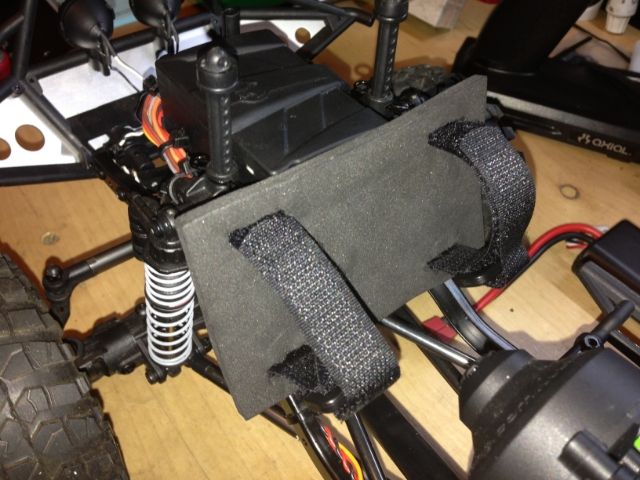 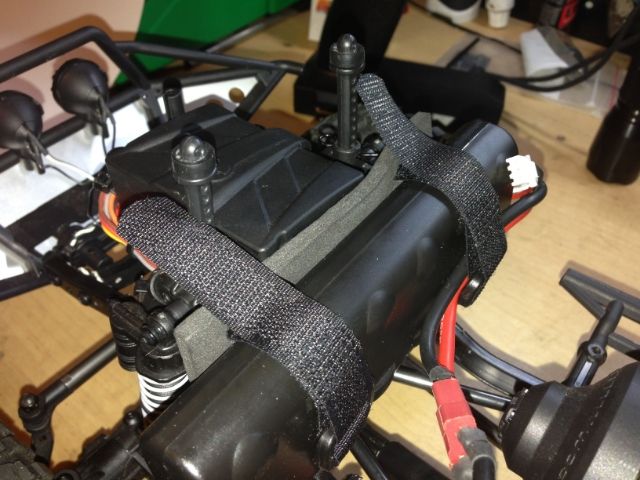 In this pic you can see the tray I made to mount the electric box. It is made out of some clear packaging from the battery I just bought. It is a temporary mock up and will be replaced with the aluminum battery tray once I cut, drill and bend it to the same shape. The plastic one works so good it might just stay there a while! you can also see that the front shocks were turned 180 to make room for the battery.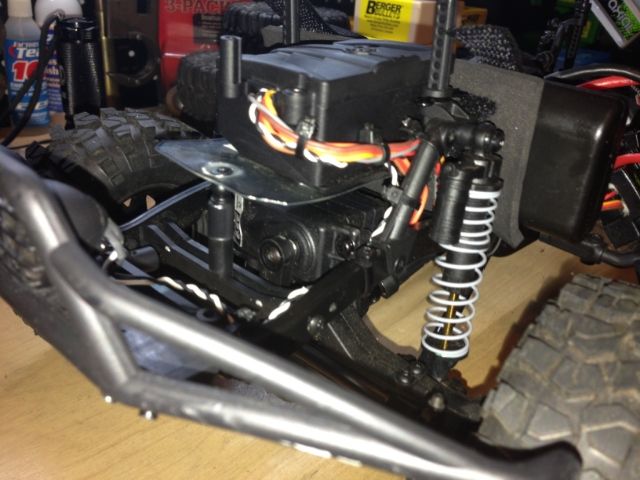 After all these mods it crawls so much better! literally night and day. I think the weight in the wheels have most to do with that. I added 3.5oz in each wheel/tire. I will update this thread with what ever else I do to this build...More to follow... ALoha... Last edited by cox308; 03-23-2013 at 08:48 PM. |

|  |
| Sponsored Links | |
| | |
|
03-09-2013, 02:18 PM
| #2 |
| Pebble Pounder Join Date: Mar 2013 Location: Honolulu
Posts: 196
|
This next tip/trick made a pretty big improvement on the flex up front. I noticed that when I push down on the front the steering linkage that goes from the servo horn to the knuckle hits the frame and also the screw that connects the rod end to the servo horn was hitting and sometimes getting caught on the forward cross member. Here's what I did to fix it. The Axial metal linkage kit comes with a lot of extra parts. so I swithed the rod end on the servo horn from a straight end to a bent end. Also I cut the ball end to be a bit more low pro(just used a utility knife and carefully sliced it). On the left is the straight end with uncut ball end. Right side is the bent end and the cut/low pro ball. 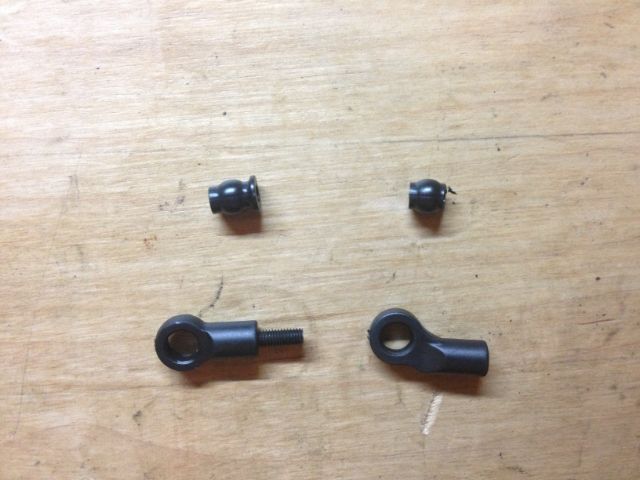 This simple mod gave a least 1/8" more travel and eliminated the screw hitting the cross member problem I had. You will also need to adjust the horn on the servo as the bent end is longer. 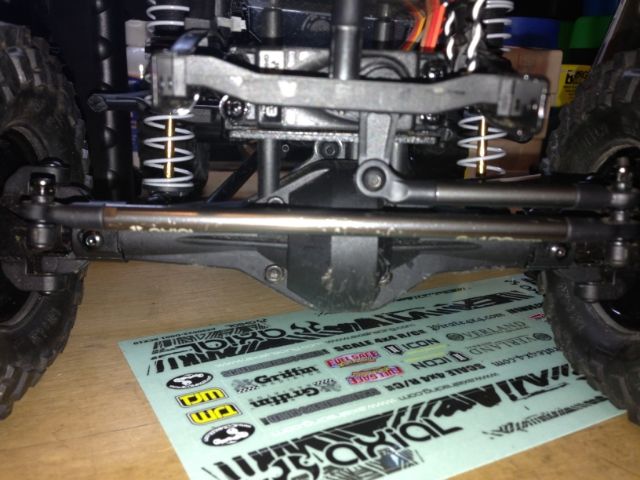 I am pretty happy with the FLEX I'm getting now. 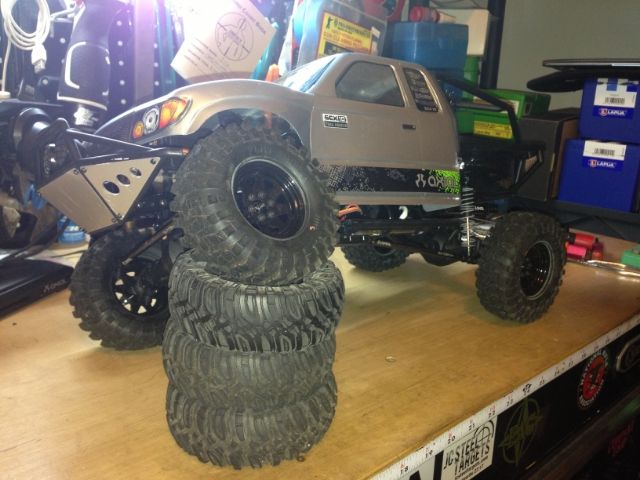 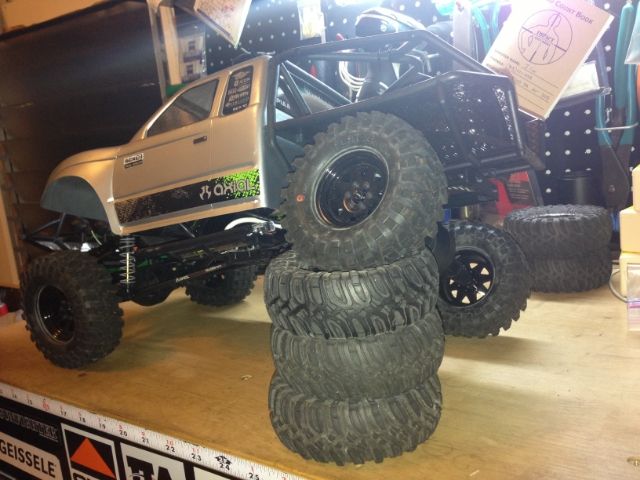 A metal servo horn will be ordered. Last edited by cox308; 03-11-2013 at 08:26 PM. |
|
| |
|
03-09-2013, 07:26 PM
| #3 |
| Pebble Pounder Join Date: Mar 2013 Location: Honolulu
Posts: 196
|
Took a 20 min drive and found a perfect place to crawl. Less than 10 mins in and my stock steering horn strips! 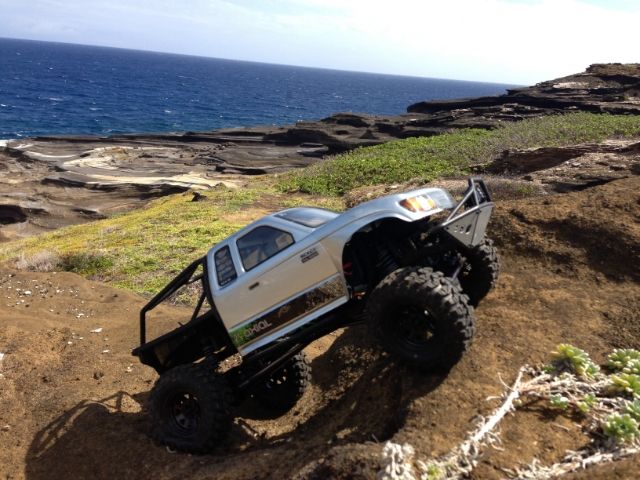 Back to the shop for a metal steering horn... ended up leaving with a new much stronger servo! Rc4WD Twister High Performance Waterproof Servo. P/N Z-E0032. This one has almost double the torque of the stock servo. Stocker = 132 oz. New servo 250+ oz! They were out of the Futaba Metal horns. will be back next week to pick one up. I'll use the HD plastic one that comes with the servo for now. 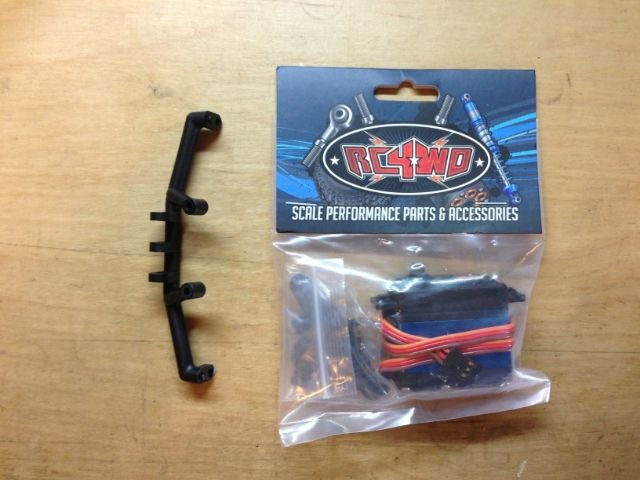 Also pictured is the front 4 link piece that I just realized it came with the truck! I will convert the front 3 link into a 4 link since I have all the pieces. Another project! Last edited by cox308; 03-11-2013 at 08:27 PM. |
|
| |
|
03-10-2013, 01:08 AM
| #4 |
| Newbie  Join Date: Oct 2011 Location: hawaii
Posts: 31
|
Which hobby shop did you go to.
|
|
| |
|
03-10-2013, 03:00 AM
| #5 | |
| Pebble Pounder Join Date: Mar 2013 Location: Honolulu
Posts: 196
| Quote:
| |
|
| |
|
03-10-2013, 10:46 AM
| #6 |
| Pebble Pounder Join Date: May 2005 Location: so. cal
Posts: 134
|
That's dakine, brudda! Nice crawl spot!
|
|
| |
|
03-10-2013, 05:28 PM
| #7 |
| Pebble Pounder Join Date: Mar 2013 Location: Honolulu
Posts: 196
|
3/10/13 update. Got some time to work on the Hawn Honch! First I mounted the new servo!  Also had some time to fab my electronic mounting tray.  I just took my unused aluminum battery tray and cut, drilled, and bent it into the same shape as my mocked up plastic tray. 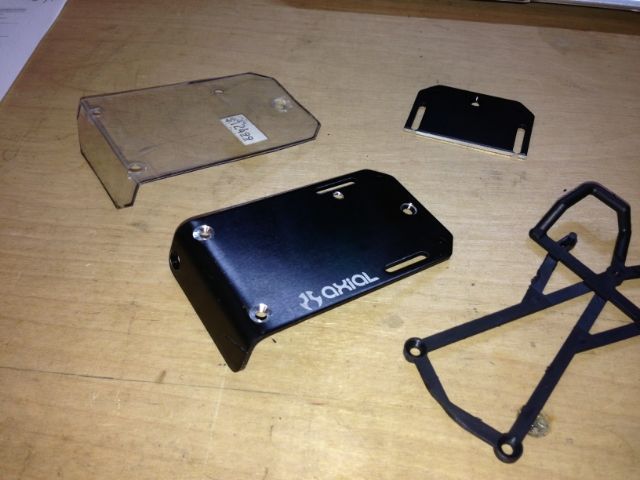 Here's the tray and the servo mounted. Came out pretty nice! 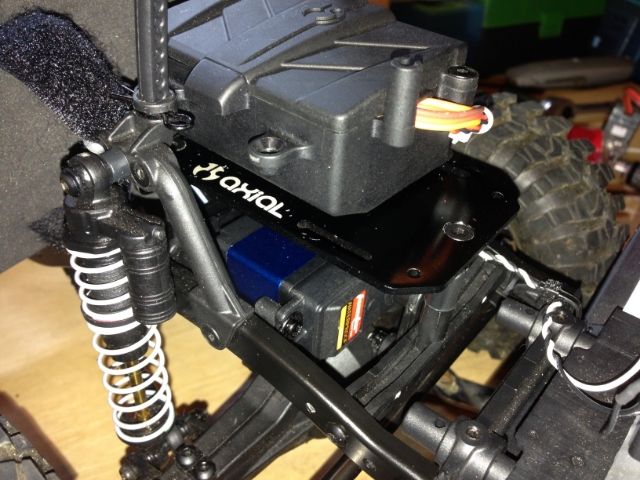 My only complaint is that the new servo is noticeably louder than the stocker. From what I've read this is perfectly normal for a digital servo. I haven't had time to crawl it yet but expecting a great improvement in steering! Last edited by cox308; 03-11-2013 at 08:02 PM. |
|
| |
|
03-11-2013, 02:59 PM
| #8 |
| I wanna be Dave  Join Date: Jun 2005 Location: On the G-Train!!!!!
Posts: 6,081
|
Generally I'd advise against rc3wd electronics, but you've already bought it. Good luck. Also, your spare clips on the tube bed is a great place for them to get hung up, I'd move them to the body posts under the cab. Other than that, great start. |
|
| |
|
03-11-2013, 04:10 PM
| #9 | |
| Pebble Pounder Join Date: Mar 2013 Location: Honolulu
Posts: 196
| Quote:
Hopefully I'll get a chance to run her today! Last edited by cox308; 03-11-2013 at 08:29 PM. | |
|
| |
|
03-11-2013, 04:13 PM
| #10 | |
| I wanna be Dave Join Date: Jun 2005 Location: On the G-Train!!!!!
Posts: 6,081
| Quote:
Should be nice & muddy. Have fun. | |
|
| |
|
03-11-2013, 08:14 PM
| #11 |
| Pebble Pounder Join Date: Mar 2013 Location: Honolulu
Posts: 196
|
^^^ I'm not ready to take this one in the mud yet...lol...so I headed for the rocks! If any one want to go for a crawl session here just LMK. This place is soooo perfect for scalers! 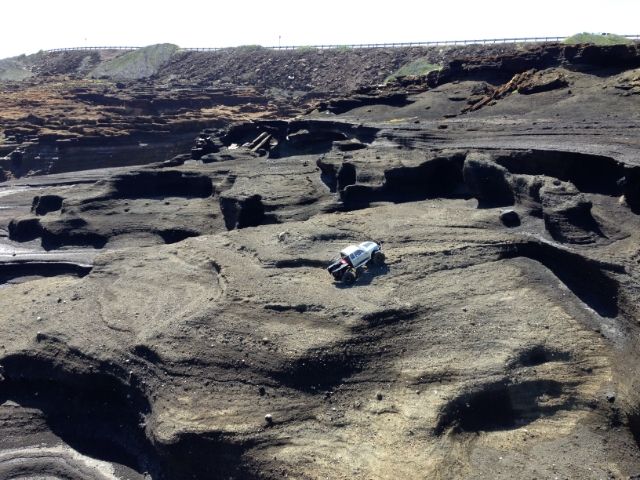  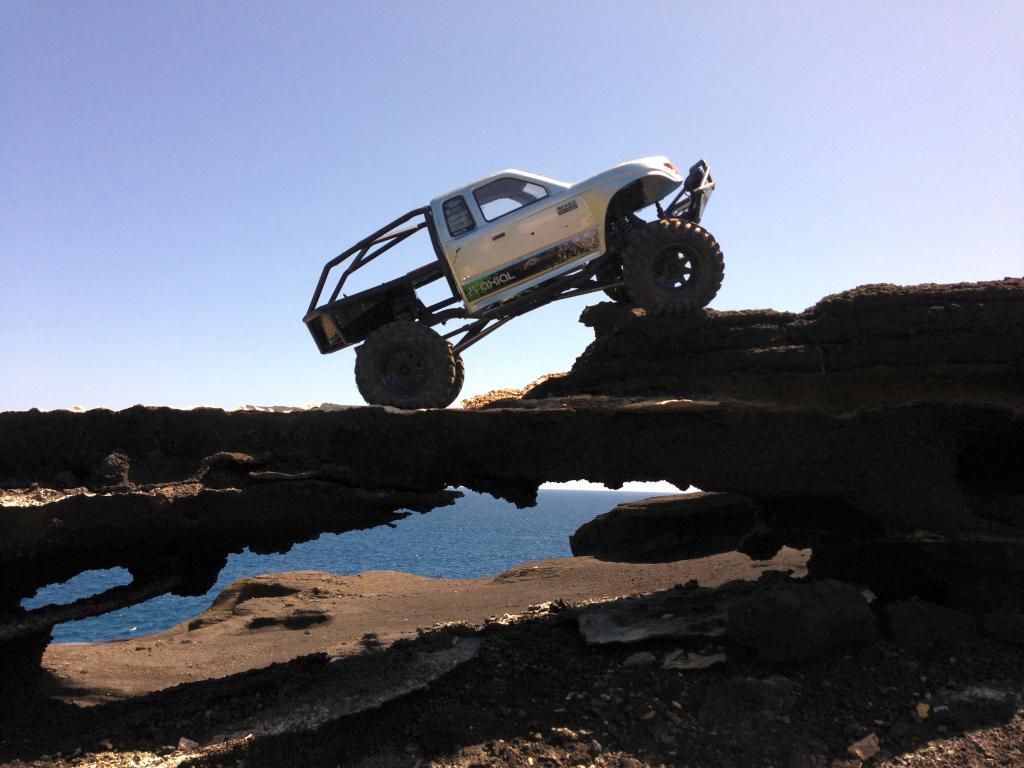 Like to add that The servo worked great so far. Much better turning power! Also the noise complain I made earlier about I'd like to retract. Its pretty loud when your crawling around the house at 2am trying not to wake your girlfriend...but once it's outside I didnt notice it at all Last edited by cox308; 03-11-2013 at 08:31 PM. |
|
| |
|
03-12-2013, 10:57 AM
| #12 |
| Pebble Pounder Join Date: Mar 2013 Location: Honolulu
Posts: 196
|
Got the 4 link installed using the bracket that came with the spare parts. It is much more solid in the side to side direction and it damn near eliminated the slop in the axle wrap. The ball end on the factory Y bracket had developed a lot of slop even though this honcho is less than a week old. It would have likely pulled through eventually. Especially with the upgrades that will be soon coming in the mail... I was hesitant about the servo plate only having 2 screws with this setup instead of 3 , but after getting it mounted I'd say that the servo is still extremely rock solid and I'm not worried about it at all.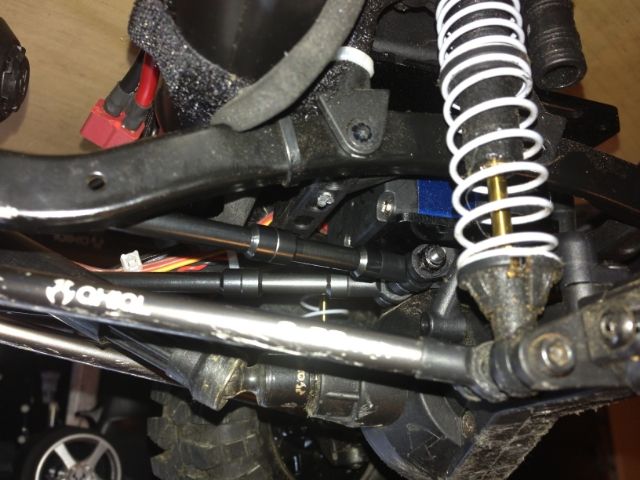 Last edited by cox308; 03-12-2013 at 11:06 AM. |
|
| |
|
03-12-2013, 01:09 PM
| #13 |
| Rock Stacker Join Date: Feb 2013 Location: lawerenceville
Posts: 61
|
Ok I like all tge adjust mods for battery relocate electronucs on top our of harms way great pics can't wait to finish mine as well grsat job !!!
|
|
| |
|
03-12-2013, 02:57 PM
| #14 |
| I wanna be Dave Join Date: Jun 2005 Location: On the G-Train!!!!!
Posts: 6,081
|
Looks like you went to Lanai Lookout. Great spot. You don't have to worry about the servo plate, that's how the wraith is.
|
|
| |
|
03-12-2013, 06:45 PM
| #15 |
| Rock Stacker Join Date: Jan 2012 Location: Walters, OK
Posts: 89
|
I too, have just come from airsoft, so, I bought myself a dingo kit and waiting for it to come in. Overall looks like it is going to be an interesting build. I will have keep my eye on this one.
|
|
| |
|
03-12-2013, 07:59 PM
| #16 | ||
| Pebble Pounder Join Date: Mar 2013 Location: Honolulu
Posts: 196
| Quote:
Quote:
This spot is right across the street from the Makapu'u point lookout. Really fun spot! 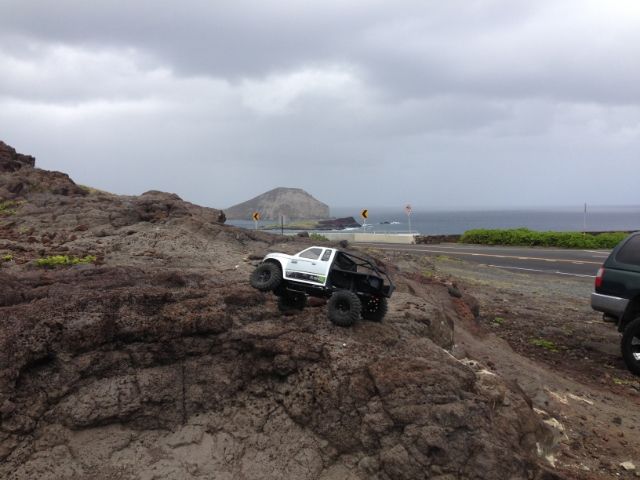 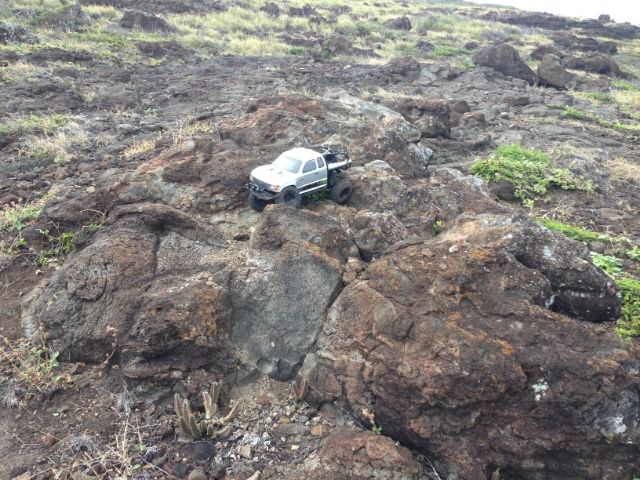  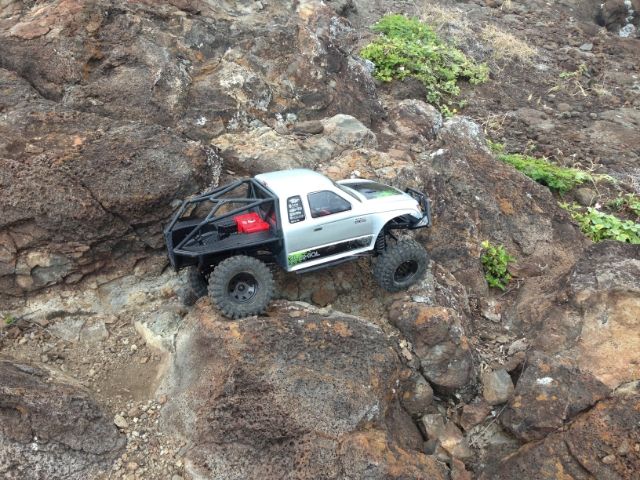 | ||
|
| |
|
03-12-2013, 08:54 PM
| #17 |
| Pebble Pounder Join Date: Feb 2008 Location: 808
Posts: 136
|
Rite on cox308!! Looks like a good start. There's actually a pretty big group of guys on oahu that crawl at these spots. Good fun!! Btw you a 2a member?
|
|
| |
|
03-12-2013, 08:55 PM
| #18 |
| Newbie Join Date: Feb 2013 Location: Montreal, Quebec, Canada
Posts: 33
|
Your playground is epic
|
|
| |
|
03-12-2013, 10:13 PM
| #19 | ||
| Pebble Pounder Join Date: Mar 2013 Location: Honolulu
Posts: 196
| Quote:
Quote:
| ||
|
| |
|
03-12-2013, 11:26 PM
| #20 |
| Pebble Pounder Join Date: Feb 2008 Location: 808
Posts: 136
|
Thought so!! Haha...shoots
|
|
| |
 |
 Hawaiian Honcho build! - Similar Threads
 | ||||
| Thread | Thread Starter | Forum | Replies | Last Post |
| One Nada Local boy. Hawaiian Hawaiian | kailuaboy | Tamiya Txt-1 and Juggernaut | 12 | 12-17-2006 08:04 PM |
| |


 Linear Mode


