| |
 09-29-2013, 08:21 PM
| #81 |
| Newbie Join Date: Aug 2013 Location: Prescott
Posts: 15
|
have you thought about making the garage door opening automatically? with like a winch and pulley or something along those lines would be some of the finer things everybody loves
|

|  |
| Sponsored Links | |
| | |
|
09-30-2013, 09:00 AM
| #82 | |
| Rock Crawler Join Date: Mar 2010 Location: NRV
Posts: 958
| Quote:
Once, the awning & pumps are finished, the garage doors will be next & then I'll probably take a break from it before getting into the inside details... I say that now. | |
|
| |
|
09-30-2013, 11:02 AM
| #83 |
| Rock Crawler Join Date: Mar 2010 Location: NRV
Posts: 958
|
So, right now, it's back on the pumps. Got another box of goodies today. I'm approaching the limitations of my $70 Wal-mart macro lens. That's a dutch oven upside down, I botched the lid & it's on my next order. The electrical box came out nice, once I get some paint on it, you'll be able to see the detail better. Oh... and got a little yeller paint on the body. And, I'm pleased as punch with the nozzle. You can see a knob/pin on the back of it, I designed that into the piece to accept a section of 1/8" ID, 1/32" wall, black surgical tubing for the hose 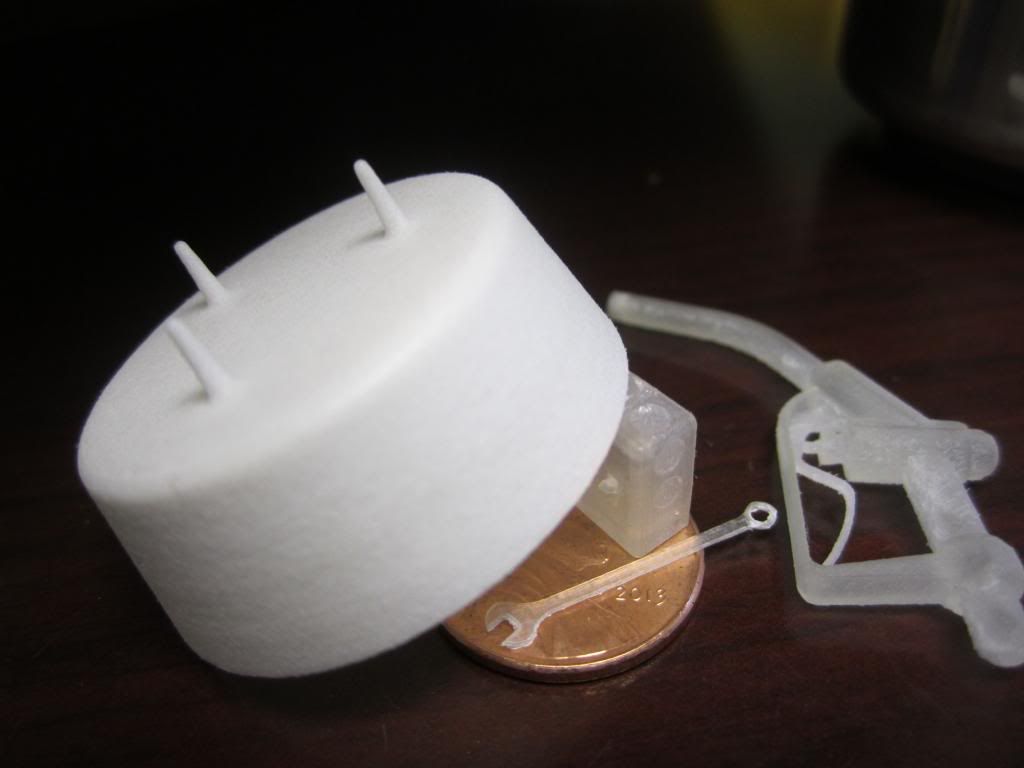   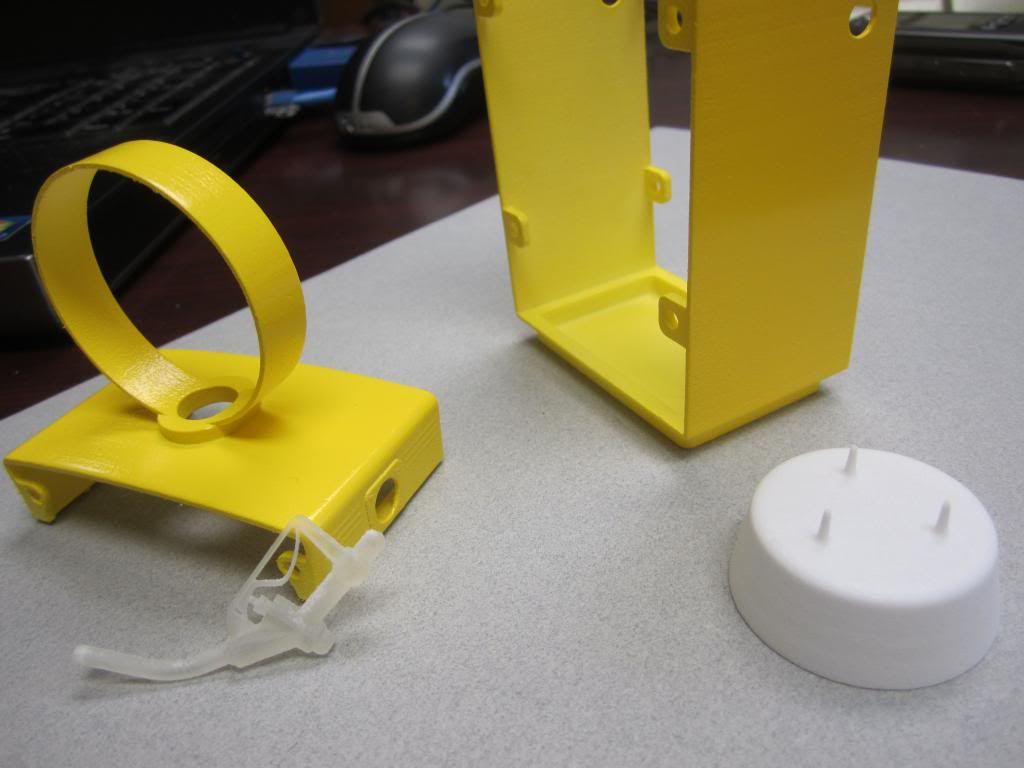 |
|
| |
|
09-30-2013, 04:17 PM
| #84 | |
| MODERATOR   Join Date: Oct 2010 Location: RC Land
Posts: 3,185
| Quote:
Great work on the CAD end of things for sure. When you get to the point of painting the fine lettering, don't bother with the shakey brush technique .... Just grab a fine tipped Sharpie permanent marker and trace off the surface of the letters. . | |
|
| |
|
09-30-2013, 04:36 PM
| #85 |
| Newbie Join Date: Sep 2013 Location: in the garage
Posts: 7
|
For the lettering, have you thought about 3D printing a corresponding "mask"? It's an idea I've had but haven't had the right project to try it on. |
|
| |
|
10-02-2013, 10:51 AM
| #86 | |||
| Rock Crawler Join Date: Mar 2010 Location: NRV
Posts: 958
| Quote:
I have redesigned a few pieces as you'll see in the next post but I've ordered extra lettering pieces. I'm going to try the sharpie technique, decals, I like the mask idea. I'll just see what looks best. Quote:
Quote:
| |||
|
| |
|
10-02-2013, 10:52 AM
| #87 |
| Rock Crawler Join Date: Mar 2010 Location: NRV
Posts: 958
|
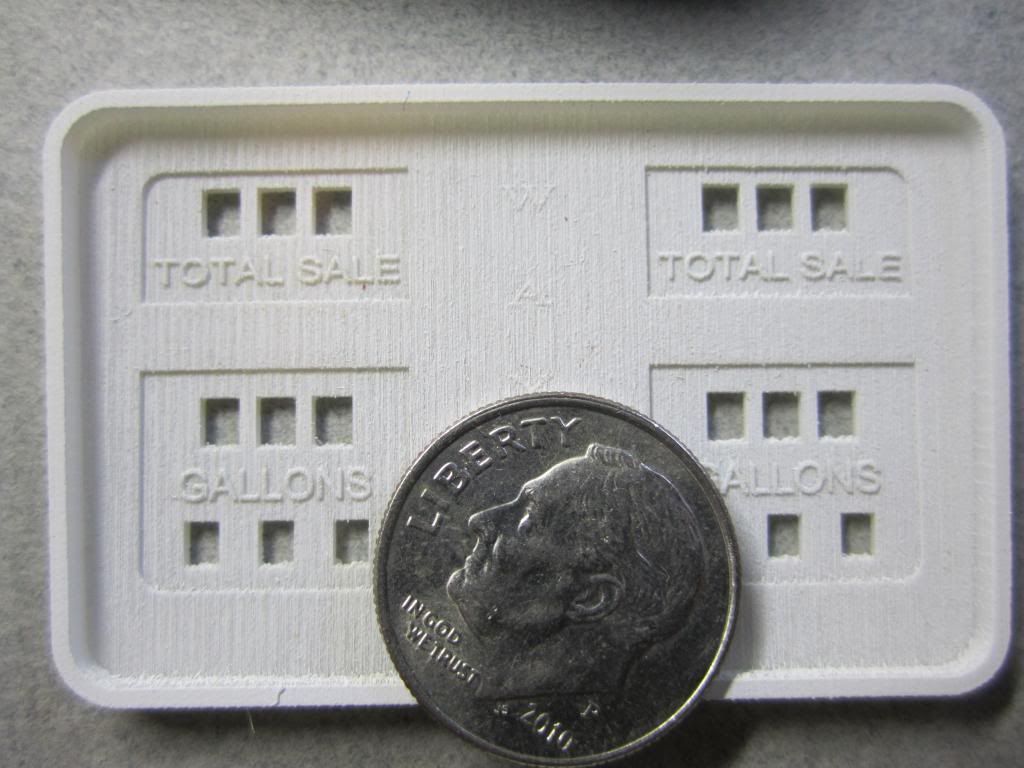
The rest of my parts came today, but... I've gotten better at this in the mean time. There were things I wanted to do with it that I kind of gave up on because I couldn't quite figure it out. The main thing was the text & window at the top & the one in the middle. I wanted to be able to put a piece of .4mm clear lexan in from the back and have modular nested pieces to facilitate painting and sanding and allow for different materials and it just gives it a clean finished look. The top lettering piece is flat right now to test water slide decals. I have another version where the back lettering portion is seperate from the frame for painting. I've found that it helps to be able to sand that flat piece that has the lettering. the letters are recessed on the lower portion and with detail lines on ABS bodies, I've found I can slop on some paint in the cracks, wipe it off right away, then go back over it with a real fine plastic polish and it makes for a real clean paint job.... so I redesigned those pieces. I also tried to make them 1mm so I have the option of printing detail plastic. white flexible has a min. thickness of .7mm and ultra detail is .5 so any piece I had with walls under 1mm, I couldn't print detail plastic. I've had a hard time getting paint to stick well to the ultra-detail... if anyone has any thoughts on that. My chemistry background is limited to my high school partying days. Here is a cross section of how the nested parts will fit. The large flat section is the lexan which will be cut from stock. It's much clearer than anything that can be printed. 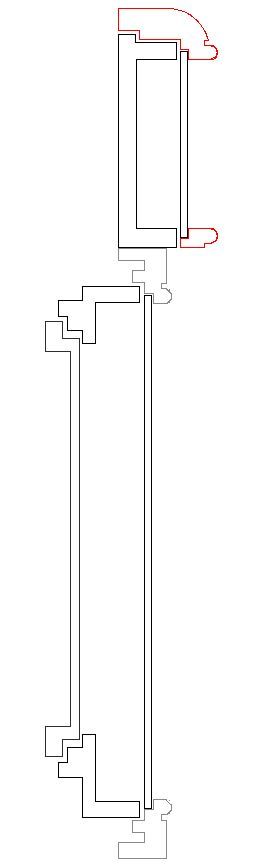 |
|
| |
|
10-05-2013, 04:56 PM
| #88 |
| I wanna be Dave Join Date: May 2008 Location: Baltimore
Posts: 4,442
|
The 3 D parts turned out great!  Do you plan on casting molds to make reproduction parts of them? Do you plan on casting molds to make reproduction parts of them?
|
|
| |
|
10-07-2013, 03:51 AM
| #89 |
| Pebble Pounder Join Date: Aug 2013 Location: Jacksonville
Posts: 159
|
Beautiful work! Very impressed. Wonderful detail!
|
|
| |
|
10-07-2013, 11:02 AM
| #90 | ||
| Rock Crawler Join Date: Mar 2010 Location: NRV
Posts: 958
| Quote:
Quote:
| ||
|
| |
|
10-07-2013, 11:02 AM
| #91 |
| Rock Crawler Join Date: Mar 2010 Location: NRV
Posts: 958
|
bit of progress this weekend. I finished the Awning sign for the other side & mounted both to the awning. It still needs some trim around the edge. I'm thinking a styrene strip painted yellow with red stripes. 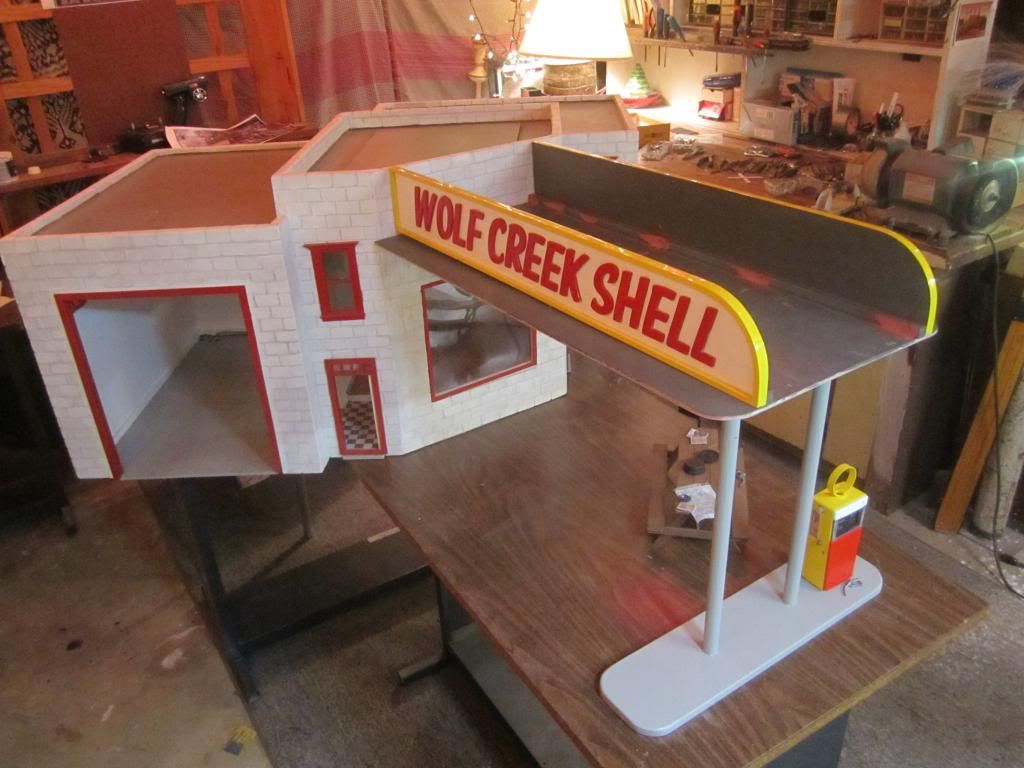 electrical box/switch. I just taped it on the outside for pics but I'll order a few more & they will go on the inside. 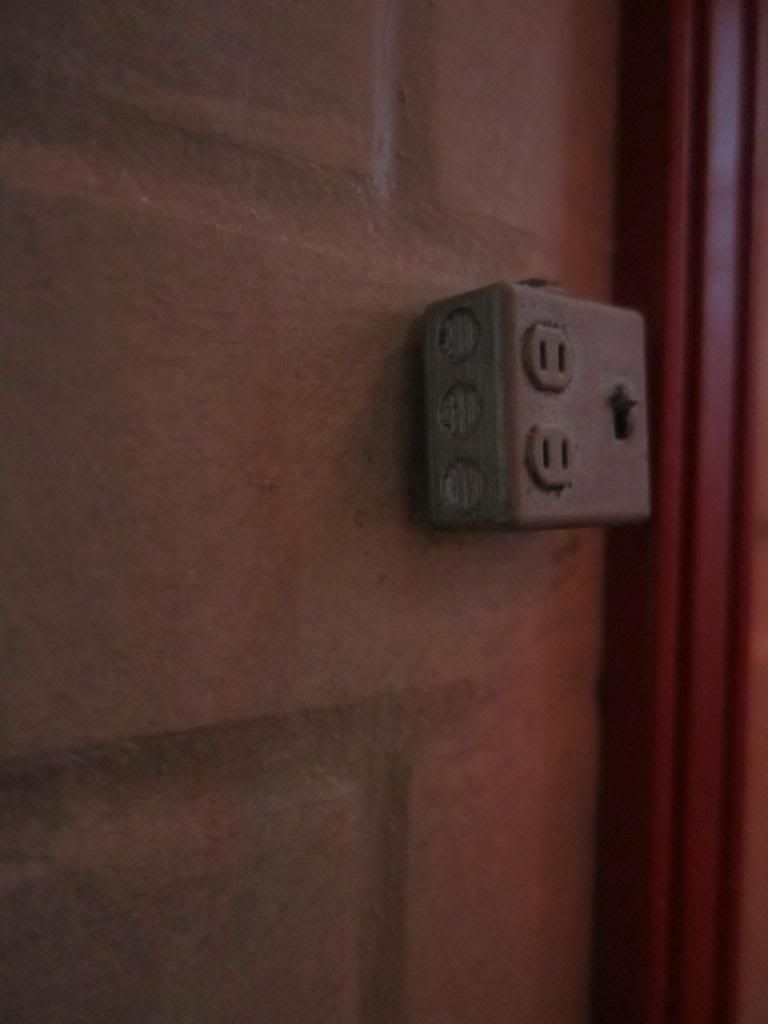 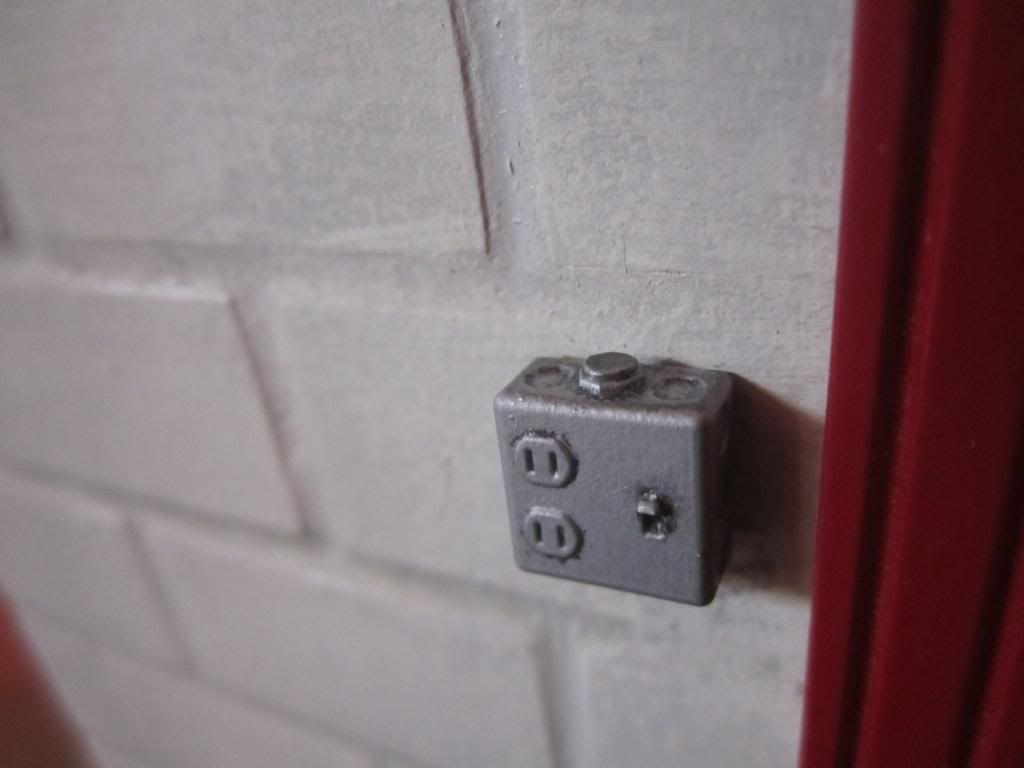 I celebrated the progress with a single piece of macaronii cooked in my dutch oven. The wrench is to flimsy for stirring so I used the pump nozzle. 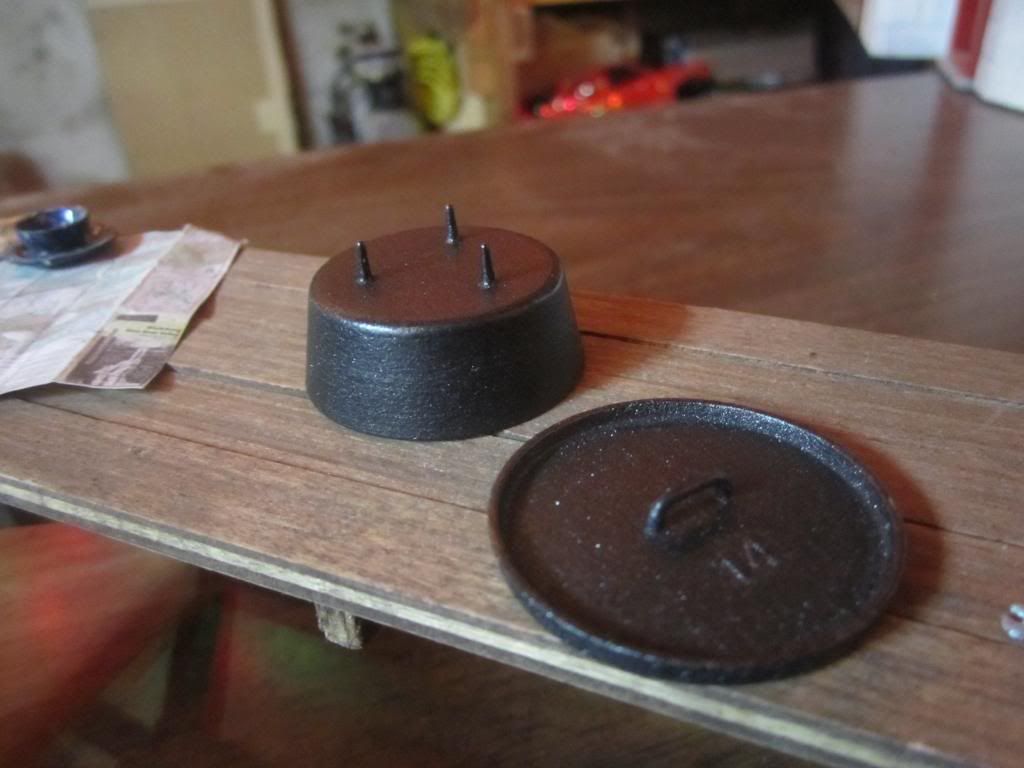 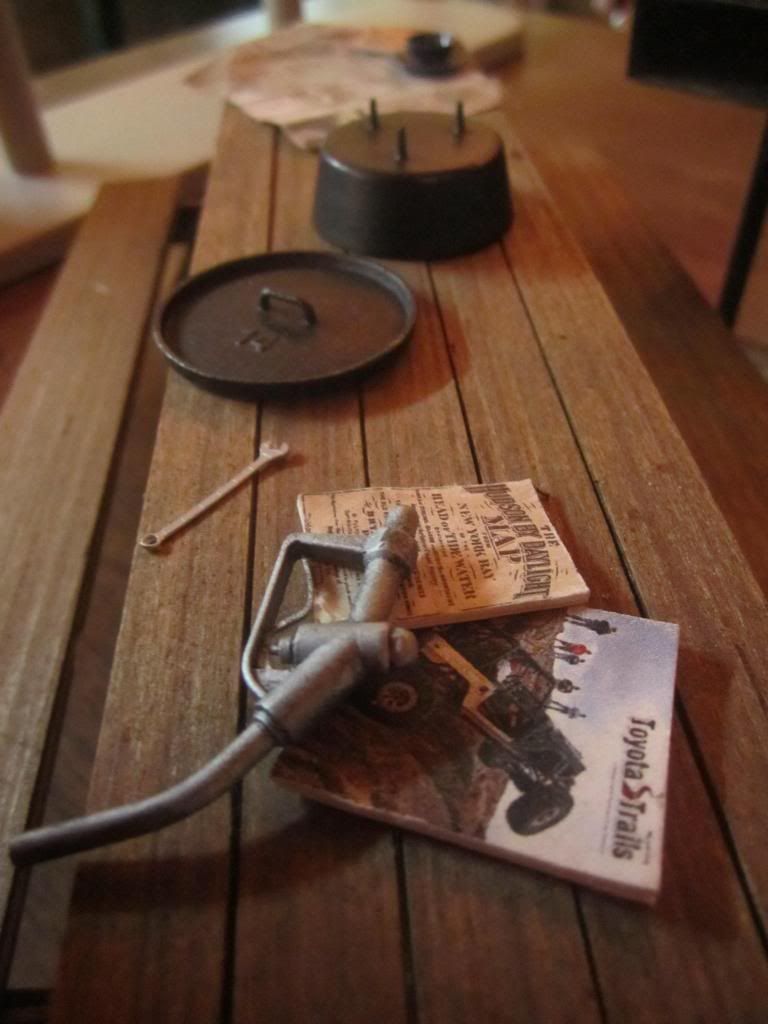 |
|
| |
|
10-07-2013, 11:12 AM
| #92 |
| Rock Crawler Join Date: Mar 2010 Location: NRV
Posts: 958
|
Progress is a little slow on the pump because I redesigned a few pieces and am waiting on those. The redesign is for several reasons & is focused on the lettering and upper and lower glass plate sections. What I have found is that unlike ABS injection molded pieces, it really helps to sand this stuff even before primer. So I am making these pieces modular & nested so they can be sanded, painted and/or decals applied and then be assembled from the back side. I'm experimenting with the lettering. The one in this picture is raised, so I painted it black & then hit the letters with 2000 gt sandpaper exposing the white. I have two more versions ordered. one will have ressessed letters & printed in black material, so dab some white paint in there & lightly sand the flat surface above and the other version will be flat for decals. I'll just see what looks best. also printing some new globe lenses. the original has a shell logo & not the words "shell" so I'm making a decal for that. 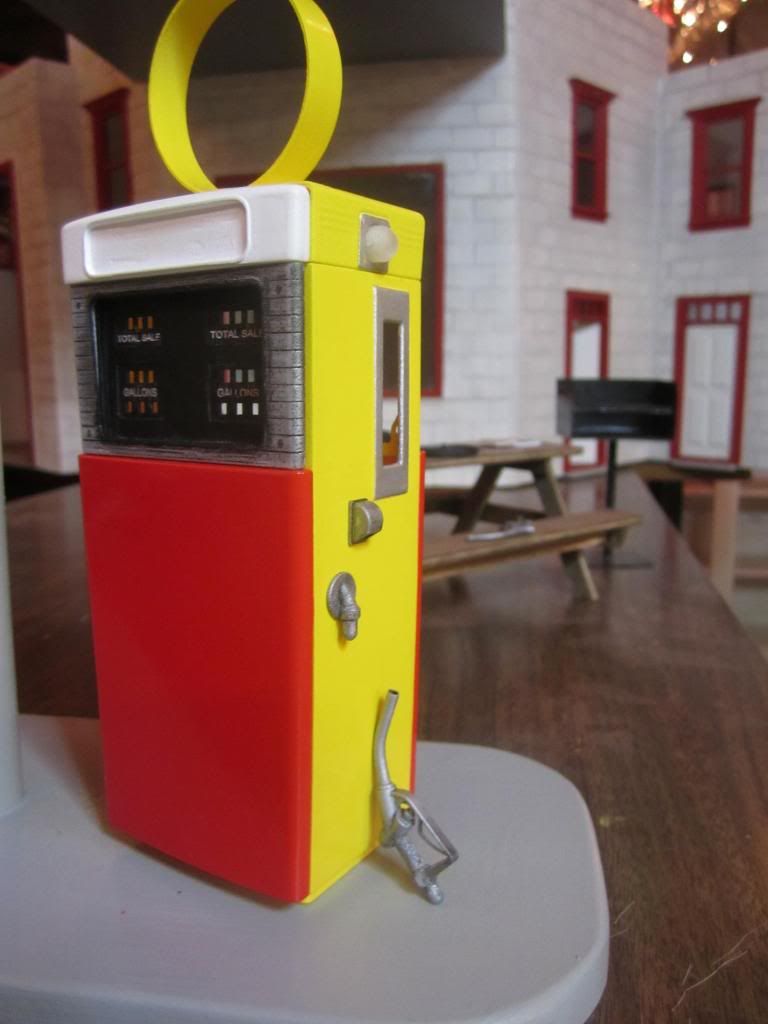  Here is the decal sheet & a section view of the CAD Model showing how the upper and lower plate windows will nest. I'm hoping this will result in a real clean look for the lettering/glass plate portions. Detail is what will make it really stand out & this method will allow for a "glass" plate window, clean lettering & easier painting & minimal masking. 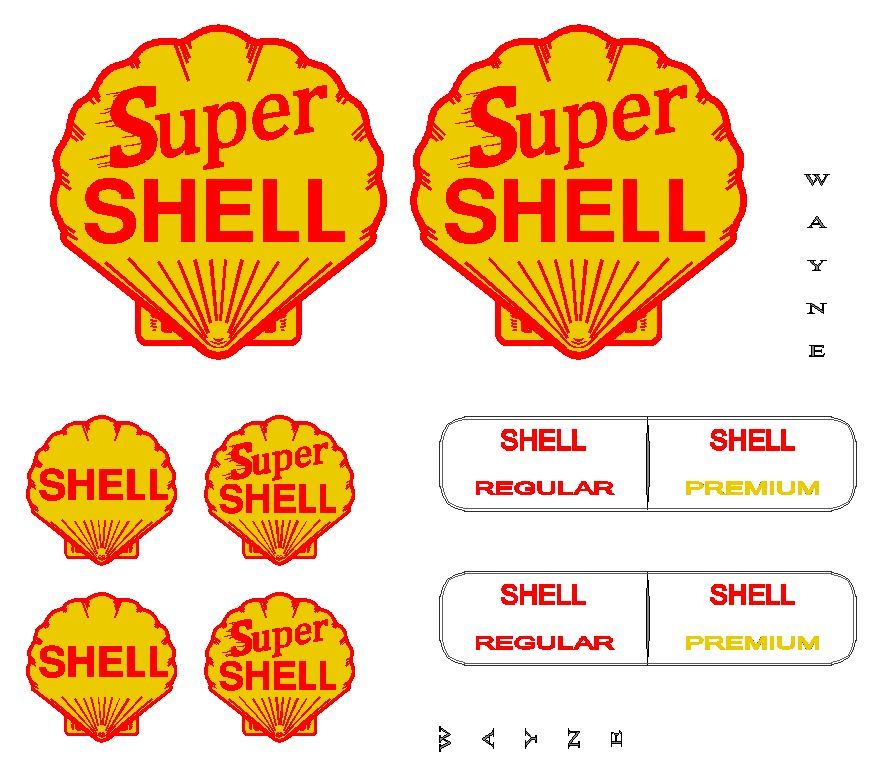 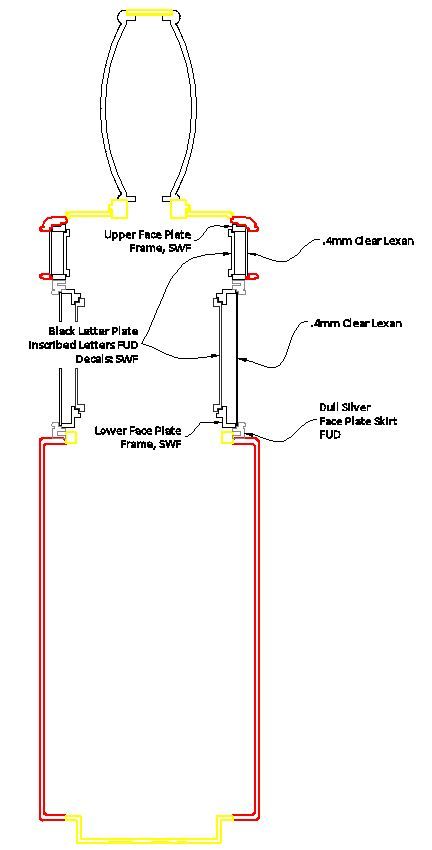 |
|
| |
|
10-07-2013, 03:30 PM
| #93 |
| Rock Crawler Join Date: Oct 2011 Location: Lake Worth
Posts: 748
|
looking great man keep it up and you'll be open in no time
|
|
| |
|
10-28-2013, 09:28 AM
| #94 | |
| Rock Crawler Join Date: Mar 2010 Location: NRV
Posts: 958
| Quote:
Pump Progress. The globe lens on the top, I redesigned with separate ring and lens just to facilitate painting. Masking that ring off was proving to be a real challenge. Posting pictures on the internet has forced me to take things to a level that you dont really even see normally. But I used this globe/ring piece to test the water slide decal. Seems to lay flat enough on the beveled surface. Went to the color scheme based on my original reference photo. Im real pleased with the redesign of the modular letter plate/window assembly. It consists of the silver frame, a white insert to create depth, a 0.2 mm piece of clear lexan for the window, the letter plate itself which has lettering inscribed and is flat. This allows me to paint it matte black, put white paint in the recesses and then polish the white residue off the surface leaving a fairly crisp lettering job. Then the numbers are printed on card stock and complete the assembly. I had raised letters in the middle, WAYNE. But its just hard to get that crisp look with raised letters so I sanded them off, intended to use a decal but reordered that plate with the wayne logo inscribed. Hose has been an enigma. This one is just a 12 gauge wire from an old batter connection with the wire stripped out. This has worked best so far. Oh yea, my Wolf Creek Racing Hilux. 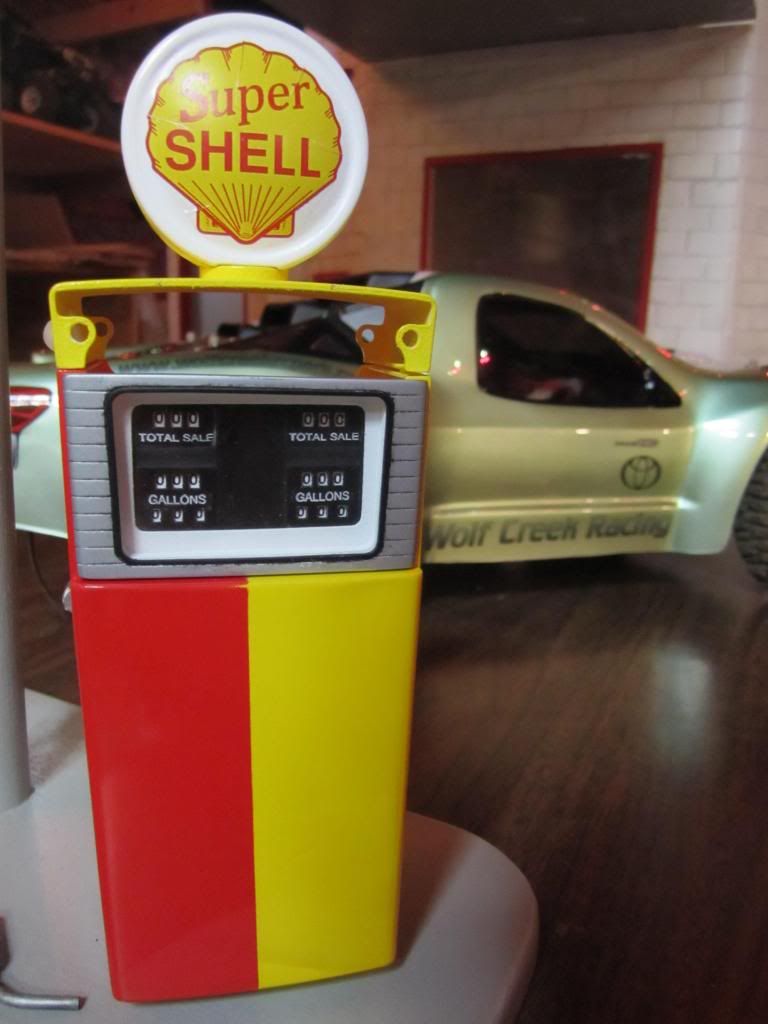 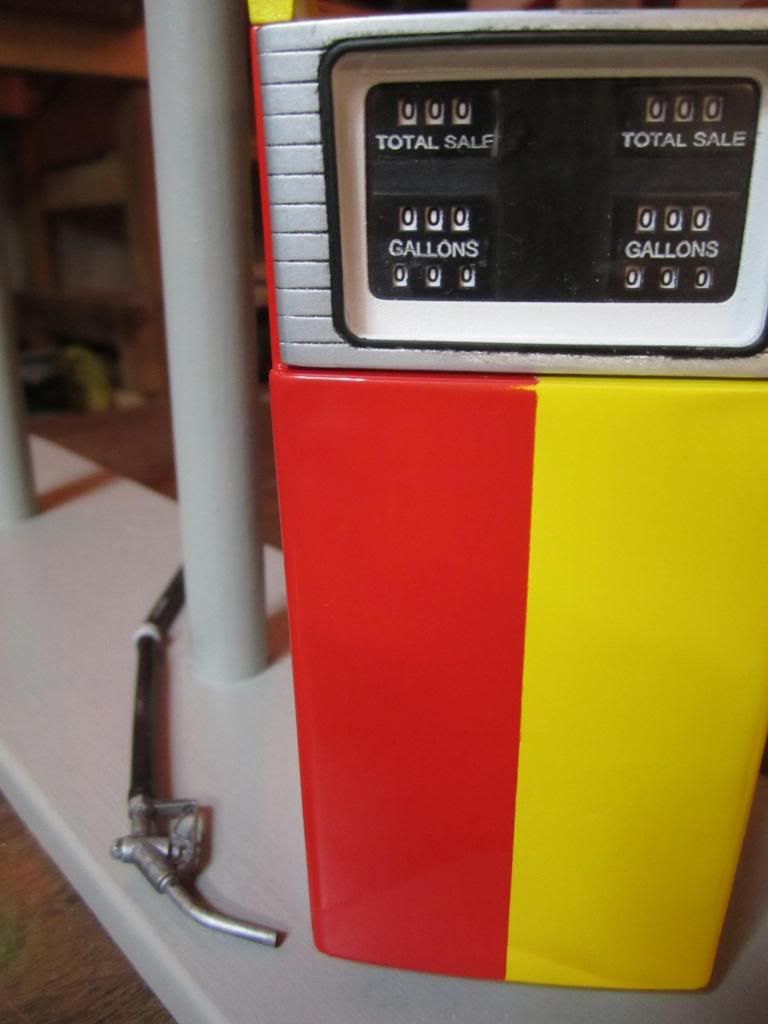 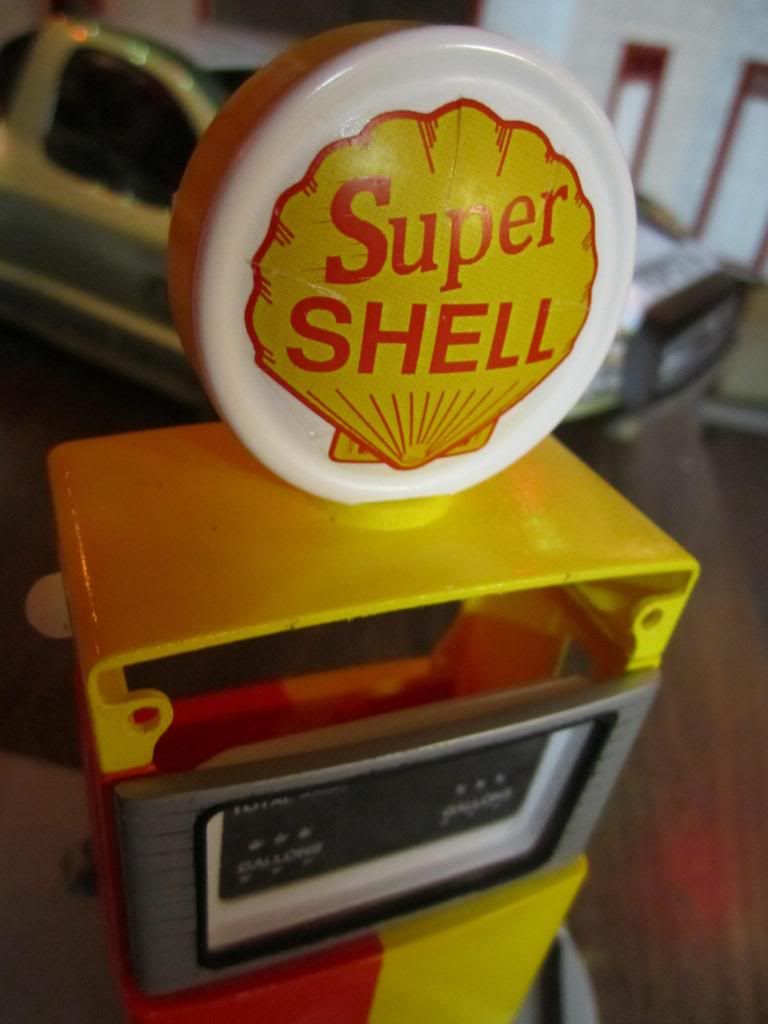 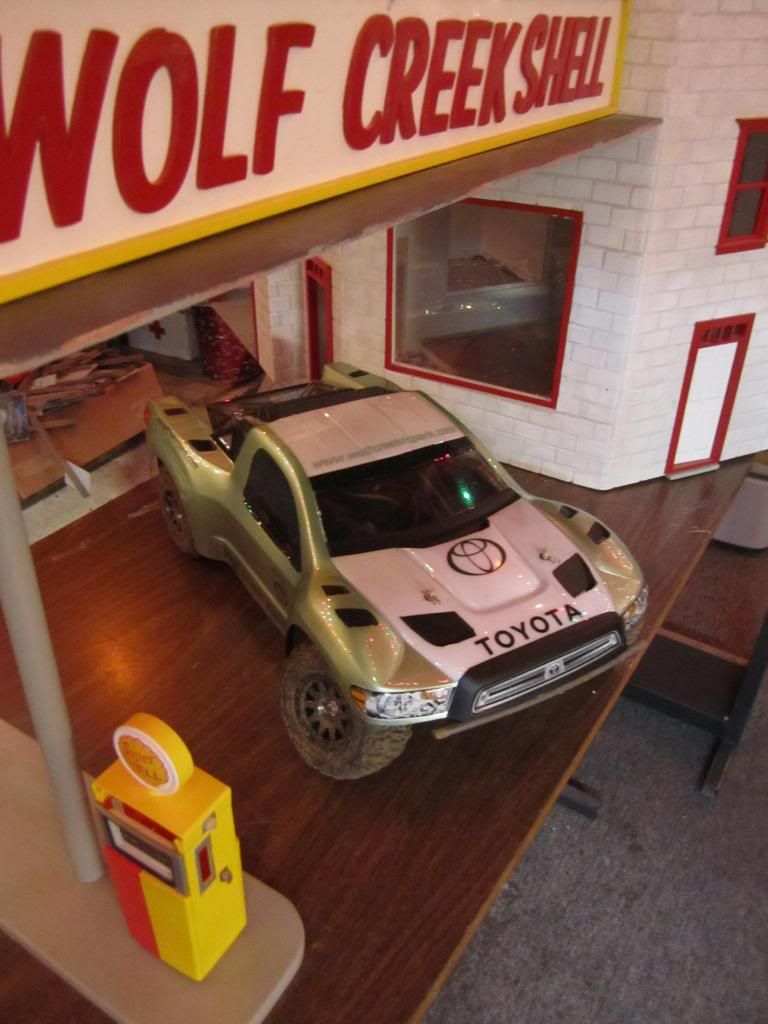 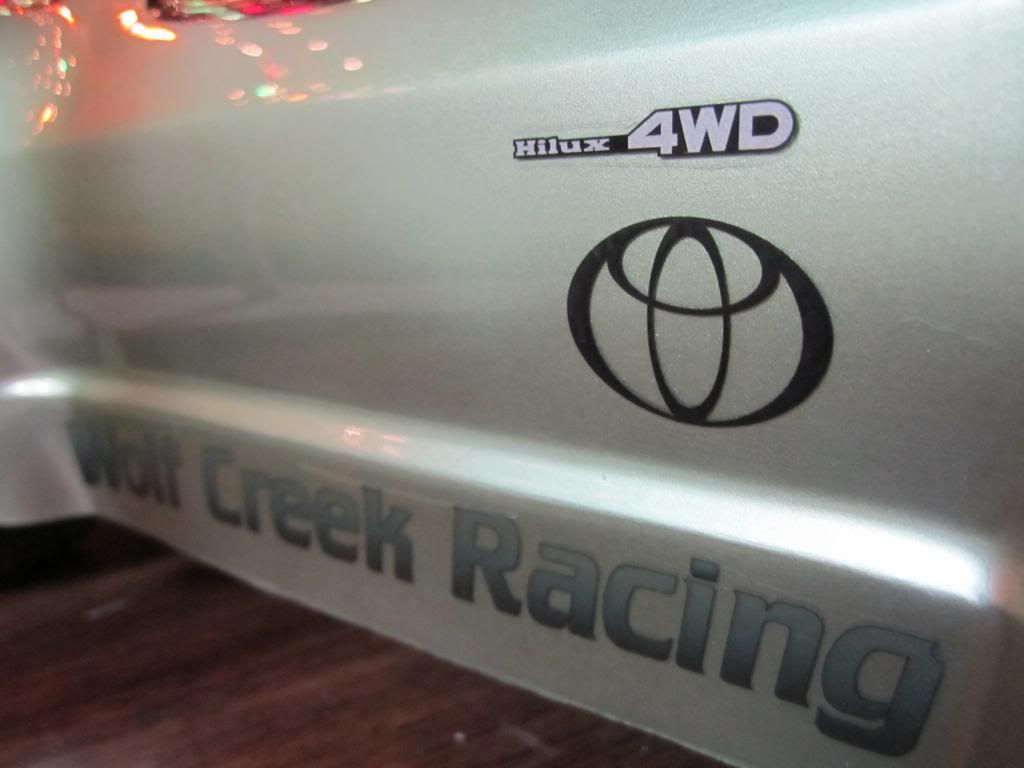 | |
|
| |
|
11-06-2013, 01:48 PM
| #95 |
| Rock Crawler Join Date: Mar 2010 Location: NRV
Posts: 958
|
I thought I would have a more exciting update as i had a part order due to arrive today & assumed it was the remainder of my pump pieces. But it was not. But, it did have my experimental 1:10 scale vintage industrial garage hanging lamp shade thingy. Oh! and a coffee cup. I get really small to work on this thing and I've had several close calls falling into my full size cup while small so... I needed a small cup. 3D Printed coffee cups... don't get small without them. Light shades will accept the RC lighthouse pre-configured light sets. I should do that myself but theirs comes with a big red button. 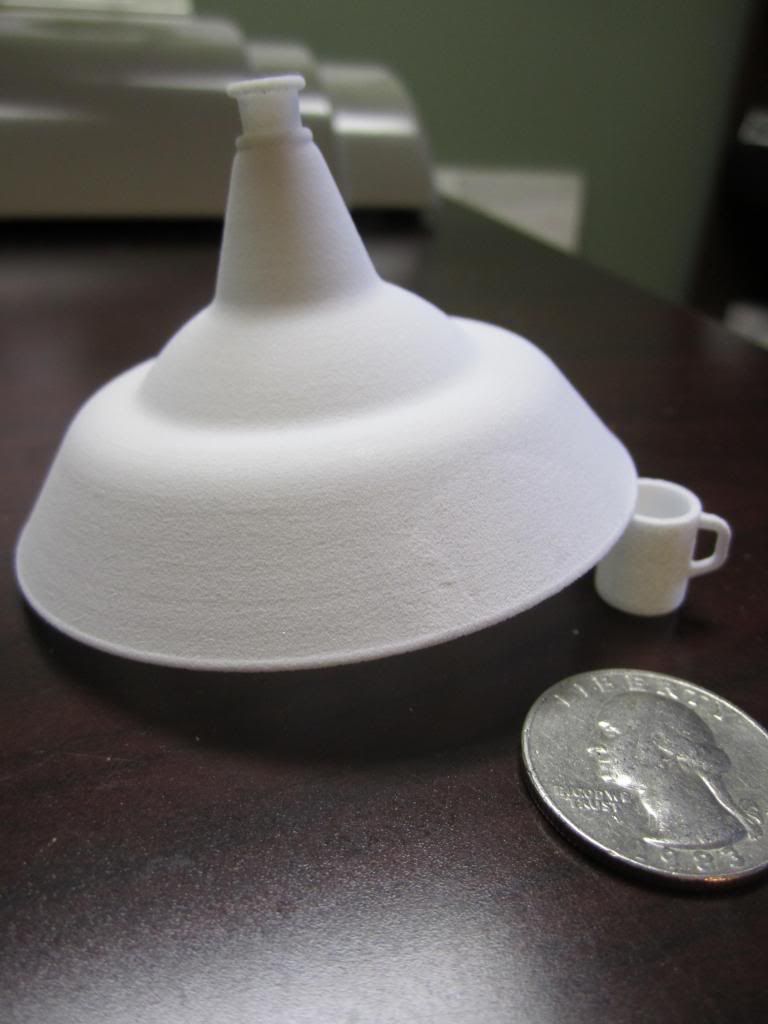 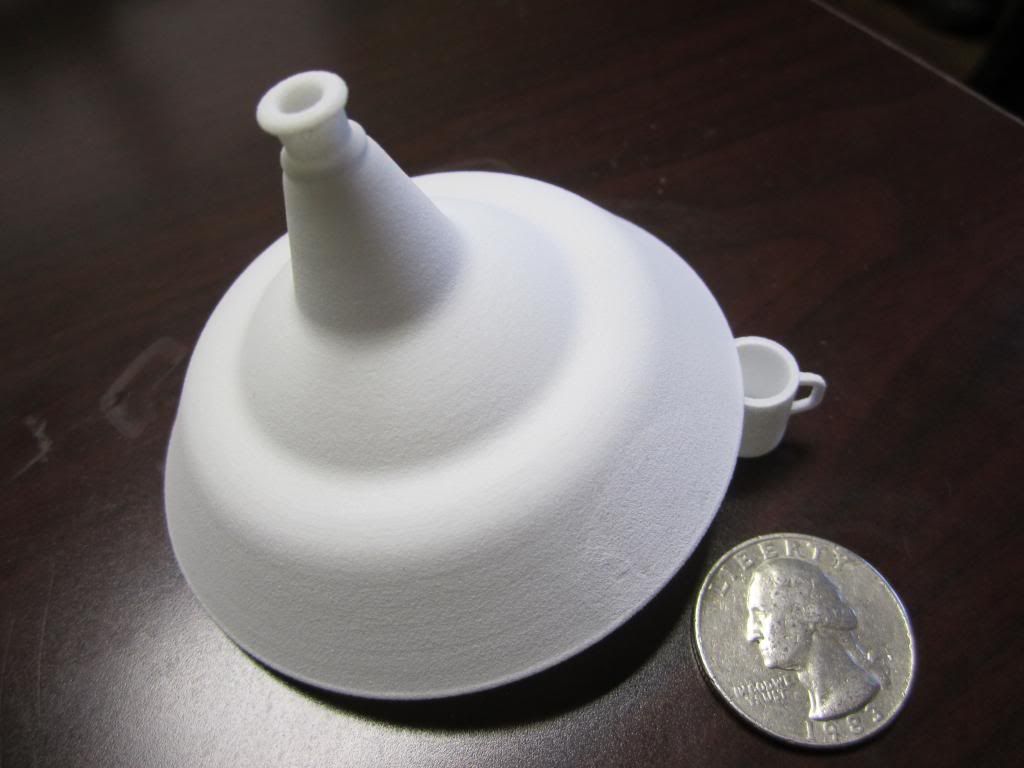 |
|
| |
|
11-11-2013, 06:32 PM
| #96 |
| Newbie Join Date: Sep 2013 Location: in the garage
Posts: 7
|
This is really looking great. There was another shop thread where the person put LED's inside of styrene stock and the stock acted like a lens on a fluorescent fixture. It was uncanny how the plastic performed as a lens, I suspect your fixture will do the same unless you really black it out.
|
|
| |
|
11-12-2013, 06:17 AM
| #97 |
| Rock Crawler Join Date: Mar 2010 Location: NRV
Posts: 958
|
Thanks Cdub. The reference picture I used for this had a wire cage protecting the bulb at the bottom. I originally thought about doing this with brass. May still do that but while experimenting with the globe lens, I've found the same thing, with a thin layer of "milk glass white" paint (I used Tamiya racing white), the lens is fairly translucent. The shade, I painted green on the outside & racing white on the inside. I may try putting a lens in the bottom & hope the green exterior blocks some light & it comes through the lens. a simple brass tube will allow the shade to hang from the ceiling & hide wires. 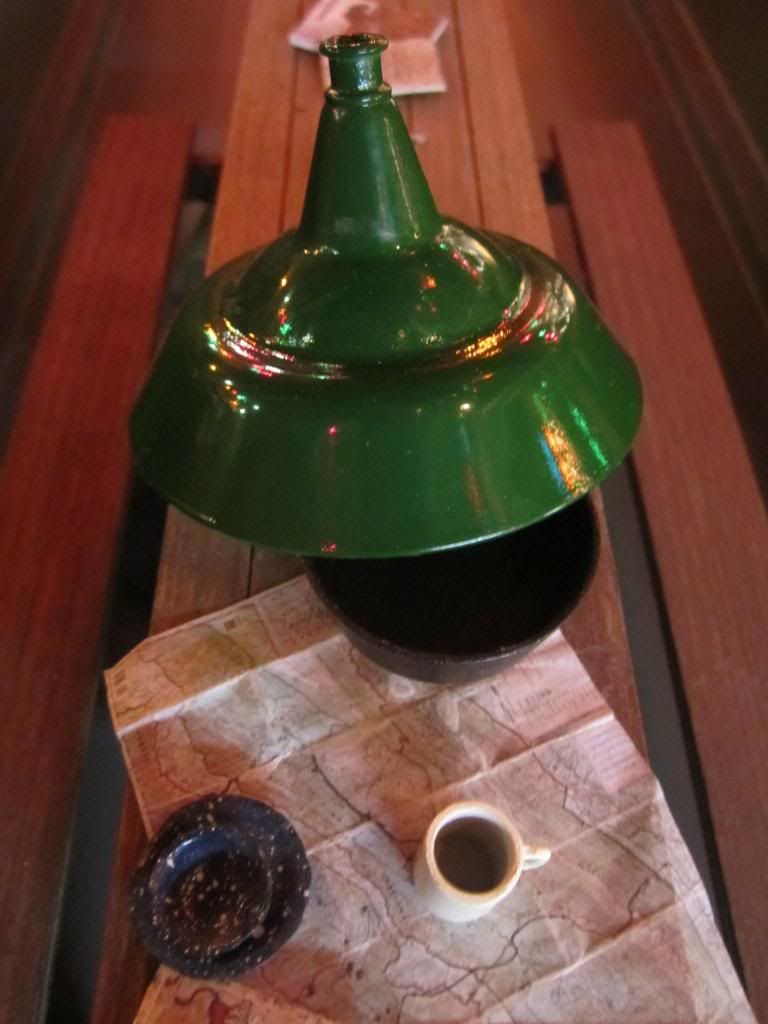 |
|
| |
|
11-12-2013, 06:23 AM
| #98 |
| Rock Crawler Join Date: Mar 2010 Location: NRV
Posts: 958
|
And.... a bit off topic... but you may be thinking to yourself... "what does the Wolf Creek Racing Team do now that winter is on it's way?" We move to the indoor track and drive.... fast. 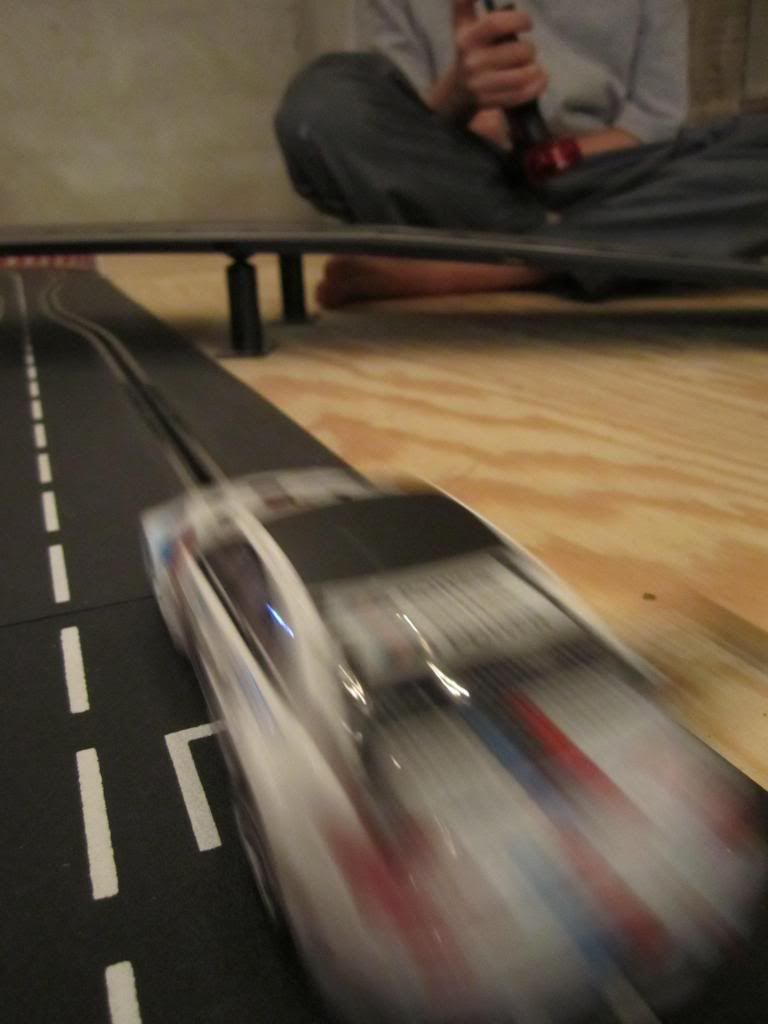  Last edited by DRW-FJ40; 11-12-2013 at 06:25 AM. |
|
| |
|
11-21-2013, 09:08 AM
| #99 |
| Rock Crawler Join Date: Mar 2010 Location: NRV
Posts: 958
|
Oh Joy! Boxes of stuff. Waiting for this stuff to arrive is torture. But here we have the redesigned parts for the upper glass dome assembly and globe. 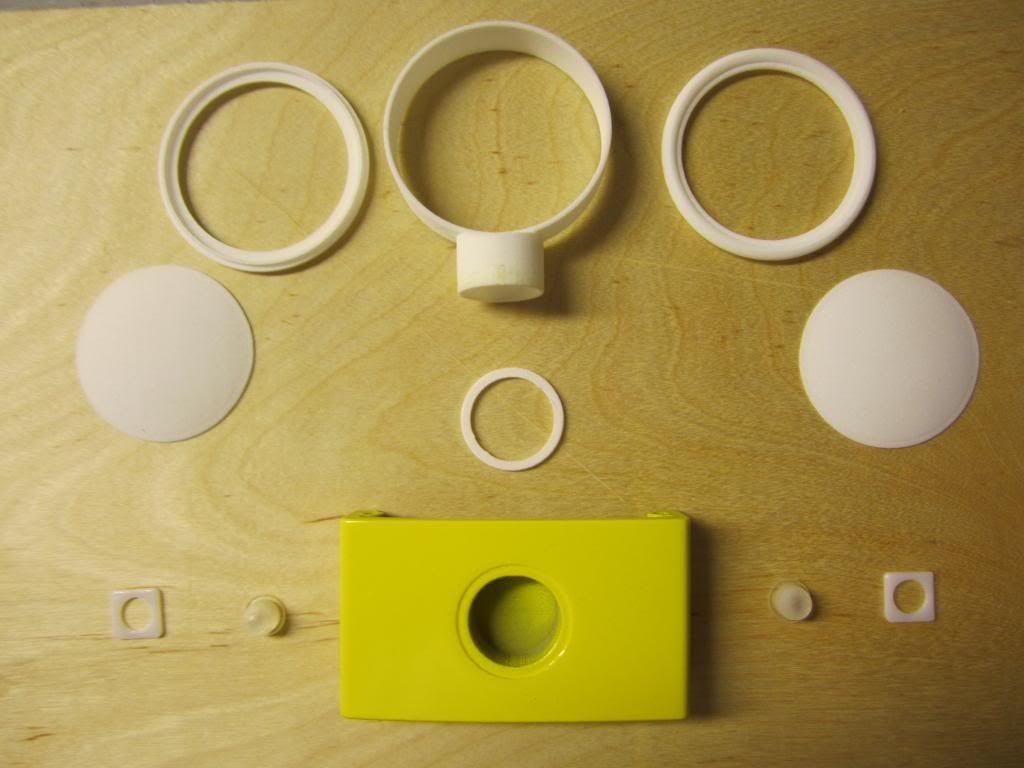 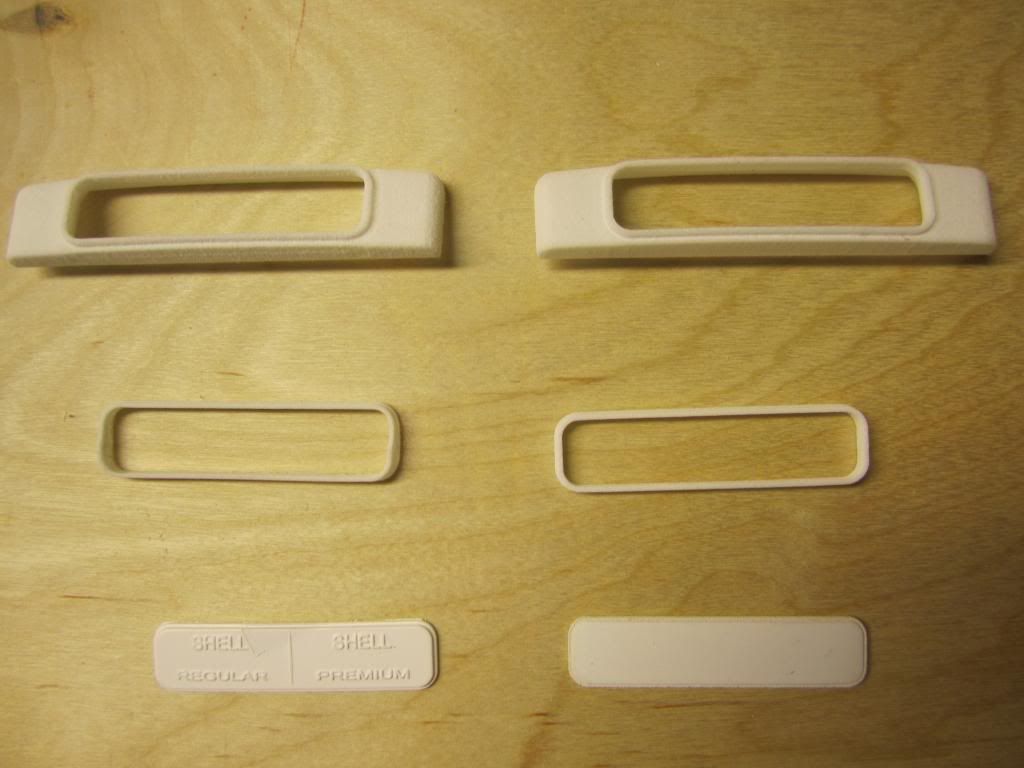 Ive evolved to a finishing technique I thought I would share. Anyone working through Shapeways will discover very quickly, if you can print strong white flexible (SWF), its too your advantage because its the least expensive material suitable for our hobby but not neccessarily the smoothest. It took me a few attempts to get a good finish. First, I smear a very, very thin coat of Bondo glazing putty on, avoiding cracks and hard to get too places. 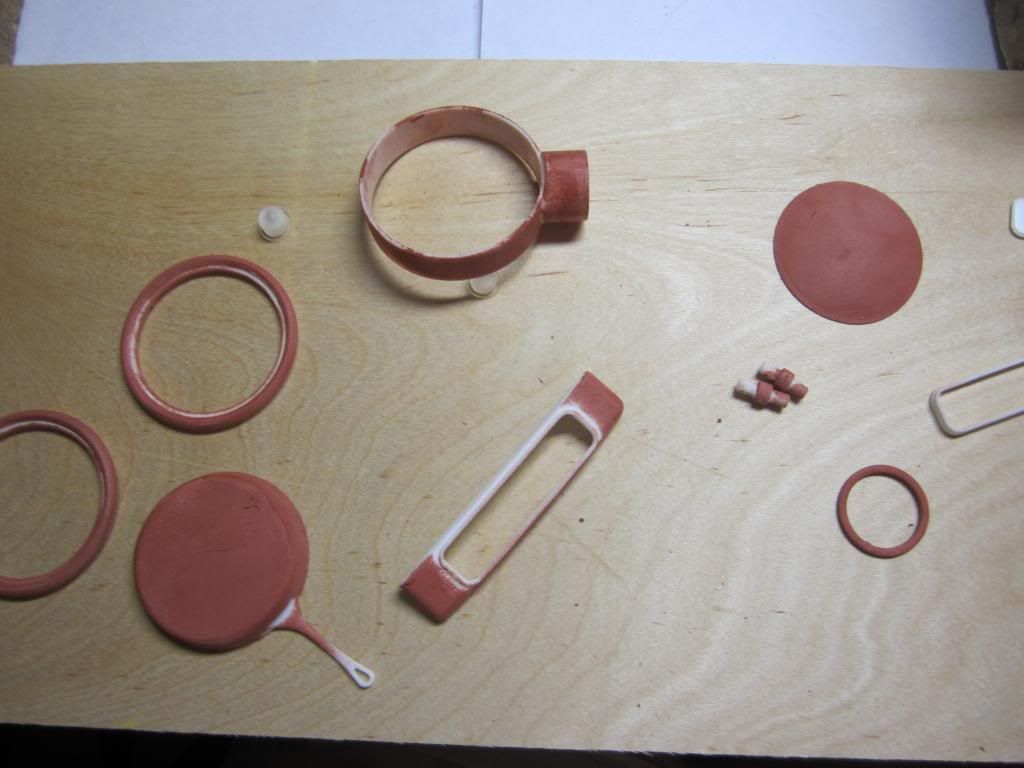 Then wet sand starting with 600, work down to 2000. I like Bondo glazing putty over other hobby putties for a lot of reasons but when working with SWF, it really gives good contrast & eventually you will see just the beautiful bondo red where its filled in the print lines. Then hit it with Tamiya fine primer & proceed to painting. 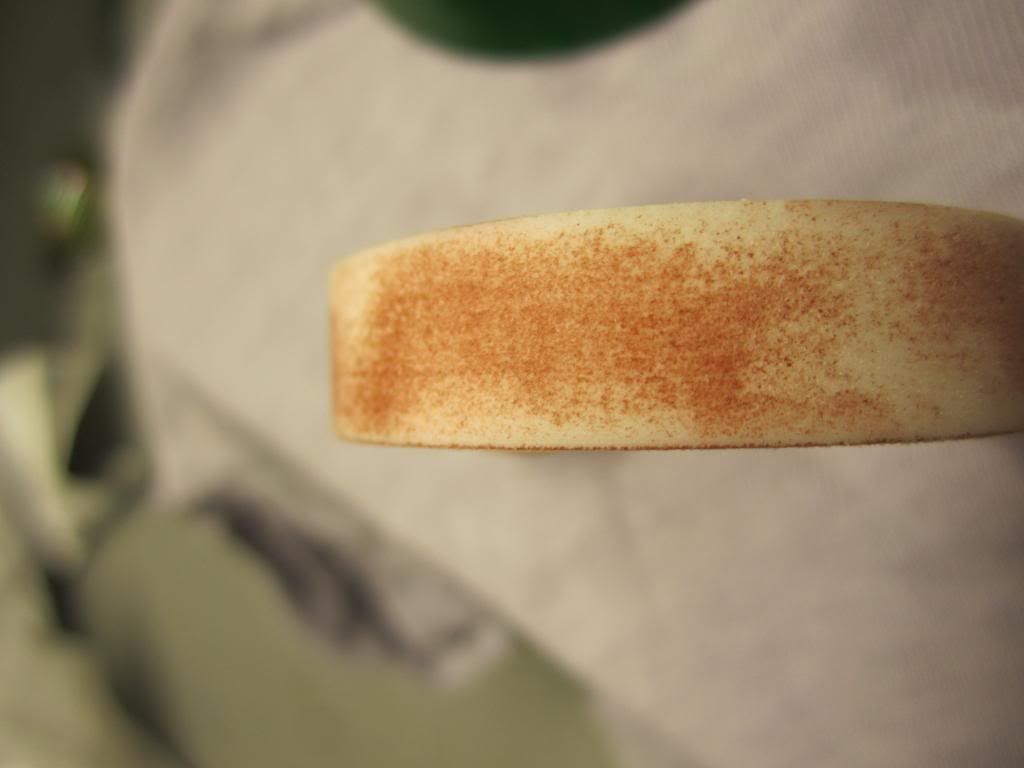 So here is where I left it last night. 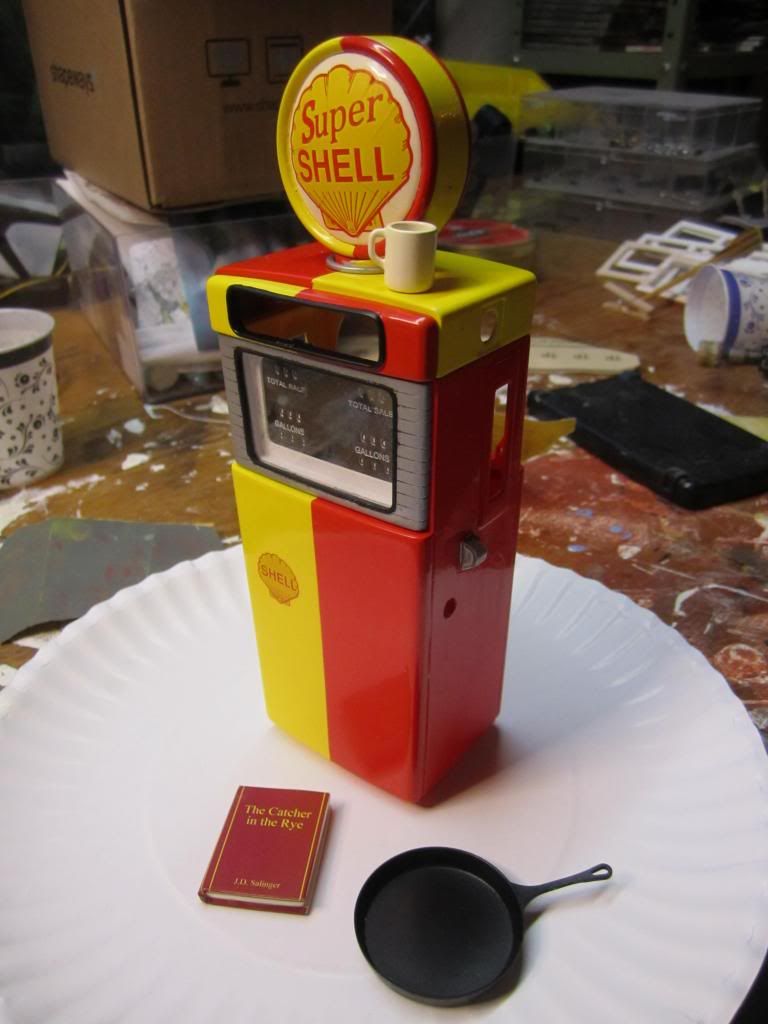 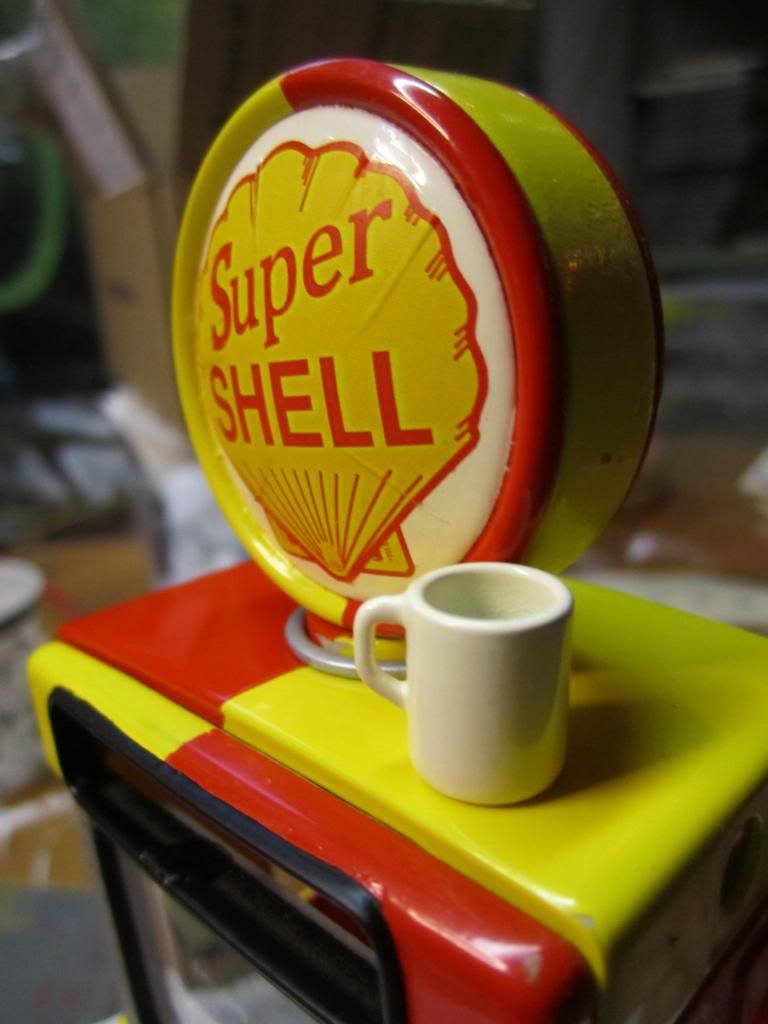 Also, I had an epiphany whilst trying to cut my little glass windows from .015 Lexan. Just glue it on a flat piece using canopy glue and trim it after it dries. Works perfect. 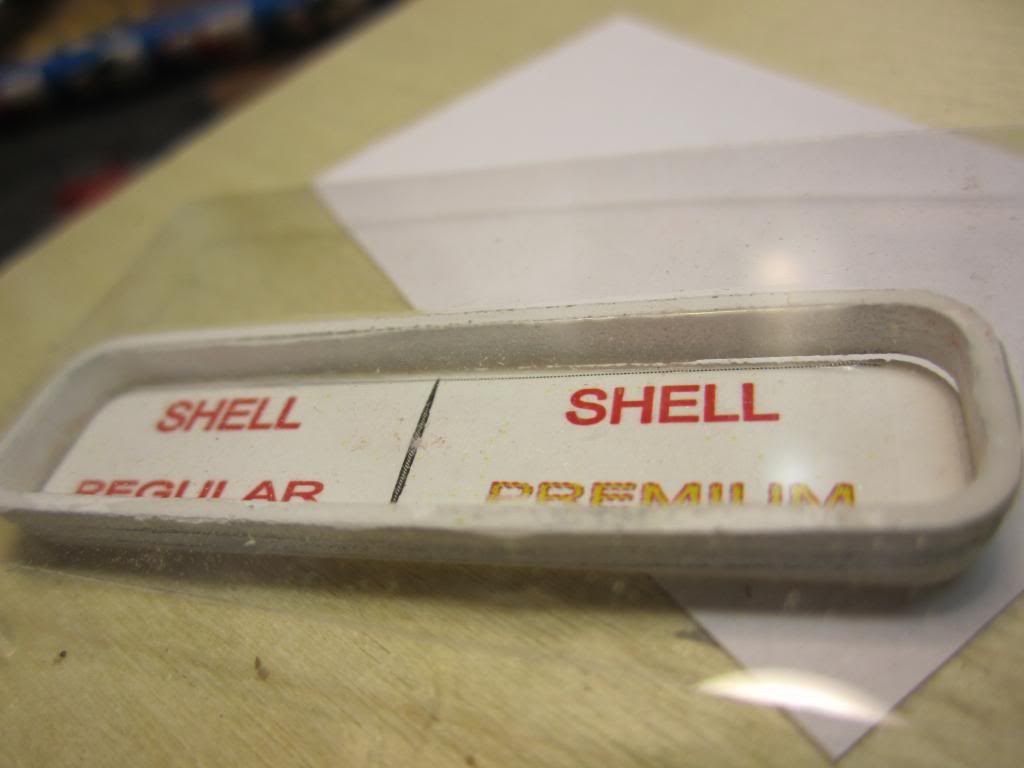 |
|
| |
|
11-21-2013, 02:22 PM
| #100 |
| I wanna be Dave Join Date: May 2008 Location: Baltimore
Posts: 4,442
|
I wanna see the scale coffee beans that you grind up to fill your scale coffee mug before you 'get small' and go to work! |
|
| |
 |
 Wolf Creek/Speedweigand Garage/Service Station - Similar Threads
 | ||||
| Thread | Thread Starter | Forum | Replies | Last Post |
| Wolf Creek RC Scale Park | DRW-FJ40 | General Scale Talk | 253 | 02-06-2017 08:56 PM |
| I went to Wolf Creek... | pardonmyn00b | Scale Videos! | 19 | 09-28-2012 08:32 PM |
| Wolf Creek ORV Park | DRW-FJ40 | Tamiya CR-01 | 11 | 11-22-2011 06:22 AM |
| My Hilux in Wolf Creek RC ORV Park | DRW-FJ40 | 1.9 Scale Rigs | 11 | 09-15-2011 10:08 AM |
| My Honcho in the Wolf Creek RC ORV Park | DRW-FJ40 | Axial SCX-10 | 33 | 07-27-2011 07:29 AM |
| |


 Linear Mode


