| |
 08-12-2010, 06:20 AM
| #41 |
| RCC Addict Join Date: Dec 2009 Location: Newcastle, Australia
Posts: 1,784
|
Got some time to tinker with it again today.. got lighter springs and oil now, trying 35wt f/r now, was at 60 then 50 but just to slow... might need softer springs again in the front, im hoping to get a pack though it tomorrow before i update i forgot to show this pic, ive mounted the bec under the battery in the front.. 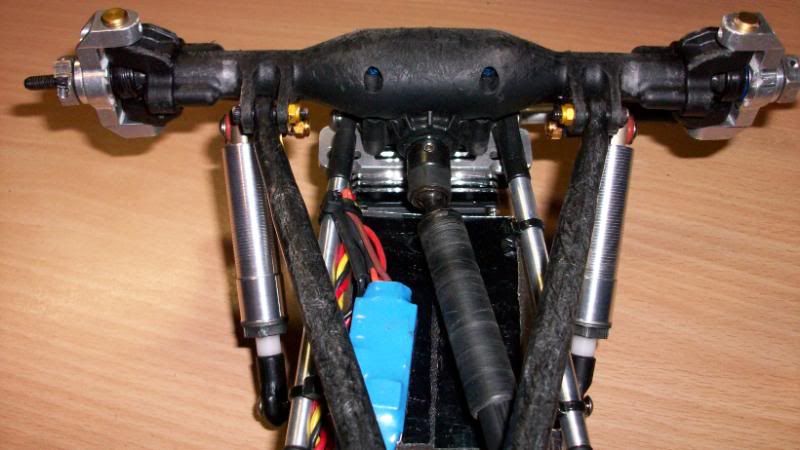 Now for the update... While i was doing the shocks i got thinking....... how much weight can i save on these hahaha.. 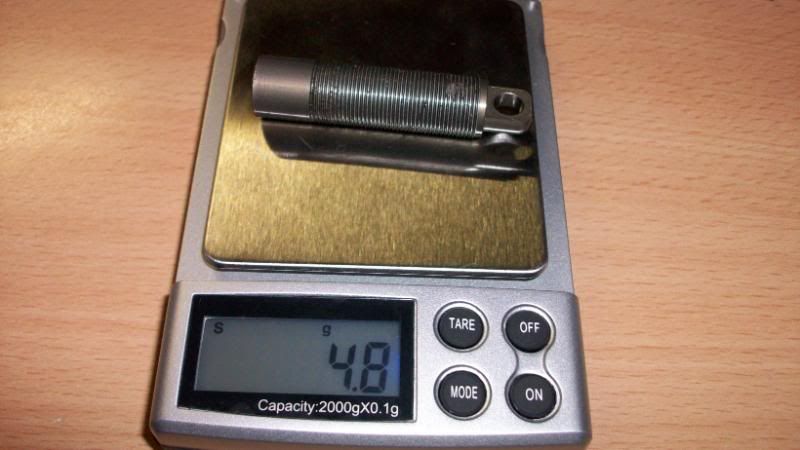 So in the lathe they went!! and i took off .75mm hehe.... 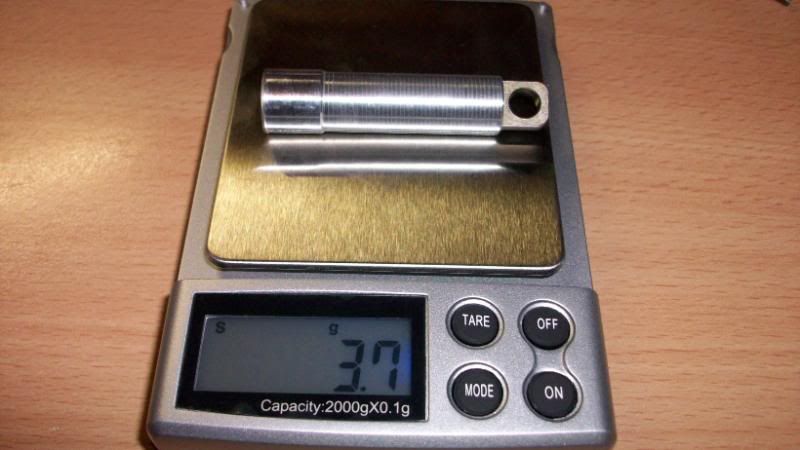 The rear shocks lost the external limiter and got inverted to lower the cog.. i also machined the upper links some more... 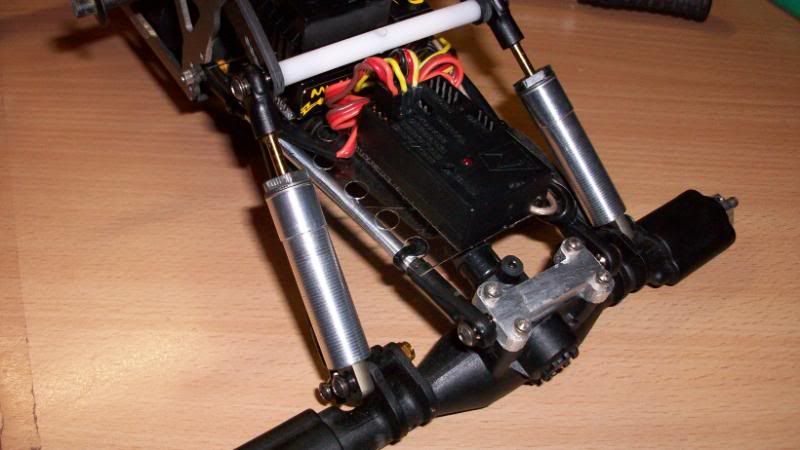 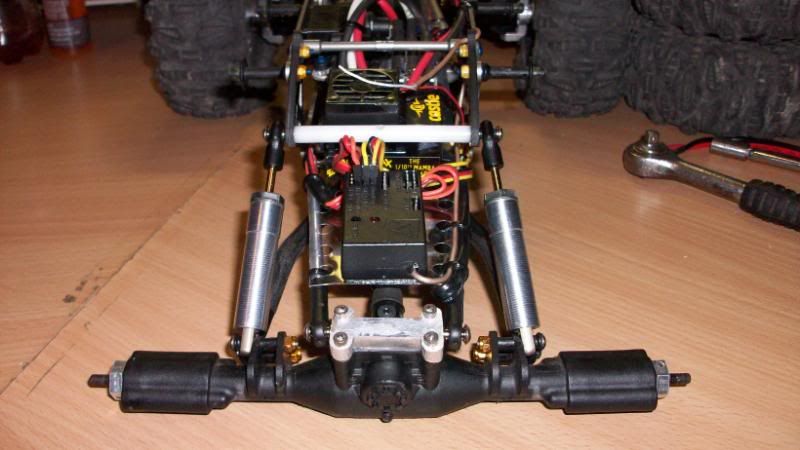 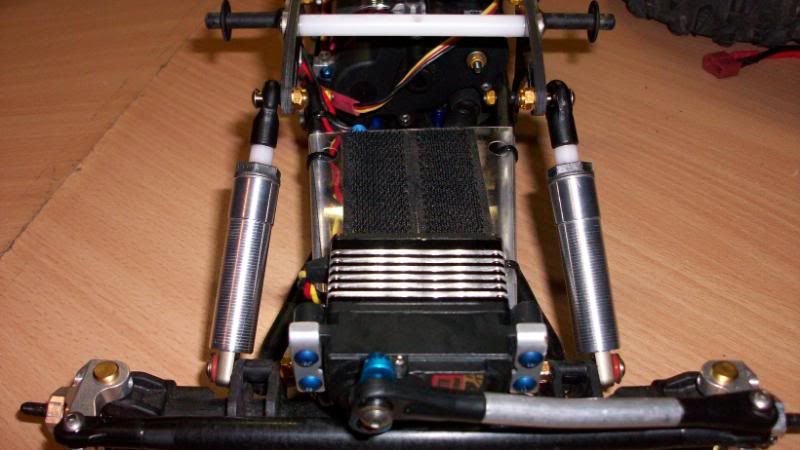 I wonder why i need this? 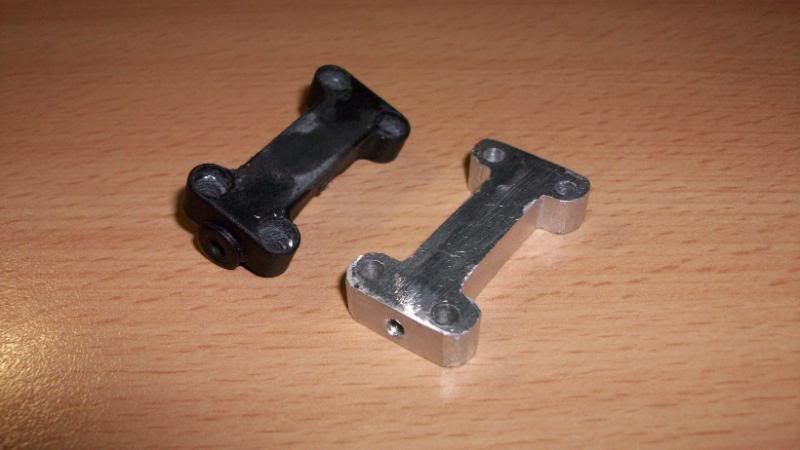 Side profile of how it stands now.. Now im down to 1185g.. the body weighs 66g so rig no wheels, body, bat is 1119g ;) 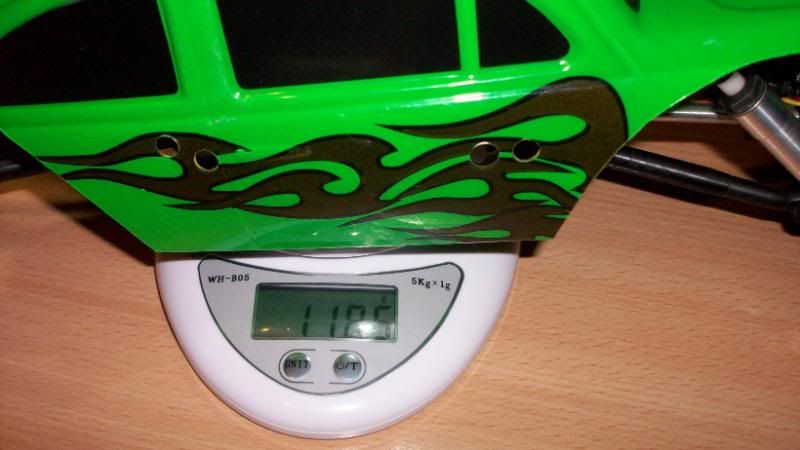 |

|  |
| Sponsored Links | |
| | |
|
08-12-2010, 03:26 PM
| #42 |
| Pebble Pounder  Join Date: Jun 2009 Location: sydney, Australia
Posts: 104
|
i hate you Dan(and your lathe!!) ... :-) nice work mate  . see you at Sundays Comp..... theres a really steep rock wall to test the rig at clovelly, you'll luv it!!! . see you at Sundays Comp..... theres a really steep rock wall to test the rig at clovelly, you'll luv it!!!cheers Nec. |
|
| |
|
08-12-2010, 05:54 PM
| #43 | |
| RCC Addict Join Date: Dec 2009 Location: Newcastle, Australia
Posts: 1,784
| Quote:
Machining the upper links was a good loss, i forgot to weigh them after the second time on the lathe but it was a good amount lost.. if you want to pass yours to me at the end of the comp i can machine them and post them back to you | |
|
| |
|
08-13-2010, 06:23 AM
| #44 |
| Quarry Creeper Join Date: Feb 2010 Location: Knee deep in a creek with a fish on the line
Posts: 456
|
Would you mind showing a pick of the bent rear link? How did you do that without hanging up on the driveline?
|
|
| |
|
08-15-2010, 07:03 AM
| #45 | |
| RCC Addict Join Date: Dec 2009 Location: Newcastle, Australia
Posts: 1,784
| Quote:
 I'll do more testing then I'll see if i can get vendors to produce a skid for me with the mods (really need CNC mill) and i'll make the modded driveshaft & links and bits needed to offer this option to others | |
|
| |
|
08-16-2010, 04:48 AM
| #46 |
| RCC Addict Join Date: Dec 2009 Location: Newcastle, Australia
Posts: 1,784
|
Well after smashing my steering on one of the climbs at Sundays comp and loosing one of my alloy nuts i made a bit of a change to it today... This is the RCbros low COG servo mount, i drilled some holes in the front and turned the mounts backward 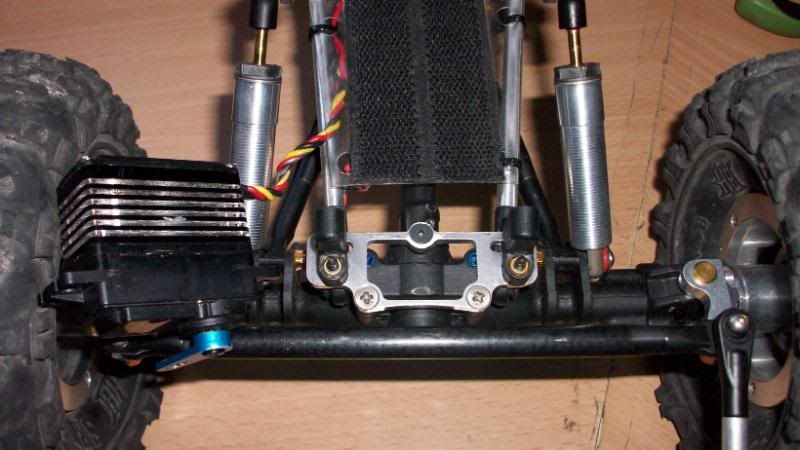 Now the servo sits back and is more protected, i needed to add 1.5mm spacers to the inside of the upper arms so they clear the servo, and now have a steel nut on there with a bit of luck i wont loose that lol 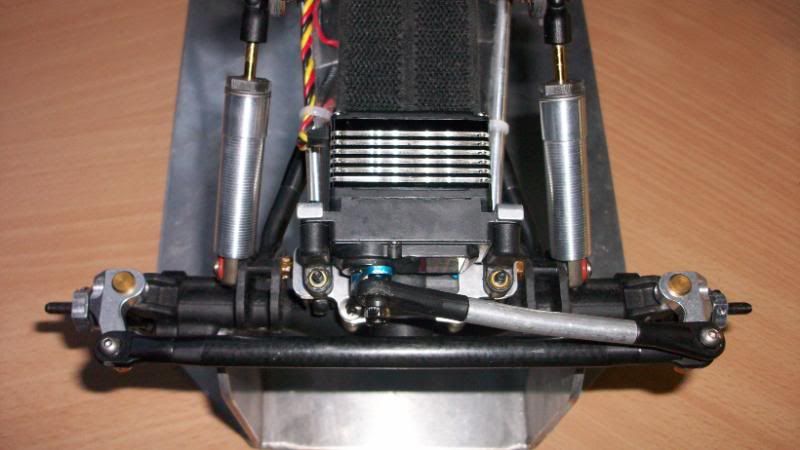 |
|
| |
|
08-16-2010, 05:11 AM
| #47 | |
| Pebble Pounder Join Date: Jun 2009 Location: sydney, Australia
Posts: 104
| Quote:
thats a nice little mod that would have helped big time on that 3rd gate on pro 1 course. Congrats on win and thanks for the offer to mod my links....i'm actually thinking of going back out to clovelly on the weekend for a few hours to practise cheers Nec. | |
|
| |
|
08-16-2010, 05:16 AM
| #48 | |
| RCC Addict Join Date: Dec 2009 Location: Newcastle, Australia
Posts: 1,784
| Quote:
I would join ya but i'll be stuck at work this whole weekend | |
|
| |
|
08-17-2010, 04:20 PM
| #49 |
| RCC Addict Join Date: Dec 2009 Location: Newcastle, Australia
Posts: 1,784
|
Well after loosing all that weight ive found its now too fast and i set about to slow it down... So i made these... 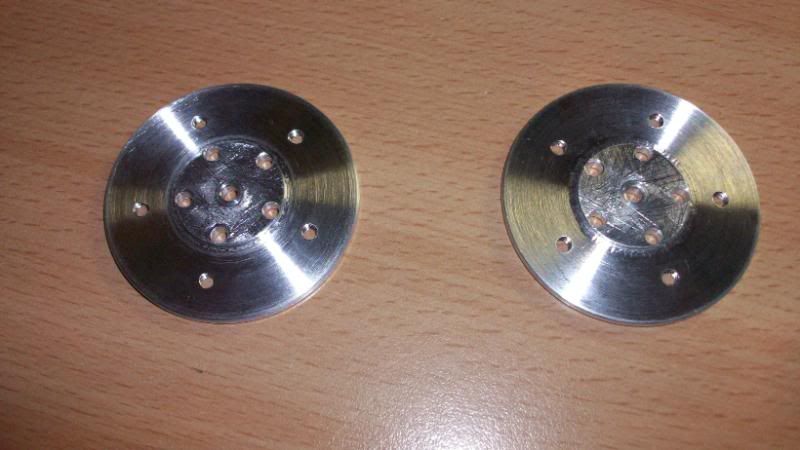 Disk brakes! 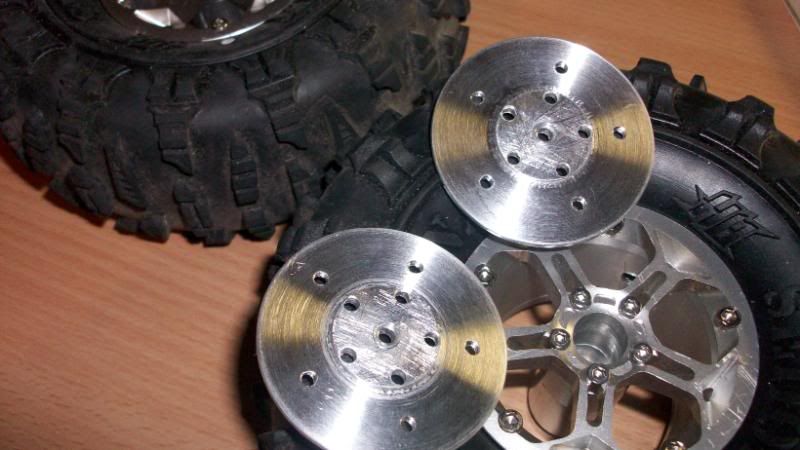 The plan is to build a hydraulic caliper and opperate it with a ram running off a servo... What do you think?? 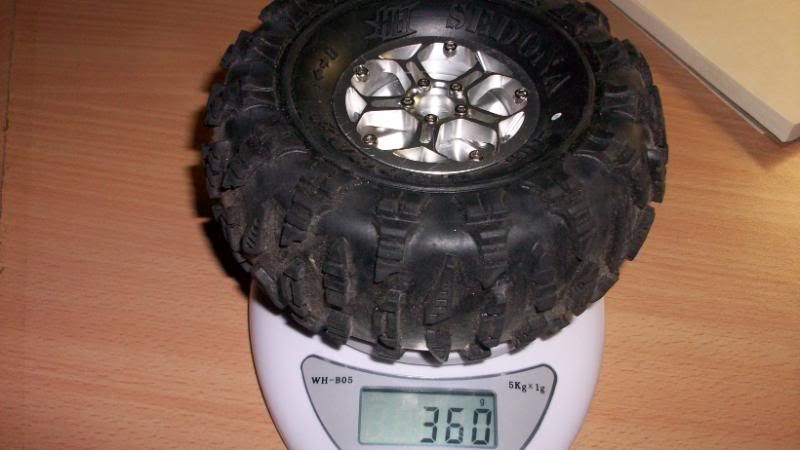 |
|
| |
|
08-17-2010, 04:21 PM
| #50 |
| RCC Addict Join Date: Dec 2009 Location: Newcastle, Australia
Posts: 1,784
|
So was anyone thinking what the? Its a weight system im working on  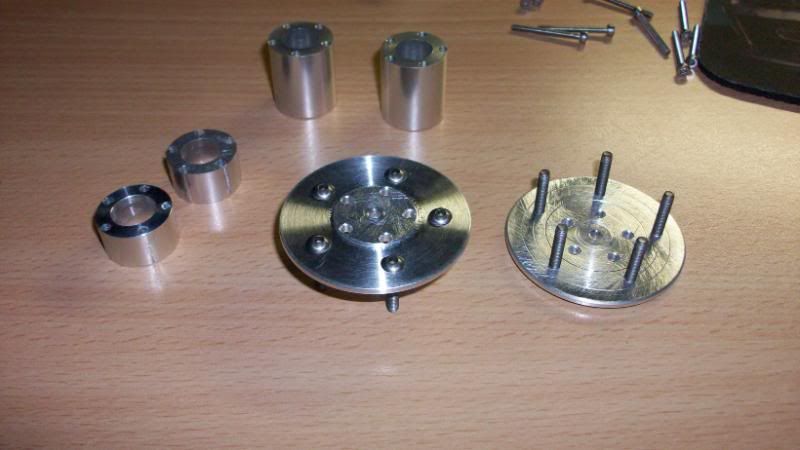 Im just waiting on some brass stock to make the weights for it, im thinking i might paint the disk black? 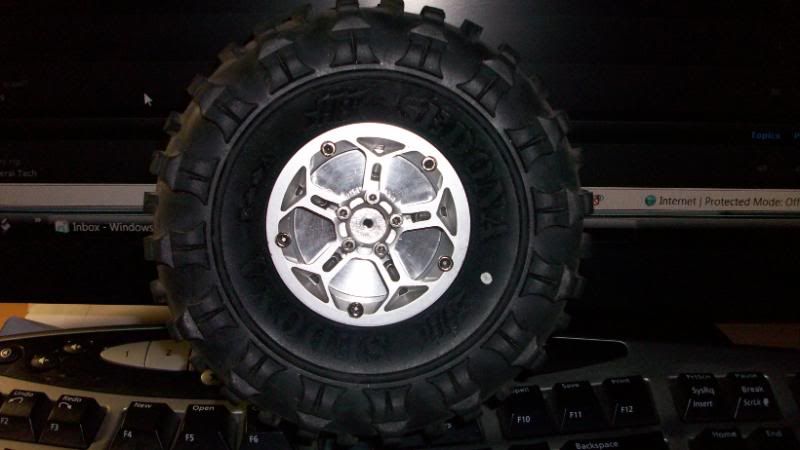 |
|
| |
|
08-18-2010, 10:01 AM
| #51 |
| Rock Stacker Join Date: Jan 2010 Location: Dallas
Posts: 69
|
Its is great you have the tools and skills to make these. But in order for it to look like a disc brake you need to reduce the OD of the disc brake. Right now they look like a full plate or a solid wheel face! Just my .02$ |
|
| |
|
08-18-2010, 11:18 AM
| #52 |
| Quarry Creeper Join Date: Oct 2008 Location: Stink Grove
Posts: 403
|
I have a simular weights, It adds about 5 oz per wheel
|
|
| |
|
08-18-2010, 12:08 PM
| #53 |
| RCC Addict Join Date: Jun 2009 Location: California
Posts: 1,494
|
Looks good |
|
| |
|
08-19-2010, 02:42 AM
| #54 | ||
| RCC Addict Join Date: Dec 2009 Location: Newcastle, Australia
Posts: 1,784
| Quote:
Yeah i know i was just joking about brakes, ive started making some carbon fibre ones now which will look better but will still be full sized just to hide the brass slugs im making to mount behind themQuote:
i was thinking of something similar but decided on the slugs setup so i didnt have to pull the wheels apart | ||
|
| |
|
08-28-2010, 05:55 AM
| #55 |
| RCC Addict Join Date: Dec 2009 Location: Newcastle, Australia
Posts: 1,784
|
Just a quick update on this before i on my MOA Chopper build thread I got some new batterys, ive gone from 3s to 4s (what a difference!!) i used a pair of Hyperion 2s 1100mah 45c and wired them in series to make 4s 1100mah.... the two new batterys weigh 5g less than the old 3s they replaced and charge in only 15min! im sold on Hyperion batterys now 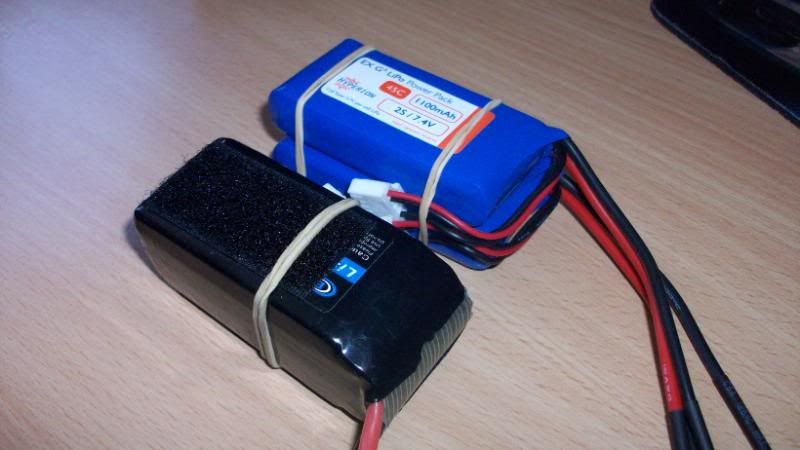 Fit just nicely after moving the servo back.. 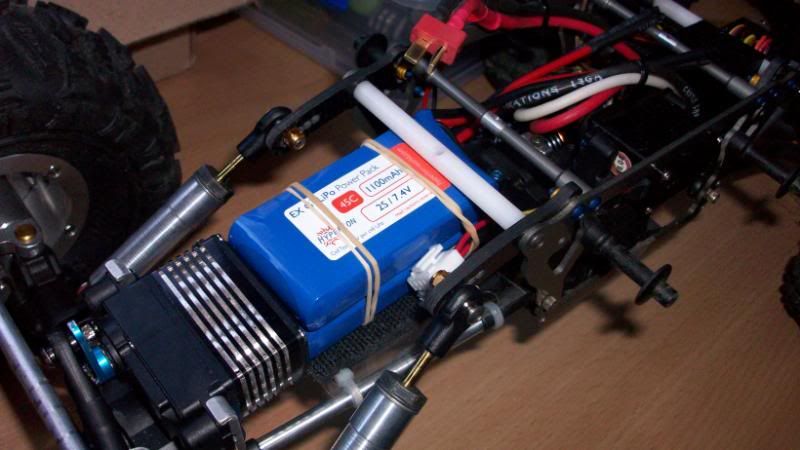 |
|
| |
|
08-28-2010, 06:26 AM
| #56 |
| RCC Addict Join Date: Dec 2009 Location: Newcastle, Australia
Posts: 1,784
|
And now for the interesting stuff I was trying to find a vendor to market this for people but ive had a few "no, not interested" or "no, we are now make own" so with the lack of vendor interest but several pm's requesting info ive decided to show how cheap and easy you can make your own! Heres the key to it all, as you can see kept the losi lower link mounts (not in pic but i had to grind a bit off the one under the motor) i made a 11mm delrin spacer (would consider going 14mm) now the metal pin in the center i made from tool steel using and old hex driver, i machined the tool in the lathe to the correct size to fit the link mounts but you could stick it in a drill and use a file/dremel/sander etc to get the right size... next bit was to get the dremel and cut a little of the skid away and drill new mounting holes (note link mounts now reversed) and countersink the holes 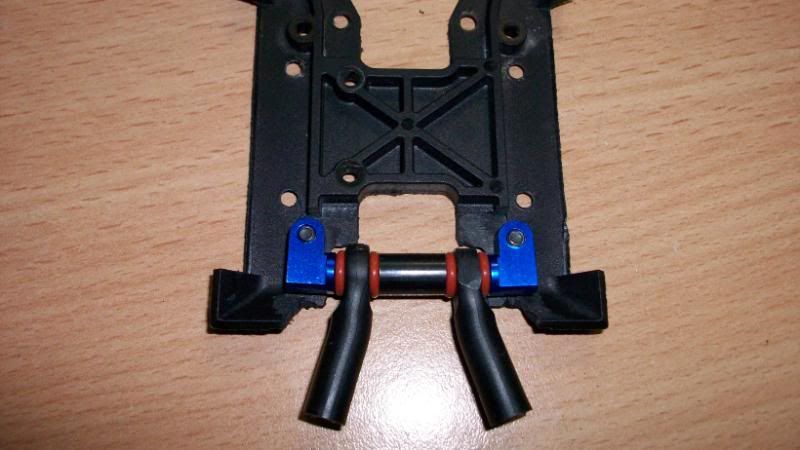 This is it in the car.. note i changed to revo rod ends this helps clear the tailshaft, also i got the dremel on the one under the motor..  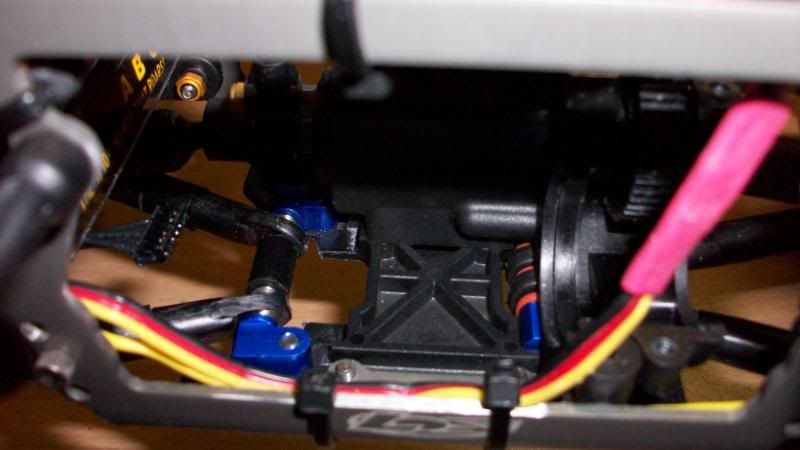 |
|
| |
|
08-28-2010, 06:52 AM
| #57 |
| RCC Addict Join Date: Dec 2009 Location: Newcastle, Australia
Posts: 1,784
|
You'll need to make something to space the top links up, this is what i came up with and it lifts the back of the links by 10mm (note the front of the links get moved to the center hole on the chassis or top hole if you like) and mounts ontop of the losi top link mount but you will need the dremel the top of the losi mount flat if you do like this.. Now the links i used are very close to the same as the axial bent links 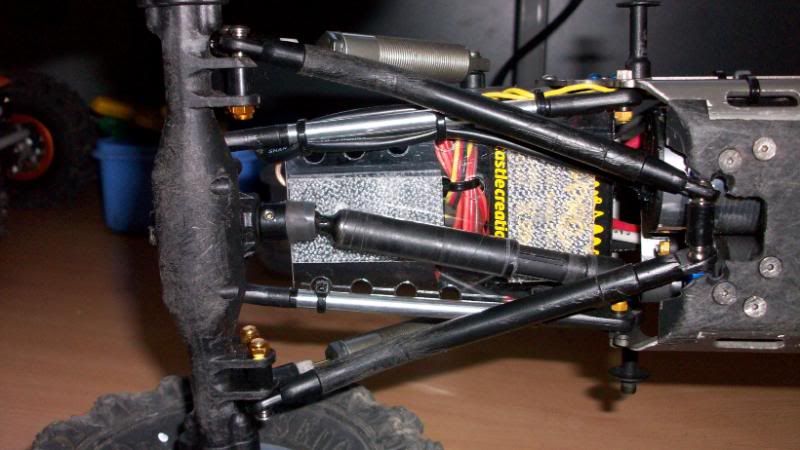 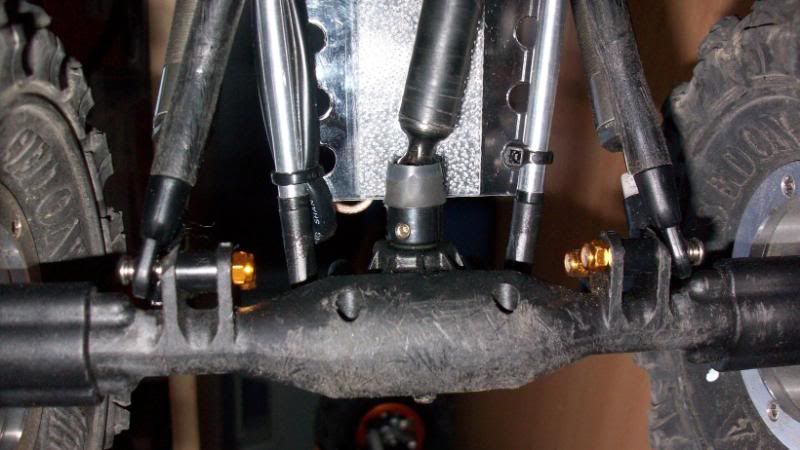 A under shot of the skid.. 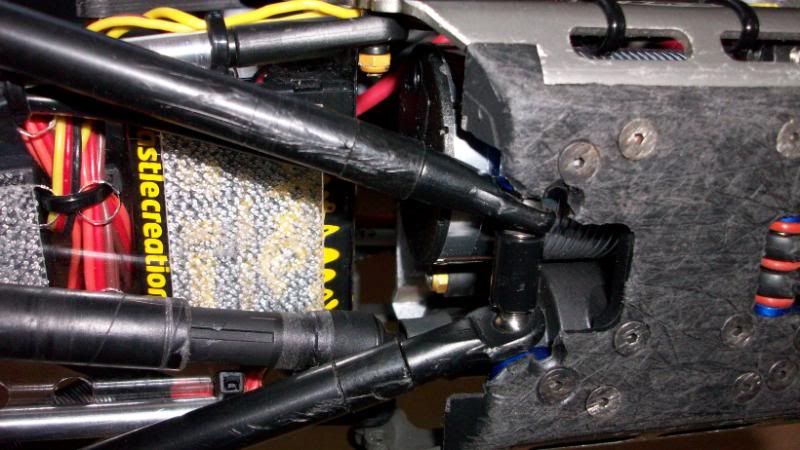 As you can see in this pic the stock losi link angles have been maintained, which means it doesnt affect the way it handles (losi's handle so much better than the axial imo and i didnt want to loose that) 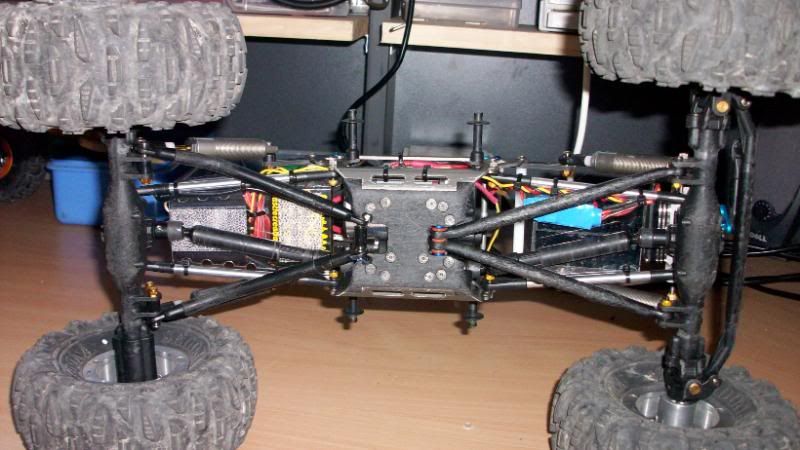 Well thats it.. ive put many hours on it now as you see it in the pics and nothing has broken or looks like it will, its fantastic to drive and altho the belly still hits i have very much gained a small advantage over stock |
|
| |
|
08-31-2010, 08:13 PM
| #58 |
| Rock Stacker Join Date: Jan 2010 Location: Dallas
Posts: 69
|
Why did you feel the need to move the lower links back some? I must have missed the reason. Looks cool just dont know why you went through all the trouble! |
|
| |
|
08-31-2010, 10:20 PM
| #59 | |
| RCC Addict Join Date: Dec 2009 Location: Newcastle, Australia
Posts: 1,784
| Quote:
I know that most crawling there isnt a need for bent links, but when you need that little extra you'll be glad you've got them | |
|
| |
|
09-02-2010, 04:42 AM
| #60 |
| RCC Addict Join Date: Dec 2009 Location: Newcastle, Australia
Posts: 1,784
|
I found some aluminum balls for the links/shocks to replace the steel ones.. lost almost a gram with each pair fitted... Steel  Alloy  I didnt have enough to finish, i'll re-weigh the rig after i grab some more |
|
| |
 |
| |


 Linear Mode


