| |
 03-18-2011, 07:04 AM
| #101 |
| RCC Addict Join Date: Dec 2009 Location: Newcastle, Australia
Posts: 1,784
| 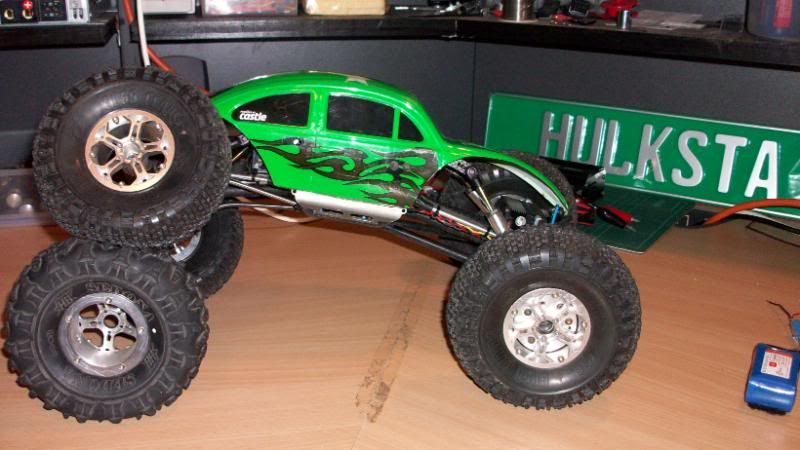     Ive now got a little more clearance, im really happy with how the ti came up, i think i'll make some for the front after the comp this Sunday... 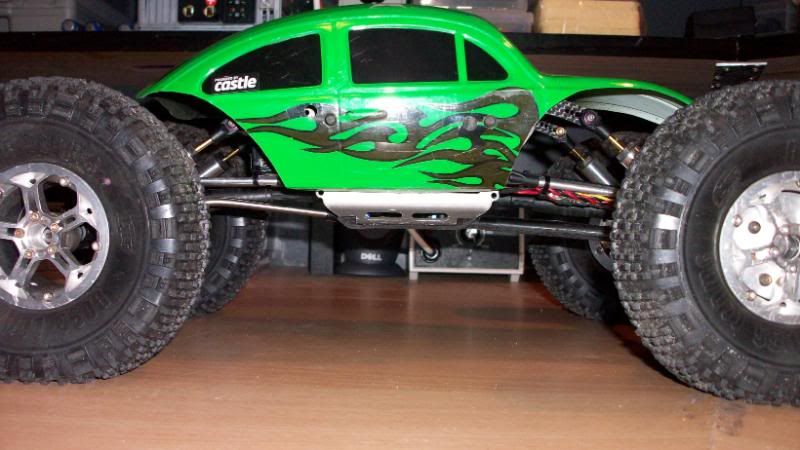 |

|  |
| Sponsored Links | |
| | |
|
03-27-2011, 06:35 AM
| #102 |
| RCC Addict Join Date: Dec 2009 Location: Newcastle, Australia
Posts: 1,784
|
Time to update this one As those following my MOA build will know ive been busy with building knuckle weights, and thats what ive done here BUT different too... Seeing this rig runs RCBros knuckles i made some changes but with the plan to run the same weights as the MOA just so the weight is interchangeable, i'll try to give a little more detail here as this mod could be done with tools many with have (is better if you have a lathe tho) Ok before starting i needed a tool to hold the knuckle.. those who are crafty could make this with a drill press and a fine flapper disk in a grinder! (one of the two small bits fit this knuckle and the other the moa) 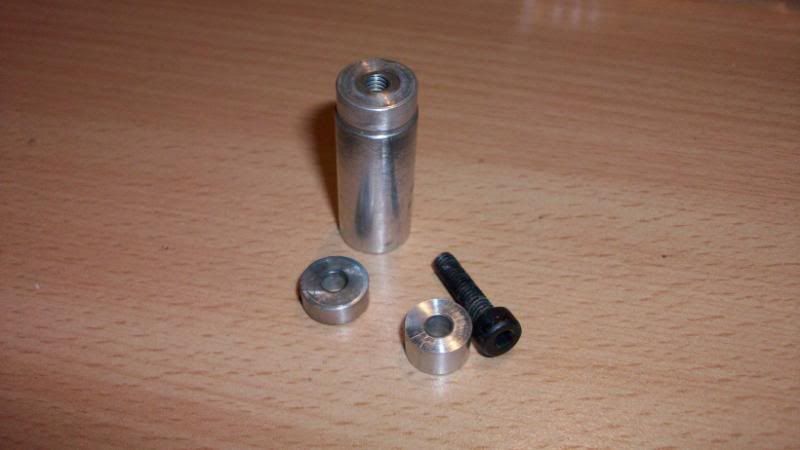 The knuckle surface then is trued before mounting the plate... this can be done in a drill press too, knuckle is held in drill and use a small file while drill is spinning (make sure you place the file on the side turning away from you, the knuckle could grab the file and flick it and hit you 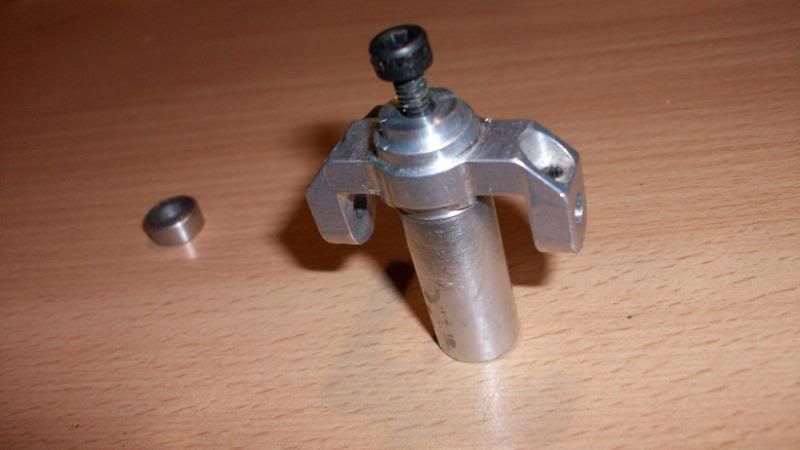 Next drill and tap (3mm) a thread either side of the outter bearing as you can see here.. 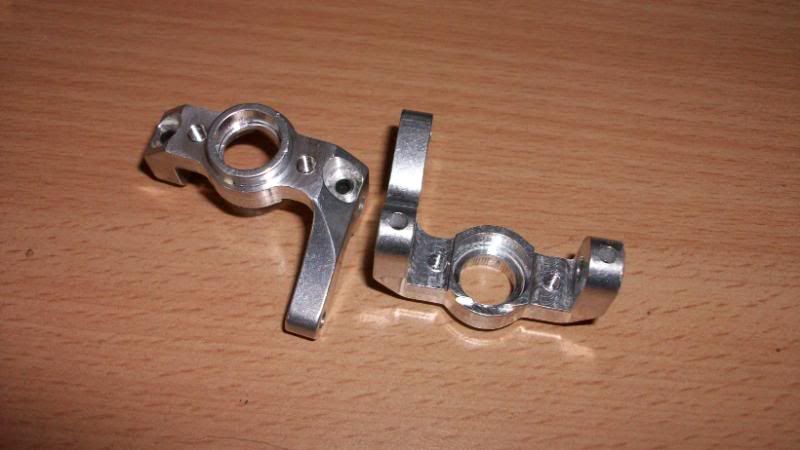 Next up grab some 2-3mm alloy plate to make the backing plate from.. drill a hole in the center to fit over the outter bearing part of the knuckle (cut the plate close to size too) 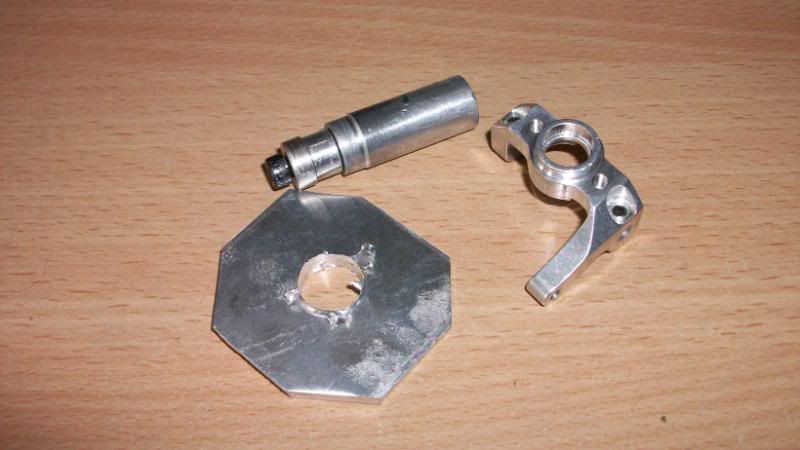 Then you need to put it together drill and countersink the plate and screw it to the knuckle ready for machining.. (drill into the plate from behind the knuckle so the holes are alligned) the plate is then machined into shape, again this could be done with a grinder.. 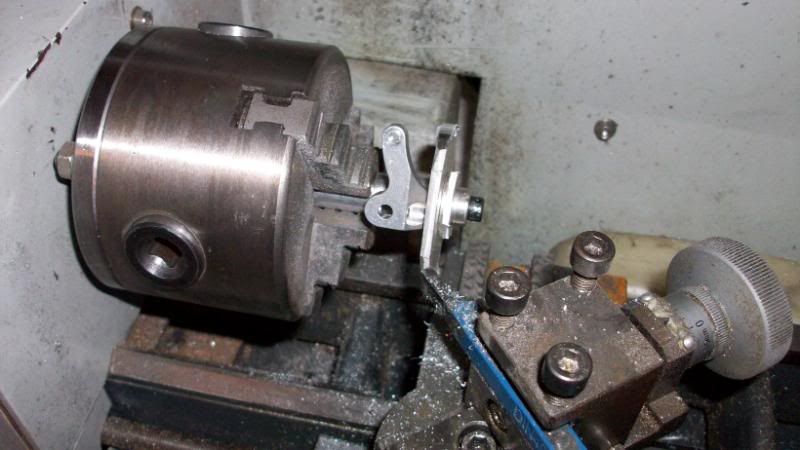 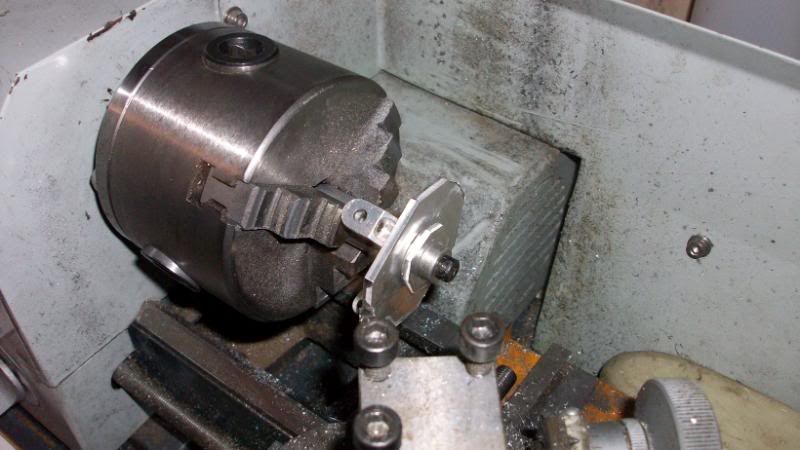 |
|
| |
|
03-27-2011, 06:36 AM
| #103 |
| RCC Addict Join Date: Dec 2009 Location: Newcastle, Australia
Posts: 1,784
|
And this is about what the knuckle should turn out like.. 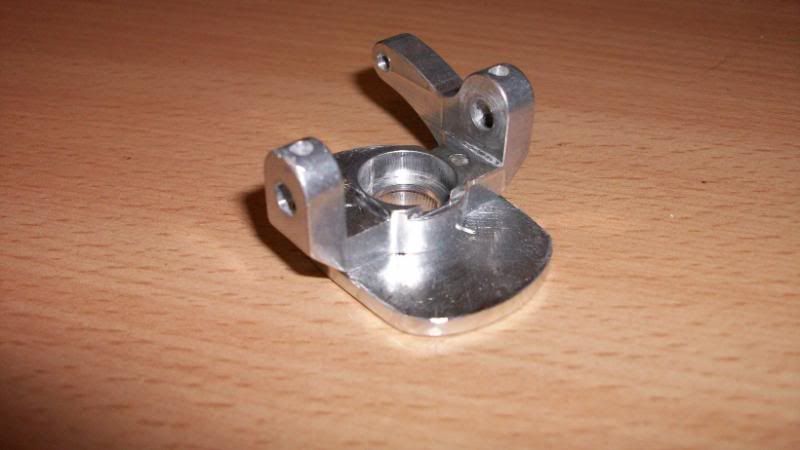 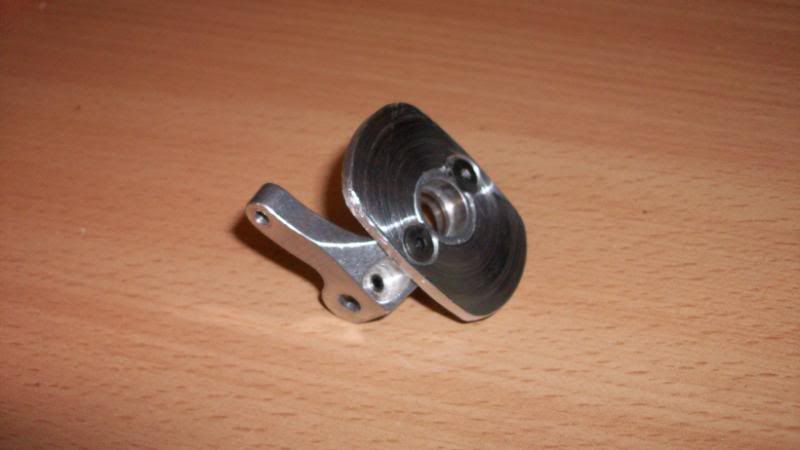 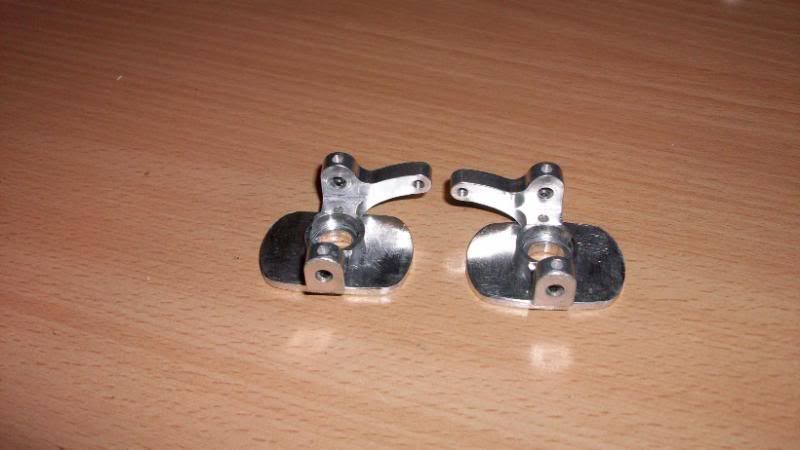 And now the start of the weights... each weight is drilled to fit over your hub, then mounted to the plate via drilling and tapping... 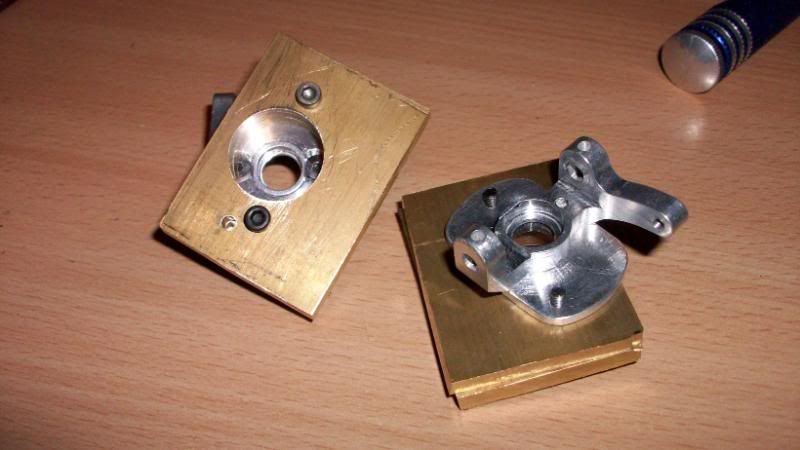 Also note i cut the top off the weights to lower COG, i did this before rather than later just to save some brass... i wanted these to sit a little behind level and each side equal, and this is how i did it... (they are set to 30*) 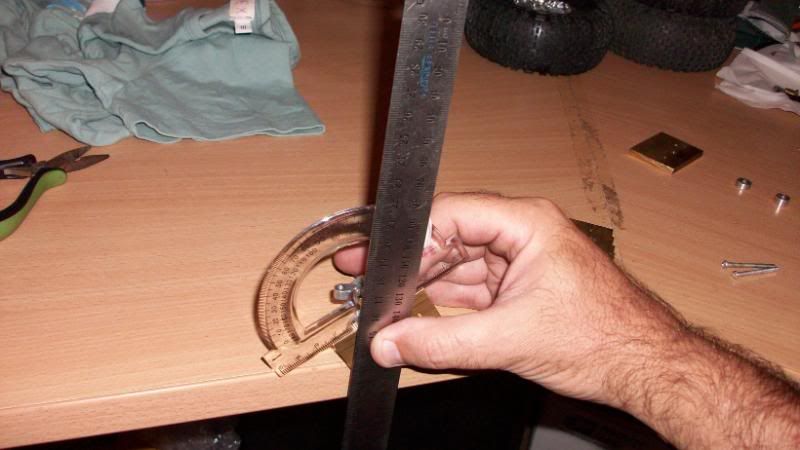  For those trying there hand at weights but no lathe, you could shape with a flapper disk on a grinder then to finish it off put it in the drill press and grind it to shape! Knuckles back on the rig.. 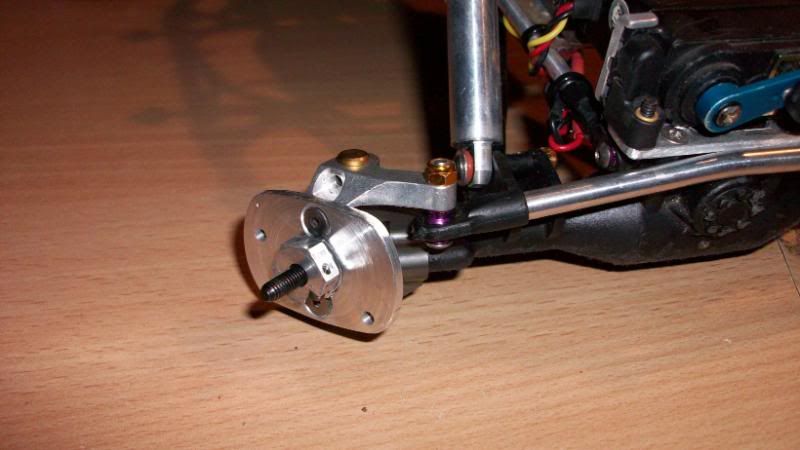 Weight on.. check clearance on hub/wheel etc 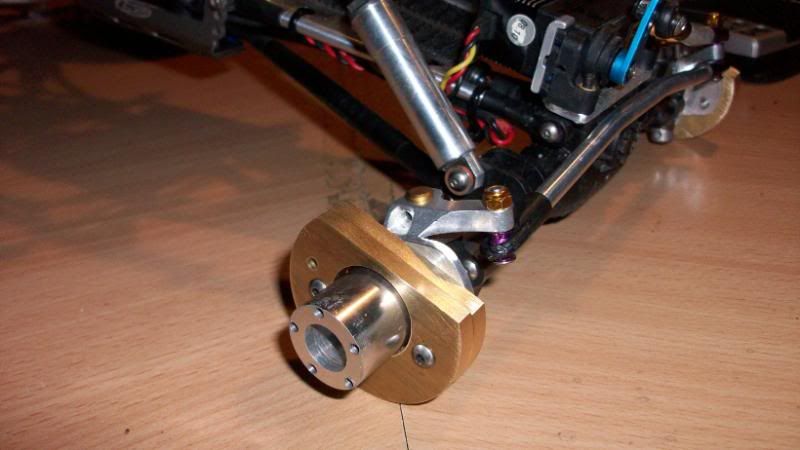 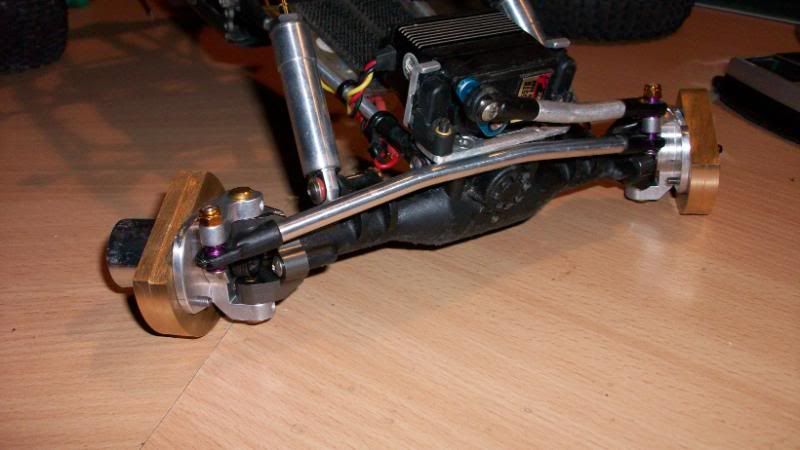  And thats is! i hope that like and found it helpful for those wanting to try thier hand at some.. The rcbros knuckle made it easy to... |
|
| |
|
03-27-2011, 06:37 AM
| #104 |
| RCC Addict Join Date: Dec 2009 Location: Newcastle, Australia
Posts: 1,784
|
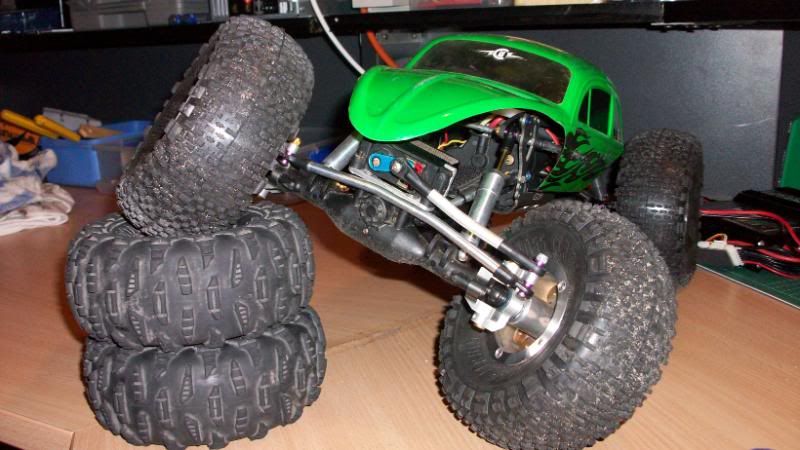
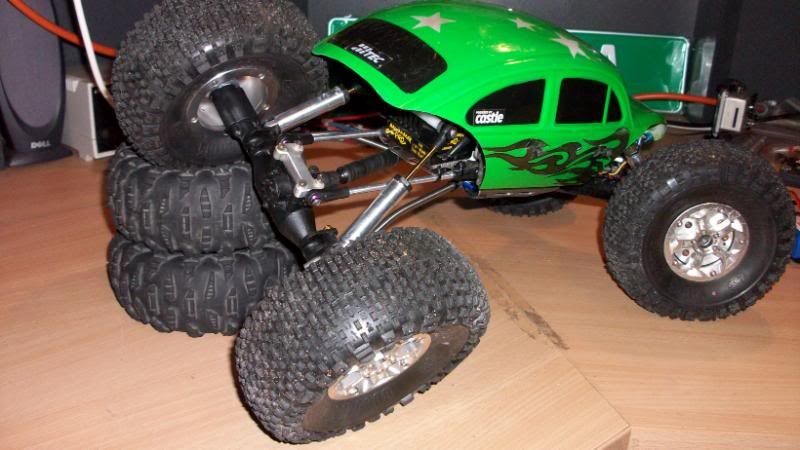
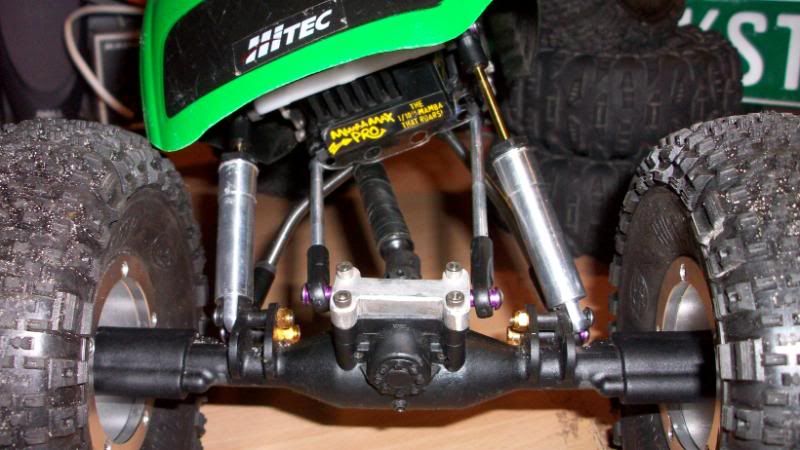
Ok now that is out of the way.. heres some more detail on my rig This was the weight system i built into the wheels... 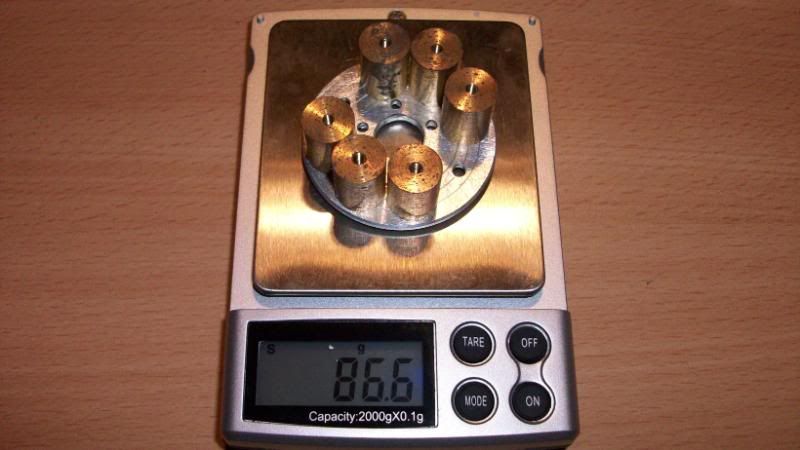 And this is the weight i can run each side.. (can fit 100g extra but its not needed on this rig) 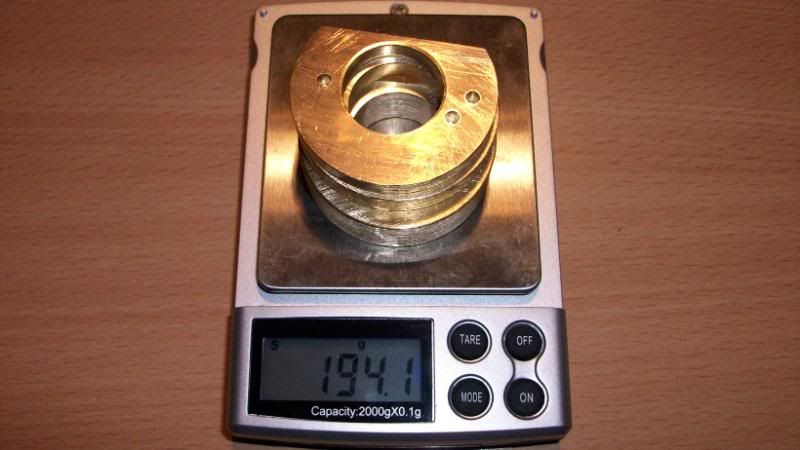 On the rig... 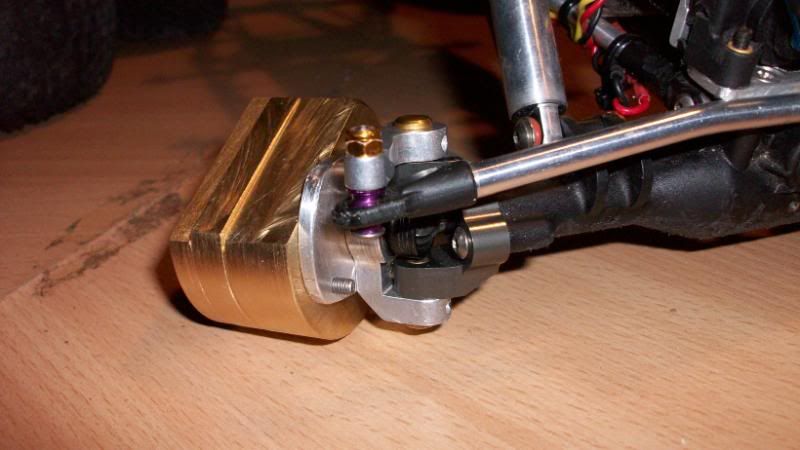 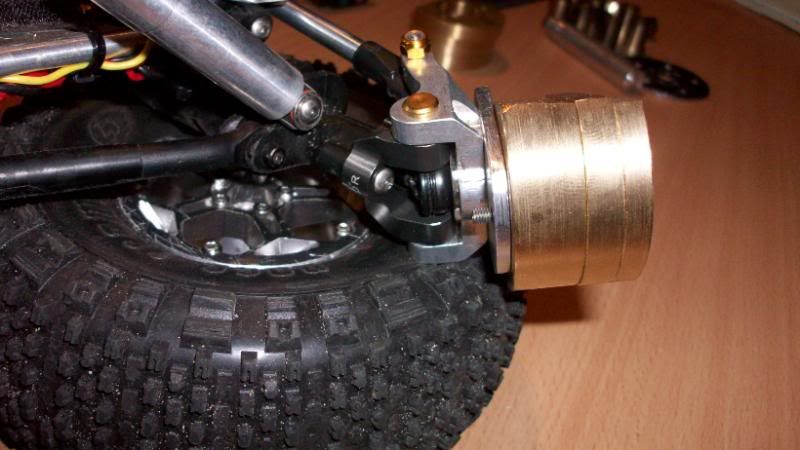 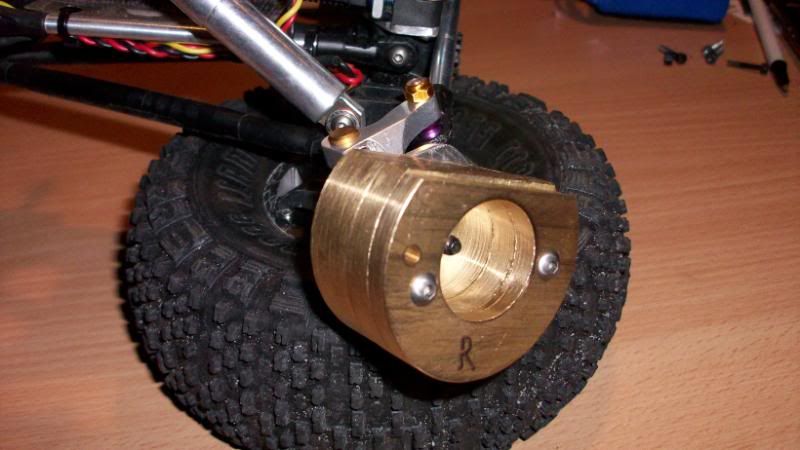 Ok now i'll show those who might be wondering why i made my own 'on the knuckle' rather than 'over the knuckle' weights... To put it simple.. i can space the weight out as far into the wheel to help keep the rig more stable.. 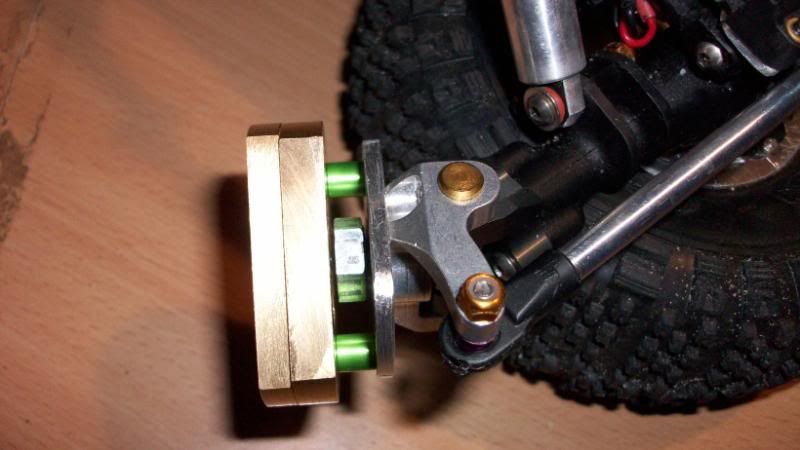 Underneath  And as you can see ive lost NO clearance under it all... 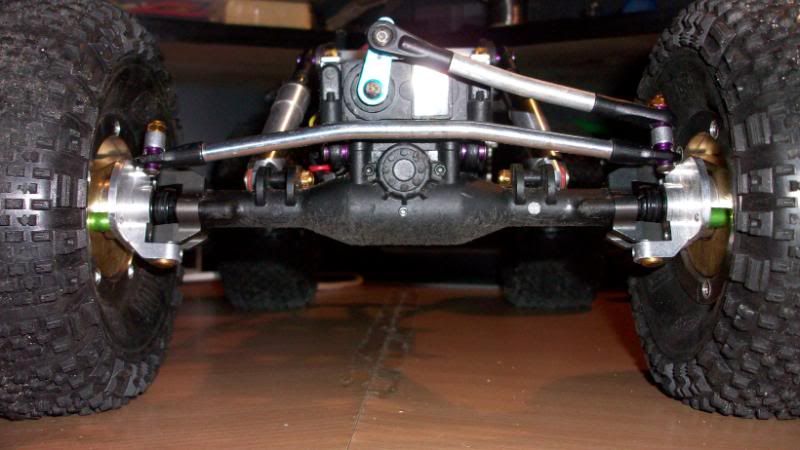 Thats it for now!.. onto making my next mod  |
|
| |
|
03-27-2011, 09:40 AM
| #105 |
| Wanna get? Gotta want.  Join Date: Apr 2010 Location: SLC, UT
Posts: 7,052
|
Looks great, as usual. What is your theory of putting more weight behind the wheel rather than the front? |
|
| |
|
03-28-2011, 01:15 AM
| #106 | |
| RCC Addict Join Date: Dec 2009 Location: Newcastle, Australia
Posts: 1,784
| Quote:
| |
|
| |
|
05-19-2011, 07:44 AM
| #107 |
| Rock Crawler Join Date: Dec 2008 Location: With the ATL Crawlers
Posts: 707
|
Care to give some shock tuning info...? I'm looking to run a droop setup on the new chassis  |
|
| |
|
05-21-2011, 09:14 AM
| #108 |
| RCC Addict Join Date: Dec 2009 Location: Newcastle, Australia
Posts: 1,784
|
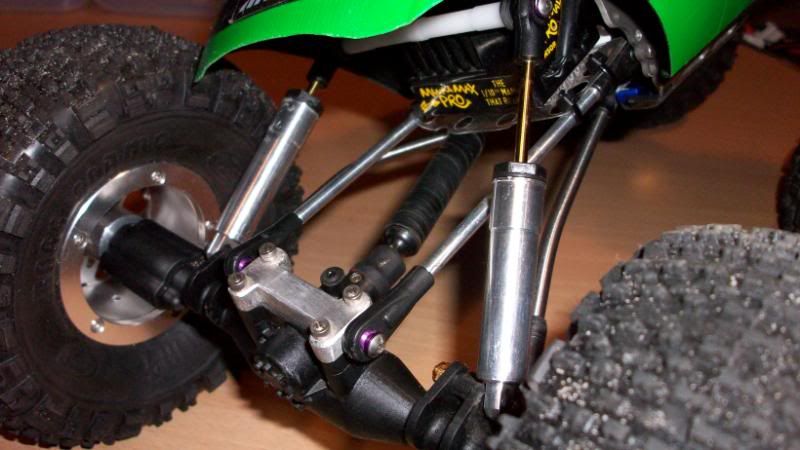
Yep sure Its a fairly light and simple setup really.. Im still running stock pistons f/r 35wt oil rear 25wt oil front The springs im running are C-660 from Century Spring Corp in LA, CA.... i run a full spring over the shaft, and a half spring above the piston If your running a heavy weight rig i would consider a stiffer spring above the piston but on the other hand a heavier oil might work too.. but this setup i find really has give my losi the edge on other setups You may of already read my droop write up but i'll drop a link here in case you haven't... http://www.crawlanz.com/index.php?/t...ig-shock-tech/ Cheers Dan Last edited by Hulksta; 03-25-2017 at 12:47 AM. |
|
| |
|
05-22-2011, 04:39 PM
| #109 |
| Rock Stacker Join Date: Dec 2009 Location: Everett
Posts: 56
|
I like that shock setup! cheap, simple and very effective. props!
|
|
| |
|
06-24-2011, 12:21 AM
| #110 |
| RCC Addict Join Date: Dec 2009 Location: Newcastle, Australia
Posts: 1,784
|
Just a couple of pics from the cANZ Austrailan Nationals... these first couple my 9y son took 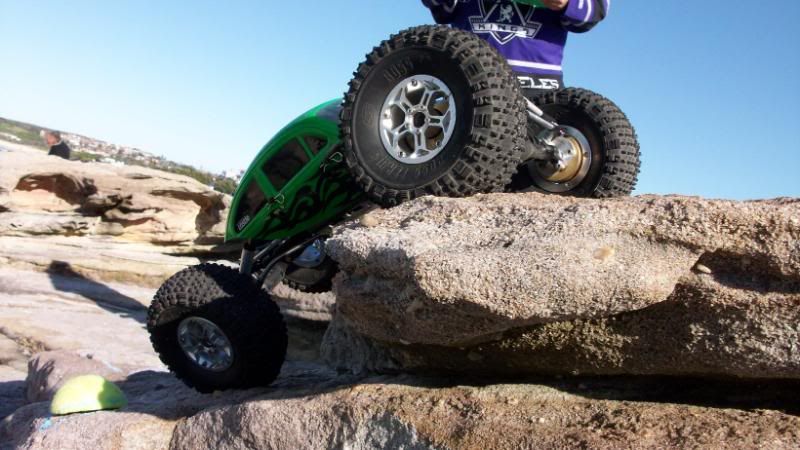 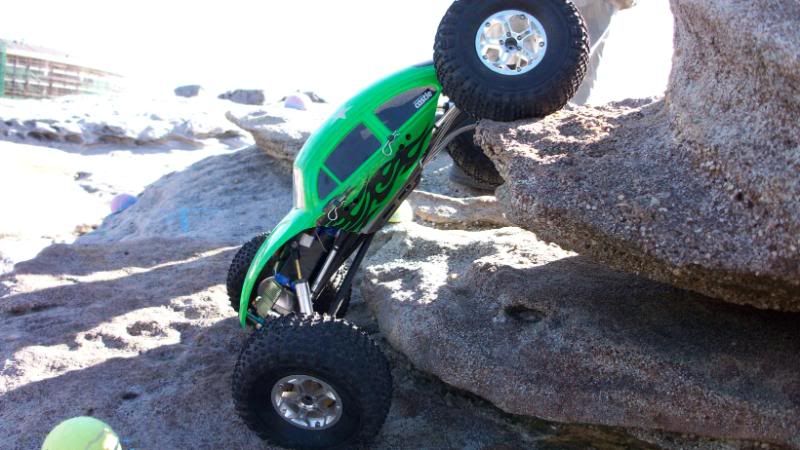 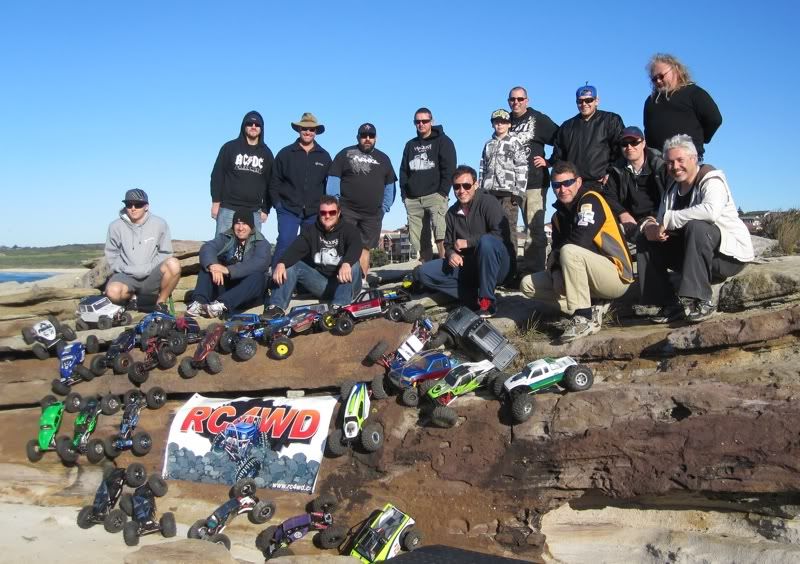 And i managed a 3rd in this  |
|
| |
|
06-24-2011, 07:26 AM
| #111 |
| Pebble Pounder Join Date: Oct 2005 Location: Noblesville , IN
Posts: 138
|
Congrats on the 3rd! I know i'm a little late but how do you like those wheels? How do the different offsets compare to stock? Thanks! Dave |
|
| |
|
06-24-2011, 10:02 AM
| #112 |
| RCC Addict Join Date: Dec 2009 Location: Newcastle, Australia
Posts: 1,784
|
Hi Dave they have been a great wheel and I can fit plenty of weight in the dish.. The only thing I can fault them on is rim can get stuck on the rocks Cheers Dan |
|
| |
|
03-02-2016, 06:31 AM
| #113 |
| RCC Addict Join Date: Dec 2009 Location: Newcastle, Australia
Posts: 1,784
|
Was fun building it, kinda miss the old tinkering on my own rigs all the time Cheers Dan |
|
| |
 |
| |


 Linear Mode


