| |
 02-11-2009, 10:03 AM
| #121 |
| Pebble Pounder Join Date: Dec 2008 Location: UTAH!
Posts: 109
|
i think i will have to copy your sliding rear window idea!  thats great! and i will be watching your interior as well since that is almost next on mine! thats great! and i will be watching your interior as well since that is almost next on mine! keep up the great work! |

|  |
| Sponsored Links | |
| | |
|
02-11-2009, 02:35 PM
| #122 | |
| Rock Crawler Join Date: Jul 2006 Location: Kelowna BC Canada
Posts: 691
| Quote:
thanks man, i guess you can copy my rear window. the interior is on hold tell the weekend, tomorrow i have the day off so i will be working on the frame, i hope to have a rolling frame... | |
|
| |
|
02-11-2009, 05:12 PM
| #123 |
| RCC Addict Join Date: Dec 2007 Location: Calgary
Posts: 1,575
|
Hey, i have a sliding rear window on my cab too. 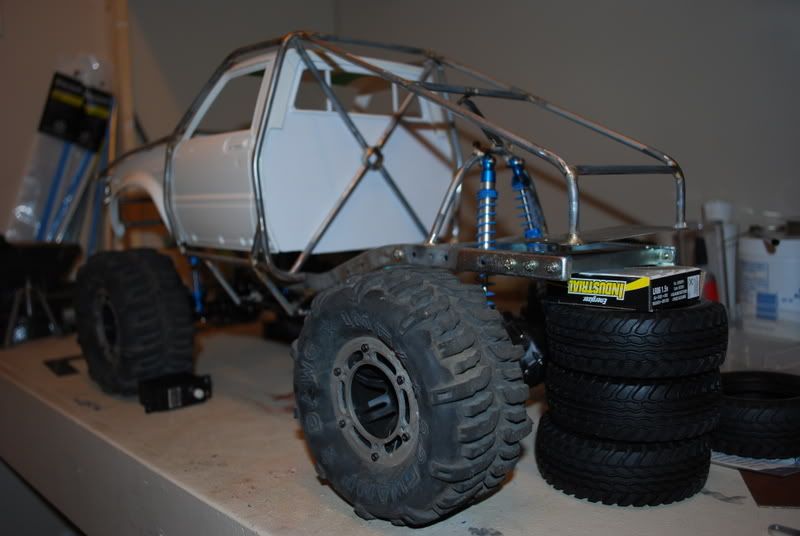 You have awesome build, i cant wait to see what else you come up with. Keep the pics coming. |
|
| |
|
02-11-2009, 05:18 PM
| #124 |
| Rock Crawler Join Date: Jul 2006 Location: Kelowna BC Canada
Posts: 691
|
thanks jester666, i will have a few more in the next couple minutes... |
|
| |
|
02-11-2009, 06:39 PM
| #125 |
| Rock Crawler Join Date: Jul 2006 Location: Kelowna BC Canada
Posts: 691
|
Well like i said here is an update... can you say grill........ Before: 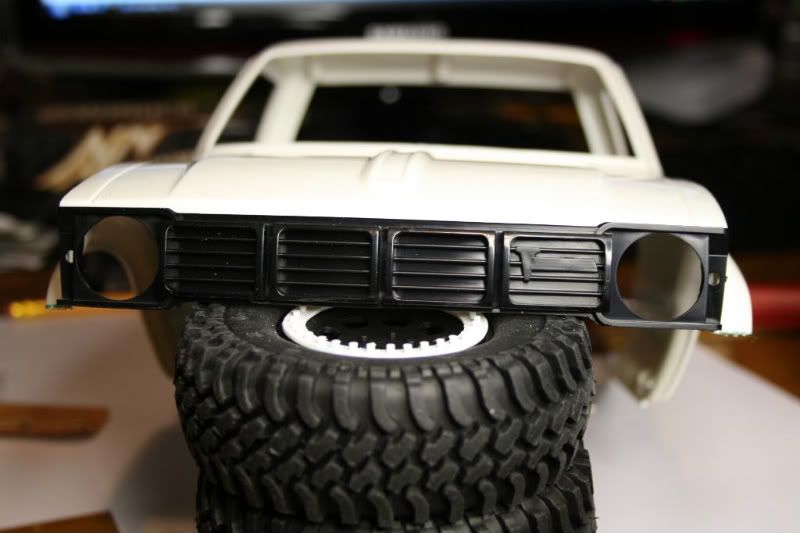 After: 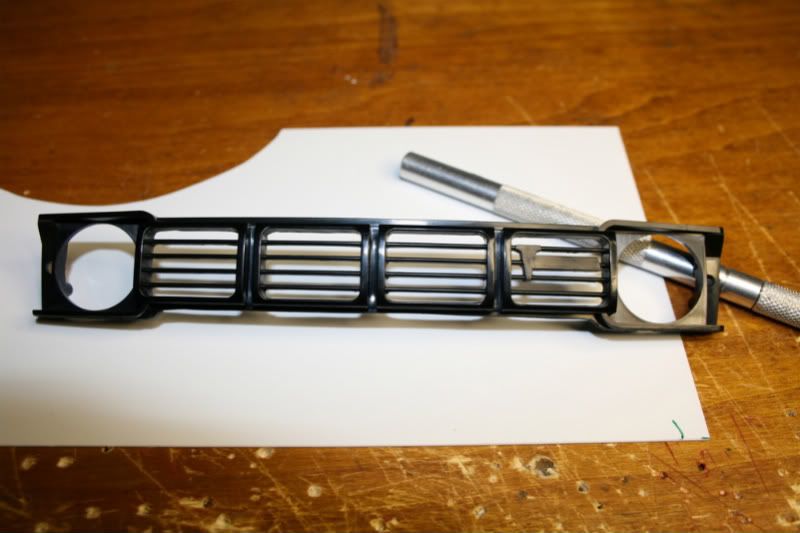 Last edited by fishfever; 02-11-2009 at 06:47 PM. |
|
| |
|
02-11-2009, 06:50 PM
| #126 |
| RCC Addict Join Date: Nov 2005 Location: Utah
Posts: 1,530
|
Just taking a break from cutting up mine. Talk about a PITA, well worth it though.
|
|
| |
|
02-11-2009, 06:54 PM
| #127 | |
| Rock Crawler Join Date: Jul 2006 Location: Kelowna BC Canada
Posts: 691
| Quote:
Sweet all i did is my dremel tool with the sanding tube | |
|
| |
|
02-11-2009, 08:49 PM
| #128 |
| RCC Addict Join Date: Dec 2007 Location: Calgary
Posts: 1,575
|
Agreed, that is a PITA mod to do but it looks so good when its done. I've done 4 grills that way so far. What brand of paint are you going to be using on the body? |
|
| |
|
02-11-2009, 09:28 PM
| #129 | |
| Rock Crawler Join Date: Jul 2006 Location: Kelowna BC Canada
Posts: 691
| Quote:
I will also be doing this to the Marlin truck... As for the paint i use auto primer... 1A. 3-5 coats of auto primer, sanding between coats (400 grit sand paper) I use model master paint (water base), i mix it 2 parts paint to 1 part water... 1B. I airbrush first coat, then after about 4 hours in front of a heat light and 20 hours just sitting, i then wet sand it with 400 grit sand paper in warm water with a bit of dish soap (to help lube the sand paper) it also makes it so not as much paint comes off... Let it sit for 24 hours before sanding for best results... 2B. Then i airbrush 1-2 coats depending how it lays down, then repeat 1B... Let it sit for 24 hours before sanding for best results... 3B. Then i airbrush and repeat 2B, then i give it a final 1000 grit wet sanding... Let it sit for 24 hours before sanding for best results... Then i let it sit for about 2-6 days so it will harden because the paint is very soft... 4B. Then after i got all my paint on and its been super sanded The paint is prety hard and it will take a lot to scratch the basecoat... After it sits for about 2-5 days it should be AOK to crawl. Any questions please just ask.... | |
|
| |
|
02-11-2009, 09:31 PM
| #130 |
| Quarry Creeper Join Date: Nov 2008 Location: N. California
Posts: 424
|
Wow, thanks for the info. Can't wait to see the paint when you are all done, I know its going to look beautiful. Been following this over on Marin, keep up the good work man!! |
|
| |
|
02-11-2009, 09:37 PM
| #131 | |
| Rock Crawler Join Date: Jul 2006 Location: Kelowna BC Canada
Posts: 691
| Quote:
Thanks man i thought that was you  | |
|
| |
|
02-11-2009, 10:25 PM
| #132 |
| RCC Addict Join Date: Feb 2005 Location: Guam
Posts: 1,208
|
awesome job on this build bro! been watching in awe! i've been wanting to do a sliding rear window on mine. i already cut out the window. just been lazy to finish is up. lol.
|
|
| |
|
02-11-2009, 10:30 PM
| #133 | |
| Rock Crawler Join Date: Jul 2006 Location: Kelowna BC Canada
Posts: 691
| Quote:
thanks man just heat the corners with a Zippo to make the rounded corners... | |
|
| |
|
02-12-2009, 04:47 PM
| #134 |
| Rock Crawler Join Date: Jul 2006 Location: Kelowna BC Canada
Posts: 691
|
Ok i have a bit of an update, i got some of what i wanted to do today done... Frame and Axles with springs... 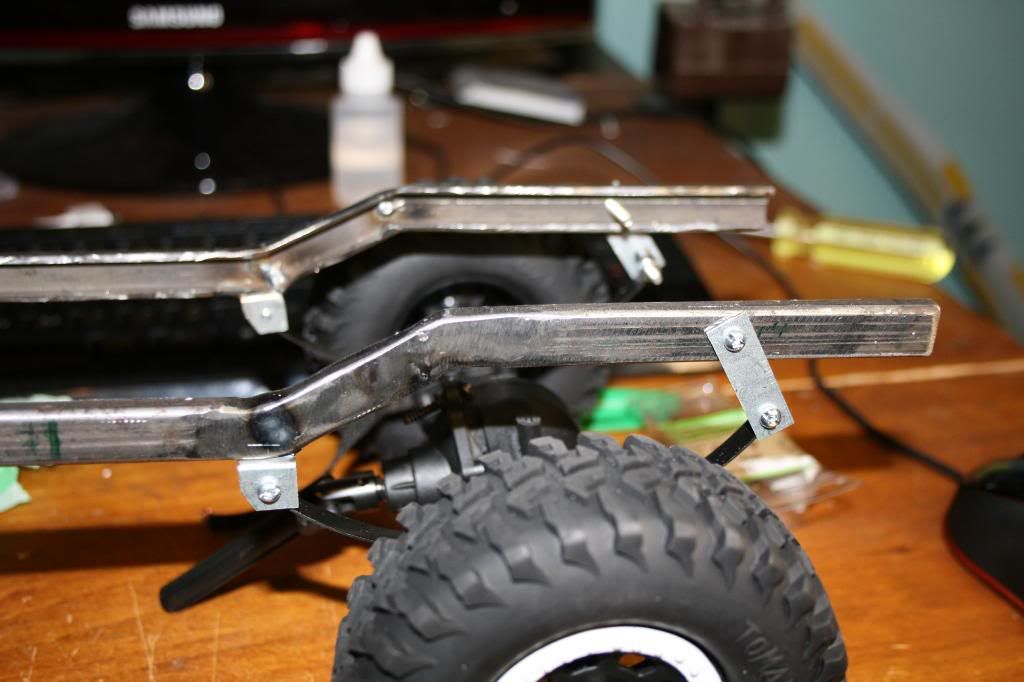 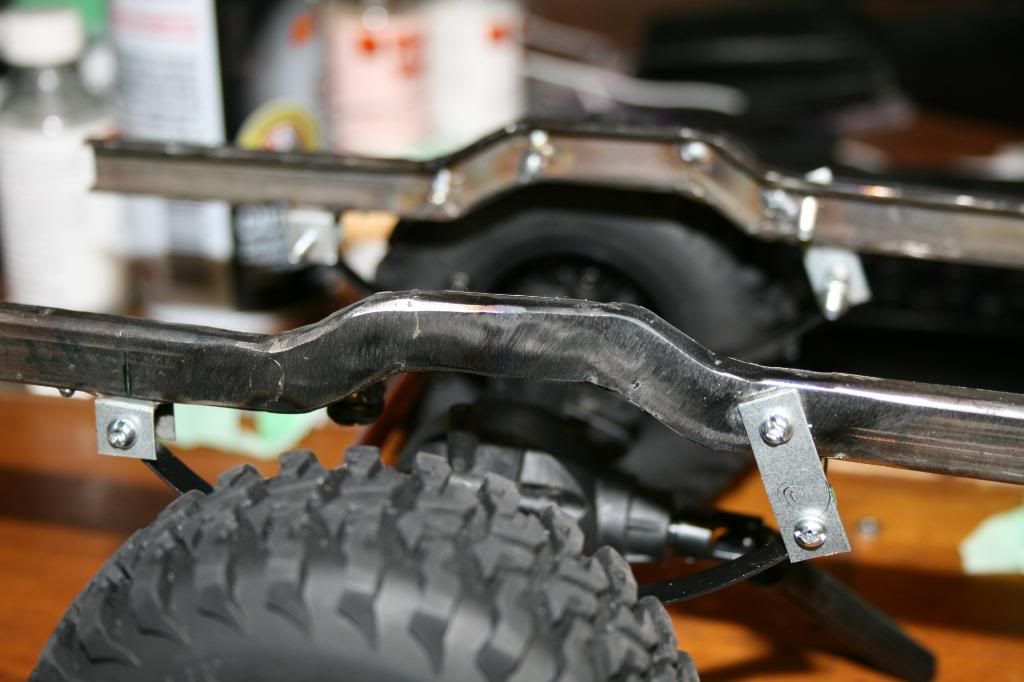 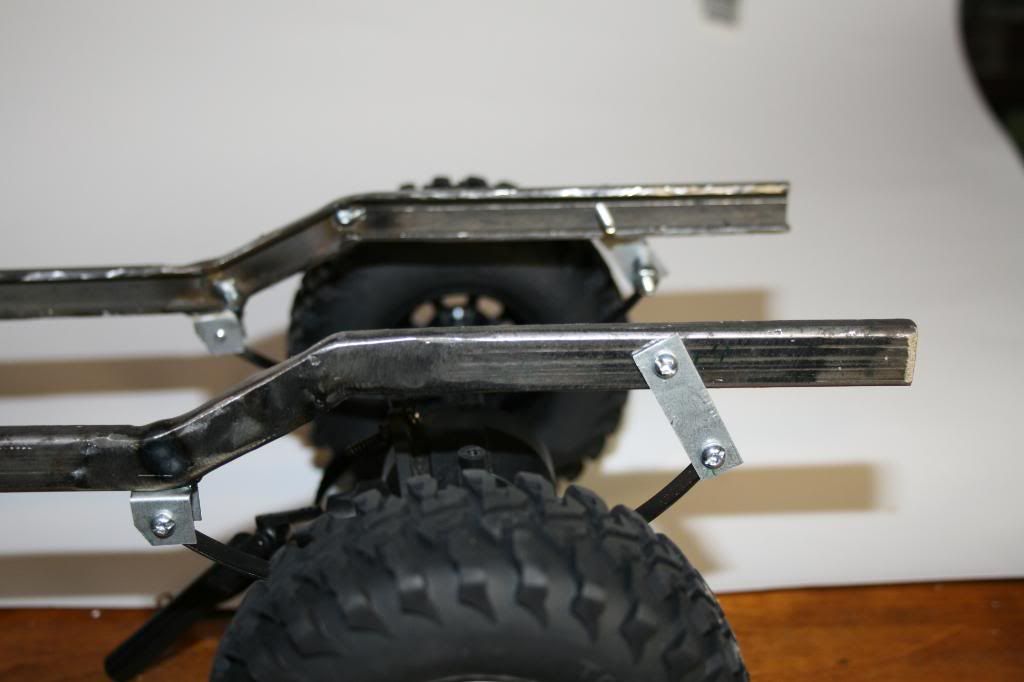 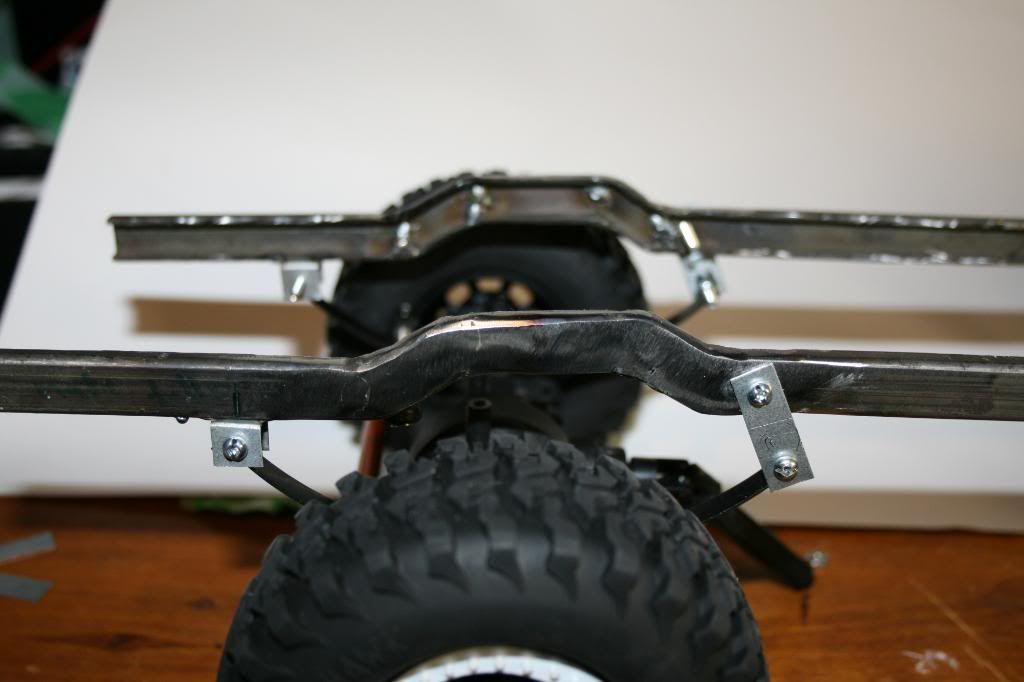 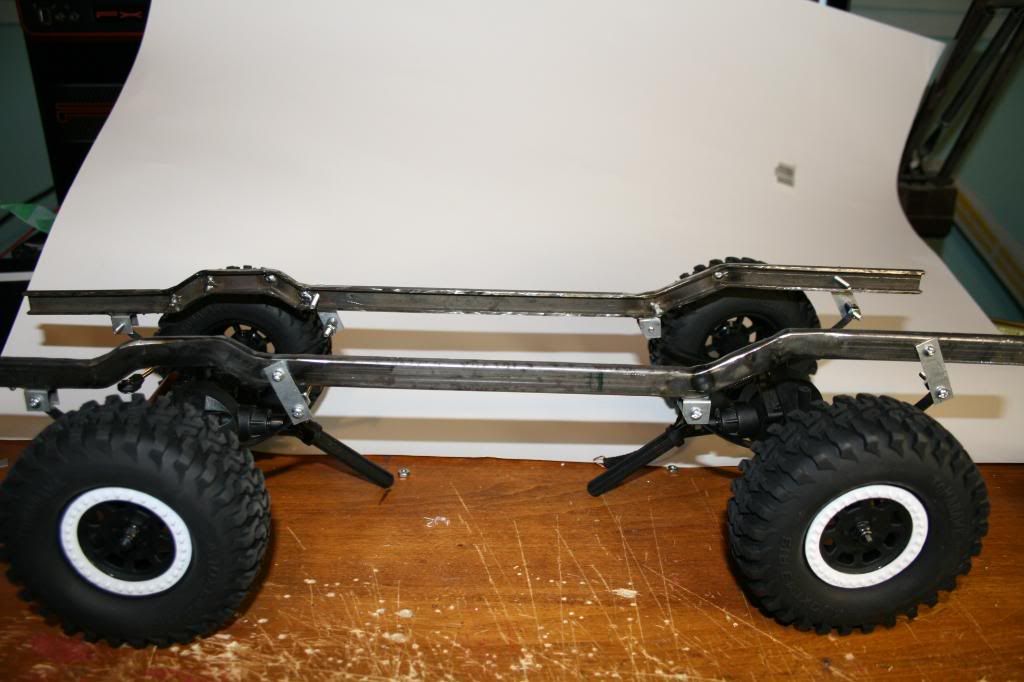 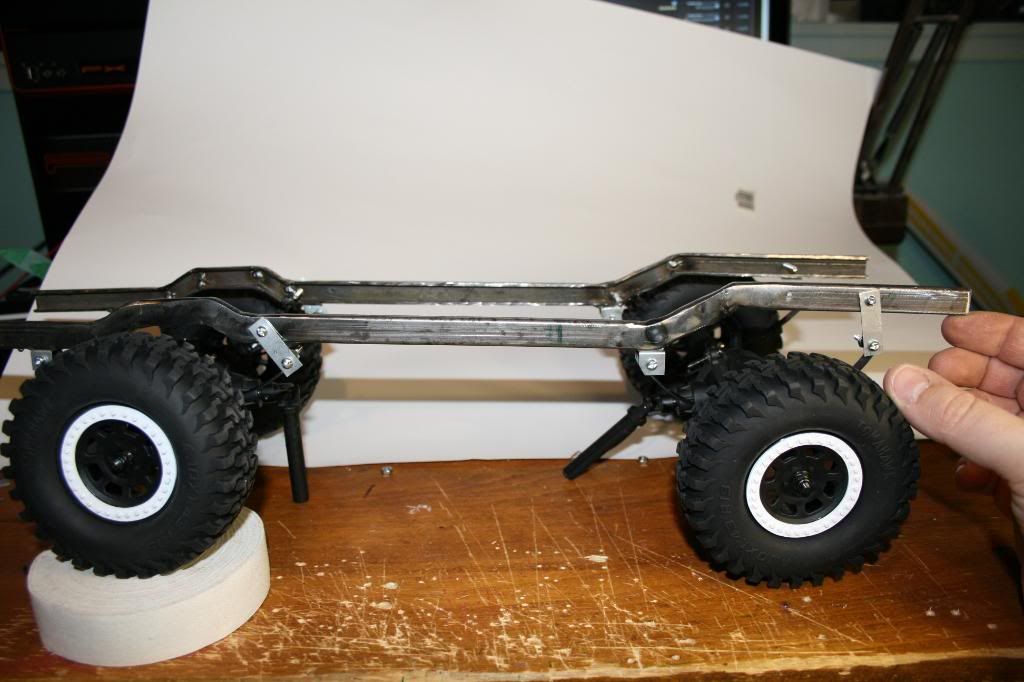 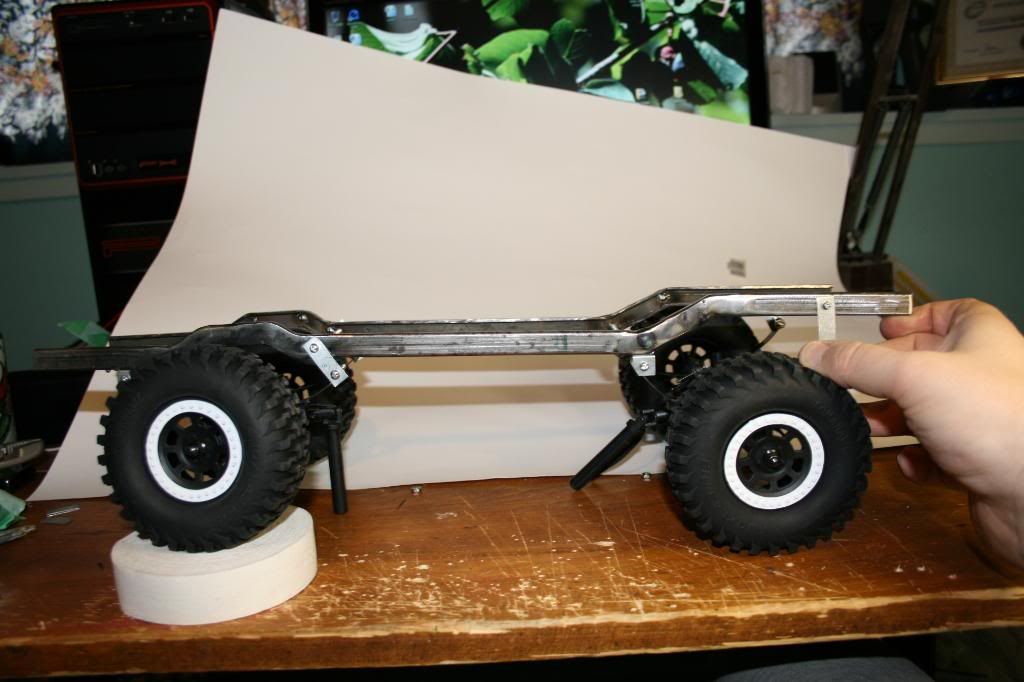 front spring mounts: 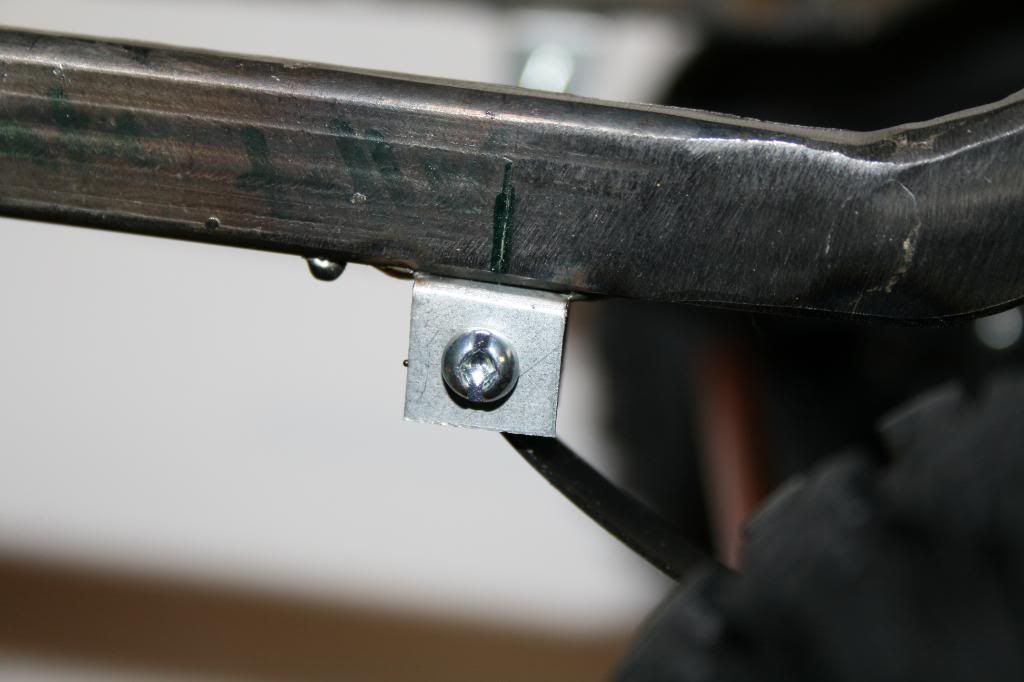 Rear front spring mount: 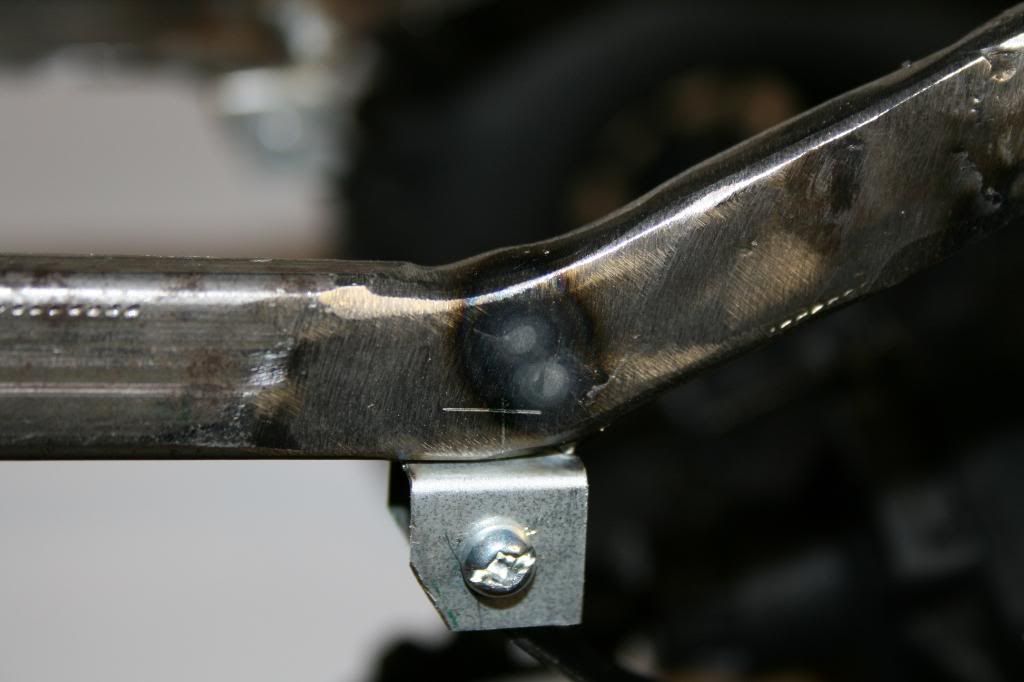 |
|
| |
|
02-12-2009, 04:50 PM
| #135 |
| Rock Crawler Join Date: Jul 2006 Location: Kelowna BC Canada
Posts: 691
|
Now for some body on shots... 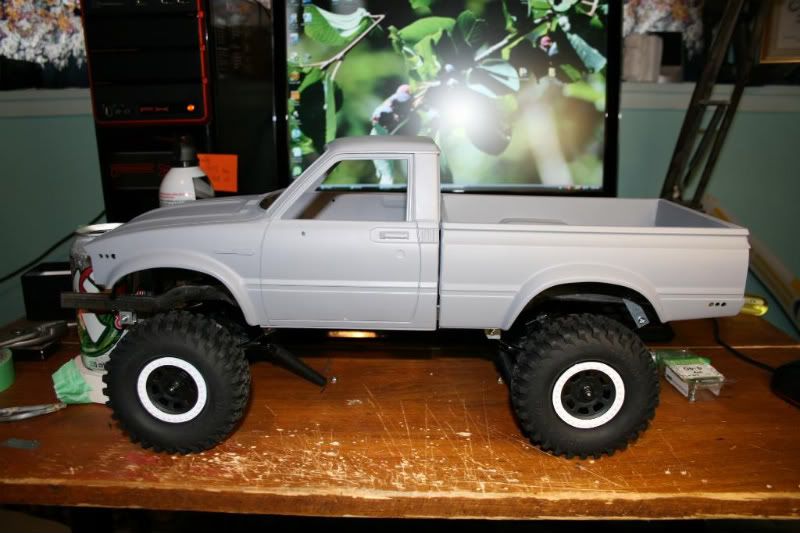 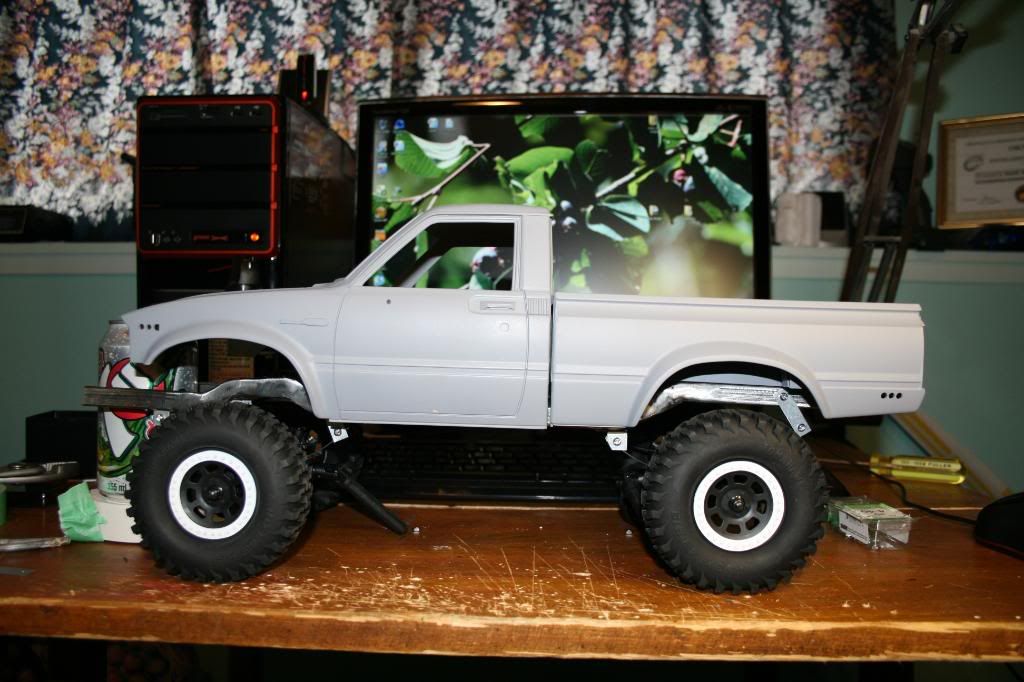 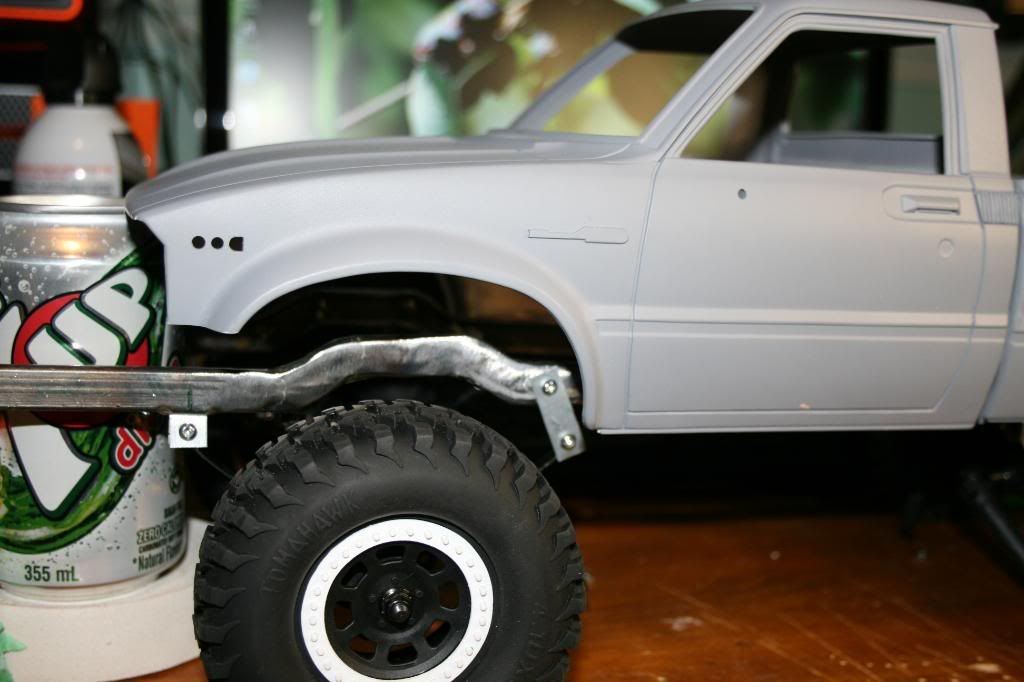 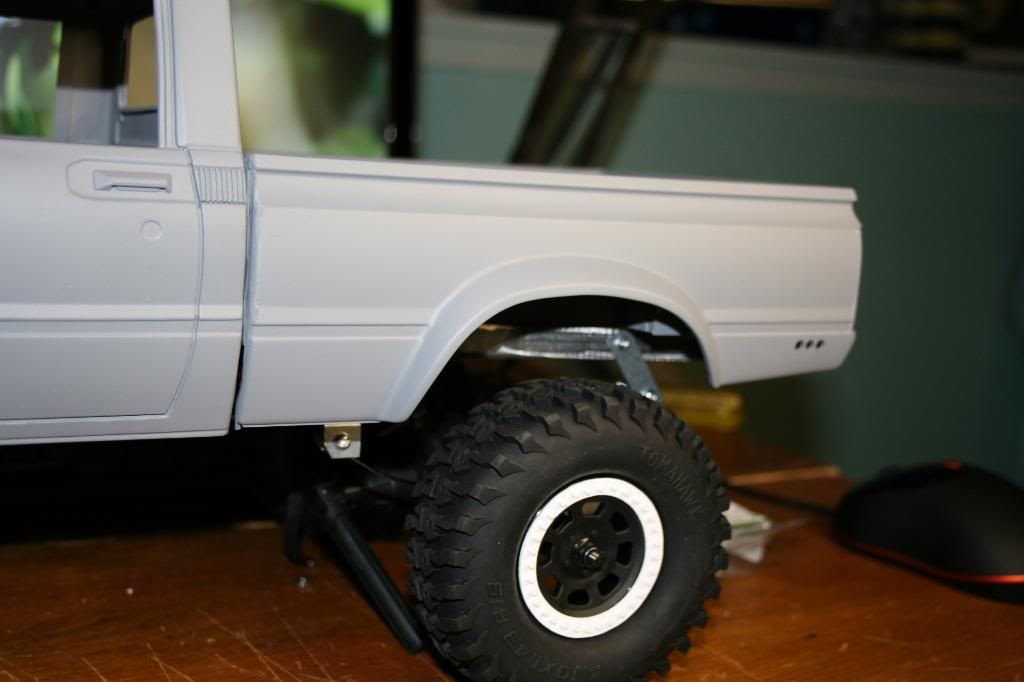 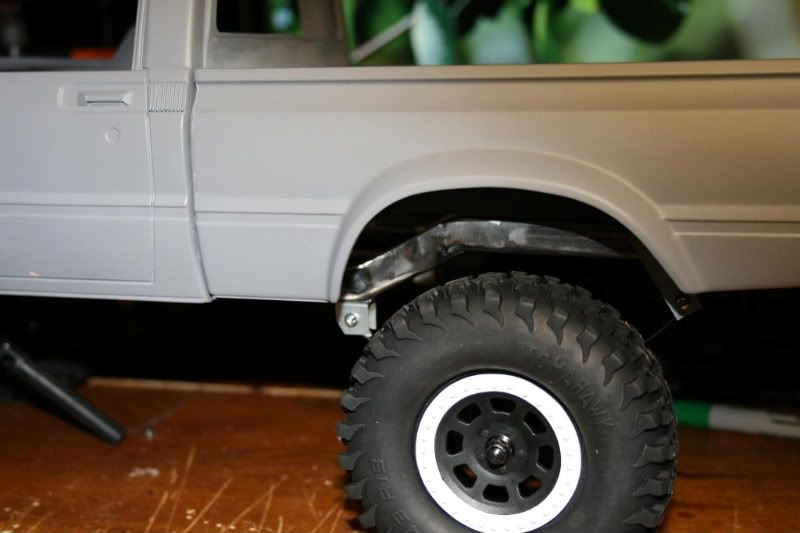 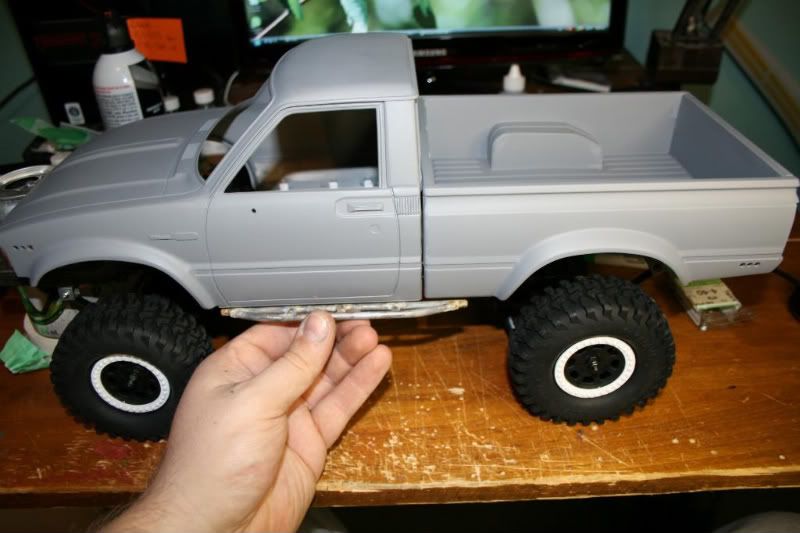 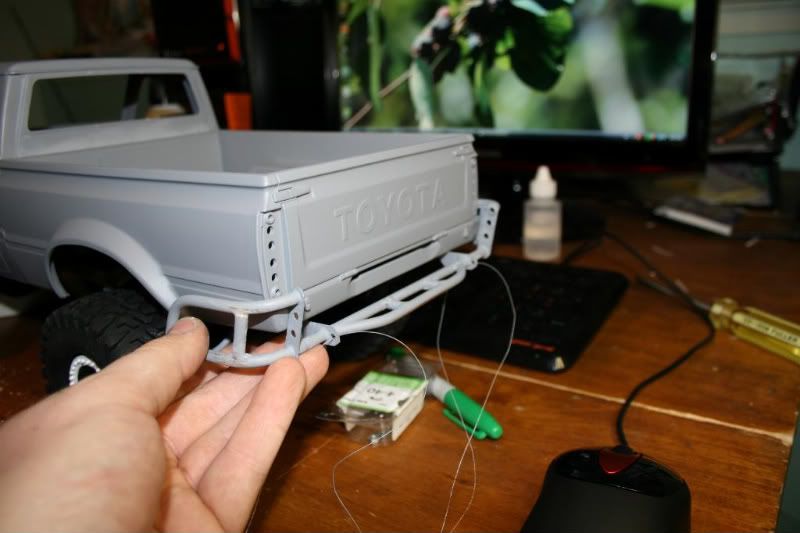 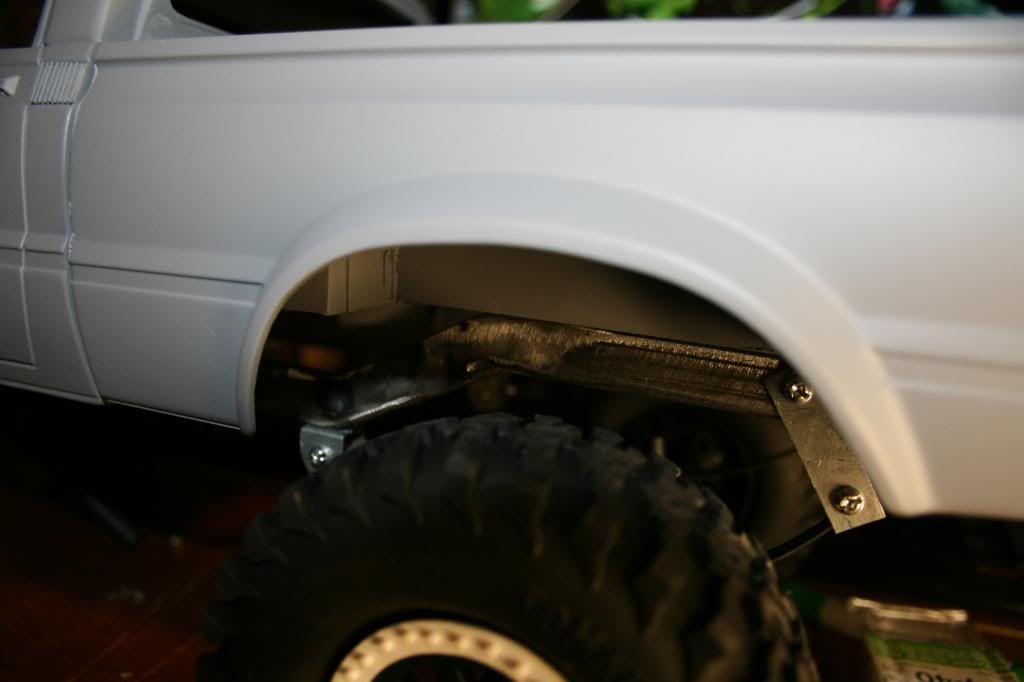 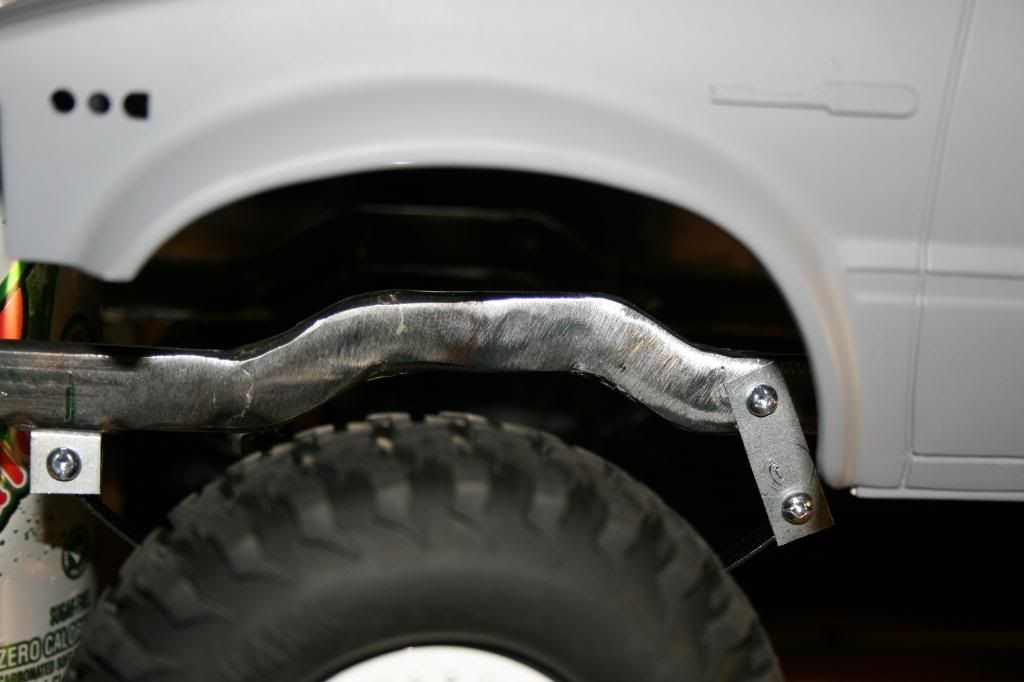 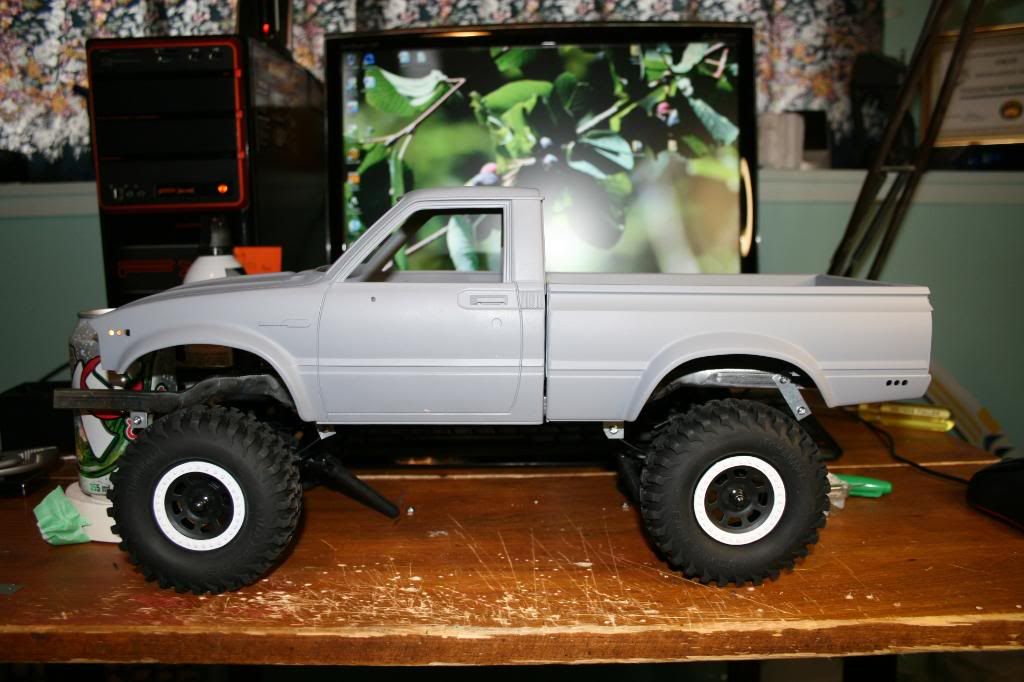 |
|
| |
|
02-12-2009, 05:17 PM
| #136 |
| Pebble Pounder Join Date: Nov 2008 Location: Hamburg, MI
Posts: 146
|
looking great bro keep up the good work
|
|
| |
|
02-12-2009, 05:46 PM
| #137 | |
| Rock Crawler Join Date: Jul 2006 Location: Kelowna BC Canada
Posts: 691
| Quote:
thanks man i hope to have the frame and front bumper done this weekend... | |
|
| |
|
02-12-2009, 09:10 PM
| #138 |
| Pebble Pounder Join Date: Jul 2008 Location: saipan cnmi
Posts: 153
|
where can i get a winch like that???
|
|
| |
|
02-12-2009, 09:36 PM
| #139 | |
| Rock Crawler Join Date: Jul 2006 Location: Kelowna BC Canada
Posts: 691
| Quote:
http://www.shop.rpphobby.com/product...productId=1350 | |
|
| |
|
02-12-2009, 10:43 PM
| #140 |
| Rock Crawler Join Date: Jul 2006 Location: Kelowna BC Canada
Posts: 691
| |
|
| |
 |
| |


 Linear Mode


