| |
 08-20-2011, 11:29 PM
| #21 |
| Quarry Creeper Join Date: Jul 2011 Location: Lake City, Fl
Posts: 380
|
work has begun on a new front bumper, to rid the truck of the floppy plastic one... so I picked up some aluminum today 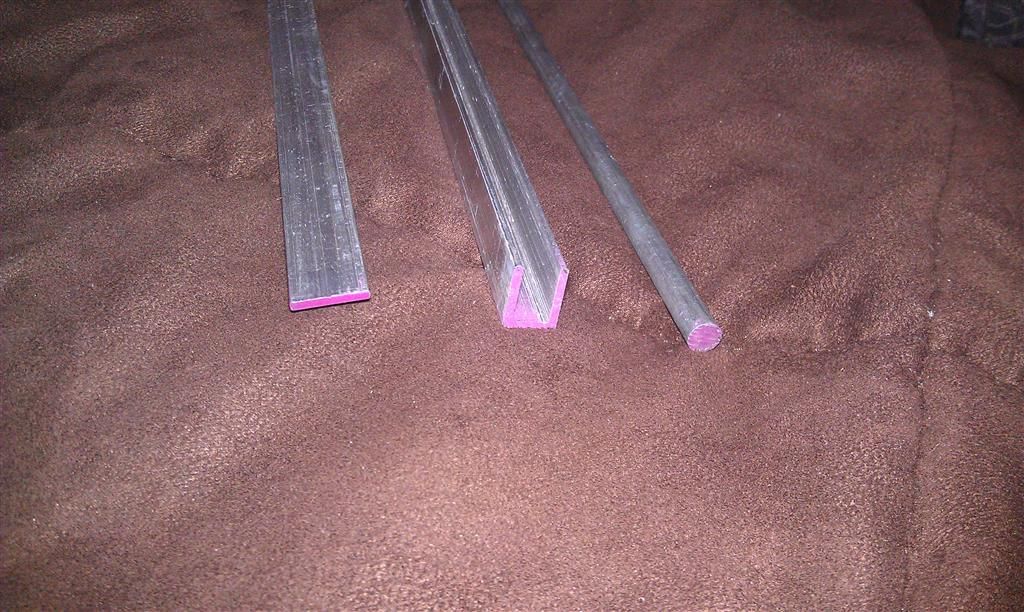 the plan is to make it completely bolt-together, since I don't have any welding or brazing skills. this is more or less a "trial" thing to be honest, so I don't expect it to be perfect. this is my first try at something like this I got the two uprights done for now that I'll build the bumper off of. They're not perfect like I said, but they should get the job done when it's finished. 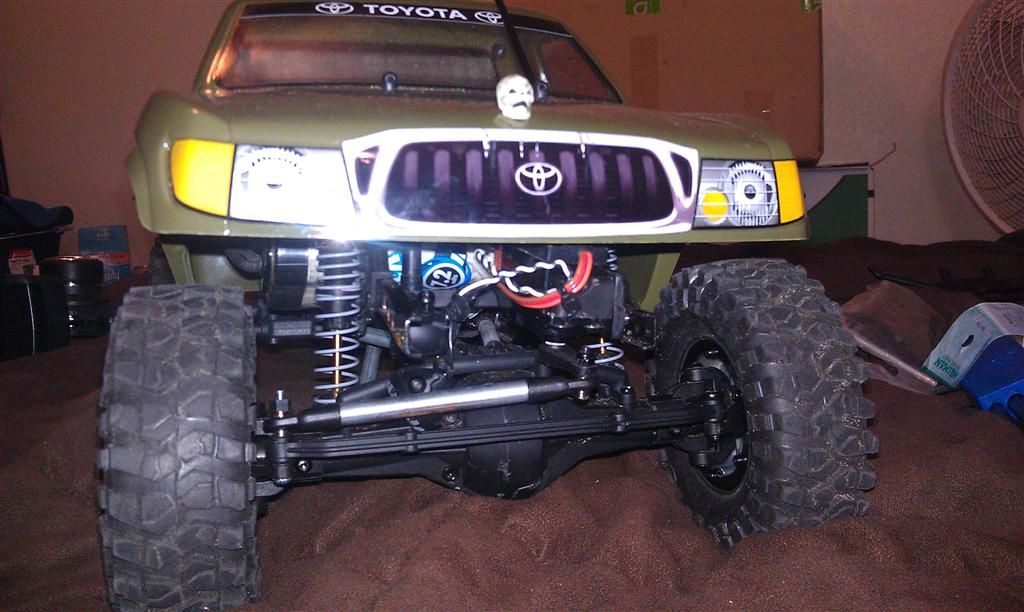 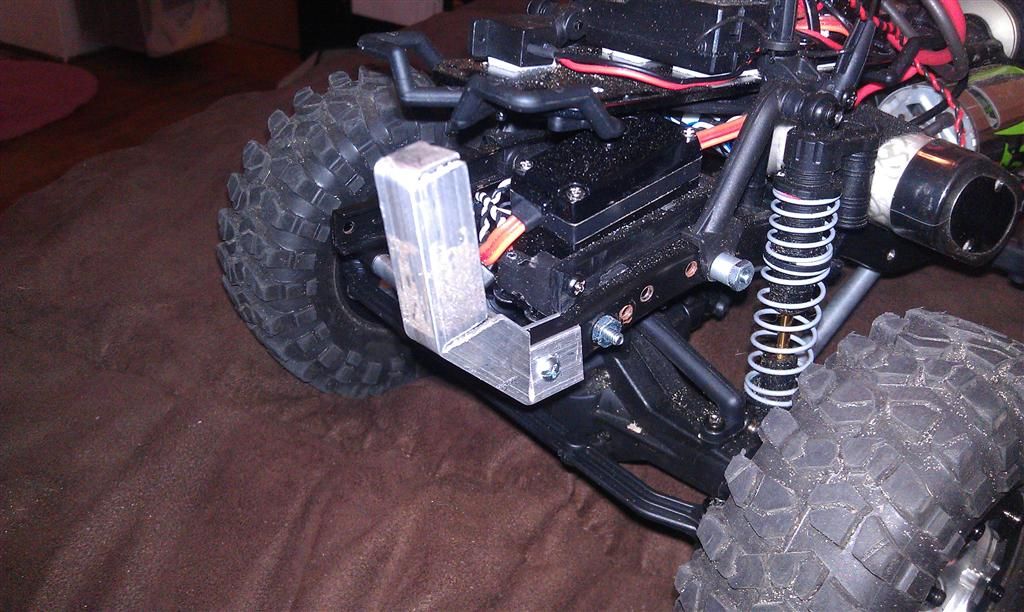  I'm going to span a flat piece between them to mount the lights to (not looking to mount a winch any time soon, so didn't bother making room for one) 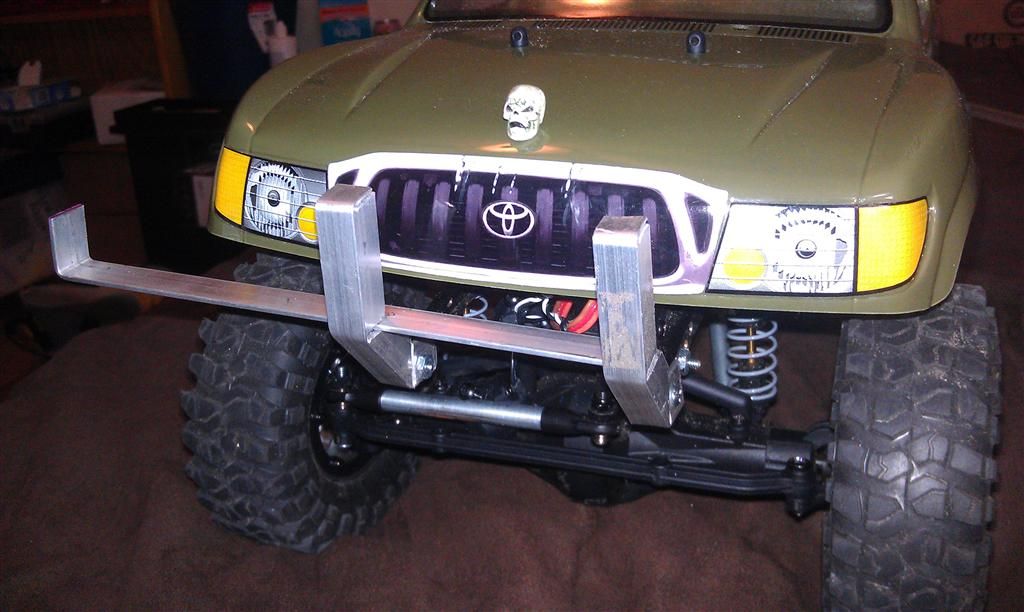 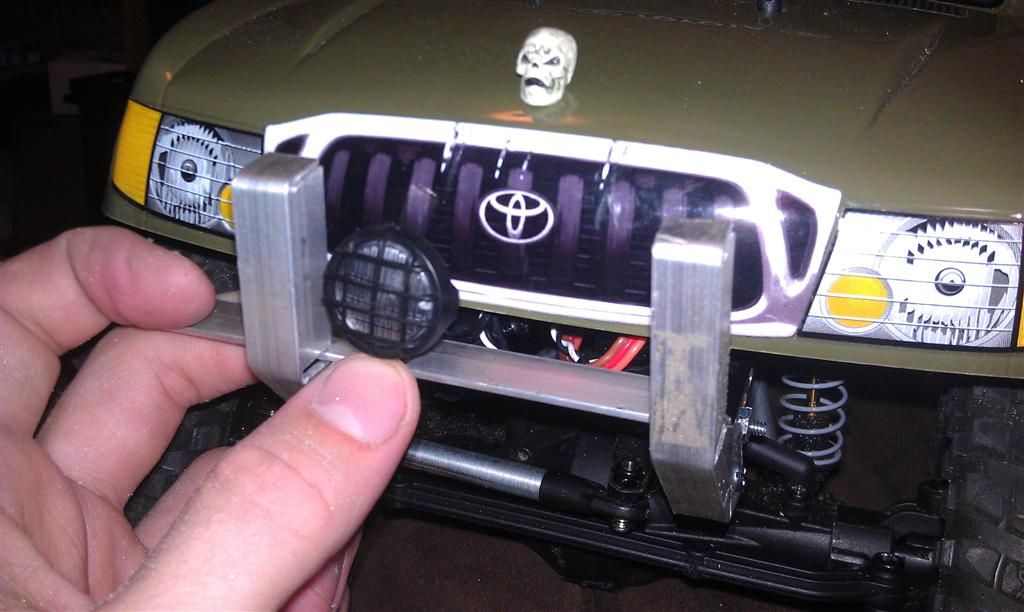 and above that I'll mount a rod. I'm going to drill and tap the ends of the rods so they'll screw right into place  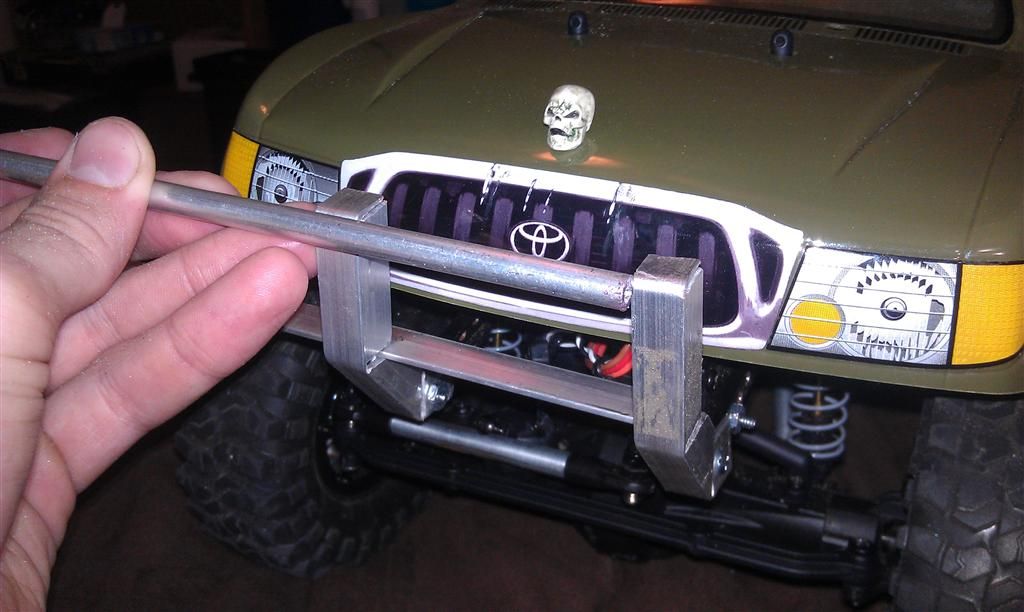 I'll also mount a rod across the bottom to stiffen the frame there 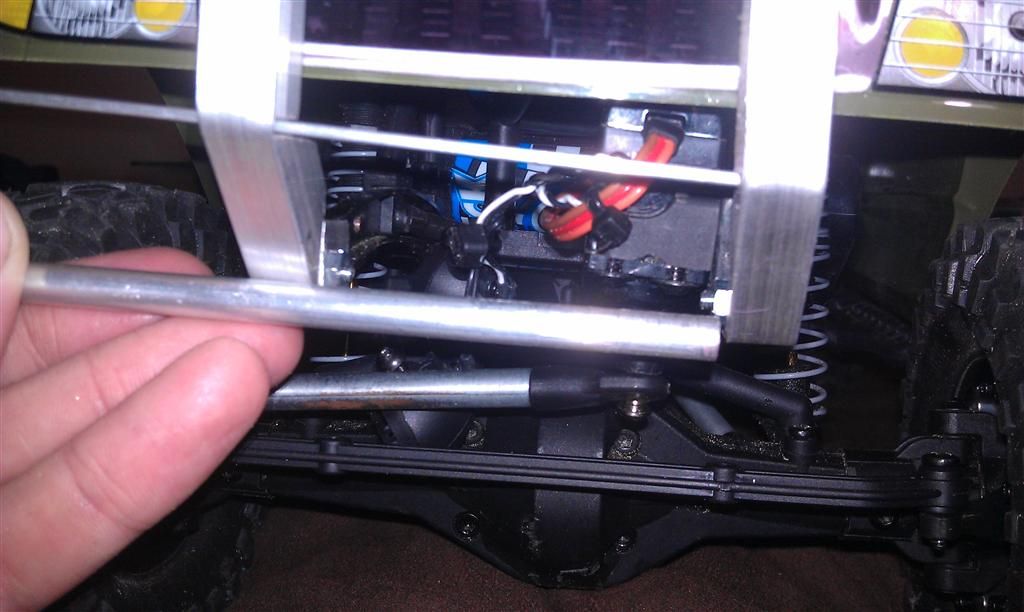 and to stiffen the uprights, I'll run a couple pieces of flat aluminum up the sides 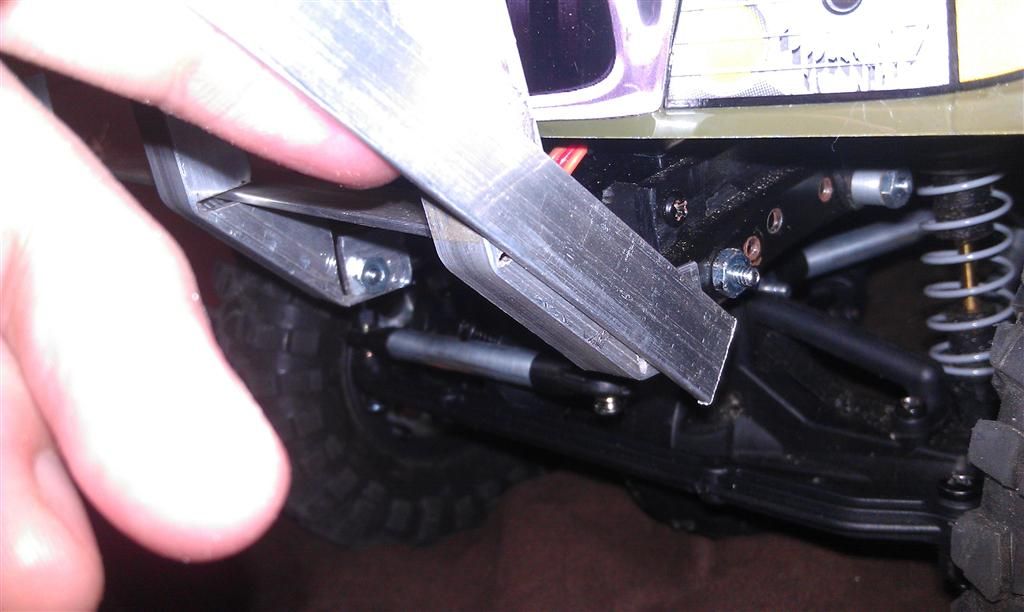 I have a vision in mind, so hopefully it comes out looking SOMETHING like that vision, lol. It's only going to be the center piece; nothing jutting out to the sides killed the approach of the tires ALSO as you can see, I reinstalled the stock drag link to give it full range of steering. It'll stay there until I get around to making one with some bends in it with the Traxxas rod ends. I also have a set of 100mm shocks on order Last edited by iamsuperbleeder; 08-20-2011 at 11:32 PM. |

|  |
| Sponsored Links | |
| | |
|
08-21-2011, 09:40 AM
| #22 |
| I wanna be Dave Join Date: Jun 2008 Location: Vermont
Posts: 2,016
|  @ the *nuts* @ the *nuts*I like what you're planning with the bumper. I look forward to seeing the final result. |
|
| |
|
08-21-2011, 06:47 PM
| #23 |
| Quarry Creeper Join Date: Jul 2011 Location: Lake City, Fl
Posts: 380
|
well I completely ruined one of the uprights today trying to mount a cross brace to it but, I did modify the plastic one for the time being I reinforced it a little with some of the aluminum, right where most of it's flex was occurring. it's pretty stiff now, and the only flex is in it's mount to the frame rails I trimmed the sides up a little too to better the approach of the tires. I tested it out in the back yard, and it seems to be able to scale things MUCH better with just that little triangle removed! 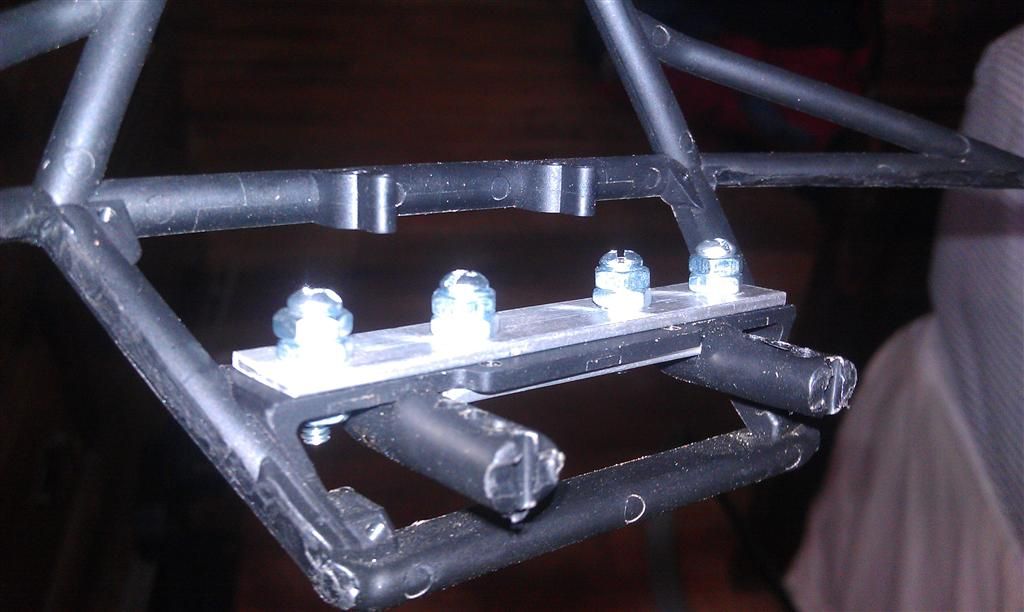 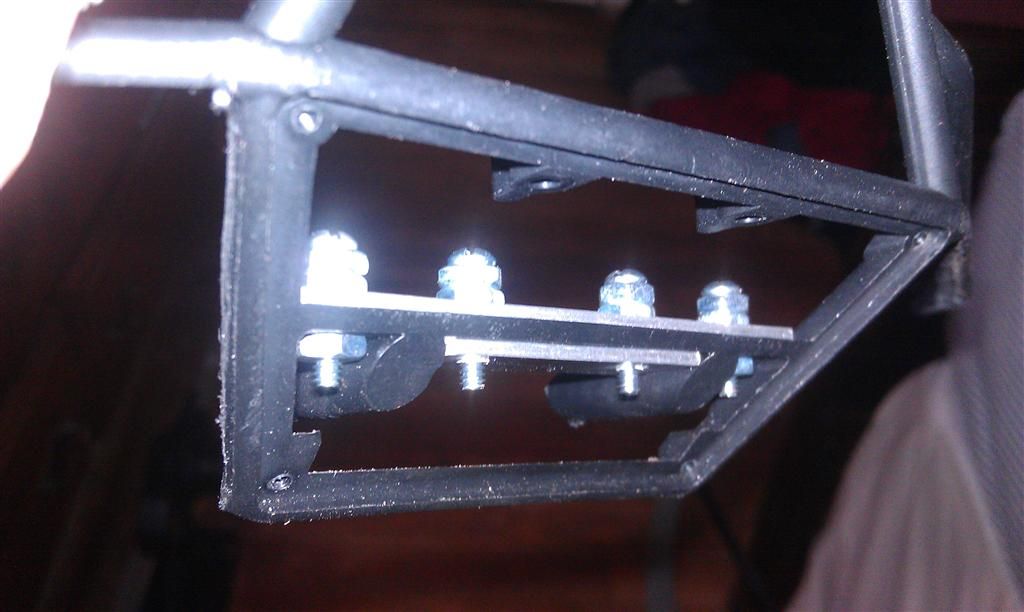 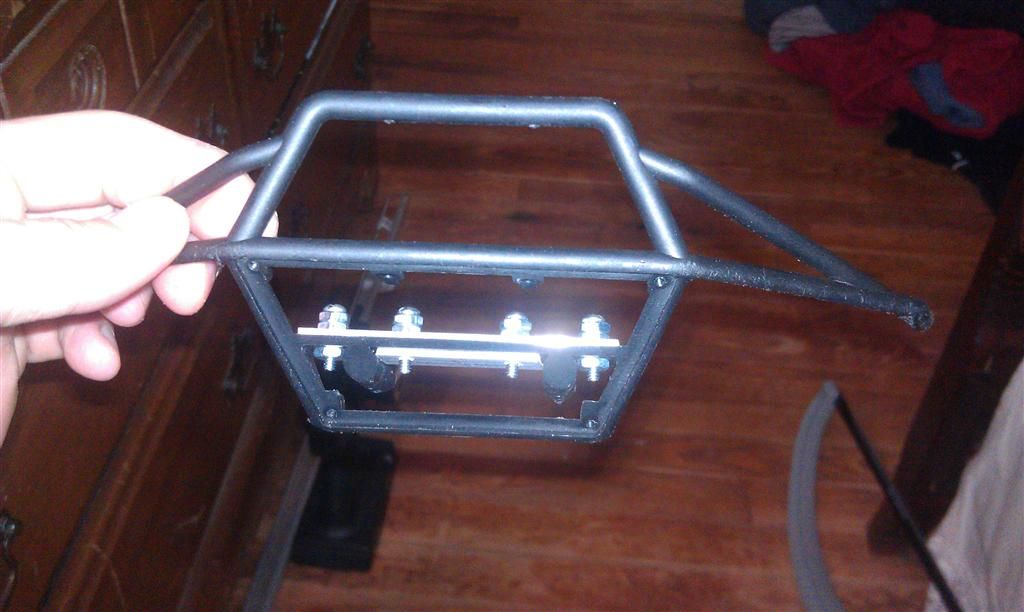 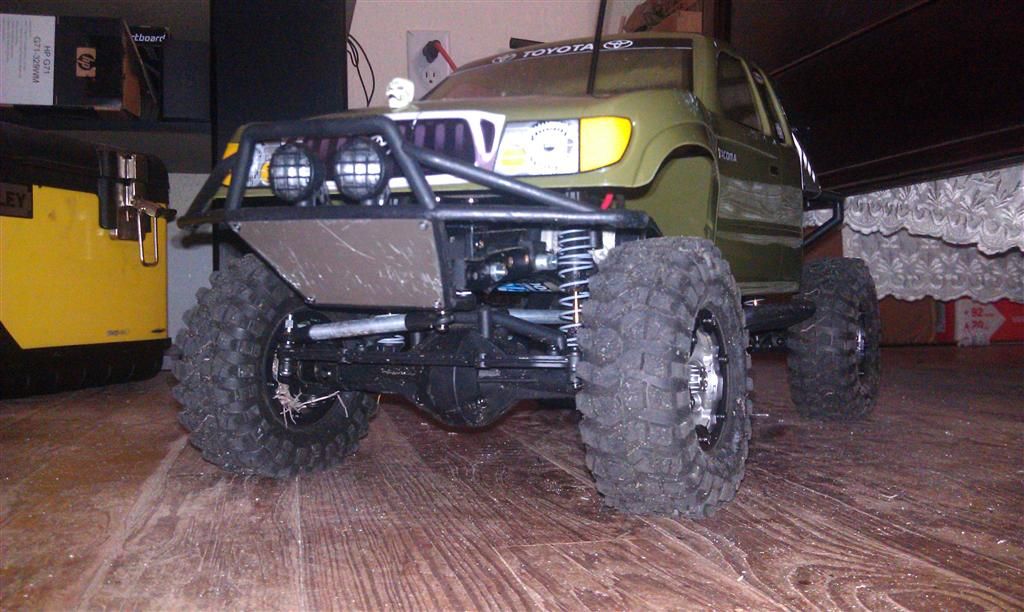 I then found something to do with the little aluminum triangles 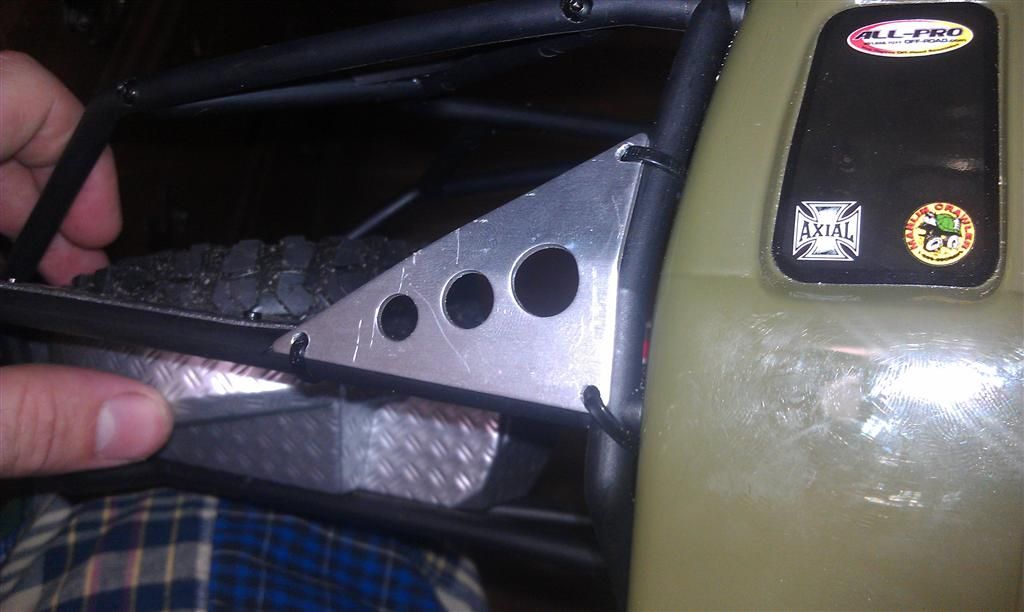 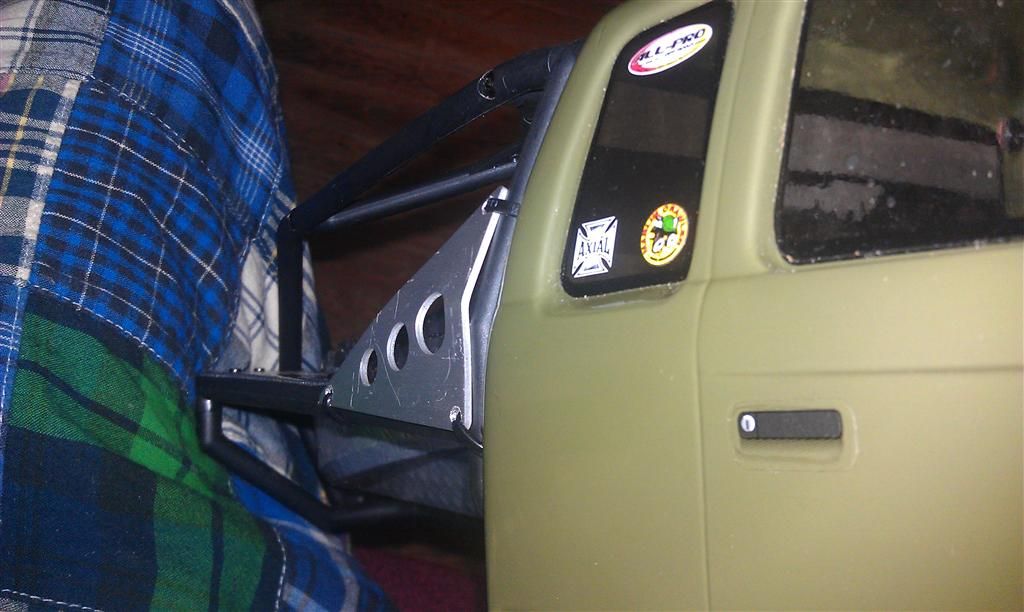 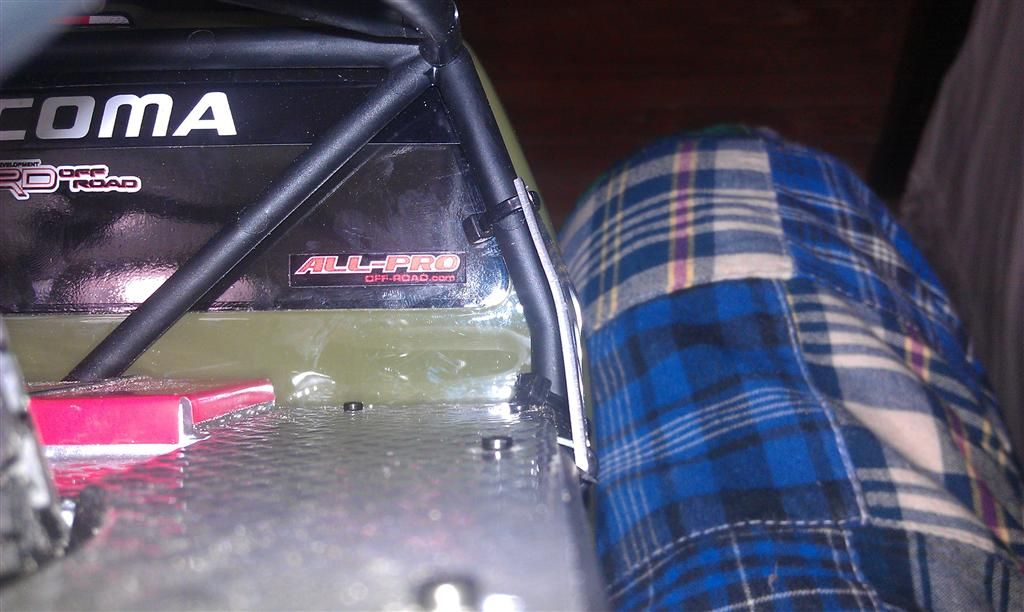 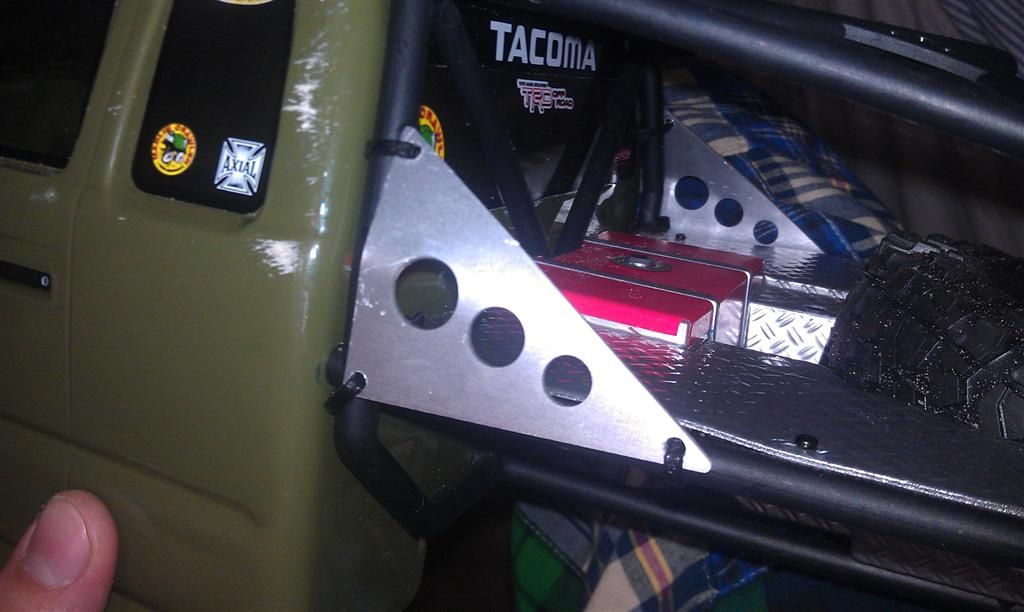 but the stock plastic draglink is going to have to go soon... it flexes and bows out BAD when the steering gets in a bind. and that's with the stock servo too... Last edited by iamsuperbleeder; 08-21-2011 at 06:50 PM. |
|
| |
|
08-21-2011, 09:57 PM
| #24 |
| Quarry Creeper Join Date: Jun 2011 Location: Rainier
Posts: 365
|
your truck is looking good |
|
| |
|
08-21-2011, 10:56 PM
| #25 | |
| Quarry Creeper Join Date: Jul 2011 Location: Lake City, Fl
Posts: 380
| Quote:
sneak peek at the next free mod, currently in progress 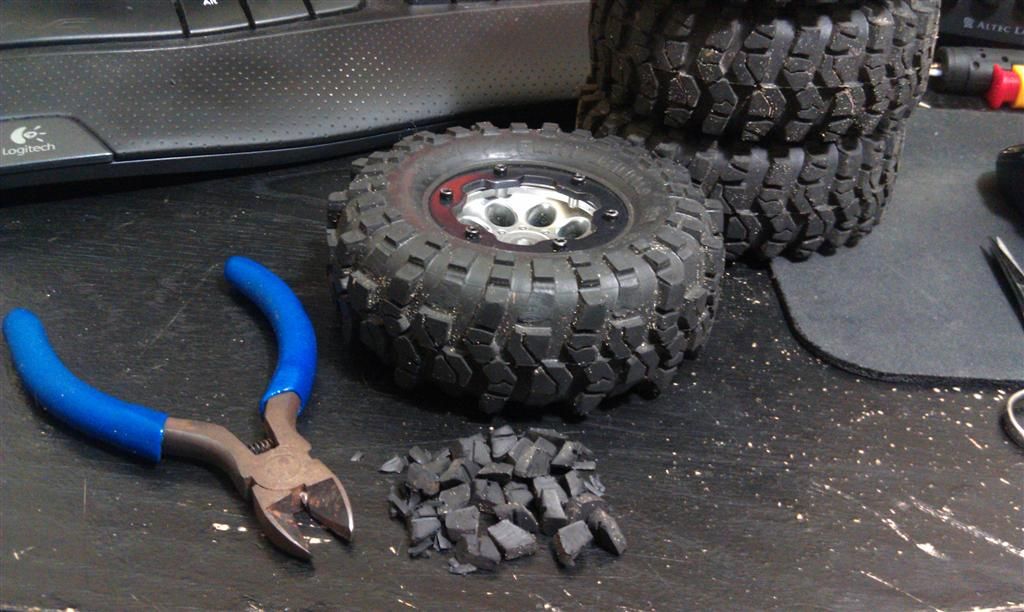 been contemplating doing this for a little while now, just decided to pull the trigger tonight | |
|
| |
|
08-22-2011, 09:25 PM
| #26 |
| Quarry Creeper Join Date: Jul 2011 Location: Lake City, Fl
Posts: 380
|
finished "lightening" the tires this afternoon they look pretty good in my opinion, and they GRAB from the quick little test run in the back yard! I'm VERY impressed with how they perform now! 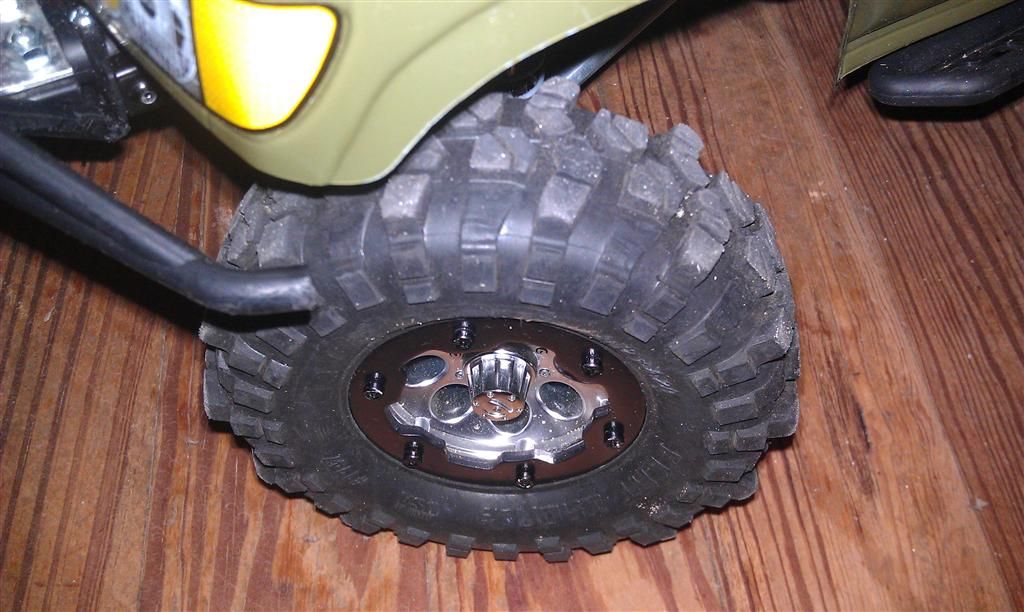 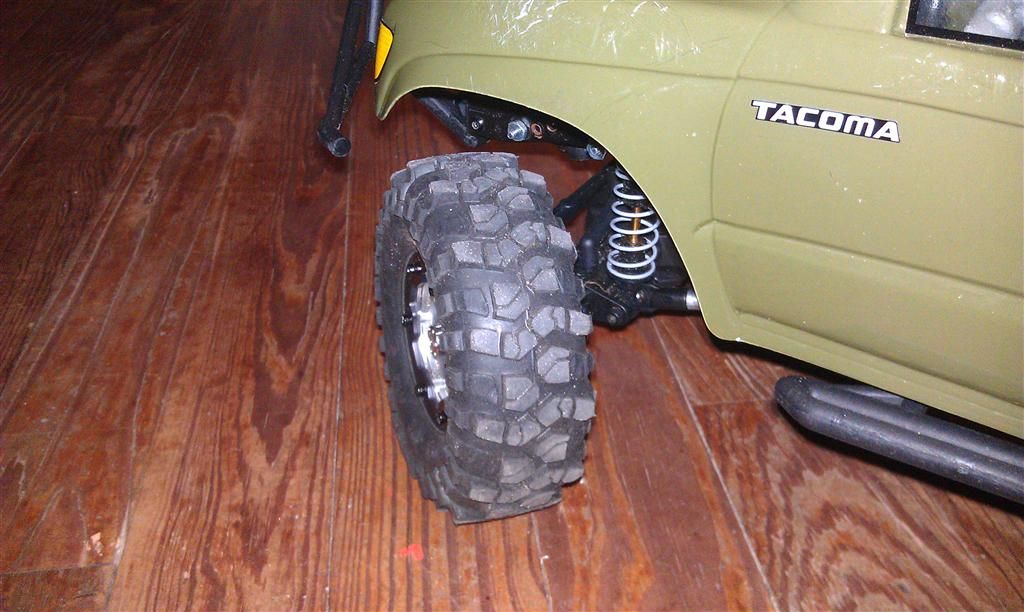 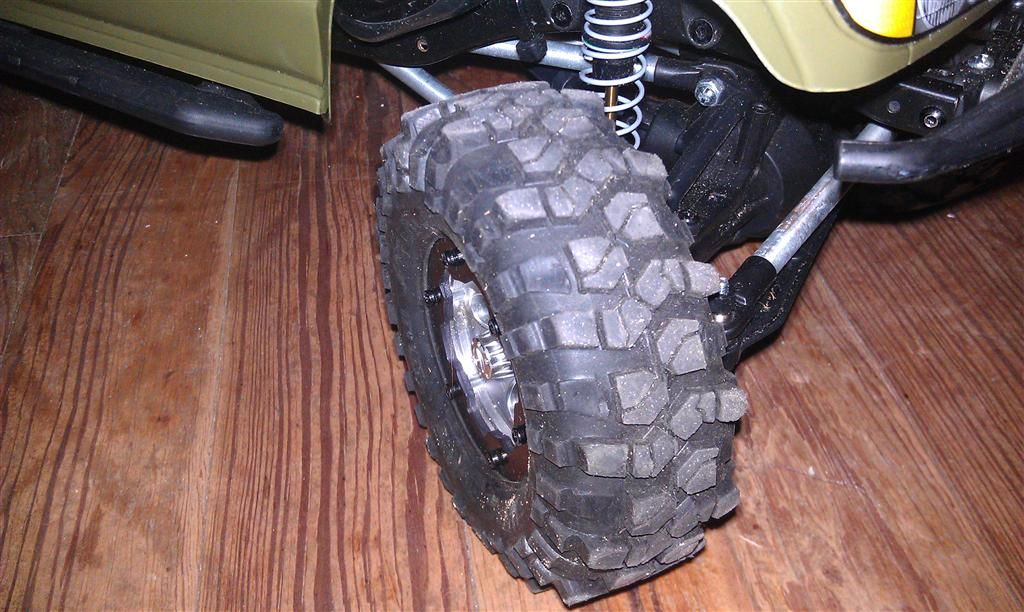 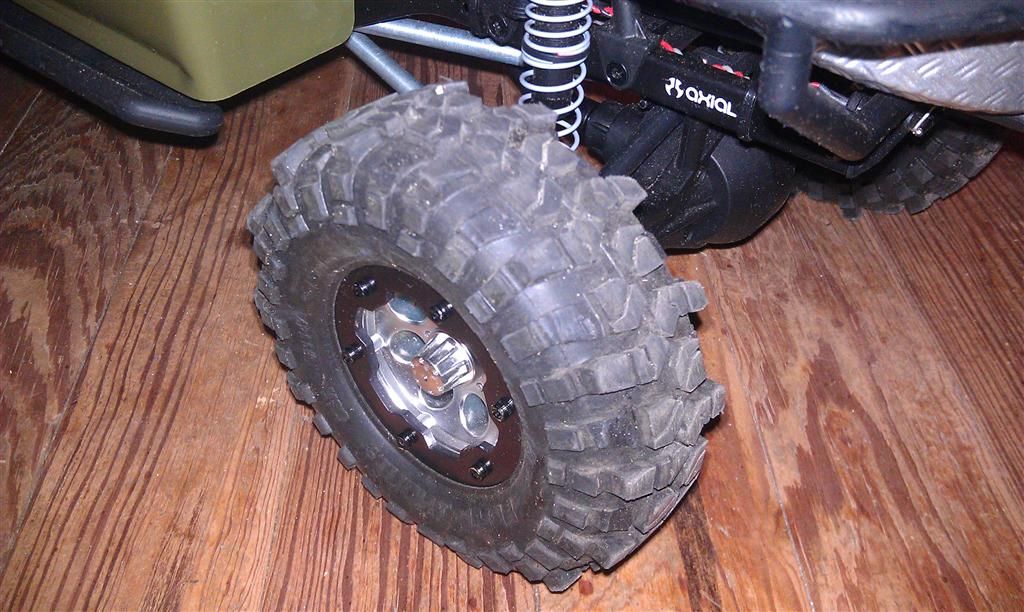  |
|
| |
|
08-22-2011, 09:31 PM
| #27 |
| Quarry Creeper Join Date: Jul 2011 Location: Lake City, Fl
Posts: 380
|
lol, messing around after the front drive shaft popped off the transmission again... and managed to wedge itself into the front links and lock up the front driveline http://www.youtube.com/watch?v=VjeTcPJumPg so I just applied MORE locktight... I'm going to be replacing those stupid shafts soon if they don't keep popping off during EVERY RUN... |
|
| |
|
08-24-2011, 12:01 AM
| #28 |
| Quarry Creeper Join Date: Jul 2011 Location: Lake City, Fl
Posts: 380
|
so I went to put on my work boots this morning, and the freaking lace on my left boot broke... which really didn't surprise me since they were over a year old and I needed new boots anyhow... but when I got home from work, I pulled the lace that was left out of that boot, as well as all the lace out of the other, and made up a few ropes 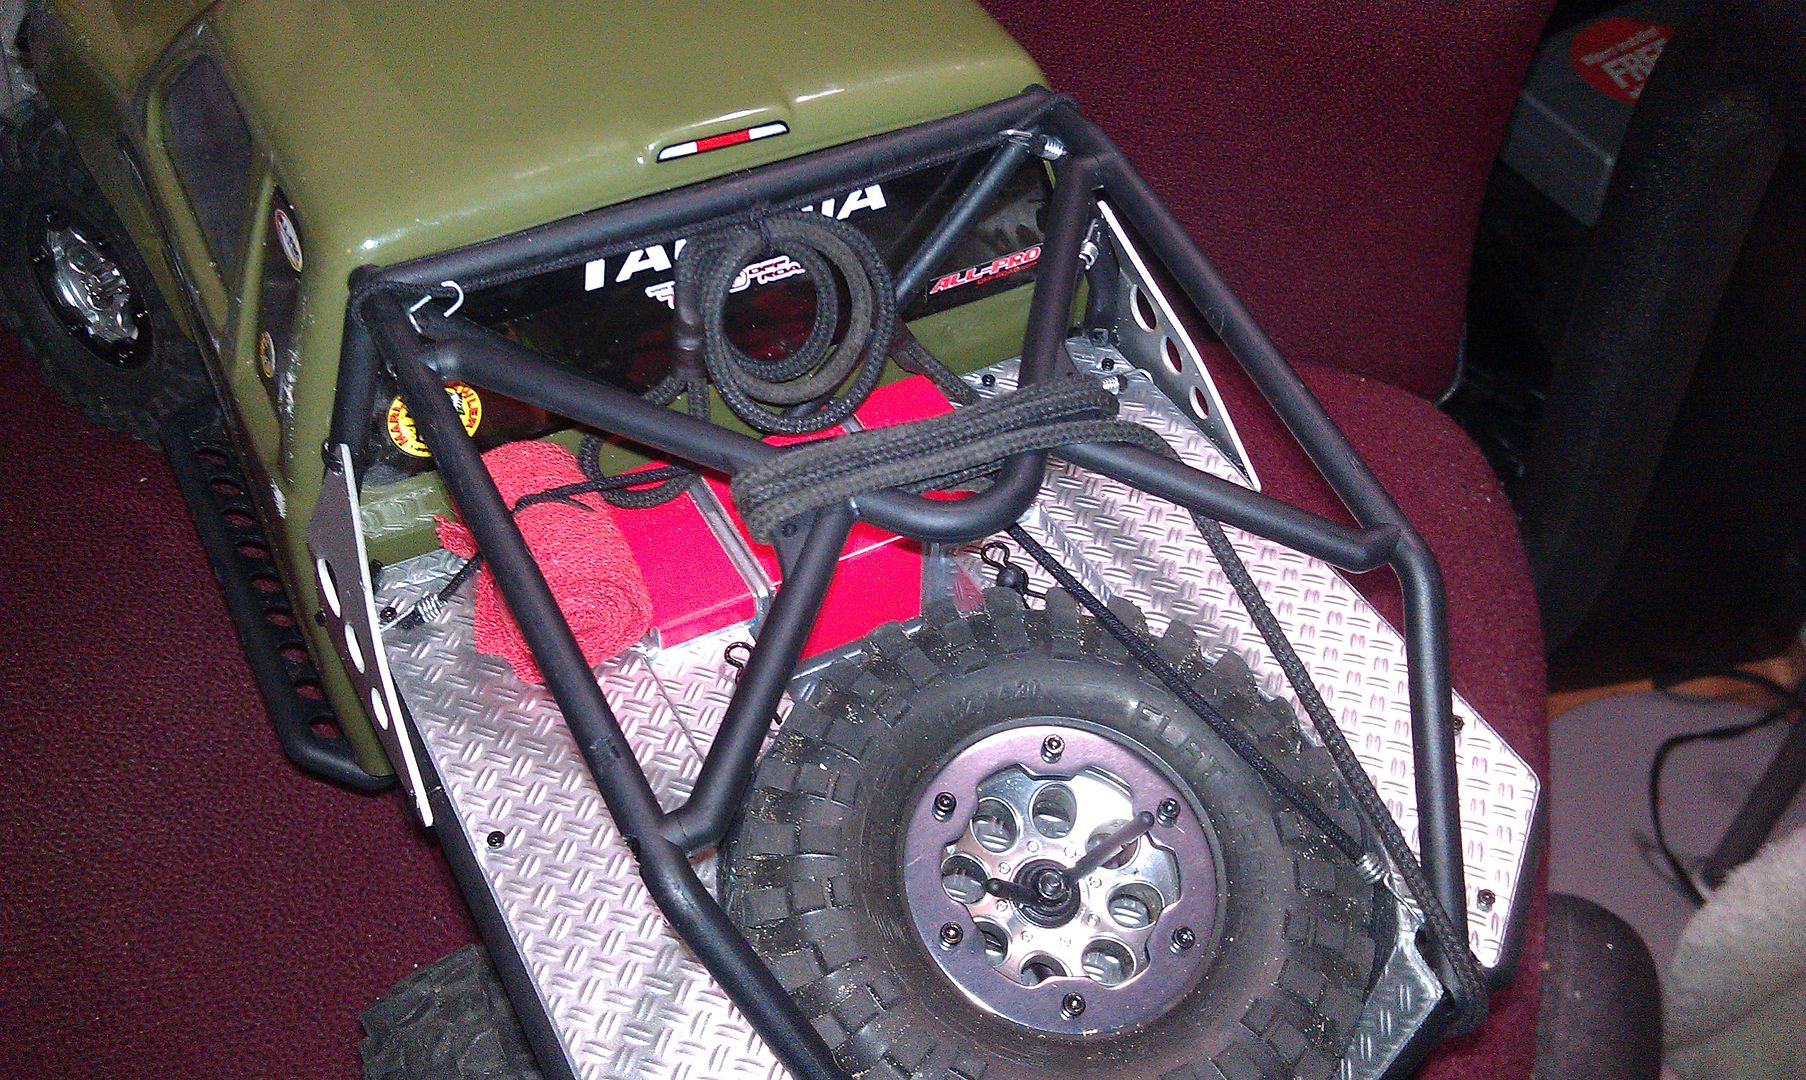 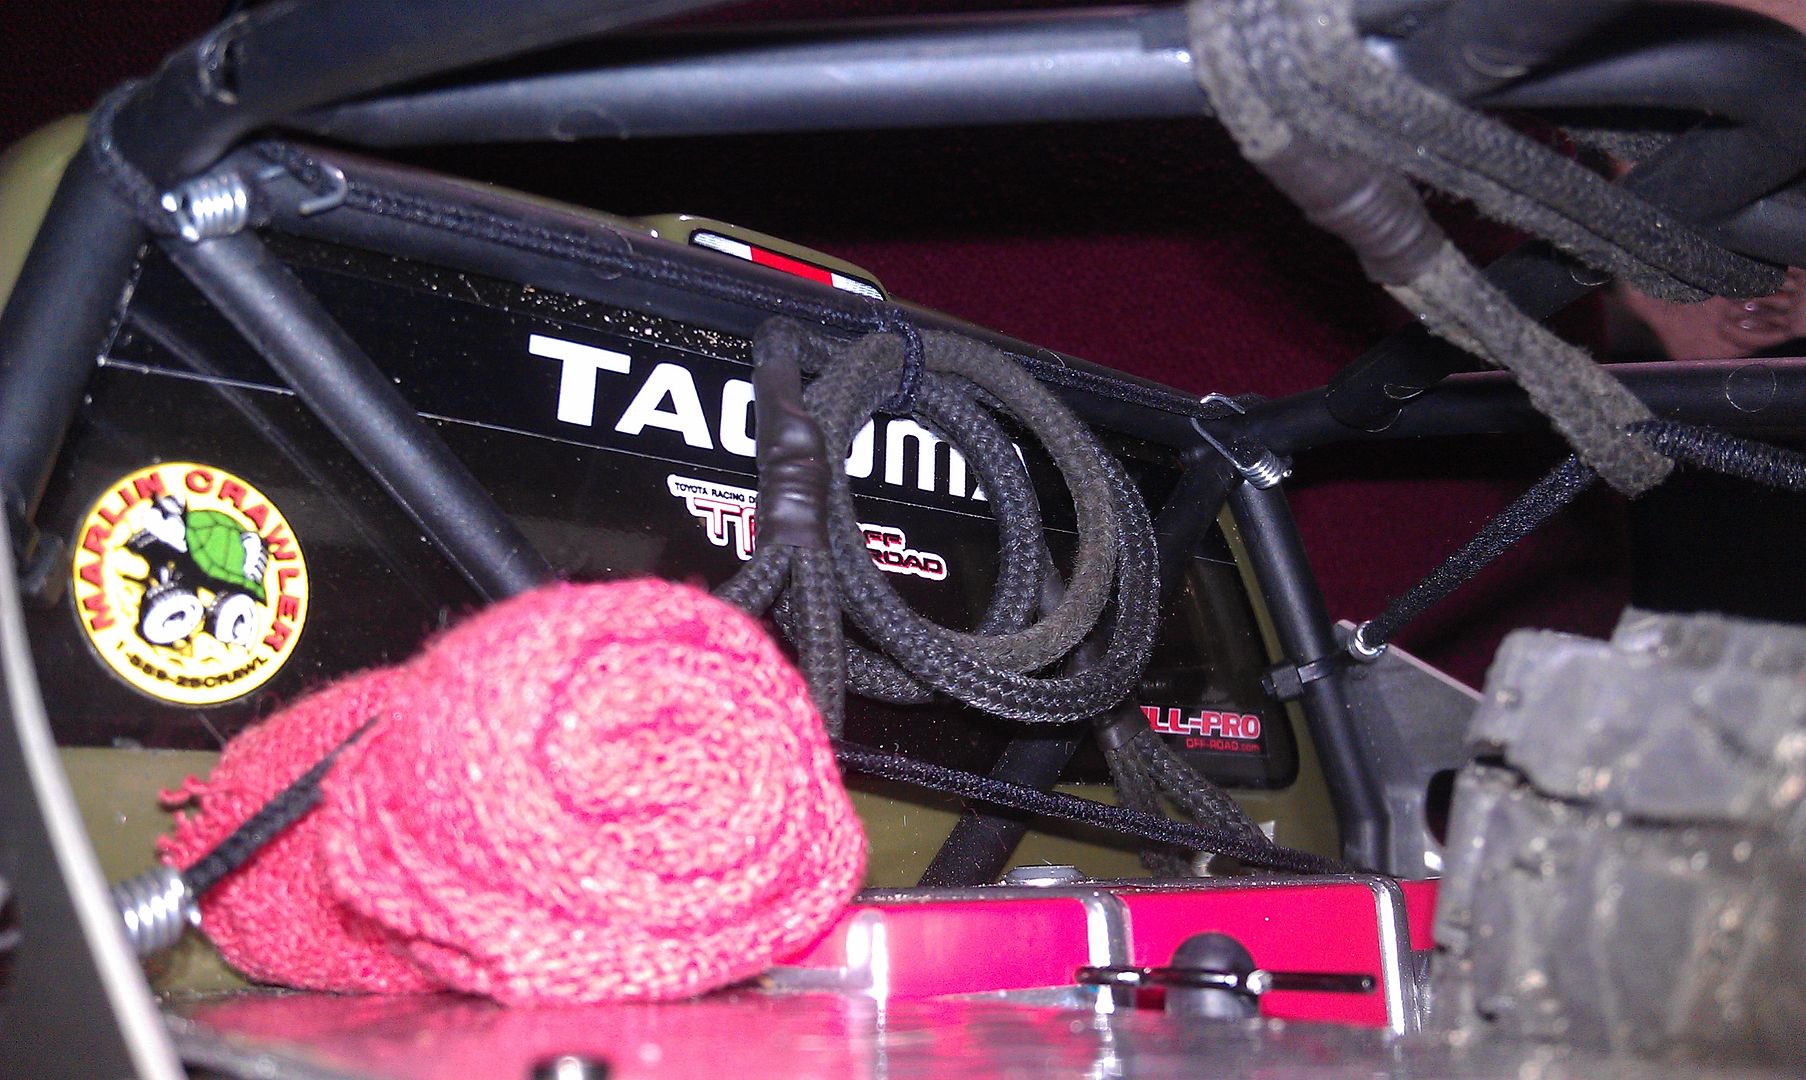 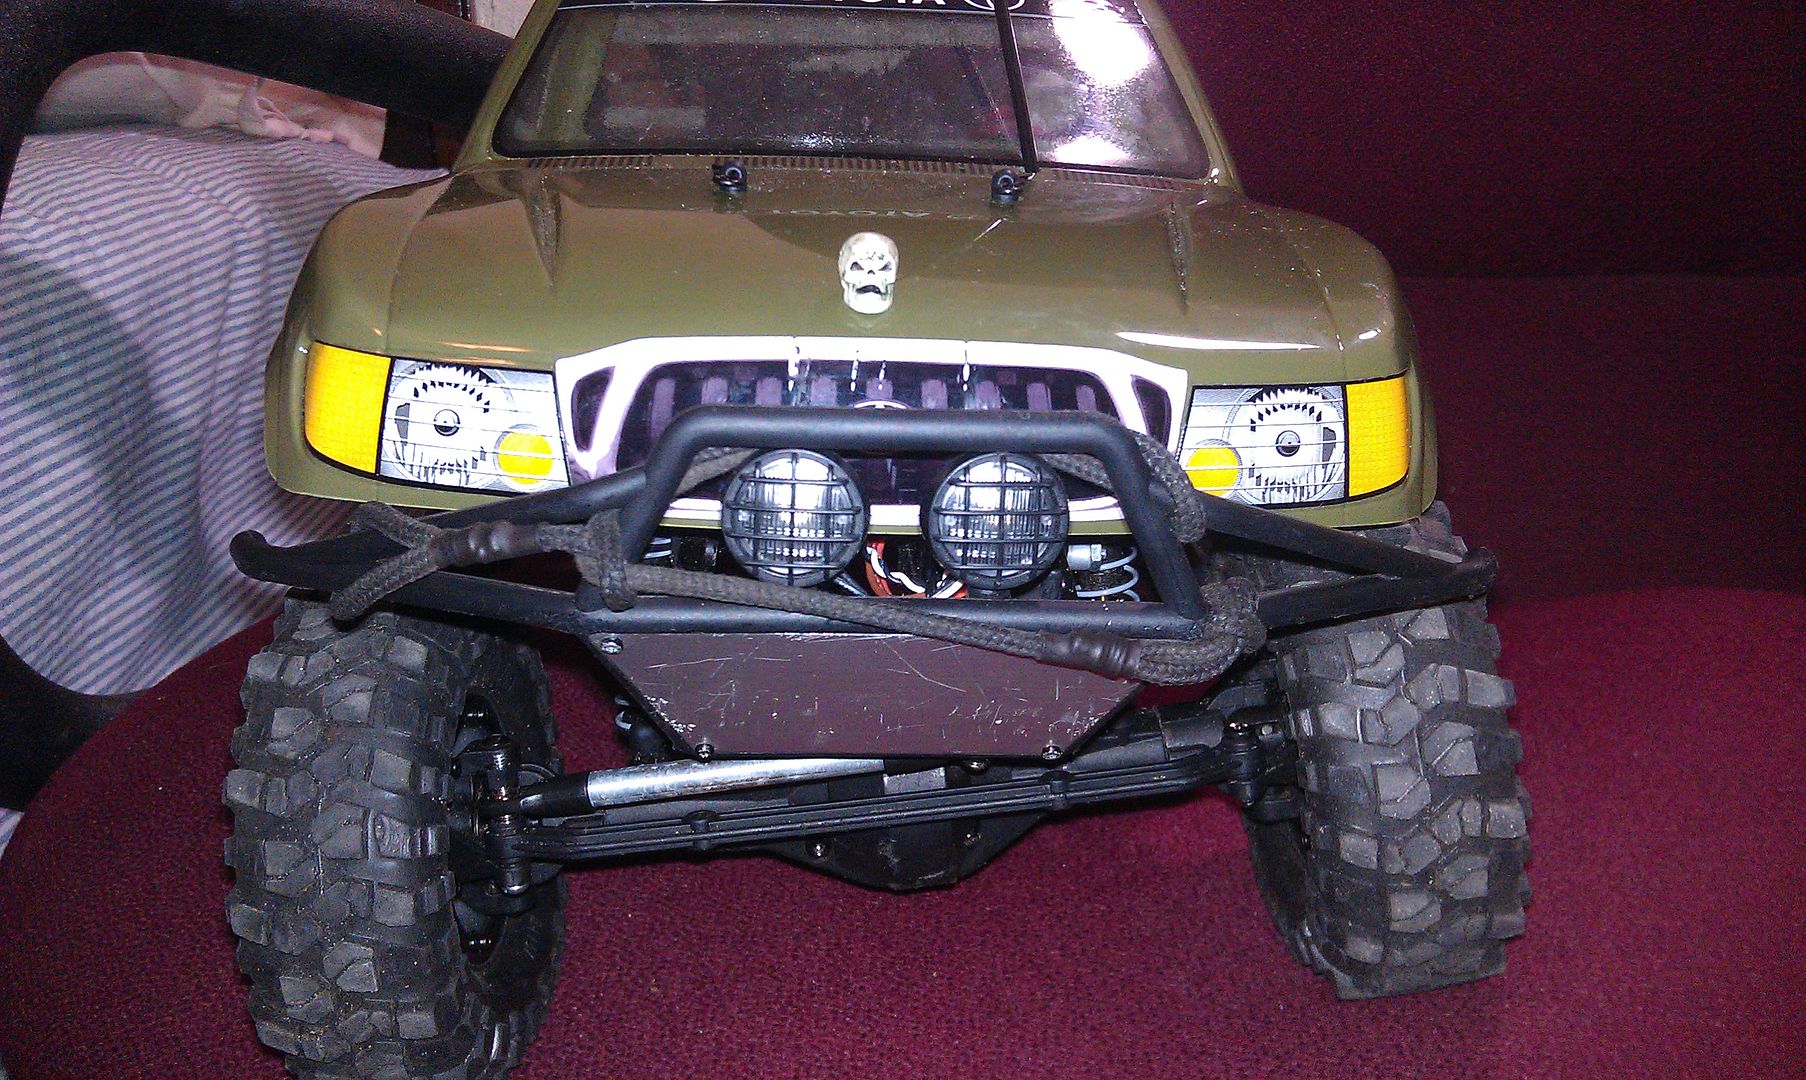 while I was out buying new boots, I also stopped in at Radio Shack and picked up a project box. but I need to do some shopping online for some supplies before I make it waterproof. I want the electronics to be modular like they are stock, in that you can quickly remove everything just by unplugging them. I plan to make everything basically plug into the project box on the outside, and the receiver and ESC will be in the box and will connect inside with some "pass through" connectors mounted to the box. Sent from my space age wireless communication device. |
|
| |
|
08-24-2011, 06:07 AM
| #29 |
| RCC Addict Join Date: Jul 2009 Location: Dover, NH
Posts: 1,153
|
Coming along nice and good ideas. What may work for what you want from the waterproof box with unpluggability (my own word |
|
| |
|
08-24-2011, 07:45 AM
| #30 |
| RCC Addict Join Date: Jun 2011 Location: Gilbert, AZ
Posts: 1,634
|
The truck is looking good. I see we are fight the same issue with the tie rod on the steering links. I think I may go with the level-3 link but not sure. I think the easy fix would to buy the rod end kit from axial that has the ends that are angled out some. Well, the easy fix would be to buy the upgrade, but that's too easy after going through making all the other links. |
|
| |
|
08-24-2011, 10:27 AM
| #31 | |
| Quarry Creeper Join Date: Jul 2011 Location: Lake City, Fl
Posts: 380
| Quote:
Sent from my space age wireless communication device. | |
|
| |
|
08-24-2011, 10:29 AM
| #32 | |
| Quarry Creeper Join Date: Jul 2011 Location: Lake City, Fl
Posts: 380
| Quote:
Sent from my space age wireless communication device. | |
|
| |
|
08-24-2011, 09:00 PM
| #33 |
| Quarry Creeper Join Date: Jul 2011 Location: Lake City, Fl
Posts: 380
|
well I got my $20 shocks in today they're all aluminum and they actually seem fairly well built, but only time will tell they're not a scale look by ANY means, but they move pretty well, give a little more flex, and they don't leak like the stockers, so that's a plus 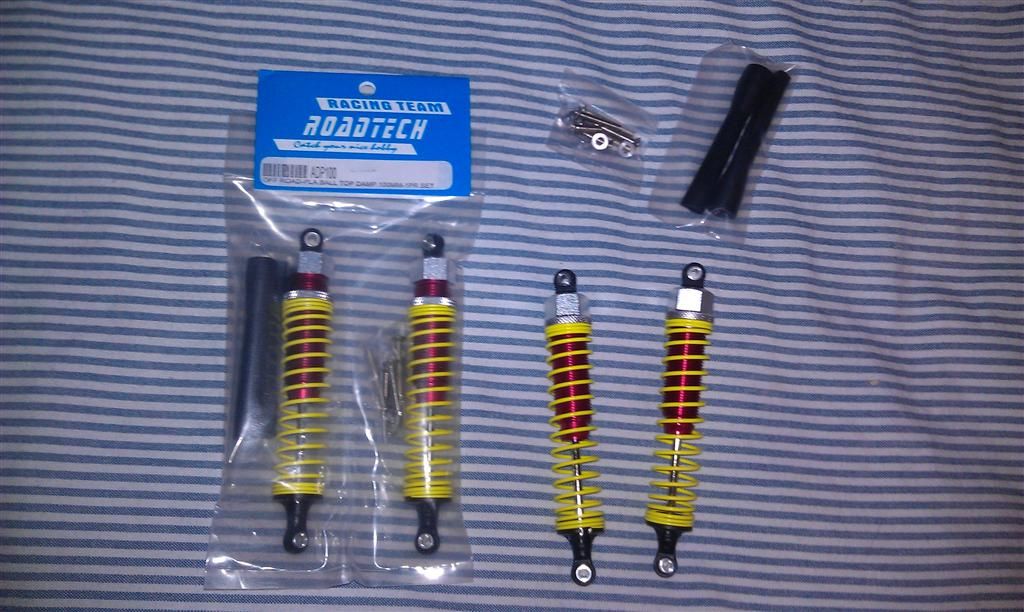 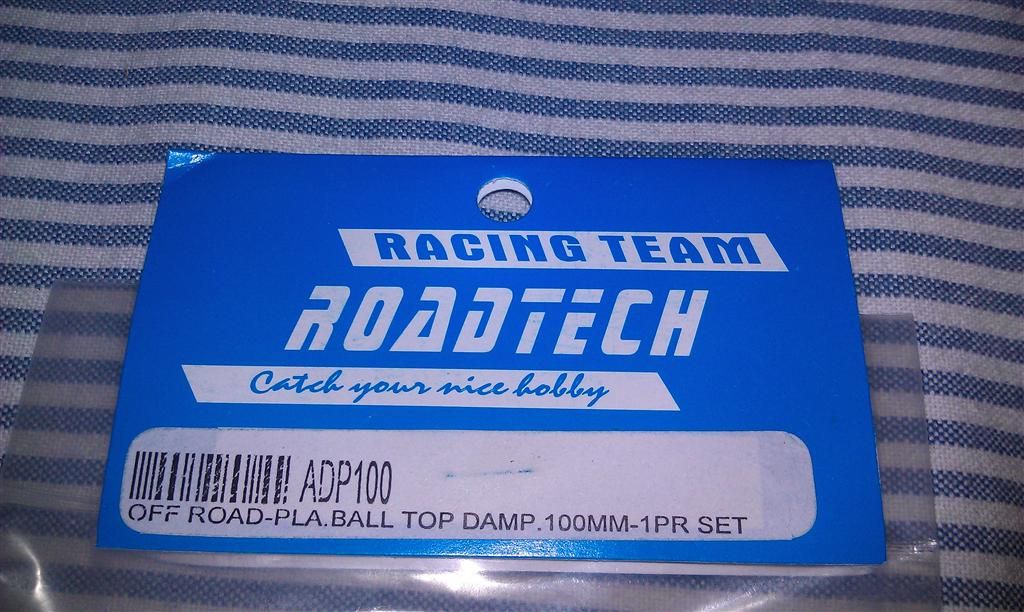 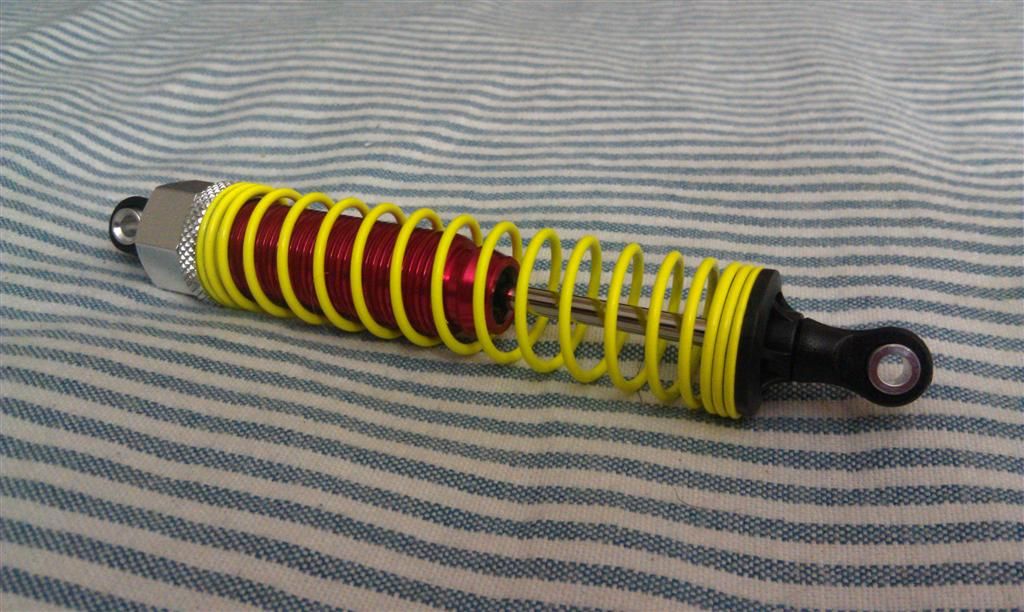 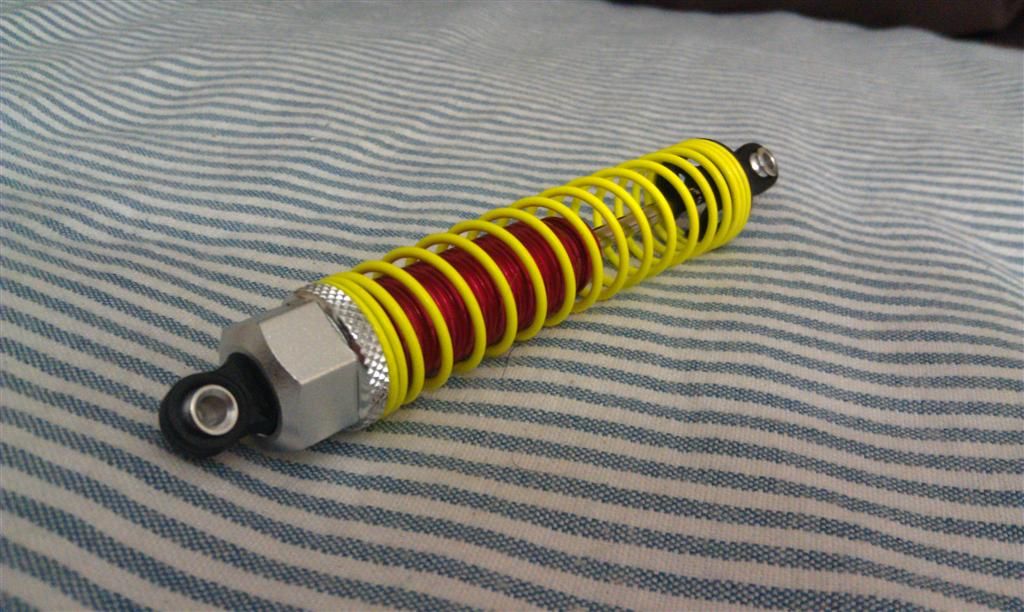 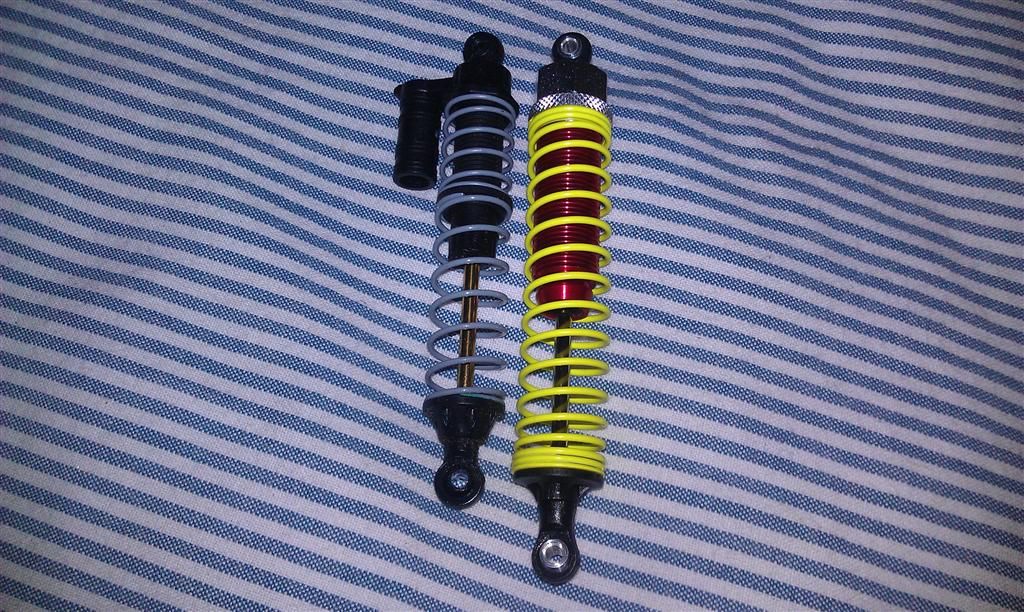 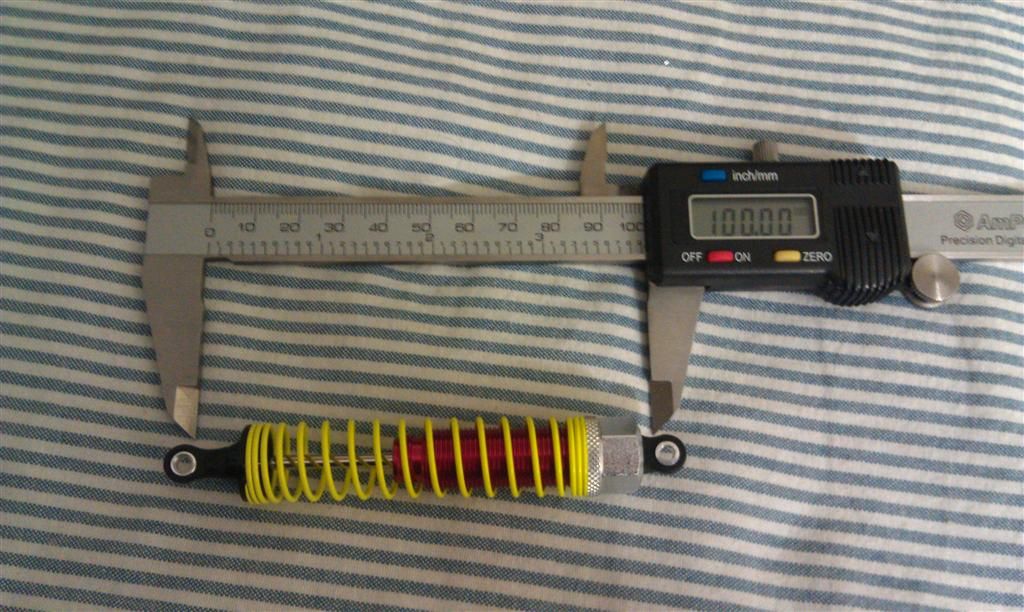 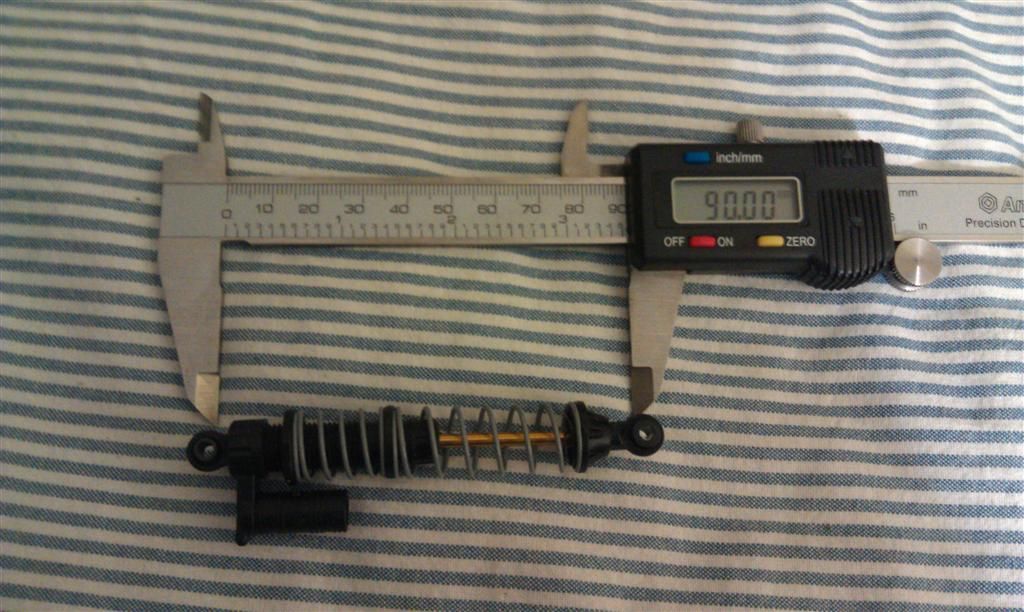 before: 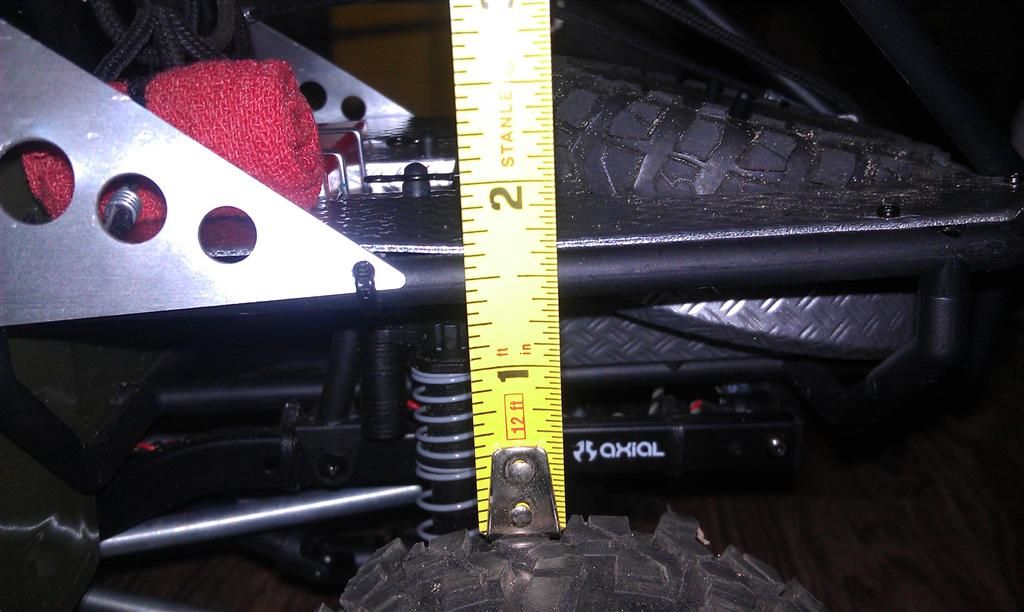 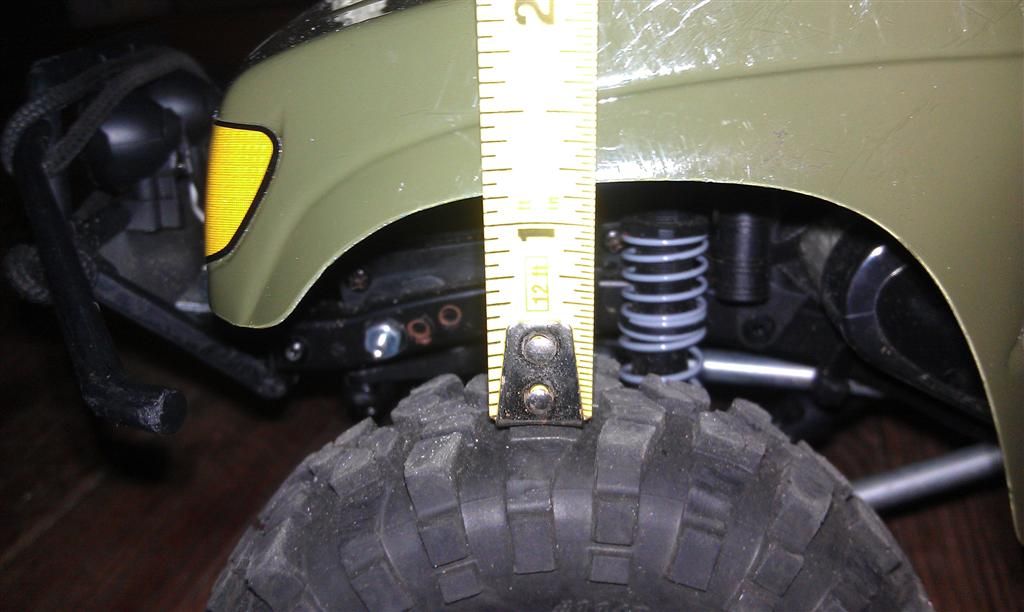 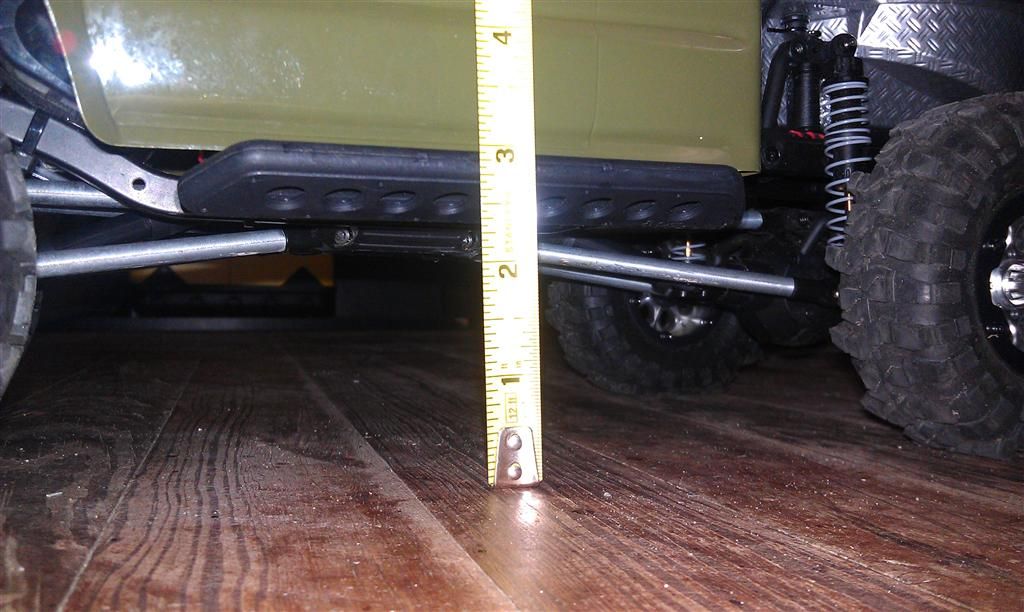 and after: 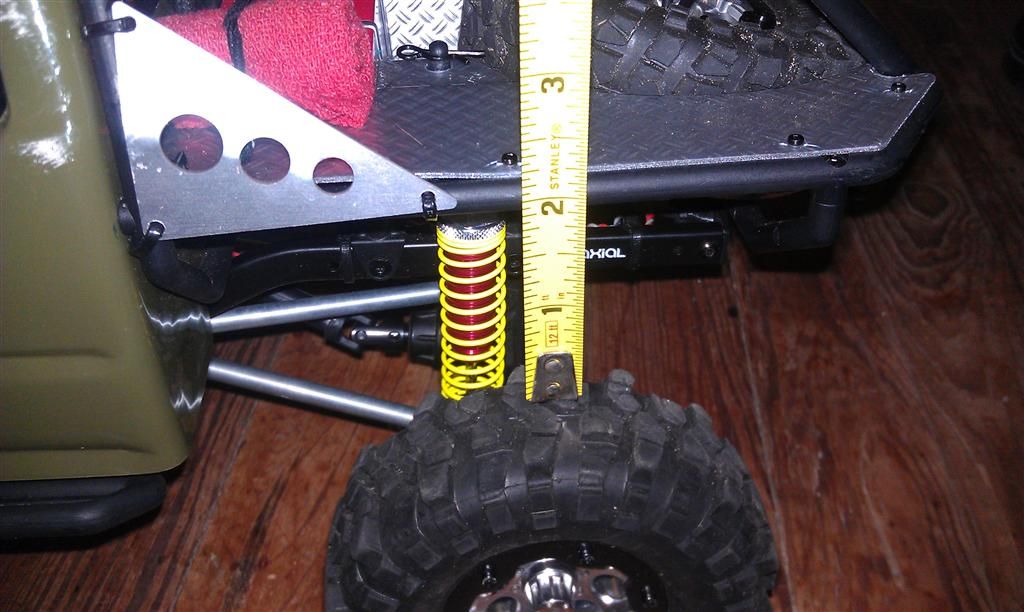 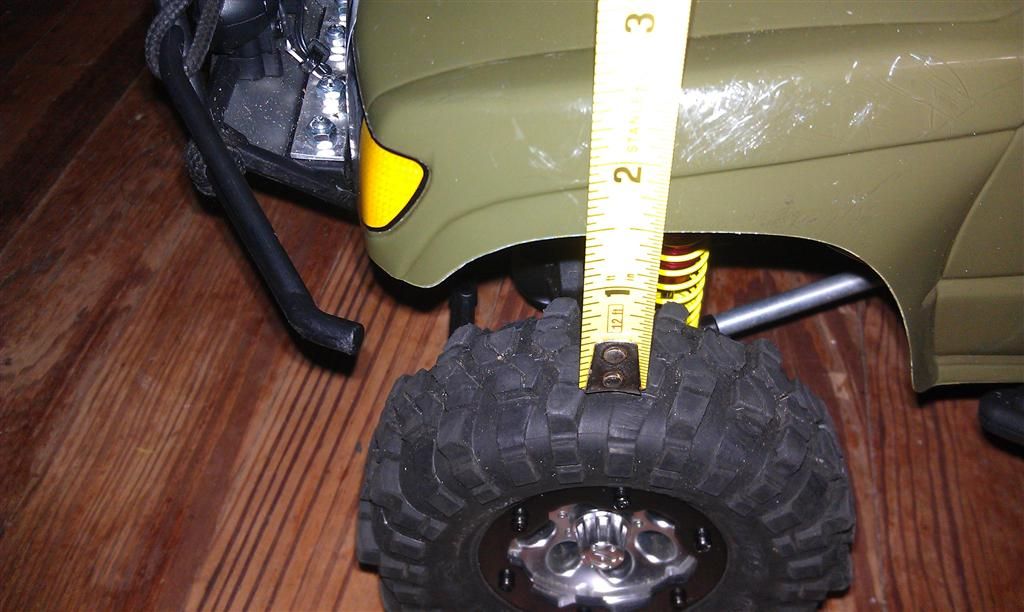 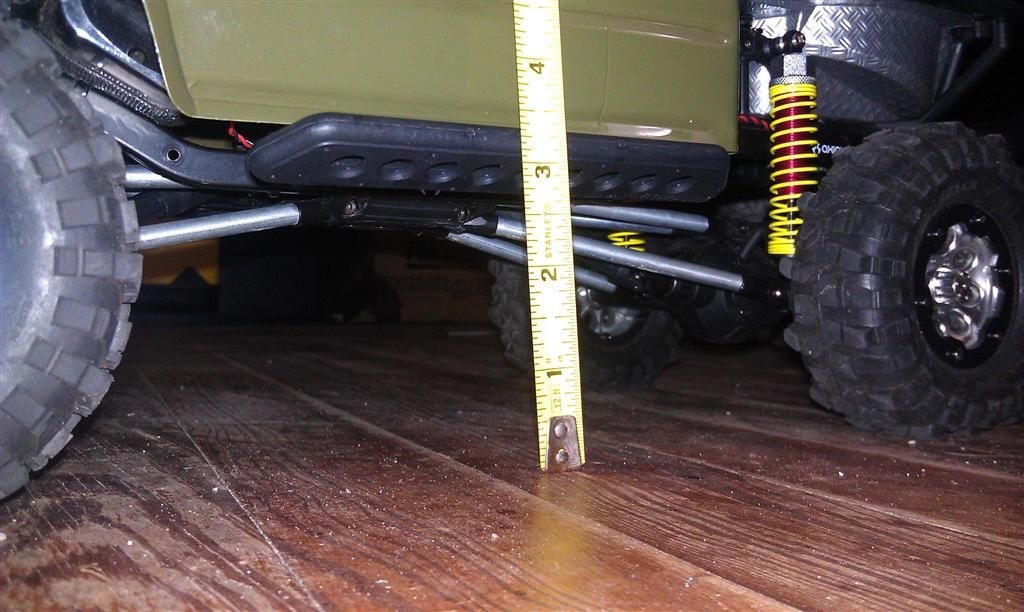 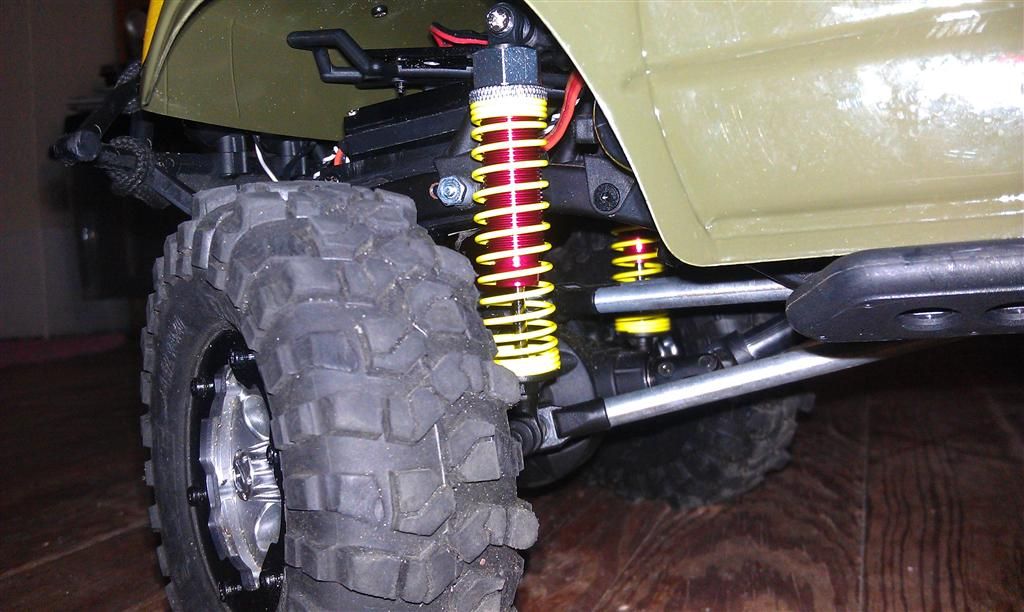 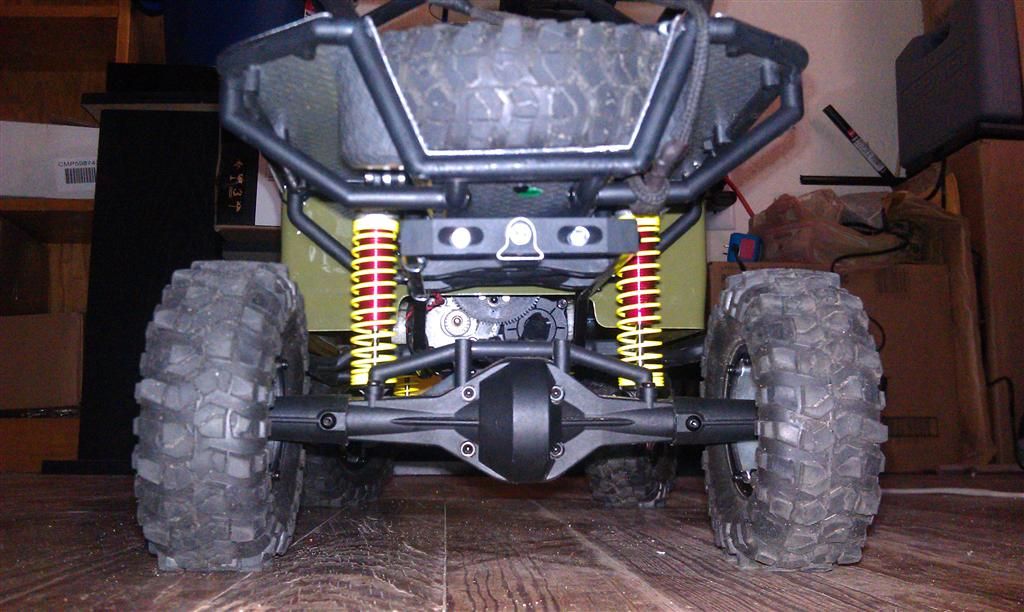 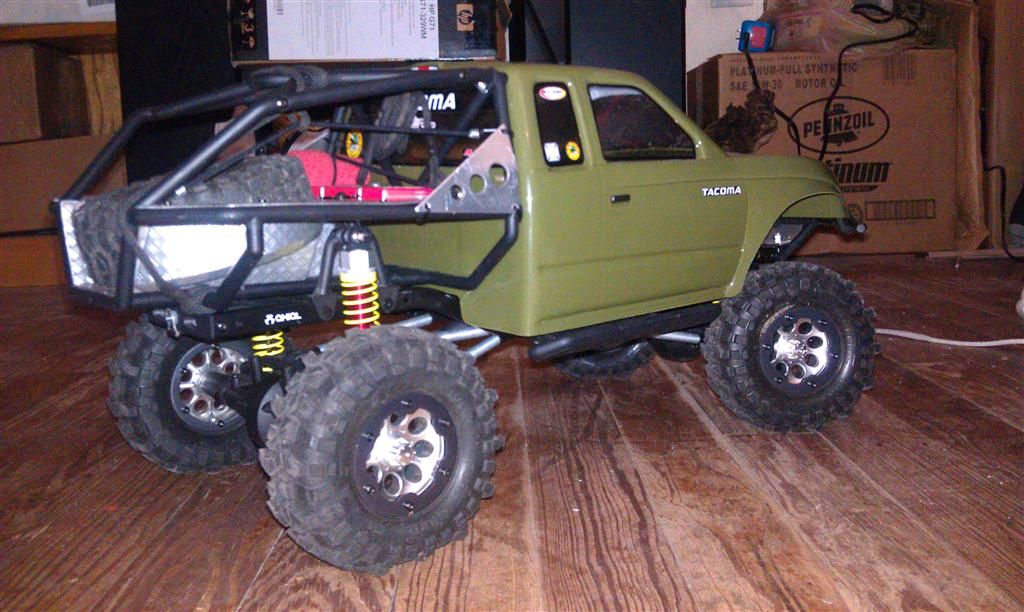 and some poser shots, seeing what kind of movement they offer 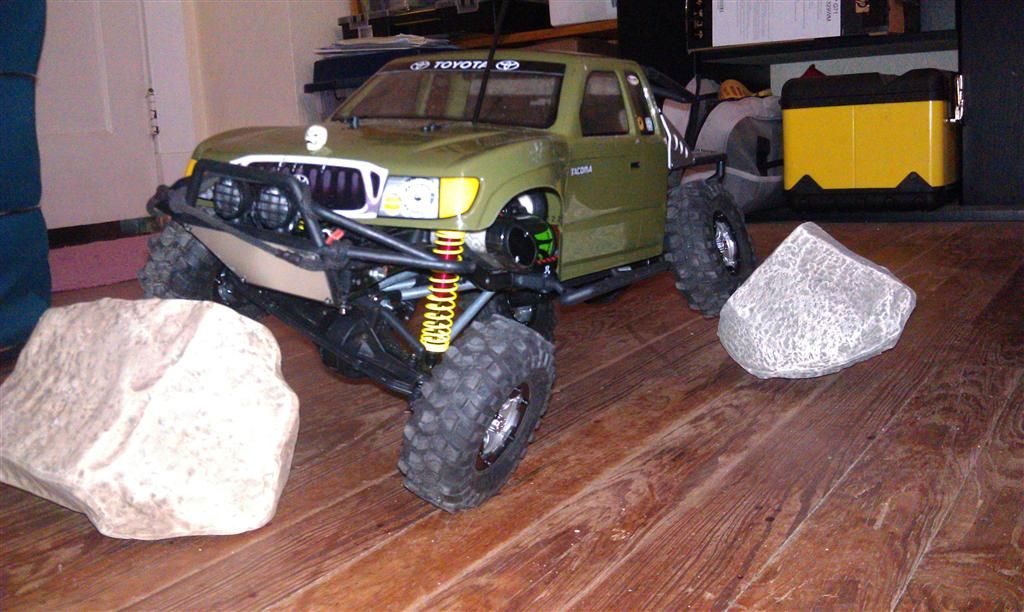 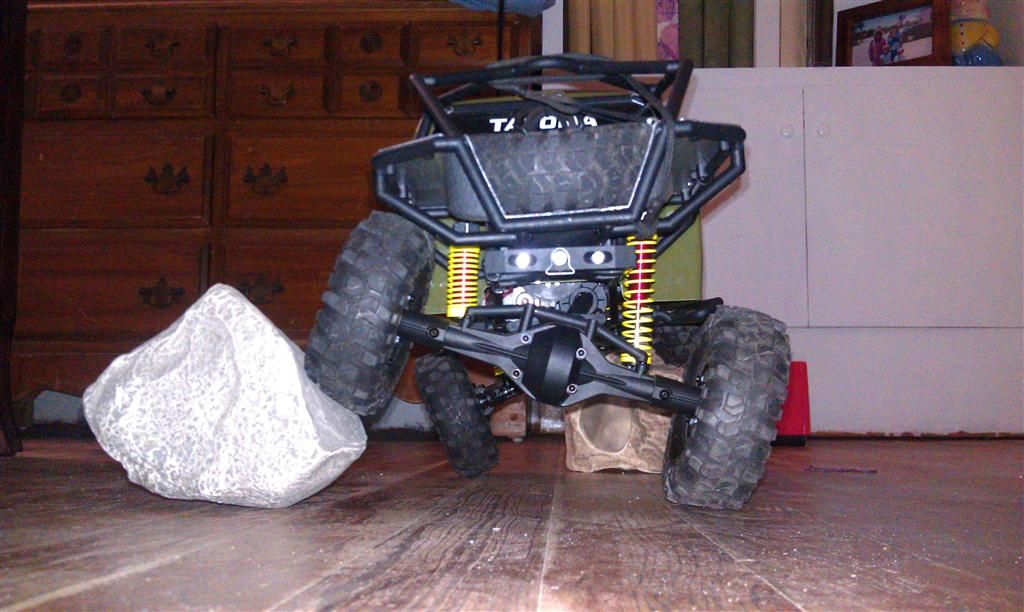 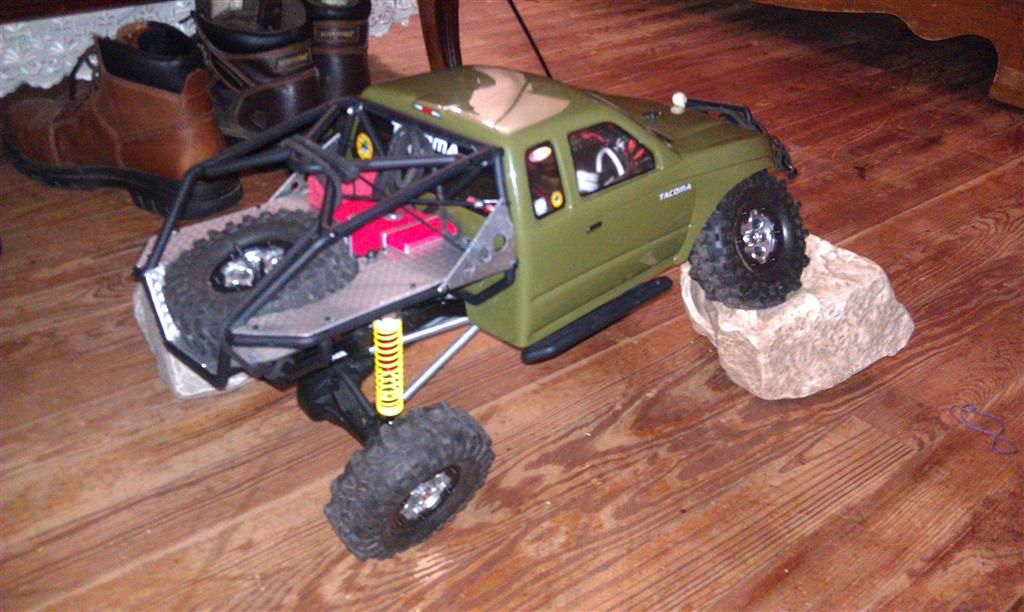 |
|
| |
|
08-25-2011, 09:20 AM
| #34 |
| Quarry Creeper Join Date: Jun 2011 Location: arcadia
Posts: 240
|
looks great, go with the mip shafts, threadlock the set's and they will take a beating,gonna check them shocks out,tired of the leaking.
|
|
| |
|
08-25-2011, 12:07 PM
| #35 | |
| RCC Addict Join Date: Jun 2011 Location: Gilbert, AZ
Posts: 1,634
| Quote:
I may go this route to fix mine. | |
|
| |
|
08-25-2011, 07:00 PM
| #36 |
| Quarry Creeper Join Date: Jul 2011 Location: Lake City, Fl
Posts: 380
|
there's got to be some offset ones like that that'll 8/32 rod will thread into... I haven't looked yet, but there's just GOT to be some, lol placed a little order at Tower Hobbies last night to rewire everything and complete my water proofing. some Dean's connectors, 12 gauge wire, servo extension wires, and some small 2 and 4 pin male and female connectors to run the LED wires through the box and still have them able to be quickly disconnected the plan is to put the receiver and LED control board in one project box, and the ESC in another, and mount them on their side on the sliders, so I need to swing by Radio Shack and pick up another project box. but this should be enough to do this little project and have some left over supplies as well 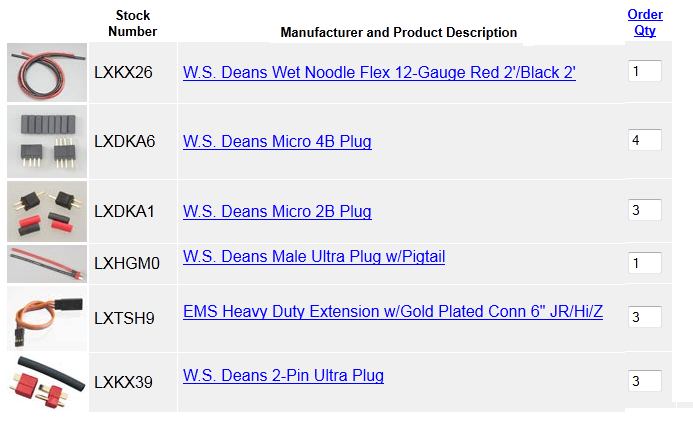 |
|
| |
|
08-25-2011, 09:37 PM
| #37 | |
| RCC Addict Join Date: Jun 2011 Location: Gilbert, AZ
Posts: 1,634
| Quote:
| |
|
| |
|
08-27-2011, 05:47 PM
| #38 |
| Quarry Creeper Join Date: Jul 2011 Location: Lake City, Fl
Posts: 380
|
I'm thinking I'm going to need the next size up project boxes to house the ESC... probably the receiver and LED controller too... 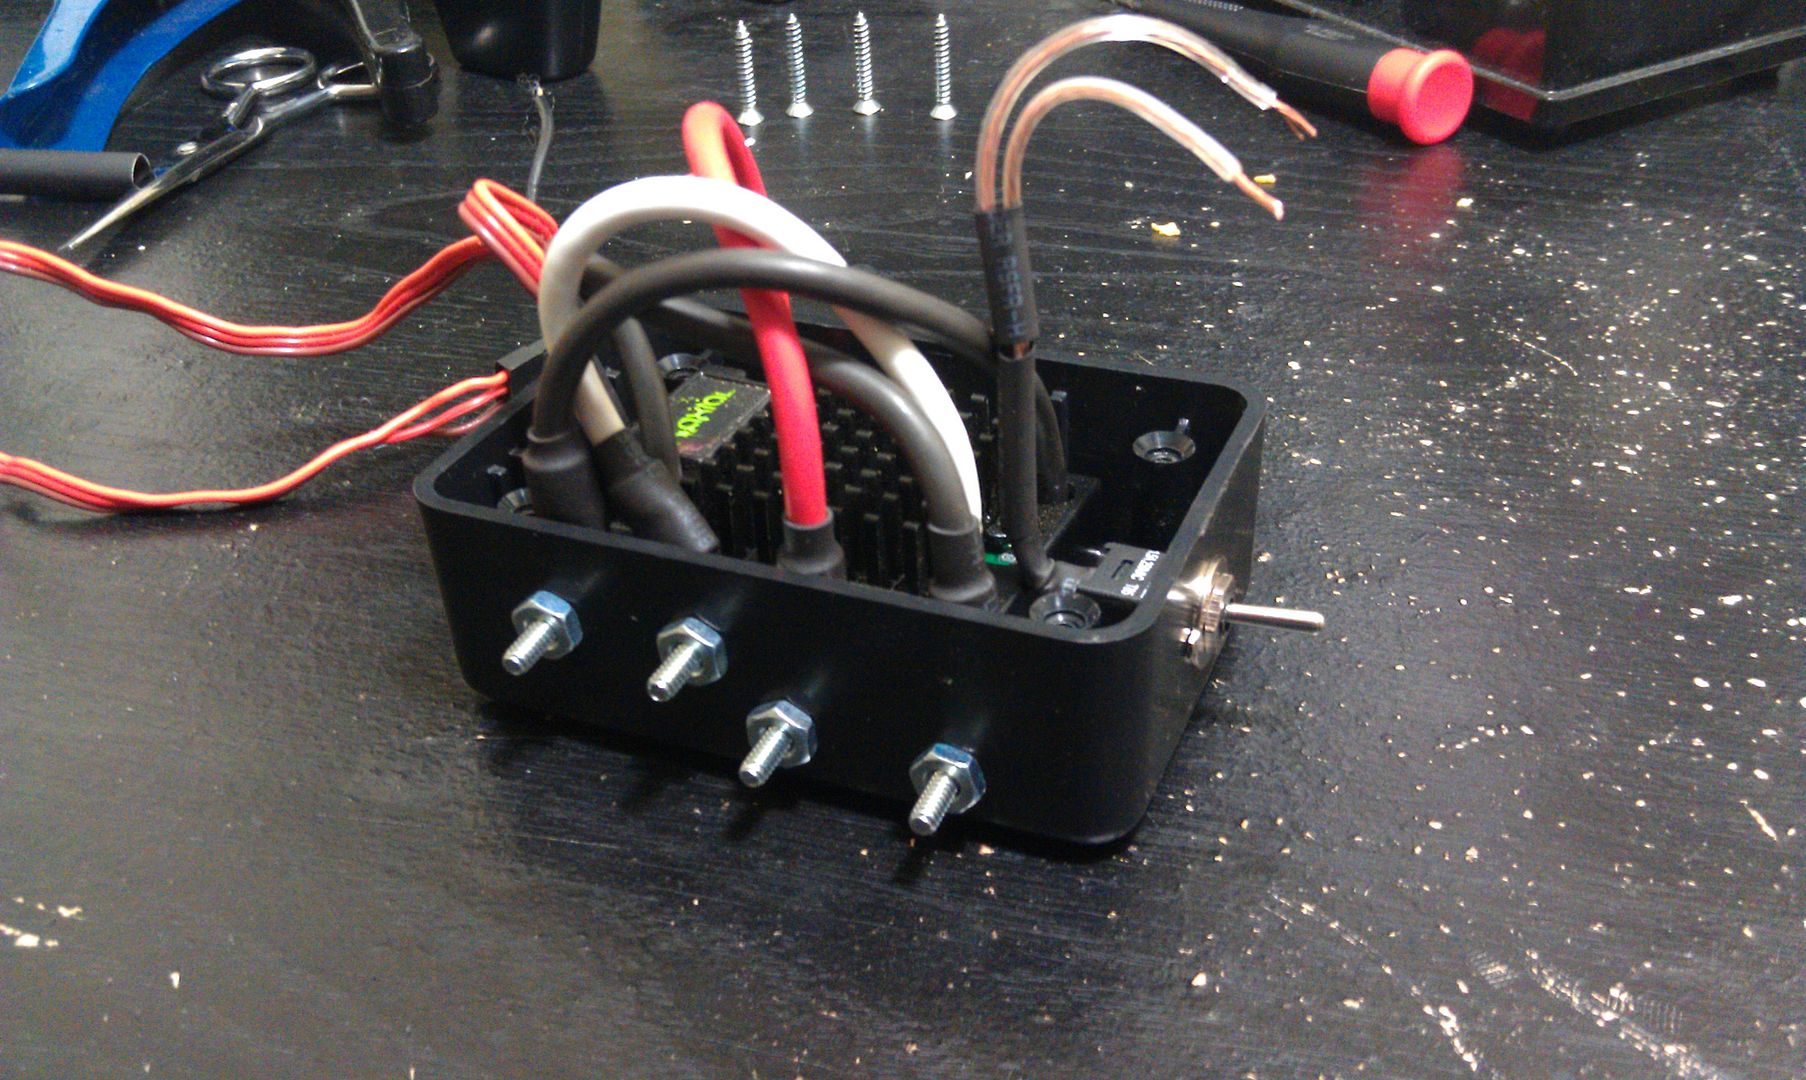  Sent from my space age wireless communication device. |
|
| |
|
08-27-2011, 07:25 PM
| #39 |
| Quarry Creeper Join Date: Jul 2011 Location: Lake City, Fl
Posts: 380
|
oh yeah, fits much better in one a little longer, lol 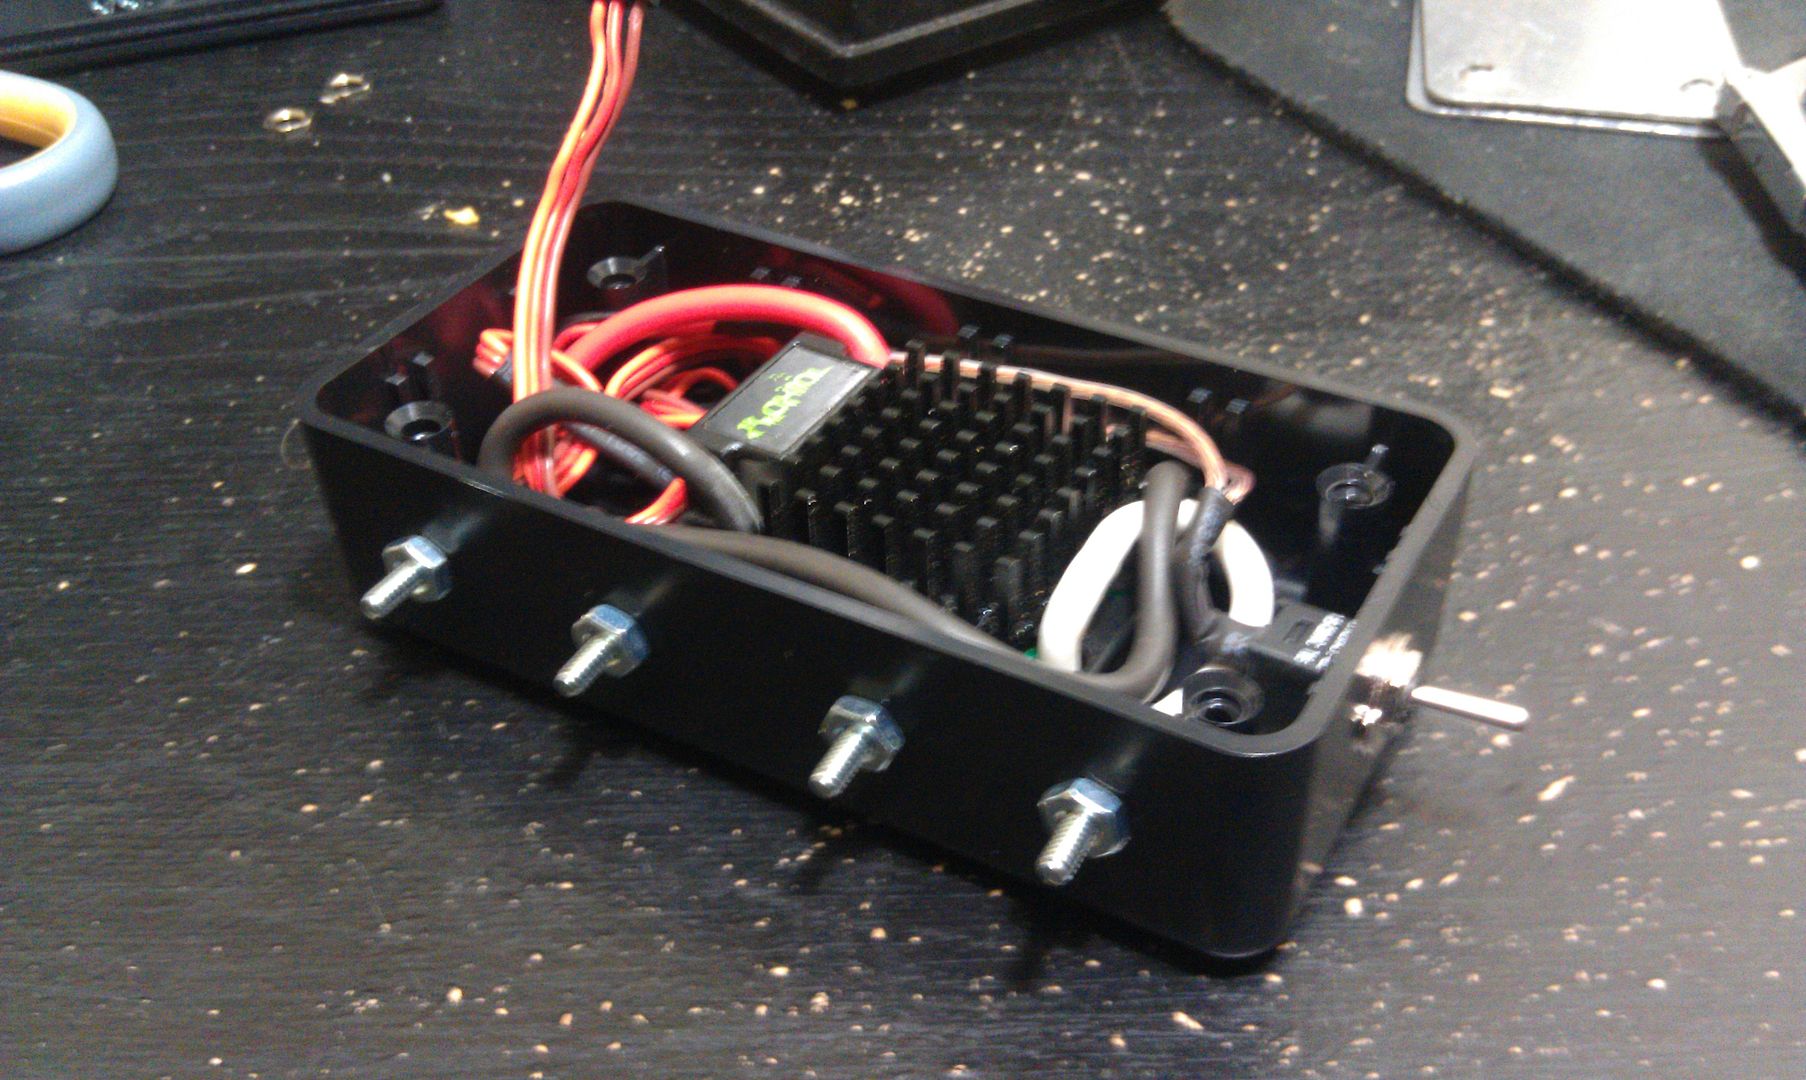 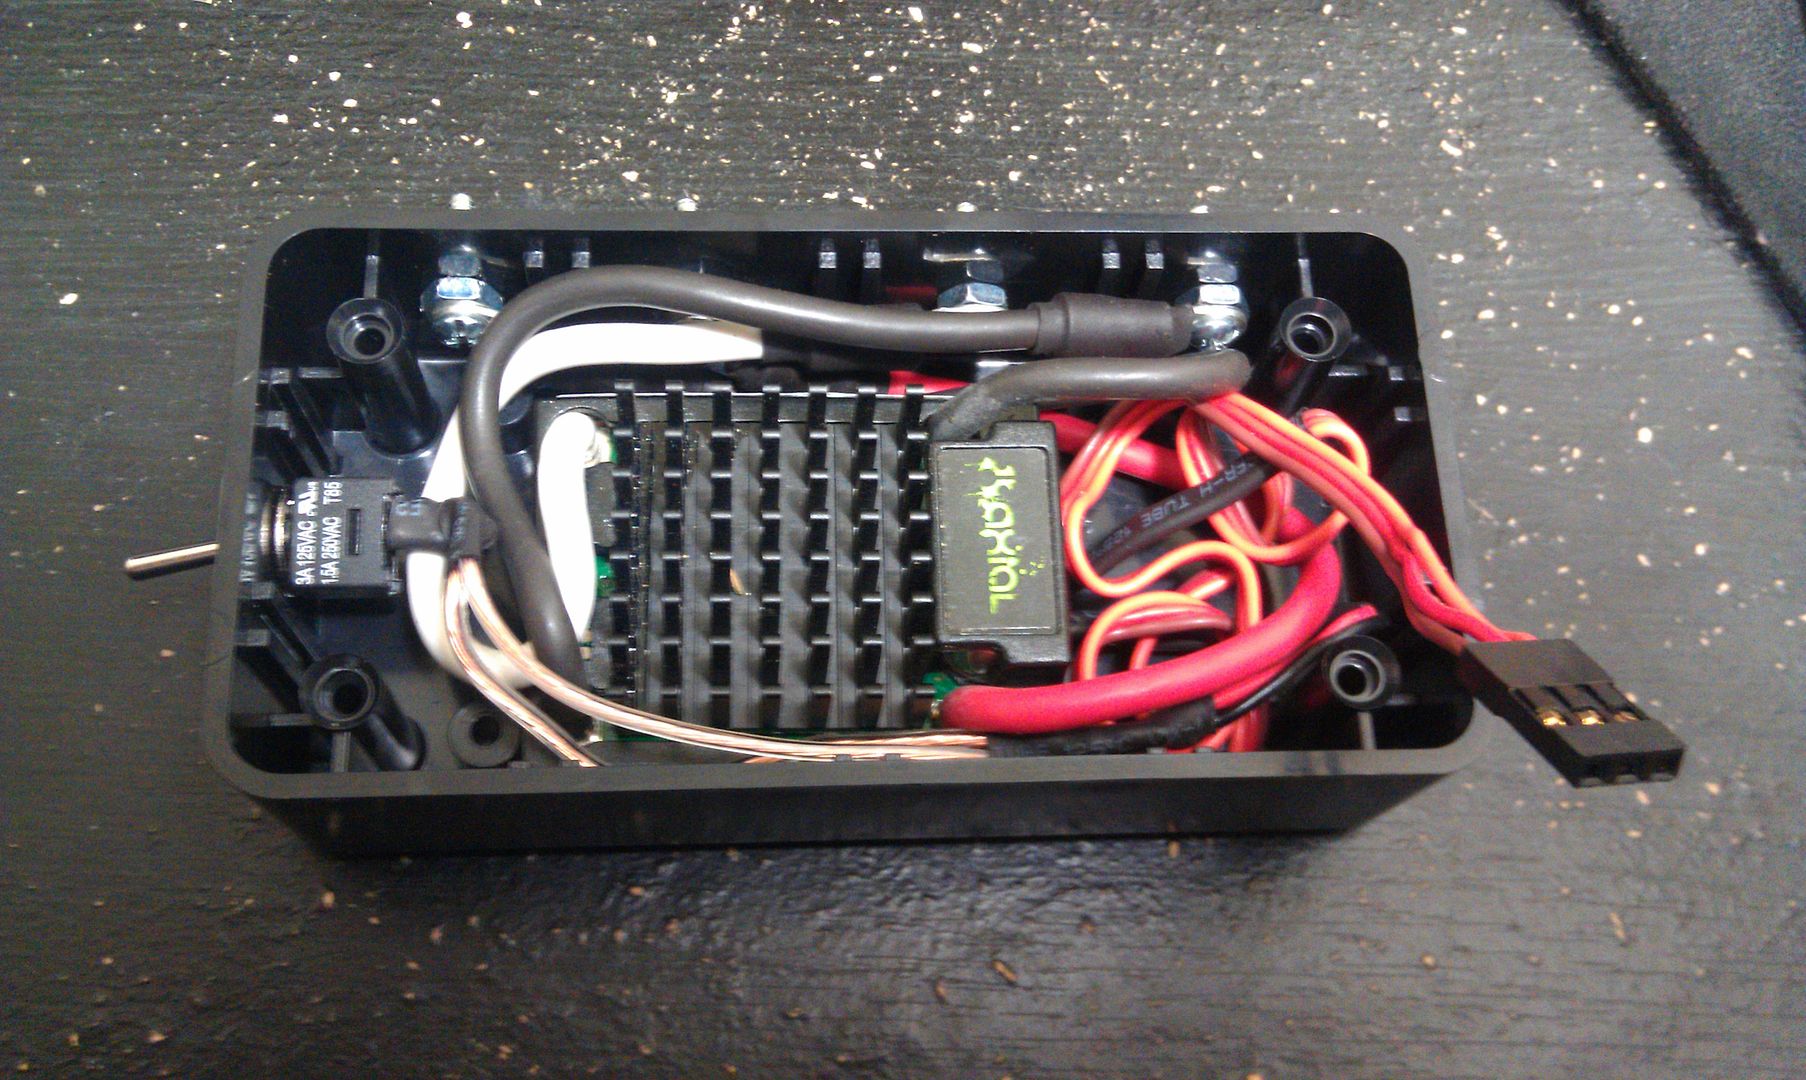 Sent from my space age wireless communication device. |
|
| |
|
08-27-2011, 10:10 PM
| #40 |
| Quarry Creeper Join Date: Jul 2011 Location: Lake City, Fl
Posts: 380
|
well, now I'm just waiting on my order of plugs to come in, Wednesday according to tracking got both of the boxes prepped and the wires desoldered from the stock motor so I can upgrade to the 12 gauge wire (probably not needed, but eh, why not) tomorrow I'm going to pick up some marine grease to stuff in the trans and the axles, and I'm also going to pick up some dielectric grease and rip the servo open and waterproof it (I'll also use the dielectric grease in the external plugs later on) 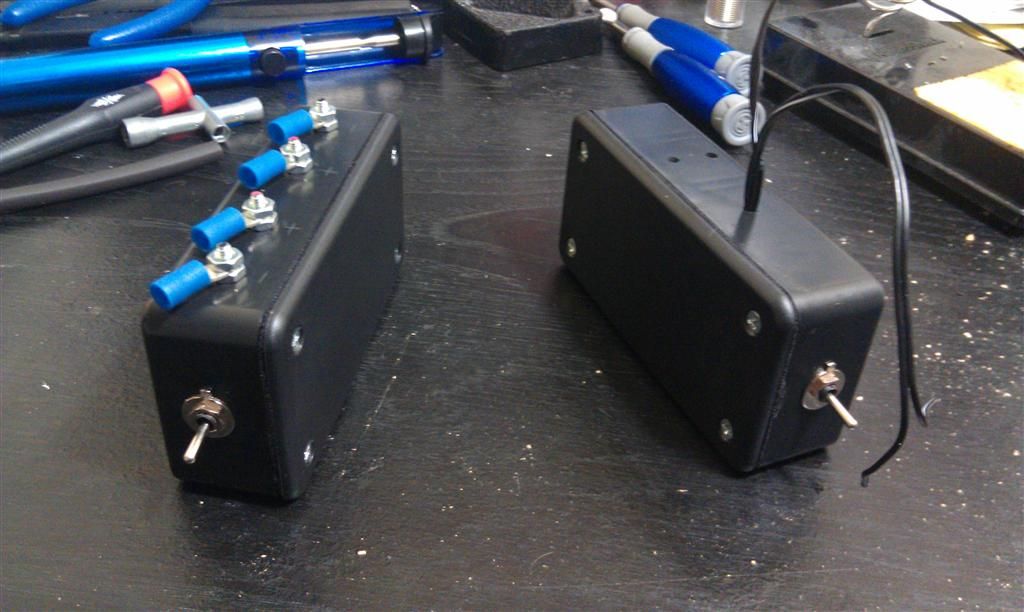 labeled 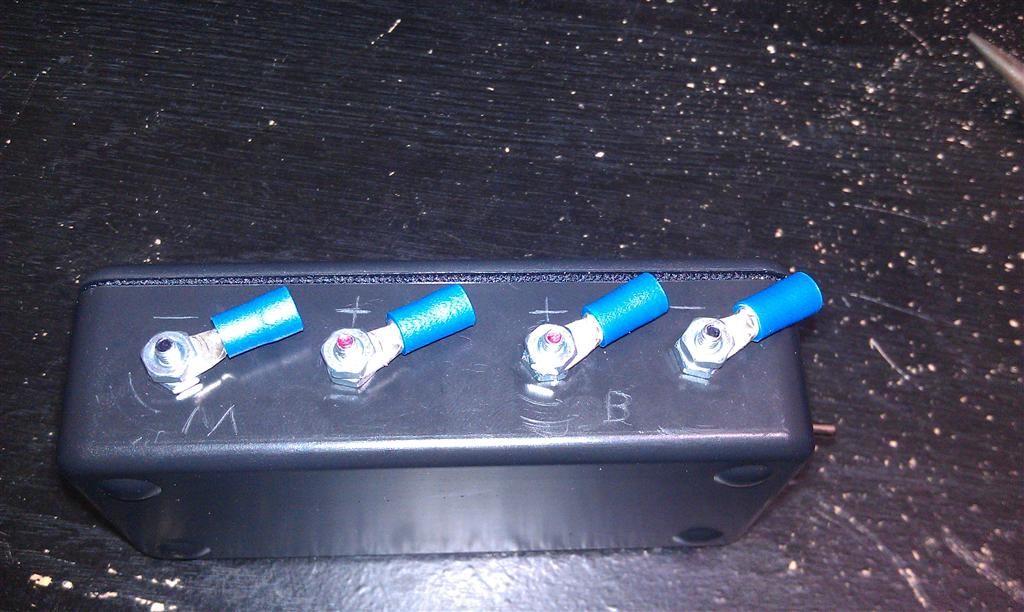 here's the hole the 3-wire extension will feed through that will be connected to the ESC inside the box 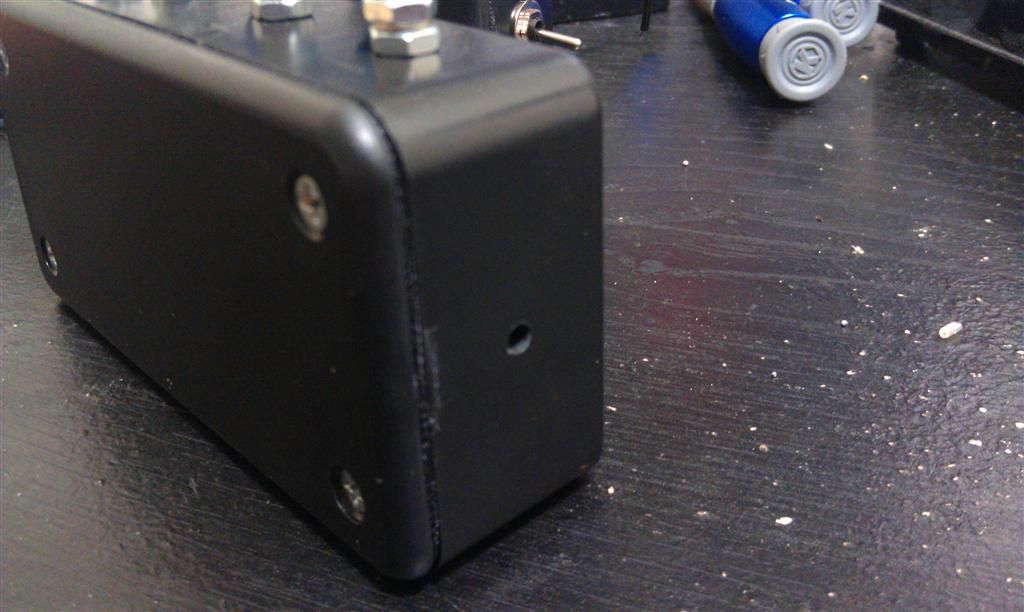 same thing on the receiver box; two holes for the steering servo and ESC wire extensions to feed through 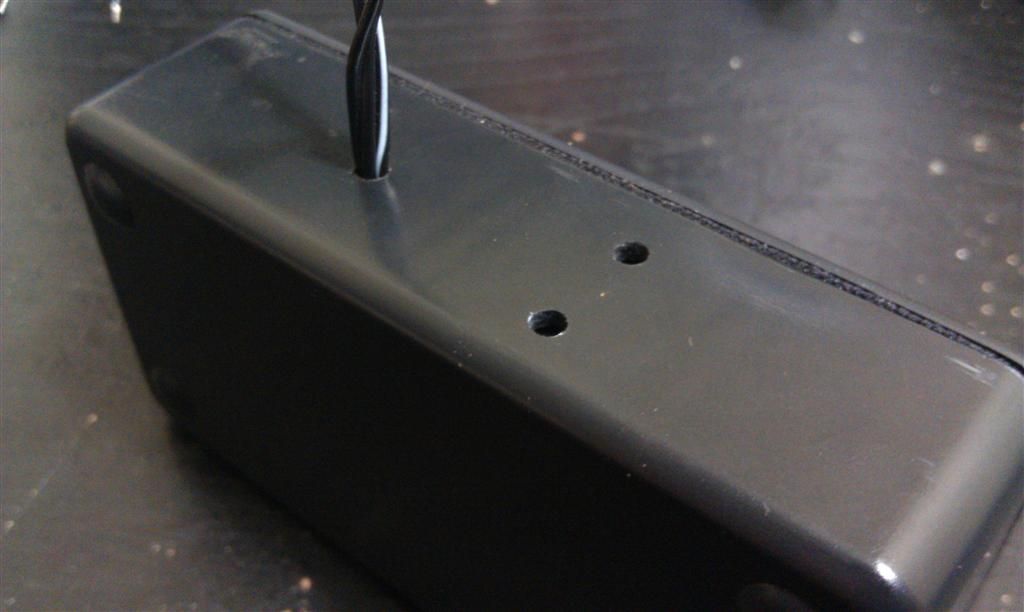 the wires coming out will be getting the 4-pin connectors on it for the LED's. the switch on the side is a bypass for the LED's, so they can be turned off 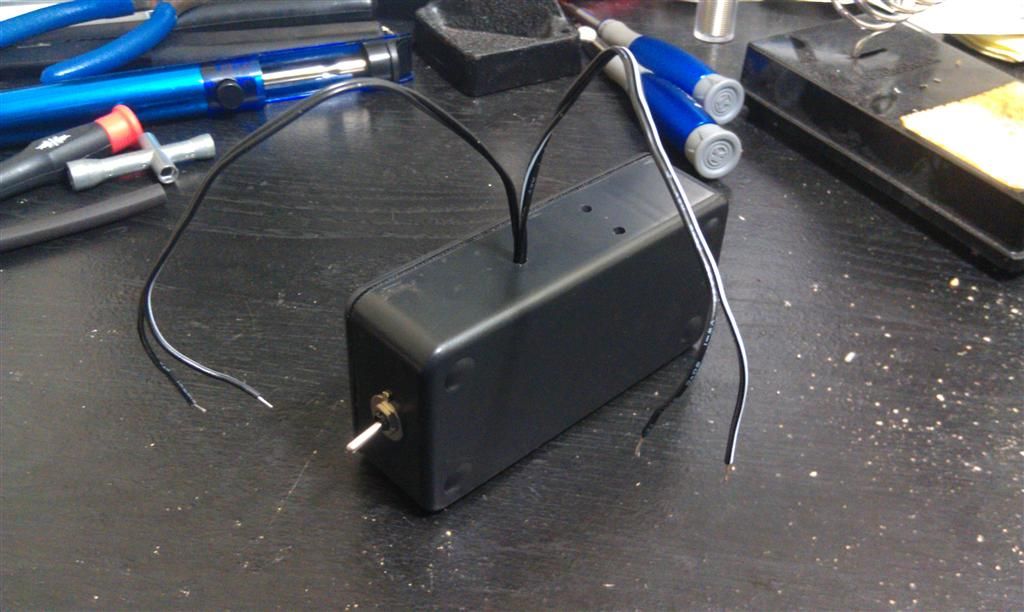 stock motor desoldered, with the "bling" removed 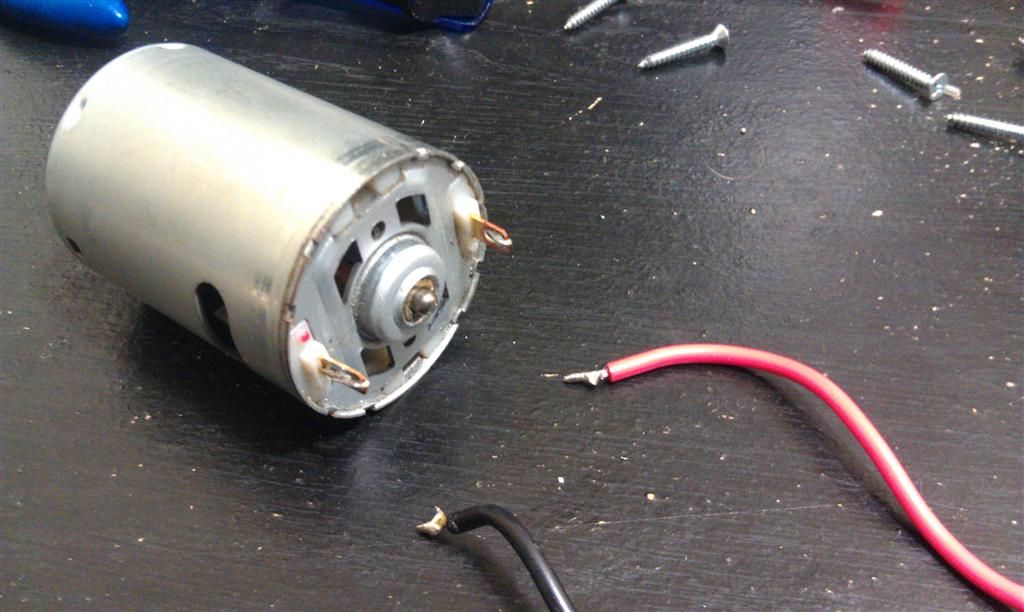 |
|
| |
 |
| |


 Linear Mode


