| |
 09-10-2011, 02:26 PM
| #61 |
| Quarry Creeper Join Date: Jul 2011 Location: Lake City, Fl
Posts: 380
|
water proofing seems to be a success so far. took the rig in the back yard this morning and burried it in sand, lol, and then just hosed it off. everything is still working flawlessly and its drying out in the sun right now. I'll eventually try completely submerging it and see what happens Sent from my space age wireless communication device. |

|  |
| Sponsored Links | |
| | |
|
09-11-2011, 03:05 PM
| #62 |
| Quarry Creeper Join Date: Jul 2011 Location: Lake City, Fl
Posts: 380
|
so here's my brain fart for the day... just bought a pair of Traxxas 7 cell 8.4v hump packs for the rig. got home and realized my charger is only good for 7.2v... lol now I need to see if I can get an 8.4v charger by Thursday so I can solder on a deans to it and have the packs charged before this weekend's Sunday run... the shop I got the batteries from closed at 4 today, and closes at 7 the rest of the week, which means I wont get off work soon enough to swing by and get one during the week... HOPEFULLY I can find a source online that can guarantee me fast shipping on a charger... they do fit nicely though 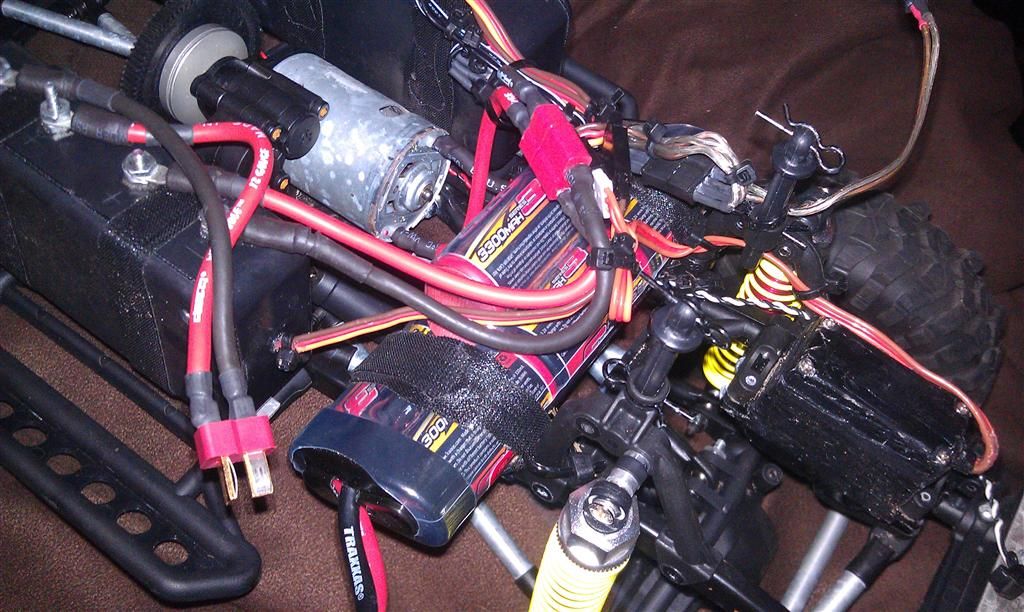 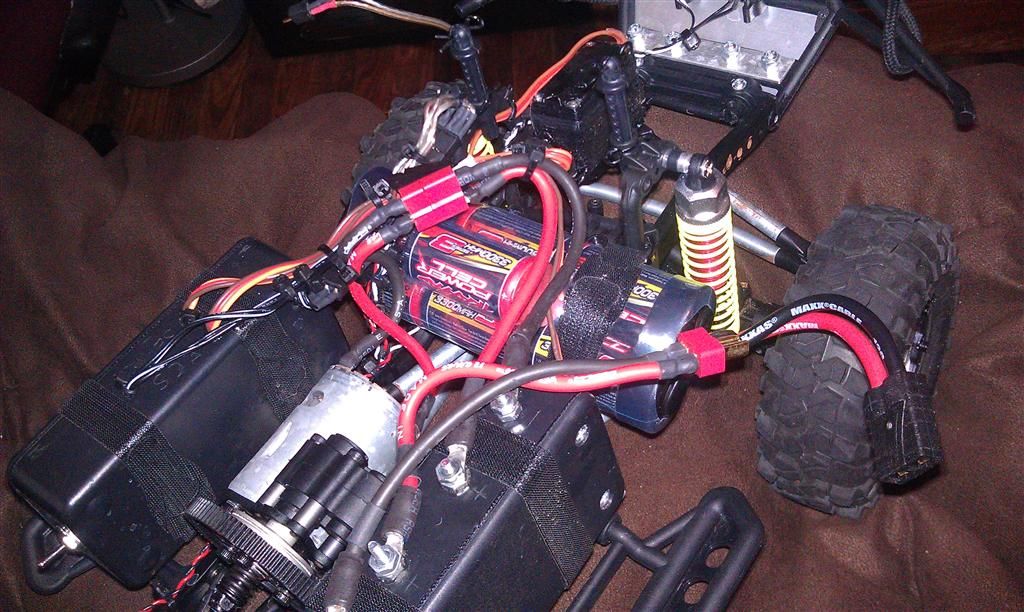 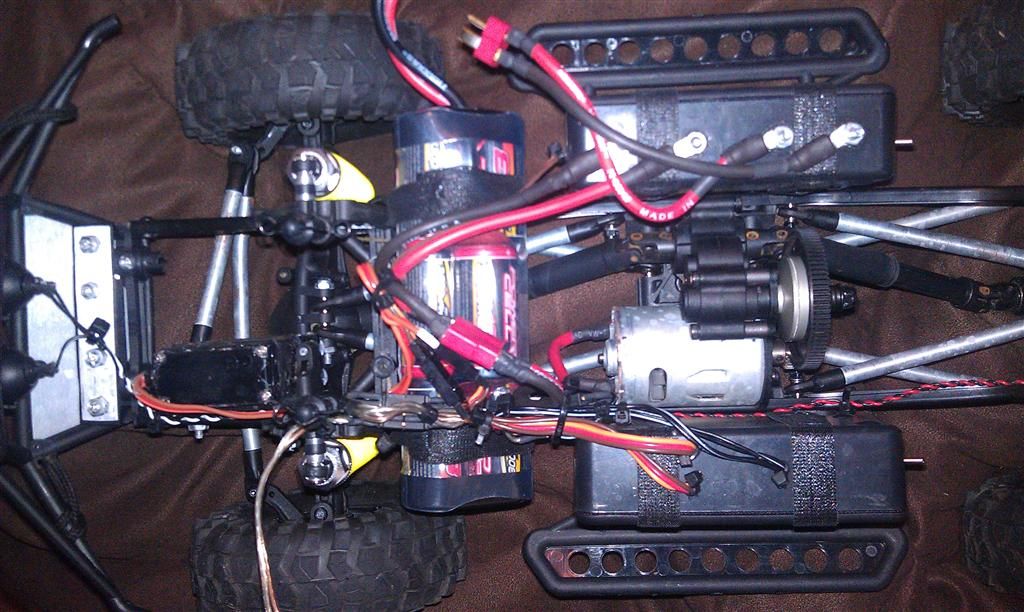 just need to do something about this 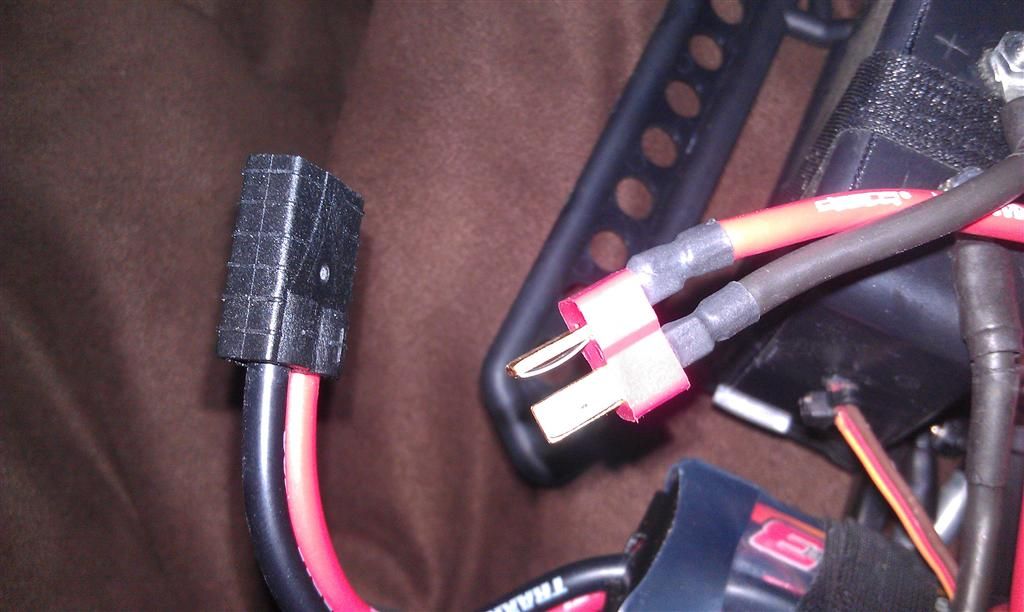 Last edited by iamsuperbleeder; 09-11-2011 at 03:22 PM. |
|
| |
|
09-11-2011, 03:51 PM
| #63 |
| RCC Addict Join Date: Jul 2011 Location: Orlando
Posts: 1,153
|
Honestly you should be getting LiPos but if you are running those NiMh just cut the ends off and soldier a deans female end on the battery. deans are better anyways (IMHO) Im gonna get you hooked on LiPo when we get together next weekend...... And make sure your rig is water proof since there is a spot we can make into mudd. its a little area but very nice scale wise.... |
|
| |
|
09-11-2011, 04:32 PM
| #64 | |
| Quarry Creeper Join Date: Jul 2011 Location: Lake City, Fl
Posts: 380
| Quote:
everything's waterproofed accept for the new batteries, and I'll fix that tomorrow afternoon after work after I solder the Deans on them  Last edited by iamsuperbleeder; 09-11-2011 at 04:34 PM. | |
|
| |
|
09-14-2011, 06:21 PM
| #65 |
| Quarry Creeper Join Date: Jul 2011 Location: Lake City, Fl
Posts: 380
|
guess I'll be upgrading drive shafts sooner than I planned... 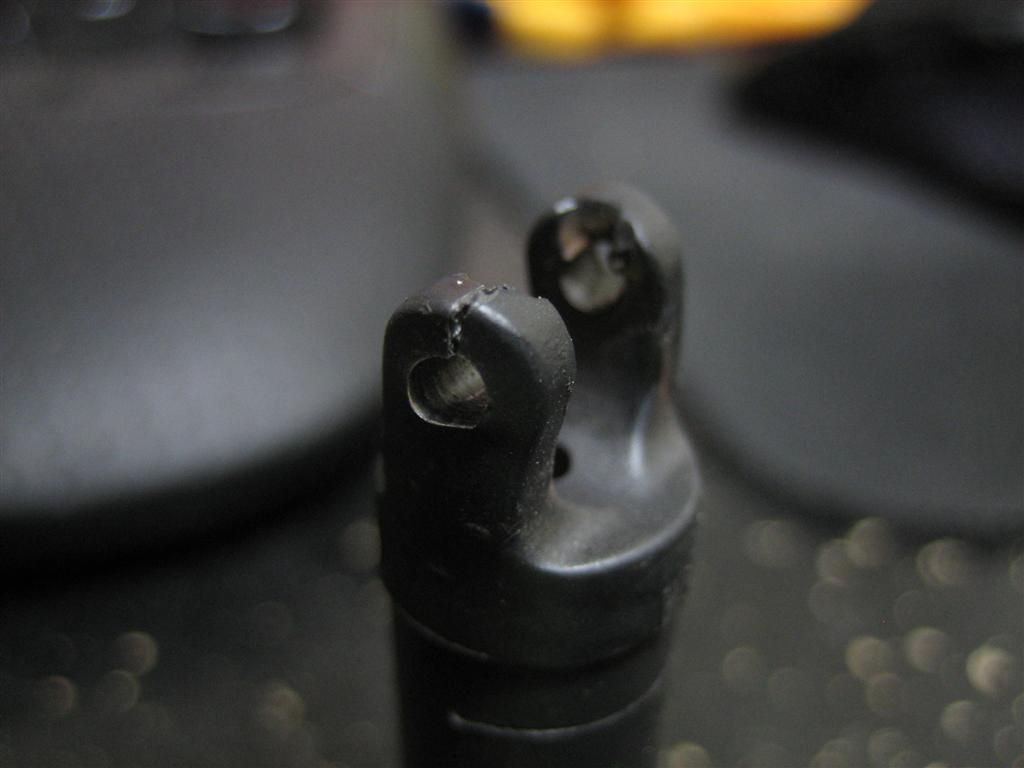 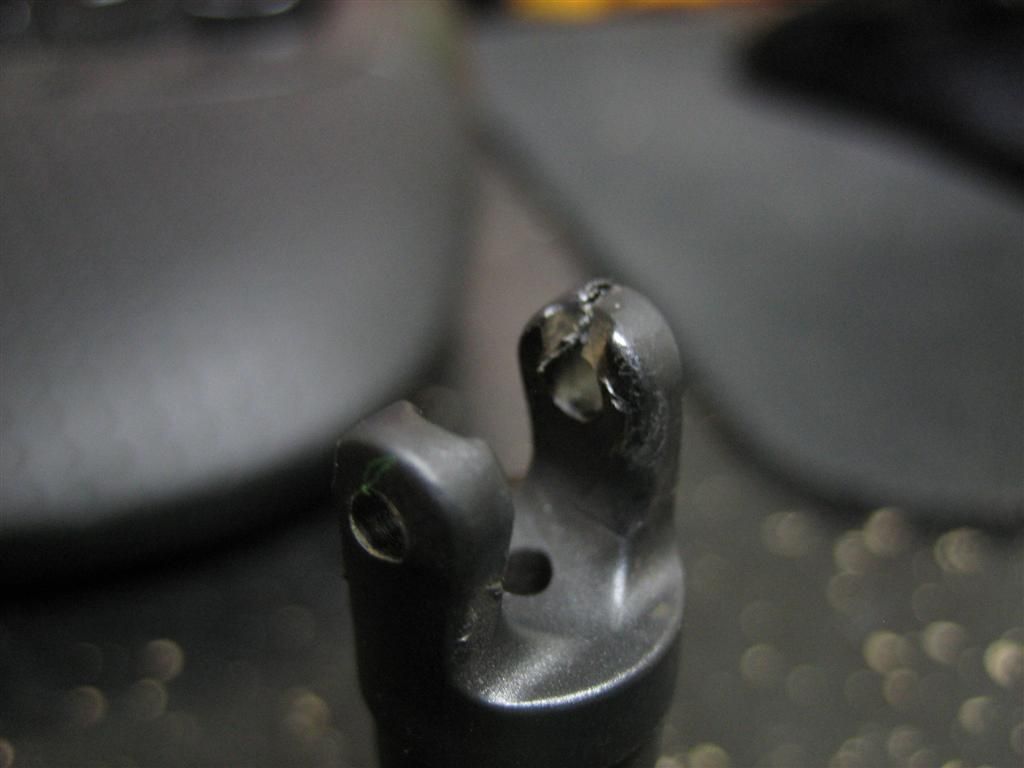 |
|
| |
|
09-14-2011, 06:24 PM
| #66 |
| RCC Addict Join Date: Jul 2011 Location: Orlando
Posts: 1,153
|
^^^^^^ Better get that fixed before Sunday......  I have some extras of the stock drive knuckles if you need one or two. Just let me know. Cant wait for sunday, we have gate markers, video camera with tripod , regular cameras, and a bunch of other fun stuff..... |
|
| |
|
09-14-2011, 07:19 PM
| #67 |
| Quarry Creeper Join Date: Jul 2011 Location: Lake City, Fl
Posts: 380
|
well from what I read, Traxxas Stampede shafts are a direct fit. They're still plastic, so they're not a permanent fix, BUT, they're cheap considering you can get a pack of 6 complete shafts for $10 SO, I'm about to see if I can either A) find someone online that can ship them next day and not charge me an arm and a leg, or B) just call a local hobby shop tomorrow that's down there near Orlando/Casselberry and see if they have some in stock, or can get some for me to pick up on Saturday |
|
| |
|
09-14-2011, 07:34 PM
| #68 |
| Quarry Creeper Join Date: Jul 2011 Location: Lake City, Fl
Posts: 380
|
HA next day shipping is like $30... I'm going look up a local shop down there and call them tomorrow... I'm not paying $30 shipping on $10 worth of parts, lol |
|
| |
|
09-14-2011, 10:05 PM
| #69 |
| Quarry Creeper Join Date: Jul 2011 Location: Lake City, Fl
Posts: 380
|
other shaft isn't far behind, lol 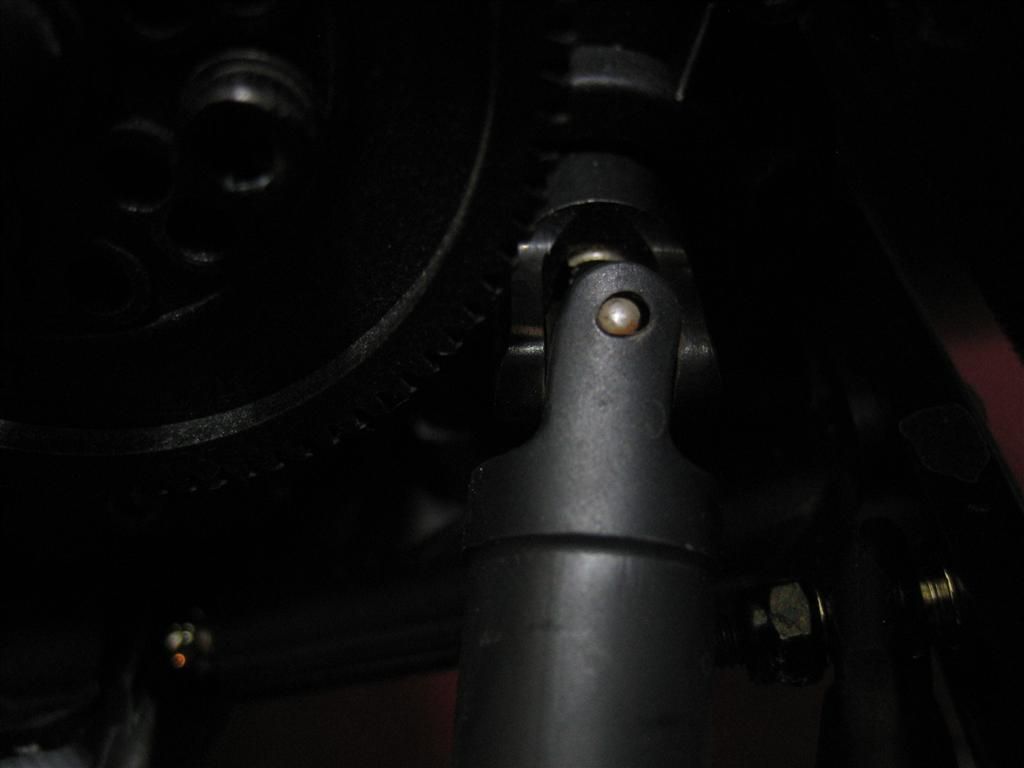 |
|
| |
|
09-15-2011, 12:36 AM
| #70 |
| Pebble Pounder Join Date: Nov 2010 Location: Spain
Posts: 138
|
Very goog job!!!! |
|
| |
|
09-15-2011, 01:07 AM
| #71 |
| Pebble Pounder Join Date: May 2011 Location: Antwerp Belgium
Posts: 109
|
I had the same problem. Upgraided and the problems are gone |
|
| |
|
09-15-2011, 06:33 AM
| #72 |
| RCC Addict Join Date: Jun 2011 Location: Gilbert, AZ
Posts: 1,634
|
There is that sale at Junfac for the next day or two and the drivelines are like $26. Since I am on 2s and all stock electronics I have been okay so far and am hoping to stay that way, but for the price it's tough not to upgrade.
|
|
| |
|
09-15-2011, 10:49 AM
| #73 |
| Quarry Creeper Join Date: Jul 2011 Location: Lake City, Fl
Posts: 380
|
well I need them by Sunday for the gtg I got in touch with a local shop that has some Traaxas shafts in stock, that are apparently a direct fit! so I should be good for now Sent from my space age wireless communication device. |
|
| |
|
09-18-2011, 10:02 PM
| #74 |
| Quarry Creeper Join Date: Jul 2011 Location: Lake City, Fl
Posts: 380
|
well the rig performed very well I think for it's first official run on the rocks I was quite impressed with it! 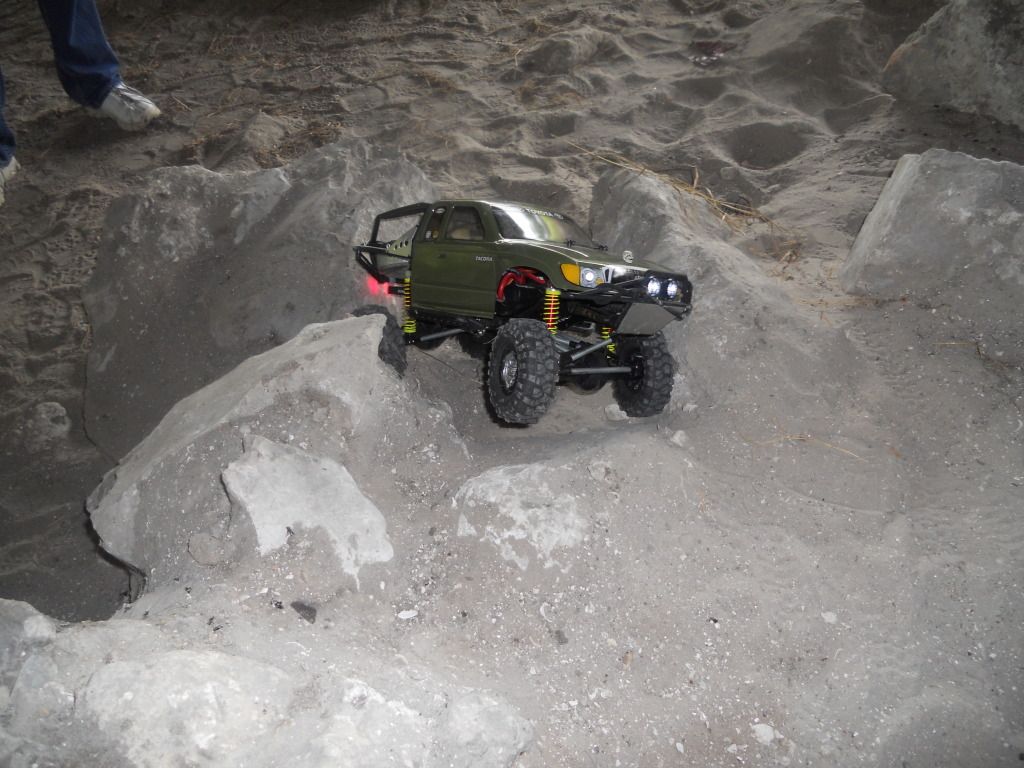  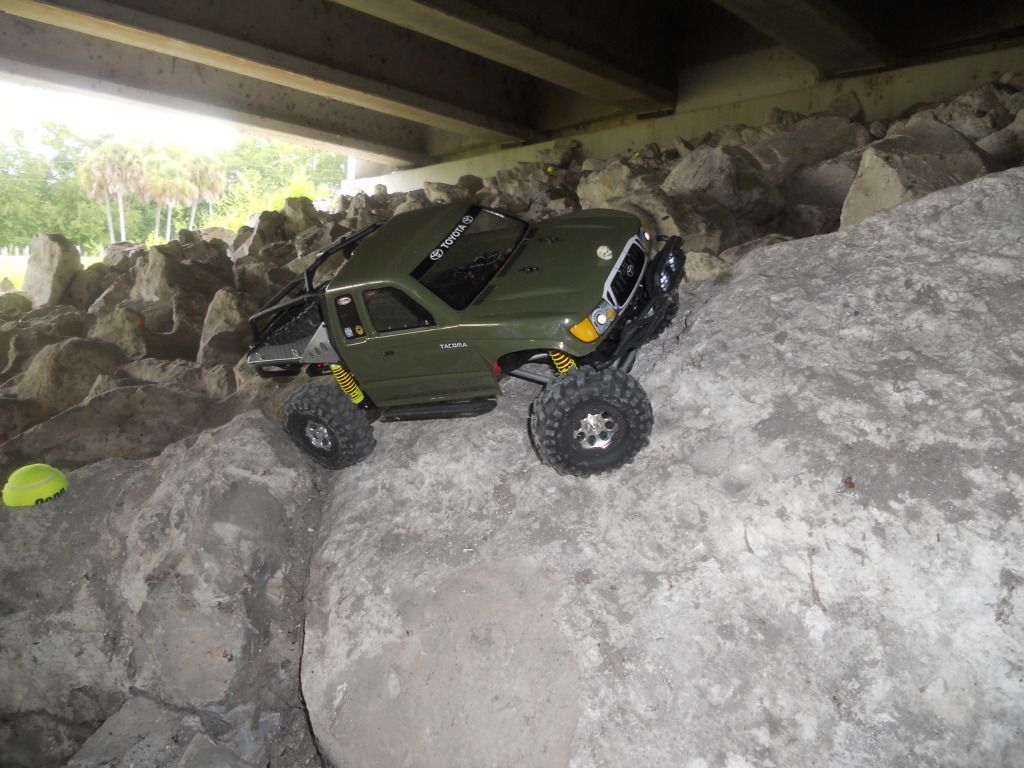 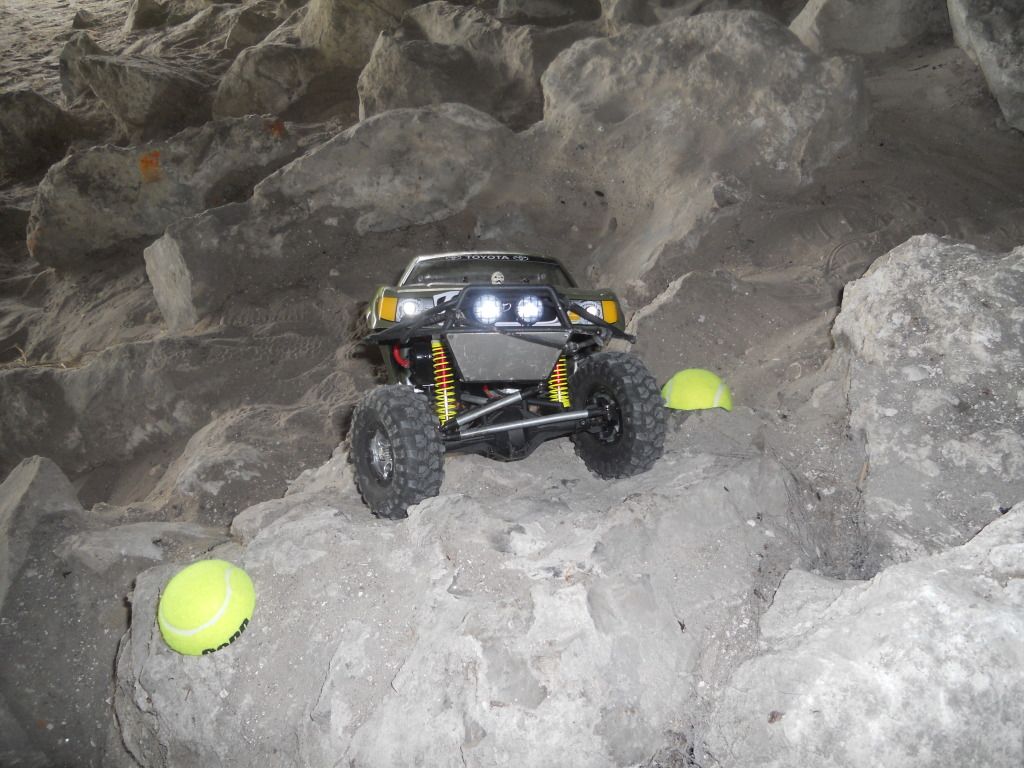 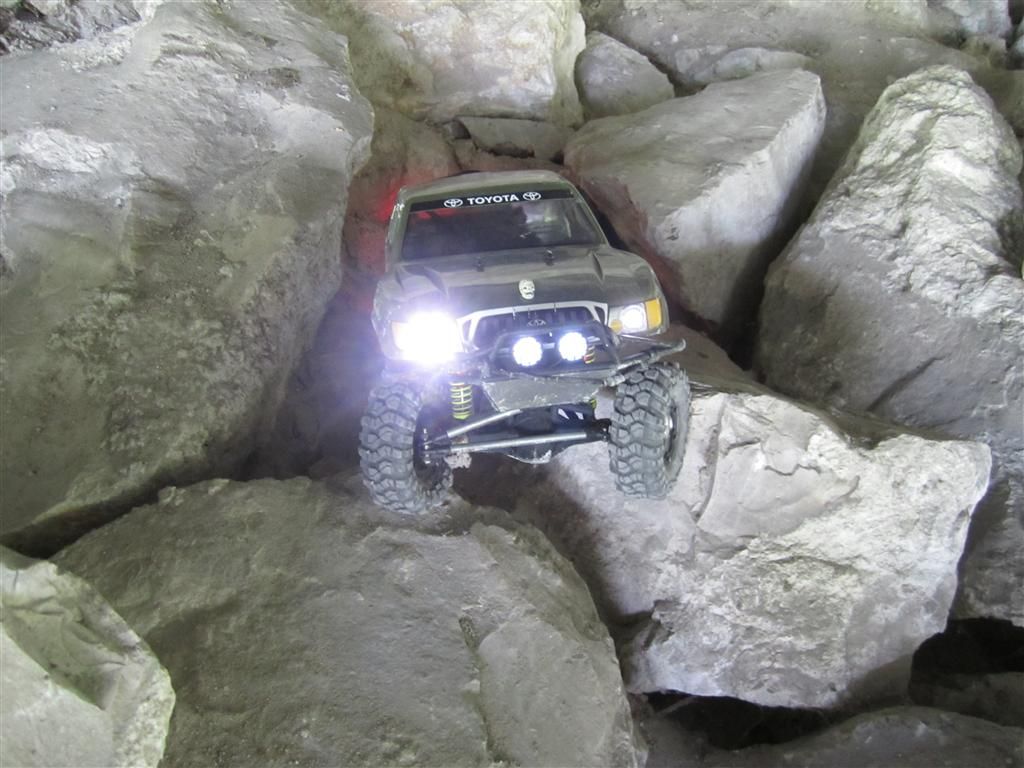 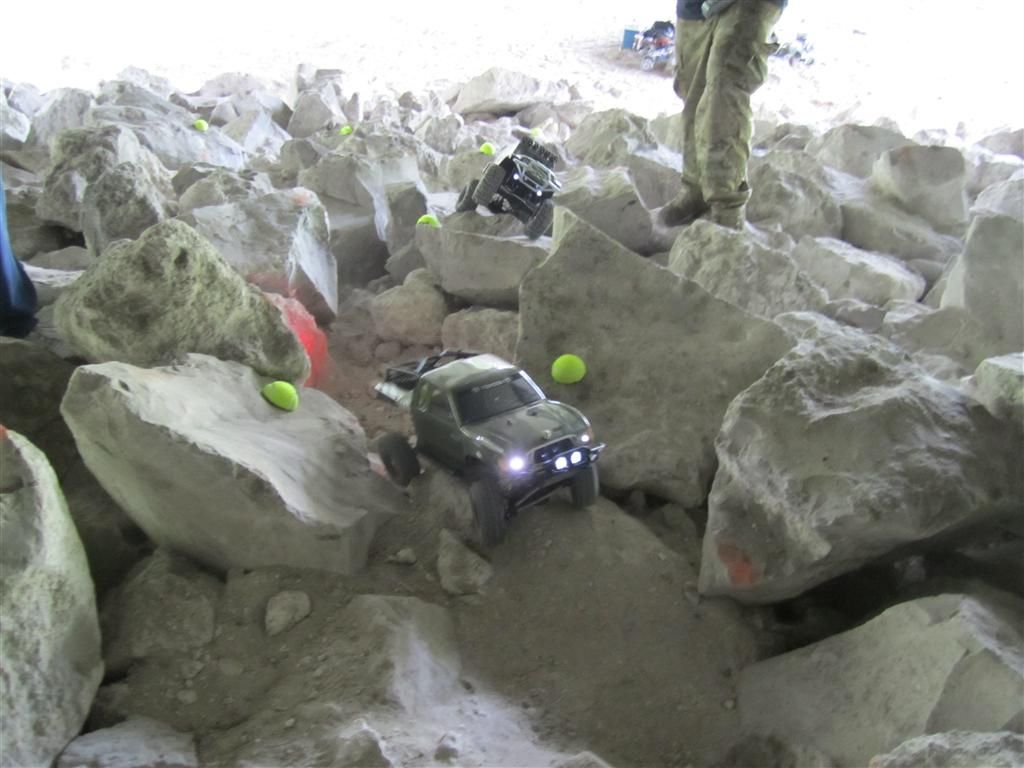 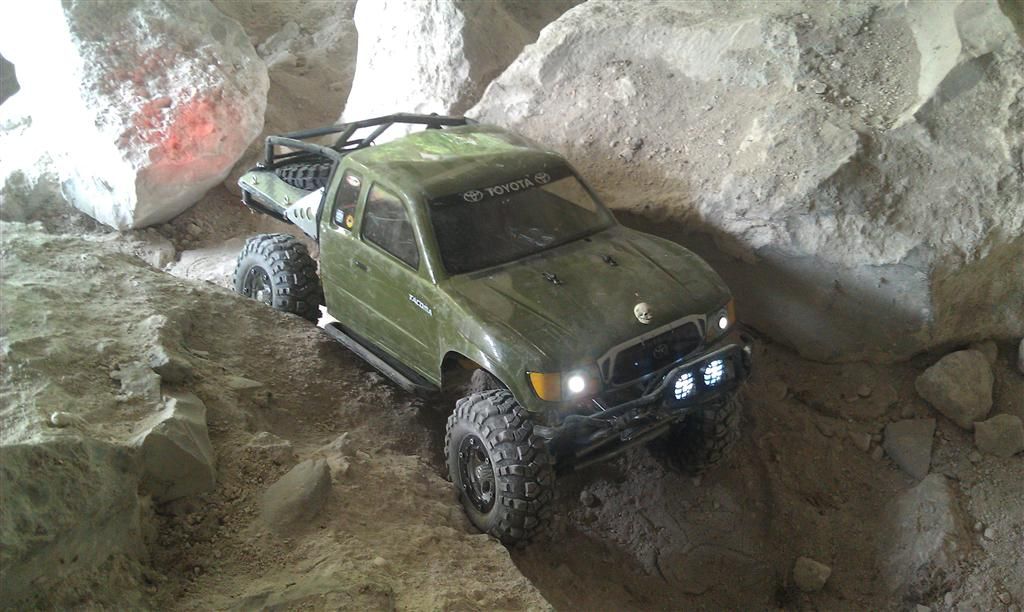 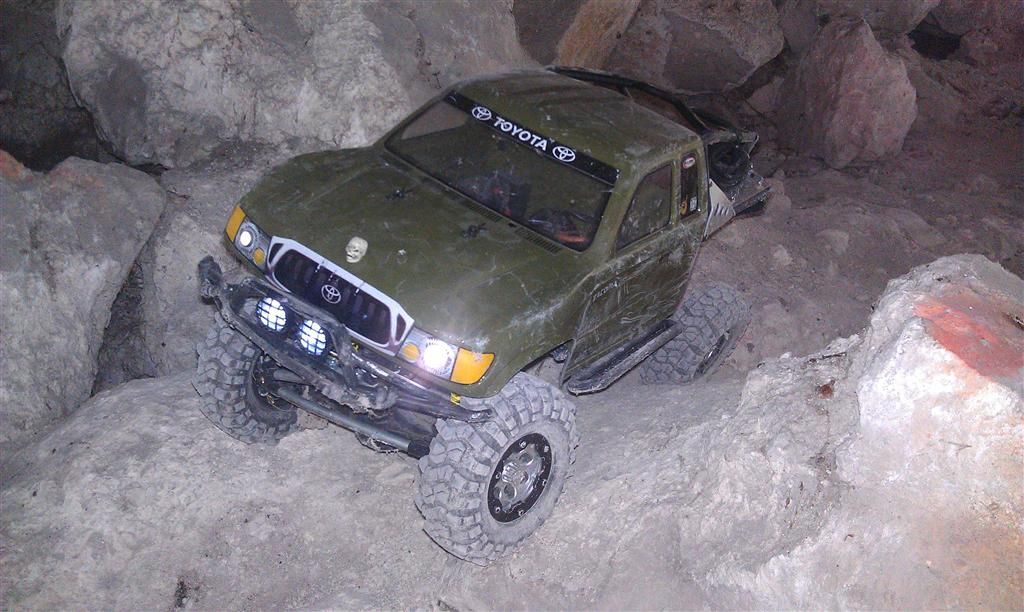 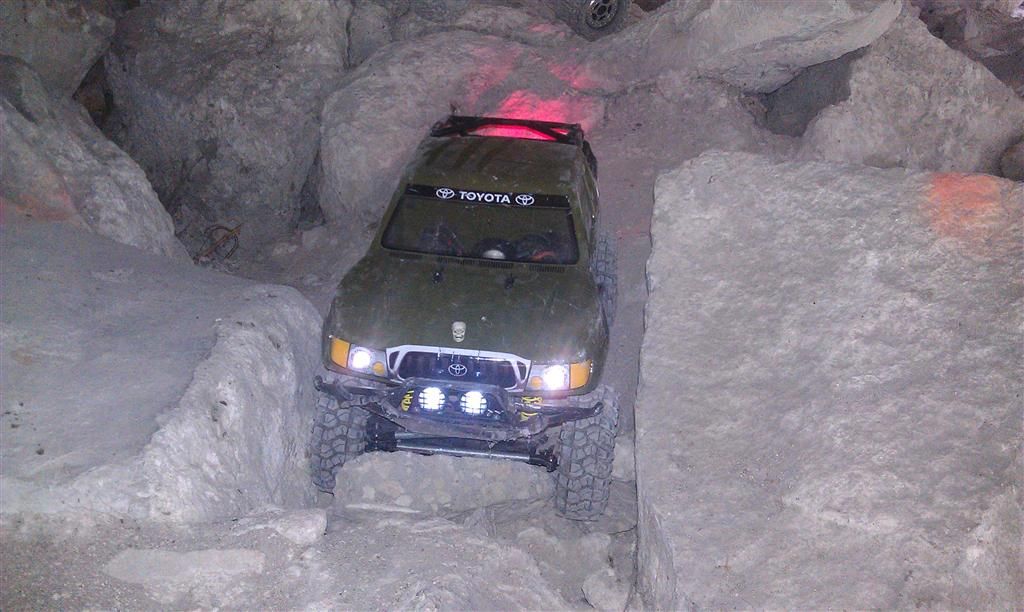 I'm entitled to a few "oops" moments since it WAS my first time out with the rig 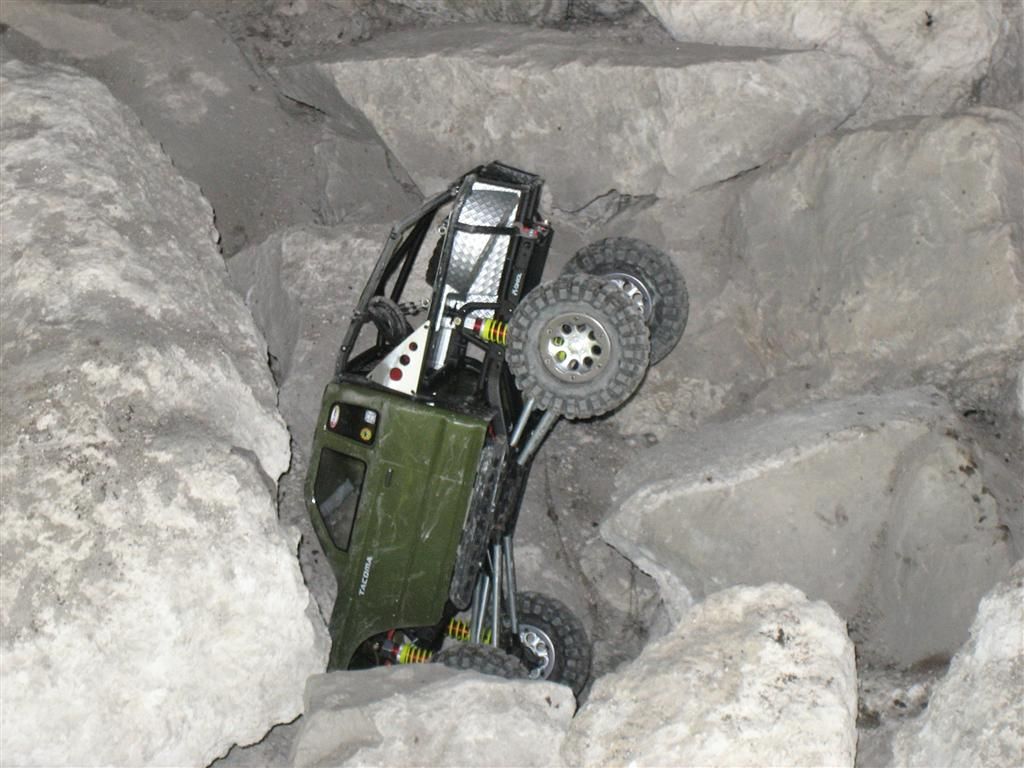 and by far the best thing about being waterproof is the cleanup at the end of the day! pop the top, hose it off, an let it dry 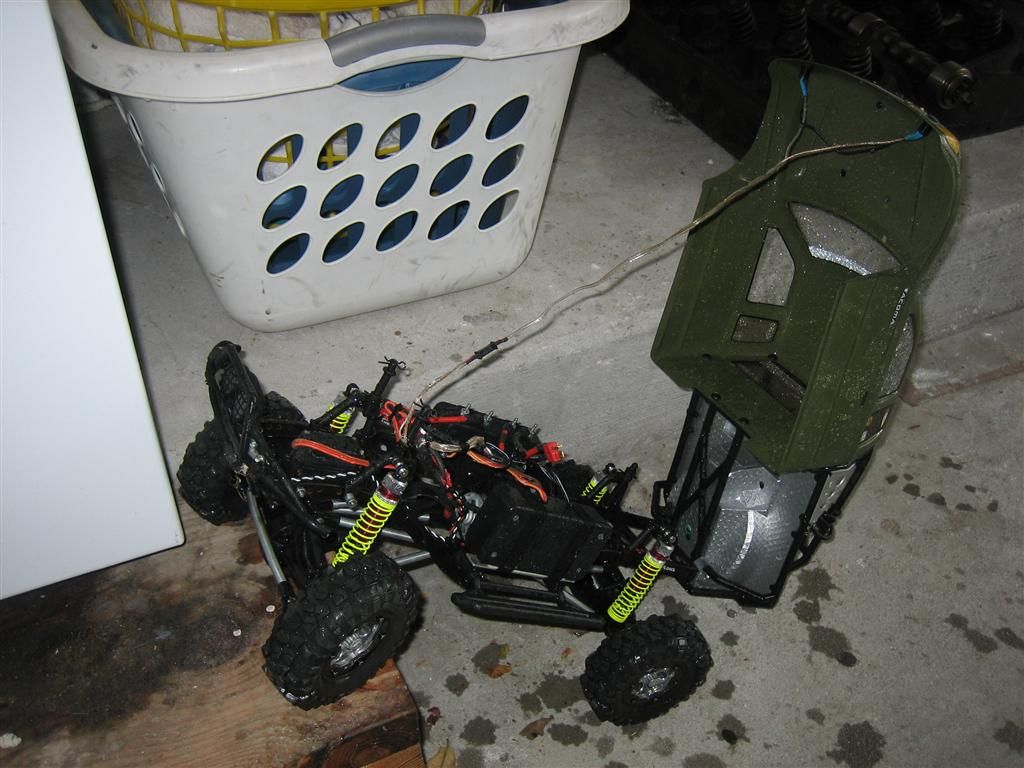 |
|
| |
|
09-18-2011, 10:35 PM
| #75 |
| RCC Addict Join Date: Jun 2011 Location: Gilbert, AZ
Posts: 1,634
|
Looks like you had a good time. I'm jealous of the easy clean-up. I also had my first real outing with my Honcho today. I can't get over the traction at the place we were, the Honcho went places I didn't think it would. Also helped having some more experienced guys showing me the lines. |
|
| |
|
09-20-2011, 09:42 PM
| #76 |
| Quarry Creeper Join Date: Jul 2011 Location: Lake City, Fl
Posts: 380
|
finally started to take the rig down a little and closely inspect everything after the run (I know, 2 days later... shame on me all in all, nothing broken but a battery strap there is suppose to be a complete loop at the end of this velcro strap 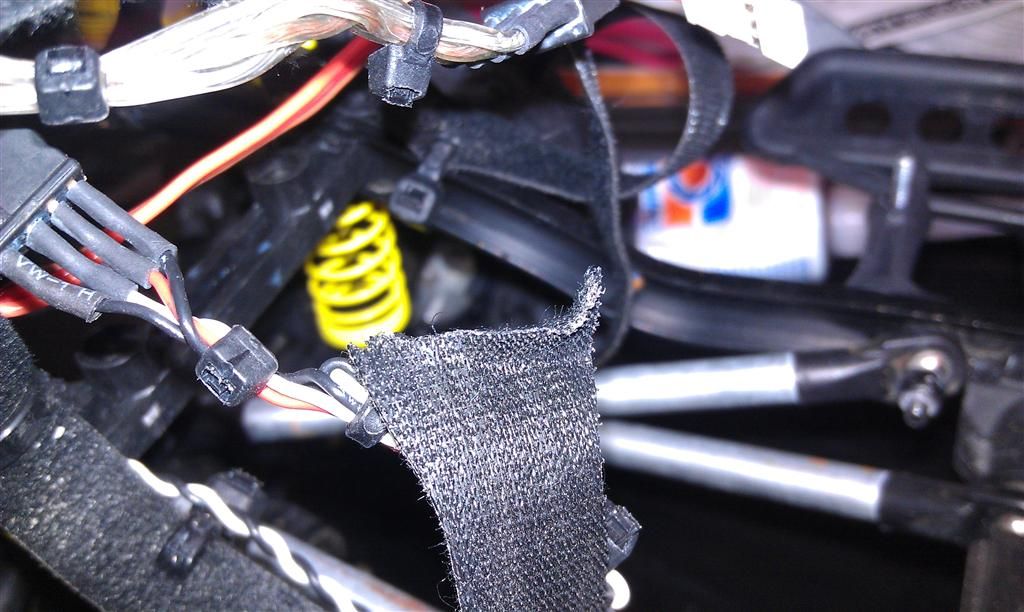 like this one (the other one) 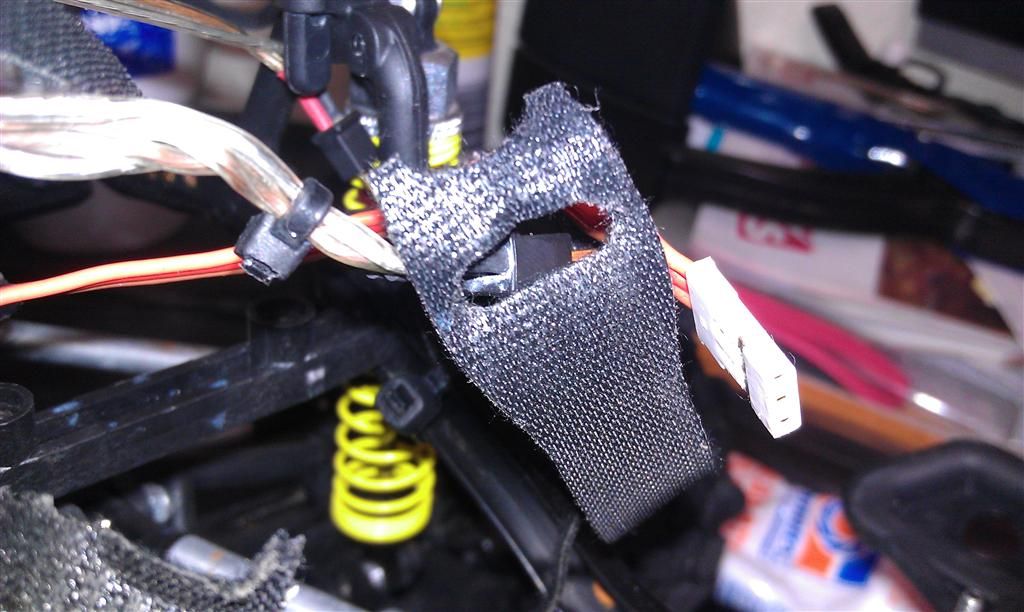 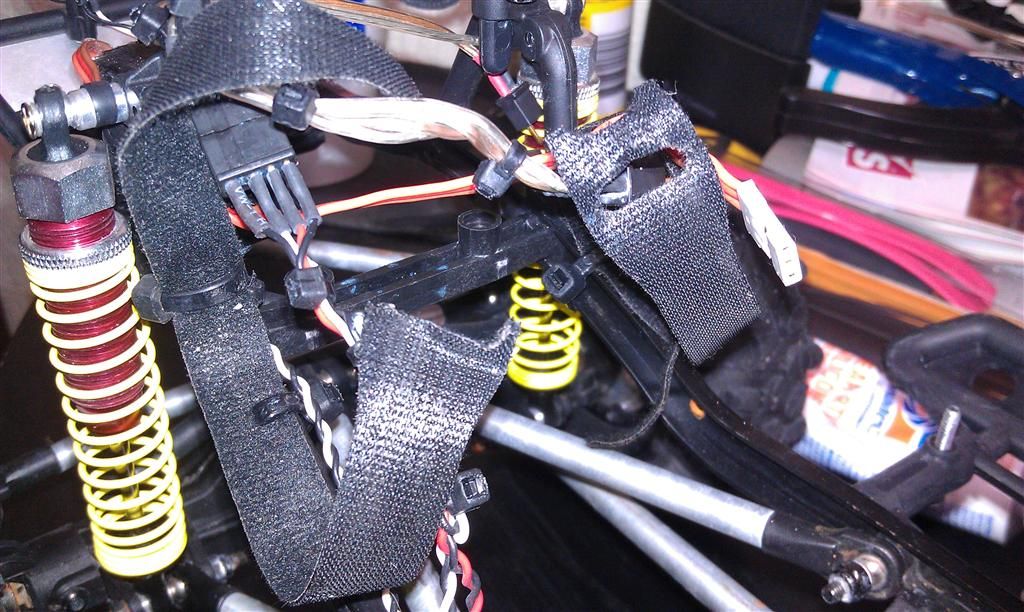 the body took a bunch of damage, but that's to be expected. I actually managed to literally put a dent in the lexan cab on the driver's side 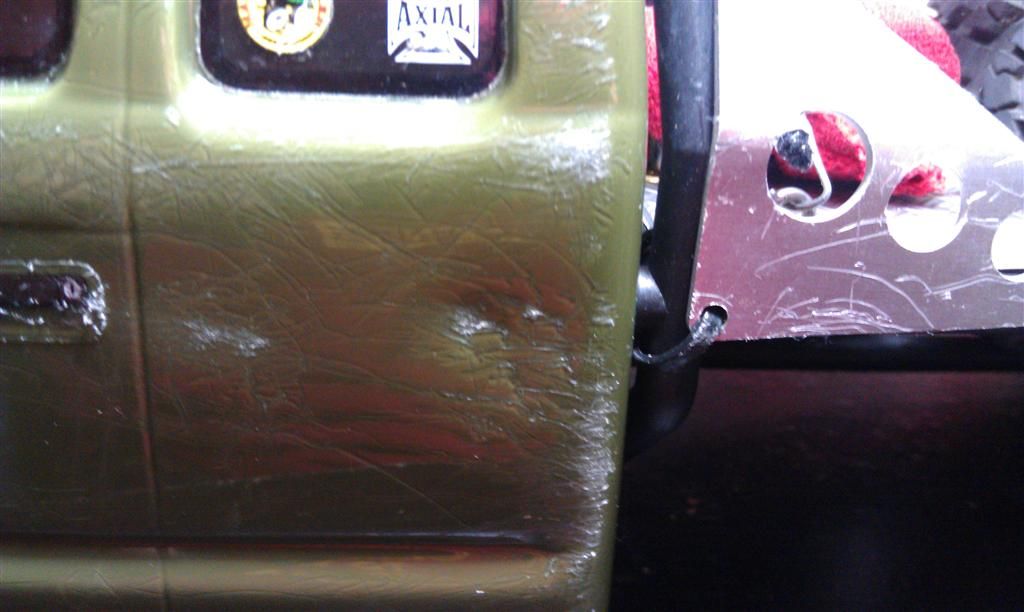 and my undercarriage use to be somewhat nice looking... not anymore  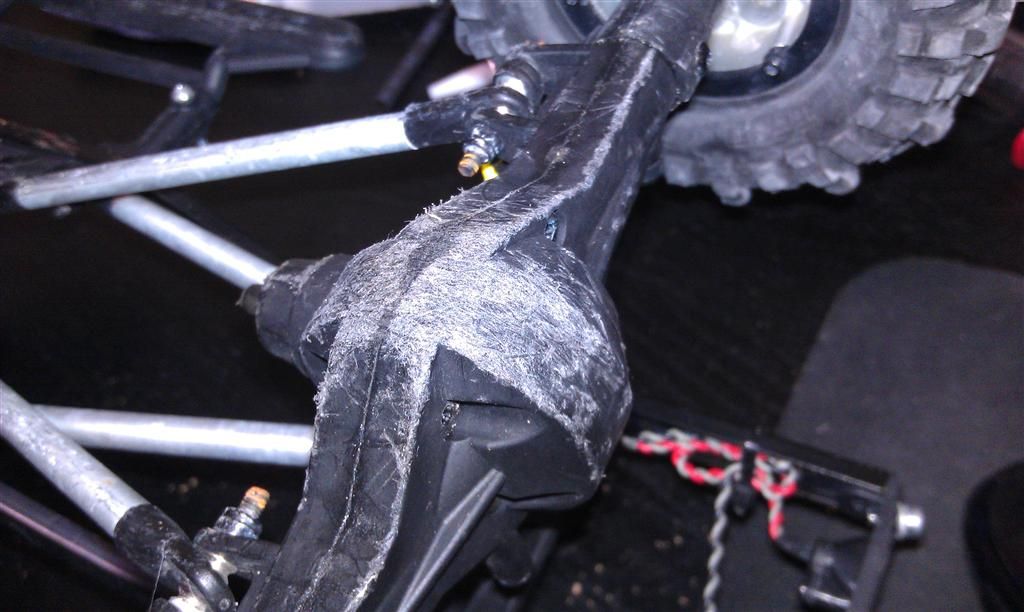 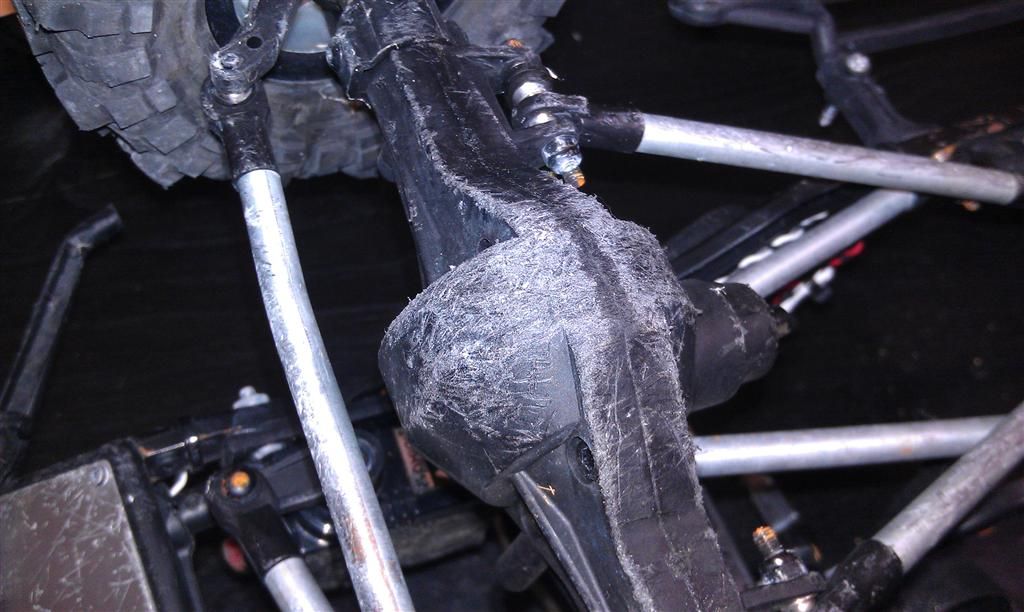 And the entire time I was running Traxxas shafts. Bought a pack of 6 complete drive shafts on Saturday for a whopping $10, test fit a pair and they fit, test drove them on Saturday to make sure they would hold up, and then wheeled the same pair all day Sunday without a single issue! It's obvious that I put them through a beating too; they're ALL gouged up. And the rear slip yoke was only in MAYBE 1/4", but it never popped out or gave me any issues! I do notice that it looks like I'm going to have to start spraying the steel yokes and u-joints down with WD40 though after I rinse the rig off... they're beginning to rust a little...  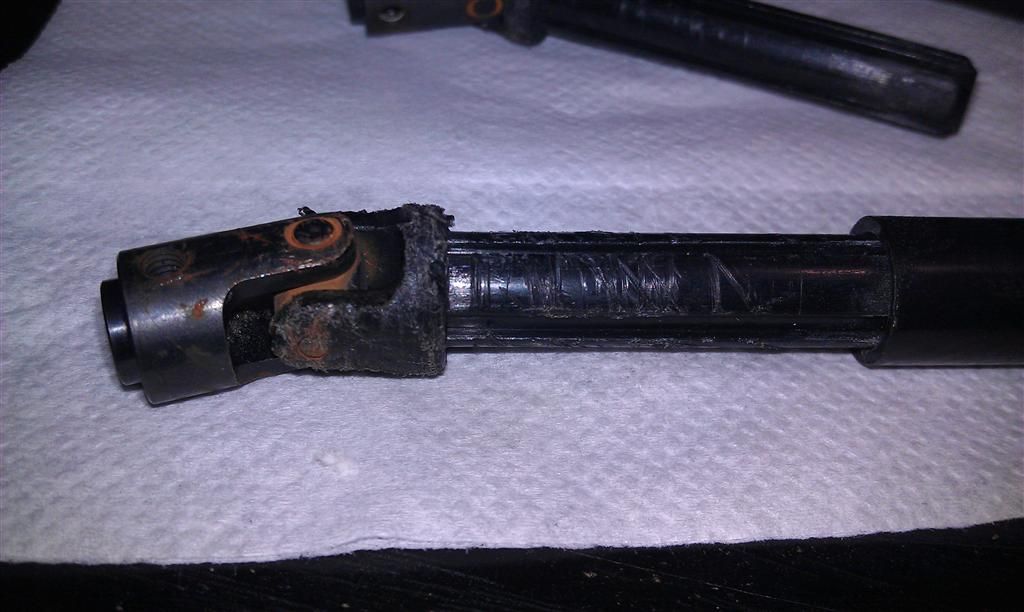 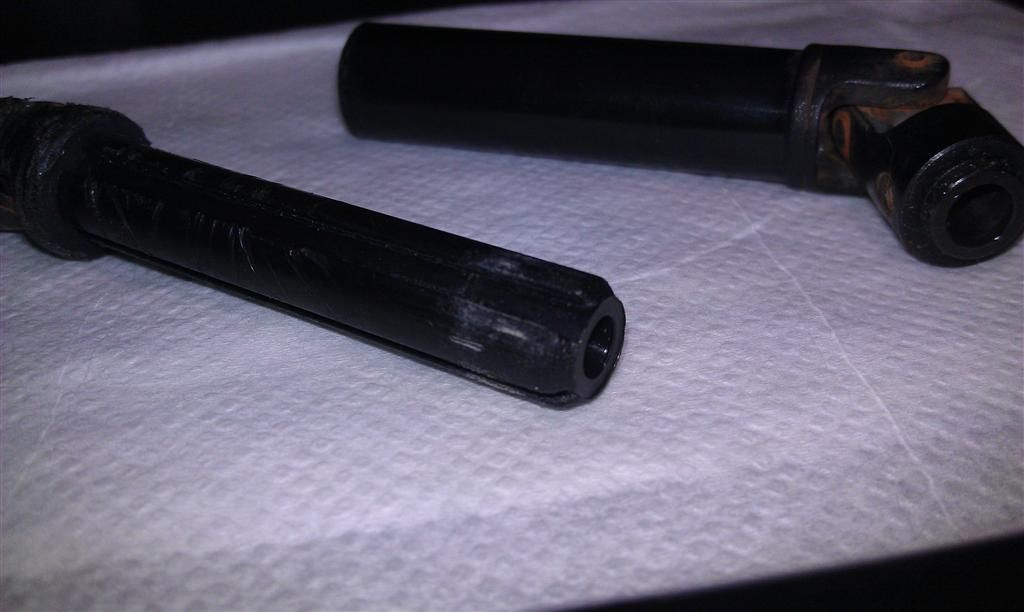 |
|
| |
|
09-24-2011, 12:43 AM
| #77 |
| Quarry Creeper Join Date: Jul 2011 Location: Lake City, Fl
Posts: 380
|
scored a Pro-Line light bar from the classifieds (thanks MTHead!) it wasn't out of the shipping packaging for 5 minutes before I started drilling holes in it! 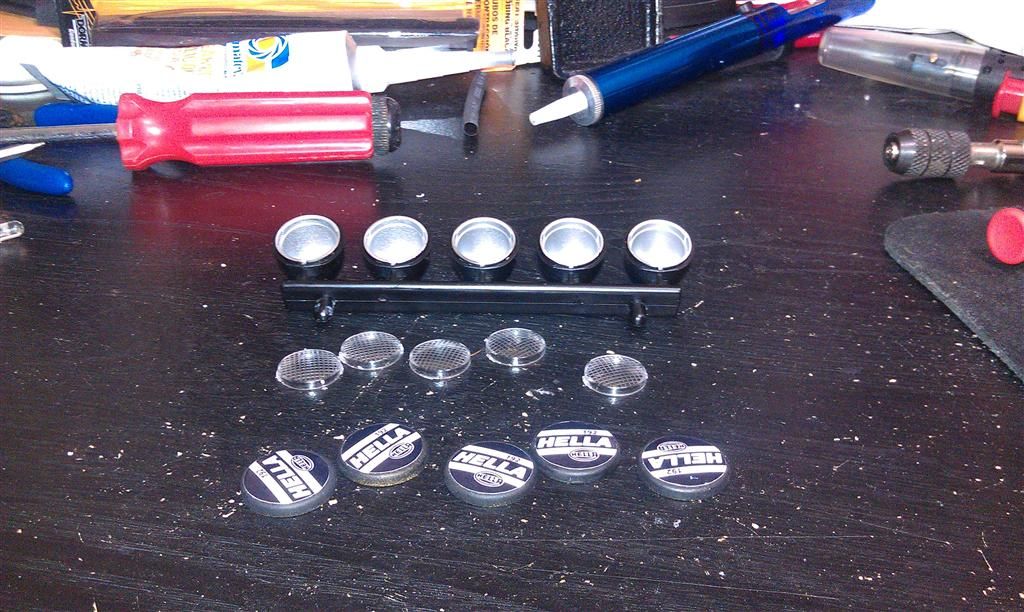 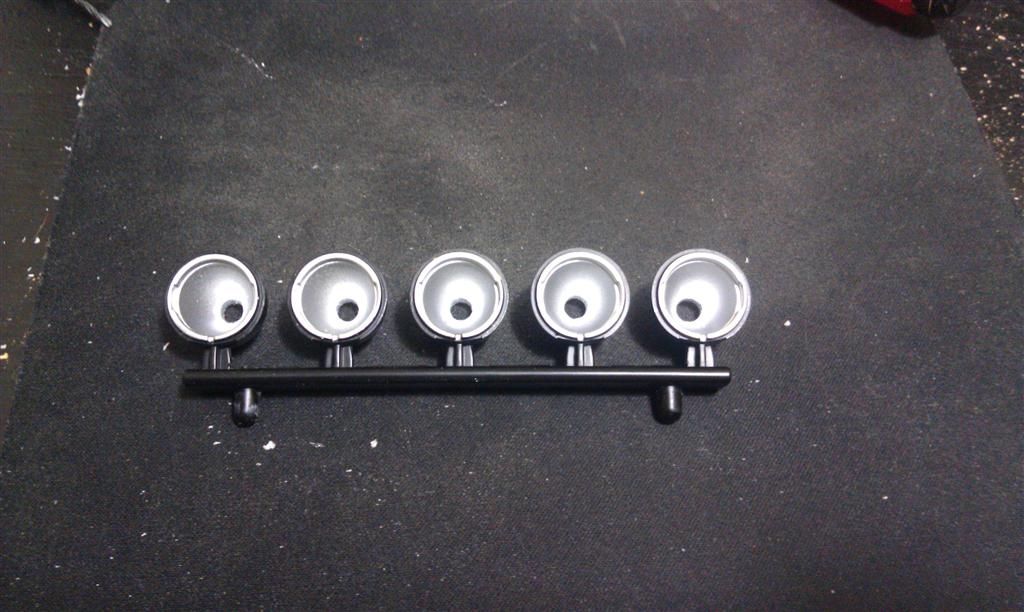 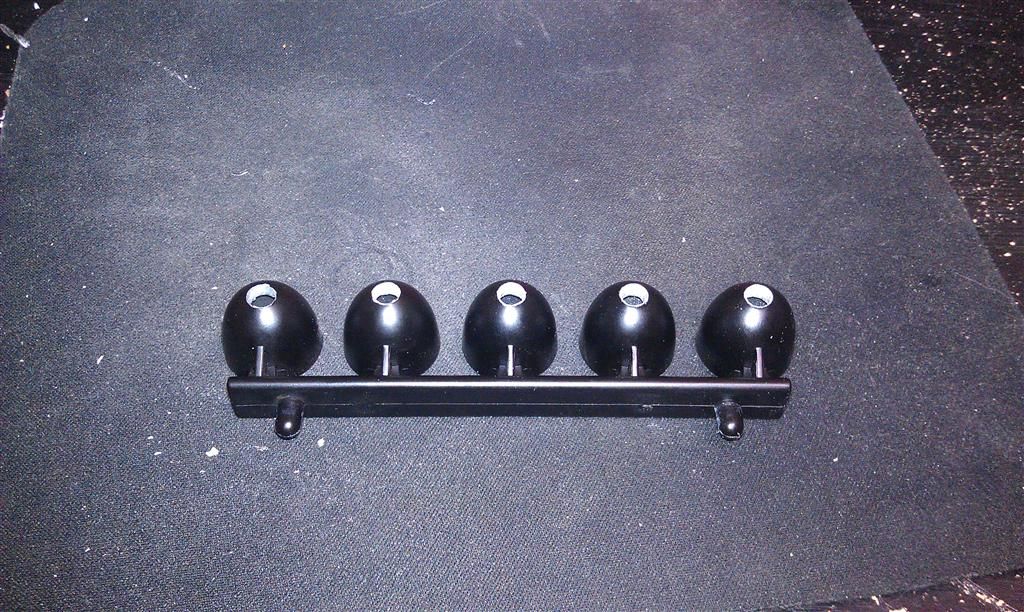 and laying in some LEDs 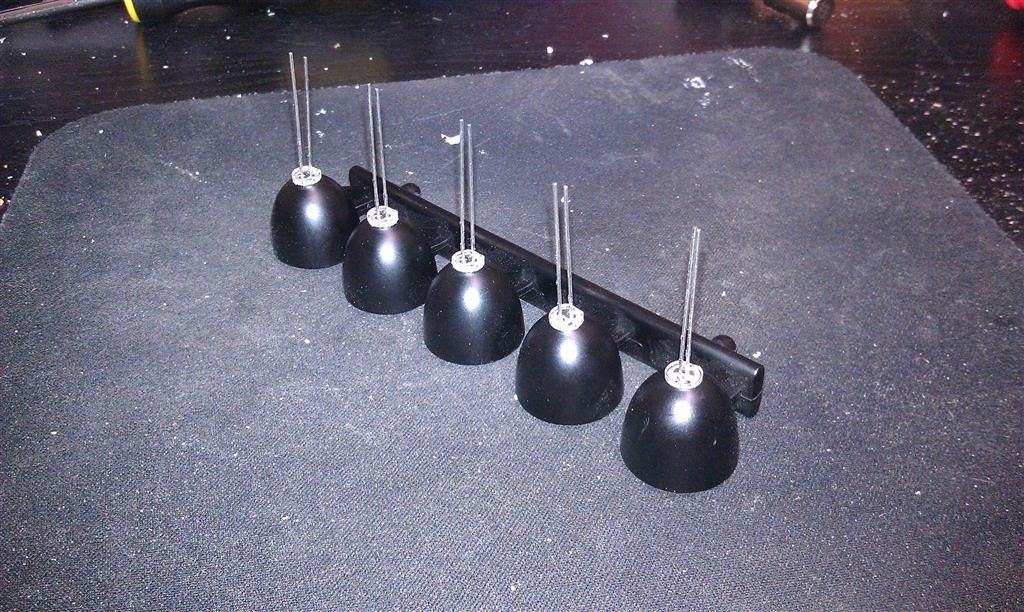 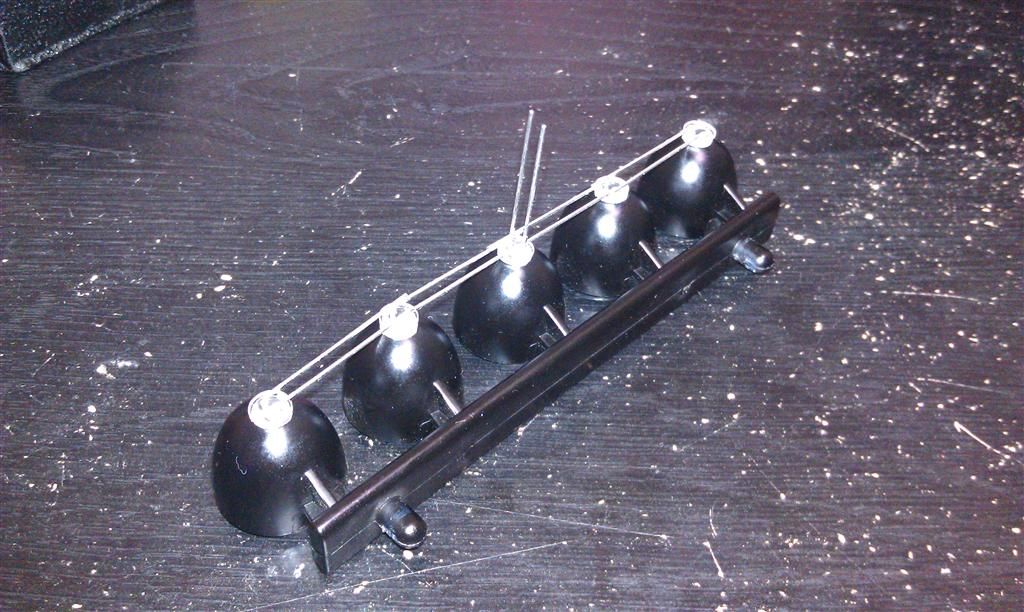 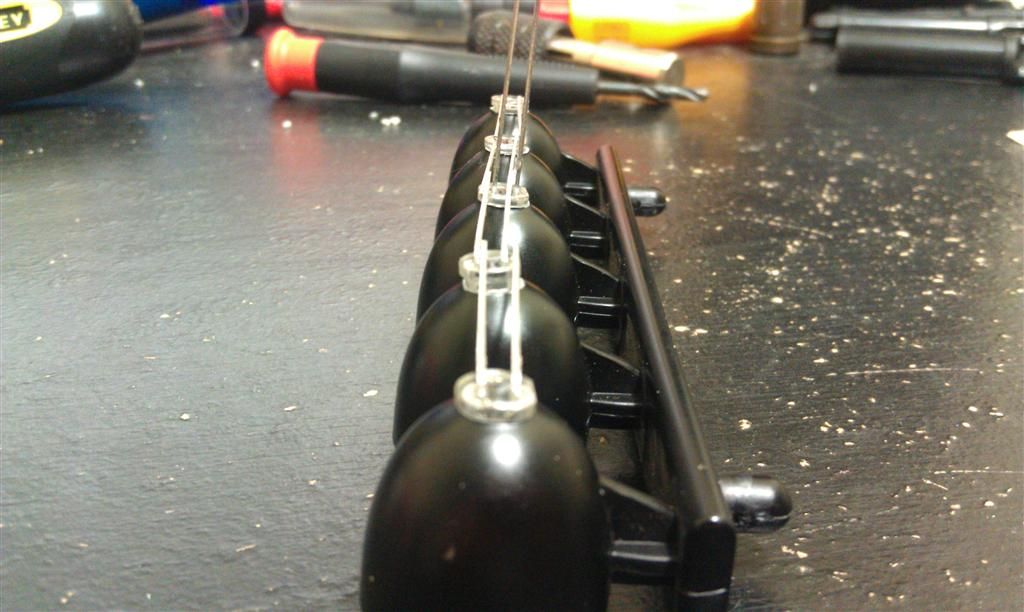 soldered them together all in parallel 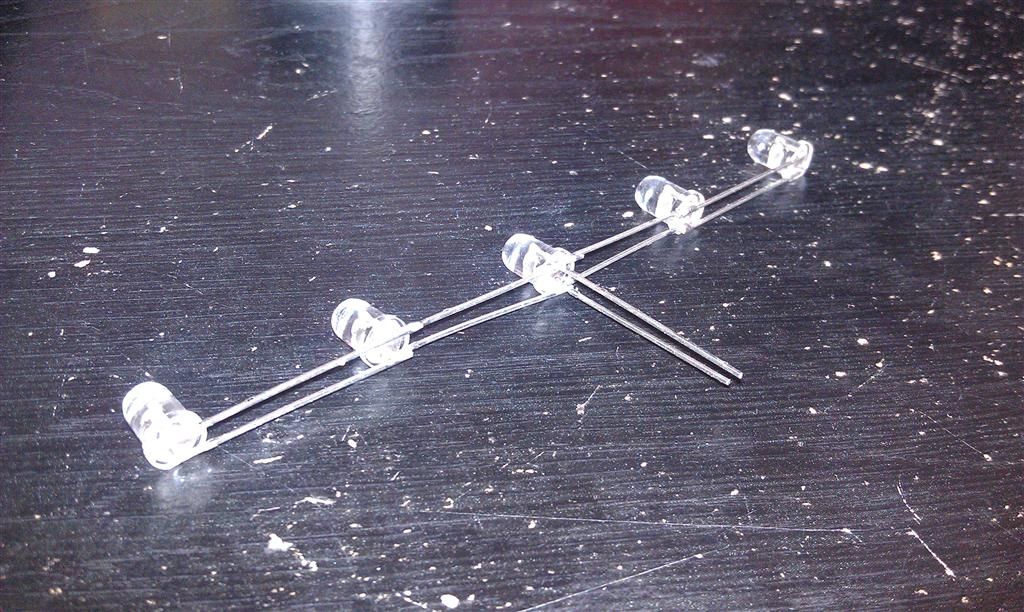 touched them to a 3v button cell battery for a test 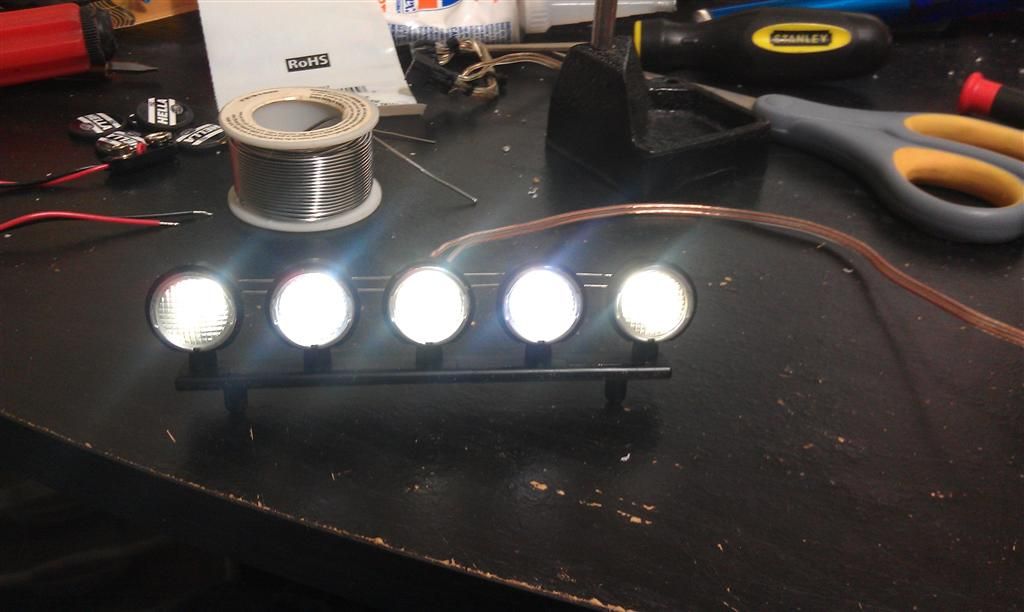 then proceeded to mount the bar to the truck. I like the look of them on the bar/cage on the back instead of up on the roof; just a personal preference... so to mount them I just zip-tied the light bar to the top bar on the rear cage. it's pretty rigged, but it still has some forward and back movement, which is good so that when the truck rolls over (which I know will happen, lol), the light bar has room to move around and give instead of just snapping off 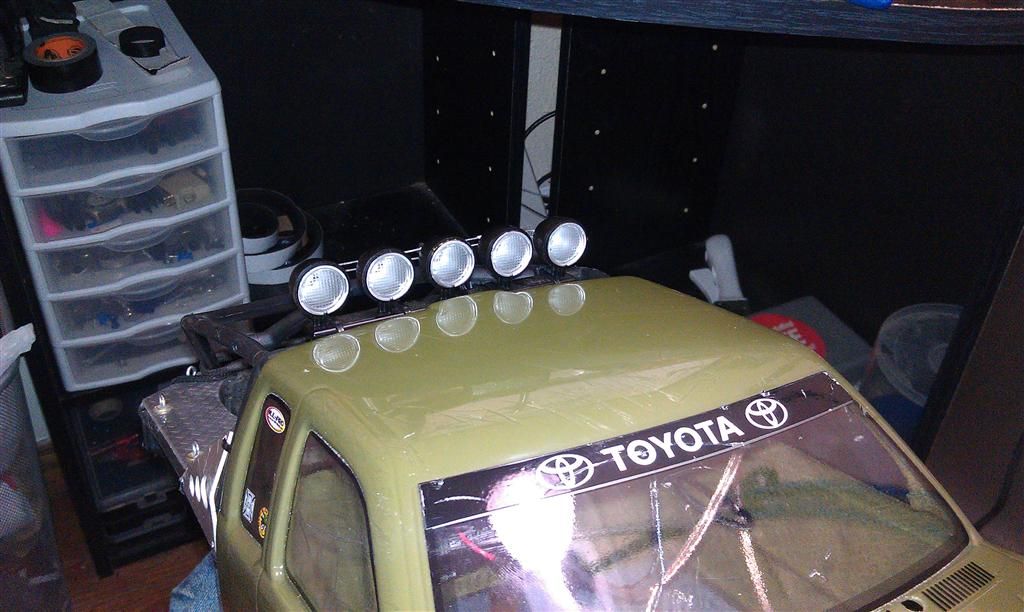 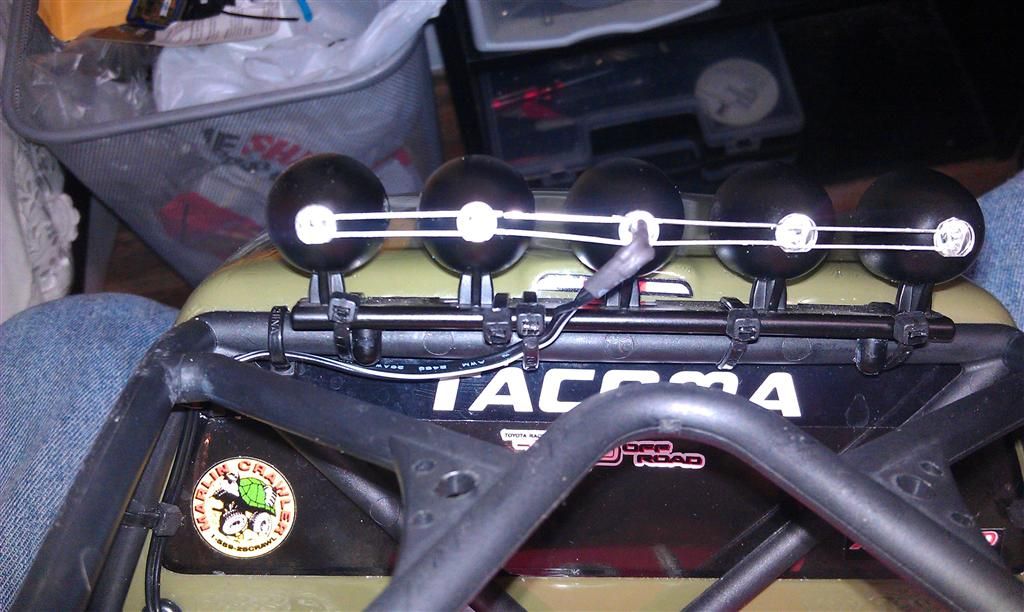 then proceeded to run the wire down the cage, and through the body using a small grommet that I had laying around 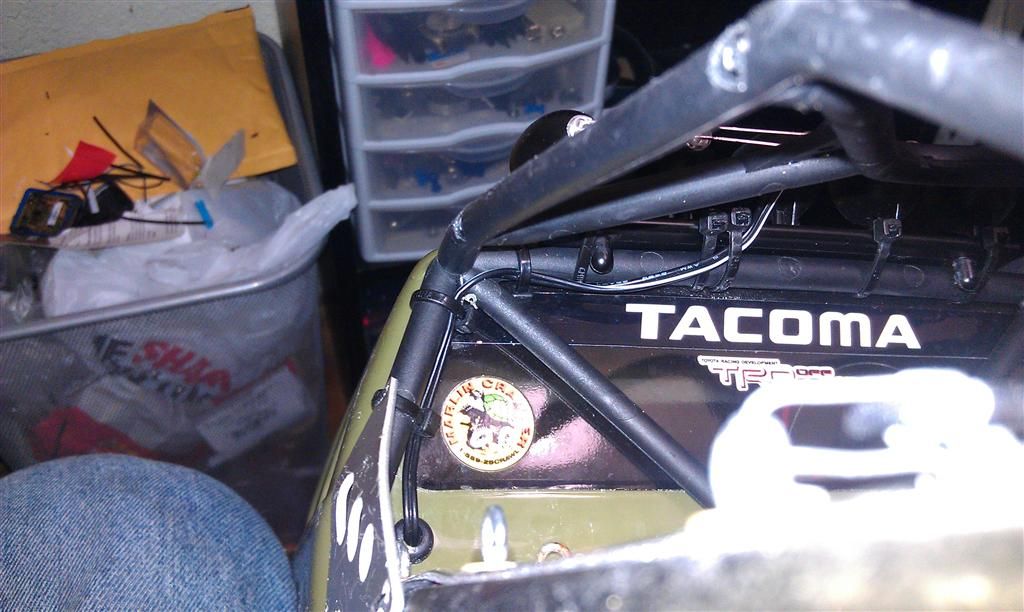 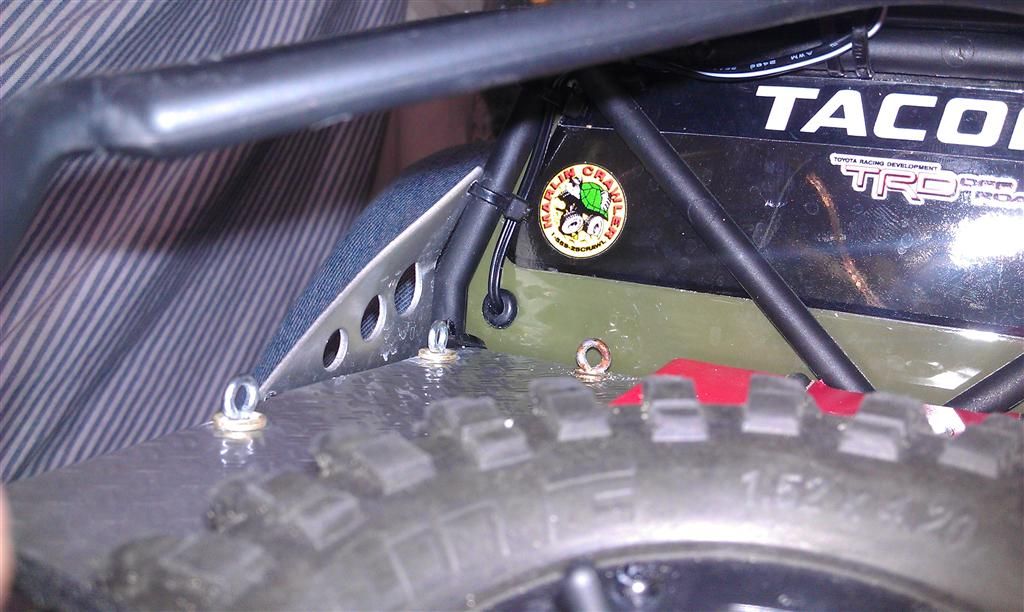 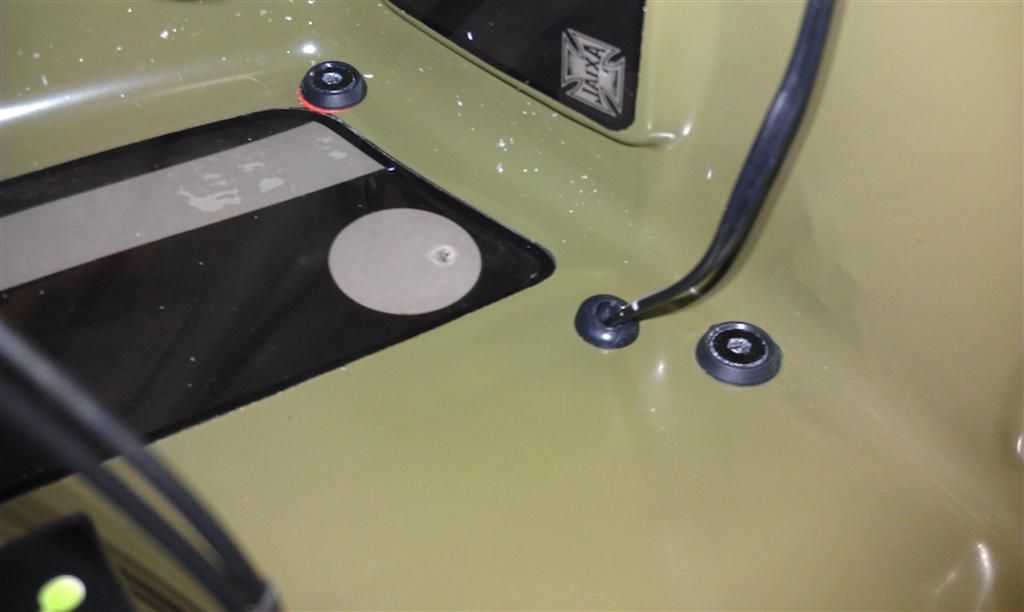 since I was going to have to run these lights off a 9v battery, I figured it would be a good idea to just go ahead and hook my headlight LEDs to the same circuit. running them off the original LED controller caused my front bumper mounted lights to dim a little anyway... now they're at full brightness again 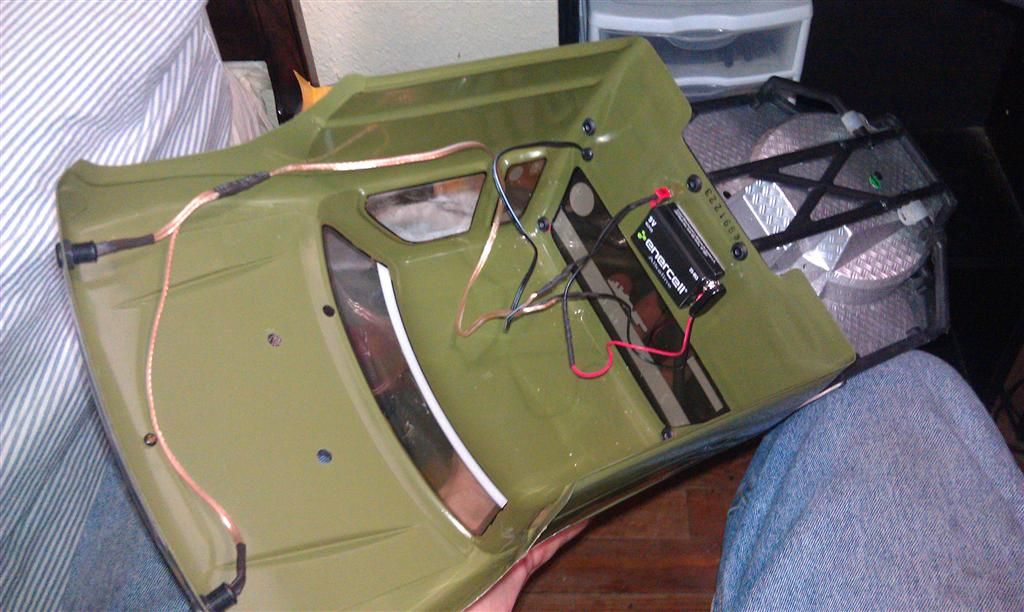 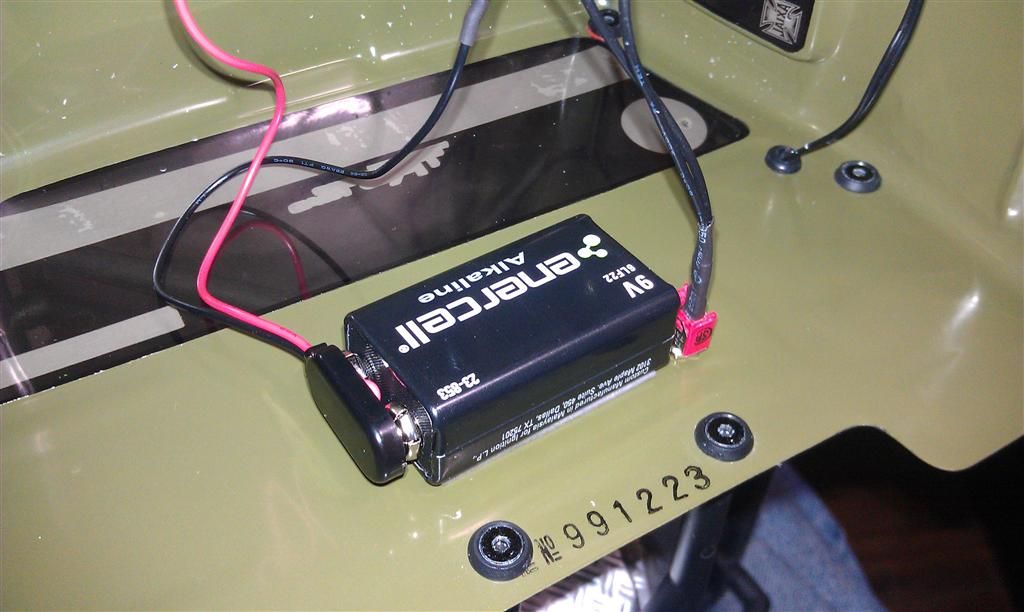 and of course I added a switch for ease of use so I didn't have to keep unplugging and plugging in the 9v 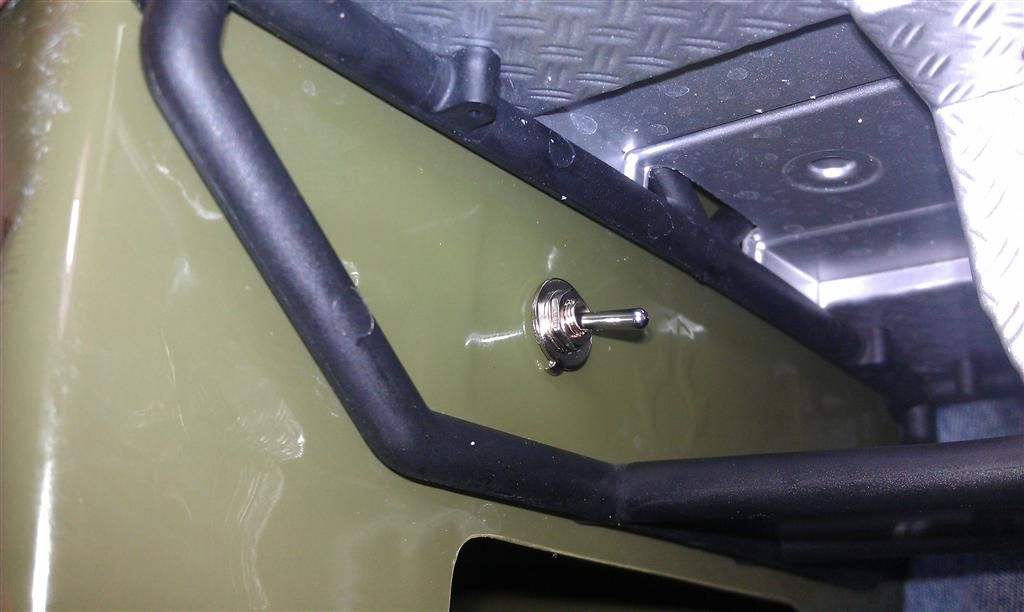 obviously I need to secure the wires under the body which I plan on doing tomorrow once I run to the store and pick up some glue to do that with, and I'm also going to pick up some liquid electrical tape to coat the open LED leads on the light bar and to basically "paint" over the back of the LEDs to stop the light bleeding out of the rear what you CAN'T see is the 33ohm resister I used but MAN are they bright! 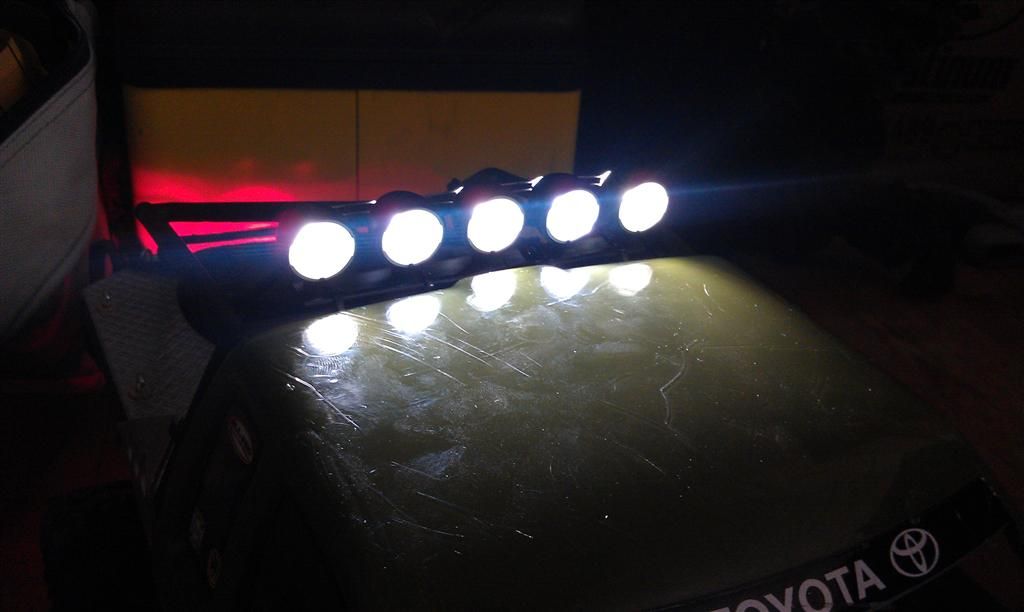 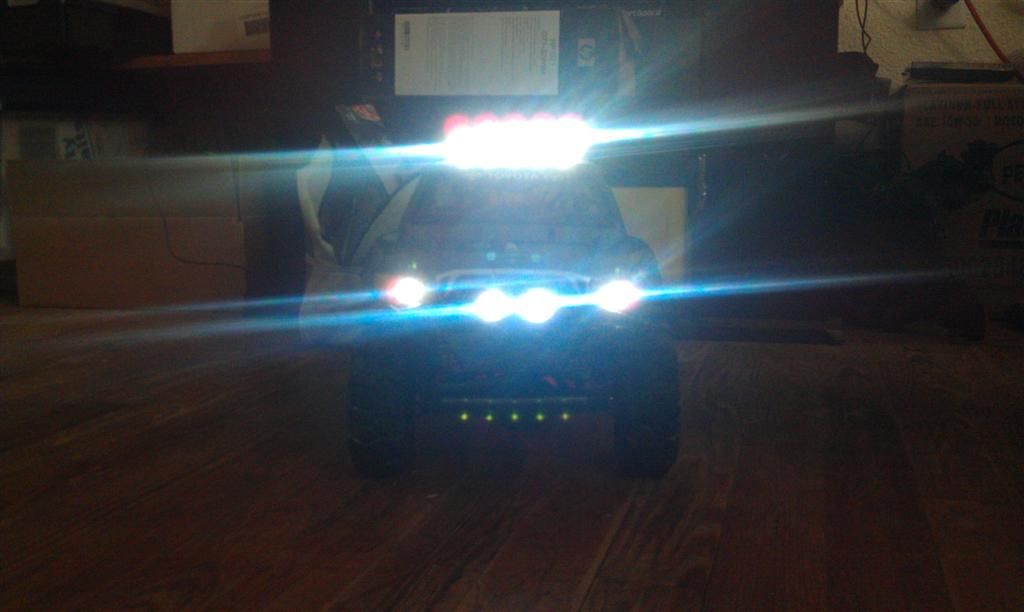  Last edited by iamsuperbleeder; 09-24-2011 at 02:04 AM. |
|
| |
|
09-24-2011, 01:43 AM
| #78 |
| Quarry Creeper Join Date: Sep 2010 Location: Perth Australia
Posts: 322
|
Good build ya going here mate, im liking some of your ideas hey |
|
| |
|
09-24-2011, 05:57 PM
| #79 |
| Quarry Creeper Join Date: Jul 2011 Location: Lake City, Fl
Posts: 380
|
thanks hot-glued the wires under the body, dabbed a little glue on the LEDs to hold them in place, and coated the back of the lights in liquid electrical tape. no more light bleeding out of the back now 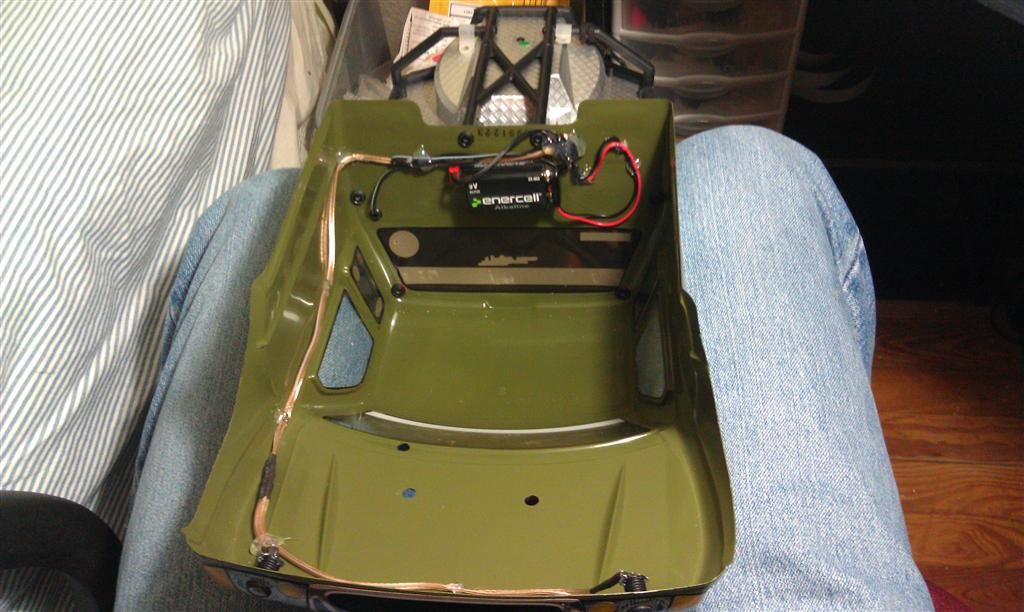 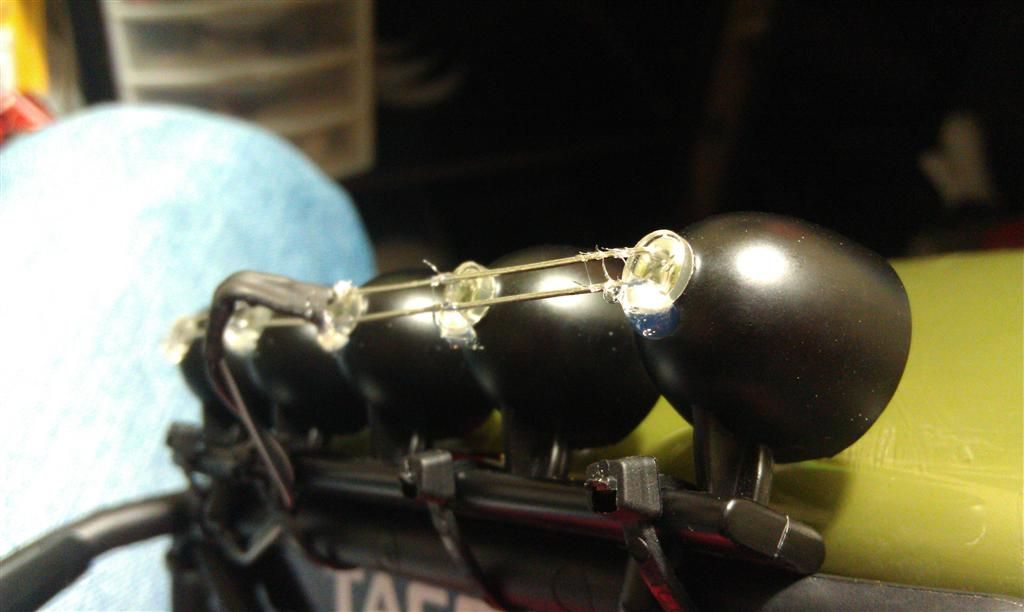 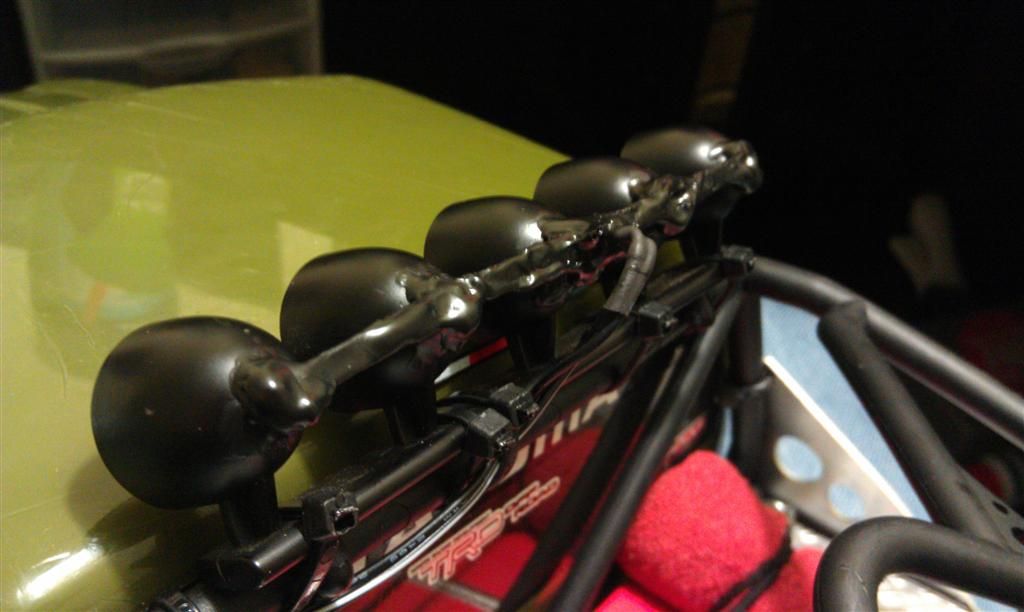 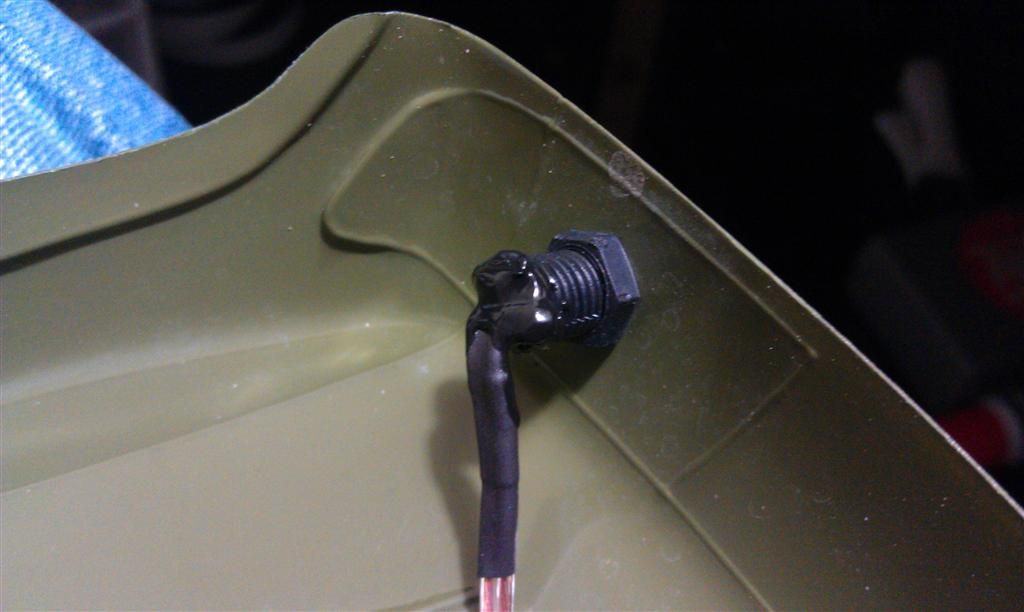 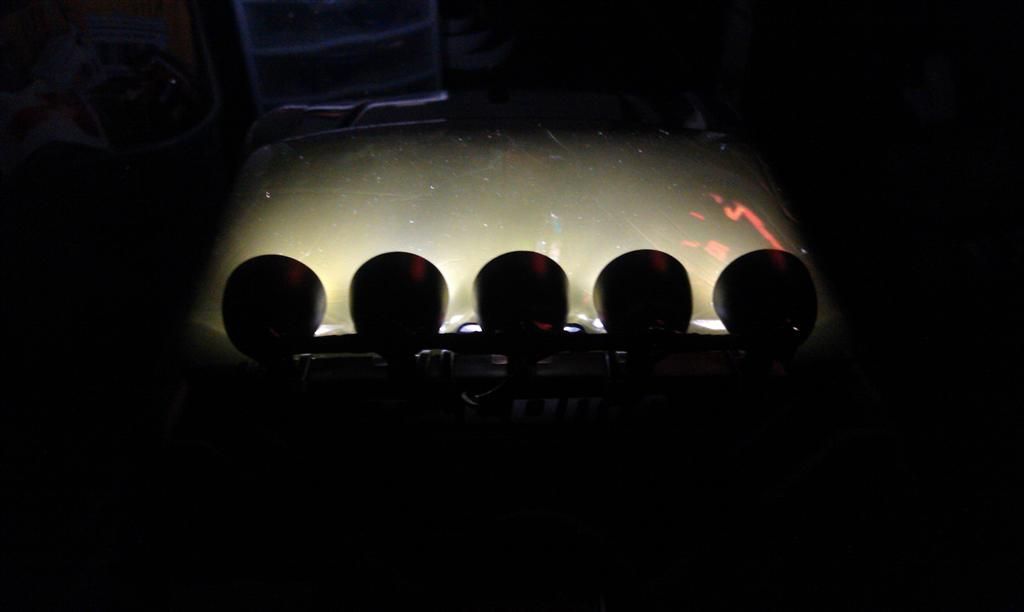 |
|
| |
|
09-24-2011, 10:05 PM
| #80 |
| Quarry Creeper Join Date: Jul 2011 Location: Lake City, Fl
Posts: 380
|
couple of scale things added made an exhaust pipe out of a silver pen tube 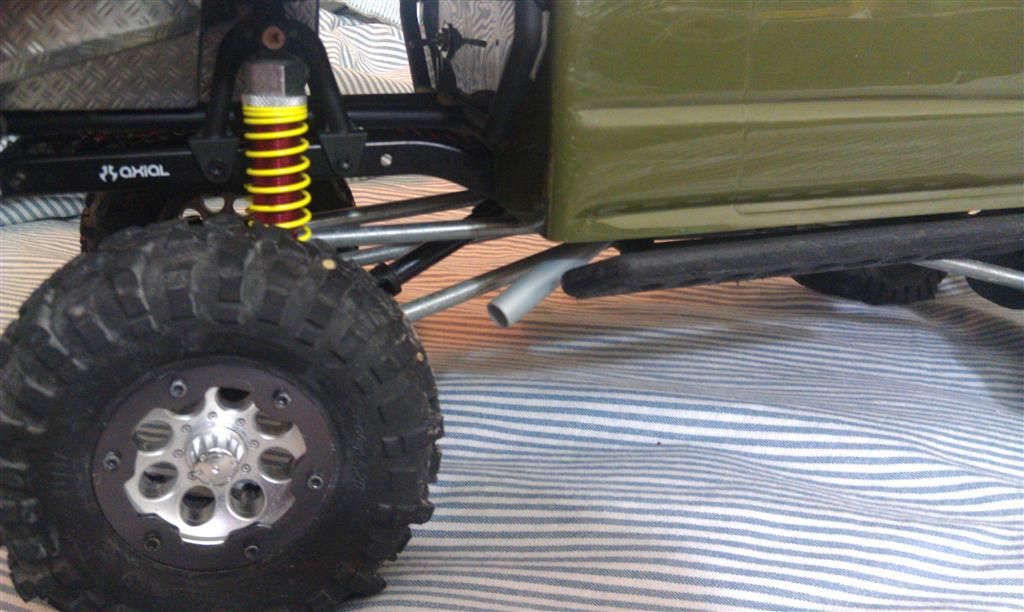 stuck a Pro-Line cooler to the back and strapped on a spare drive shaft  and made an antenna out of a spare screw and nut, a pen spring, and a straightened out paperclip. I'm going to make another one that's longer out of something other then a paperclip, this was just to see if solder would actually hold everything together. it seems to work pretty well actually 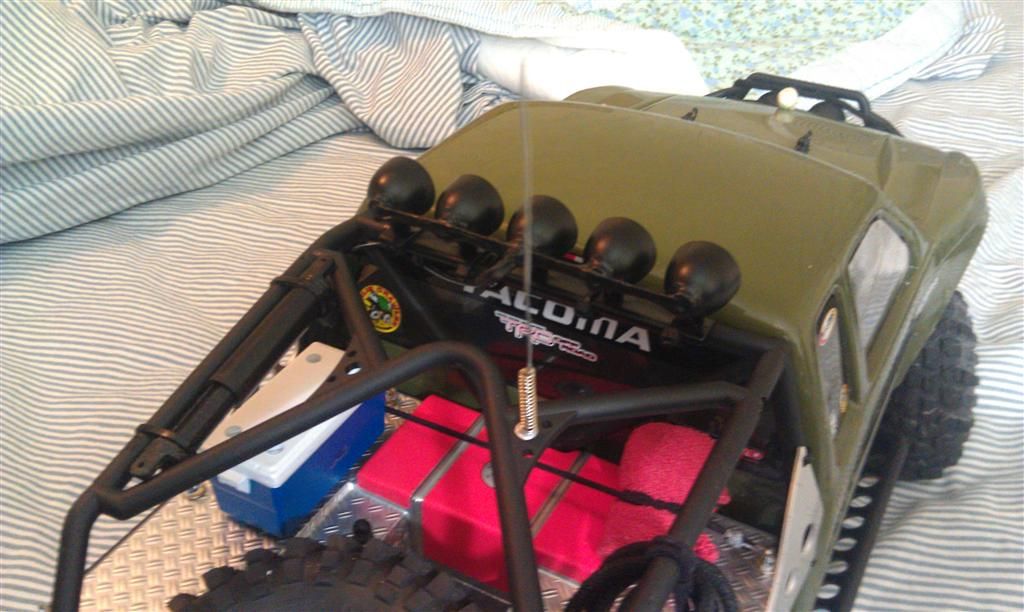 Last edited by iamsuperbleeder; 09-24-2011 at 10:34 PM. |
|
| |
 |
| |


 Linear Mode


