| |
 08-28-2011, 02:06 PM
| #41 |
| Quarry Creeper Join Date: Jul 2011 Location: Lake City, Fl
Posts: 380
|
gett'n my grease on... 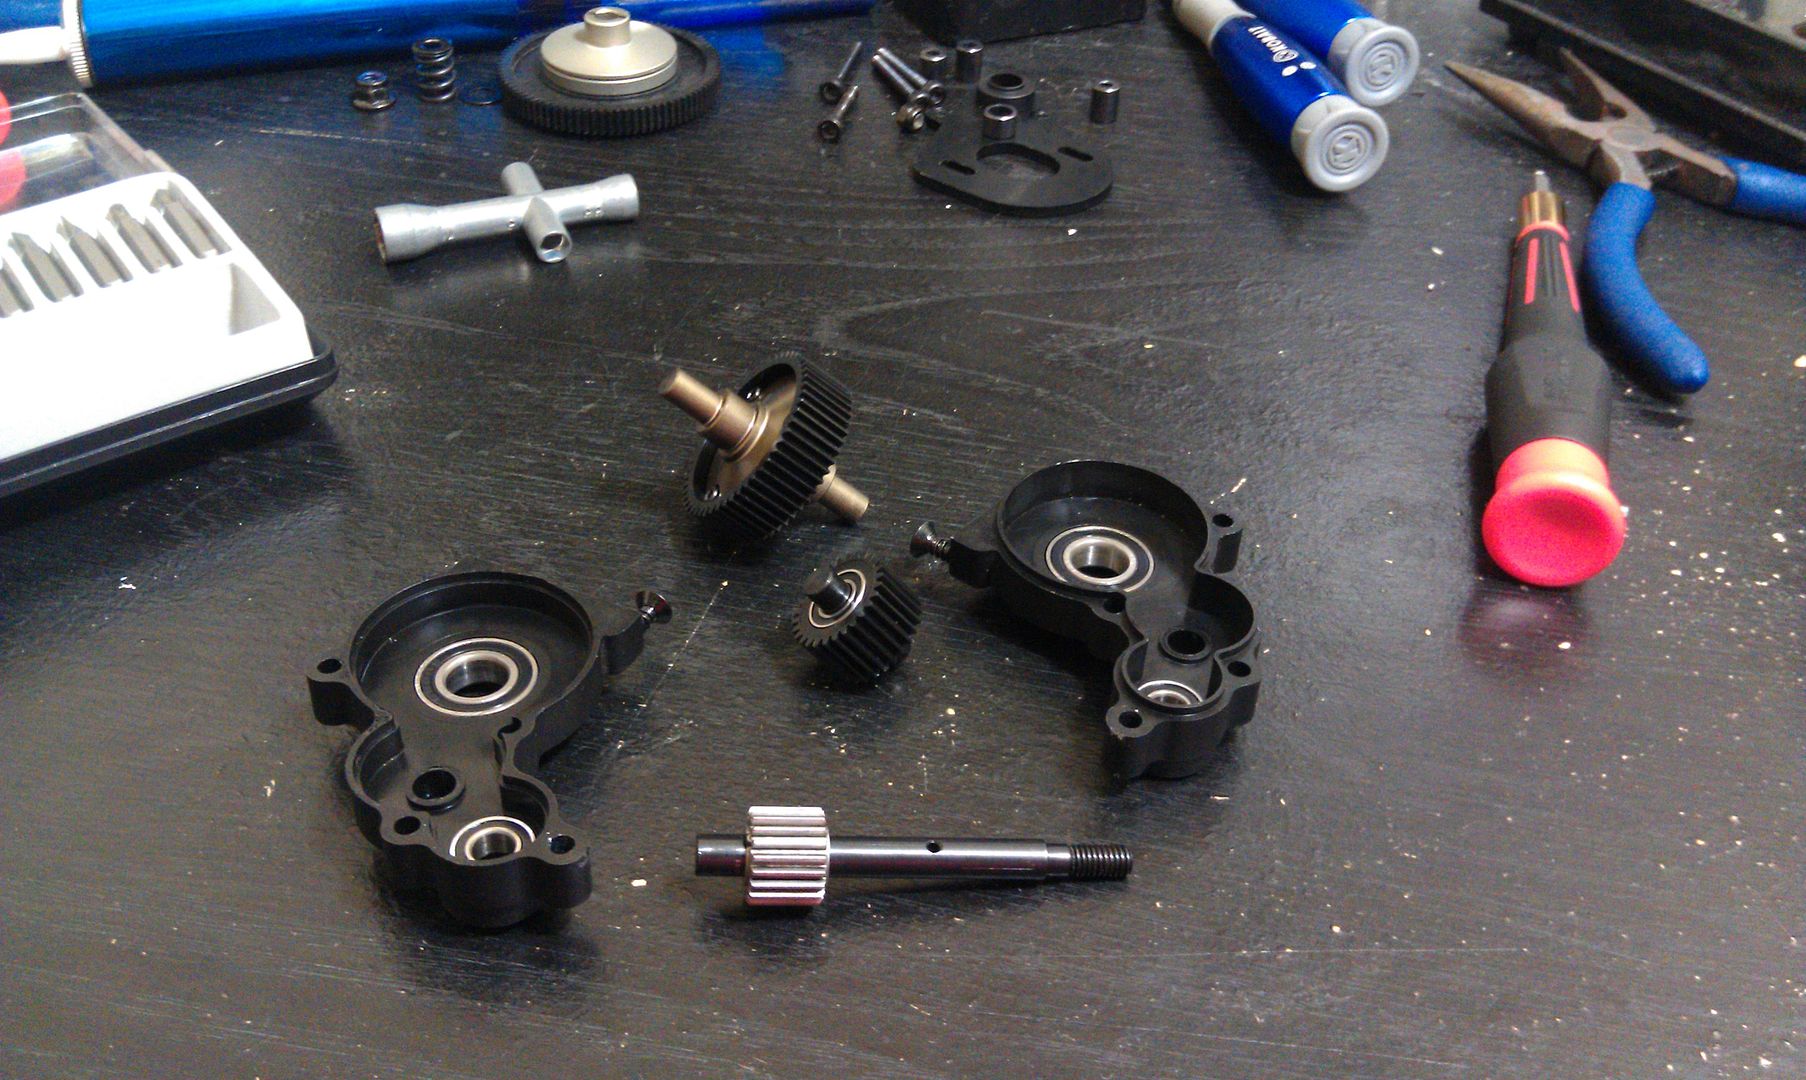 Sent from my space age wireless communication device. |

|  |
| Sponsored Links | |
| | |
|
08-28-2011, 07:33 PM
| #42 |
| Quarry Creeper Join Date: Jul 2011 Location: Lake City, Fl
Posts: 380
|
well, got the trans lubed with marine grease, and both axles and all the bearings torn apart and lubed up with marine grease 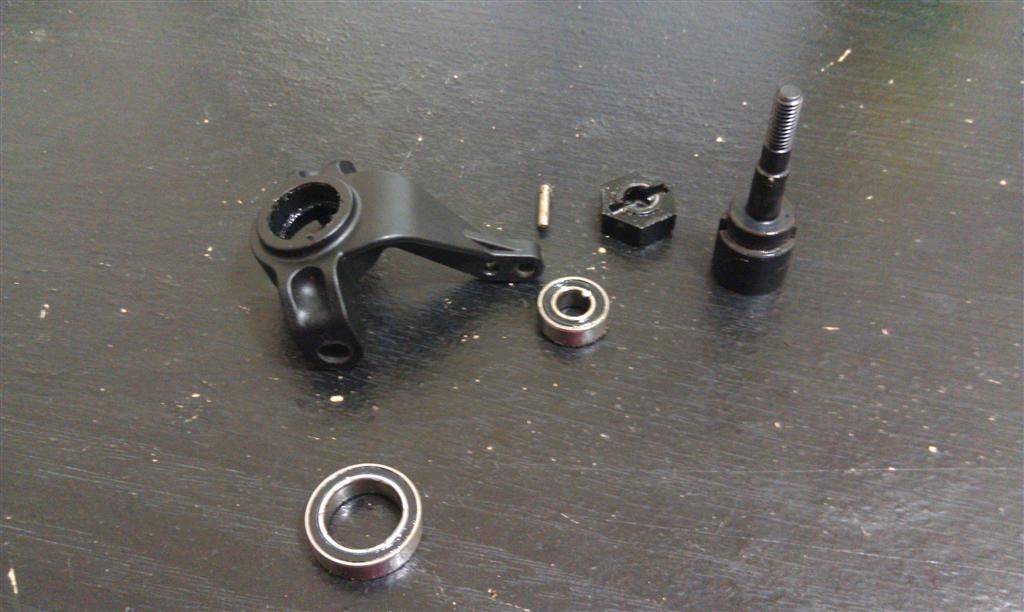 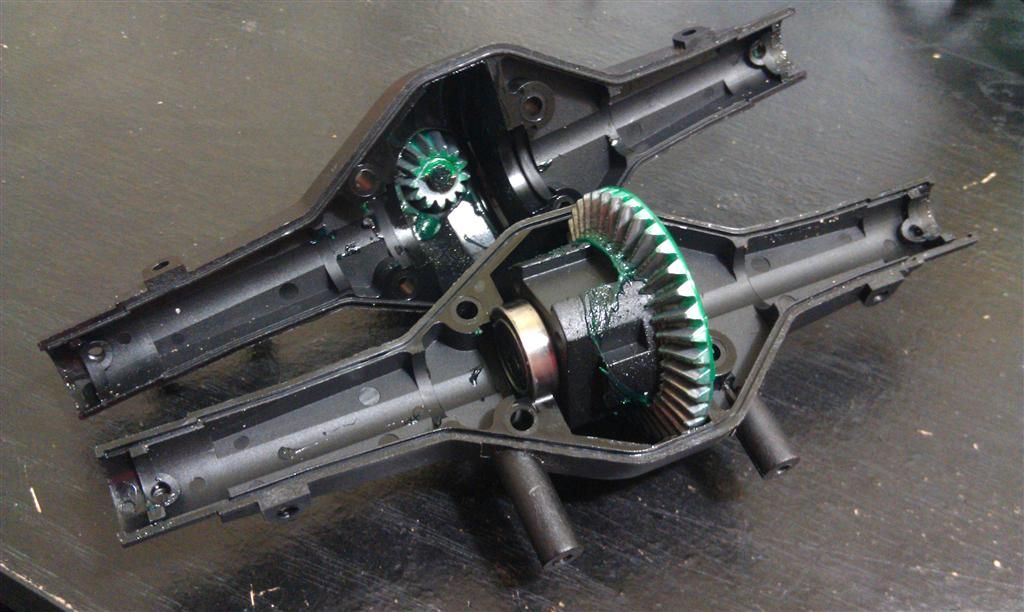 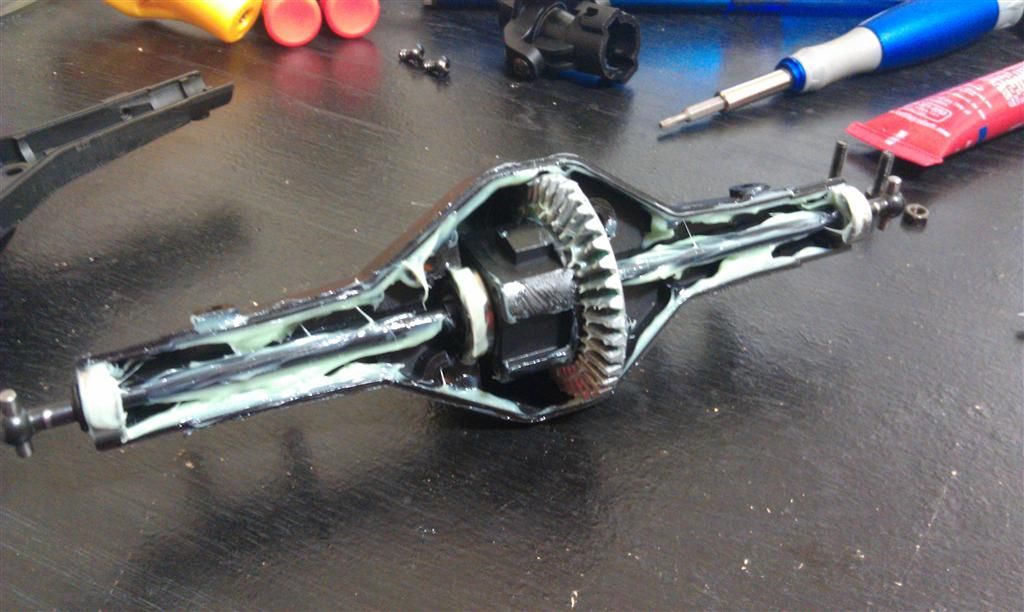 tore into the servo and coated the electronics inside with dielectric grease, and put some in the gearbox too, and put a good amount on the output gear so the gearbox is sealed up pretty well at the servo horn area then the work area lamp turned into a drying post after coating the outside of the servo and battery with clear silicone     Last edited by iamsuperbleeder; 08-28-2011 at 07:35 PM. |
|
| |
|
08-28-2011, 07:59 PM
| #43 |
| RCC Addict Join Date: Jul 2009 Location: Dover, NH
Posts: 1,153
|
Is that all of the grease you put in the axles? If so then put more. I really fill them= less place for water/mud. Also make sure to either silicone the servo mounts or put screws in them (the posts on the axle housing). They are open right into the axle housing and will let water/mud in. I seal up the two holes further out on the housing as well though I can't remember if they go all the way through like the servo mount posts do.
|
|
| |
|
08-28-2011, 08:20 PM
| #44 |
| Quarry Creeper Join Date: Jul 2011 Location: Lake City, Fl
Posts: 380
|
I actually put more in after that photo, lol. the other half got filled too before assembly. a bunch squeezed out when I put them together, so I imagine there's plenty in there. and yeah the holes are all stuffed with the grease, and they're either covered or have screws in them because of the 4-link mount. Sent from my space age wireless communication device. |
|
| |
|
08-28-2011, 11:21 PM
| #45 |
| Quarry Creeper Join Date: Jul 2011 Location: Lake City, Fl
Posts: 380
|
I went ahead and capped off the servo holes anyway. extra grub screws in the front axle, and just a couple of regular screws on the back 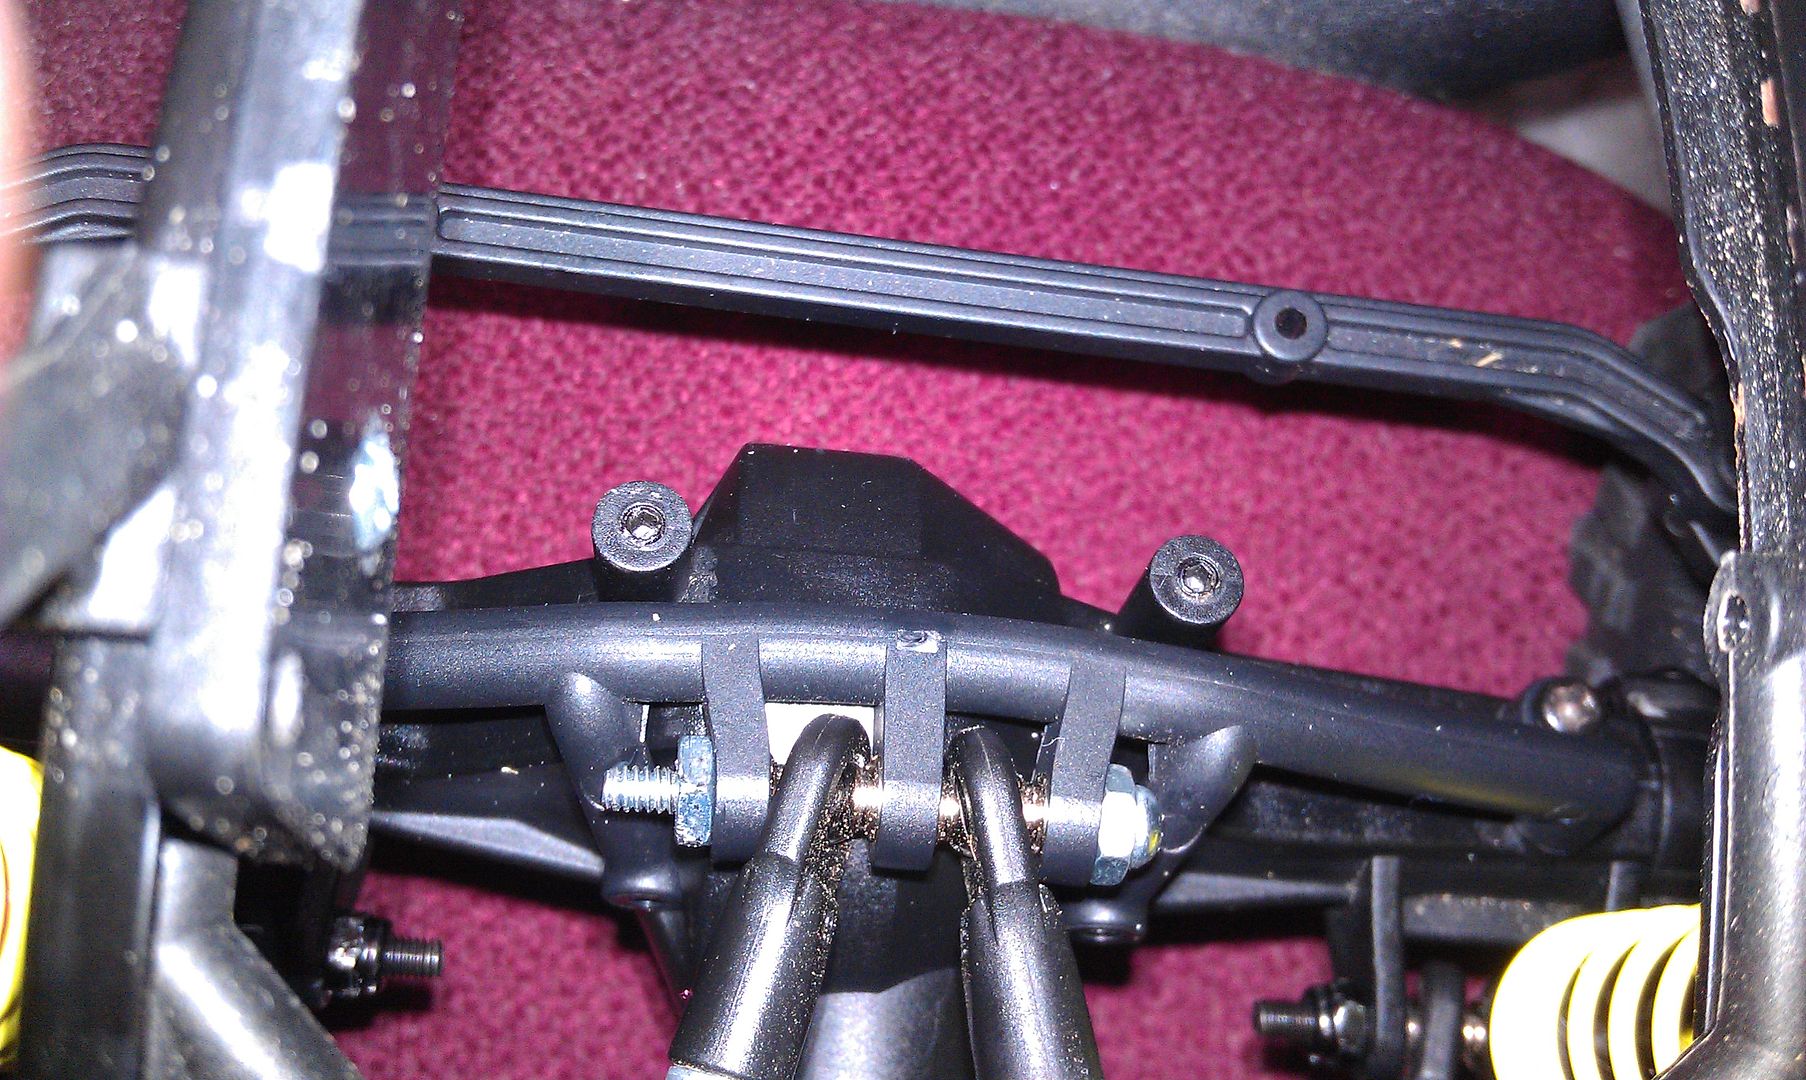 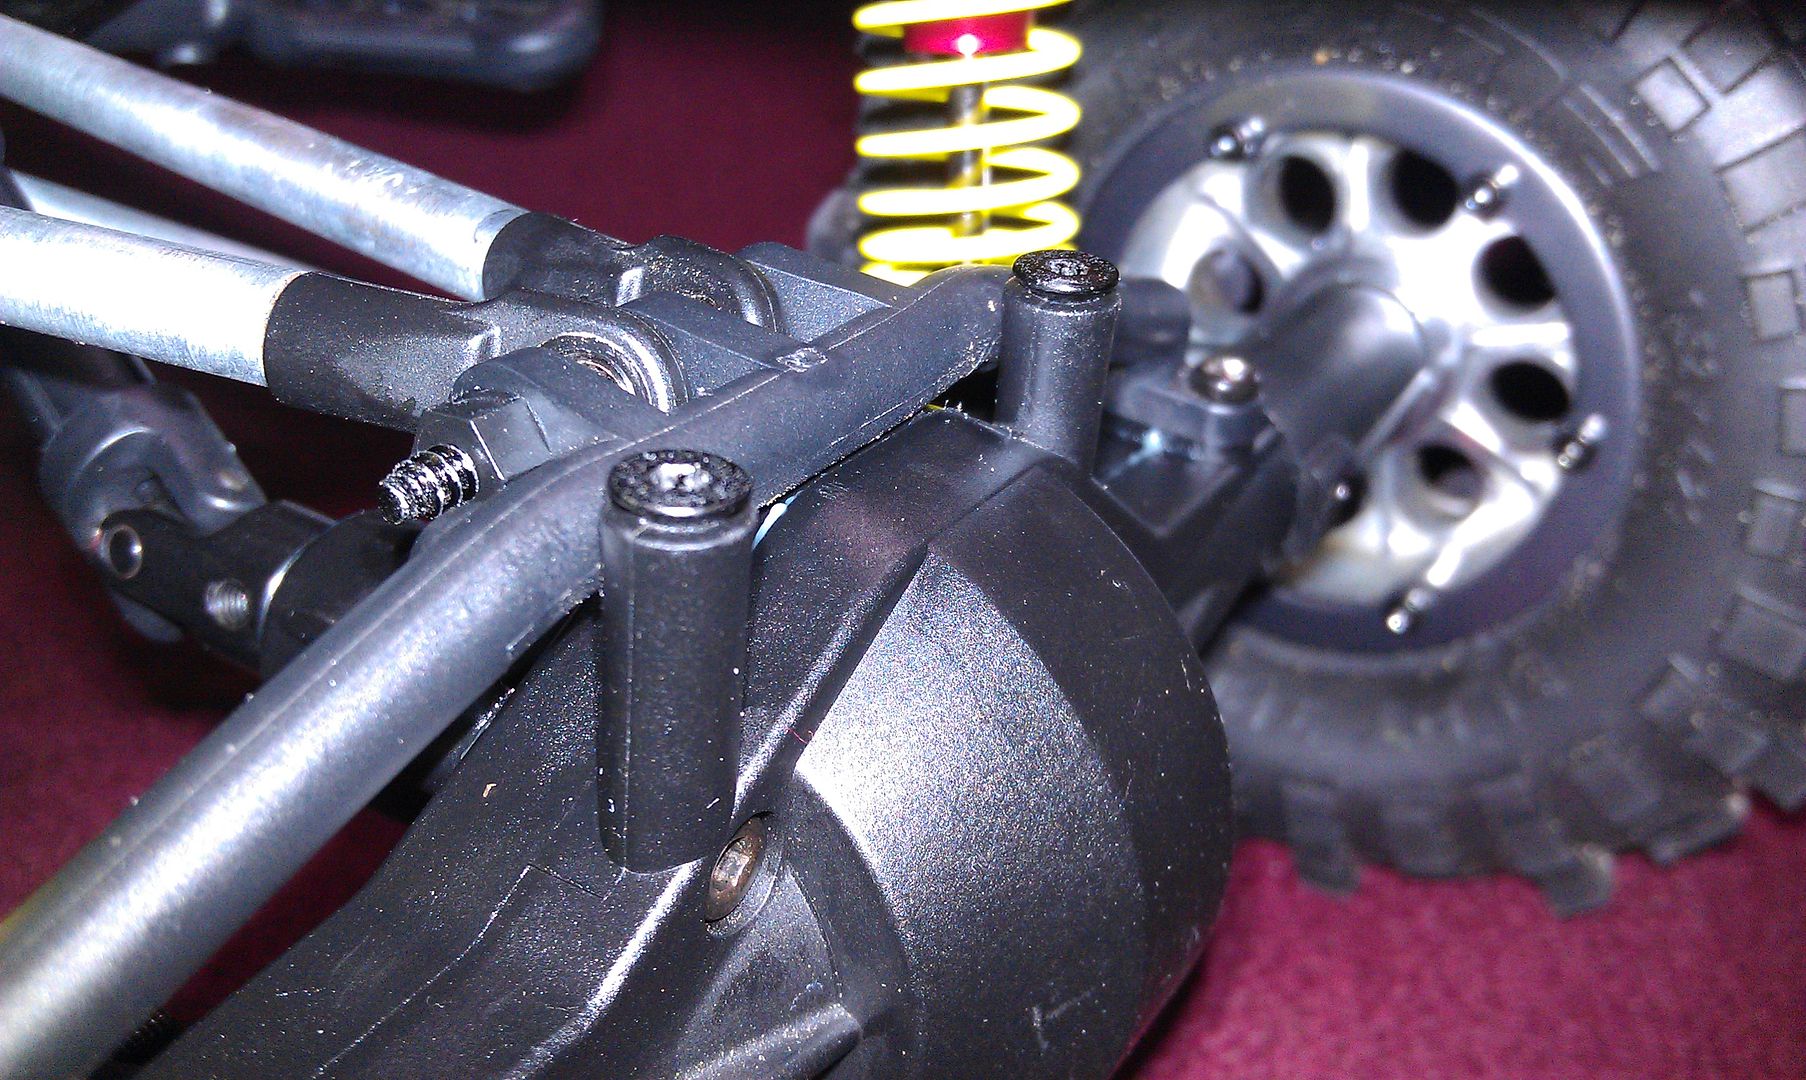 I also found a few 5 mm LEDs laying around and thought I'd see what I can do to throw some more light out in front of the rig. RTR headlights 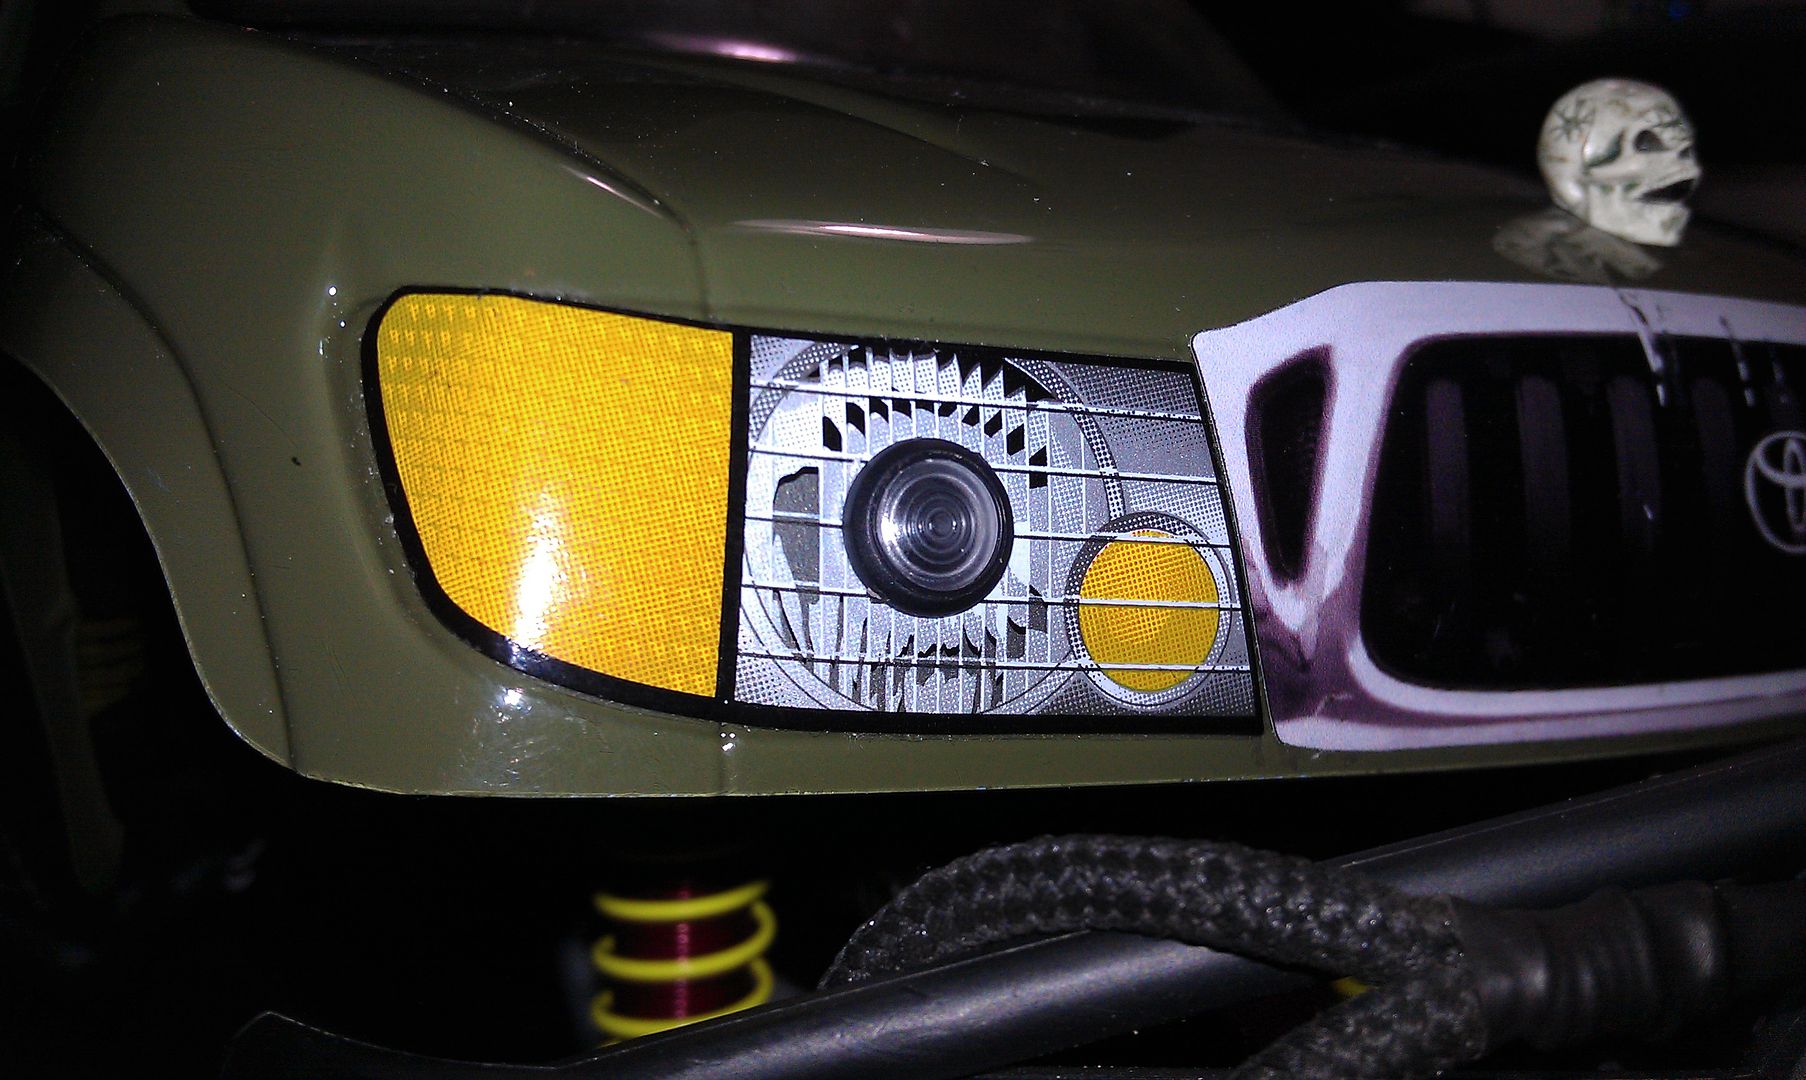 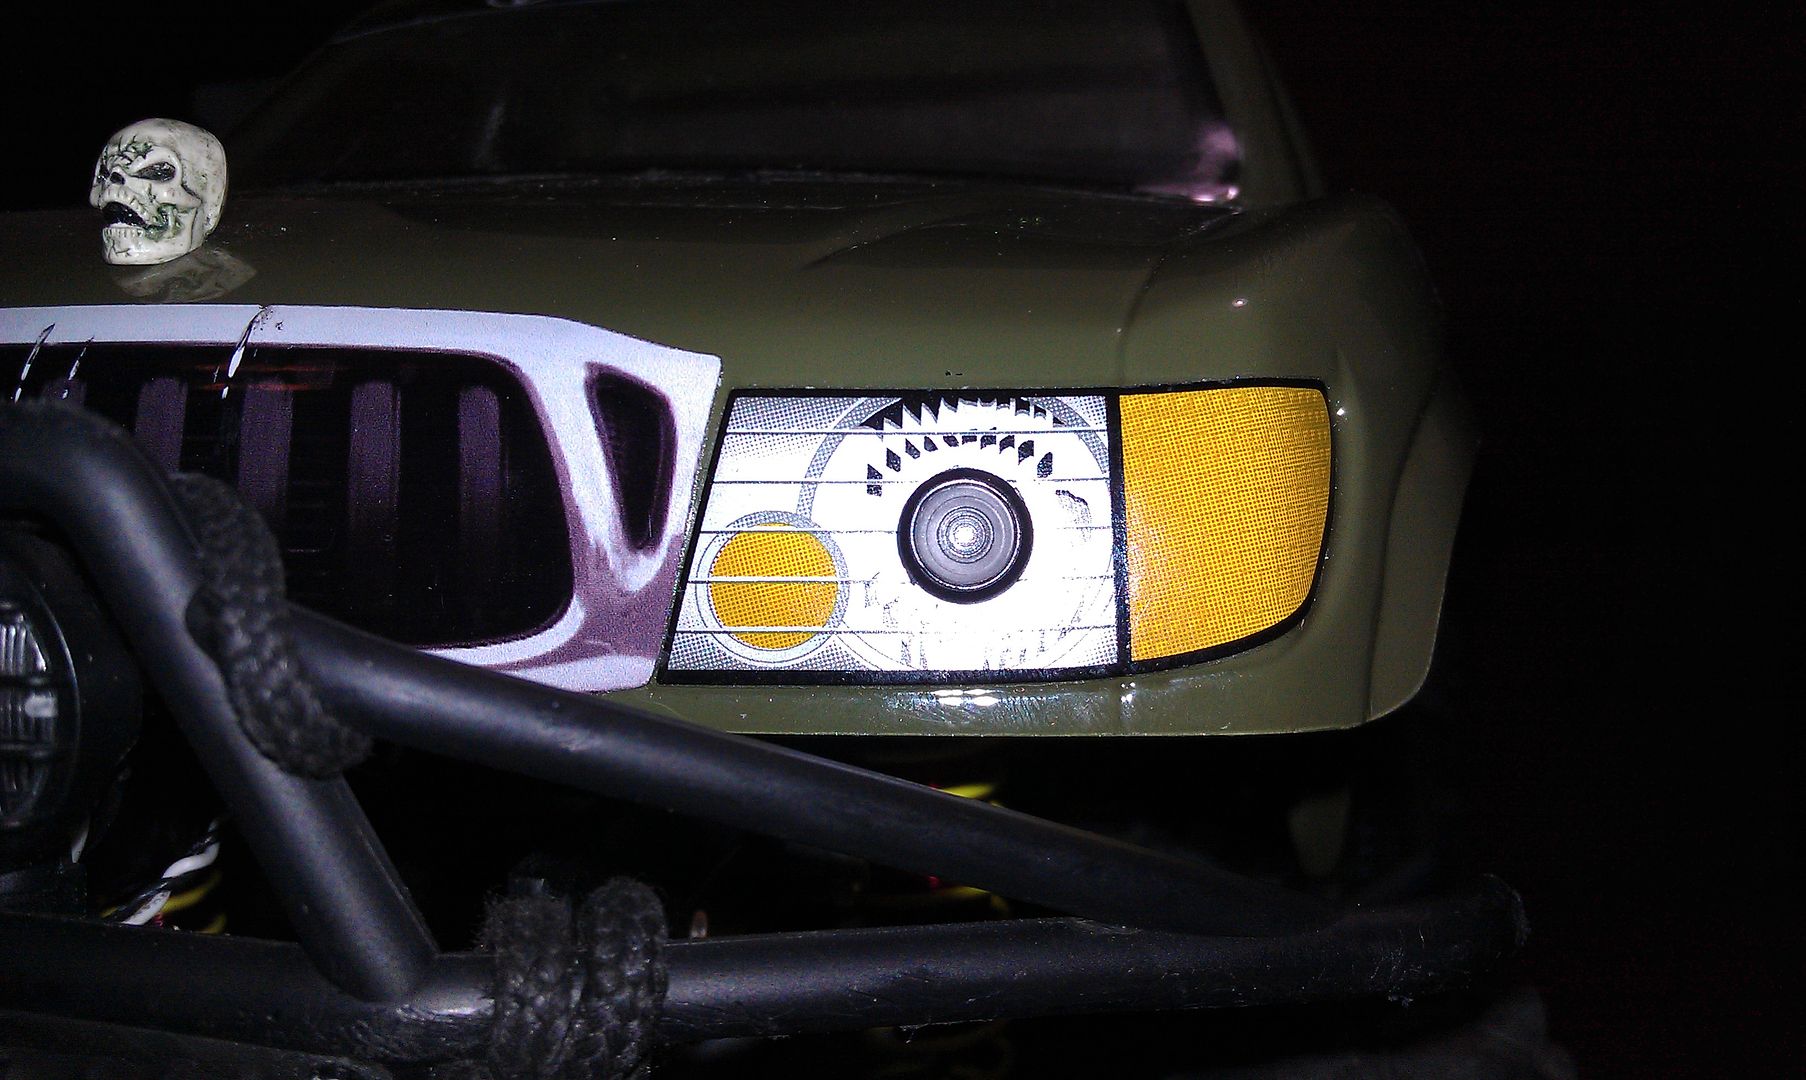 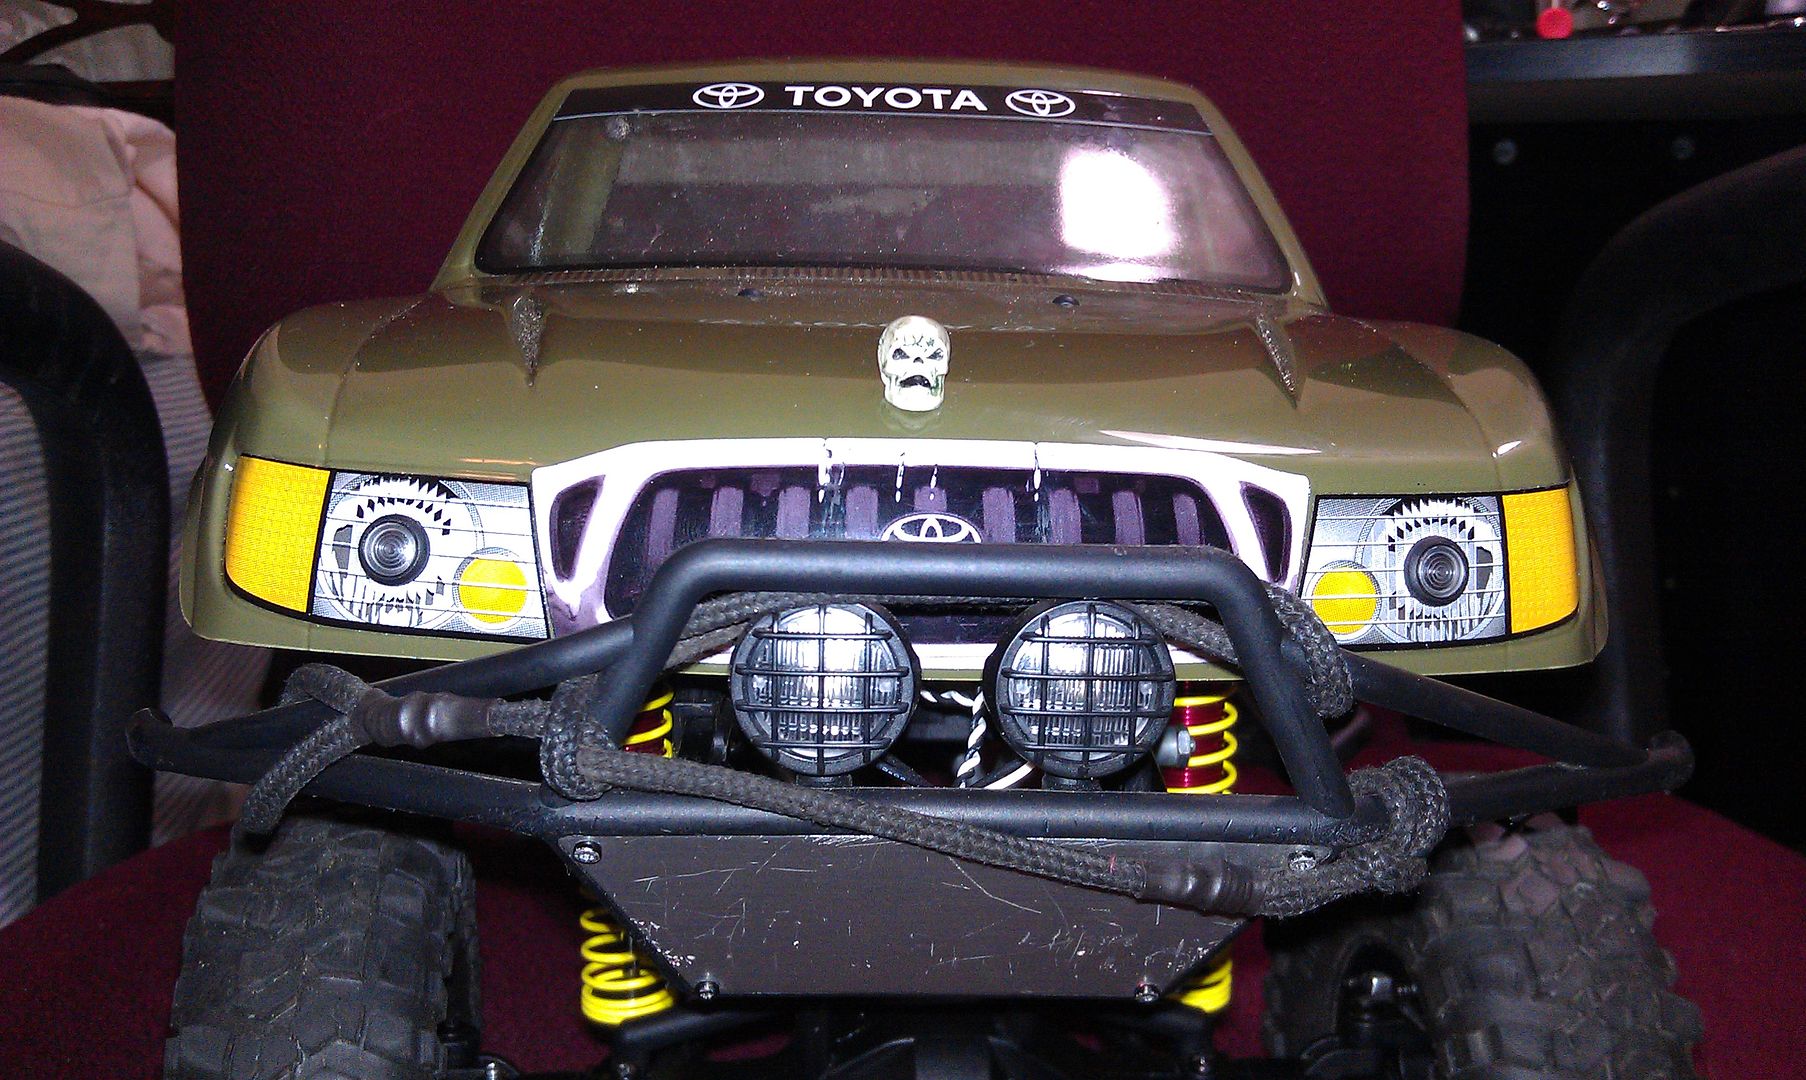 and I'm going to mount these little guys on the frame tomorrow 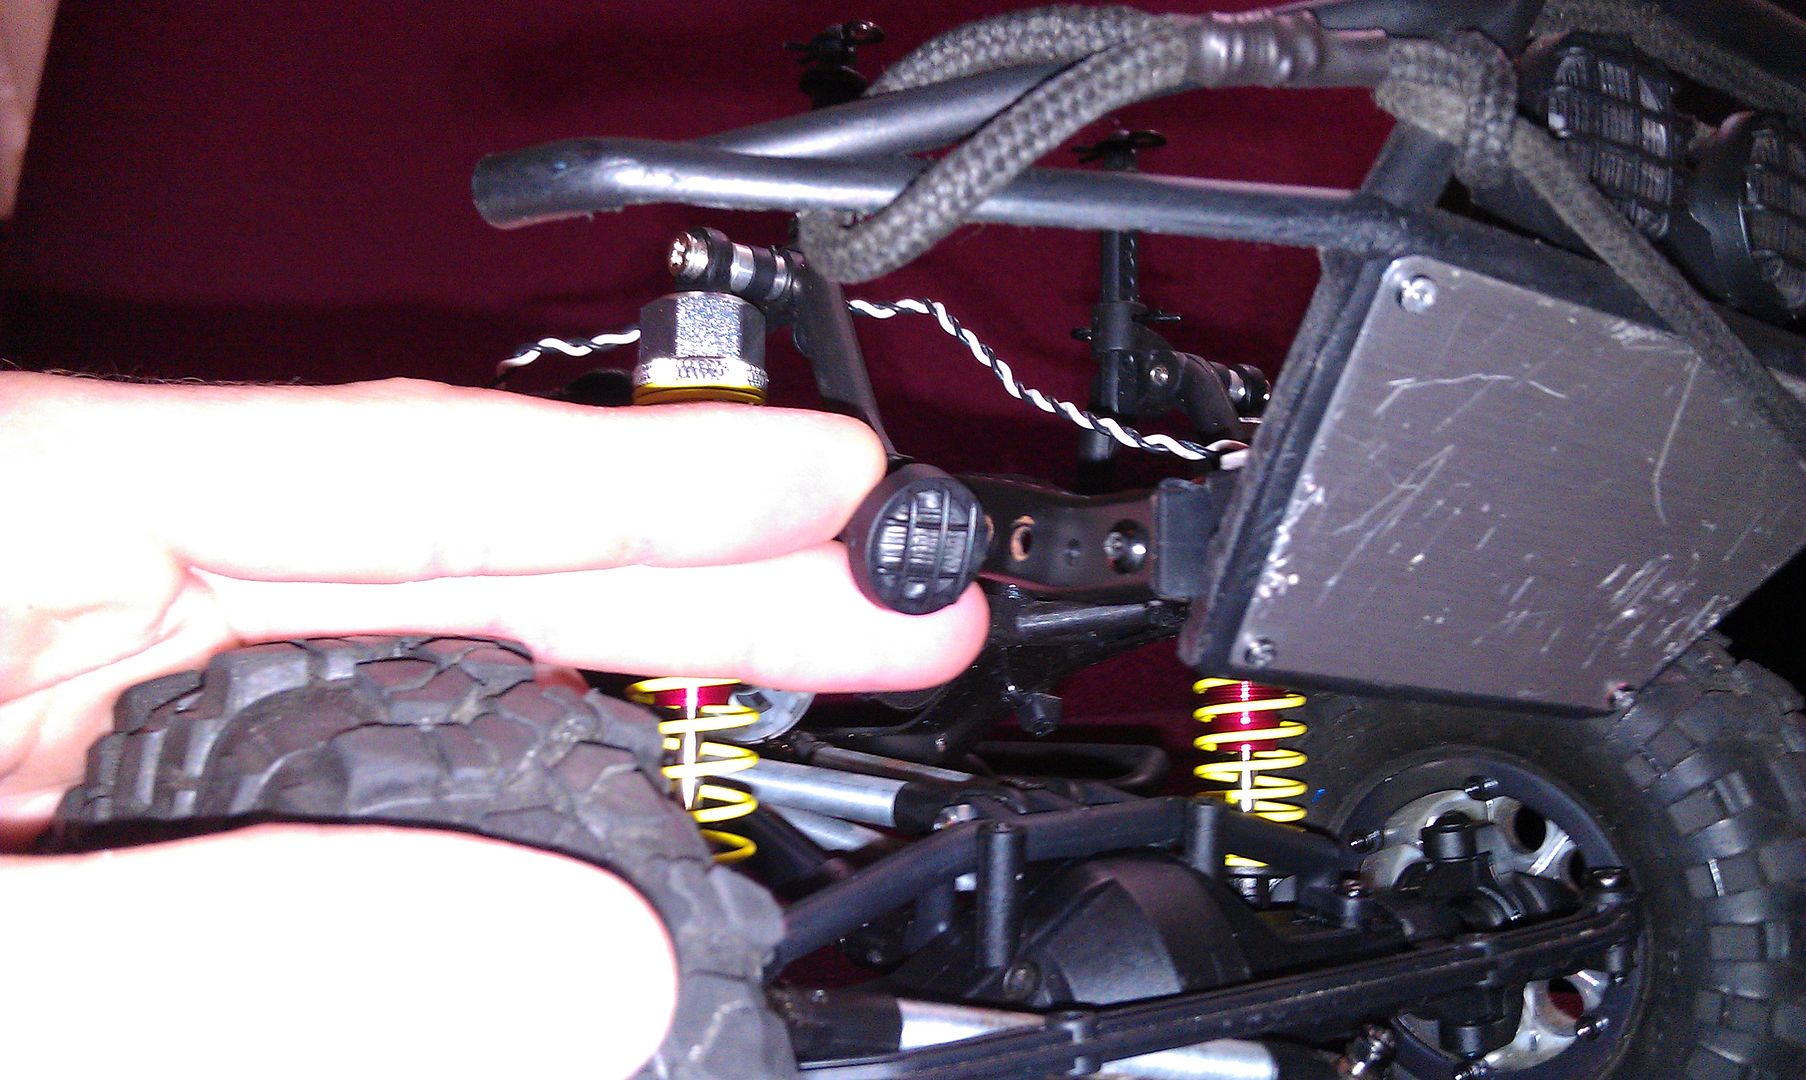 I'm going to ATTEMPT to just splice into the wiring for the LED system that came with the RTR kit and see what happens. it'll be nice if it will power everything for now, the chassis sits almost bear... 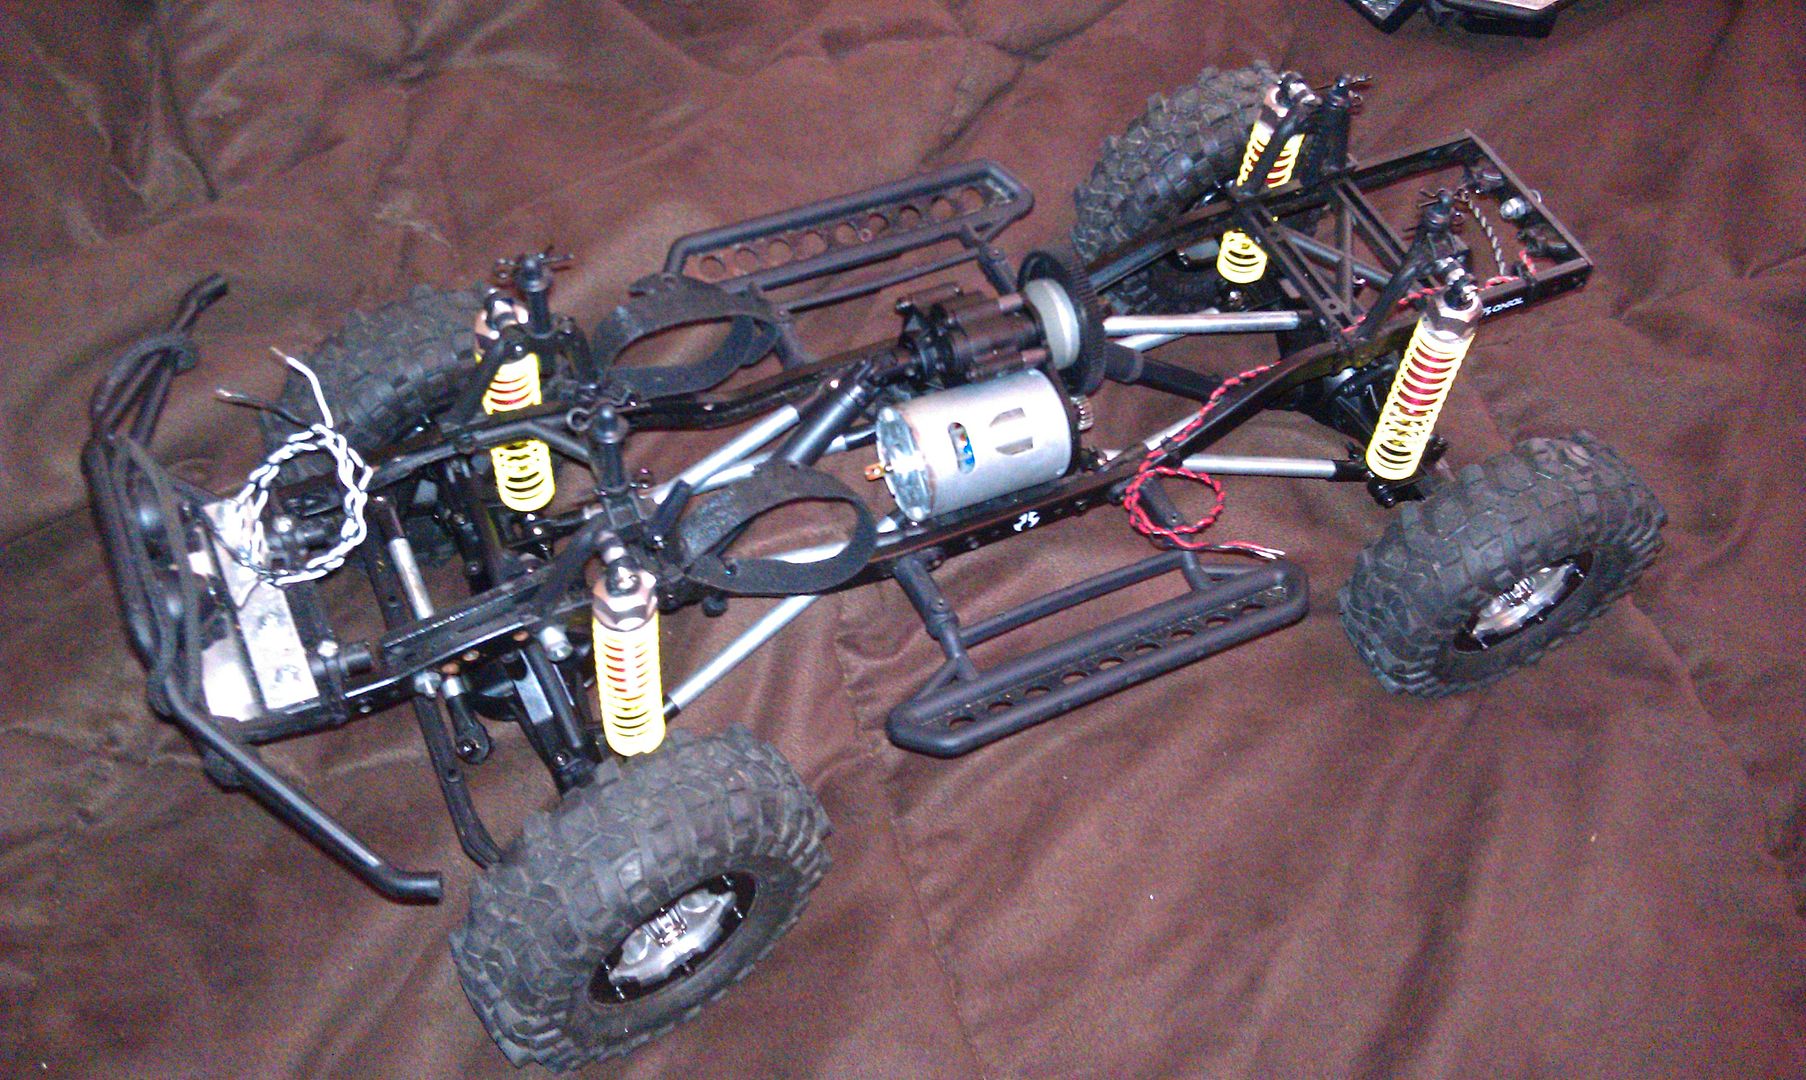 Sent from my space age wireless communication device. |
|
| |
|
08-30-2011, 05:53 PM
| #46 |
| Quarry Creeper Join Date: Jul 2011 Location: Lake City, Fl
Posts: 380
|
well my order or goodies came in a day early from Tower Hobbies, so it looks like I've got something to do this afternoon |
|
| |
|
08-30-2011, 10:14 PM
| #47 |
| Quarry Creeper Join Date: Jul 2011 Location: Lake City, Fl
Posts: 380
|
IT LIVES! nothing like throwing that switch the first time, and no smoke poofs out from anywhere  although the LED's didn't work right away... the switch I put on them was bad... so they're hardwired for the time being until I grab another switch (tomorrow) I already posted a photo of the ESC box, so here's the receiver/LED controller box 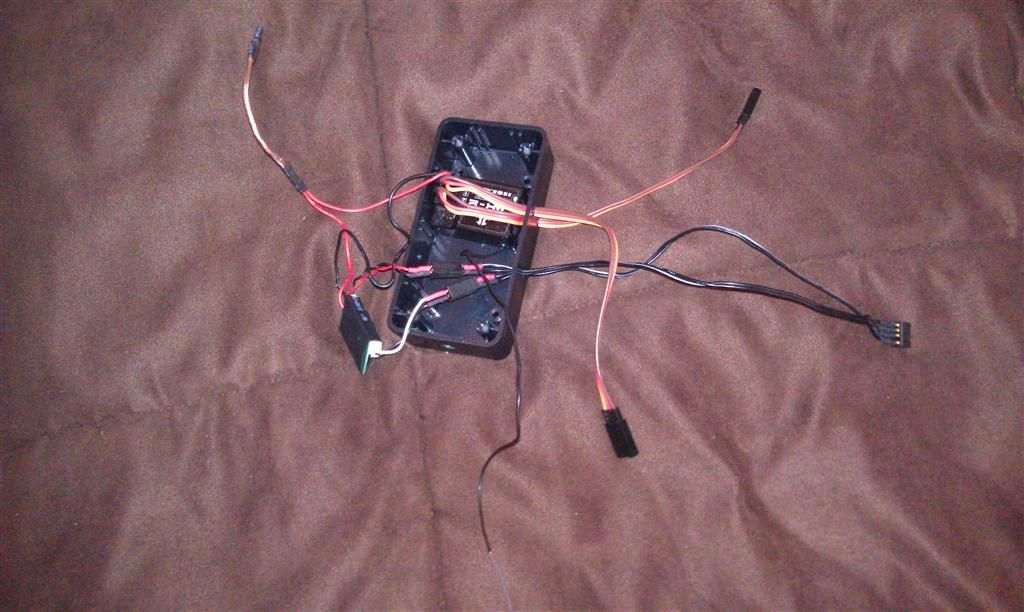 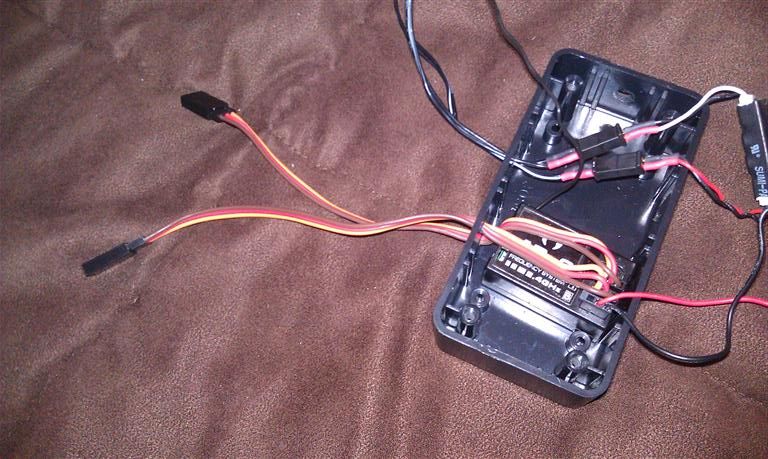 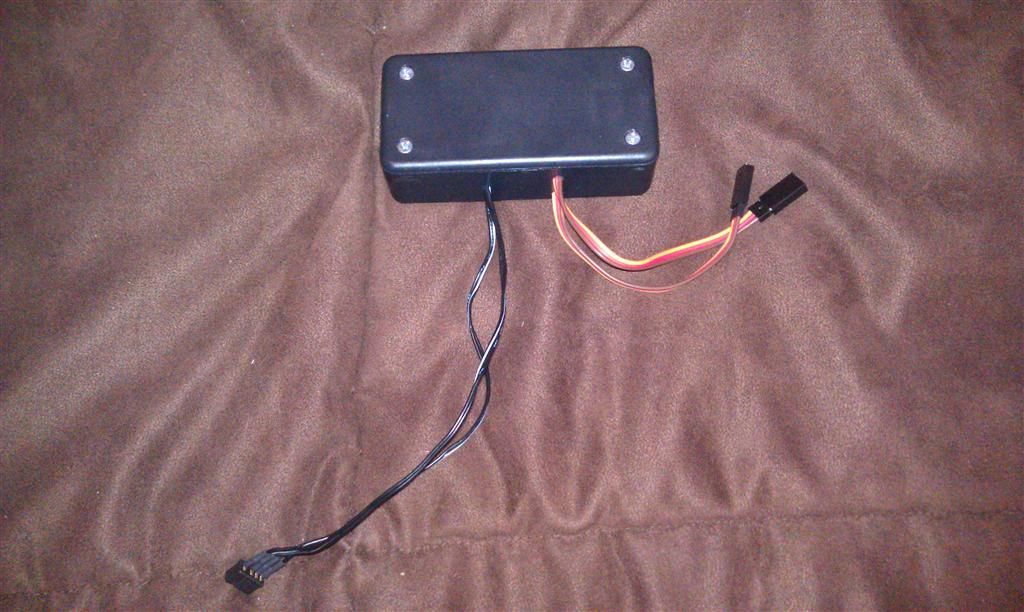 you can see the servo extension wires for the ESC and steering servo passing through the box. that will get sealed tight with silicone after final assembly and testing there's also disconnects inside the box for the LED's 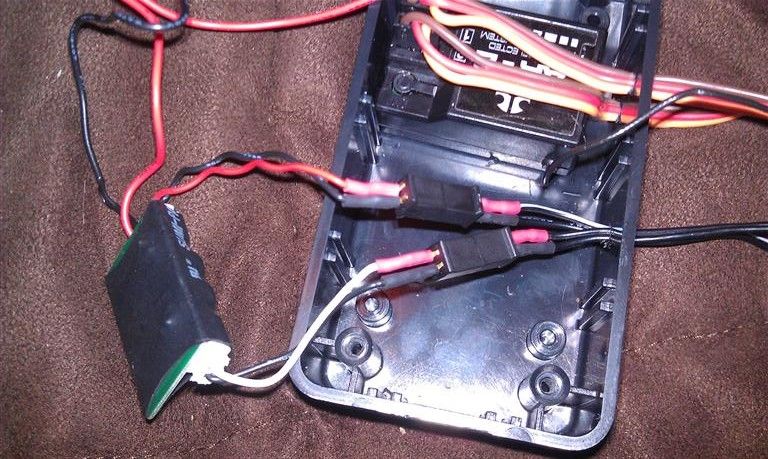 they lead to a micro dean's 4B plug ouside the box, where they meet up with the LED wires on the chassis 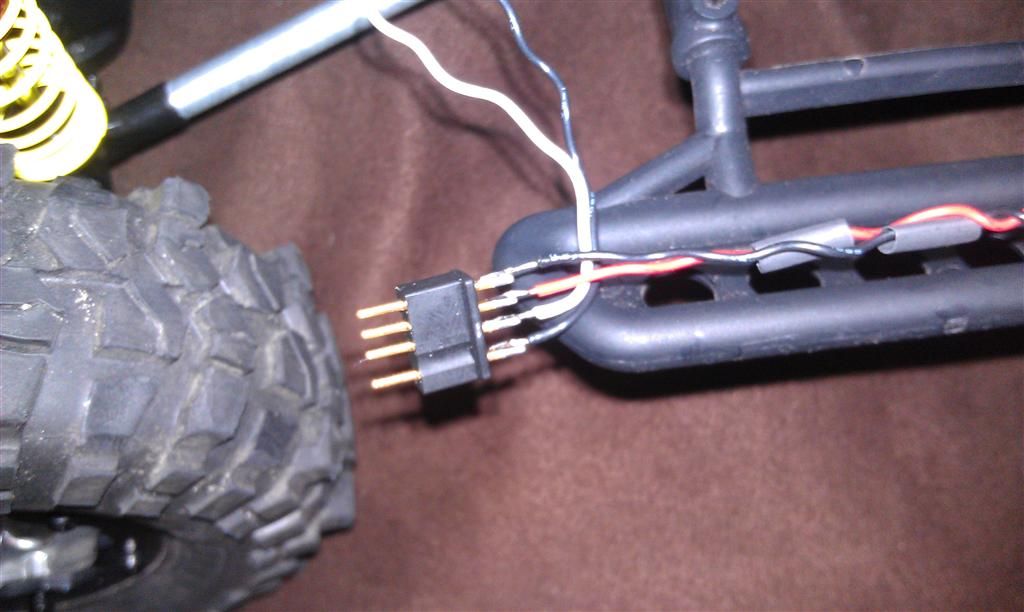 both of the boxes. they will be saddle-bagged on the sliders  dean's on the motor too for easy removal, and of coarse on the battery to get rid of those HORRIBLE Tamiya connectors... 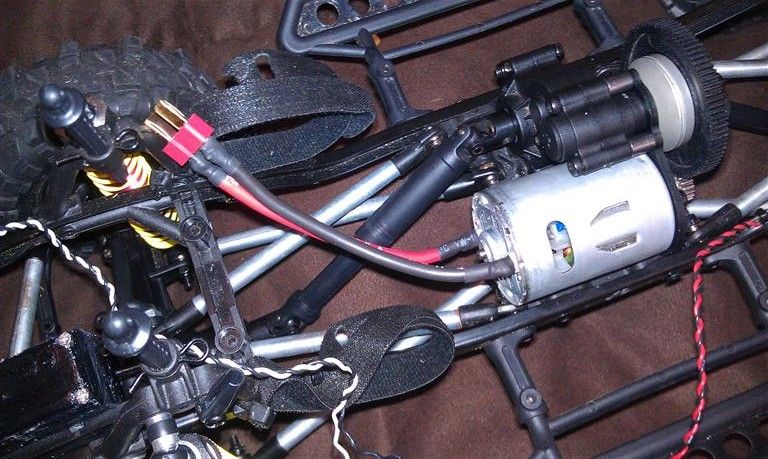 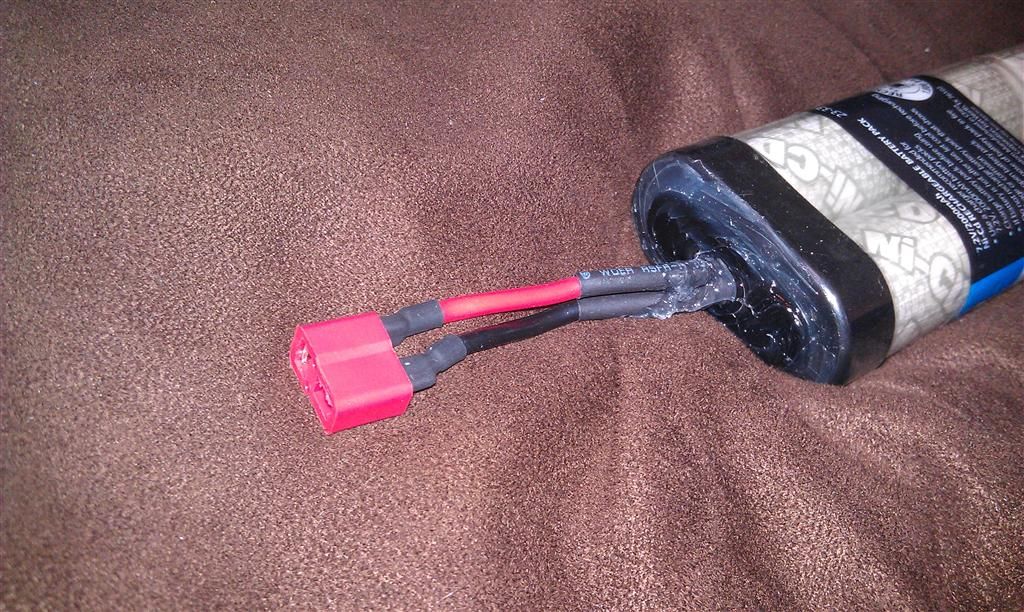 all the components 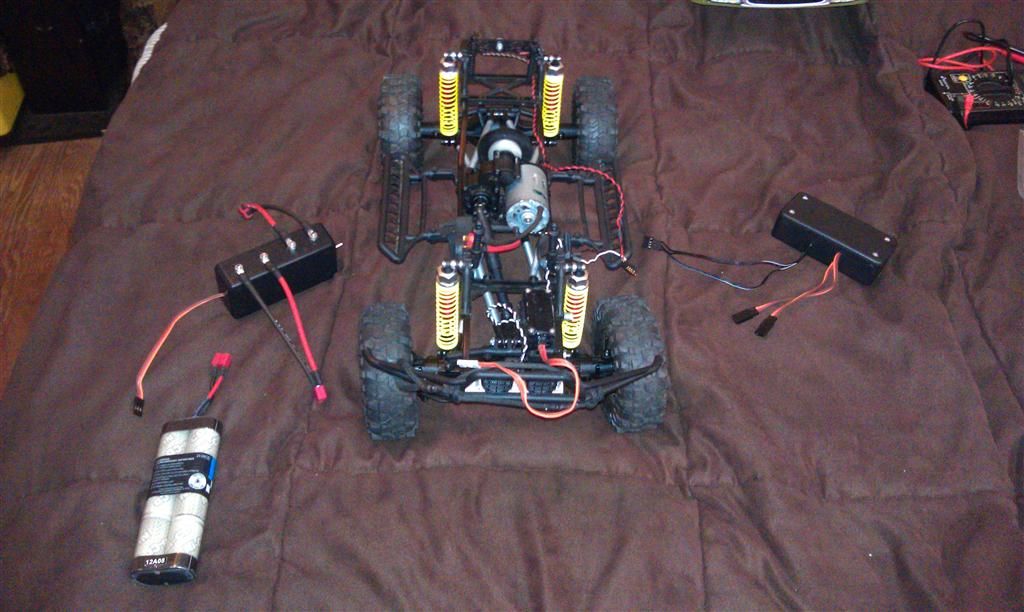 plugged in and working! although nothing mounted yet; the wires look like a rat's nest, lol. you can bet that'll be straightened out 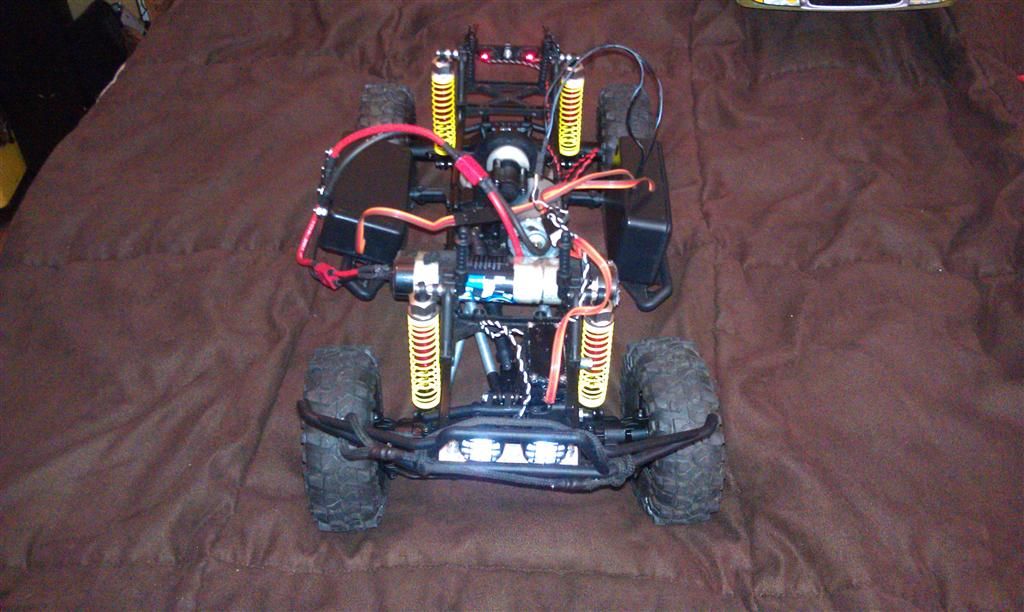 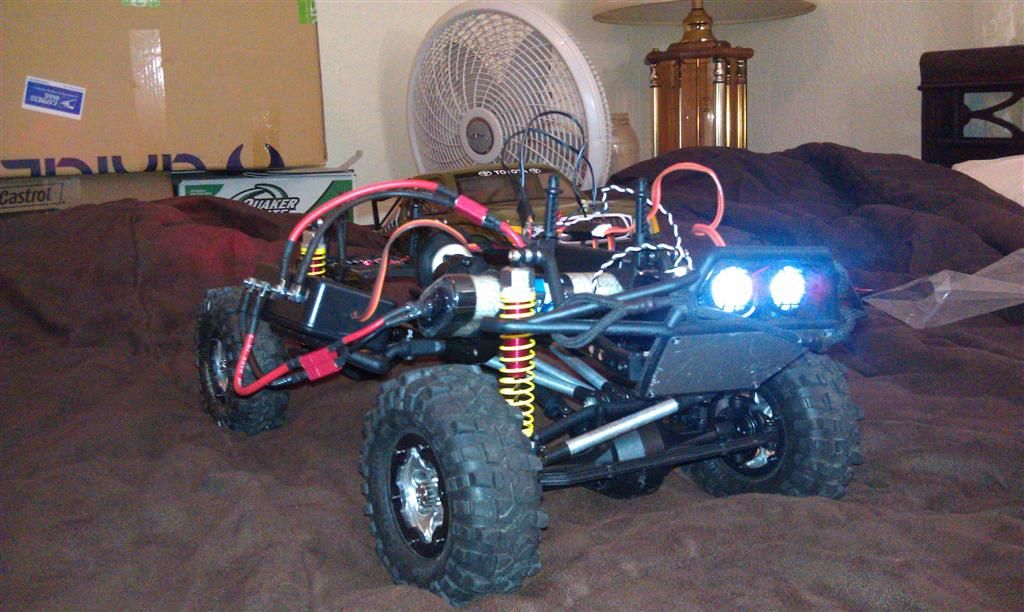 |
|
| |
|
08-31-2011, 11:54 PM
| #48 |
| Quarry Creeper Join Date: Jul 2011 Location: Lake City, Fl
Posts: 380
|
headlights are functional just tapped into the connectors I made with a Y-adapter I made, and hooked the two headlight LED's in series, and then connected that series in parallel with the existing bumper mounted LED series the bumper mounted lights dimmed a little, but not much  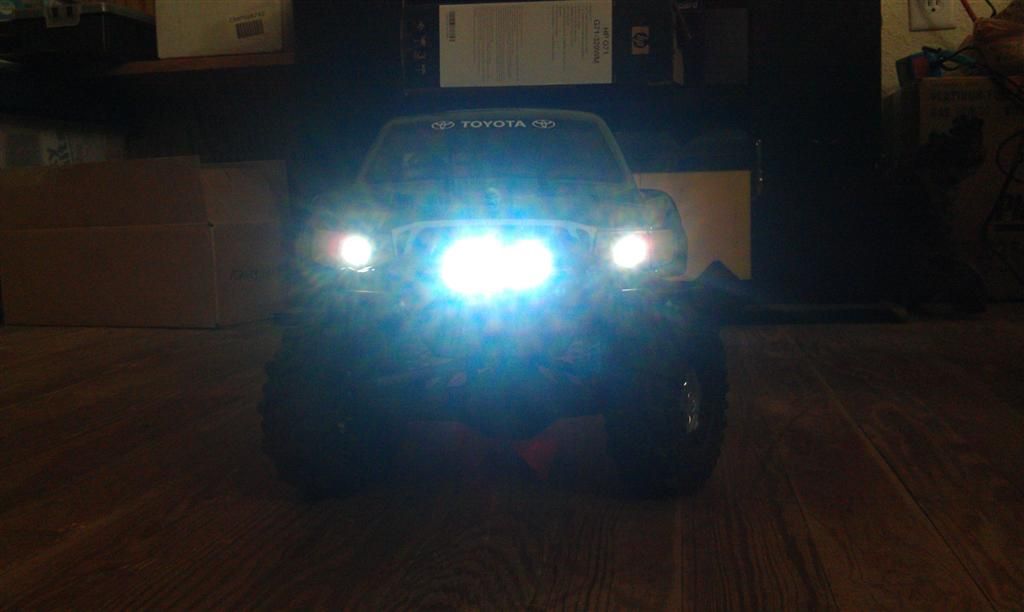 also got everything pretty well mounted on the chassis (the boxes and wiring). I'm going to mess around with it in the yard this weekend for a little and make sure everything is going to stay together before I finally put silicone in all the holes in the boxes |
|
| |
|
09-01-2011, 06:50 AM
| #49 |
| RCC Addict Join Date: Jun 2011 Location: Gilbert, AZ
Posts: 1,634
|
Are your front LEDs wired into the RTR light cotroller? I'm kind of a tard when it come to wiring, but I was wanting to add 2 LEDs to my existing circuit. I think I have it figured out by your description, just not sure what lights to buy. I went into radio shack and decided I needed to do a bit more research before I started buying stuff. Do you expect any voltage/current drop on your method of using the bolts to connect the power wires through the boxes? I like the idea of being able to unplug the boxes. It would be nice if there was a way to flush mount the deans plugs at the box. Last edited by Big Daddy; 09-01-2011 at 06:56 AM. |
|
| |
|
09-01-2011, 10:59 AM
| #50 | |
| Quarry Creeper Join Date: Jul 2011 Location: Lake City, Fl
Posts: 380
| Quote:
I don't think there should be too much of a voltage drop. the bolt is just as big around as the 12 gauge wire core, and the end connectors are crimped AND soldered Sent from my space age wireless communication device. | |
|
| |
|
09-02-2011, 06:34 PM
| #51 |
| Quarry Creeper Join Date: Jul 2011 Location: Lake City, Fl
Posts: 380
|
oops so I was just running around in the back yard with the rig, making sure that the boxes were securely mounted and weren't going anywhere, and that the wiring was going to hold up. keep in mind that everything is NOT completely sealed up properly just yet; no silicone in the holes in the boxes at the wires, no dielectric grease in the connectors that are out in the open. the only thing that's COMPLETELY water ready was the axles, trans, and servo well I was messing around in a some rocks around in the pool, and it happened... took a tumble, rolled over 1 1/2 times, and landed right on it's lid in the pool... SALT WATER pool at that  my heart sank when I saw the LED's flicker off almost immediately... I almost dove in the pool fully clothed, grabbed it by it's ass and slug it out. the LED's came back on once right side up on the ground, but I immediately pulled the battery plug, so I don't know if the rig was still movable... 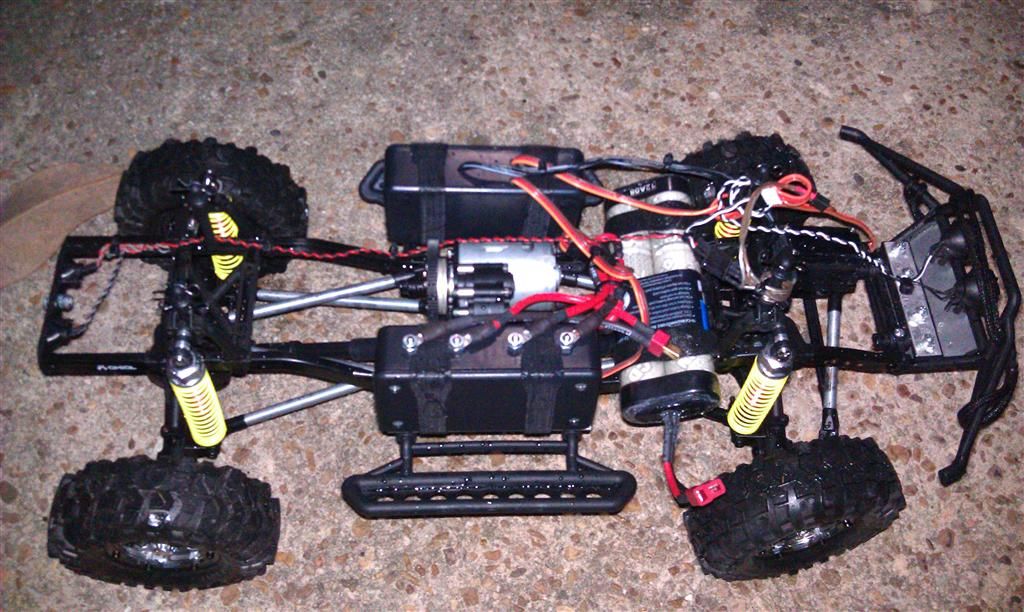 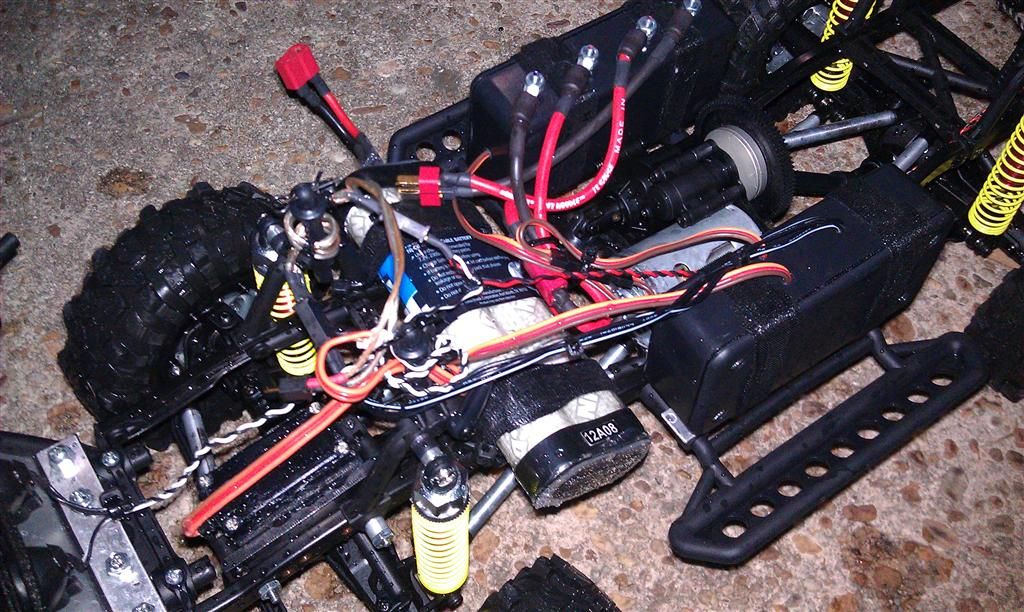 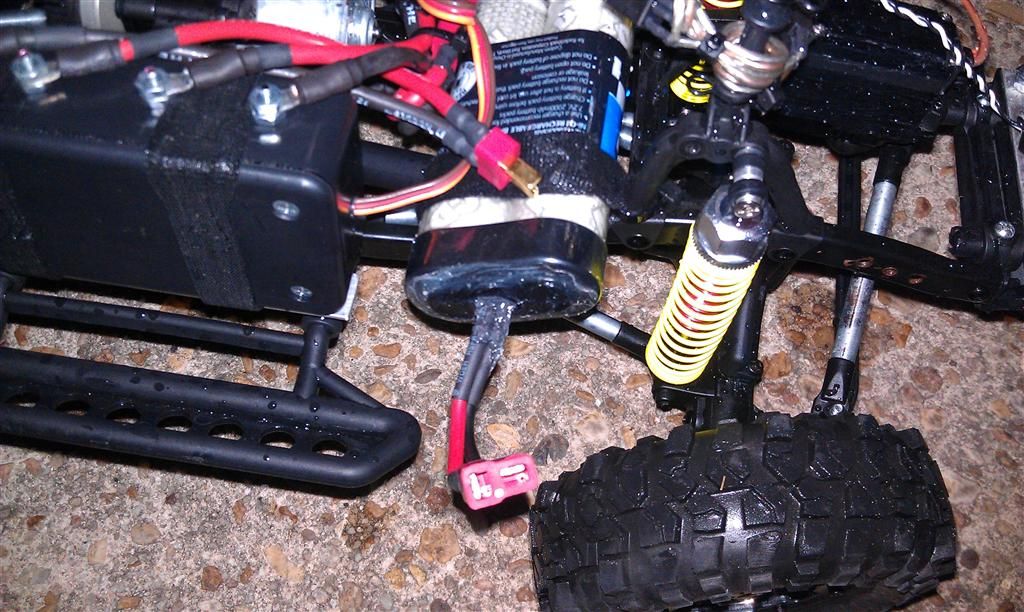 I'm going to open the boxes and have a look to see just how wet everything got, probably crack the plastic housing on the receiver open and let it dry (the ESC if that's possible too), and see what happens. I plug it back in tomorrow and see if everything powers back up. if not, I guess I have an excuse to upgrade the electronics |
|
| |
|
09-02-2011, 07:09 PM
| #52 |
| RCC Addict Join Date: Jul 2009 Location: Dover, NH
Posts: 1,153
|
Couldn't hurt to hit the bearings, etc with WD40. Get rid of the water before it rusts and bearings rust quick. I live on the coast and have not run in salt water myself but seen what can happen from pics on a local forum. I always hit my bearing with some fairly thing gun oil after every run in water anyways. Then run it around a bit to let the oil work its way around. You will probably be fine, but it would suck to see things seize on such a new rig. It is coming along nicely. The electro boxes seem to have come out great. |
|
| |
|
09-02-2011, 08:53 PM
| #53 |
| Quarry Creeper Join Date: Jul 2011 Location: Lake City, Fl
Posts: 380
|
IT LIVES!  pulled everything apart, and found a LITTLE water in the receiver box, not surprising since that's the one that has a gaping hole in it where the switch is suppose to go that I need to replace must have pulled it out fast enoughbut I let everything dry up under lamp, and went ahead and risked it and plugged everything back in. no sparks, and no smoke, so that was a good sign, but I wasn't getting any feedback from my transmitter, and I was getting the beeping from the ESC saying that I at least had power. turns out all I had to do was re-link the receiver and transmitter! as soon as I did, the servo kicked in and straighten the wheels, I tapped the throttle, and the thing lunged to life! awesome, now I don't have to spend any more money at this time |
|
| |
|
09-02-2011, 10:53 PM
| #54 |
| Quarry Creeper Join Date: Jul 2011 Location: Lake City, Fl
Posts: 380
|
well, everything is definitely in full working order took it out in the front yard (at 11:00pm) and ran it until the battery died two things I learned. 1, the addition of the headlight LED's actually made a pretty good difference in the light output! 2, coiling the antenna up inside the project box with the receiver hasn't seemed to have any ill effects. I drove the little buggar all the way across my 1/2 acre front yard without so much as a glitch oh I guess 3 things actually... don't wheel by a pool, lol |
|
| |
|
09-02-2011, 11:47 PM
| #55 | |
| Quarry Creeper Join Date: Aug 2011 Location: Troy
Posts: 250
| Quote:
I really like your Honcho. Hows the marine grease doing so far? I should be receiving mine tomorrow! | |
|
| |
|
09-03-2011, 12:42 AM
| #56 | |
| Quarry Creeper Join Date: Jul 2011 Location: Lake City, Fl
Posts: 380
| Quote:
| |
|
| |
|
09-03-2011, 04:59 PM
| #57 |
| Quarry Creeper Join Date: Jul 2011 Location: Lake City, Fl
Posts: 380
|
forgot photos not as wet as I was expecting, but wetter than I wanted it to get, lol 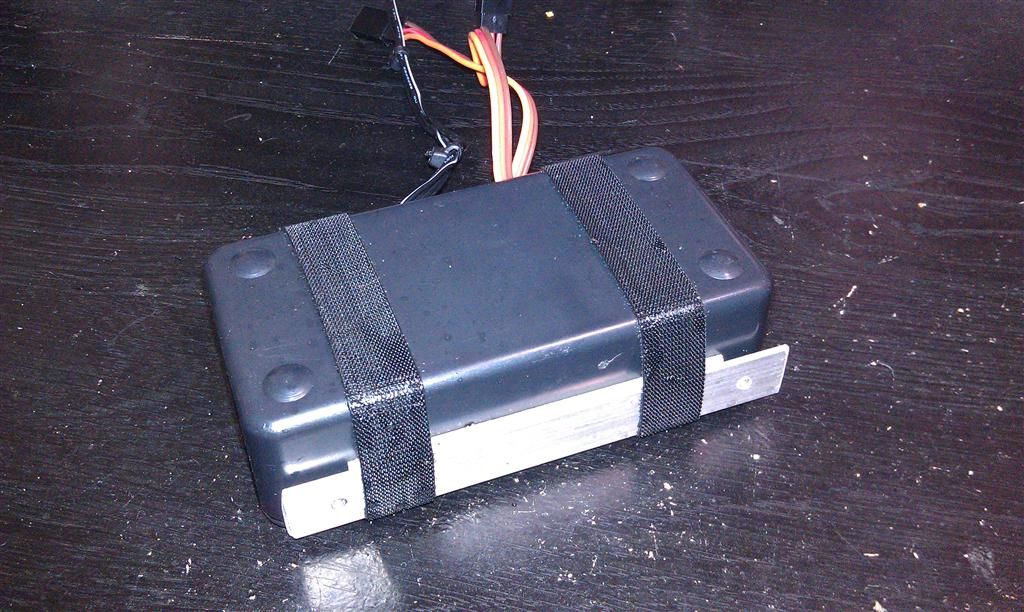 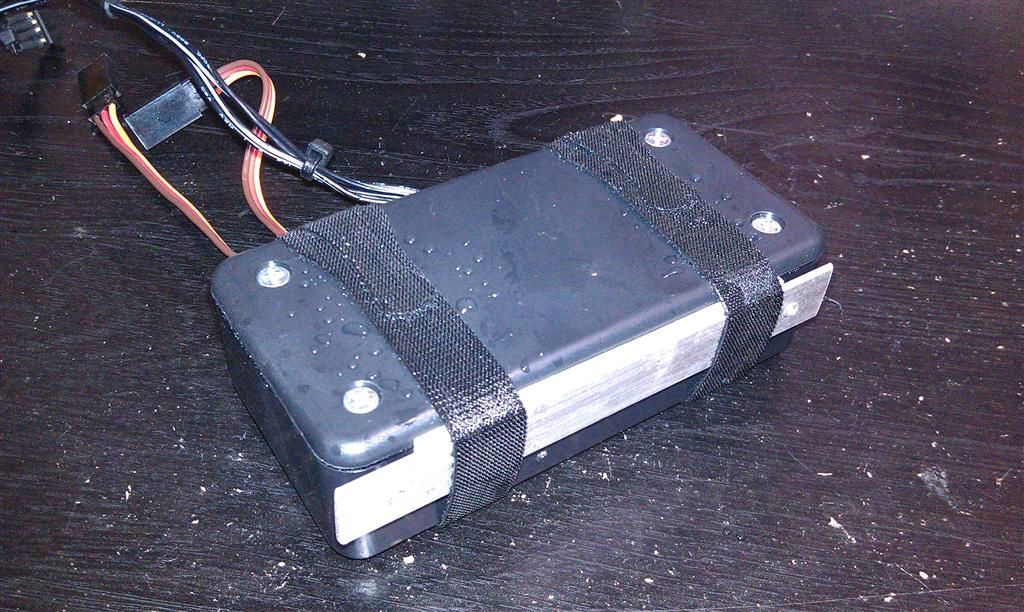 the gaping hole... about to cap it with a switch right now actually 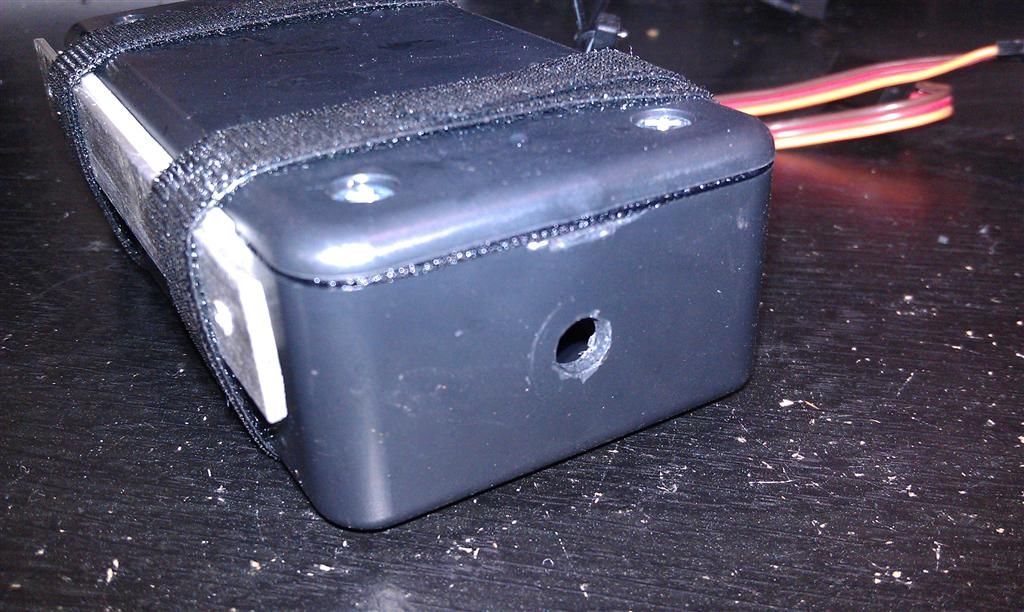 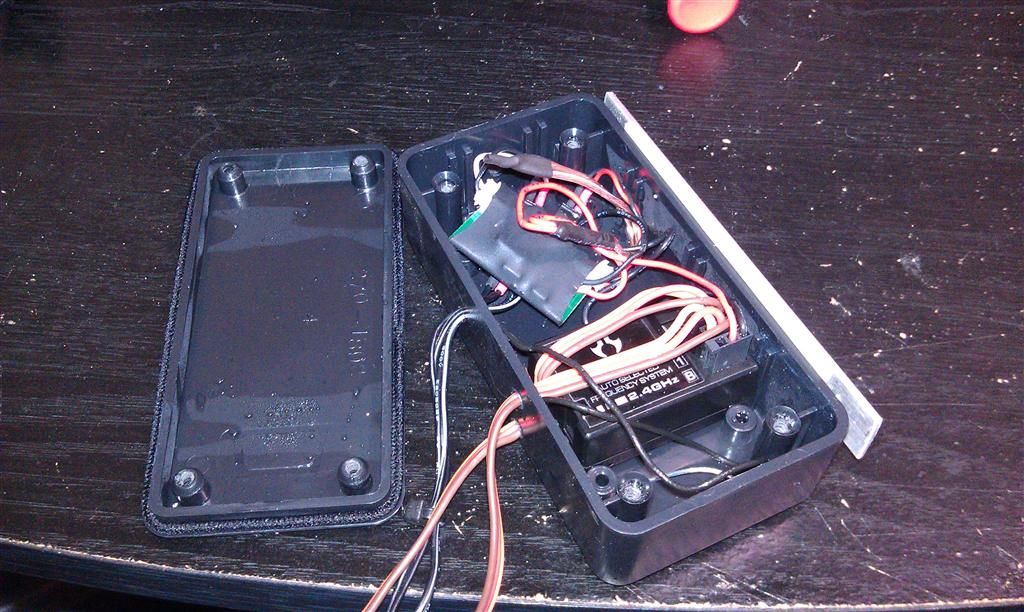 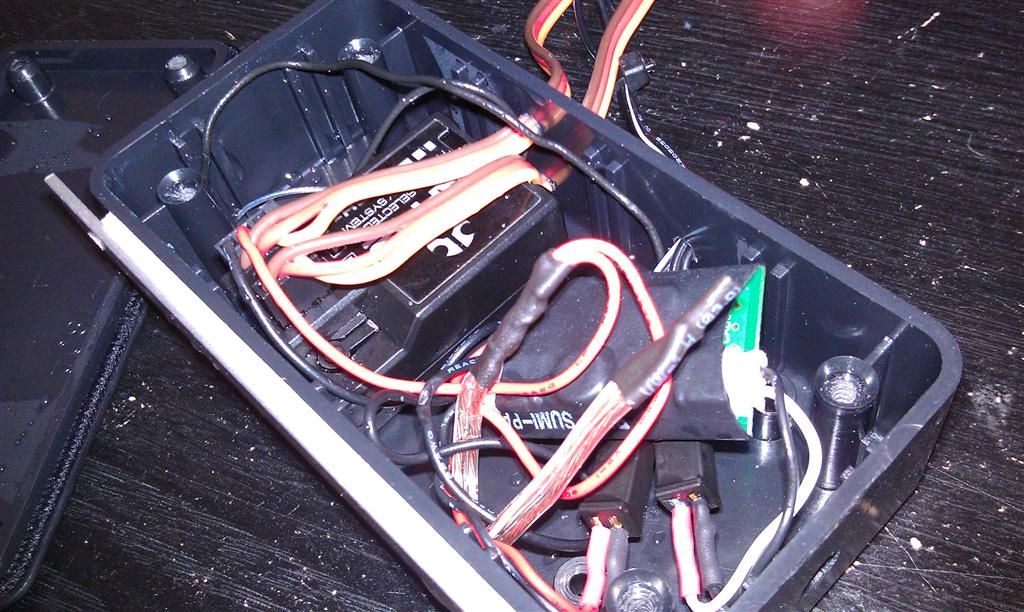 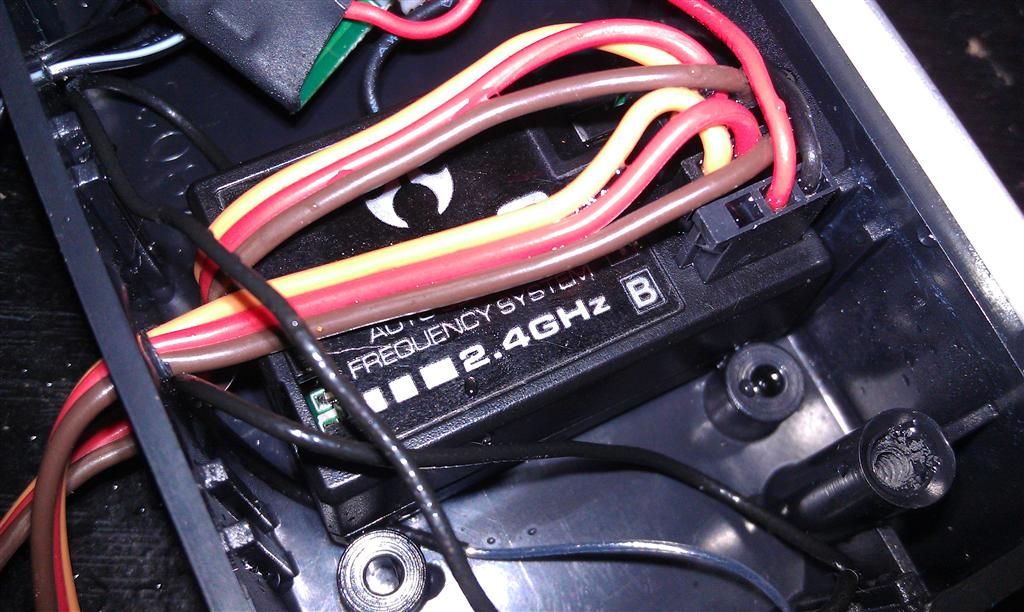 and drying out 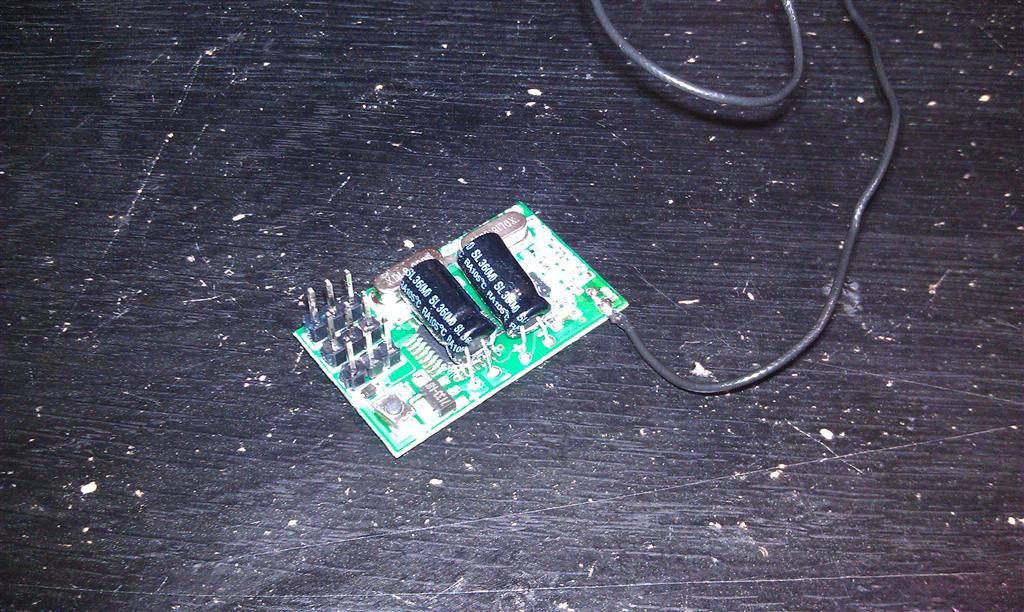 a few minutes later, she was back in business 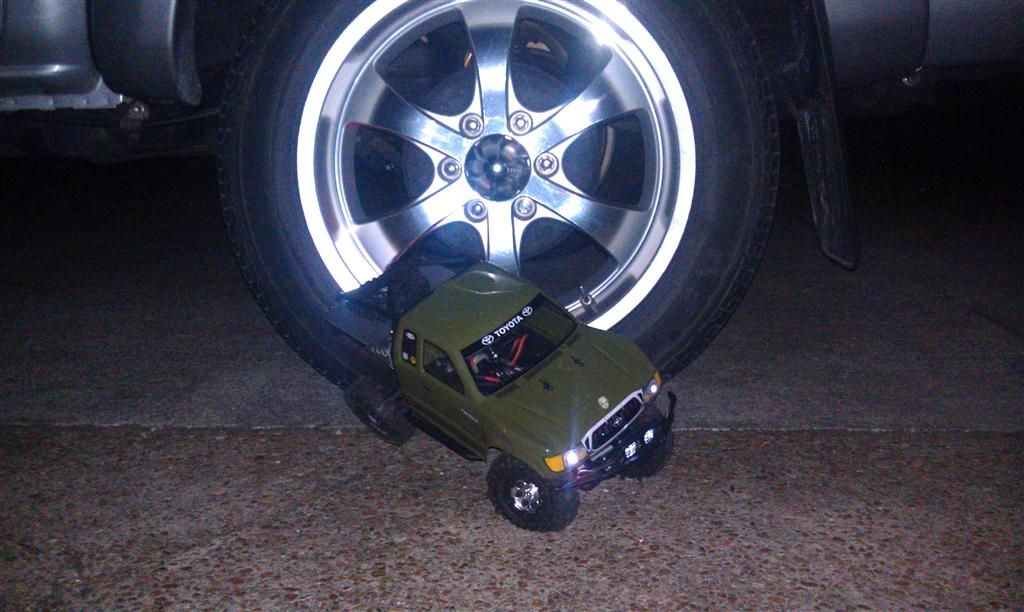 |
|
| |
|
09-05-2011, 11:05 PM
| #58 |
| Quarry Creeper Join Date: Jul 2011 Location: Lake City, Fl
Posts: 380
|
got a few tasks done today soldered in the switch for the LED's. laid in some silicone to seal up the boxes finally. also siliconed up the inside of the switches since that's pretty much the only place that water could have gotten in (through the switch itself). just waiting on the silicone to set so I can reassemble everything 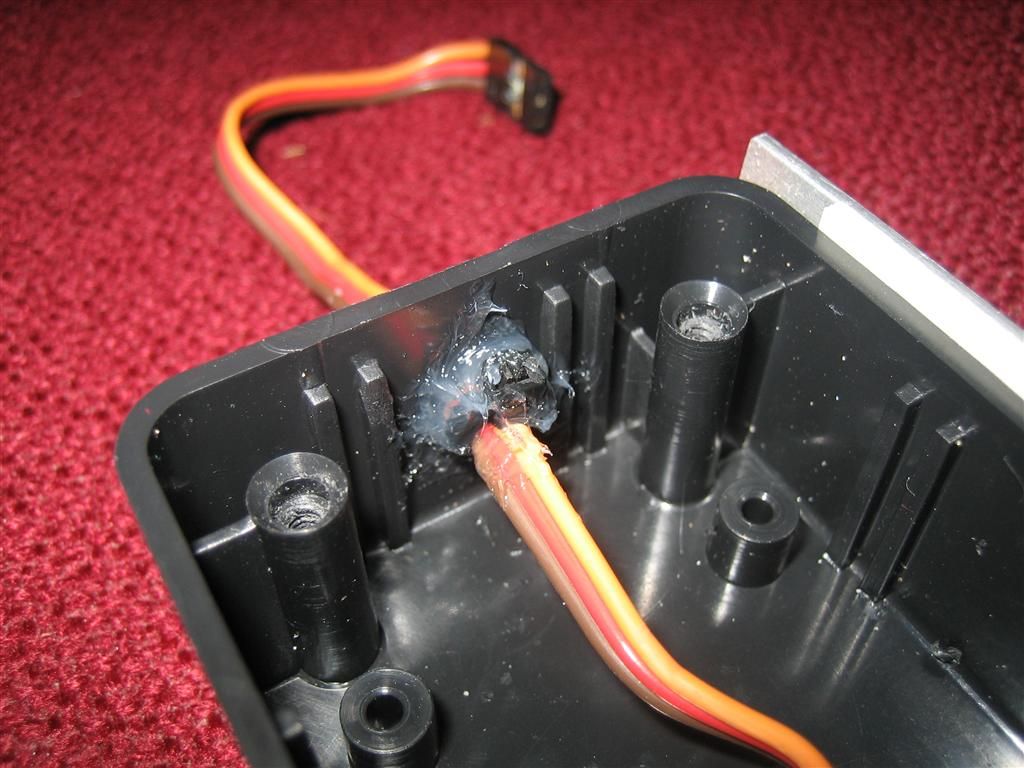 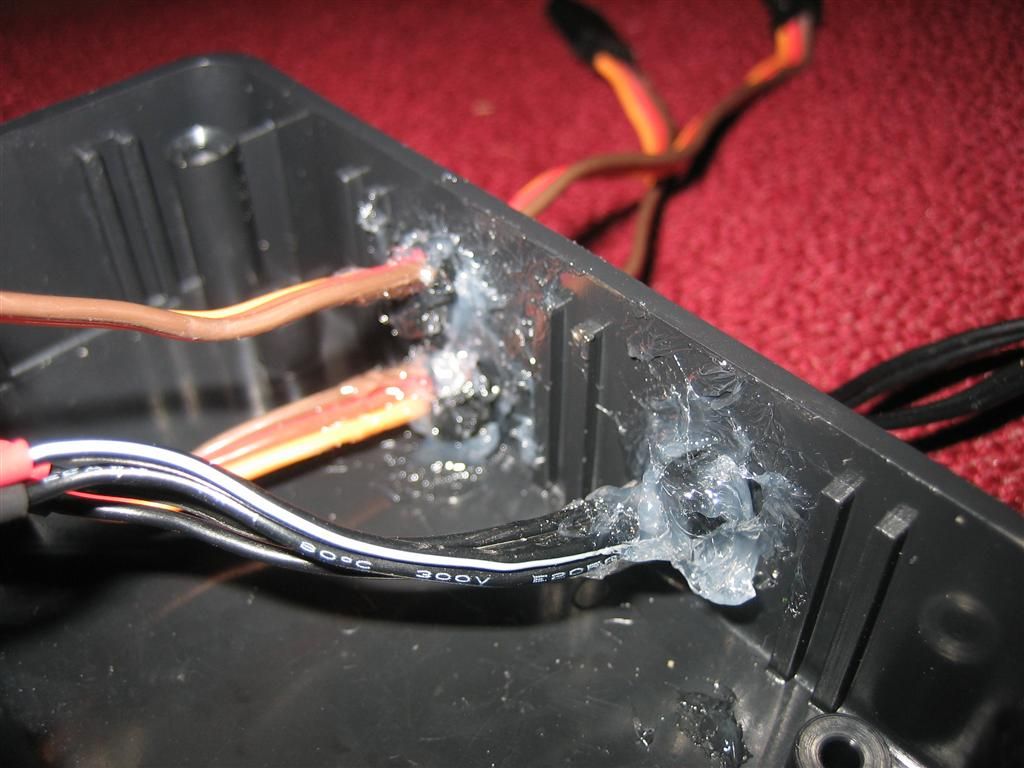 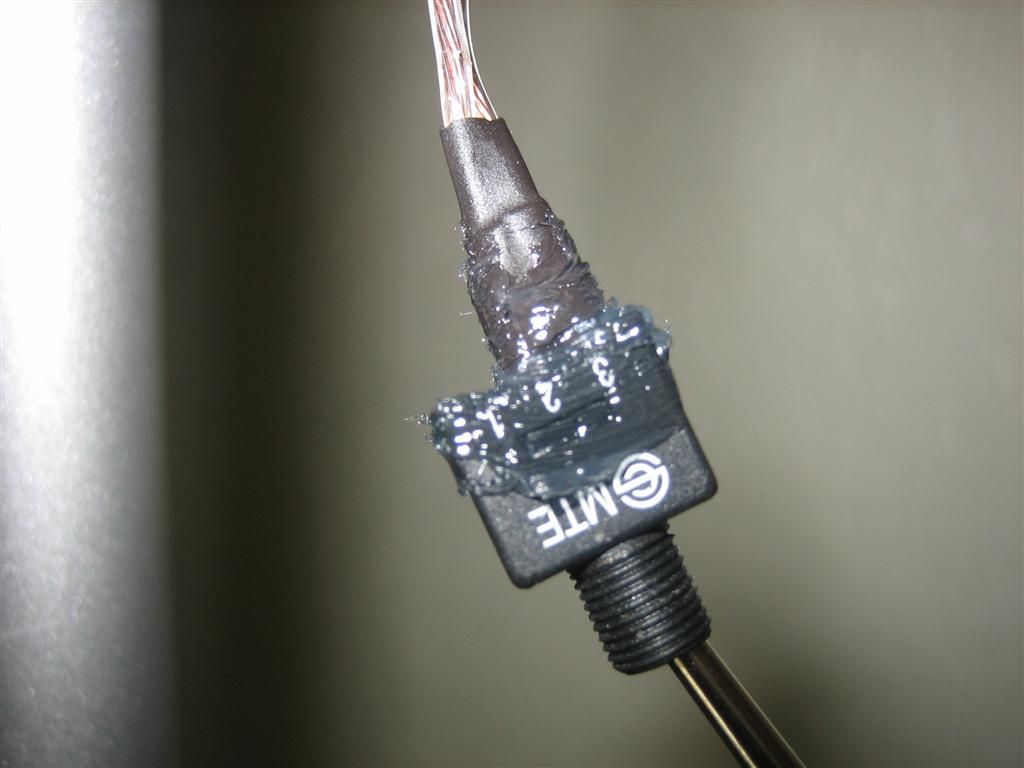 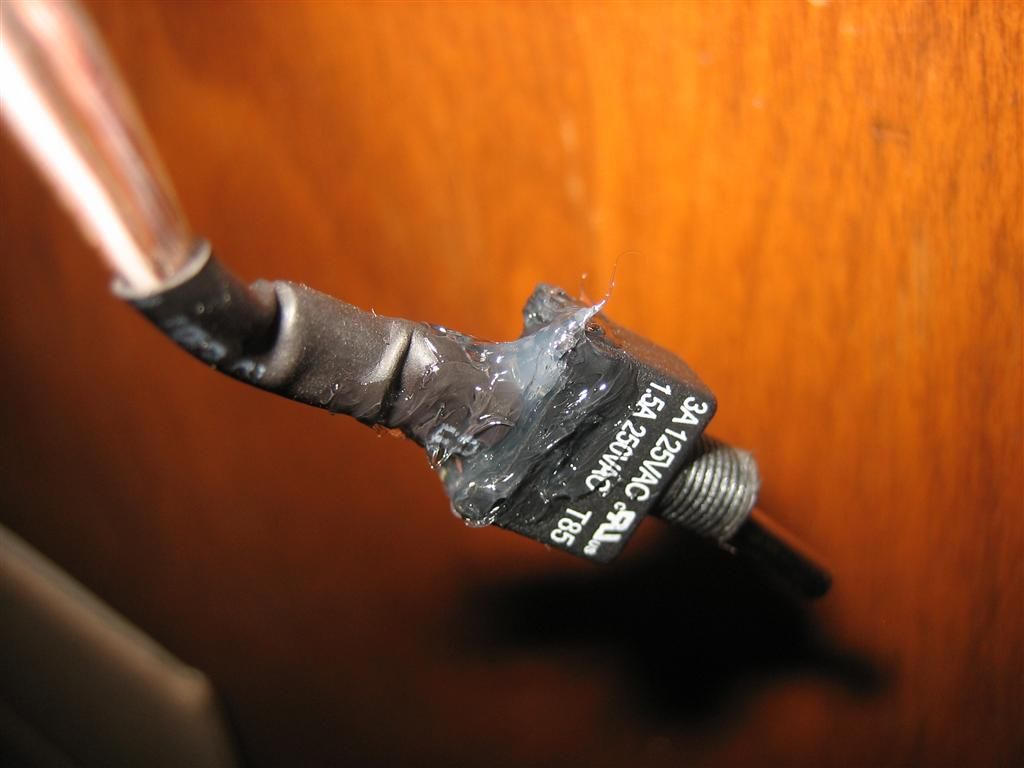 then I noticed that apparently my battery wasn't water resistant enough after it's little dip in the pool... there was a little moister inside it... so I took a roll of yellow electrical tape that I found laying around and proceeded to cocoon it 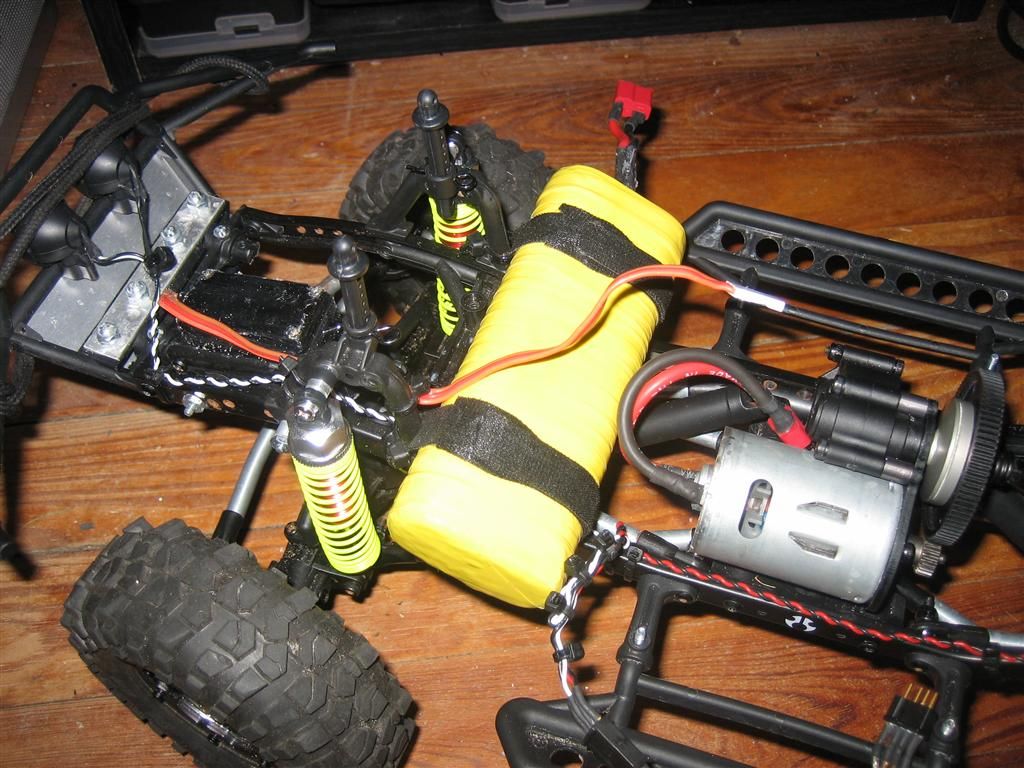 also got rid of that floppy plastic drag link... used the original link that I made that was straight, and just put some small bends in it with a brake line bender. surprisingly it didn't toe the wheels in, and the link clears the diff with room to spare at full lock both ways 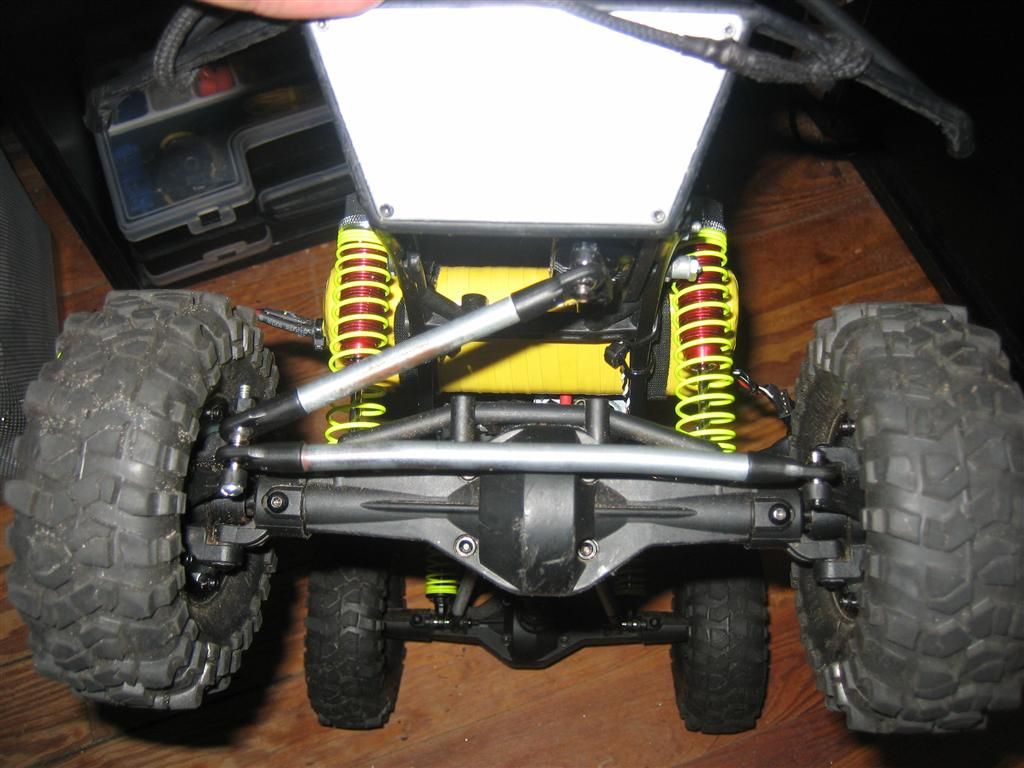 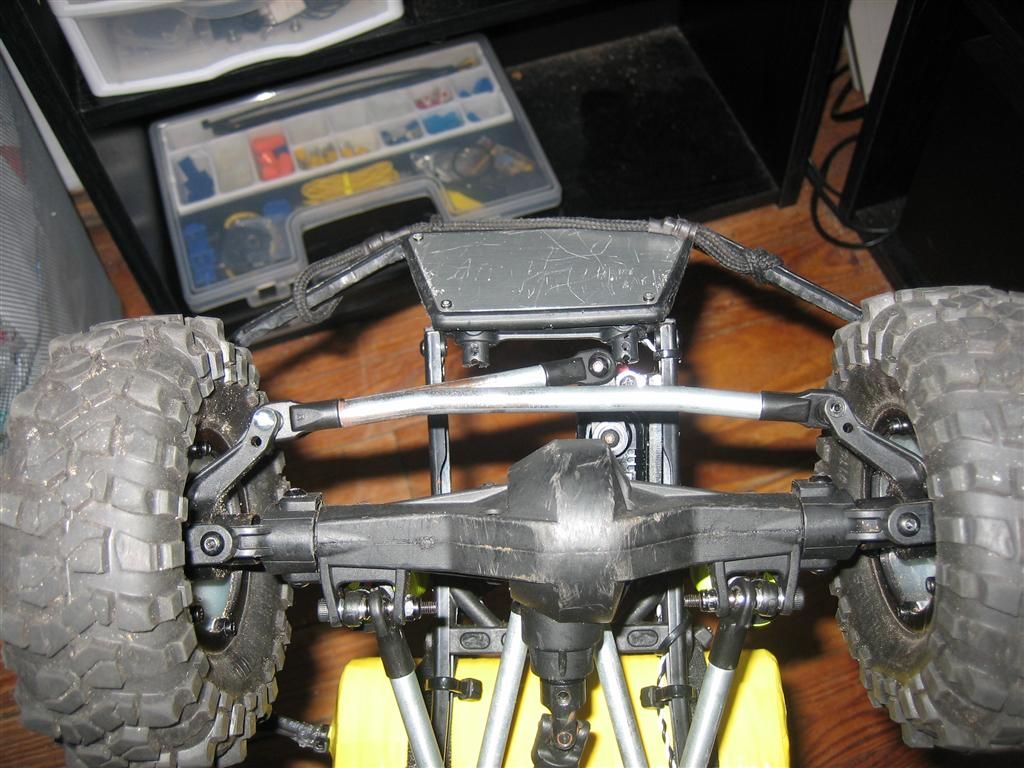 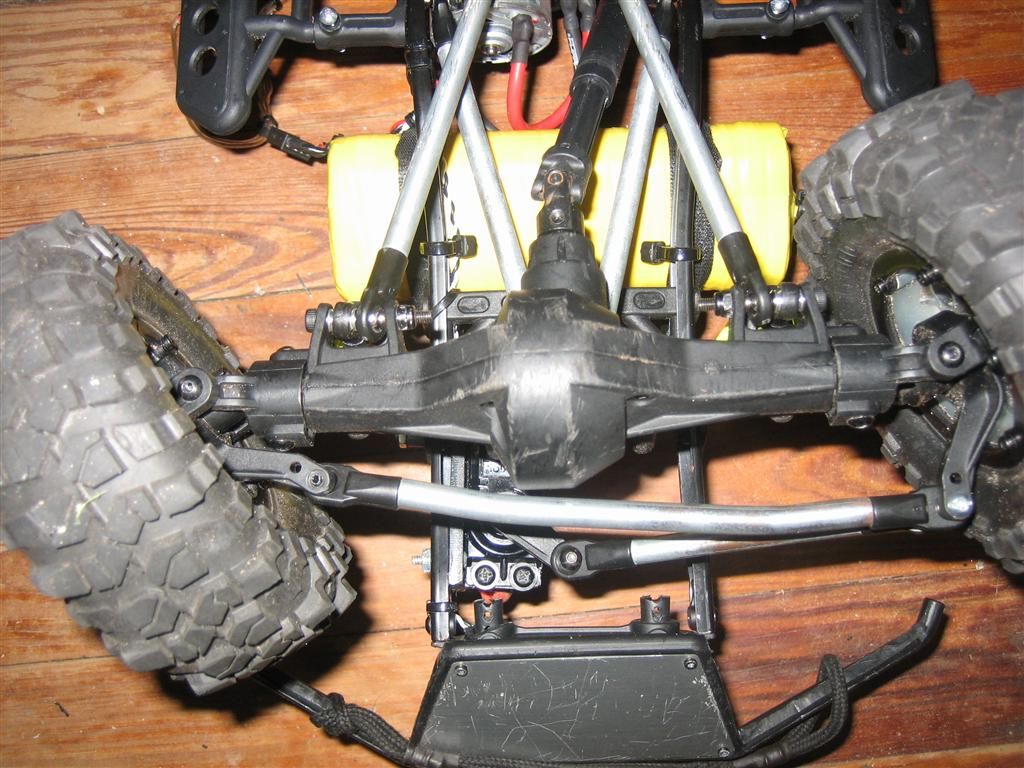 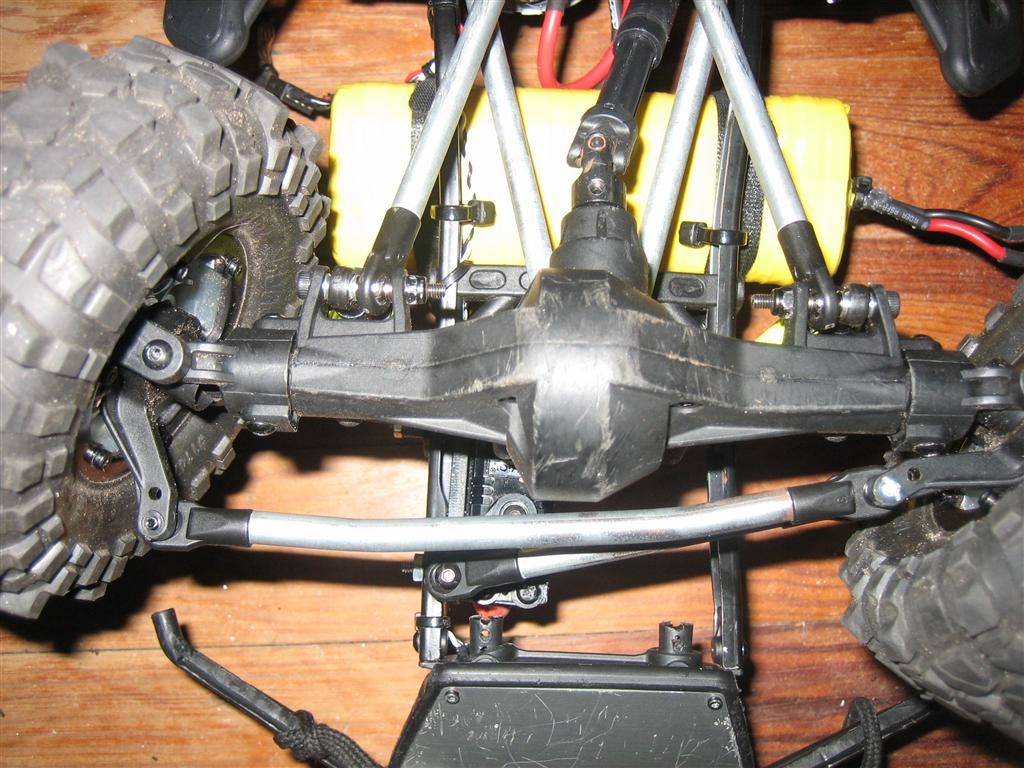 AND, I made some quick body tilt mounts with some 1/4" wire holders. all I had laying around were some nylon ones, and they're pretty floppy, so I'm going to replace them with metal ones. but the idea works great!  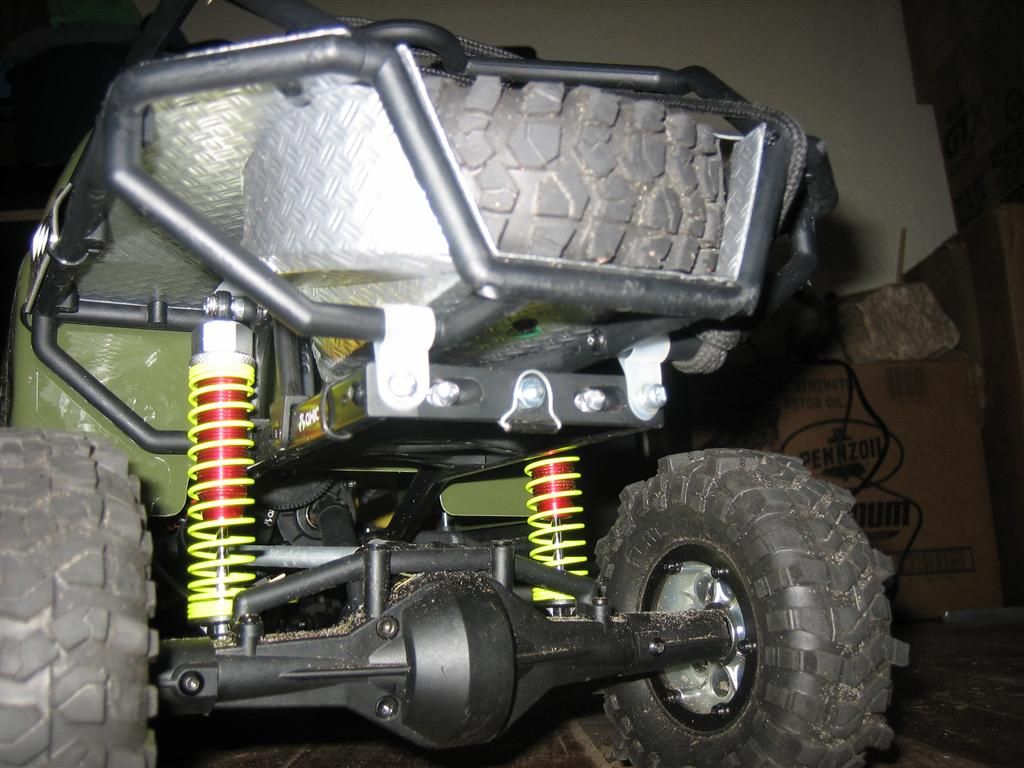 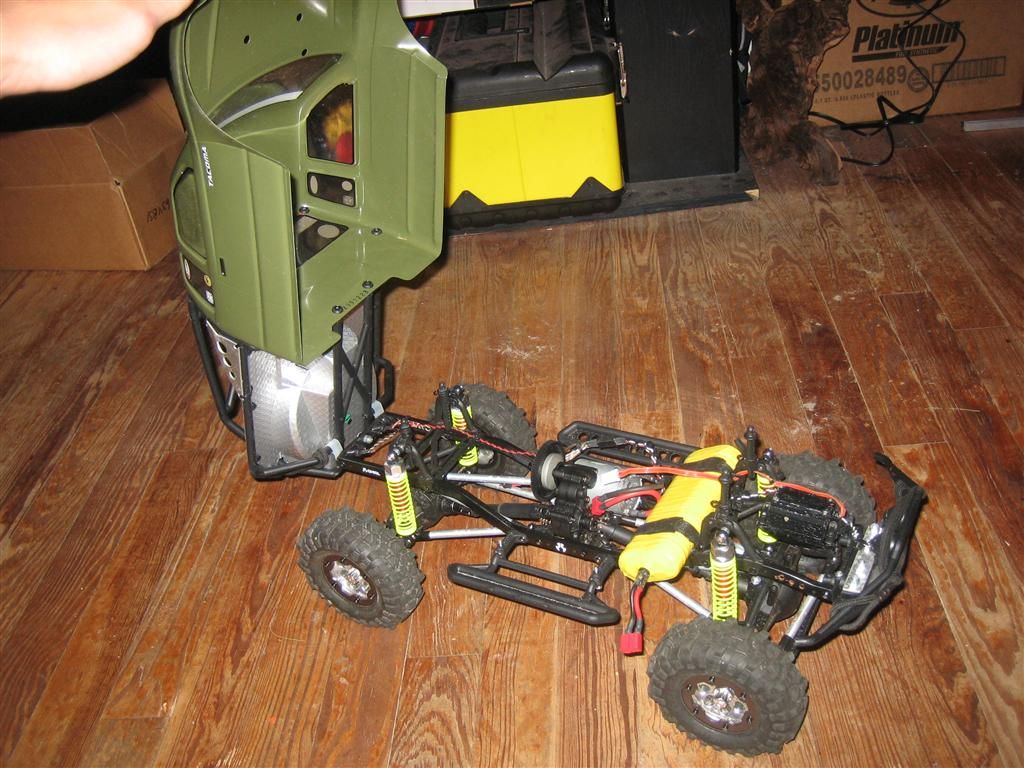 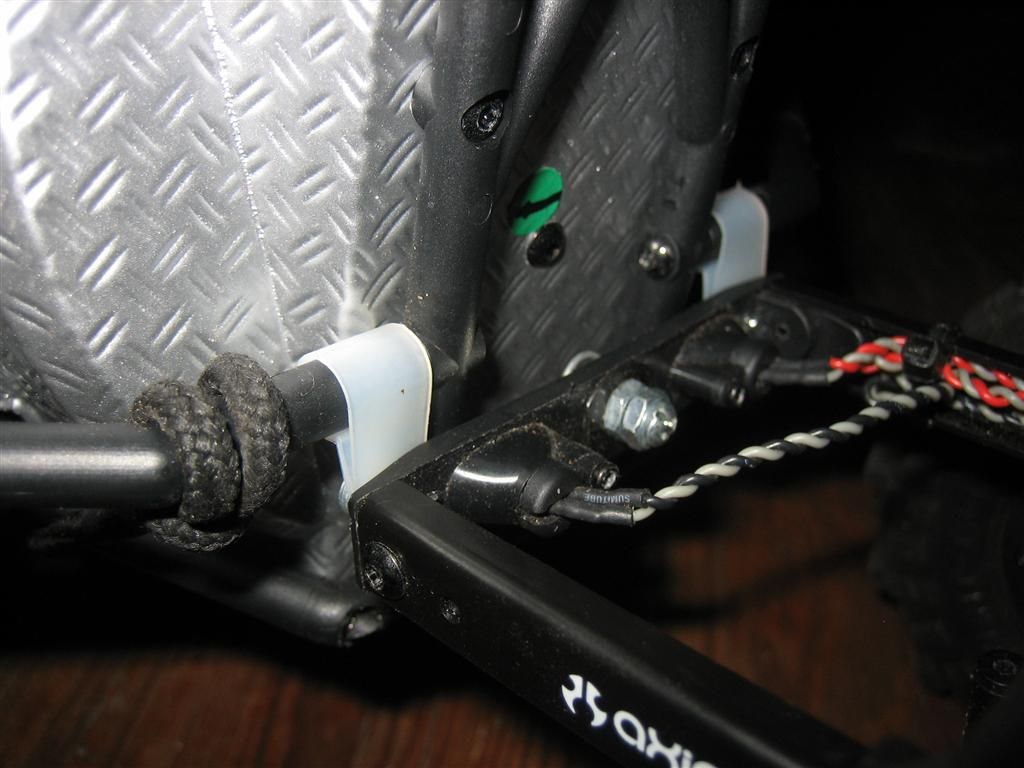 |
|
| |
|
09-06-2011, 07:17 AM
| #59 |
| RCC Addict Join Date: Jun 2011 Location: Gilbert, AZ
Posts: 1,634
|
I like the tilt body idea, much easier than the route I went. Looks like you got the steering worked out too. I thought about doing that but I was afraid I'd make the steering link to short. I suppose it really doesn't matter too much on an RC. It's not like I even measured most of my four links, I just eye balled them next to the factory link.
|
|
| |
|
09-08-2011, 08:23 PM
| #60 |
| Quarry Creeper Join Date: Jul 2011 Location: Lake City, Fl
Posts: 380
|
so I stopped by Lowes today to get a couple wire holders to use as the body tilt hinge that were metal... all of the small ones like I need were nylon, like I have already... so I'll have to try Home Depot, or maybe even an auto parts store BUT, I did pick up some supplies for some tie-downs in the rear! a whopping $0.98 per bag 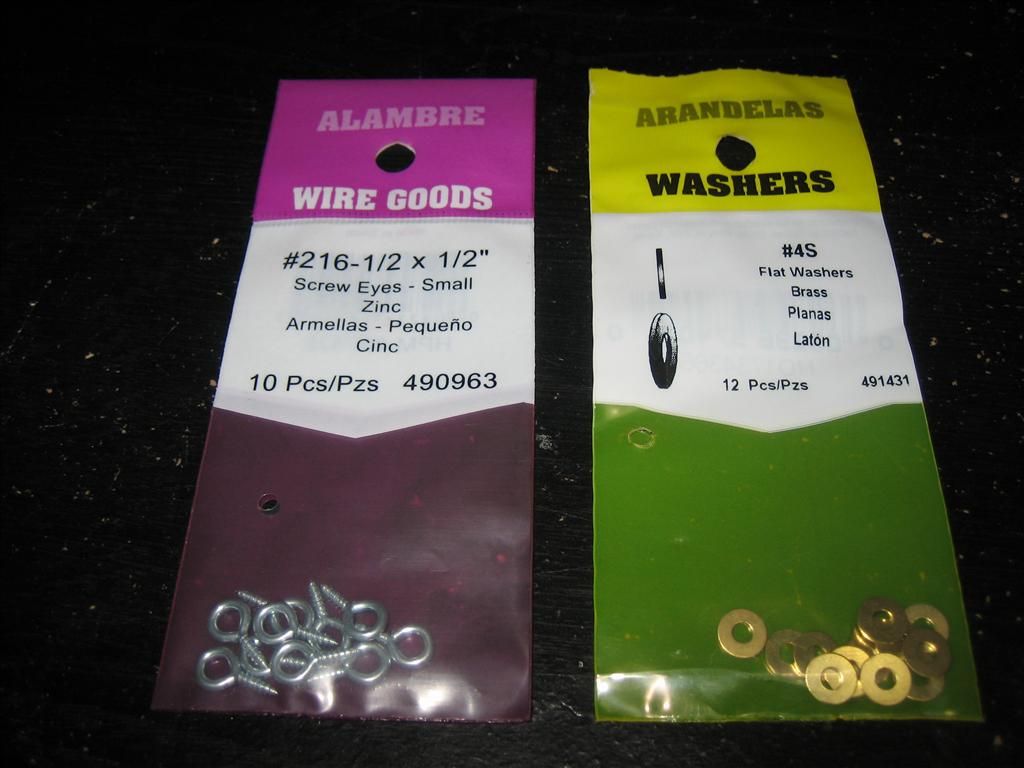 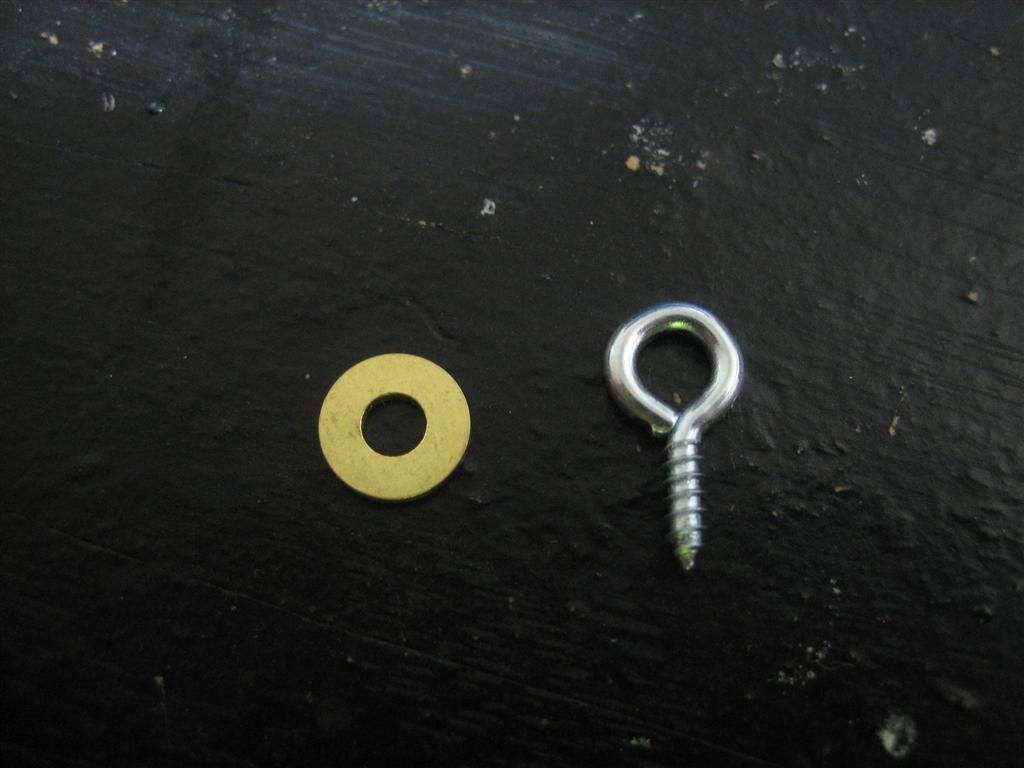 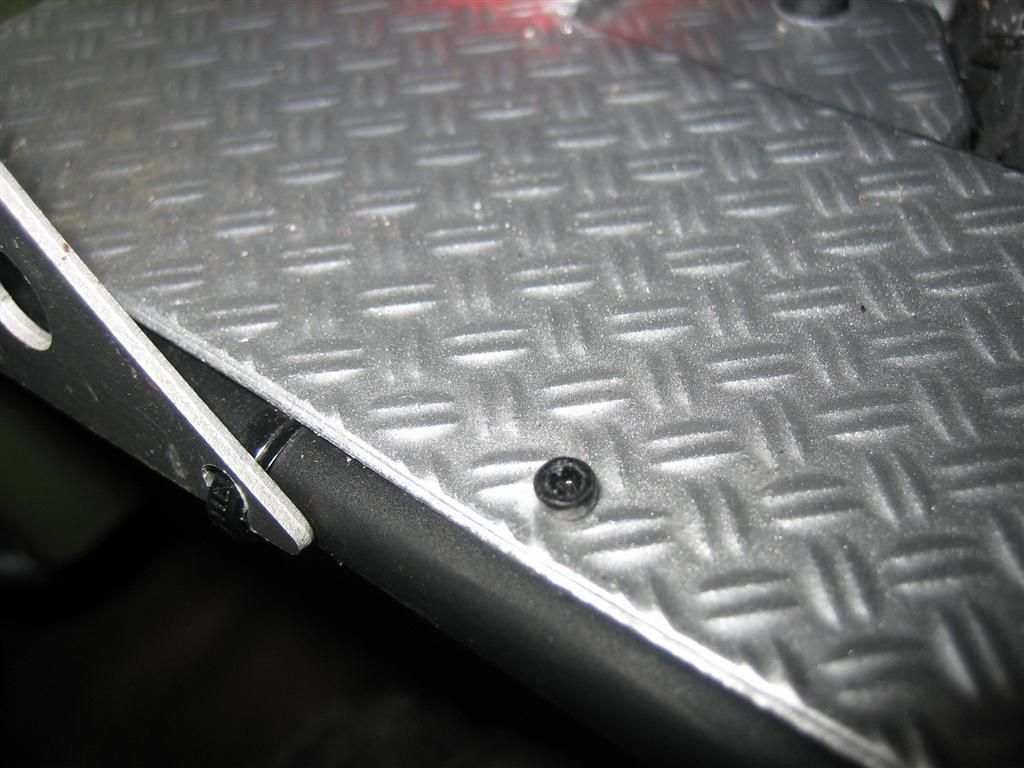 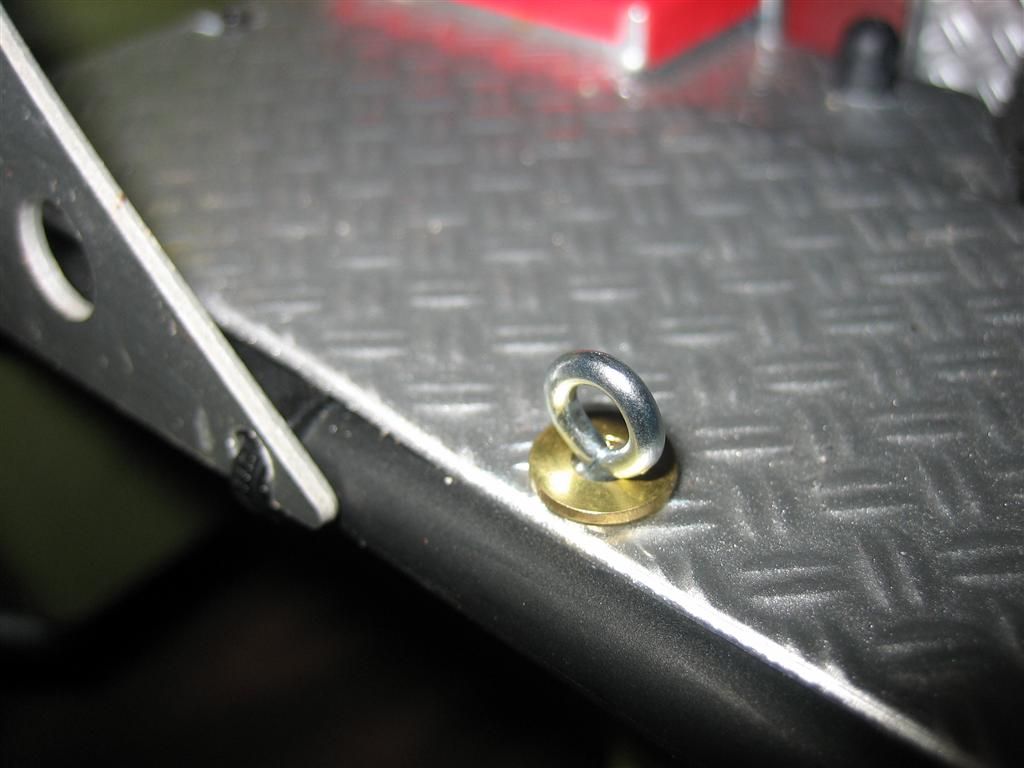 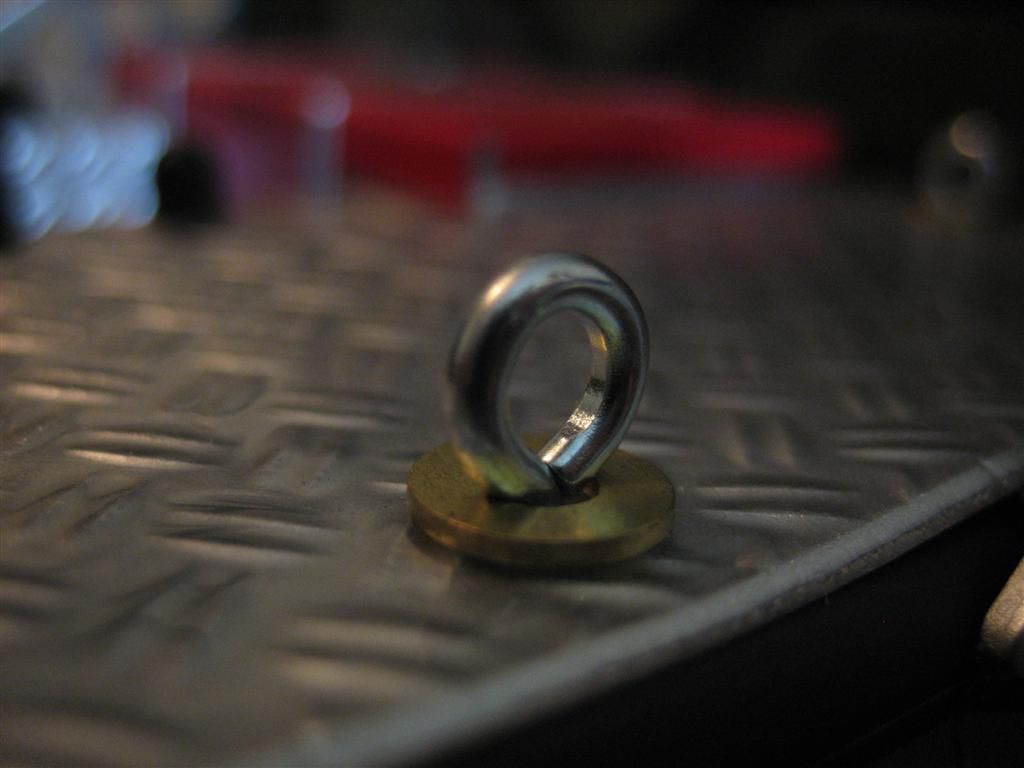 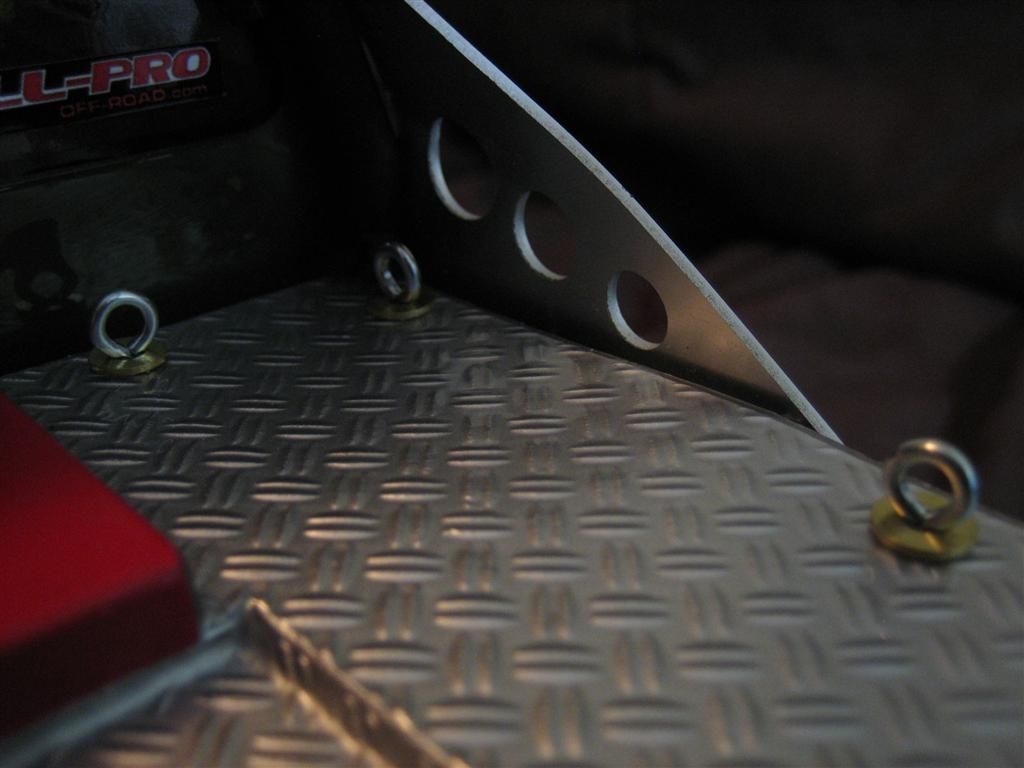 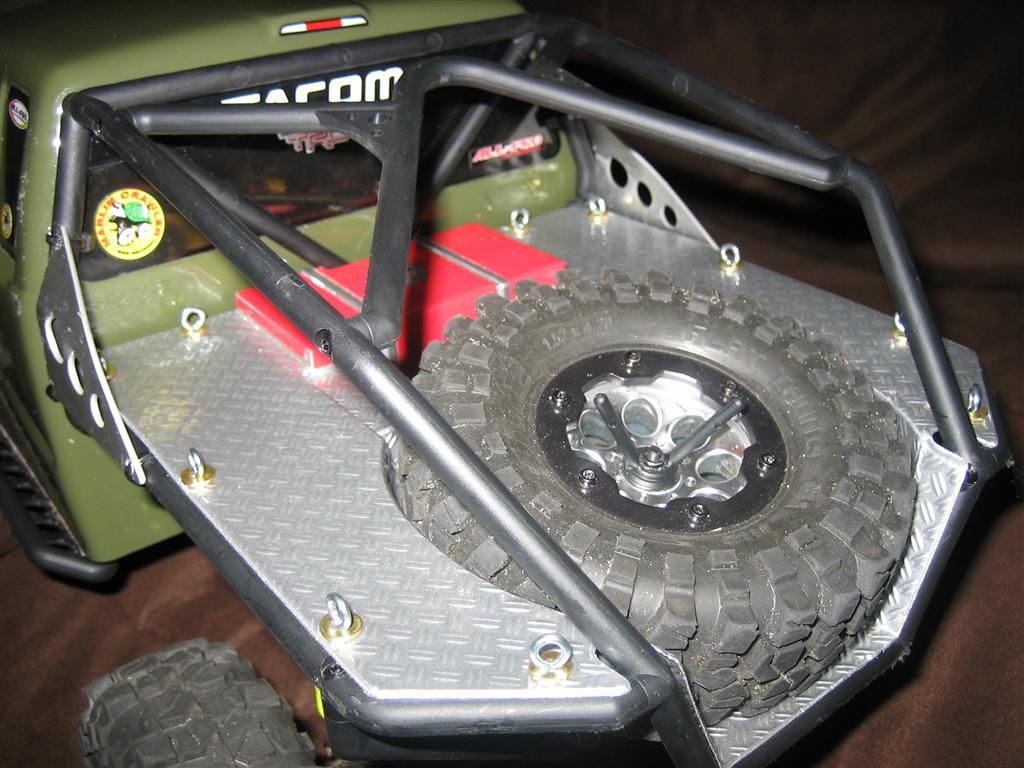 works great with the bungees! 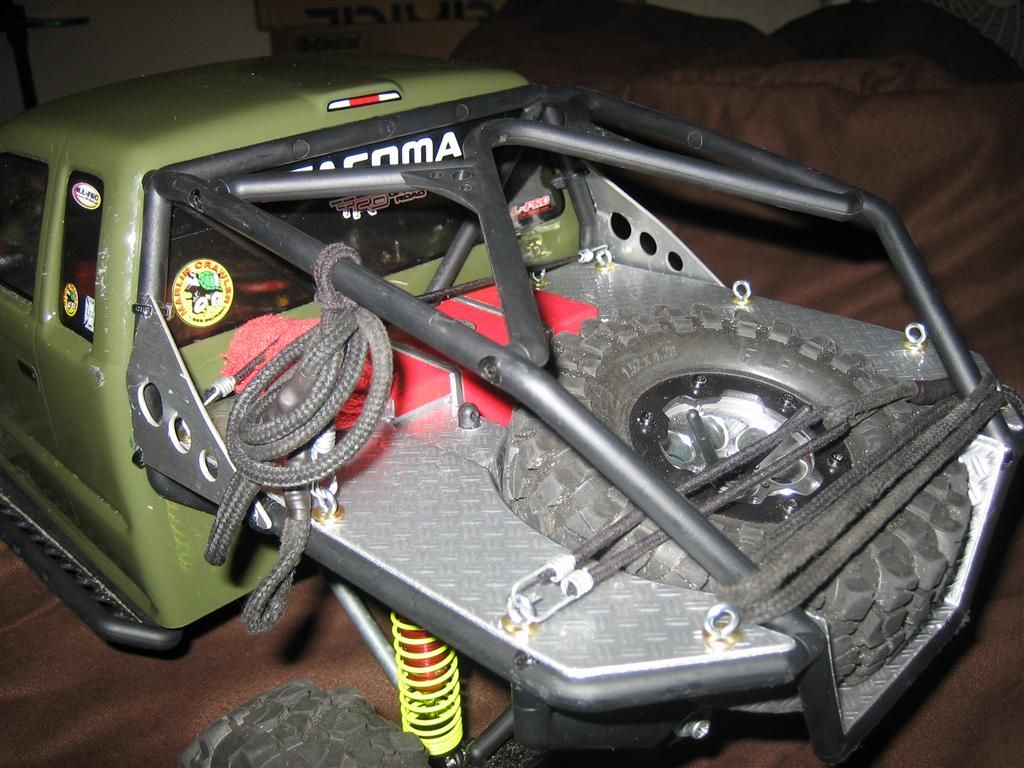 |
|
| |
 |
| |


 Linear Mode


