| |
| |||||||
 |
| | LinkBack | Thread Tools | Display Modes |
 02-04-2013, 11:44 PM
| #1 |
| I wanna be Dave Join Date: Oct 2007 Location: 801
Posts: 2,941
|
This build has been a long time coming. Last year I started noticing all the sporty builds that were popping up and eventually I took an interest in building myself am old school shafty with a new school twist. We started designing a new shafty chassis after a lot of support and interest from our team drivers. I think the first drawing of this new chassis was clear back in late October and we finally cut a prototype after many revisions in November. What followed has been a long road with many redesigns and prototypes scrapped until we were totally happy and felt we had reached what we were looking for in a shafty chassis. I am sure most of our team drivers could tell you how long its taken to finally get to this point. The goods: Chaotic Crawlers "El NiNo 3" chassis Axial ax10 axles Creation fab ax/xr adapters Xr10 universals Xr10 rear shafts Vp c hubs Vp wraith knuckles CW crawlers 7075 steering arms Traxxas 3.5" big bores Chaotic Crawlers links Chaotic Crawlers steering links Chaotic Crawlers upper link mounts Hitec 7950 servo Tekin fxr Integy v12 35t motor Dlux Fab wheels CI foams HB rovers Axial OD/UD gears VP lockers I originally planned to use ar60 axles for this build, but decided to build this rig with the axles that most people have been using so I could address any issues or concerns someone might have in the future with this setup. So I contacted Chris the battery man at Creation Fab and ordered up a set of his ax/xr hybrid axles. I already had all the VP parts in my toolbox, so this was an easy choice. Actually most of the parts for this build are just spare parts I've had laying around. (This is where my impulsive spending habits actually came in useful, because I already owned most of the stuff I needed)  I received my axles in early January and finally got to start building. Here is my front axle after I got it all assembled and a steering link inStalled. 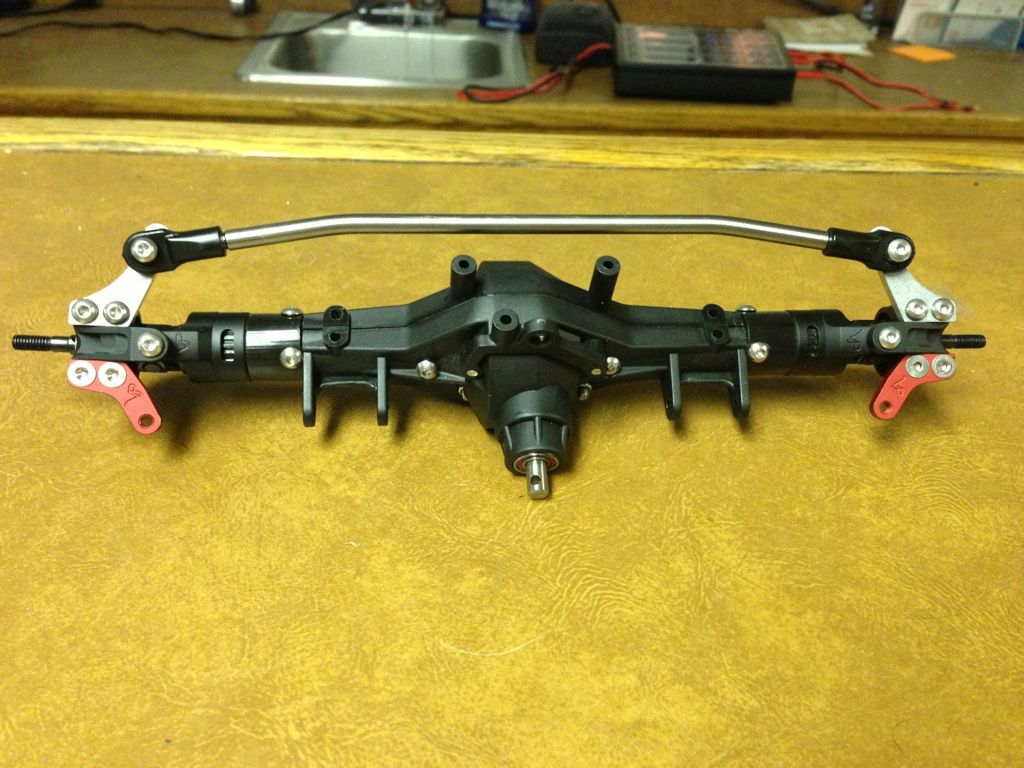 I also started rebuilding the ax10 Trans I had rolling around in my tool box. I got really bored before the Super Bowl and decided to fire up the lathe and start drilling holes in things. This is the idler shaft in the Trans. 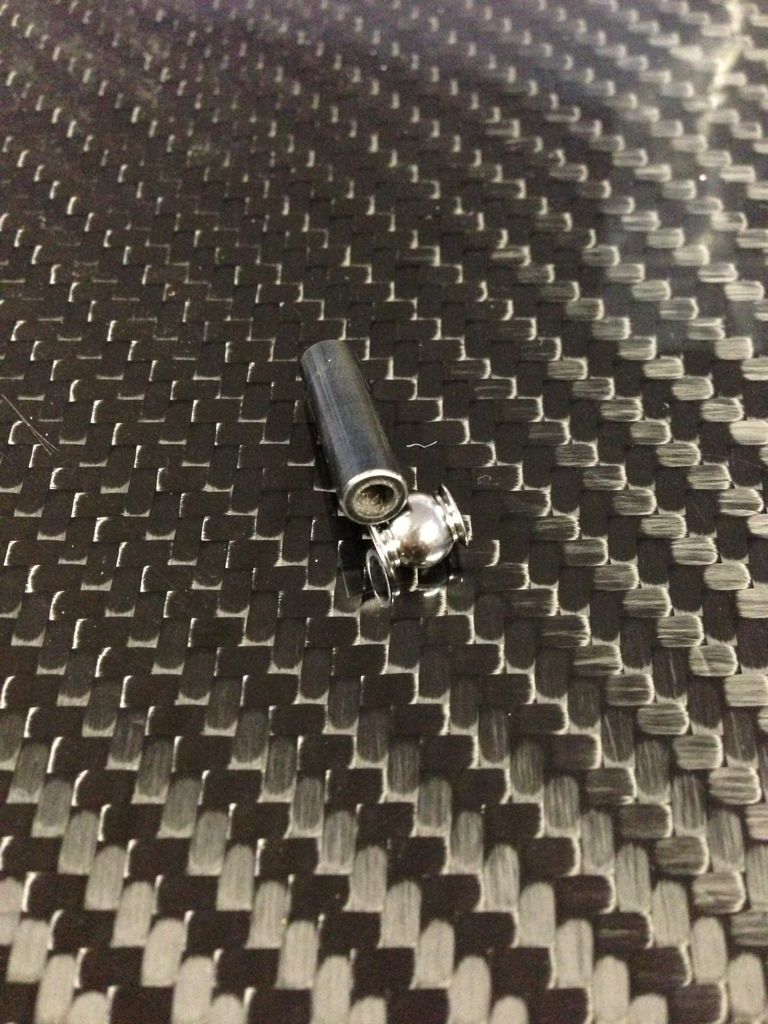 I don't know what it weighed originally, but now it weighs 1 gram. Probably not a game changer, but i still had fun doing it. I started going through my toolbox and after a minute found a brand new in package integy v12 35t motor. I barely remember buying this thing, but I'll bet I've bad it for atleast 2 years now. I had ran a v11 quite some time ago with pretty good success, I think this little motor will do just fine in this rig. 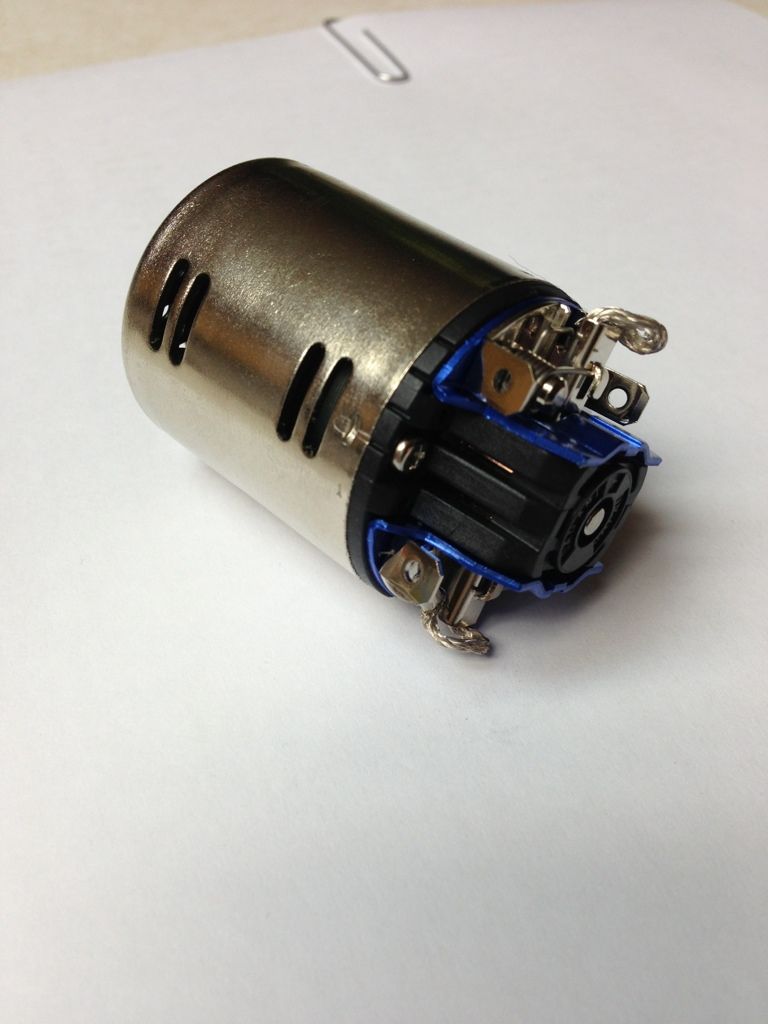 |

|  |
| Sponsored Links | |
| | |
|
02-05-2013, 12:35 AM
| #2 |
| E.Y. Designs Join Date: Sep 2011 Location: Springfield, OR
Posts: 3,591
|
Awesome Subscribing But where's pics of the chassis? Can't wait to see it |
|
| |
|
02-05-2013, 05:11 AM
| #3 | |
| I wanna be Dave  Join Date: May 2006 Location: HONDURAS...ROCK HEAVEN
Posts: 5,076
| Quote:
| |
|
| |
|
02-05-2013, 06:13 AM
| #4 |
| I wanna be Dave Join Date: May 2009 Location: Tehachapi,Ca
Posts: 2,334
|
Wow mark "root" and "shaft" in the same sentence, I am impressed. Oh ya, that chassis is DOPE YO!!!! |
|
| |
|
02-05-2013, 07:25 AM
| #5 |
| I wanna be Dave Join Date: Oct 2007 Location: 801
Posts: 2,941
|
Pics of the chassis should come this week. I don't want to post a photo until its complete. At the moment it is sorta put together with various spacers and screws that I had laying around. I should have all the final pieces any day now. (I thought I would have them all last week The skid plate has been the most elusive piece to this puzzle. I had my original one done quite some time ago, but it didn't work out like I hoped it would. So back to the drawing board we went. It has also been the one piece holding up this project the longest now. |
|
| |
|
02-05-2013, 08:13 AM
| #6 |
| Newbie  Join Date: Feb 2013 Location: Raleigh, NC
Posts: 4
|
I'm looking forward to seeing this rig come together! Do you plan to use carbon fiber anywhere in this project? |
|
| |
|
02-05-2013, 10:05 AM
| #7 | |
| E.Y. Designs Join Date: Sep 2011 Location: Springfield, OR
Posts: 3,591
| Quote:
| |
|
| |
|
02-05-2013, 10:05 AM
| #8 | |
| I wanna be Dave Join Date: Oct 2007 Location: 801
Posts: 2,941
| Quote:
I plan to use it everywhere | |
|
| |
|
02-05-2013, 04:09 PM
| #9 |
| Rock Stacker Join Date: Dec 2011 Location: Port Coquitlam, BC
Posts: 64
|
I am in need of a shafty comp chassis, wtb: one of yours! I am sure your project will come out awesome, nice to see ya'll workin on a new shafty chassis!
|
|
| |
|
02-06-2013, 11:26 AM
| #10 |
| Shelf queen  Join Date: Aug 2008 Location: Internet
Posts: 5,857
|
Better be bringing this thing to the Shootout. I'd love to see all the toys in person. And what do the upper link plates look like |
|
| |
|
02-06-2013, 12:17 PM
| #11 |
| RCC Addict Join Date: Nov 2011 Location: Surrey,BC- Canada
Posts: 1,663
|
Finally i have been waiting months for this to come to light now hurry up with the picture and when can we order one? Can't wait to see the final design |
|
| |
|
02-06-2013, 03:48 PM
| #12 |
| I wanna be Dave Join Date: Oct 2007 Location: 801
Posts: 2,941
|
Still finishing up the chassis, but..... The 4 link plates turned out awesome. They are made from 3/32" carbon fiber. I was amazed at how sturdy this carbon really is.  I then made a change to the front plate after I had test fit it and drilled a new hole and countersunk the mounting screws to low the servo to sit flat after my adjustment.  Now you can mount the servo forward or reversed depending on your steering setup. 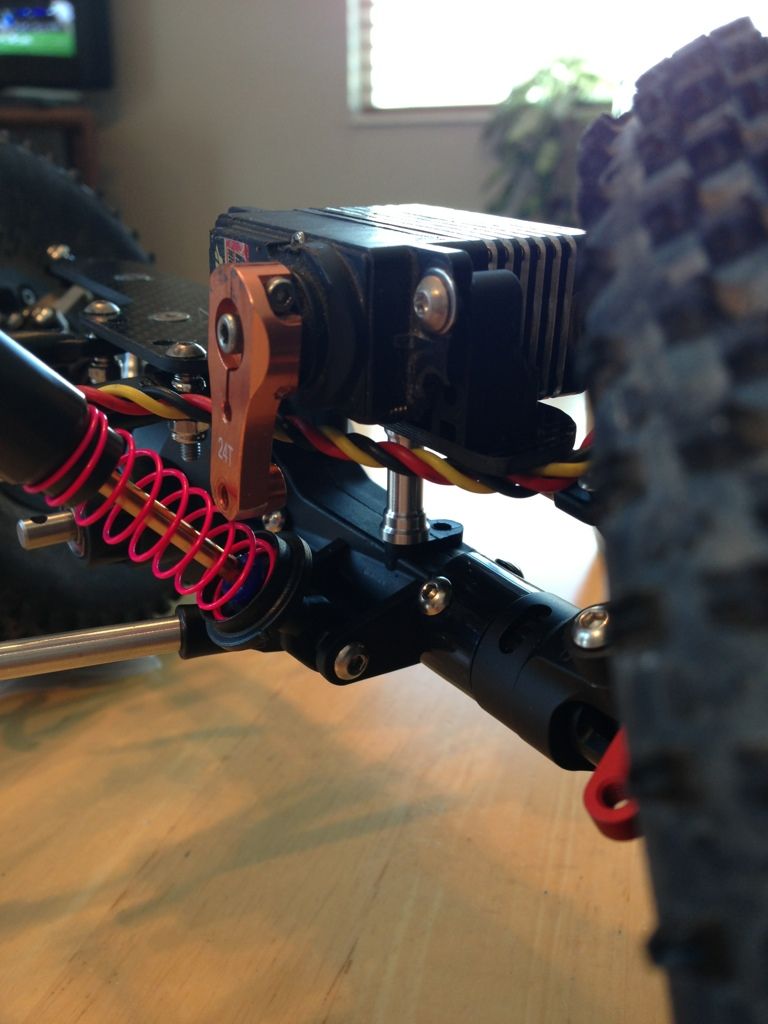 The servo horn gets crazy close to the shock, but it has zero interference. |
|
| |
|
02-06-2013, 05:44 PM
| #13 |
| Newbie Join Date: Feb 2013 Location: Raleigh, NC
Posts: 4
|
Very slick. What tool(s) are you using to cut the CF? That servo horn doesn't touch even when that side is at full droop? Damn, very nice |
|
| |
|
02-06-2013, 06:38 PM
| #14 | |
| E.Y. Designs Join Date: Sep 2011 Location: Springfield, OR
Posts: 3,591
| Quote:
| |
|
| |
|
02-06-2013, 06:51 PM
| #15 |
| Rock Stacker Join Date: Mar 2010 Location: spring city
Posts: 53
|
where can i get a front plate like that ? very nice i like it
|
|
| |
|
02-06-2013, 10:50 PM
| #16 | |
| I wanna be Dave Join Date: Oct 2007 Location: 801
Posts: 2,941
| Quote:
CNC router like most people on this forum It doesn't hit at all. I have the screw on backwards so the nut will barely touch the spring occasionally, but once I reverse it I will have plenty of room in there | |
|
| |
|
02-06-2013, 10:51 PM
| #17 | |
| I wanna be Dave Join Date: Oct 2007 Location: 801
Posts: 2,941
| Quote:
We will be selling them on our website soon. | |
|
| |
|
02-06-2013, 11:59 PM
| #18 |
| Shelf queen Join Date: Aug 2008 Location: Internet
Posts: 5,857
|
The 4 link plate looks simple and effective. Jus the way I like it. But what are the middle holes for on the sides of the rear link plate for?
|
|
| |
|
02-07-2013, 07:18 AM
| #19 |
| I wanna be Dave Join Date: Oct 2007 Location: 801
Posts: 2,941
|
I added those because I didn't have the right length links for my mock up build. So I put them there so I could assemble the entire rig without the proper rear upper link. I will probably leave them there just in case someone wanted to utilize a longer rear upper link. |
|
| |
|
02-07-2013, 09:09 AM
| #20 | |
| Newbie Join Date: Feb 2013 Location: Raleigh, NC
Posts: 4
| Quote:
Sounds like I have some new tools to buy! | |
|
| |
|
 LinkBacks (?)
LinkBack to this Thread: http://www.rccrawler.com/forum/axial-ax-10-scorpion/426977-getting-back-my-roots-shafty-build.html | ||||
| Posted By | For | Type | Date | |
| crawlerit | This thread | Refback | 03-03-2013 02:11 PM | |
|
-getting back to my roots shafty build- - Similar Threads | ||||
| Thread | Thread Starter | Forum | Replies | Last Post |
| Going back to my roots! | BuckImod | Venom Creeper | 117 | 01-11-2013 07:50 PM |
| !!! The super shafty back yard basher !!! | buggy | Kyosho Crawlers | 100 | 10-09-2011 07:44 PM |
| Back to our roots - Mini Mauler bash video! | Zod Rhombus | Non Crawler RC's | 3 | 04-11-2011 09:52 PM |
| |


 Linear Mode


