| |
 10-03-2010, 07:10 AM
| #441 |
| Rock Stacker Join Date: Feb 2010 Location: Belgium
Posts: 54
|
This is one sick build man! I've seen an UAZ build on youtube too: http://www.youtube.com/watch?v=1oBPyYz2-LM But I got to admit, I love your Hilux a lot better!  |

|  |
| Sponsored Links | |
| | |
|
10-06-2010, 08:08 PM
| #442 | ||||||||||
| RCC Addict  Join Date: Aug 2005 Location: New Oxford PA
Posts: 1,290
| Quote:
Quote:
Half way down on page 3. I didn't have time to make another one. Yah, the grill did turn out well. I'm hoping the next cast will be without bubbles Quote:
Quote:
Quote:
Quote:
Good idea on the floor pan and it did take me years to do this, 2 to be precise Quote:
Sorry i didn't see this sooner. I was at the scale comp this past weekend but didn't run the truck. Our last scale comp is the 7th of November. It WILL be in that one so you should try and make it down. Quote:
It was pretty neat huh? Quote:
Quote:
I have some more progress The next thing i wanted to finish was the anti-wrap bar for the rear. Looking at real trucks i decided to make an A style bar and shackle set-up. So i started by cutting down an old TLT mount for the shackle 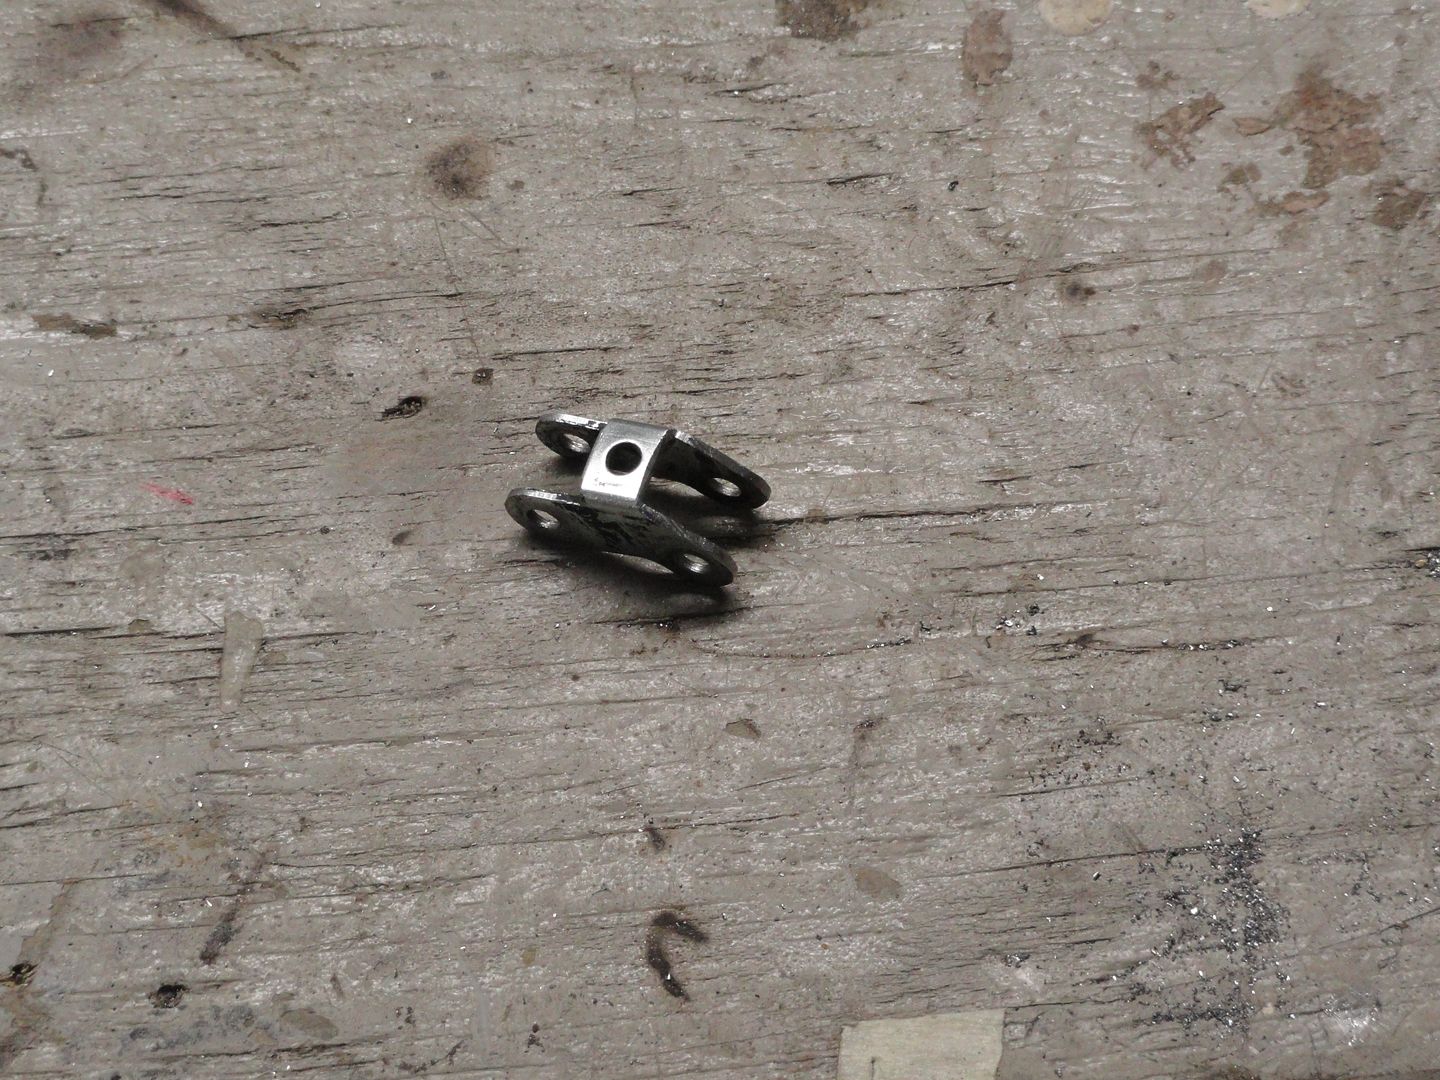 Then i made a mount to go to the axle 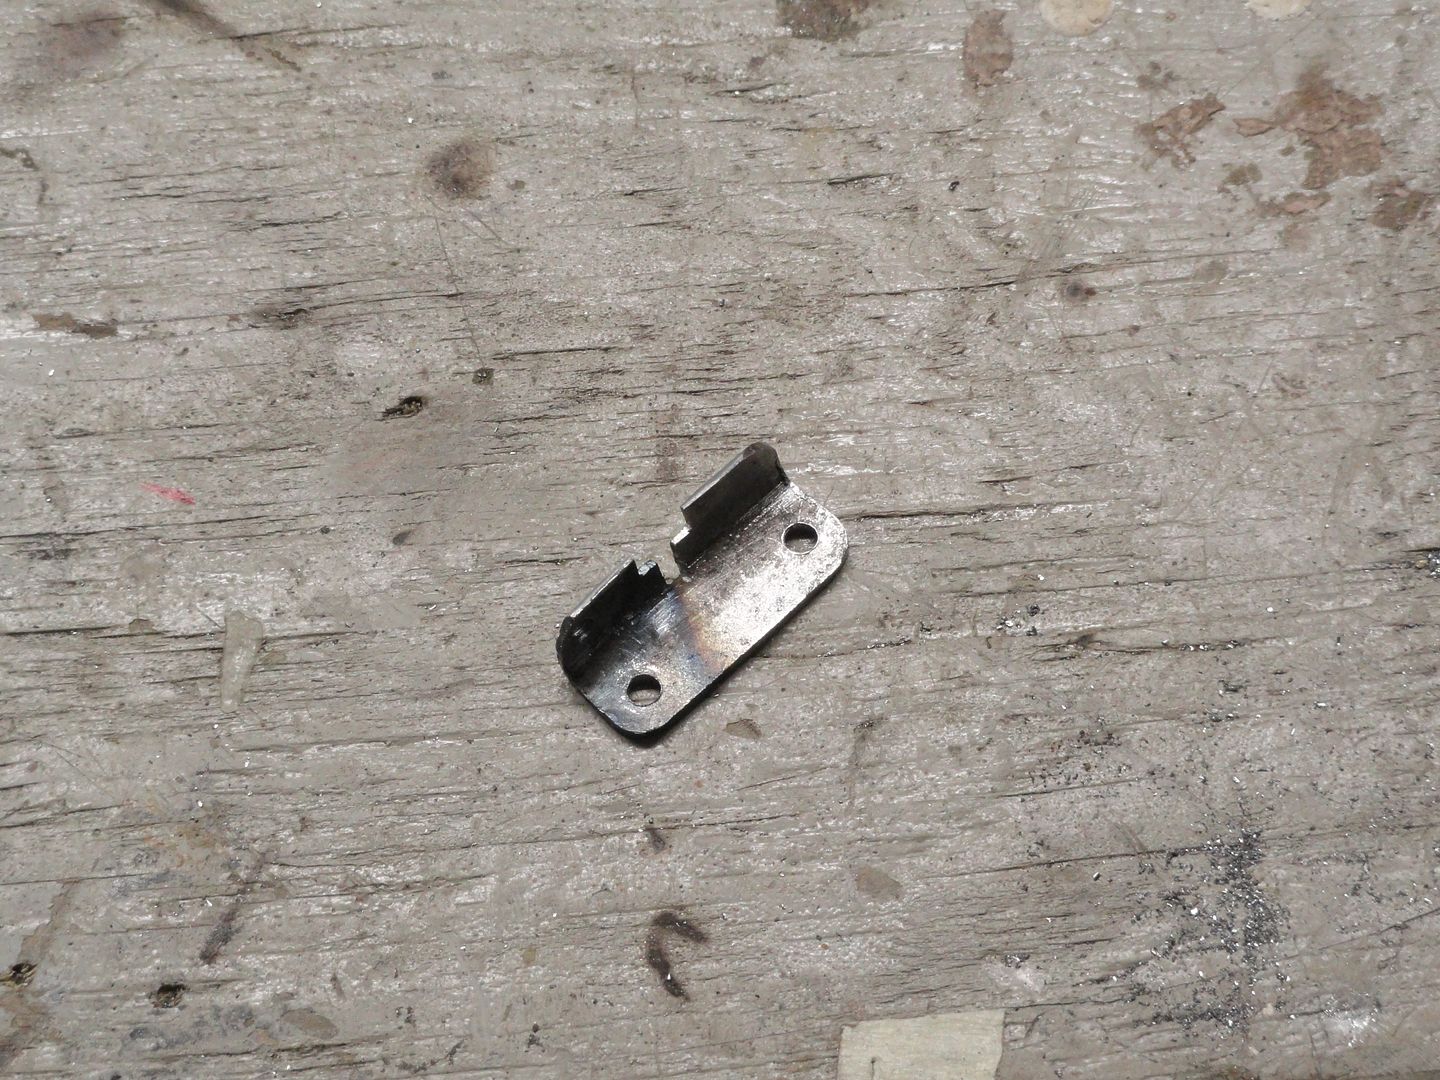 next was the rod. I only had the steel tubing to work with but the inside diameter was to large to tap for 4-40 so i pimprivised and placed a nut in the end  and welded it in place 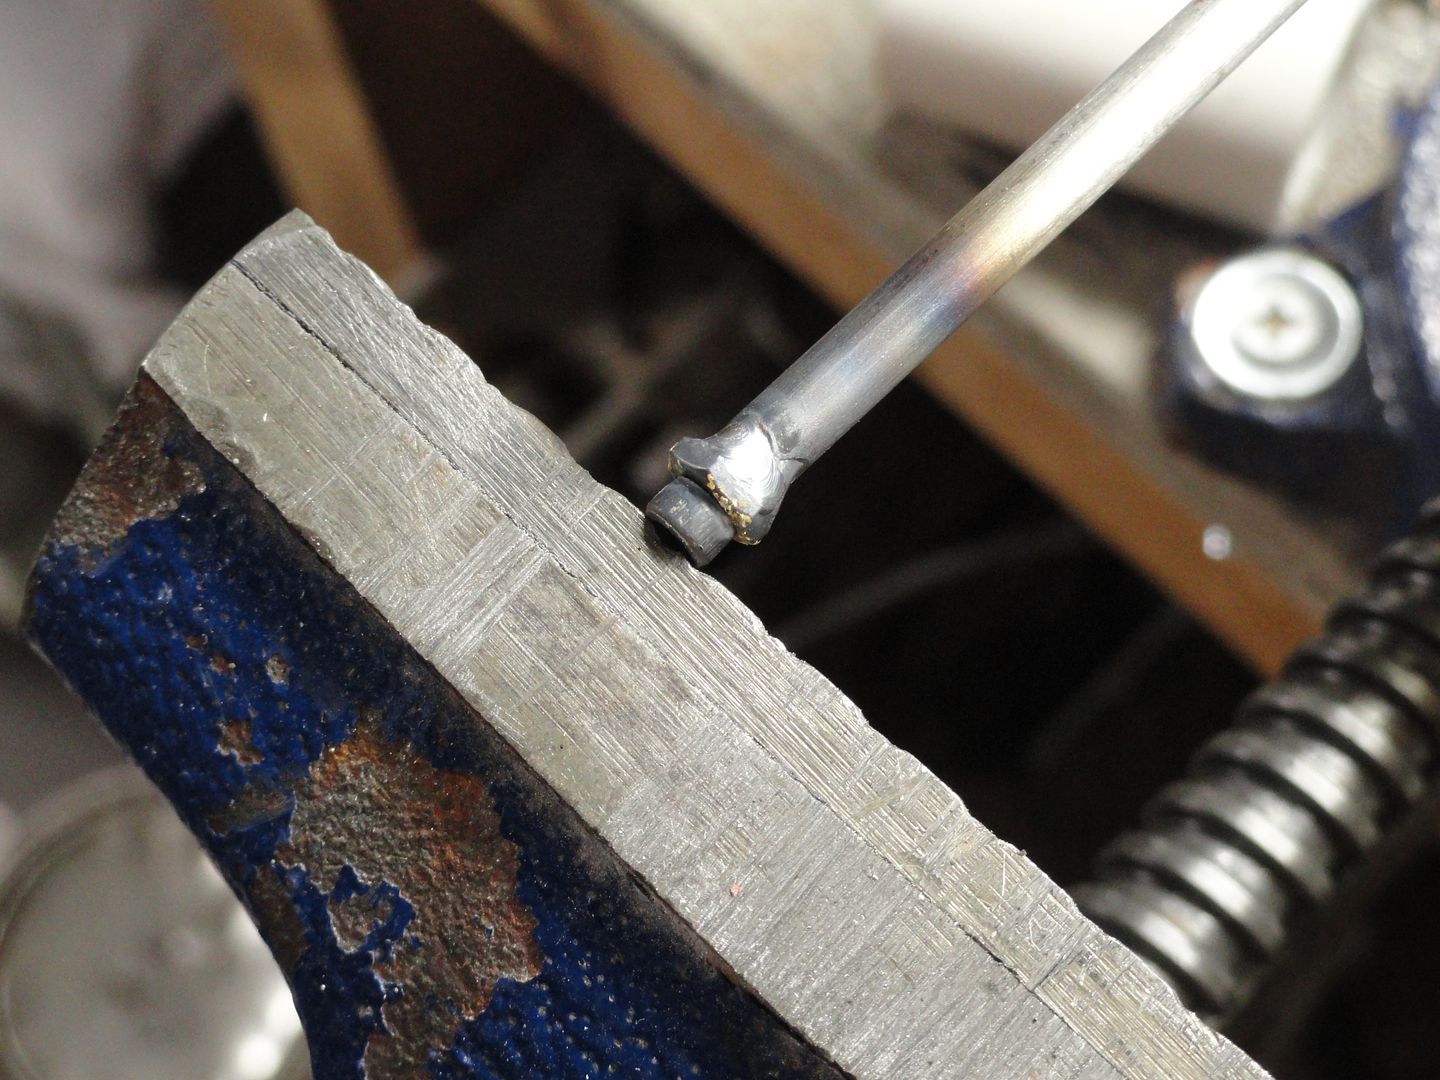 Just like a bung on real tie rods Next it was just a matter of cutting and welding the rod in place 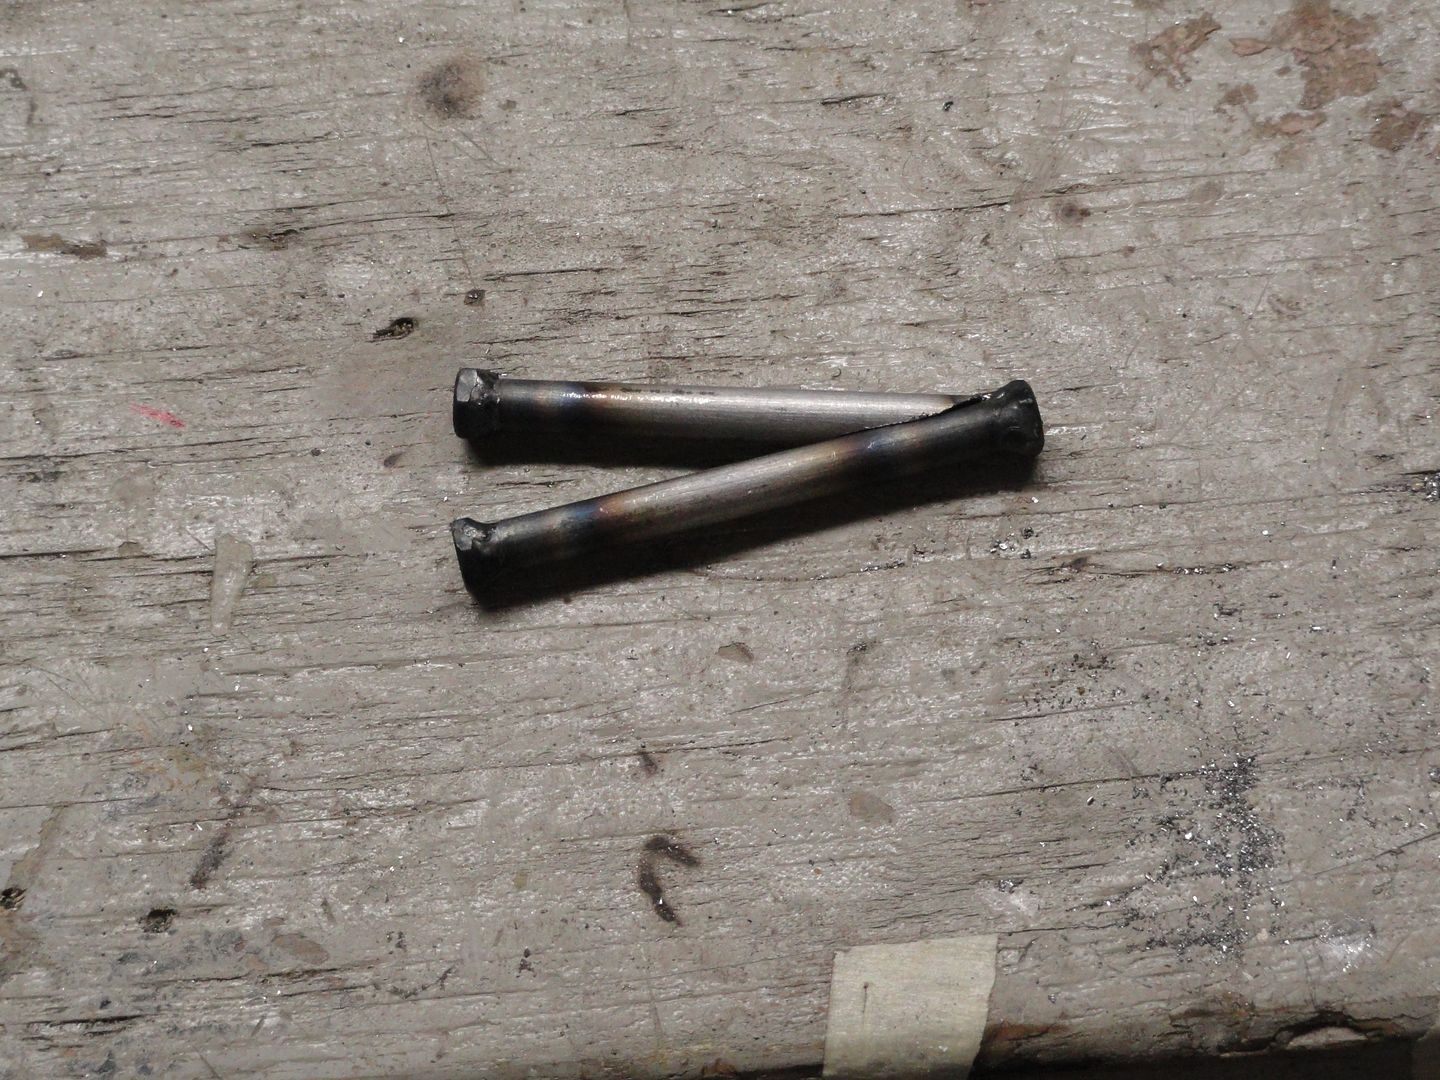 Later it will get brazed for a cleaner look Then i assembled it all to the axle mount 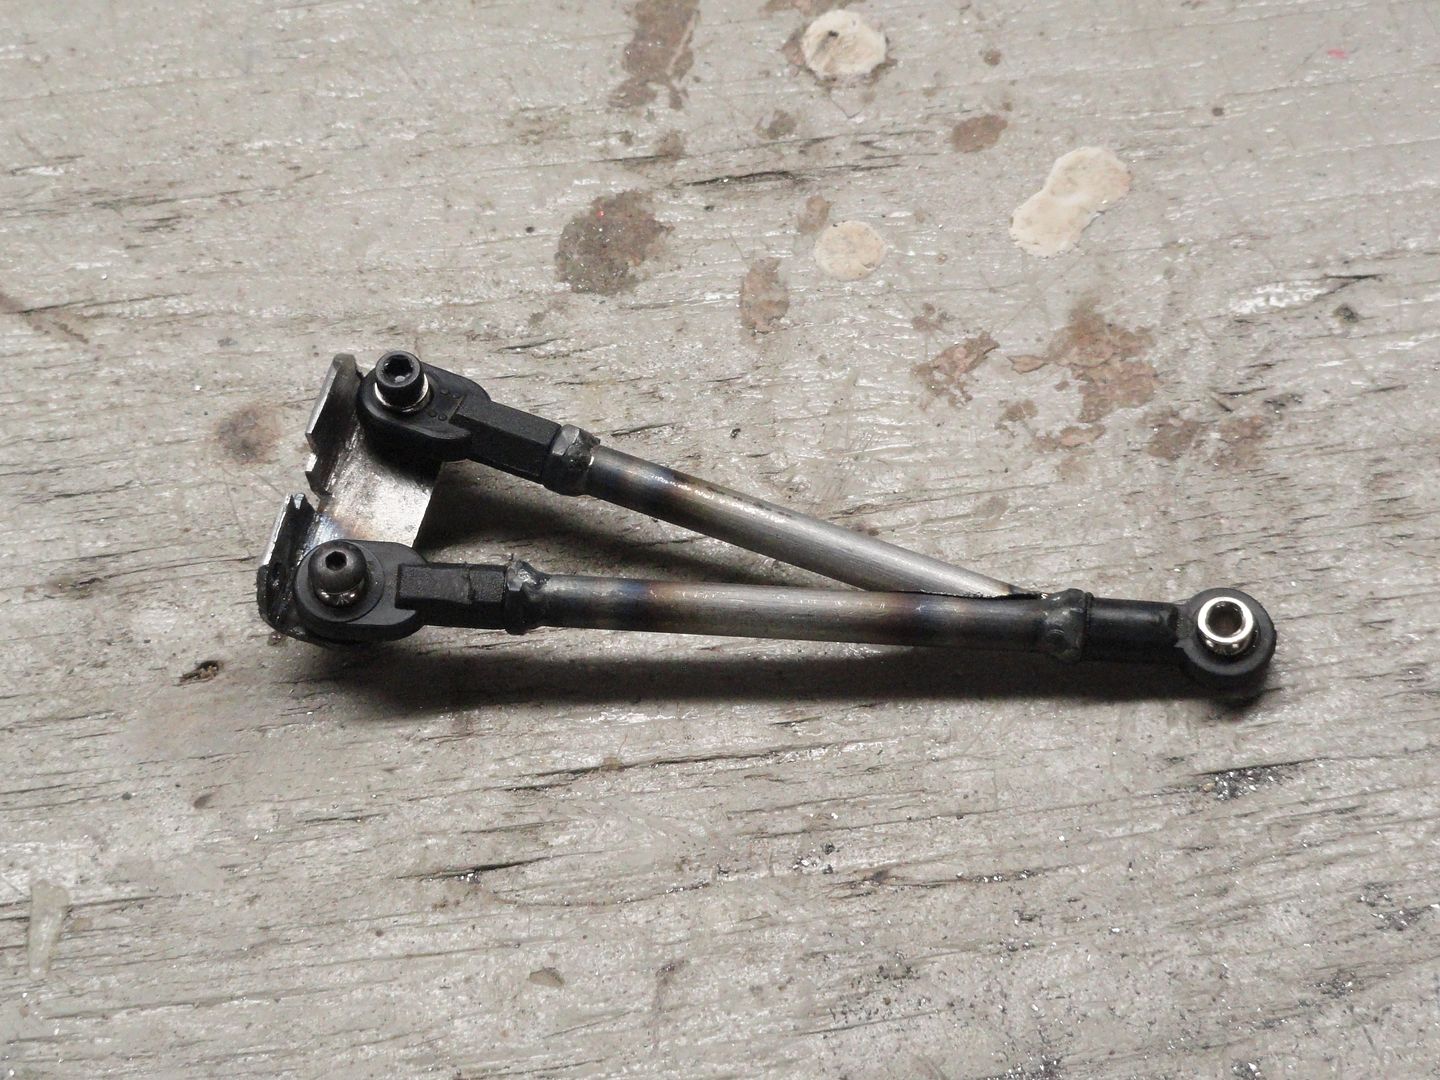 then mounted it to the chassis with the shackle hanging down attached to the crossmember with some scrap pieces of tubing. (yes i know the shackle should be up but it fit better this way and seems to work fine) 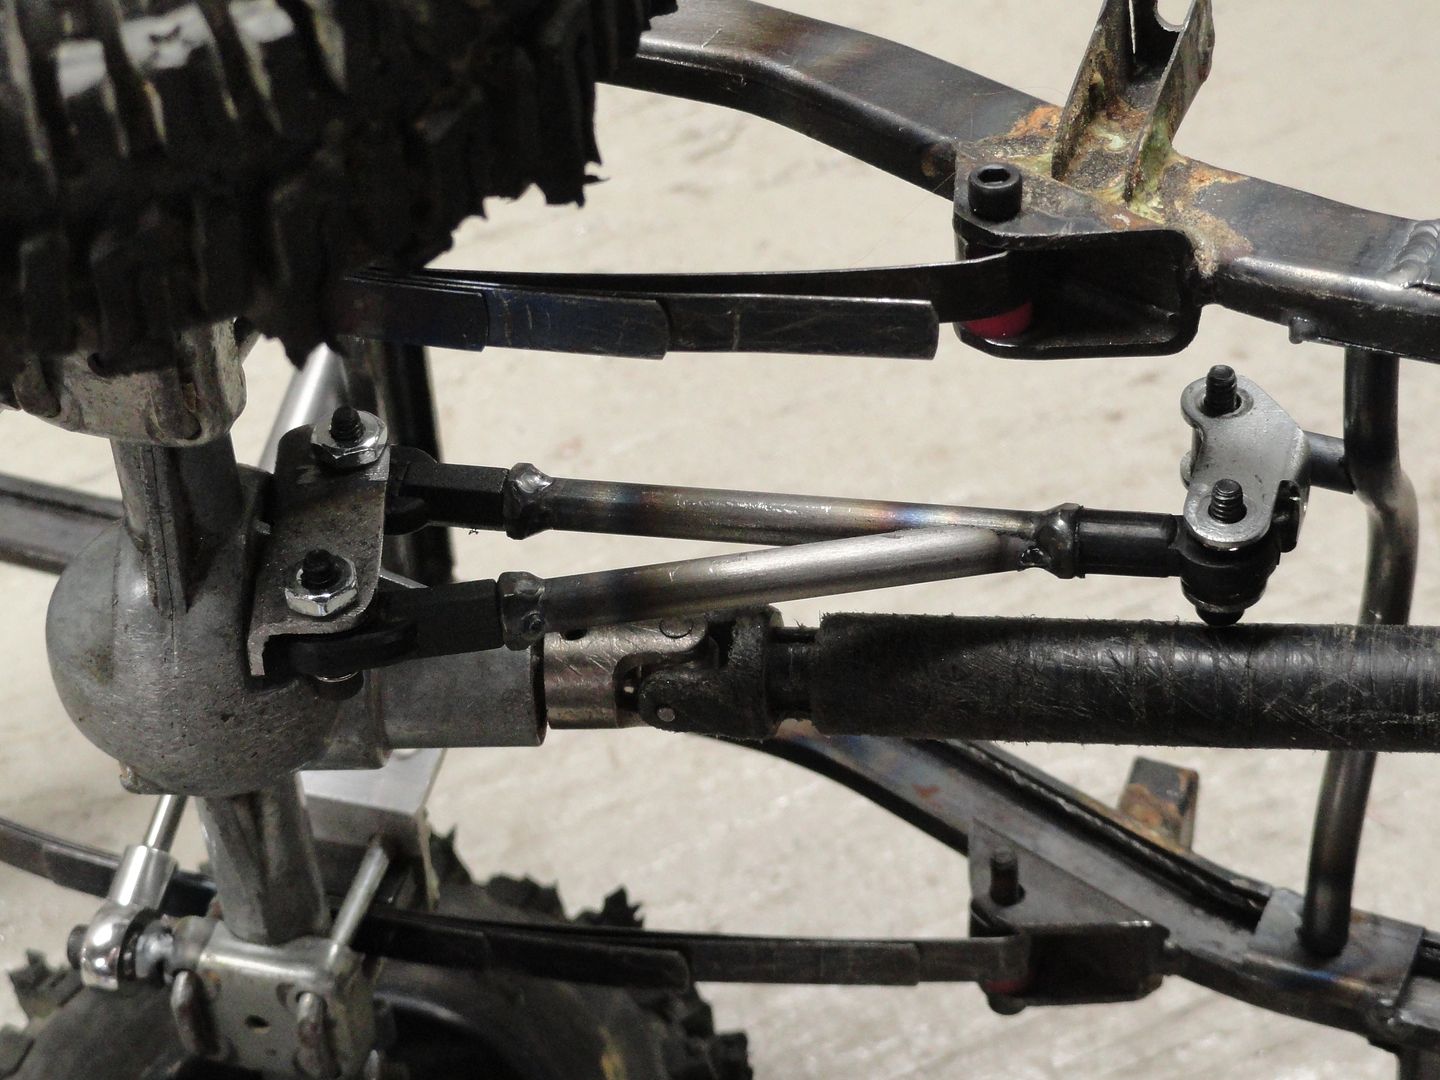 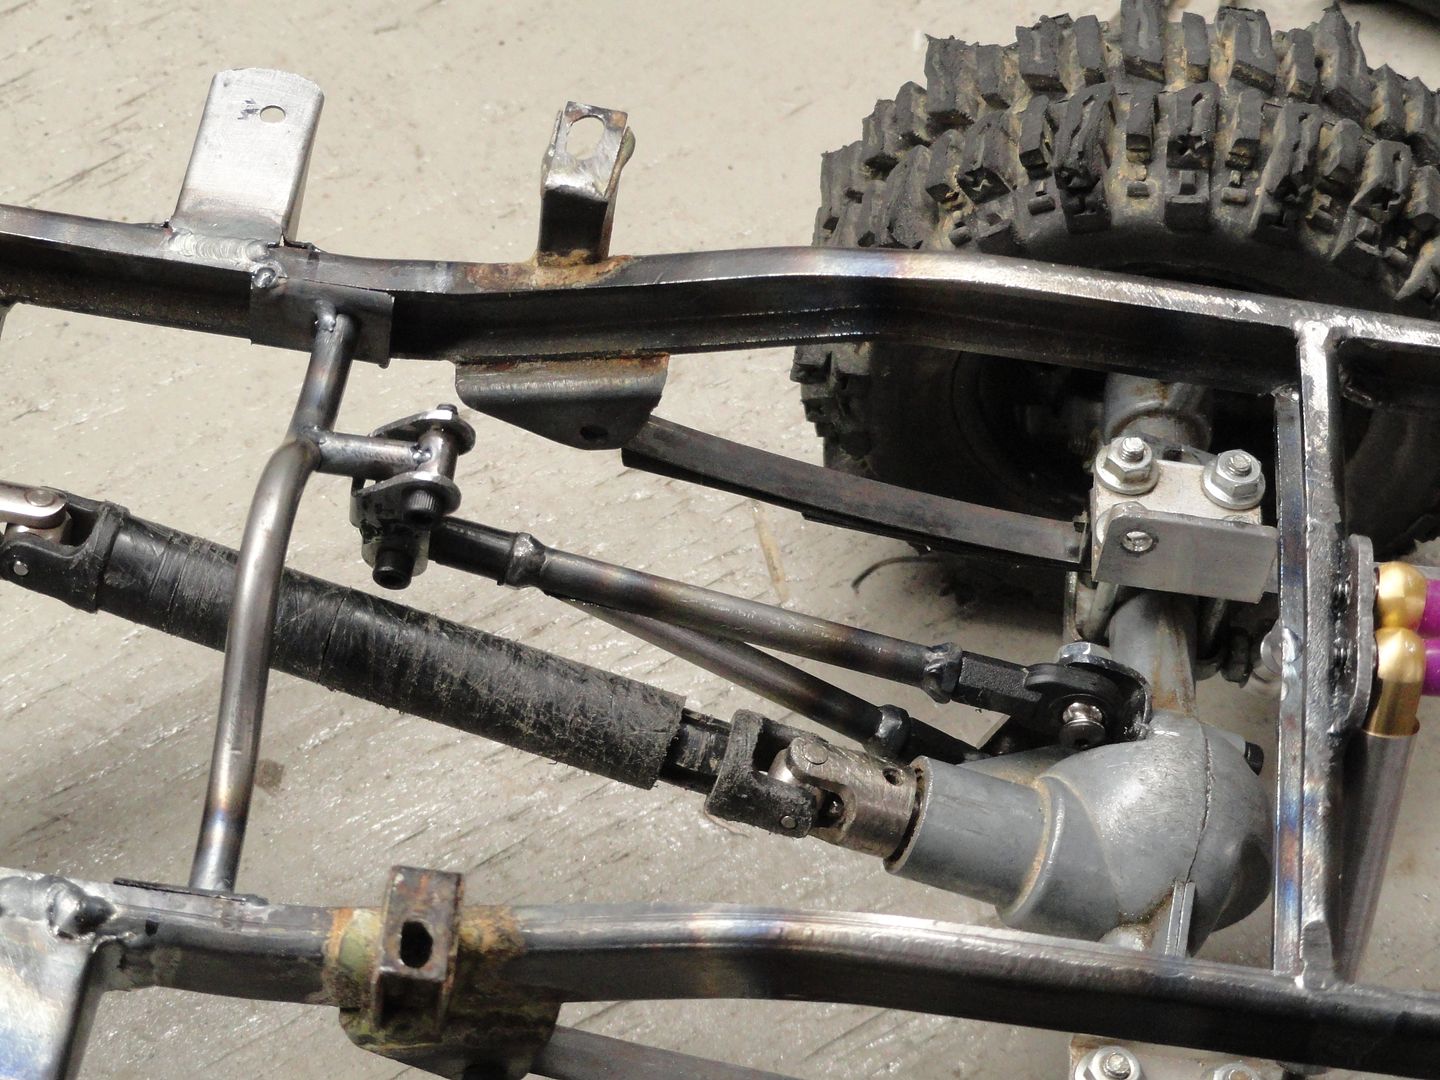 then i needed a battery mount so i took the top of an old VCR case and bent up a "gas tank" skid plate and screwed it to the frame rails after drilling and tapping some holes 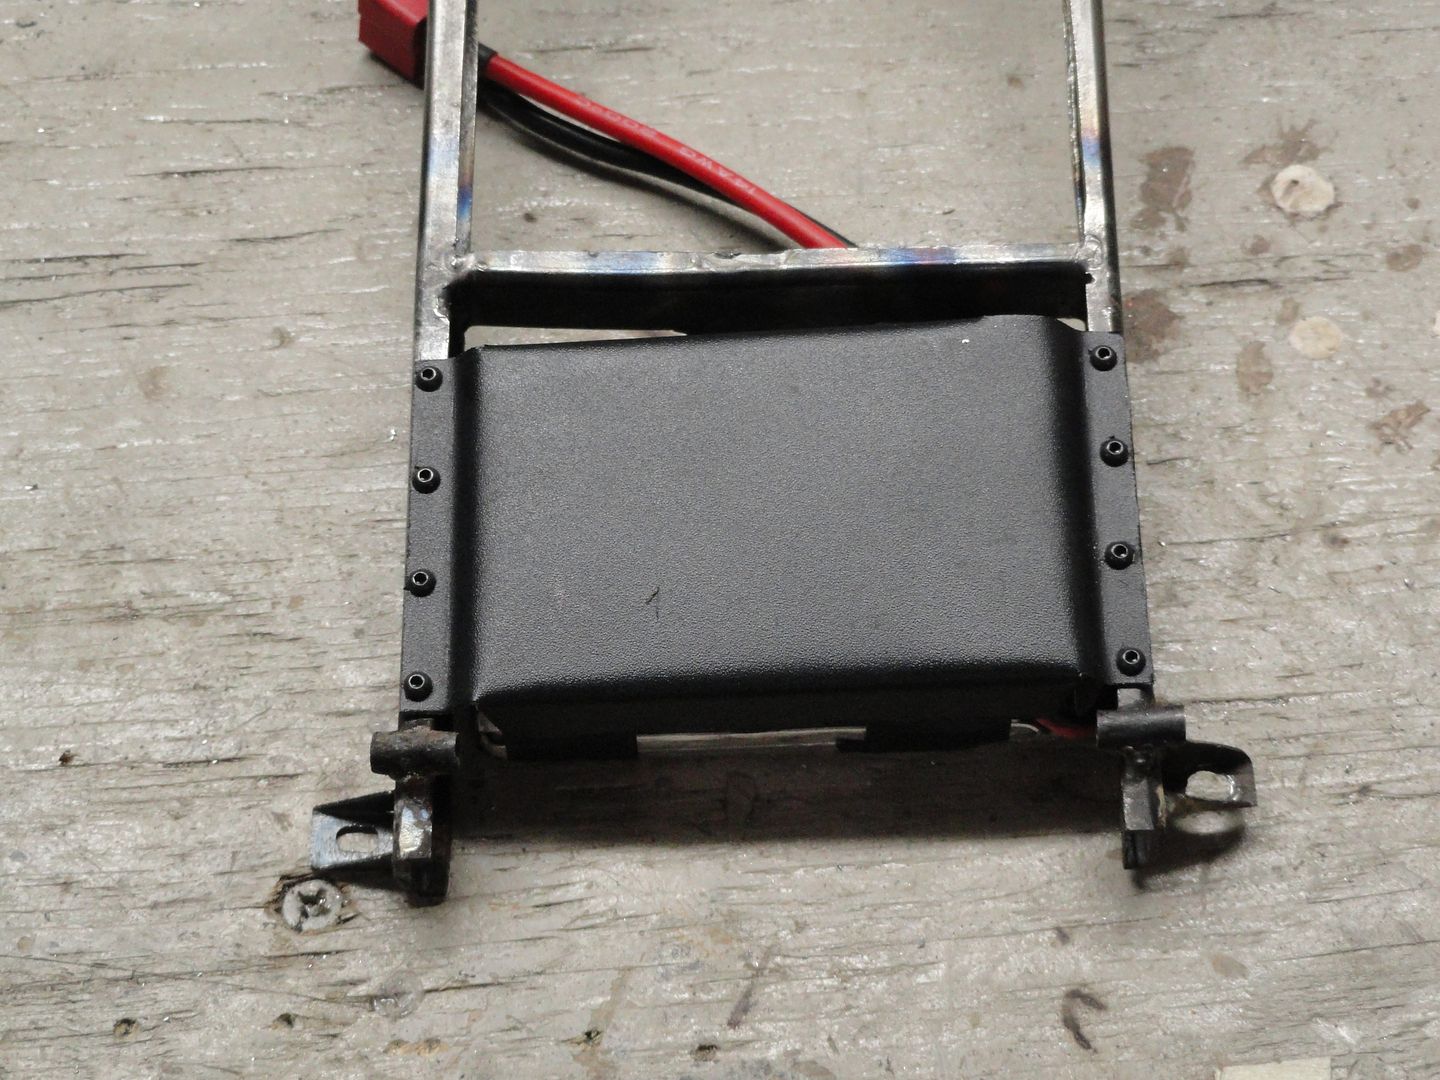 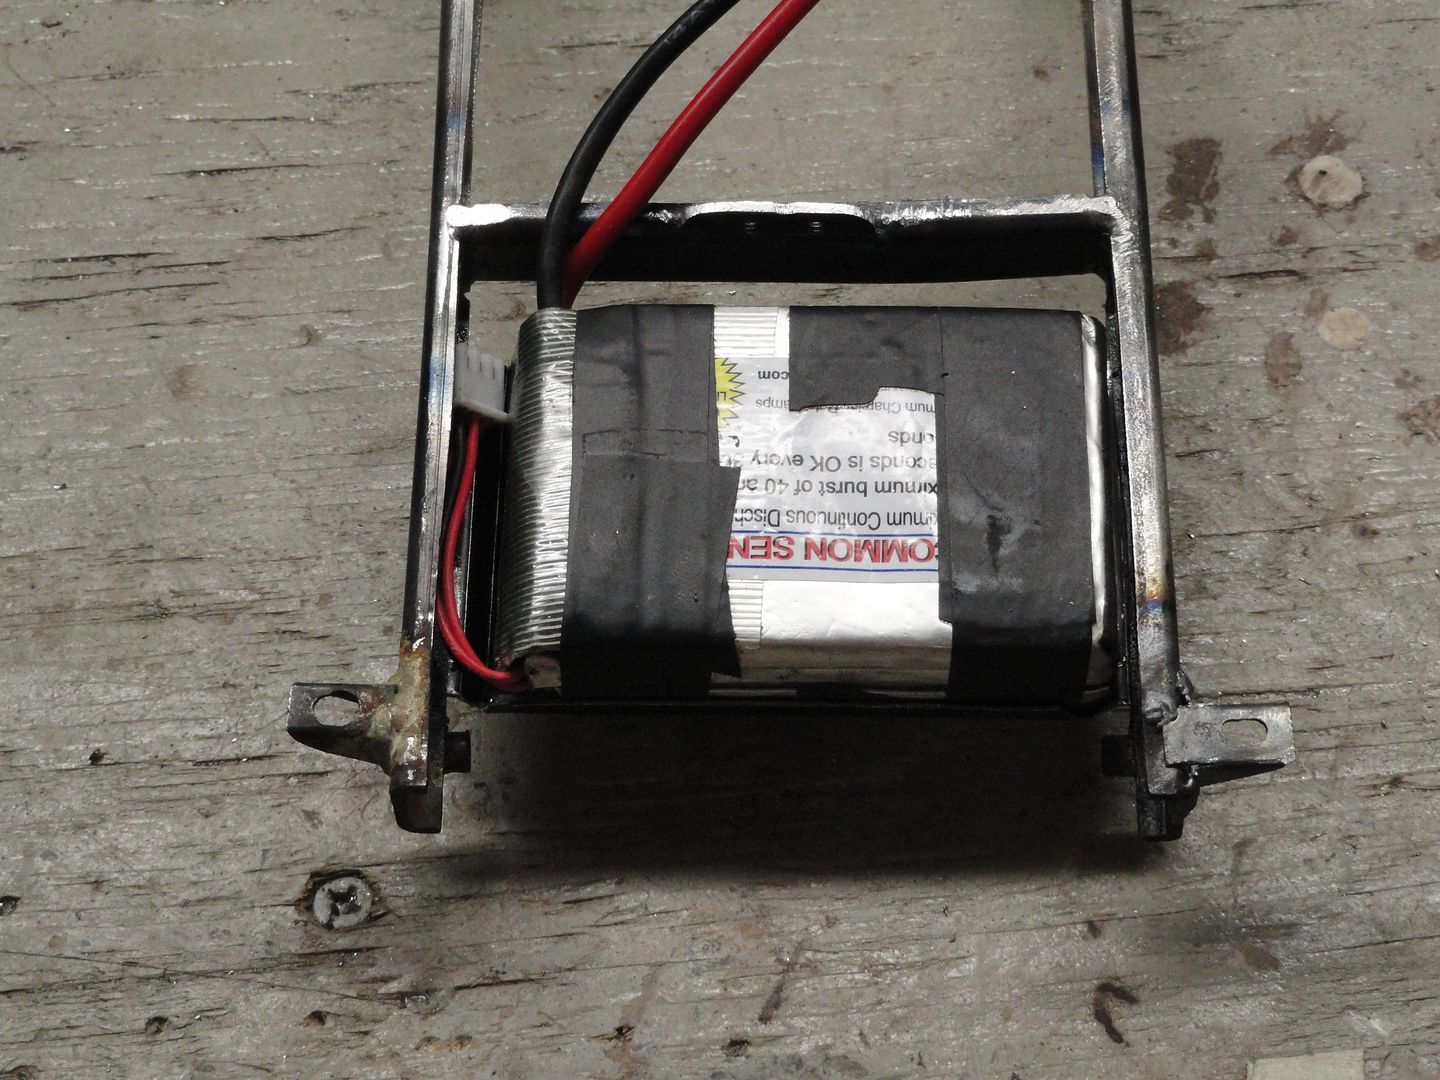 Hides the LiPo pretty well and one last thing i did was to glue the nuts to the inner fender and put on the new button head screws 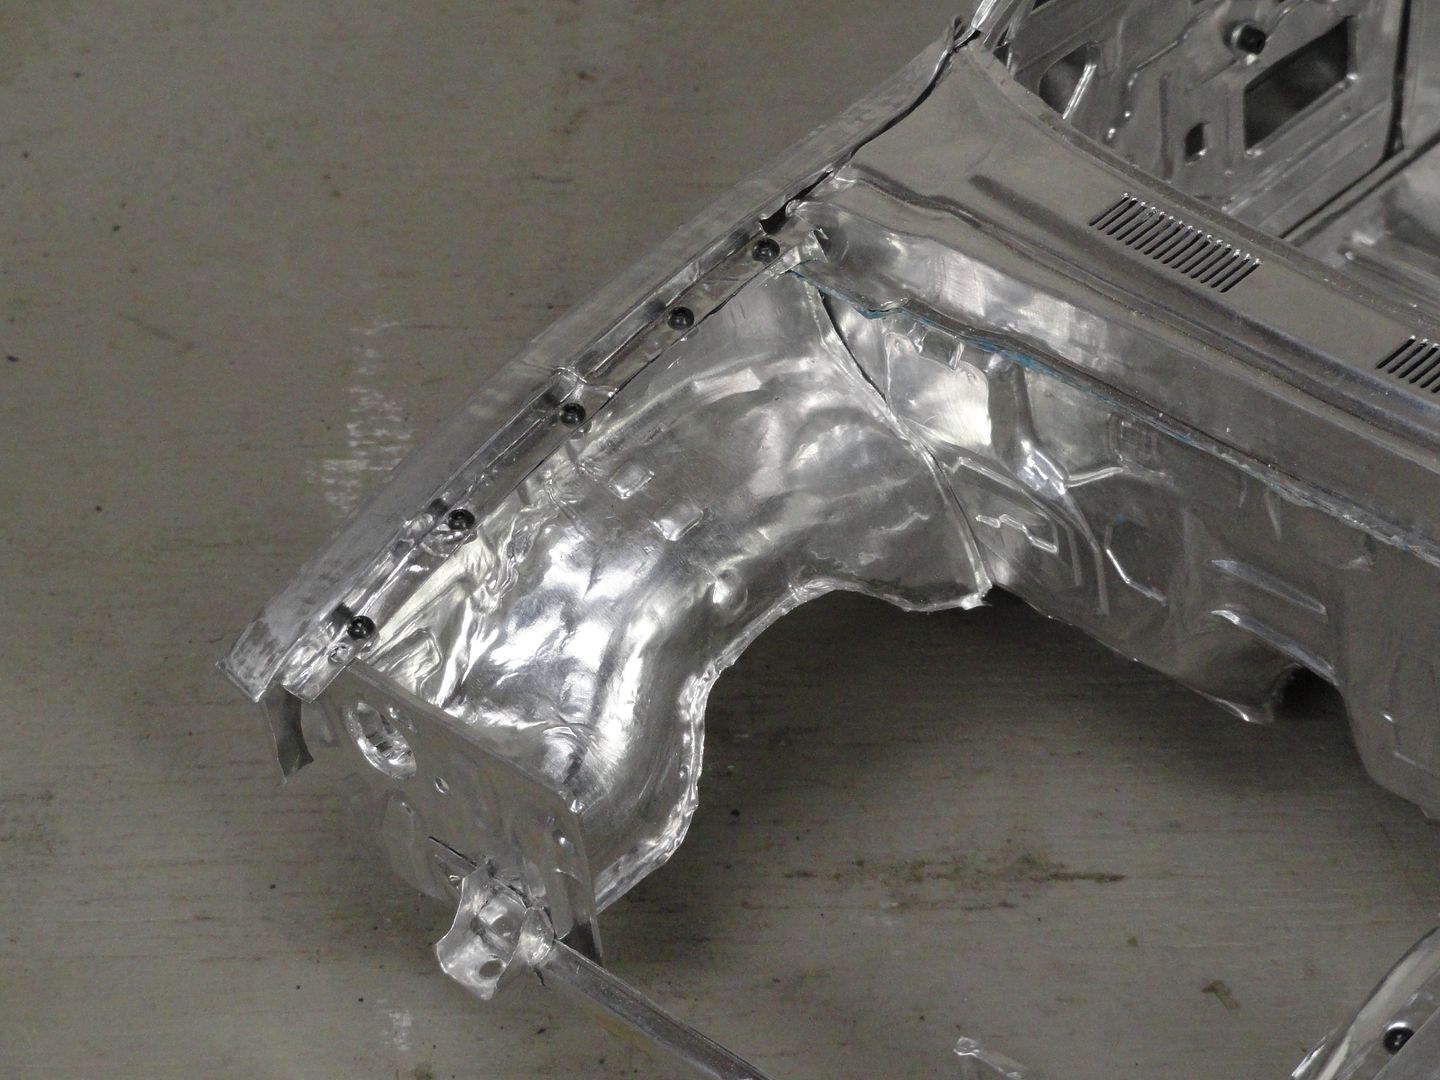 including one on the bottom 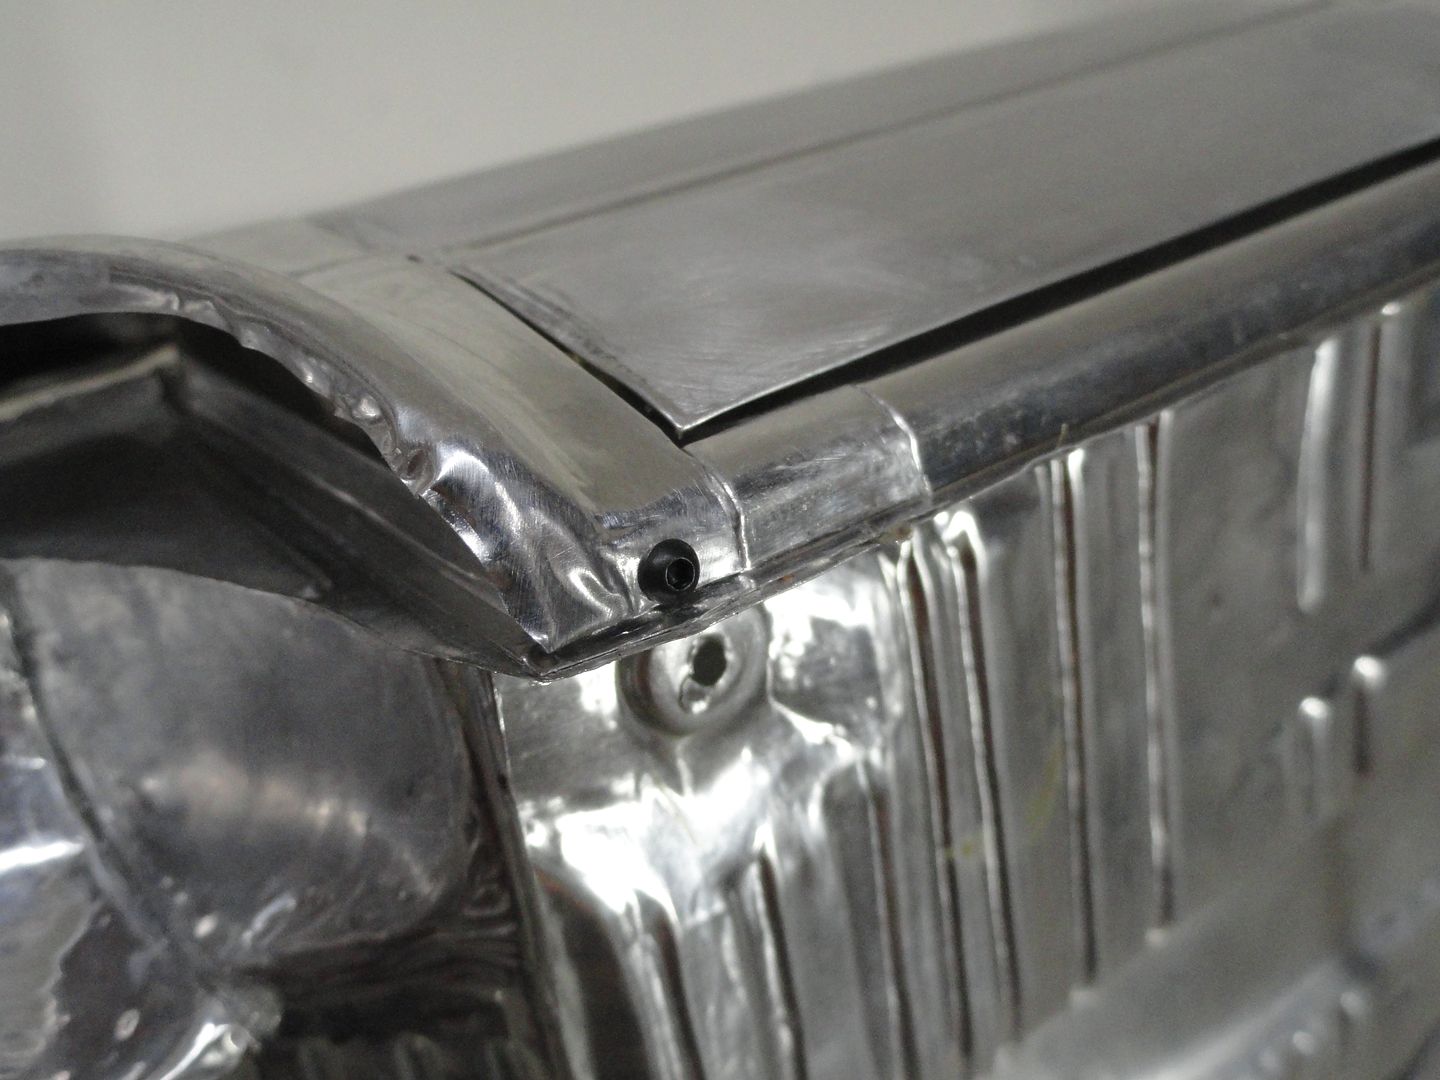 and just for fun i snapped some pics of the mostly complete cab off the chassis ENJOY! 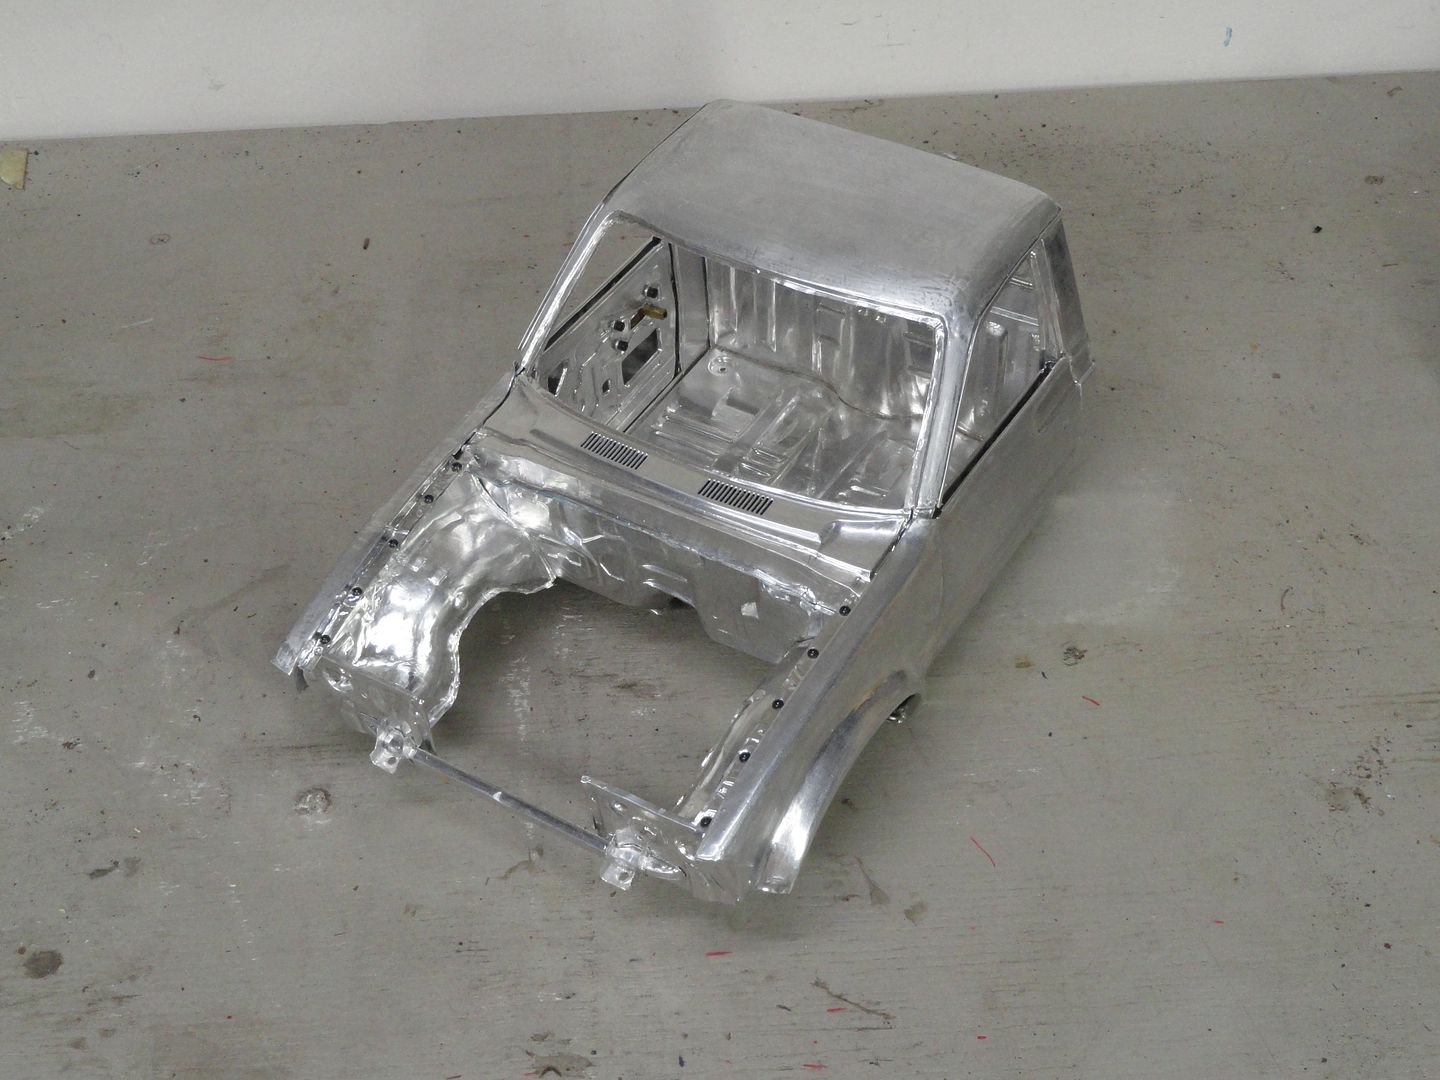 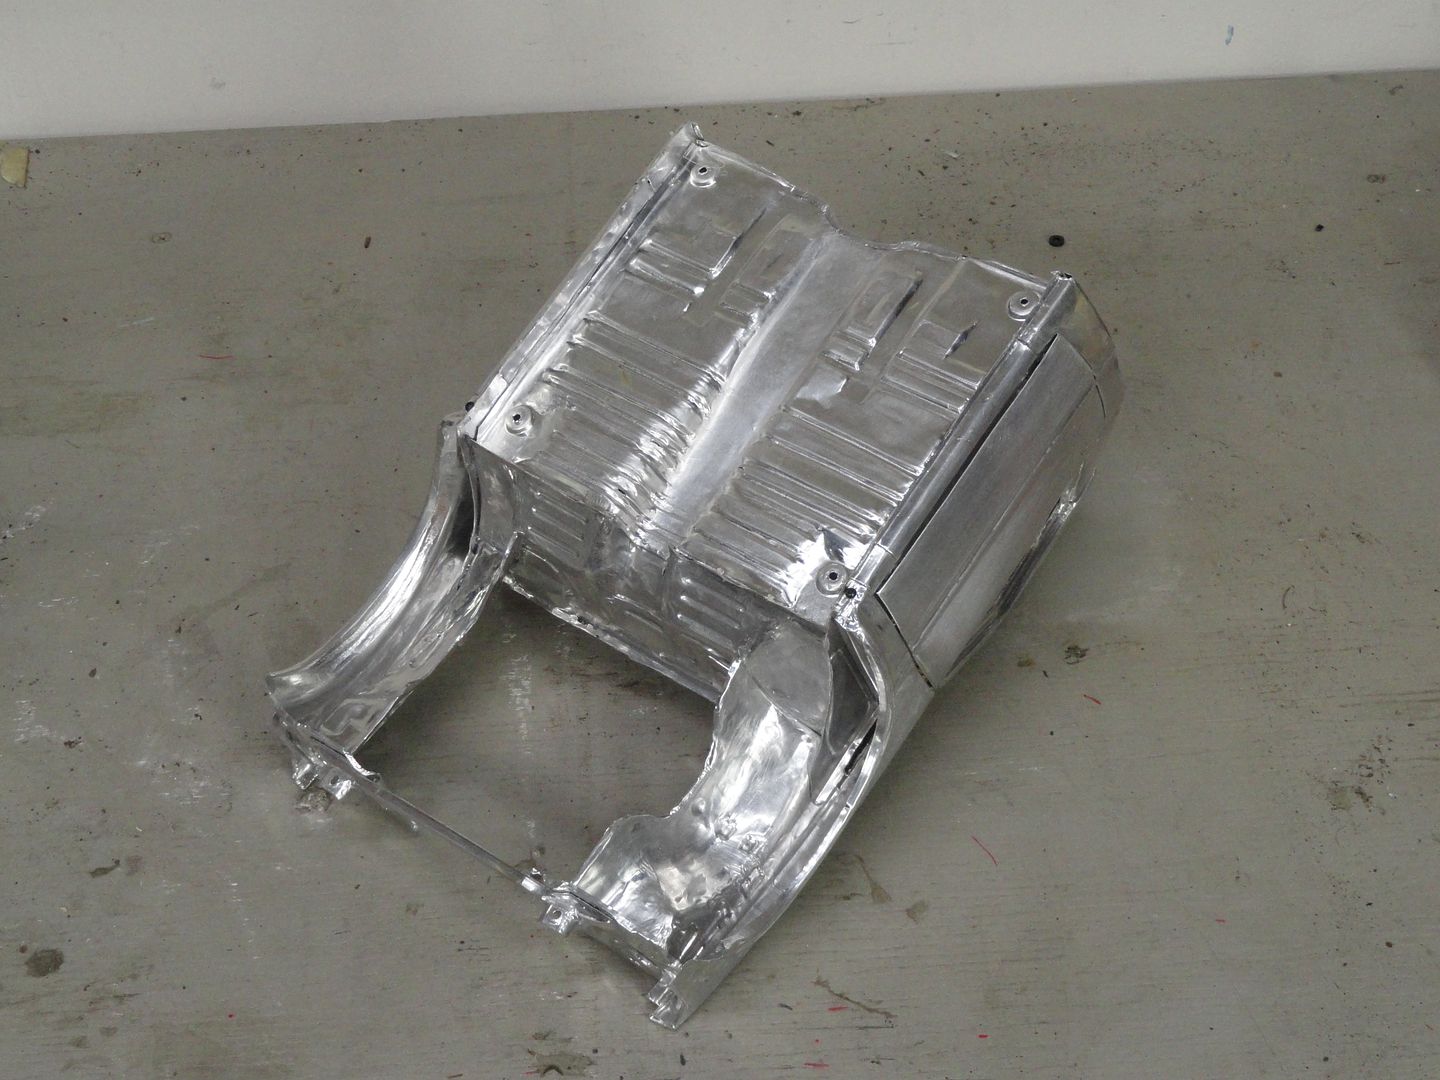 | ||||||||||
|
| |
|
10-06-2010, 08:15 PM
| #443 |
| www.team3sixrc.com Join Date: Mar 2008 Location: Scalerville
Posts: 4,506
|
|The great thing about this is I have said many times to you. Is your amazing detail is superb. But the bad thing is there is no freaking way i would ever drive this as it will be done in a second and a waste of your time and talent. Have you ever considered maybe throwing injected mold plastic within the body panels to give it more strength? |
|
| |
|
10-06-2010, 08:29 PM
| #444 |
| Rock Crawler Join Date: Mar 2009 Location: Frisco, Texas
Posts: 721
|
Nice work so far~!
|
|
| |
|
10-06-2010, 09:04 PM
| #445 |
| Quarry Creeper Join Date: Nov 2006 Location: out in boonies!!
Posts: 349
|
this build is freaking awesome |
|
| |
|
10-07-2010, 07:31 PM
| #446 |
| Quarry Creeper Join Date: Jul 2008 Location: Kaufman
Posts: 451
|
I never said right now. Just we need to get this published, when it is done of course. Hell they may do it right now like the hot rod mags do, a 2 part story you know.
|
|
| |
|
10-07-2010, 07:53 PM
| #447 | |
| Hateraide  Join Date: Dec 2008 Location: Mission BC
Posts: 1,538
| Quote:
| |
|
| |
|
10-07-2010, 08:31 PM
| #448 |
| Quarry Creeper Join Date: Oct 2009 Location: Athens
Posts: 474
|
Absolutely fantastic build, i've never seen anything like it. I wish i had half your skills and patience Cheers Mark Last edited by cbr6fs; 10-08-2010 at 06:05 AM. |
|
| |
|
10-08-2010, 03:54 AM
| #449 |
| Rock Crawler Join Date: Nov 2007 Location: North Crawlolina
Posts: 716
|
Amazing, I just sat down and read through all 23 pages and all I can say is wow . I have one of the aluminum bodies a friend got for me and the detail is so impressive I have been staring at it for months now waiting and gathering ideas for a build. I have now seen the master at work and I am ready to build, but I am still wanting a sturdy and stylish exo-cage around it because I drive my scalers hard and leave em wet Awesome build, I am going to watch this build till the end for sure, love the bumper too, simple and cool looking. Awesome build, I am going to watch this build till the end for sure, love the bumper too, simple and cool looking.
|
|
| |
|
10-08-2010, 06:44 AM
| #450 |
| I'm a retard Join Date: May 2010 Location: bellingham, Wa.
Posts: 104
|
simply stunning....AND it gives me motivation, ambition and makes me cry Im confused |
|
| |
|
10-11-2010, 09:31 AM
| #451 |
| RCC Addict Join Date: May 2008 Location: Southern,WV
Posts: 1,136
|
Hey masher..Not to say your shocks don't look good because they do but if you would like a more realistic look other then the big black ends and the tiny shaft. Check out these shocks I made for one of my builds. My take on a scale shock..And how to build them. |
|
| |
|
10-12-2010, 07:35 AM
| #452 | |
| Rock Stacker Join Date: Sep 2010 Location: Calahoo, Alberta
Posts: 91
| Quote:
If you'd put the same focus and drive towards curing world hunger, everyone on the planet would be fat by now. I read the thread from start to finish, and was mesmerized the whole time. Awesome. Last edited by runout_mick; 10-12-2010 at 07:46 AM. | |
|
| |
|
10-19-2010, 02:22 AM
| #453 |
| Pebble Pounder Join Date: Oct 2010 Location: Dunedin FL
Posts: 146
|
So I am brand new here...I've owned a few RC vehicles but never got into the scale thing until recently seeing a few at my local hobby shop and got hooked. I have to say I just spent the last 2 hours going through your build thread from start to it's current post...amazing work sir. I mean just unbelievable!!! I have never seen anything like this before...and I can not wait to see the next part of detail you add to this already incredible build, your level of craftsmanship is unmatched. (went and checked out another build of yours as well...lol) |
|
| |
|
10-19-2010, 02:54 AM
| #454 |
| Rock Stacker Join Date: Jun 2010 Location: Folsom & Pomona
Posts: 90
|
WOW is all I can say.... I just read this from beginning to end. just AWESOME. Keep up the spectacular work. this thing is awesome :superbigdoublethumb: |
|
| |
|
11-22-2010, 09:33 PM
| #455 | ||||||||
| RCC Addict Join Date: Aug 2005 Location: New Oxford PA
Posts: 1,290
| Quote:
And no offense but I'm tired of people telling me i need to reinforce the body. you will see that not only will it detract severely from the scale realism I'm trying to achieve but it will also not be necessary. Quote:
Quote:
Quote:
Unfortunately the body you have is not one of mine but it is nice to see someone else interested in them. If you are worried about trashing the one you have since it has no support to it, i would defiantly put an exo cage around it. Quote:
Quote:
Quote:
If i was smart enough to do that i probably would but it seems I'm stuck with making crazy detailed RC cars LOL!!! Quote:
Well it's been a long time but i do have progress to show for it. After thinking about it for a while i decided it needed a rear bumper, and in the spirit of the budget build I wanted to make it look as if someone cut some simple steel plates and ran a piece of pipe through them 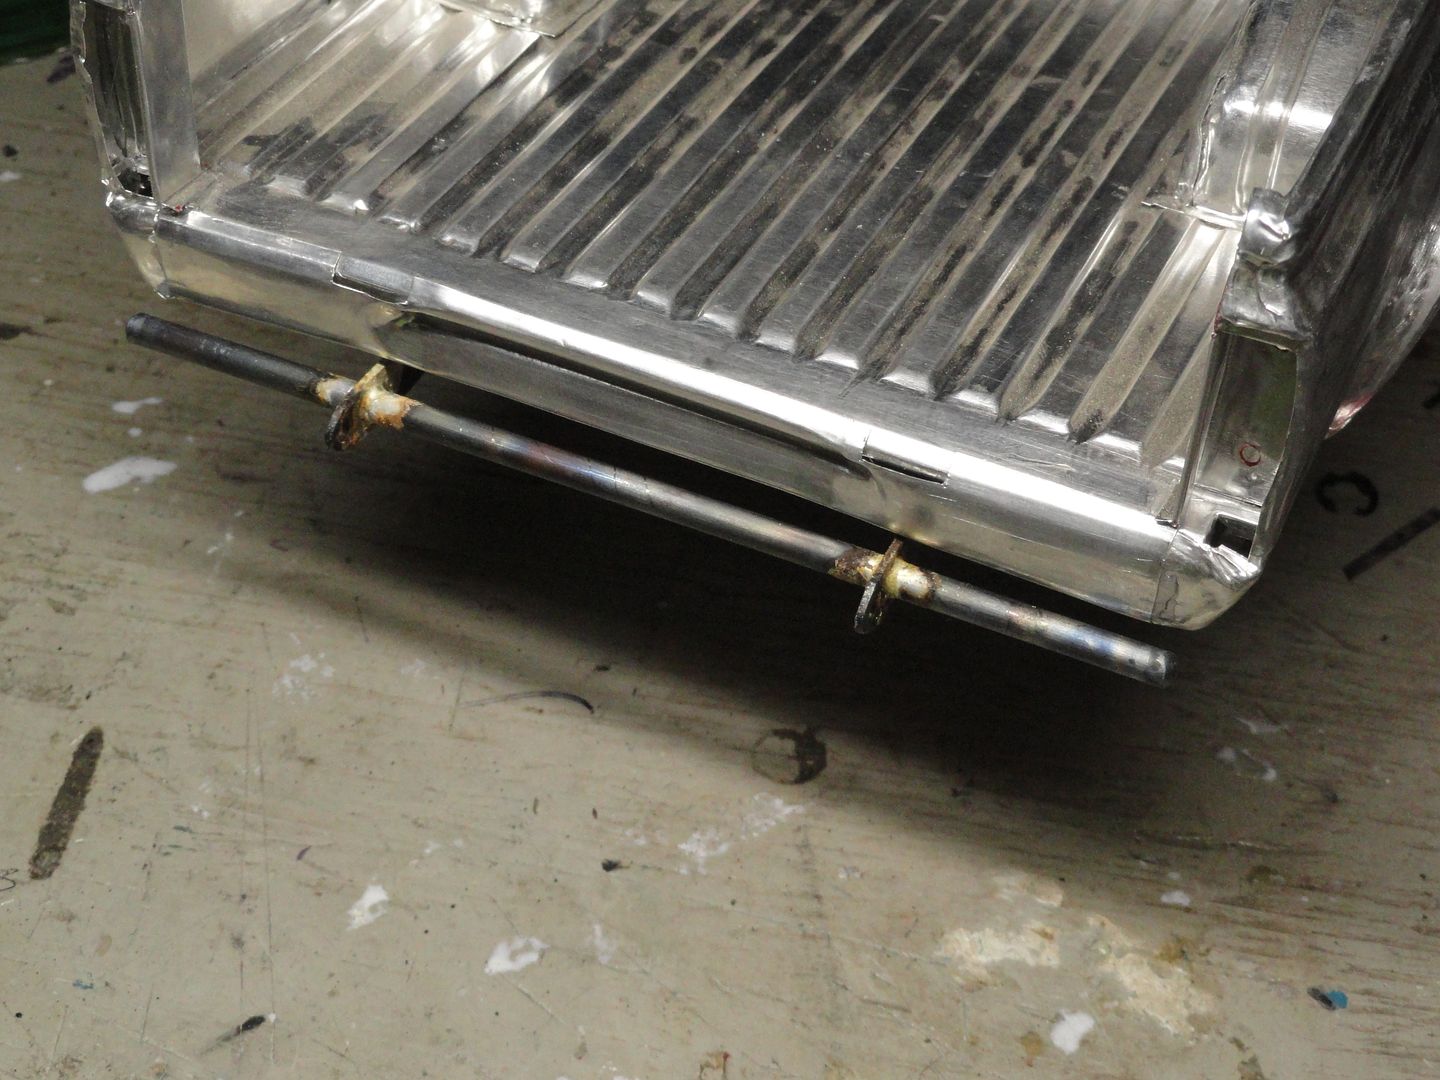 Then i stripped the whole truck down, brazed all the joints, blasted it then painted it, then painted the axles and the loose parts and re-assembled it 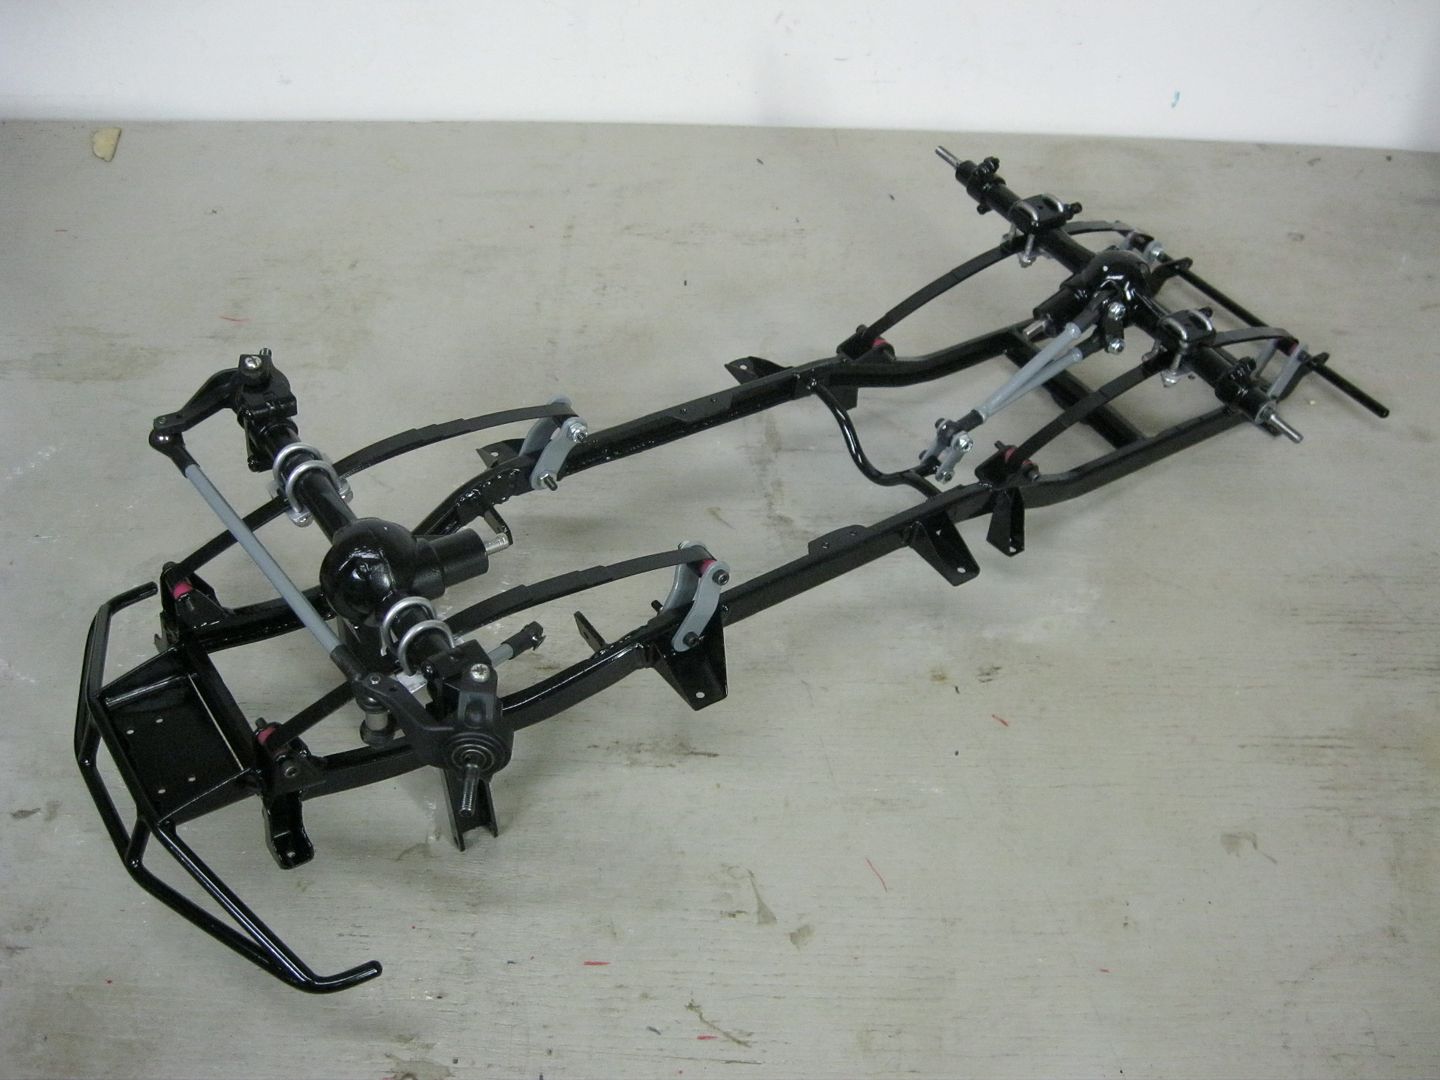 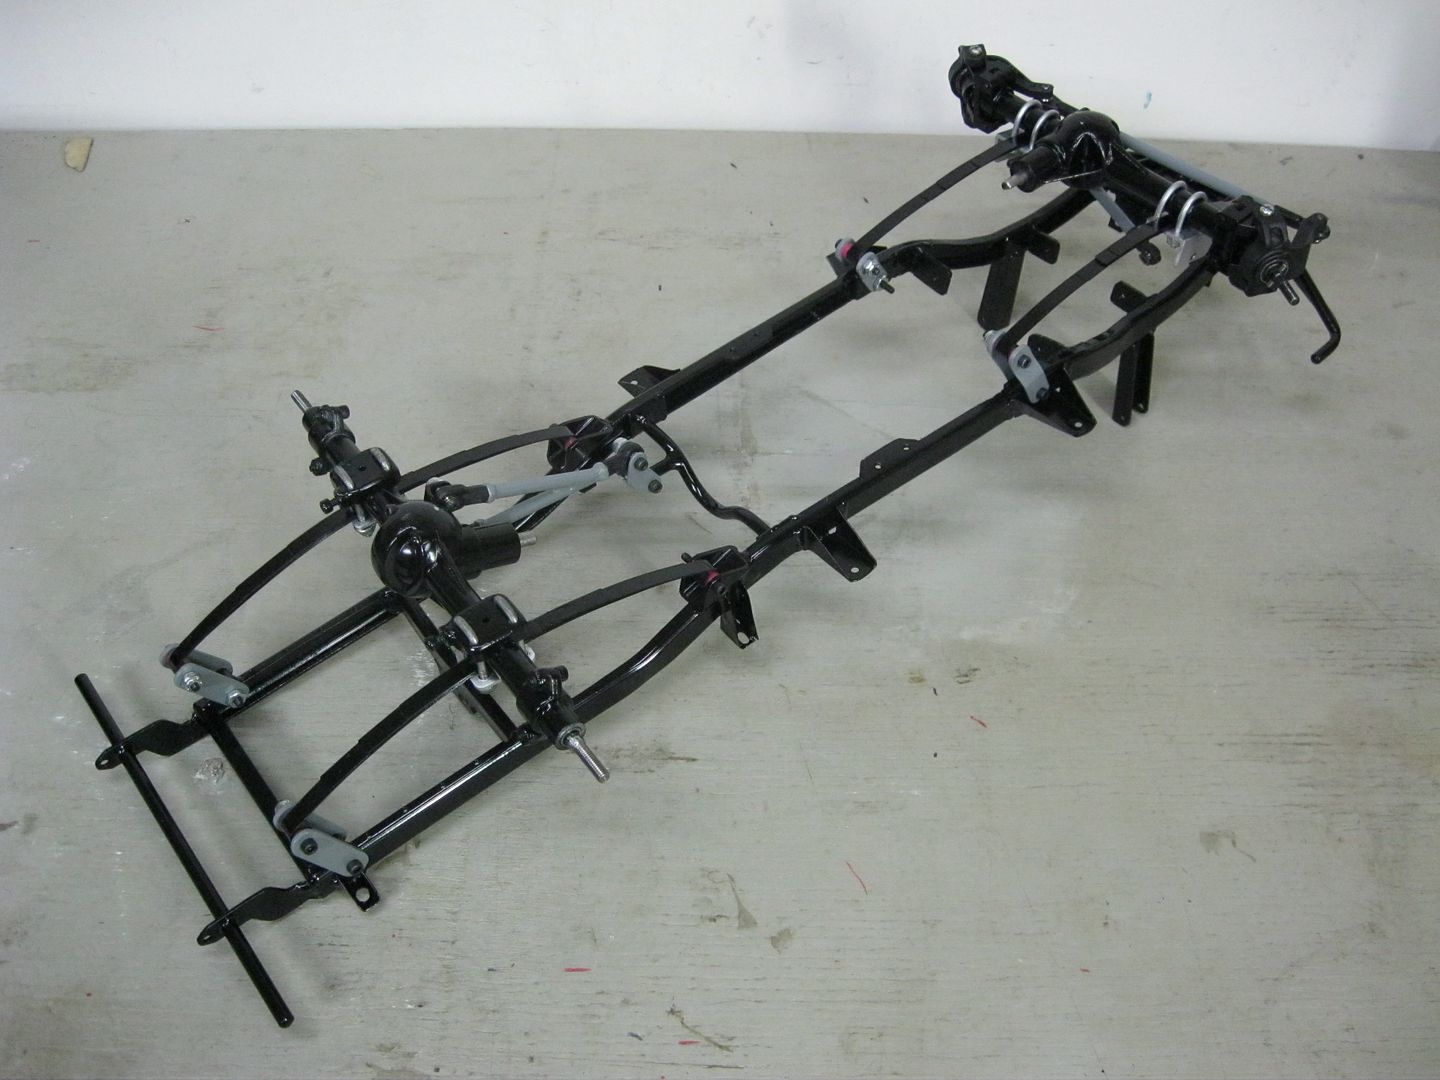 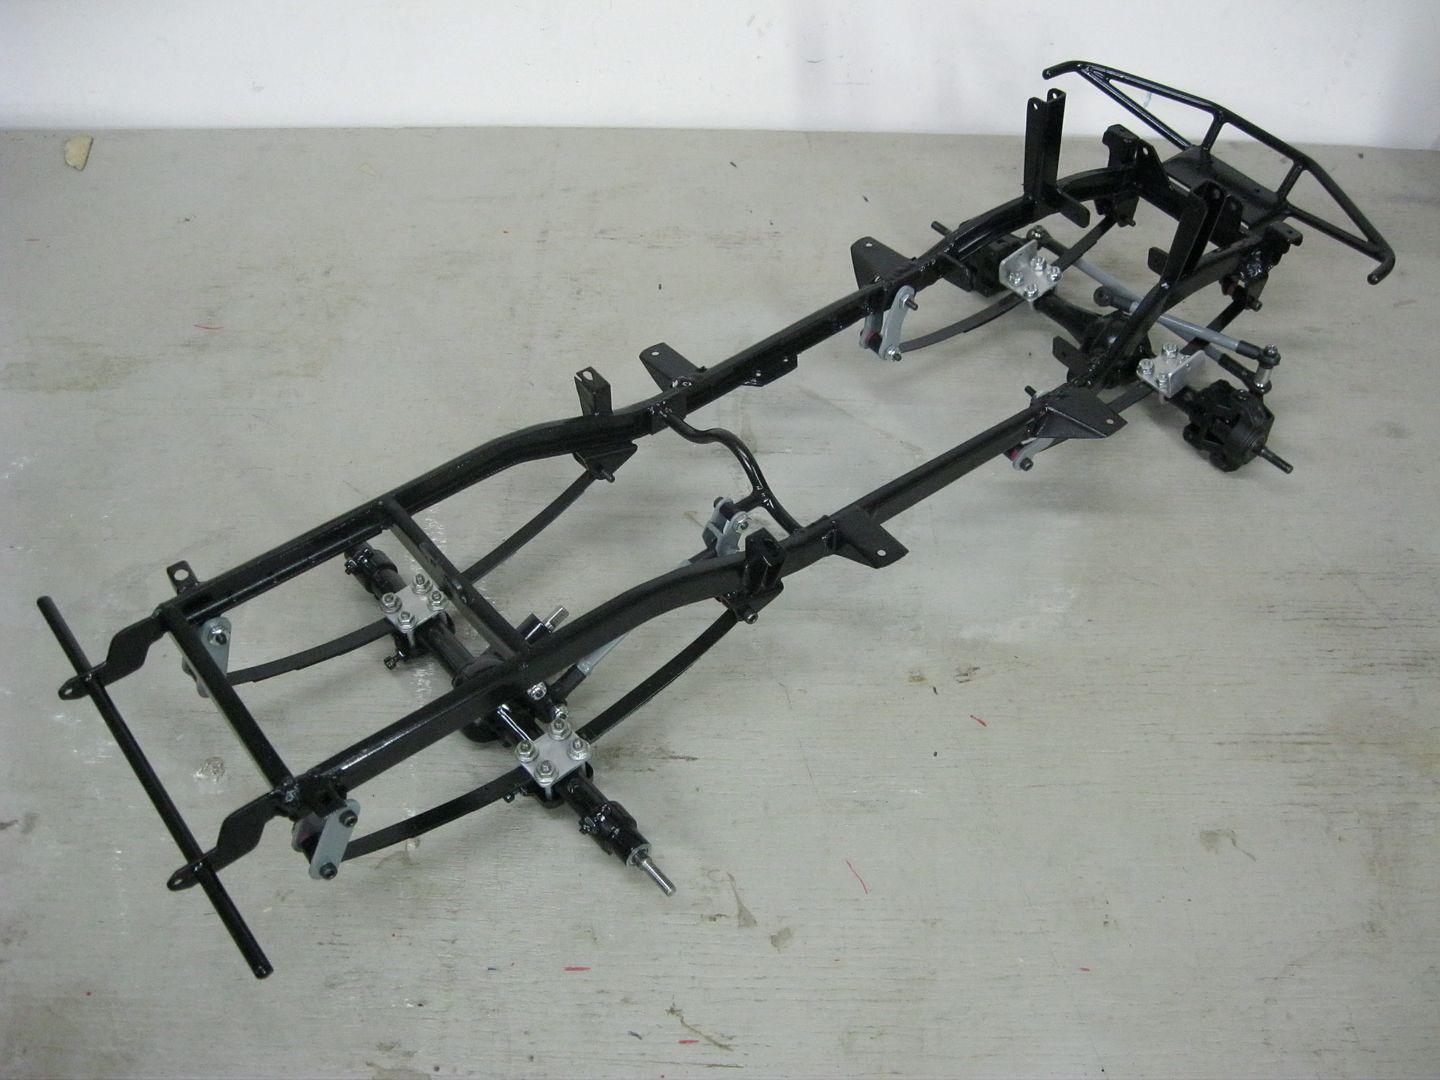  If you notice i added U bolts to the front axle. To do this i had to make them and after searching off and on for years finally found the right size rod to tap for 4-40, and completely by accident none the less. It happens to be coat hanger wire First i cut it to size 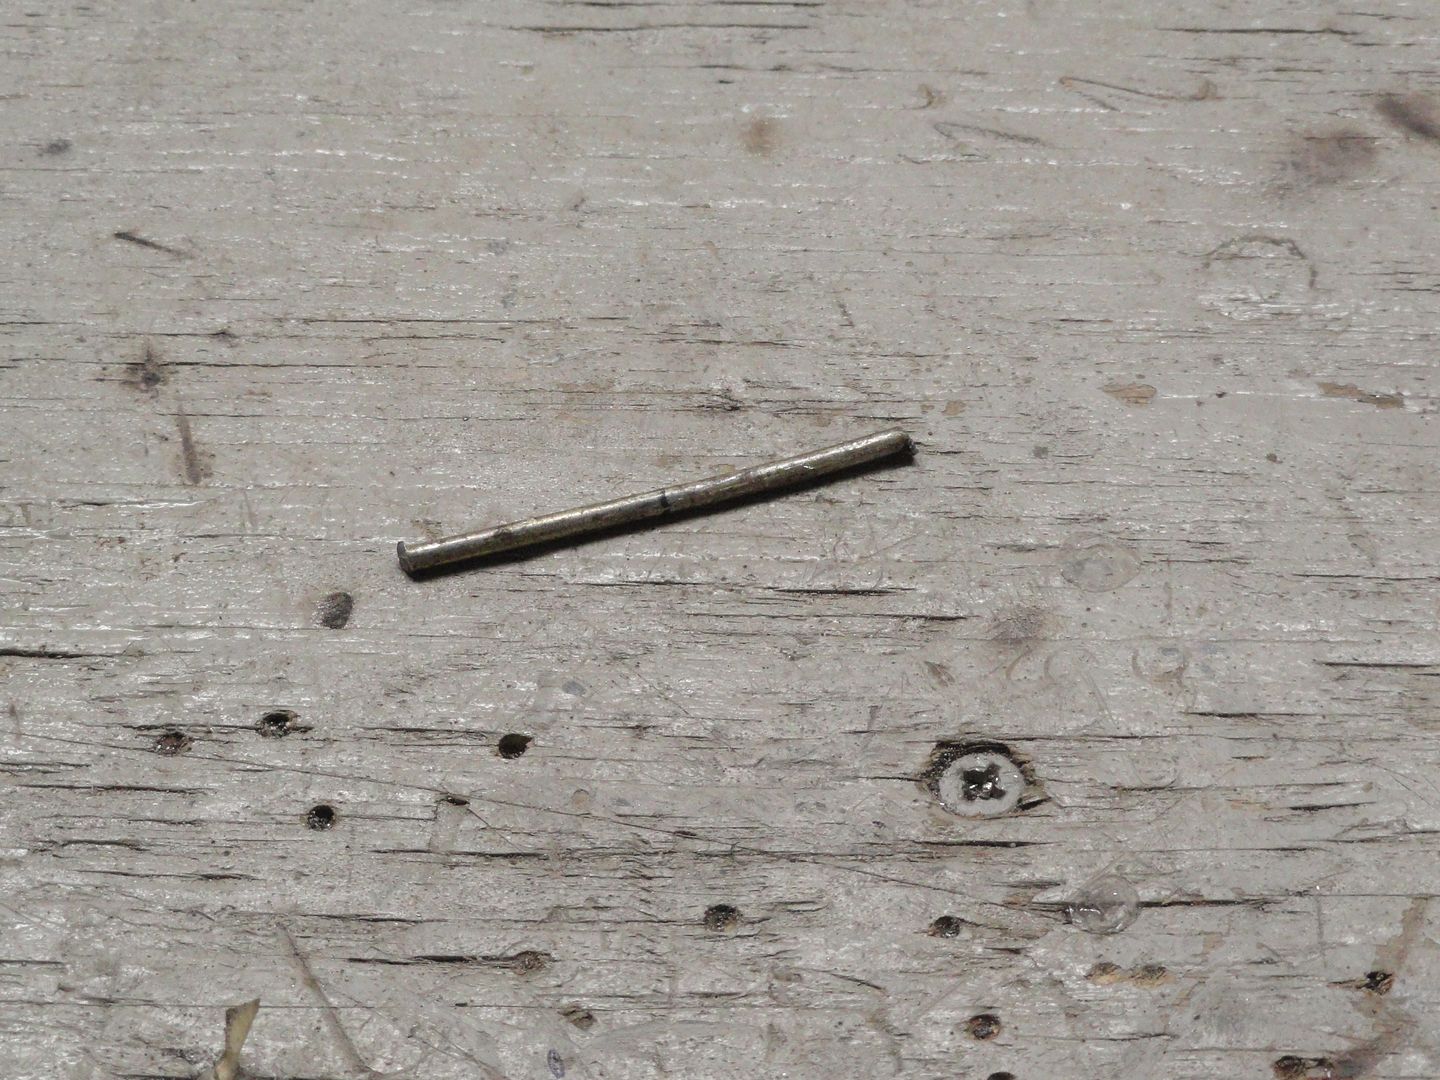 tapped it 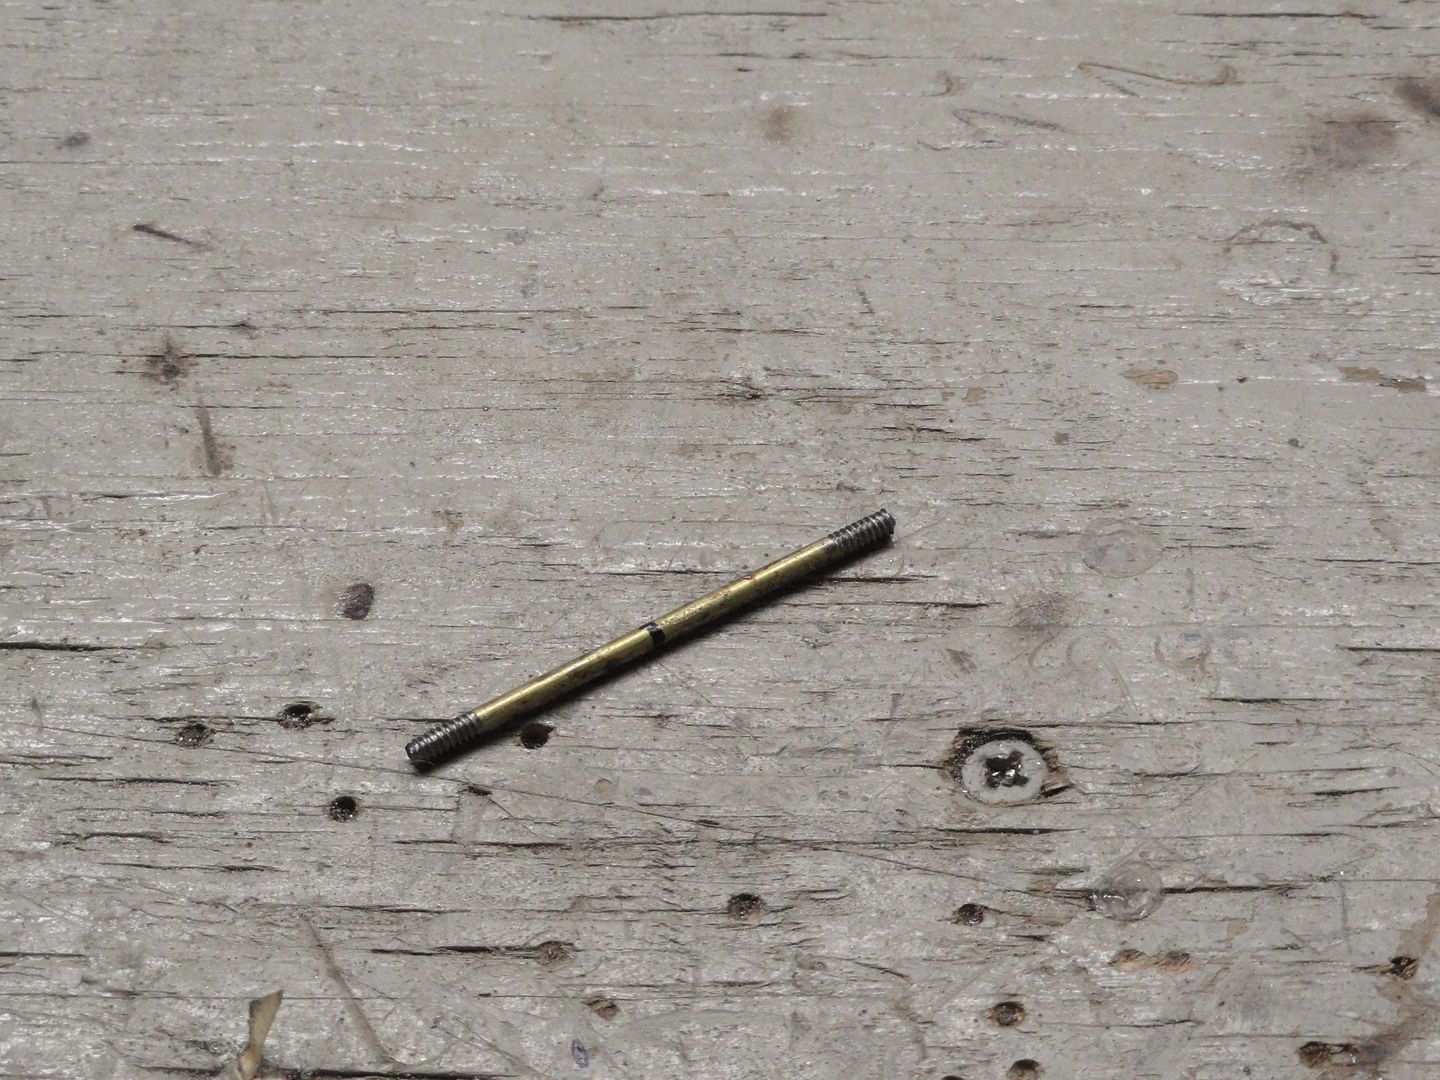 then bent it around a socket the same size as the axle tube 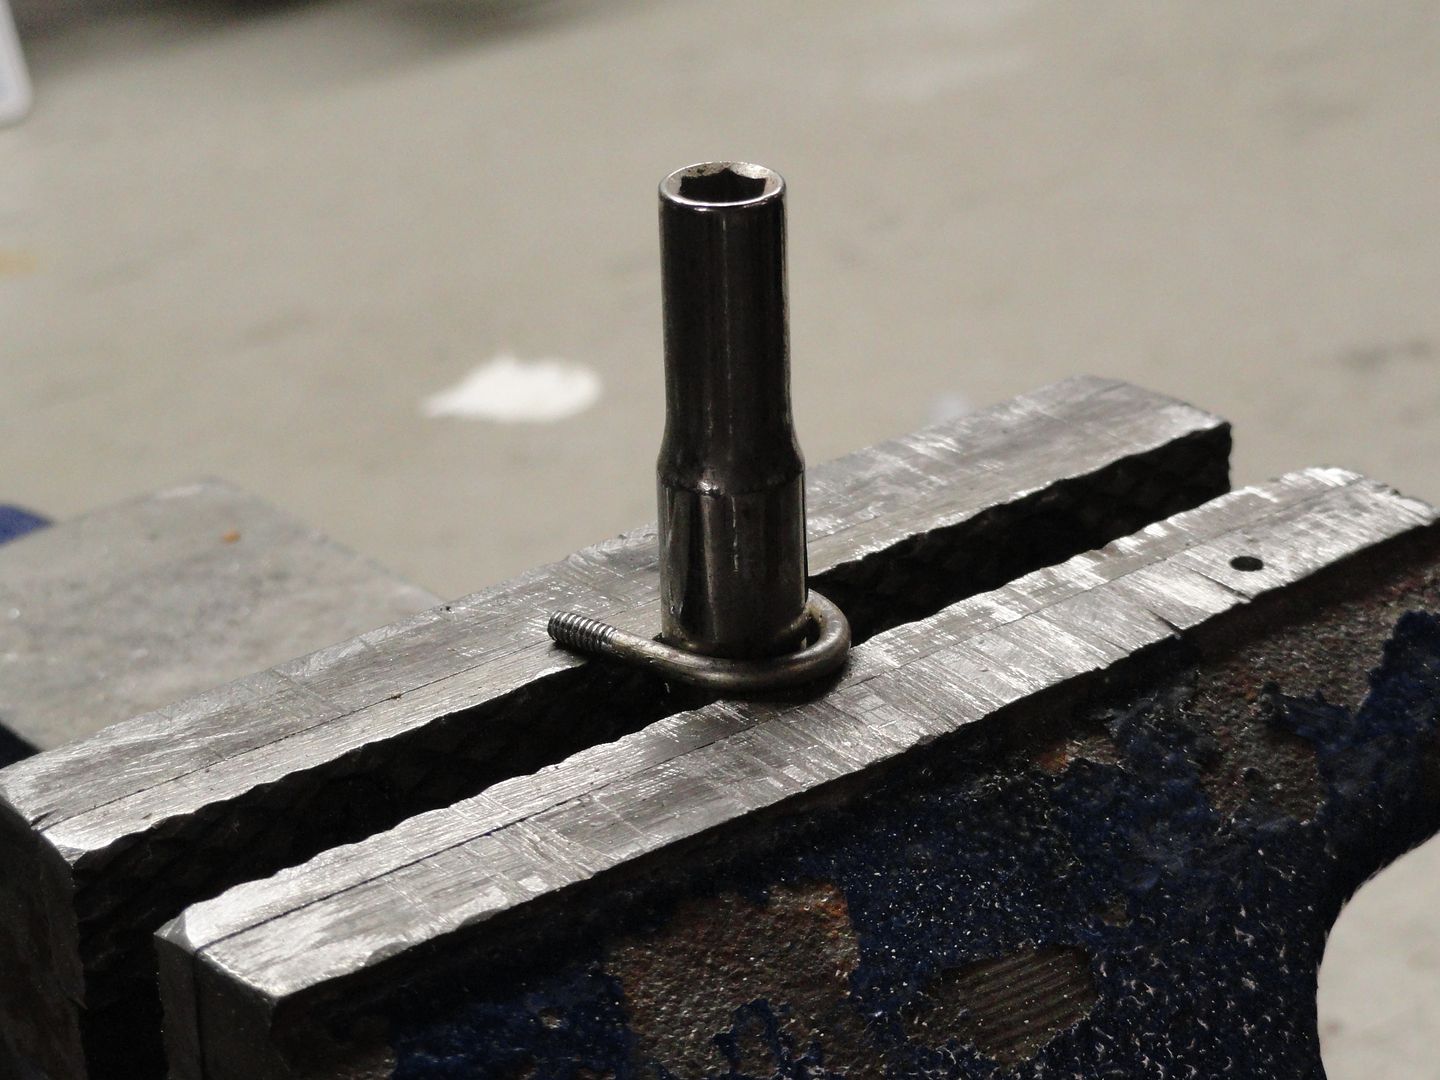 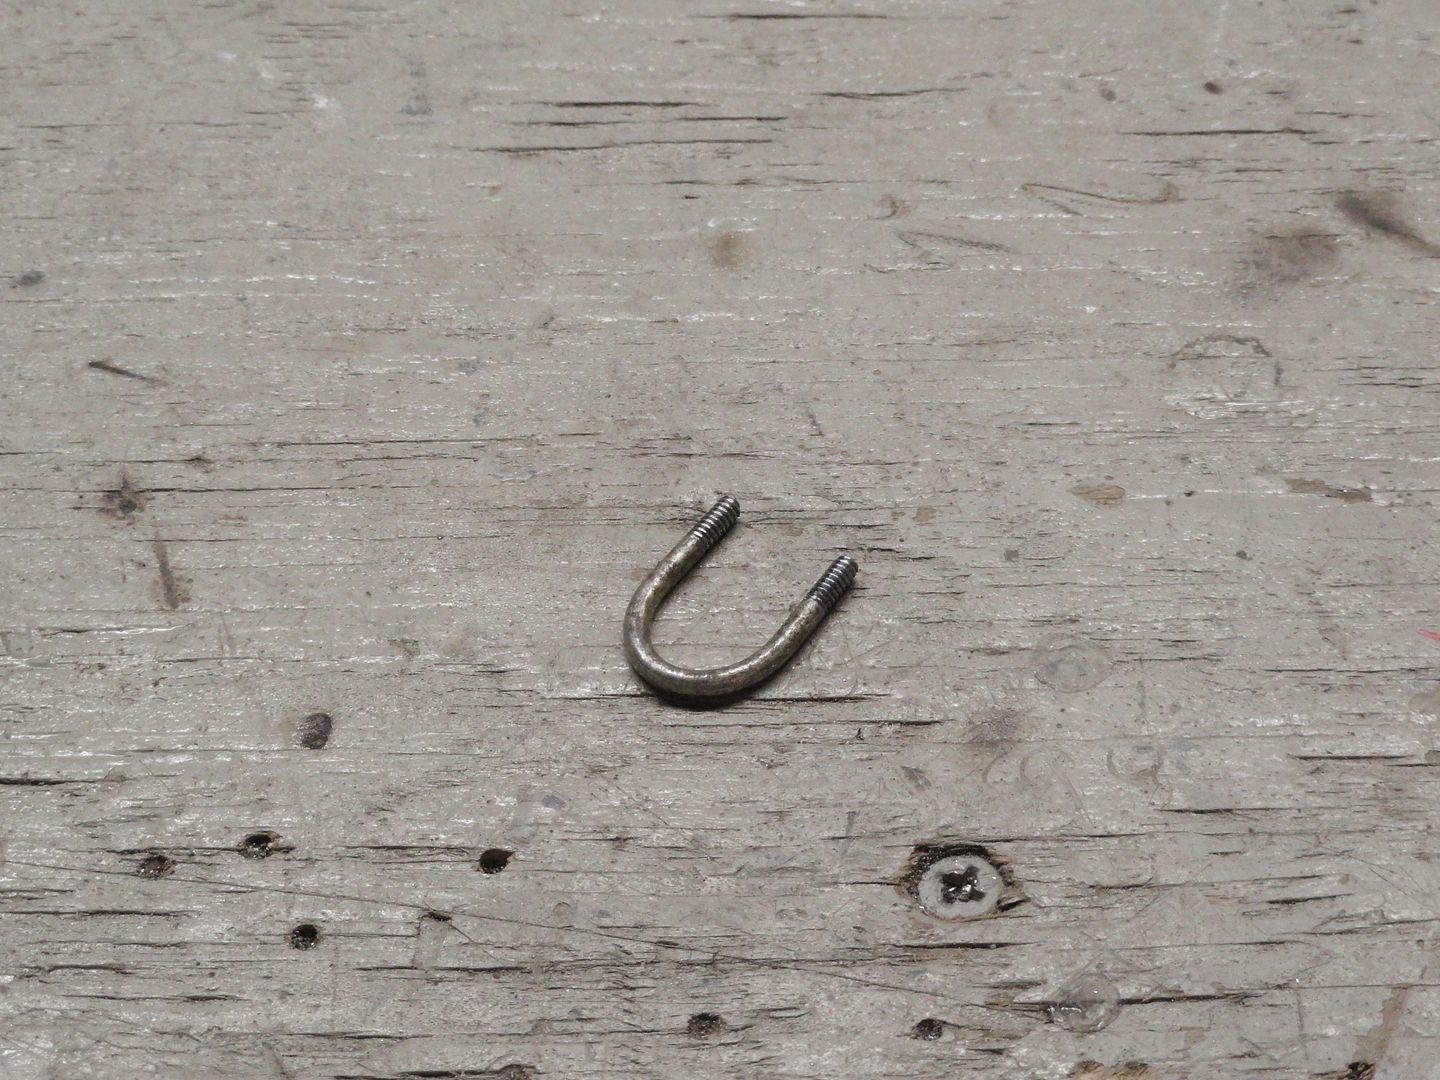 Worked really good 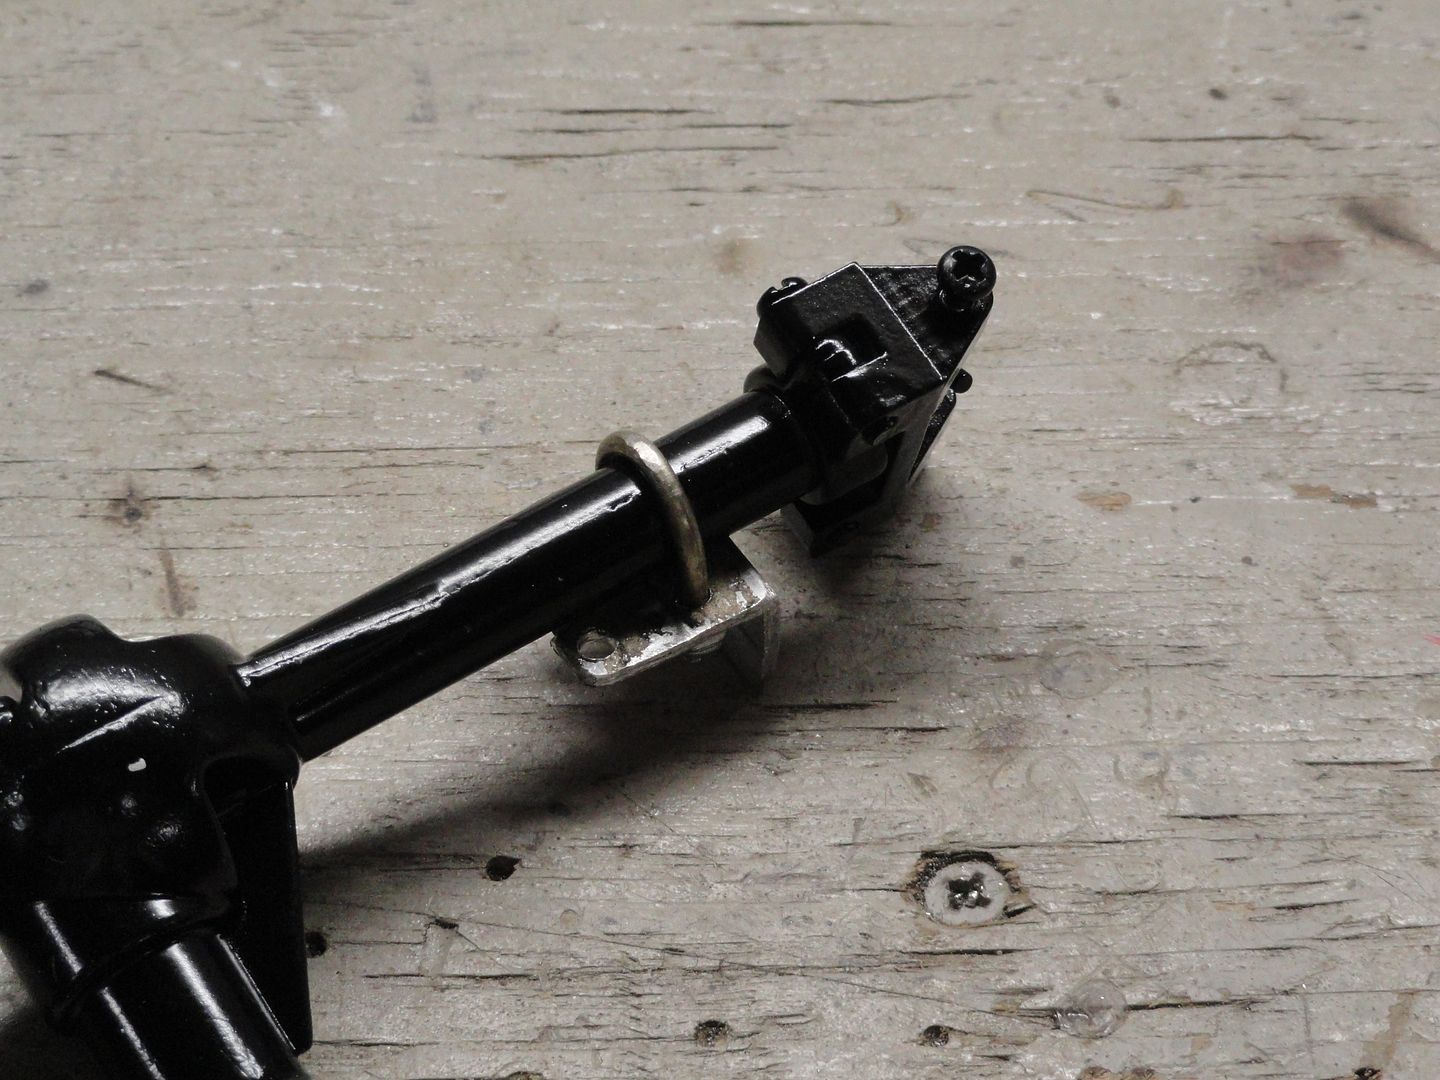 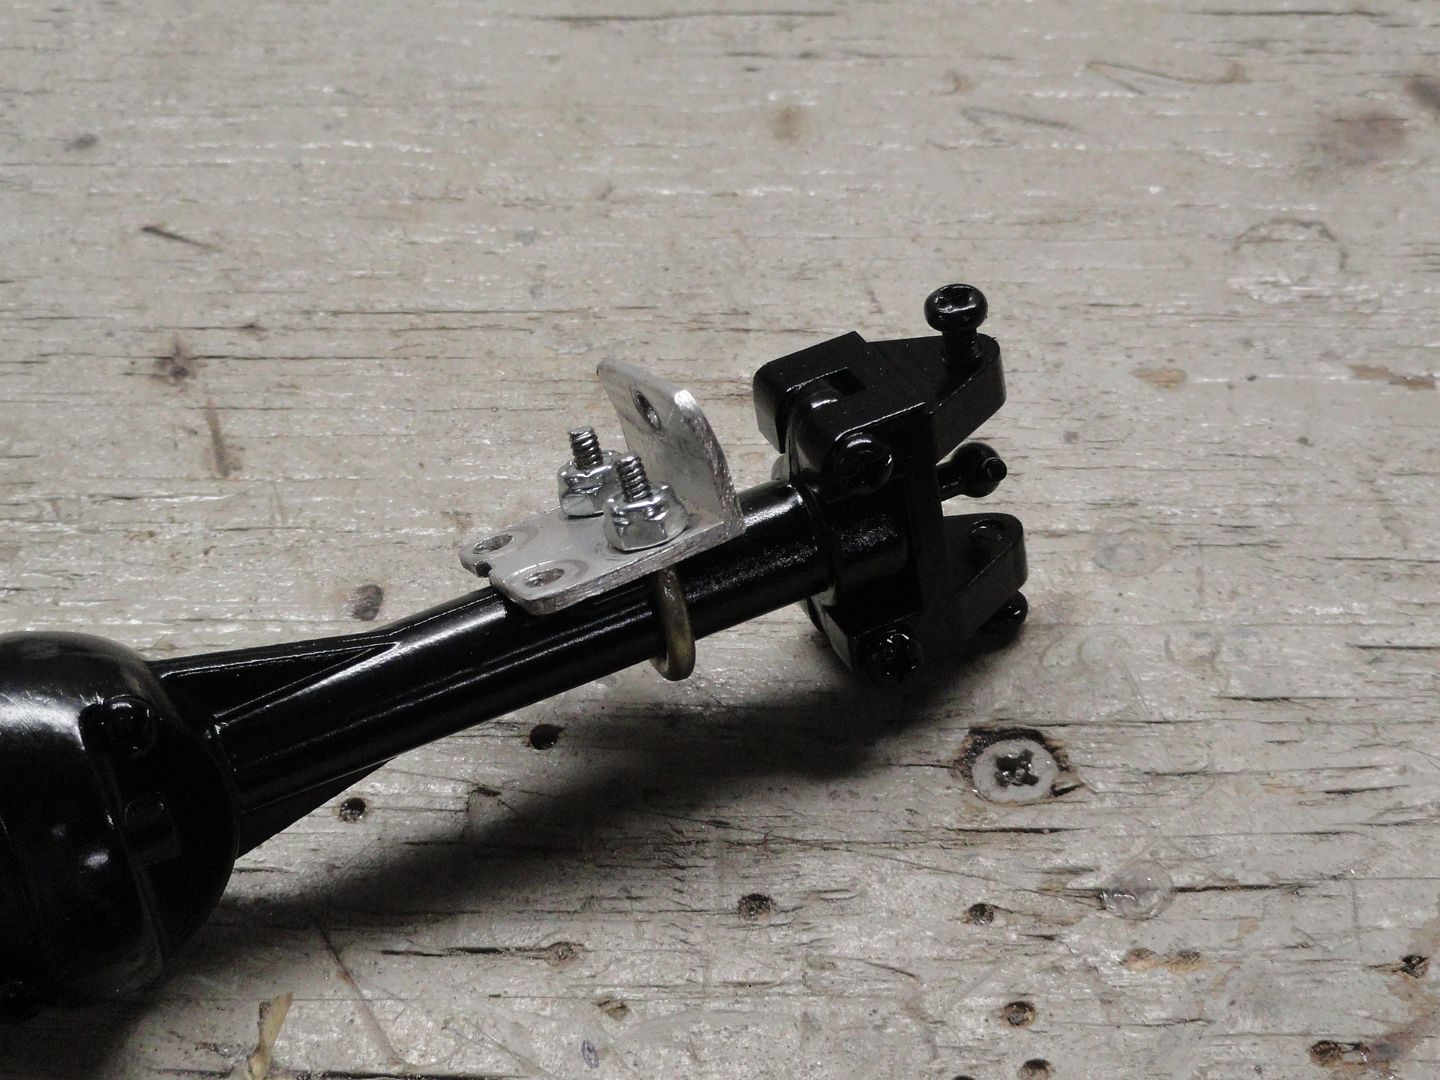 The next project was the support for under the hood I started with the original plaster mold and using clay, made the shapes of the front and rear supports 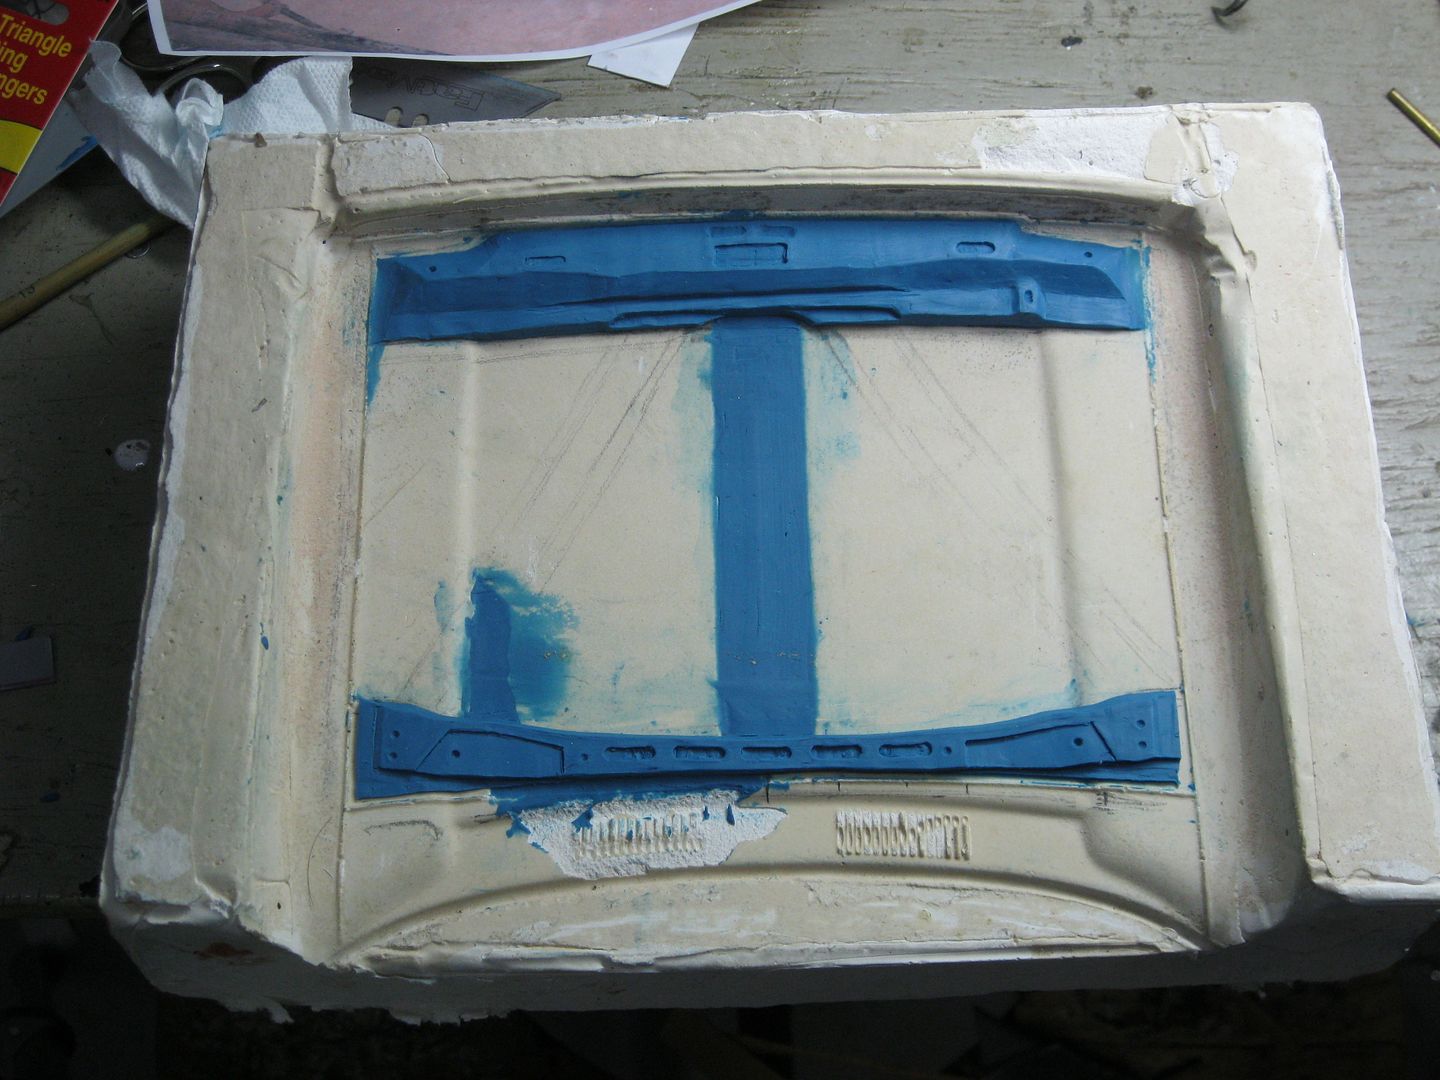 then cast them in latex and resin 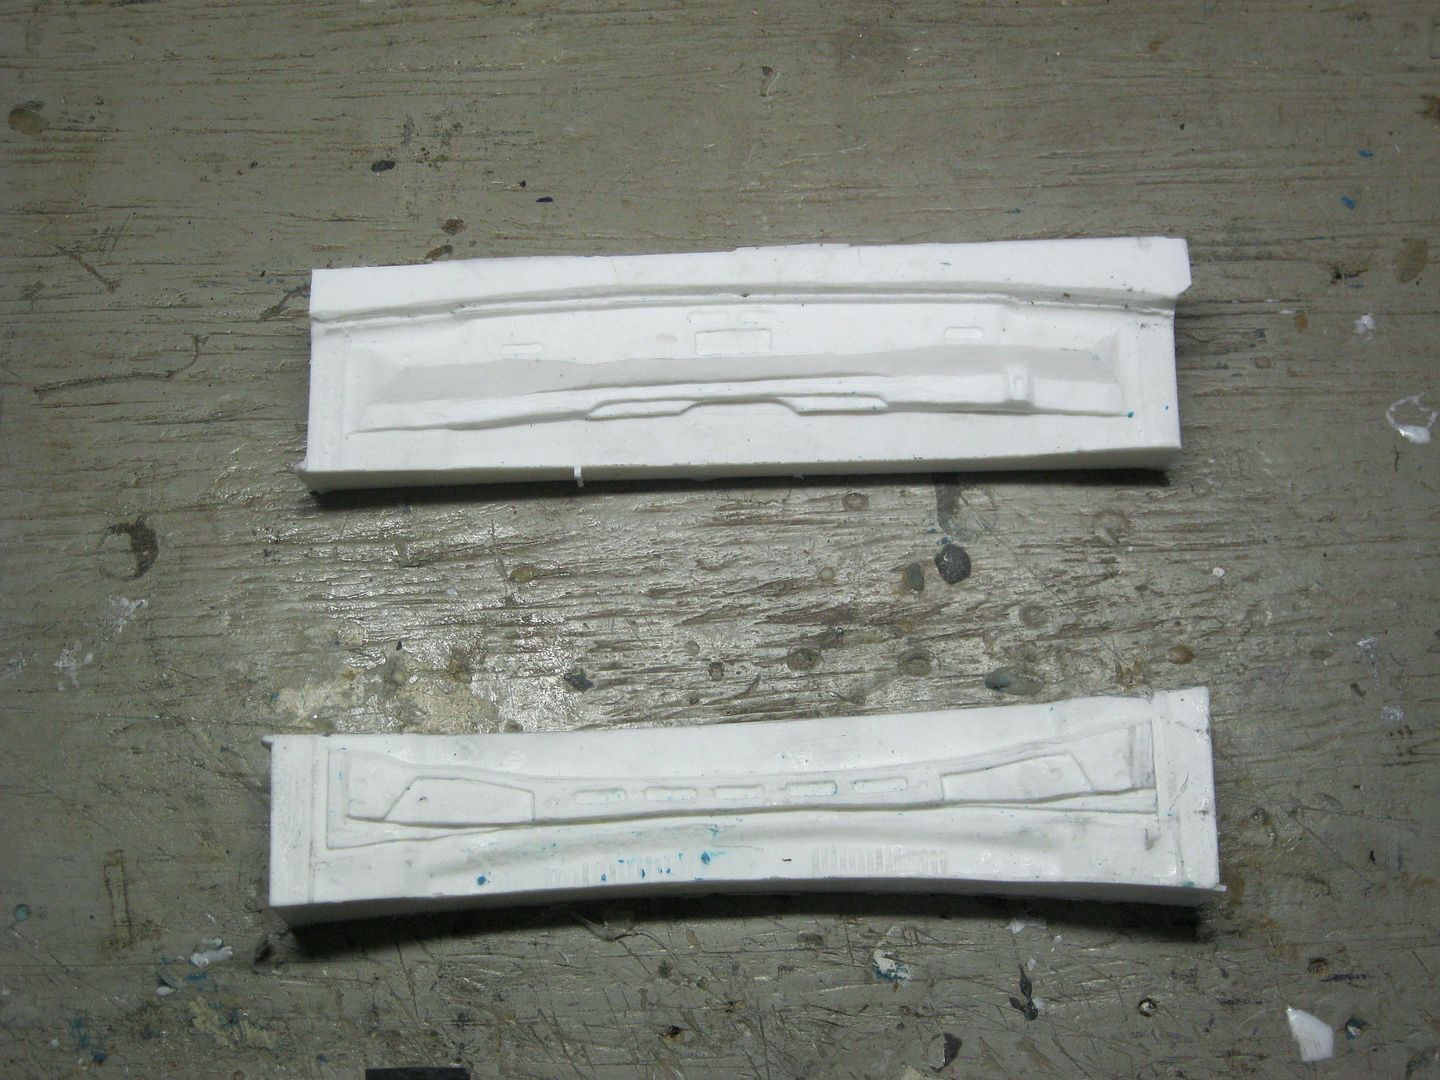 and ran some test parts 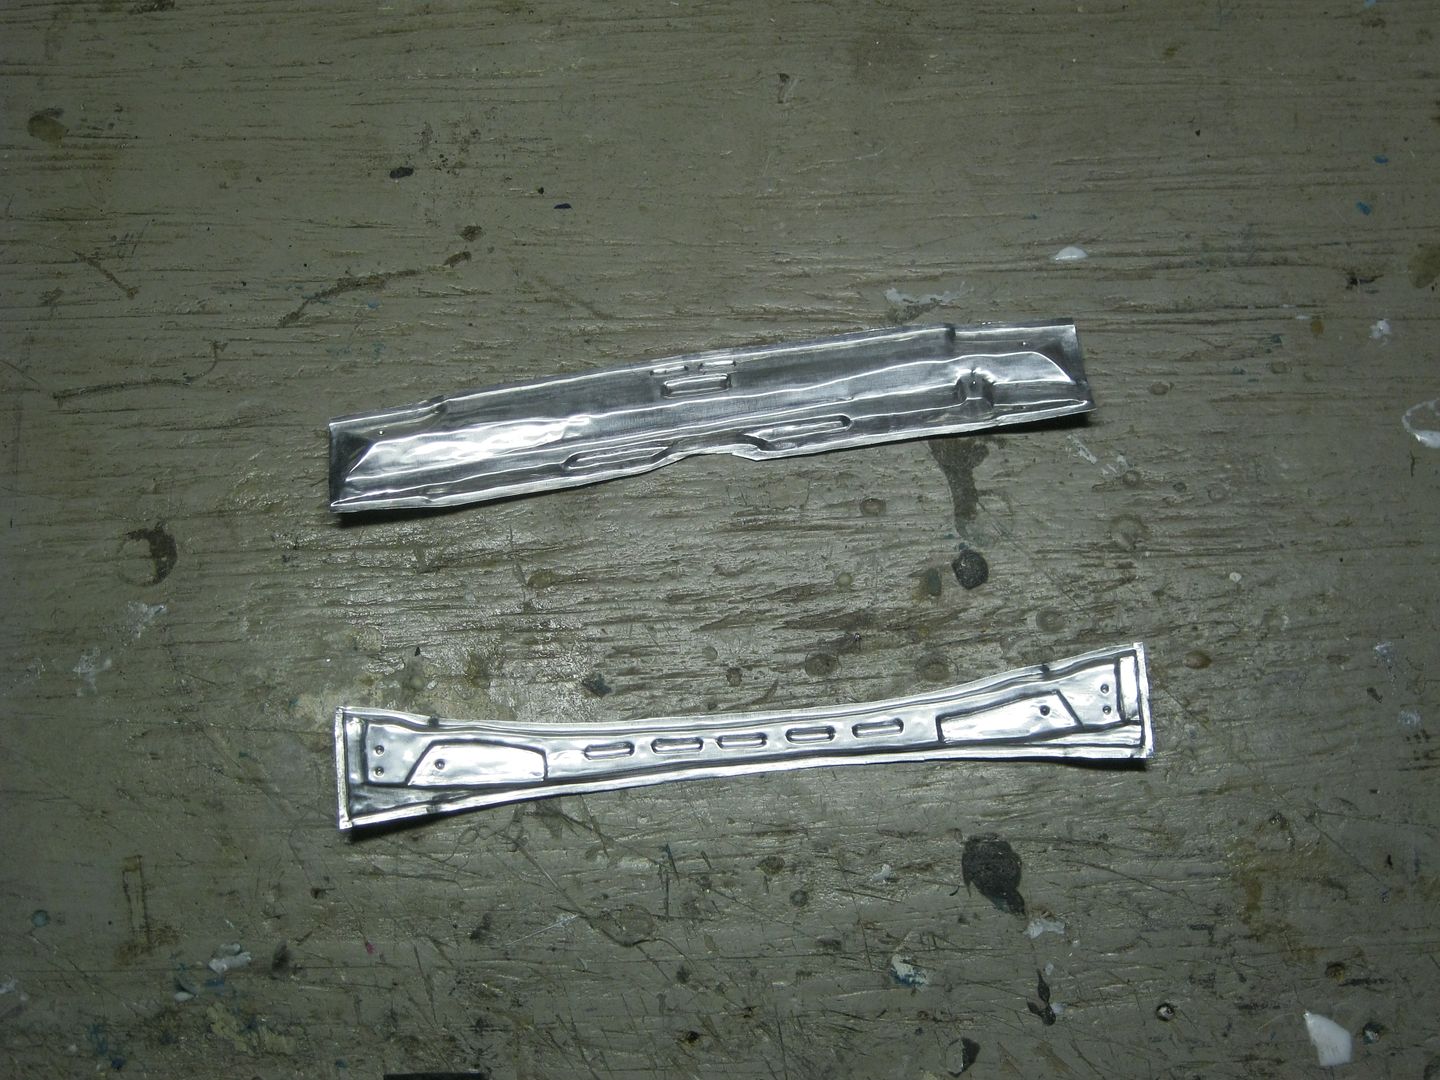 seem to fit pretty good 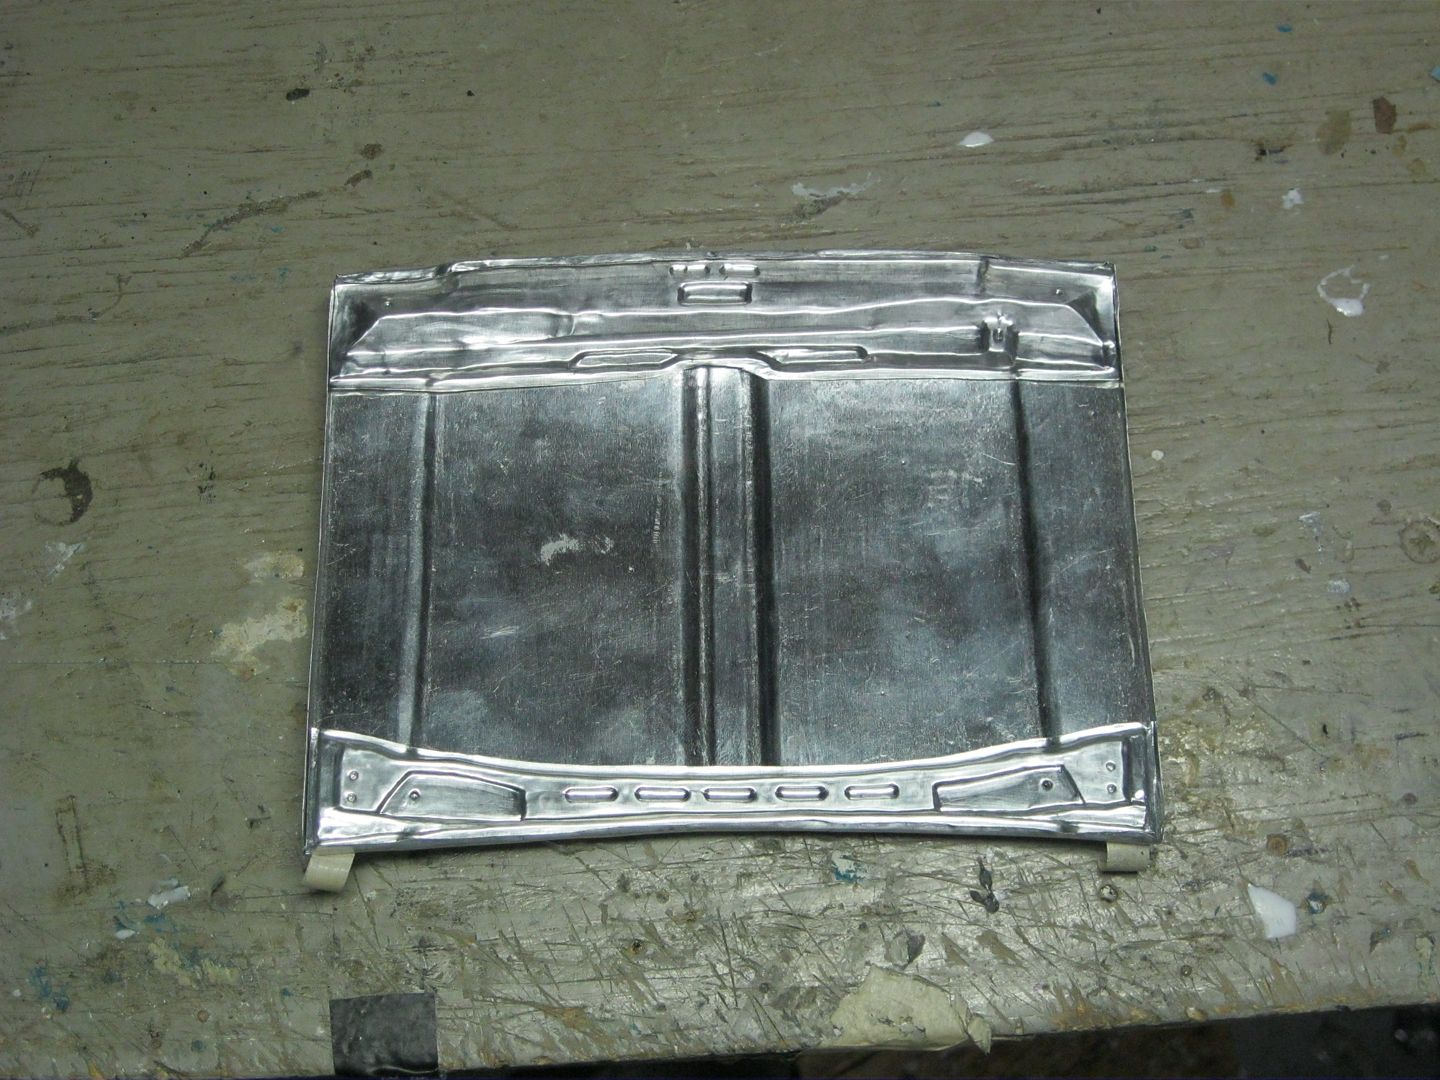 then i placed the test pieces over the clay on the first mold and using more clay shaped the cross supports 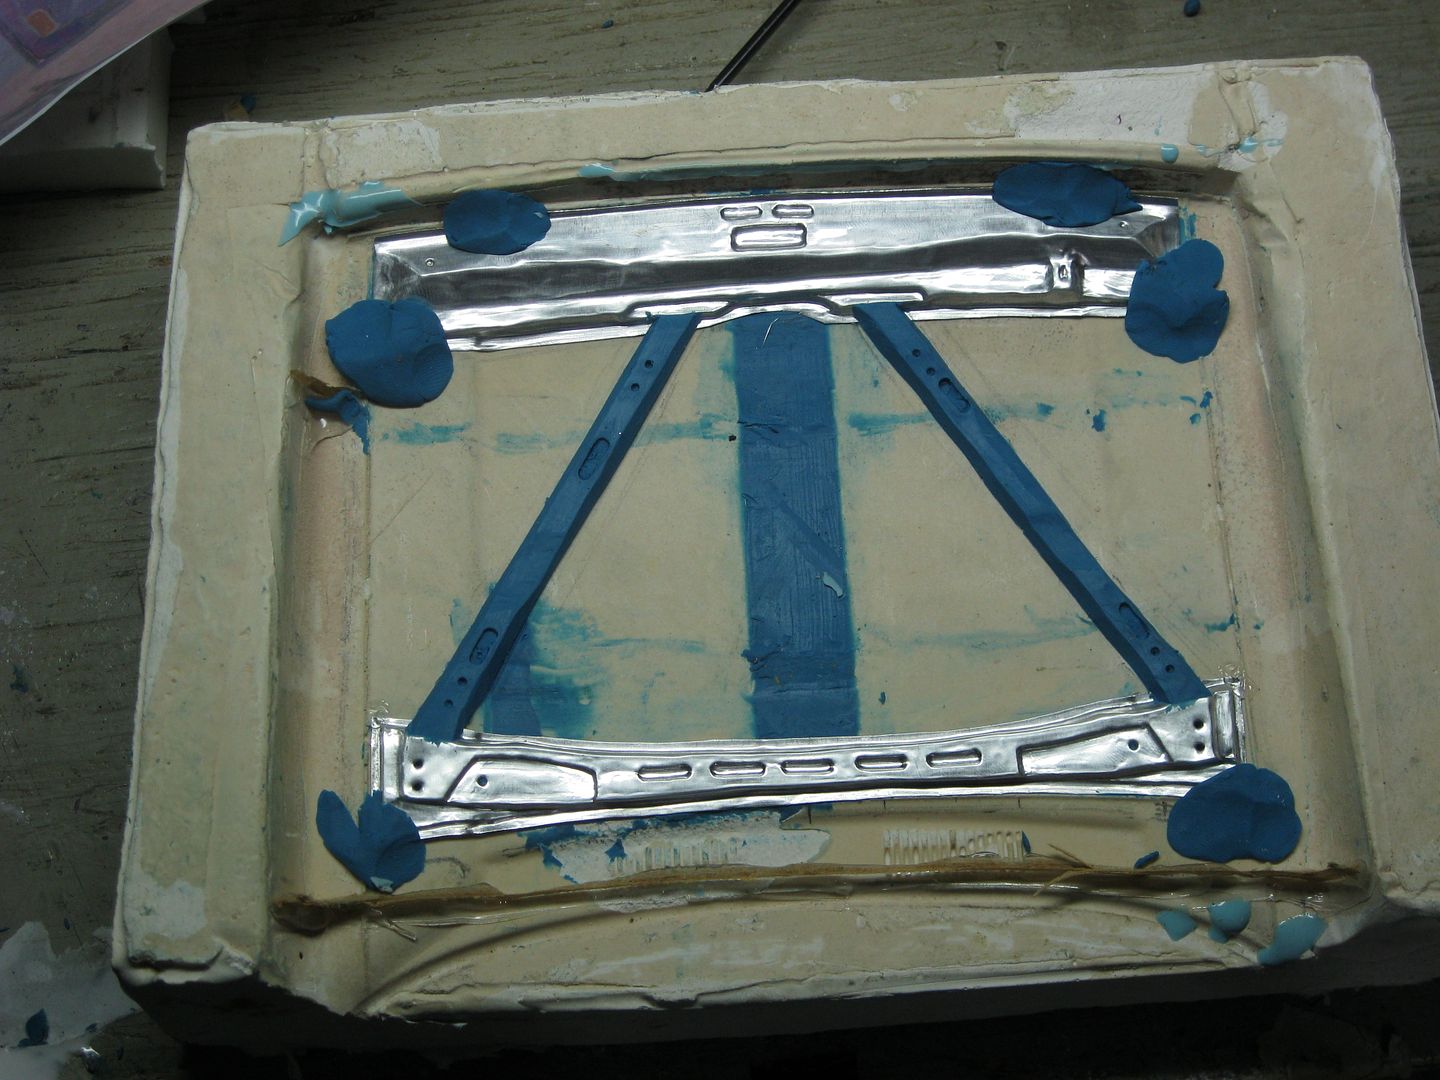 made the molds 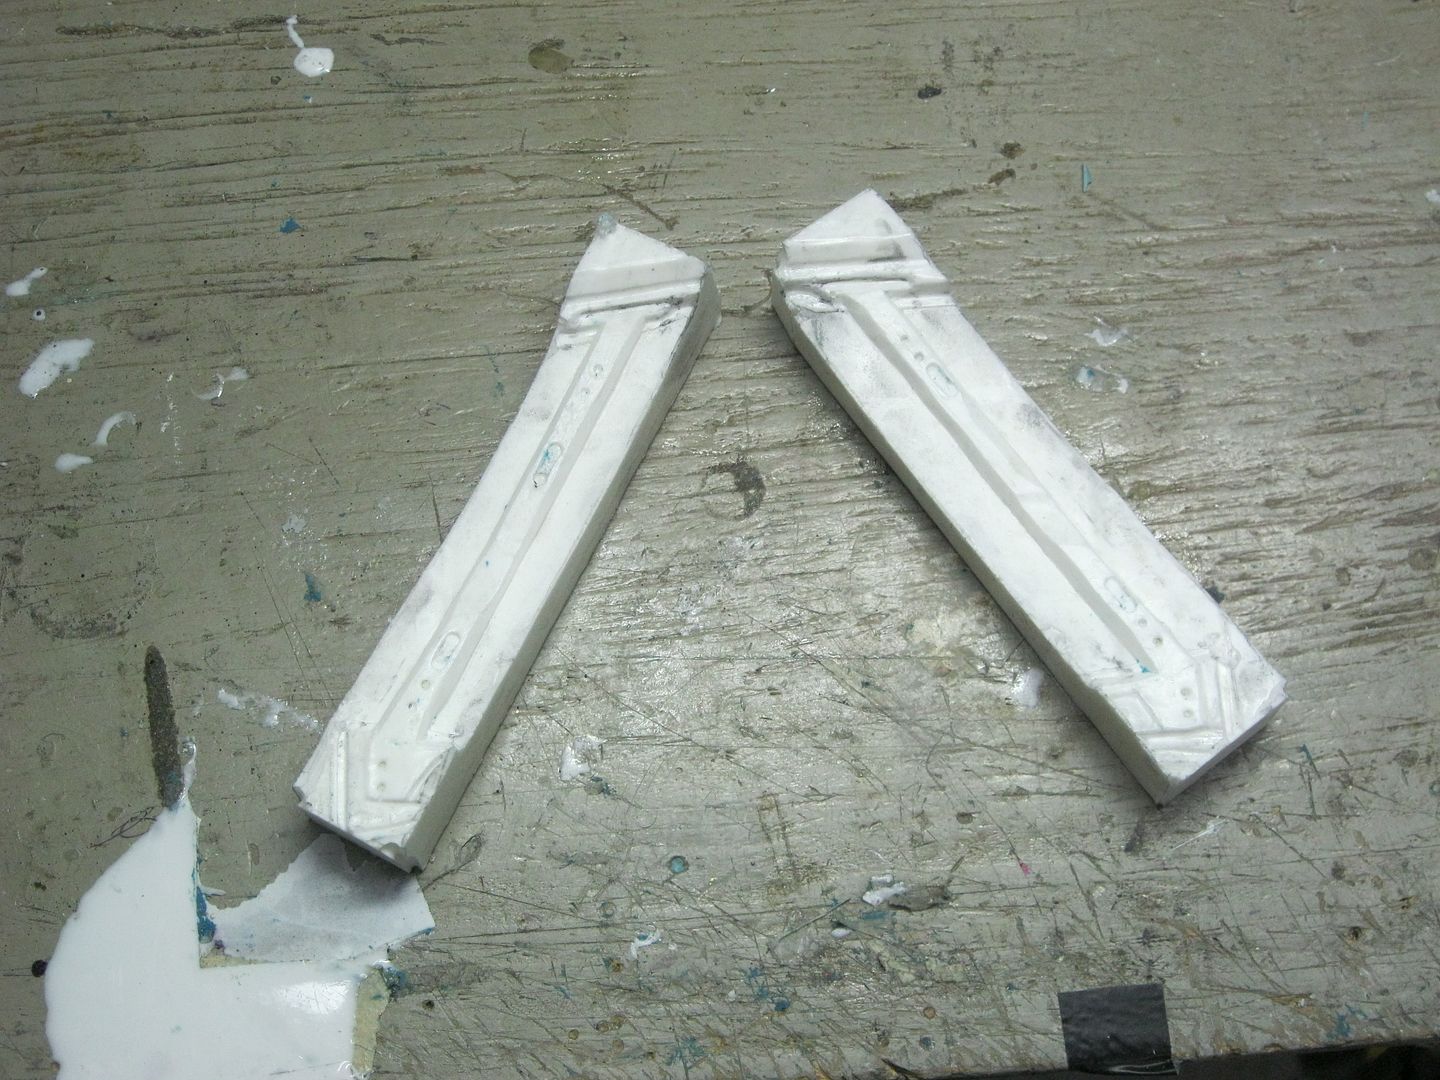 More test pieces 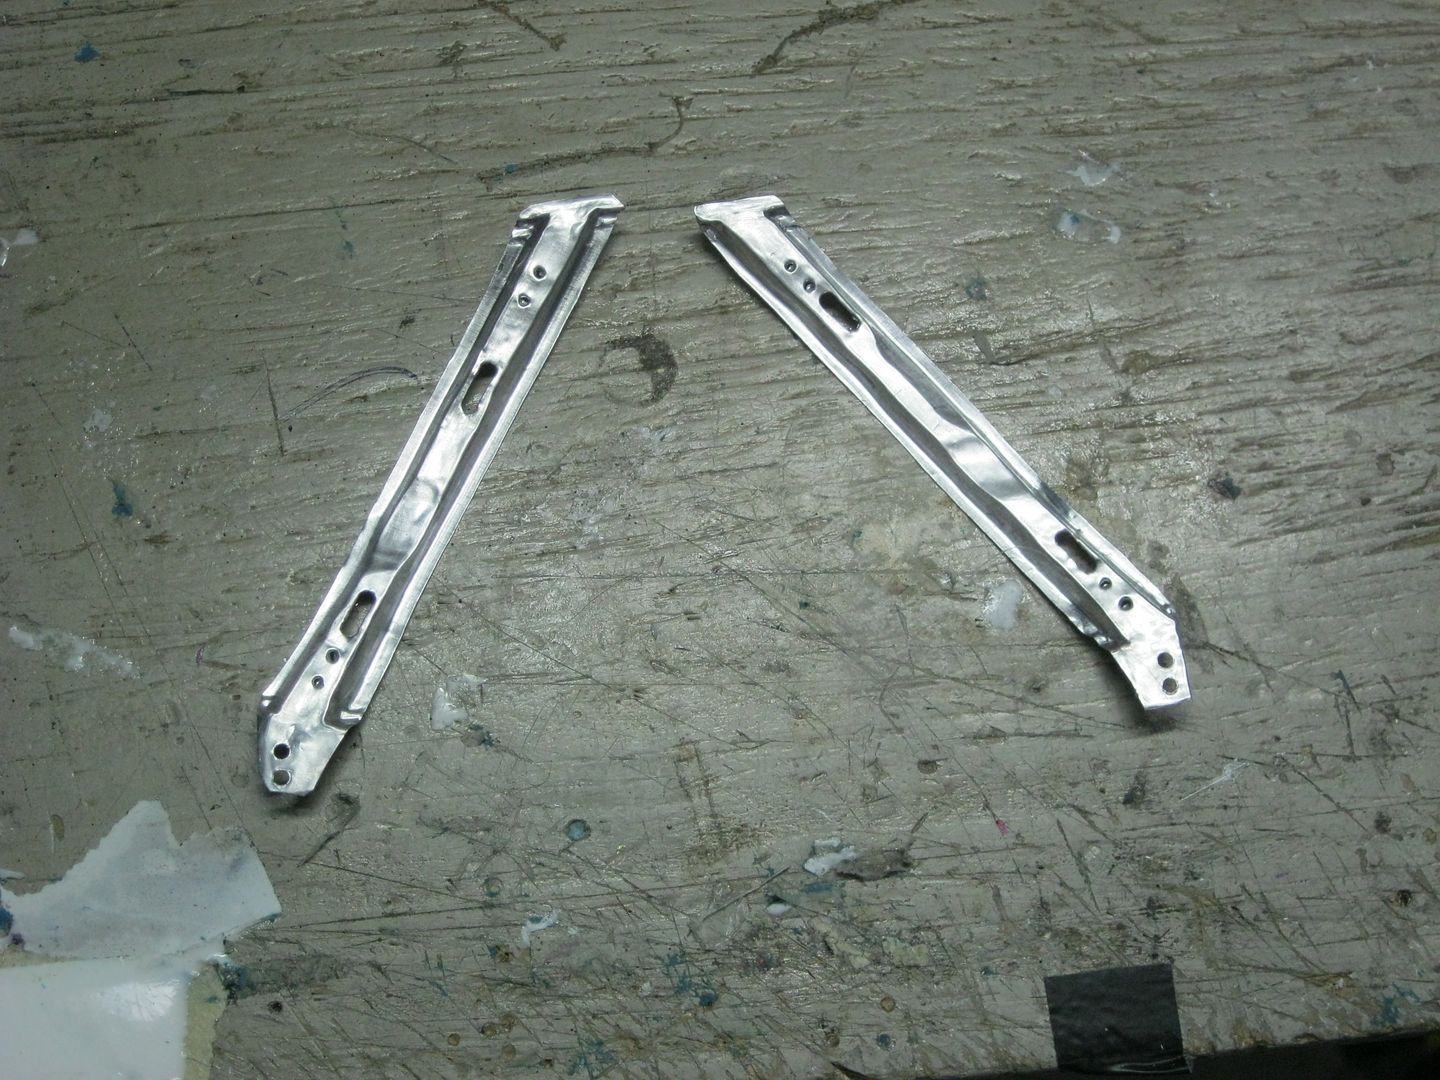 and the final test fit in the hood  Worked out much better then expected. Next i'll add threaded inserts for the hinges and the bar in the front for the hood latch. It may not seem like much but the supports alone took almost 11 hours to make. | ||||||||
|
| |
|
11-22-2010, 09:40 PM
| #456 |
| Donkey Punch Champion!   Join Date: Oct 2006 Location: Minneapolis
Posts: 4,660
| |
|
| |
|
11-22-2010, 09:41 PM
| #457 |
| Quarry Creeper Join Date: Jul 2008 Location: Kaufman
Posts: 451
|
I just dont know what to say this time!? Keep up the great work man! |
|
| |
|
11-22-2010, 09:49 PM
| #458 |
| Quarry Creeper Join Date: May 2010 Location: Vic B.C Canada
Posts: 290
|
I need duct tape my head is leaking .....BUT it's so worth it unbelievable It's a masterpiece of craftmanship.To anyone who says it's just a toy |
|
| |
|
11-22-2010, 11:25 PM
| #459 | |
| www.team3sixrc.com Join Date: Mar 2008 Location: Scalerville
Posts: 4,506
| Quote:
For now on I will just watch and enjoy the craftsmanship and keep my comments to myself. | |
|
| |
|
11-23-2010, 05:32 AM
| #460 | |
| RCC Addict Join Date: Aug 2005 Location: New Oxford PA
Posts: 1,290
| Quote:
Now my opinion on you're last comment, I feel that i will achieve the most realistic dents the way it is. You say real trucks have more then the supports i have in mine? I've never seen a 79 Toyota with hard plastic or foam inside the doors and B pillars. And the material is not as thin as you think. It's not household aluminum foil. it's much thicker than that and every bend adds strength. Be patient and see how it holds up to abuse when i'm done. I believe you will be surprised. | |
|
| |
 |
 LinkBacks (?)
LinkBack to this Thread: http://www.rccrawler.com/forum/1-9-scale-rigs/147988-project-true-scale-aluminum-toyota-body.html | ||||
| Posted By | For | Type | Date | |
| Кузова,все о них и для них - Страница 5 | This thread | Refback | 10-05-2011 08:25 PM | |
| Wow, Amazing Scale RC Toyota - Tacoma World Forums | This thread | Refback | 10-04-2011 06:14 PM | |
| |


 Linear Mode


