| |
 12-14-2010, 10:58 PM
| #121 | |
| Suck it up!   Join Date: Mar 2008 Location: Arkansas
Posts: 11,652
| Quote:
| |

|  |
| Sponsored Links | |
| | |
|
12-14-2010, 11:07 PM
| #122 |
| RCC Addict Join Date: Feb 2008 Location: Winnipeg
Posts: 1,296
|
HA HA so which one is this? I thought I had the crummy hardware store one lol...
|
|
| |
|
12-14-2010, 11:43 PM
| #123 |
| Suck it up! Join Date: Mar 2008 Location: Arkansas
Posts: 11,652
|
You've got #2, made from 2mm 5052 scrap that I got from Juan.
|
|
| |
|
12-15-2010, 10:45 PM
| #124 |
| RCC Addict Join Date: Feb 2008 Location: Winnipeg
Posts: 1,296
|
Ah lol it all comes together now... Well I'll beat her good and proper don't worry lol
|
|
| |
|
12-19-2010, 11:18 PM
| #125 |
| RCC Addict Join Date: Feb 2008 Location: Winnipeg
Posts: 1,296
|
Grrr not much time today to work on it. I got the front shocks limited for ride height and the rear I moved to a different hole and didn't end up needing to limit them.... yet! Cut some delrin for upper liks and they ended up being way to long... IDK WTF I was looking at but I'll have to re do that next time... ran out of time today so thats my plan next week.... Finish front links and set my castor. Man reno-ing a house and working big hours is tough! Hard to find some personal time but I should have more with holidays and less work after as things slow way down.
|
|
| |
|
12-21-2010, 02:02 AM
| #126 |
| Quarry Creeper Join Date: Jun 2010 Location: NTXRCC
Posts: 488
|
Well at least you didn't cut your links too short. Lookin forward to seeing what you've been up to.  |
|
| |
|
12-21-2010, 10:16 AM
| #127 | |
| I wanna be Dave Join Date: Jun 2005 Location: KENNEWICK, WA
Posts: 2,513
| Quote:
Sourdough GC-3A | |
|
| |
|
12-21-2010, 08:21 PM
| #128 |
| Quarry Creeper Join Date: Jun 2010 Location: NTXRCC
Posts: 488
|
PD is way ahead of you on that one! Here is a pic of the spring cups he is using and made for me. 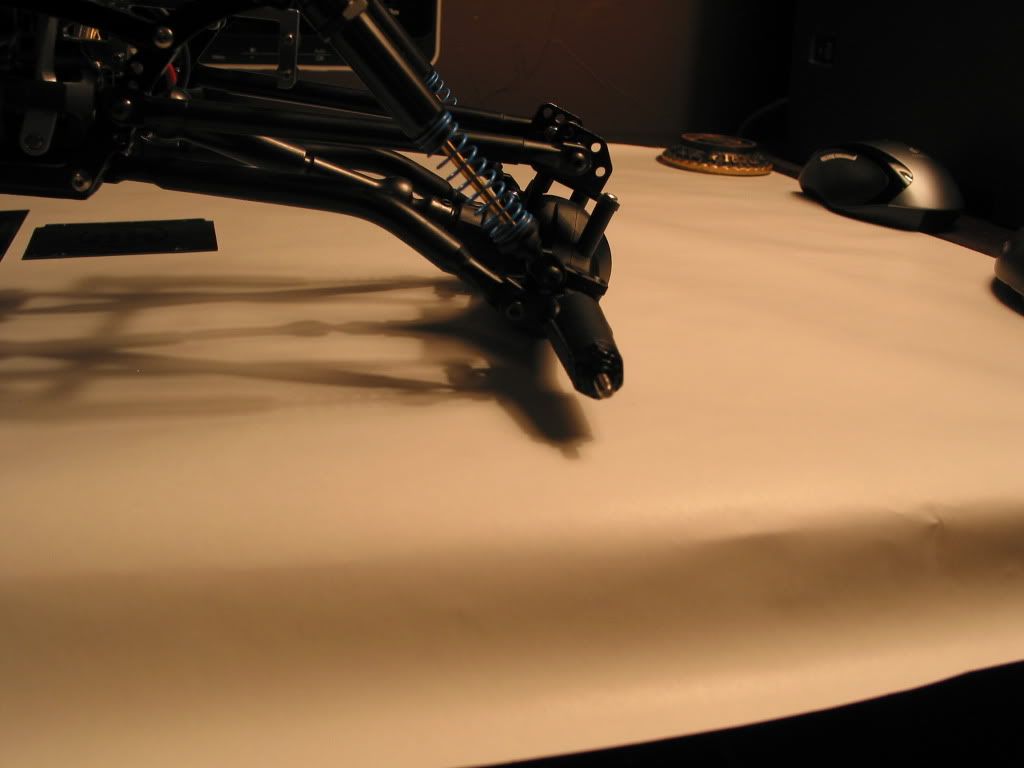 They are similar to Jeepin Doug's in that there is not quick release cut into them, so they wont ever come off. Thanks Again PD |
|
| |
|
12-21-2010, 11:03 PM
| #129 |
| RCC Addict Join Date: Feb 2008 Location: Winnipeg
Posts: 1,296
|
Thanks for the budget post but ya I already made my own cups... look at the close up of the rod end by the tape measure... cutom built spring retainer for my big bores and losi springs. Brian asked for a favor and so I had him a set made too but that's all... although I owe a few guys here favors and they know who they are so if they ask I'd do it for them too but not worth my time considering it's not done in my shop or with my machines. But ya they are bitchin little cups...
|
|
| |
|
12-21-2010, 11:36 PM
| #130 |
| I wanna be Dave Join Date: Jun 2005 Location: KENNEWICK, WA
Posts: 2,513
|
Yea your cups are cool but I was refering to the other mod if you needed to limit your shocks, it would alow the springs to stay full length.
|
|
| |
|
12-22-2010, 07:34 AM
| #131 |
| RCC Addict Join Date: Feb 2008 Location: Winnipeg
Posts: 1,296
|
Ah ok... cool but that's not an issue yet... if it becomes one I'll make new spring cups and drop the spring seat down. as it sits I actually raised my spring seats to give me more clearance around my my chassis for the shocks to swing. I do all my limiting with spacers on the shock shaft inside and outside the shocks. Inside to set ride height and outside to limit flex. But I'm sure you know all that cause you're sig and post count speak for themselves lol. I don't see how that mod keeps the springs much longer then what I have? My springs as it sits with pinks don't even sit on both seats compressed... you can see it pulling away from the top in the one stretched out pic I have. With the losi or ax comp shocks your spring seat is right under the shock body but with big bores its up higher which is the same as that guys mod moving the spring seat further down on the rod end. Mines recessed on the body his is recessed on the rod end. But on the rod end is where you get into clearance issues. |
|
| |
|
12-30-2010, 09:35 PM
| #132 |
| RCC Addict Join Date: Feb 2008 Location: Winnipeg
Posts: 1,296
|
Worked on the rig yesterday... got lots done.. some slw's mounted and got the front links all sorted out. I had to file a bit of my front mount to fit the big revo rod ends on my upper links. I snapped some pics for you to check out the rig as a roller. Next will be steering. Gonna borrow my cousin's KC tierod and see if I can make it work or if I'm gonna need to make one. I tell ya with the diff clocked and castor set the tierod looks like it's gonna be funky! As you can see the motor is a tight fit in the chassis and will actually only work in one rotation... the neg post hits the chassis when using the other set of holes. The steering is super sharp with the 300's and can easily bury the big ol' sedonas into the links!       Last edited by PipeDreams; 12-30-2010 at 09:39 PM. |
|
| |
|
01-01-2011, 09:28 AM
| #133 |
| Quarry Creeper Join Date: Jun 2010 Location: NTXRCC
Posts: 488
|
Lookin Sweet Man! Looks like you clocked the dog shit out of the rear. |
|
| |
|
01-01-2011, 09:31 AM
| #134 |
| Quarry Creeper Join Date: Jun 2010 Location: NTXRCC
Posts: 488
|
Did you get some Lunsford TI lower links?
|
|
| |
|
01-01-2011, 11:38 PM
| #135 |
| RCC Addict Join Date: Feb 2008 Location: Winnipeg
Posts: 1,296
|
Thanks man! Ya it's clocked way up to keep the drive shaft out of the way. I may bring it down yet we'll see. Nope just steel brake line and all thread. Super strong and slides ok on rocks... better then AL at least and super cheap to make them!
|
|
| |
|
01-03-2011, 11:16 PM
| #136 |
| RCC Addict Join Date: Feb 2008 Location: Winnipeg
Posts: 1,296
|
Well I had the chance sunday to check out KC's tie rod on my rig and unfortunately it won't work how i'd like... but good news is a straight one will!! Super happy about that... cheap and easy to make my self! I'll likely start working on steering this weekend and keep this thing moving. When I had a chance to lo0ok at it quick the drag link looks like it might be a little bit tough but we'll see more as I get into it. If I have to I may either make an extended high steer arm and run an drag link up front and tierod out back like an xr 10 it's just a matter of weather I want to make a high steer arm that bolts to my VP knuckle or order the Felsonfest stuff?
|
|
| |
|
01-04-2011, 12:35 AM
| #137 |
| Quarry Creeper Join Date: Jun 2010 Location: NTXRCC
Posts: 488
|
I lowered my plate tonight and have been messing with steering to. With a straight tie rod you should be able to attach your drag link to the back of the tie rod. Then to the back side of the servo arm. I'm gonna make a new tie rod and drag link tomorrow, hopefully. Now I just need a longer servo arm and I'll have all the steering my 300's can dish out.
|
|
| |
|
01-04-2011, 08:52 AM
| #138 |
| RCC Addict Join Date: Feb 2008 Location: Winnipeg
Posts: 1,296
|
Well I'll have to lift my tierod to clear my shocks and stuff but if I can I'm gonna try and lower my plate too. I don't know how much room I'll have but I'm thinking not enough to make it worth while. Drag link is more my concern right now.
|
|
| |
|
01-04-2011, 08:41 PM
| #139 |
| Newbie Join Date: Dec 2010 Location: Winnipeg
Posts: 43
|
Looks good brother, now lets go crawling!
|
|
| |
|
01-04-2011, 10:05 PM
| #140 |
| RCC Addict Join Date: Feb 2008 Location: Winnipeg
Posts: 1,296
|
Oh boy look who it is! lol Got a ton done today! Worked on my steering and it's really slick. Tie rod can go straight across if I lift it up but then it gets a little close to the tires. So I dropped it back down, put 2 small bends in it and it's perfect. The drag link I looked at running to the long side but just to hard to get it under the links and over the tie rod. Thought I could go over the links but then its getting tough to make the steering work as far as it does and gets in the way of the battery wiring. Decided to flip the servo and go the short DL route, Not my favorite because the angles get pretty big but it's not to bad. The servo horn close the the top links and short dl to the left side knuckle. Works good with a jato and revo rod end. I get full steering right... maybe .5 degrees short and almost full left. The horn just hits the upper links but again about 1 degree away from full steering. So close it's not worth messin with. Ended up using my racers edge horn on the longest hole and the Vp 0 ackerman knuckles on the closest hole to the king pin bolt. After I got all that figured out I started placing some electronics. Got my fxr and bec under the front plate. Mounted each with some servo tape and started wiring! Placed the cap for the fxr beside it and ran my bec wires in from one side and the battery wires in from the other side. Nice and clean! Unsoldered my bec rx wire and soldered my servo power wires right to the board and re shrink wrapped it. Kept the one signal wire in the servo plug and will run that to the rx. After playing around I took a look and I can actually drop my front plate a few mm even with all that under it so after I'm done wiring I may try and see how low I can get it. I need a little more 14ga wire so I'll grab some tomorrow and hopefully finish up the wiring on the front plate. The rx will likely get put on top or below the front upper links. Haven't gotten that far yet. I thought about putting it on the trans like I did last time but the fxr wire won't reach. Sorry I didn't get any pics I'll try and take a few cell pics tomorrow for ya. Trying to keep things as low and forward as I can! Last edited by PipeDreams; 01-05-2011 at 11:00 PM. |
|
| |
 |
| |


 Linear Mode


