| |
 08-30-2009, 06:56 PM
| #141 |
| Rock Stacker Join Date: May 2006 Location: Tenerife
Posts: 51
|
hey this is awesomeee |

|  |
| Sponsored Links | |
| | |
|
08-30-2009, 09:55 PM
| #142 |
| Quarry Creeper Join Date: Feb 2008 Location: Hudson
Posts: 406
|
awesome any progress?
|
|
| |
|
11-17-2009, 10:16 PM
| #143 |
| Newbie Join Date: Nov 2009 Location: Denver
Posts: 29
|
stoked to see more my man!
|
|
| |
|
11-18-2009, 04:59 AM
| #144 |
| RCC Addict  Join Date: Aug 2005 Location: New Oxford PA
Posts: 1,290
|
I actually have a little progress. I'll try to post it up tonight.
|
|
| |
|
11-18-2009, 02:01 PM
| #145 |
| Newbie Join Date: Nov 2009 Location: Houma, La
Posts: 14
|
This is very cool. Mad props to you.
|
|
| |
|
11-18-2009, 04:14 PM
| #146 |
| Rock Crawler Join Date: Jan 2009 Location: Jacksonville FL
Posts: 975
|
update!
|
|
| |
|
11-18-2009, 05:46 PM
| #147 |
| Rock Stacker Join Date: Jul 2009 Location: ogden
Posts: 81
|
dont ruin it with those axles get some rc4wd ones
|
|
| |
|
11-18-2009, 06:13 PM
| #148 | |
| RCC Addict Join Date: Aug 2005 Location: New Oxford PA
Posts: 1,290
| Quote:
| |
|
| |
|
11-18-2009, 08:07 PM
| #149 |
| RCC Addict Join Date: Aug 2005 Location: New Oxford PA
Posts: 1,290
|
It's not much progress but it's something. I've been working on the next mold, the cab floor. It's going pretty good. i'm about 1/2 way done but i'm looking for some good detailed pics of the floor of the real thing. I have some pics but they are from a truck that still has the insulation on the floor so i can't quite see the detail. Anyways here is what i have so far. 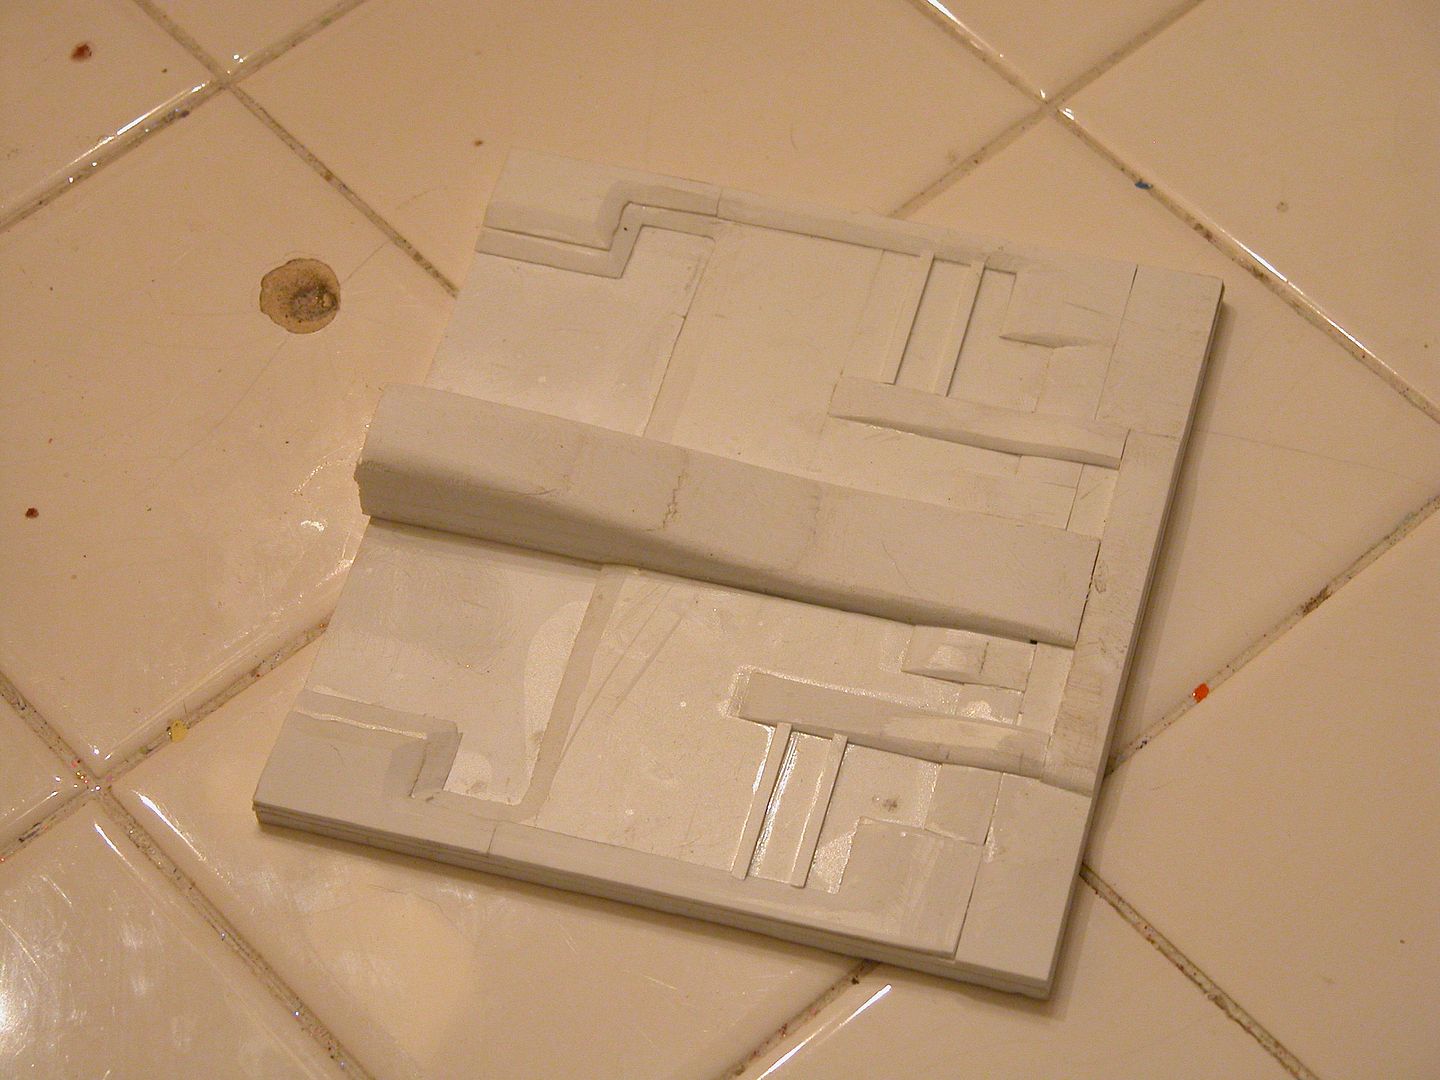 |
|
| |
|
11-28-2009, 09:40 PM
| #150 |
| RCC Addict Join Date: Aug 2005 Location: New Oxford PA
Posts: 1,290
|
a bit more progress. I stopped on the floor for a bit and turned my attention to the radiator support. After studying the pics i had for a while i determined the support is made primarily of 8 parts. The right and left panels behind the lights, the center support below the radiator, the filler plate behind the support, the channel that goes above the radiator, and the 2 body mounts. Here is my reference pic 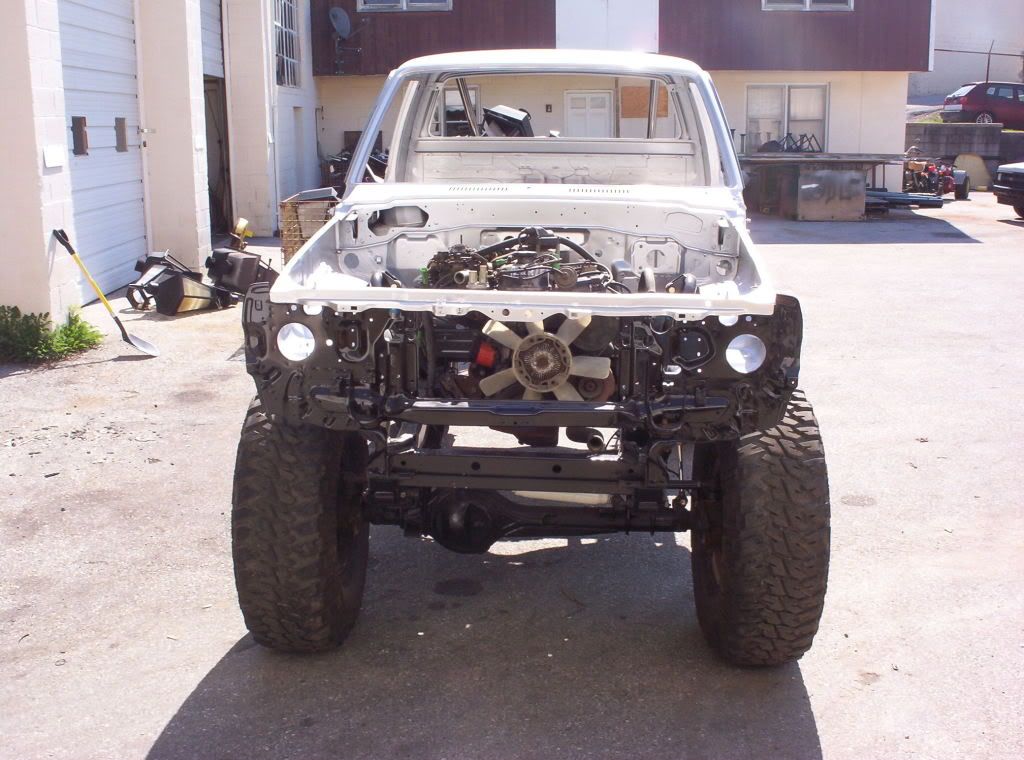 I started with the main panels first. I left them one piece for now to get the sizes down. there it still some detail and finish work to do but it is almost done 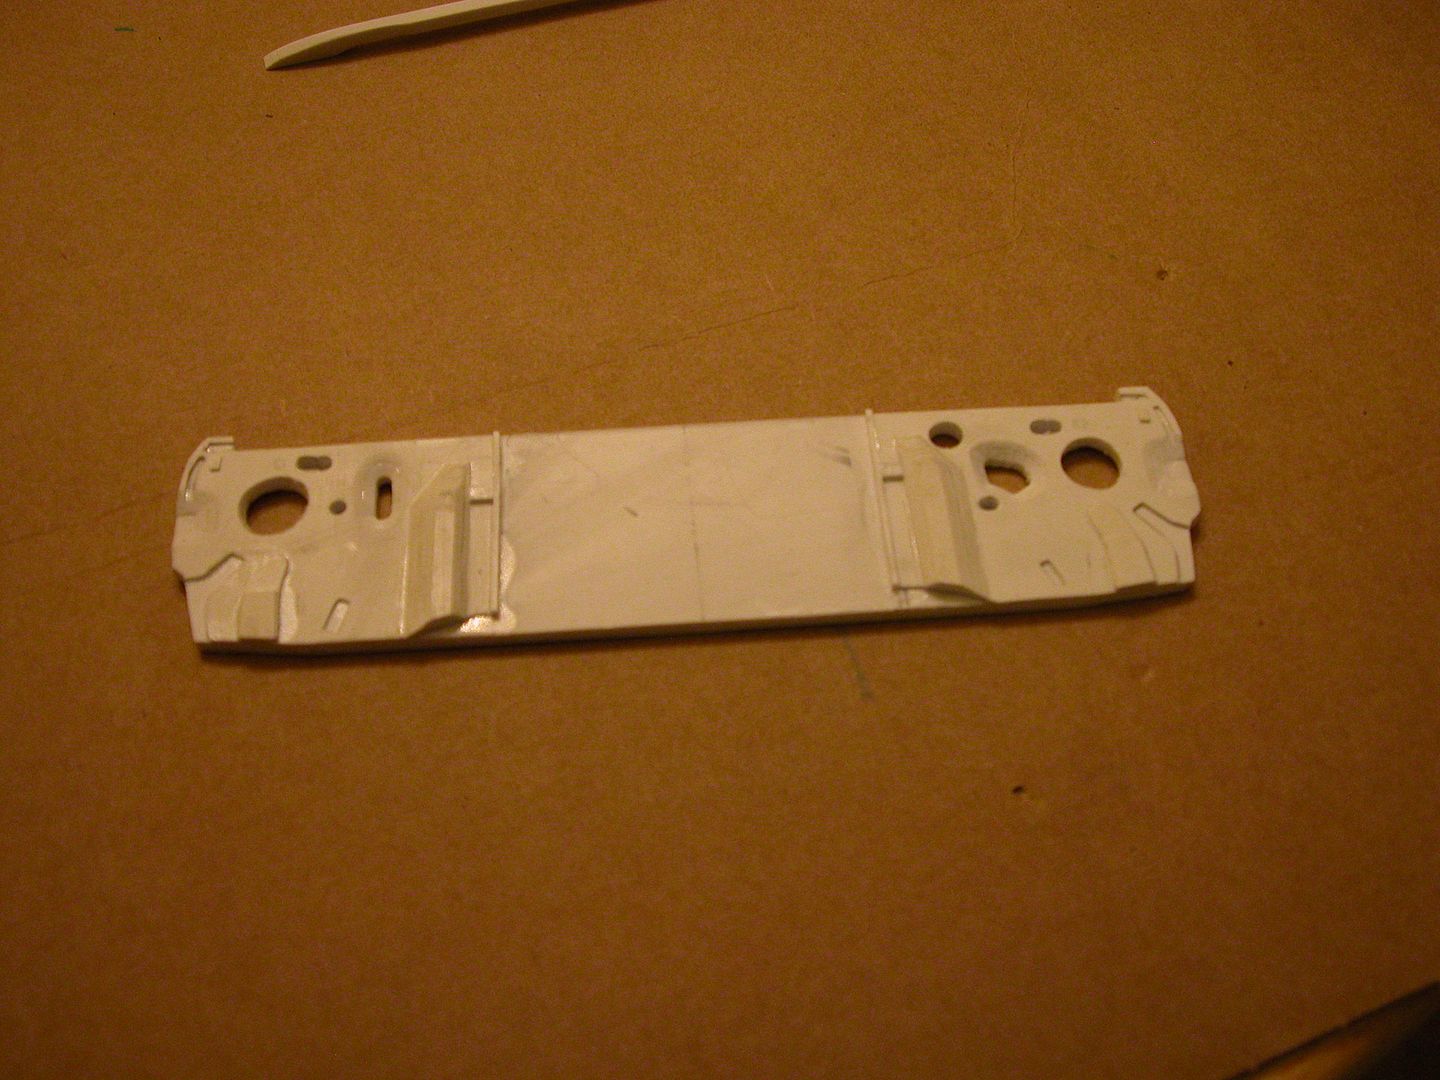 i formed a couple test pieces to see how the shapes were coming out.  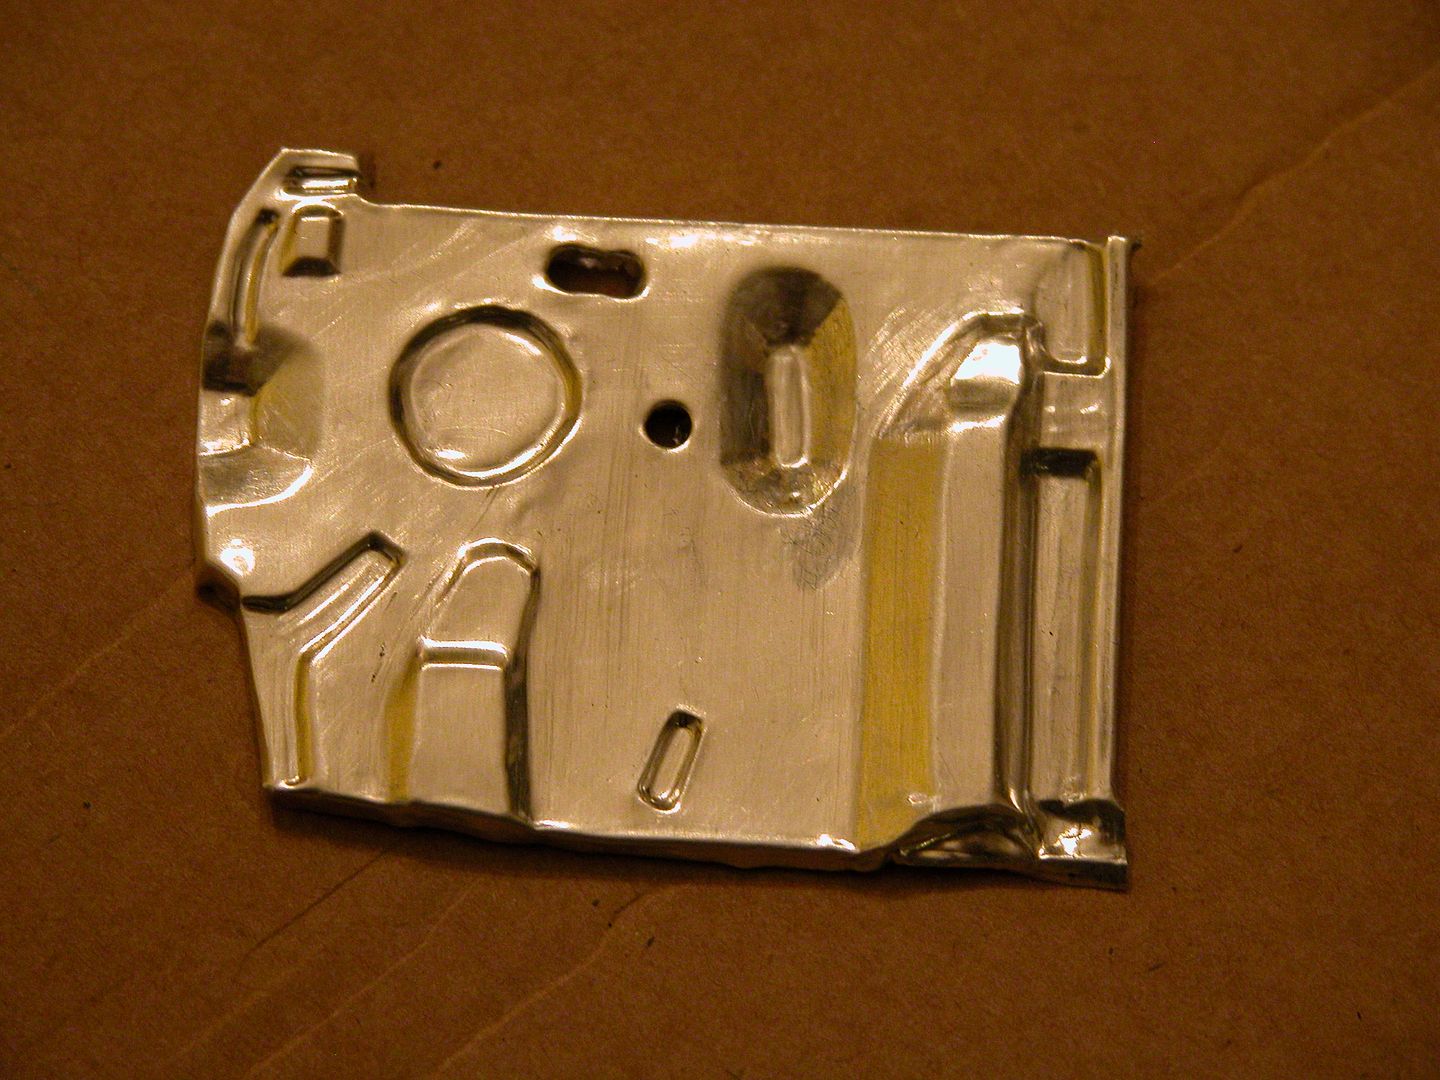 I felt pretty good with them for now so i moved onto the support under the radiator 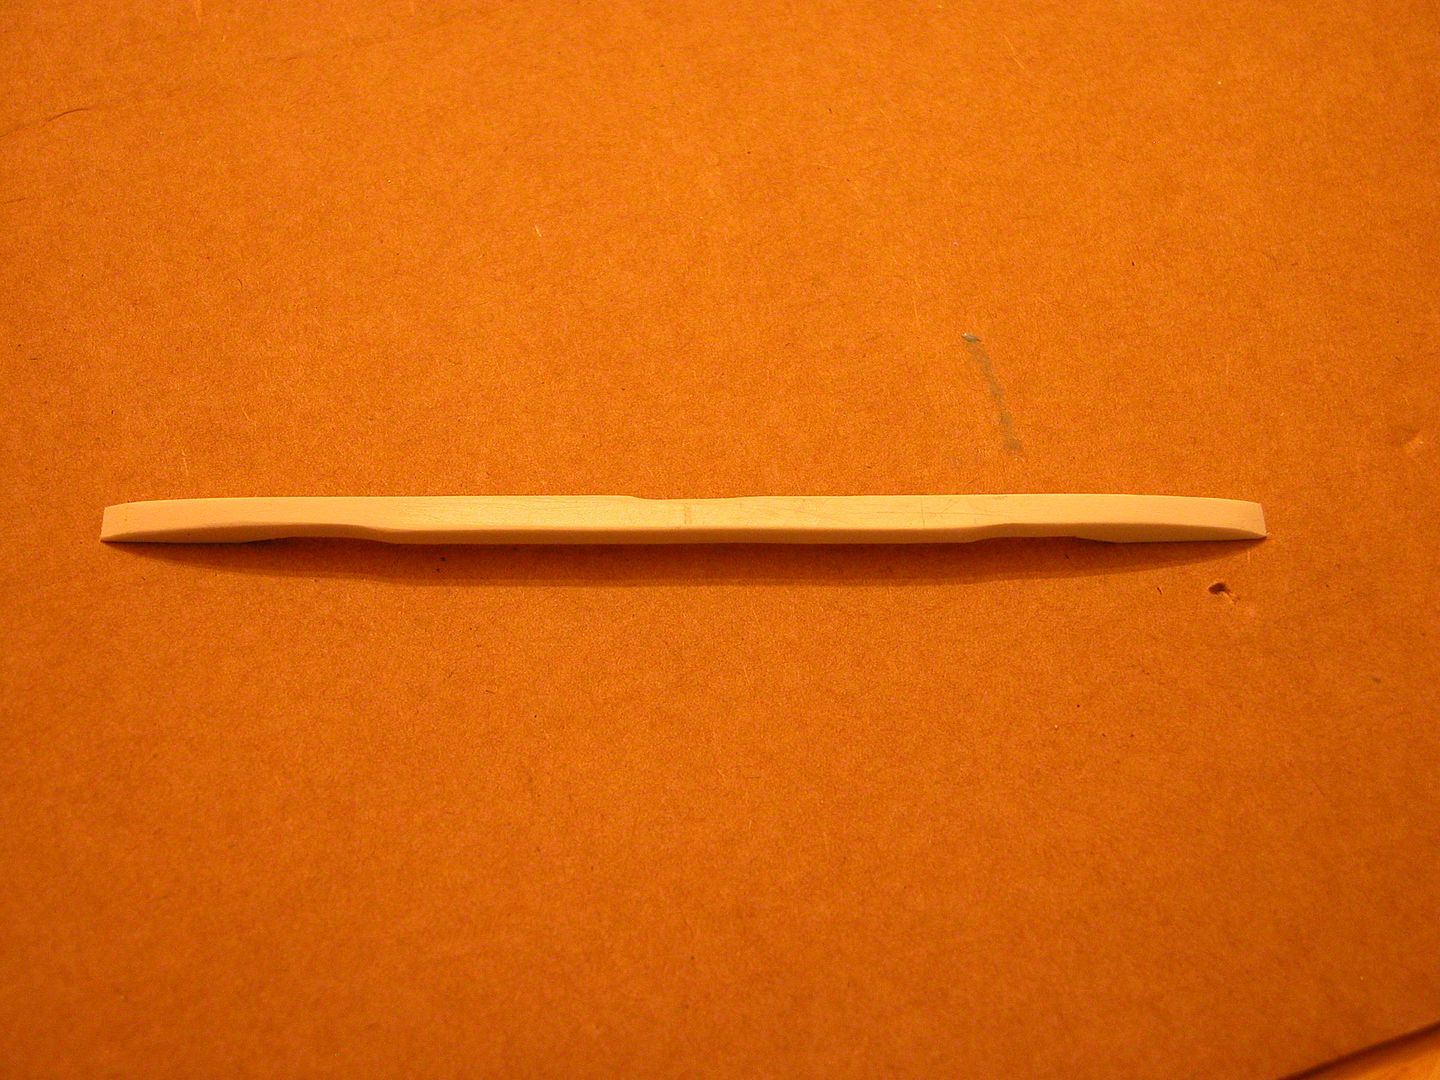 it fits really good on the other mold but it's not going to stay there. it will be mounted in it's own base so i can make the support a separate piece. 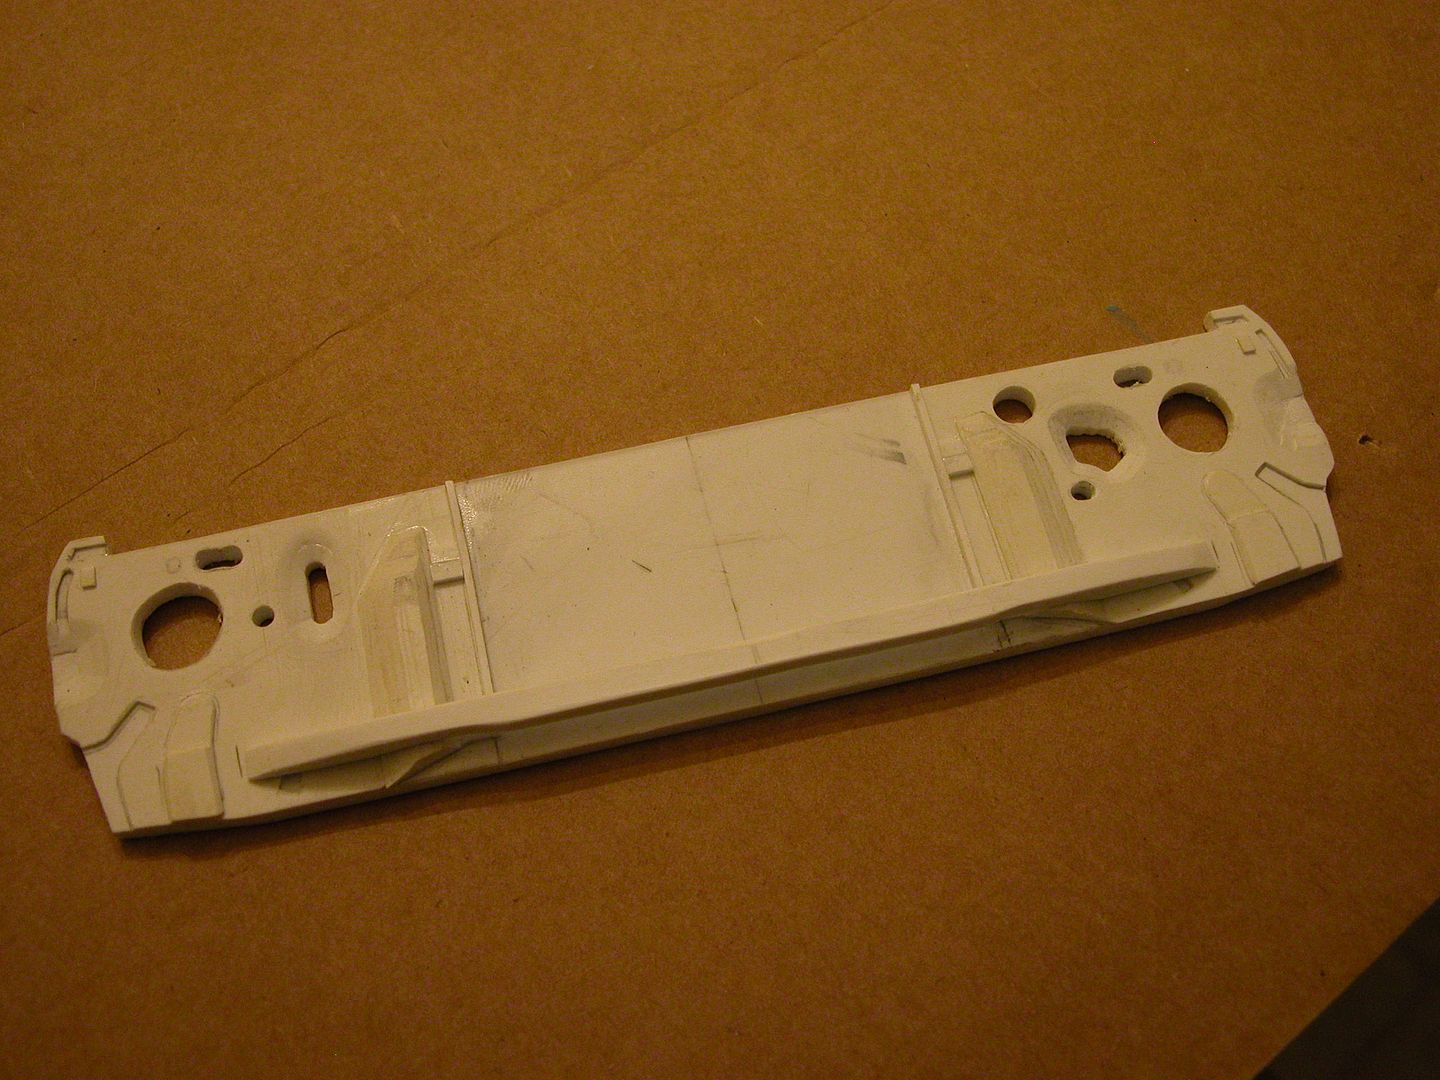 that's it for now. it's taken me for ever to get just this far! I hope i can get it done before Motorama in February! |
|
| |
|
11-29-2009, 01:09 AM
| #151 |
| Newbie Join Date: Nov 2009 Location: USA
Posts: 33
|
And just when I thought I had seen it all...INCREDIBLE!  |
|
| |
|
11-29-2009, 02:51 AM
| #152 |
| Rock Stacker Join Date: Oct 2009 Location: Norway
Posts: 62
|
Great work!
|
|
| |
|
11-29-2009, 04:00 AM
| #153 |
| Quarry Creeper Join Date: Jun 2009 Location: The Netherlands
Posts: 279
|
Truly excellent stuff here.
|
|
| |
|
11-29-2009, 07:25 AM
| #154 |
| Quarry Creeper Join Date: Aug 2009 Location: Syracuse
Posts: 455
| |
|
| |
|
12-07-2009, 09:03 PM
| #155 |
| RCC Addict Join Date: Aug 2005 Location: New Oxford PA
Posts: 1,290
|
Thanks guys, it's always good to hear positive feedback Well i got the lower rad support mold mounted 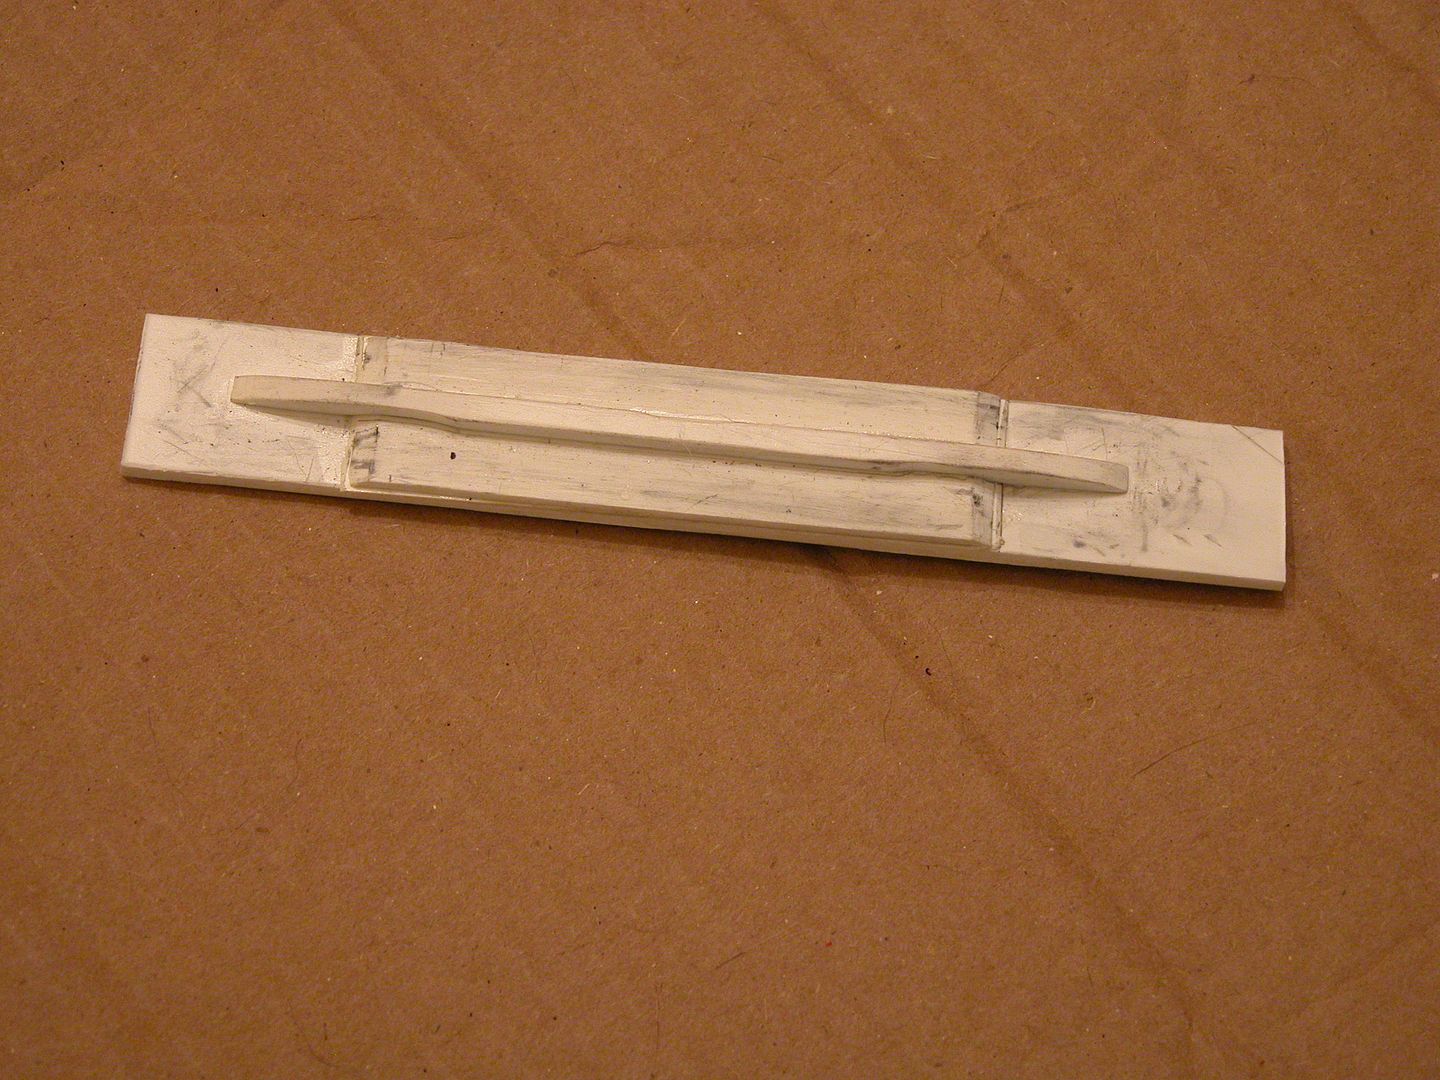 then i made a test piece 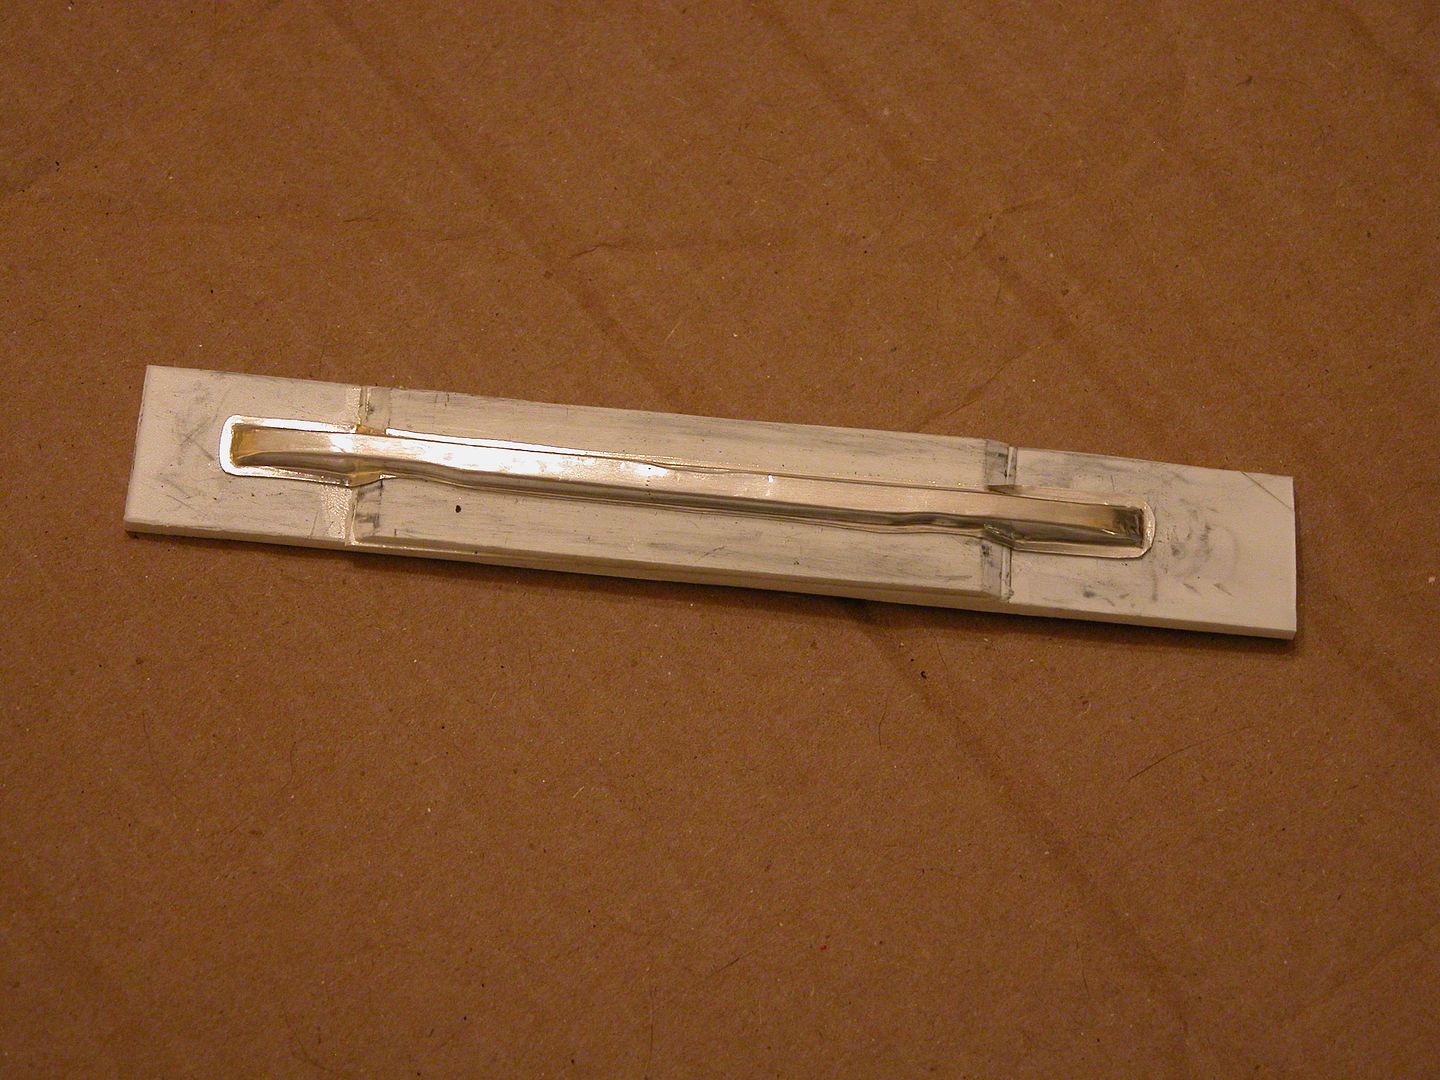 It will never be seen but i made a mold for the part that goes behind the support to make it a box 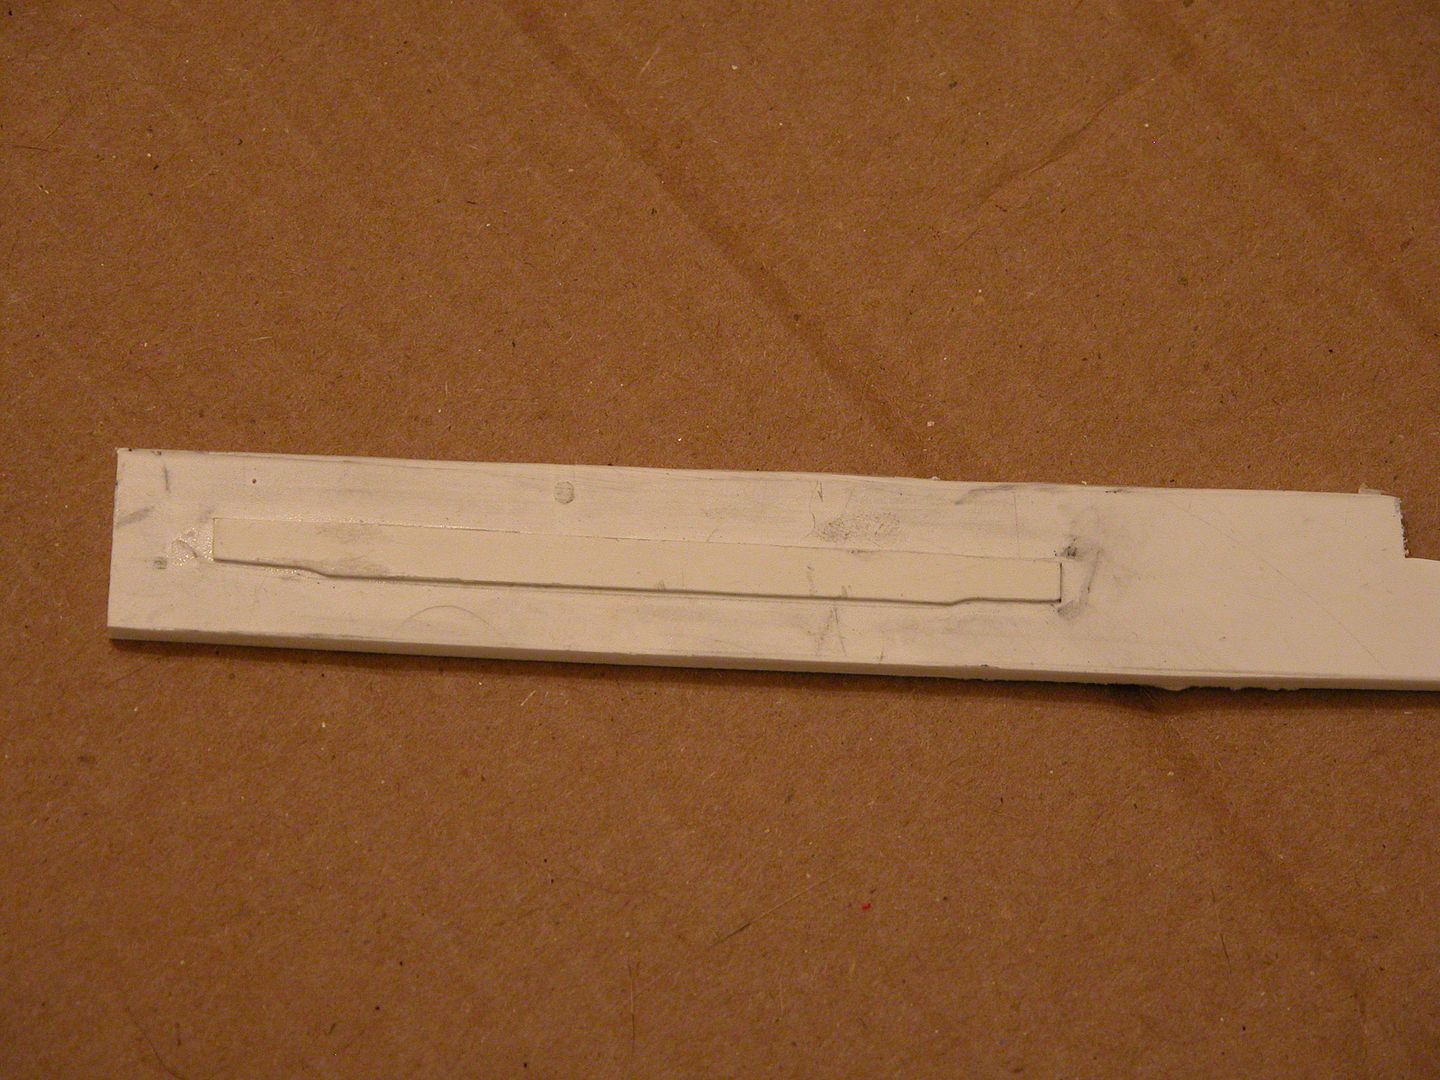 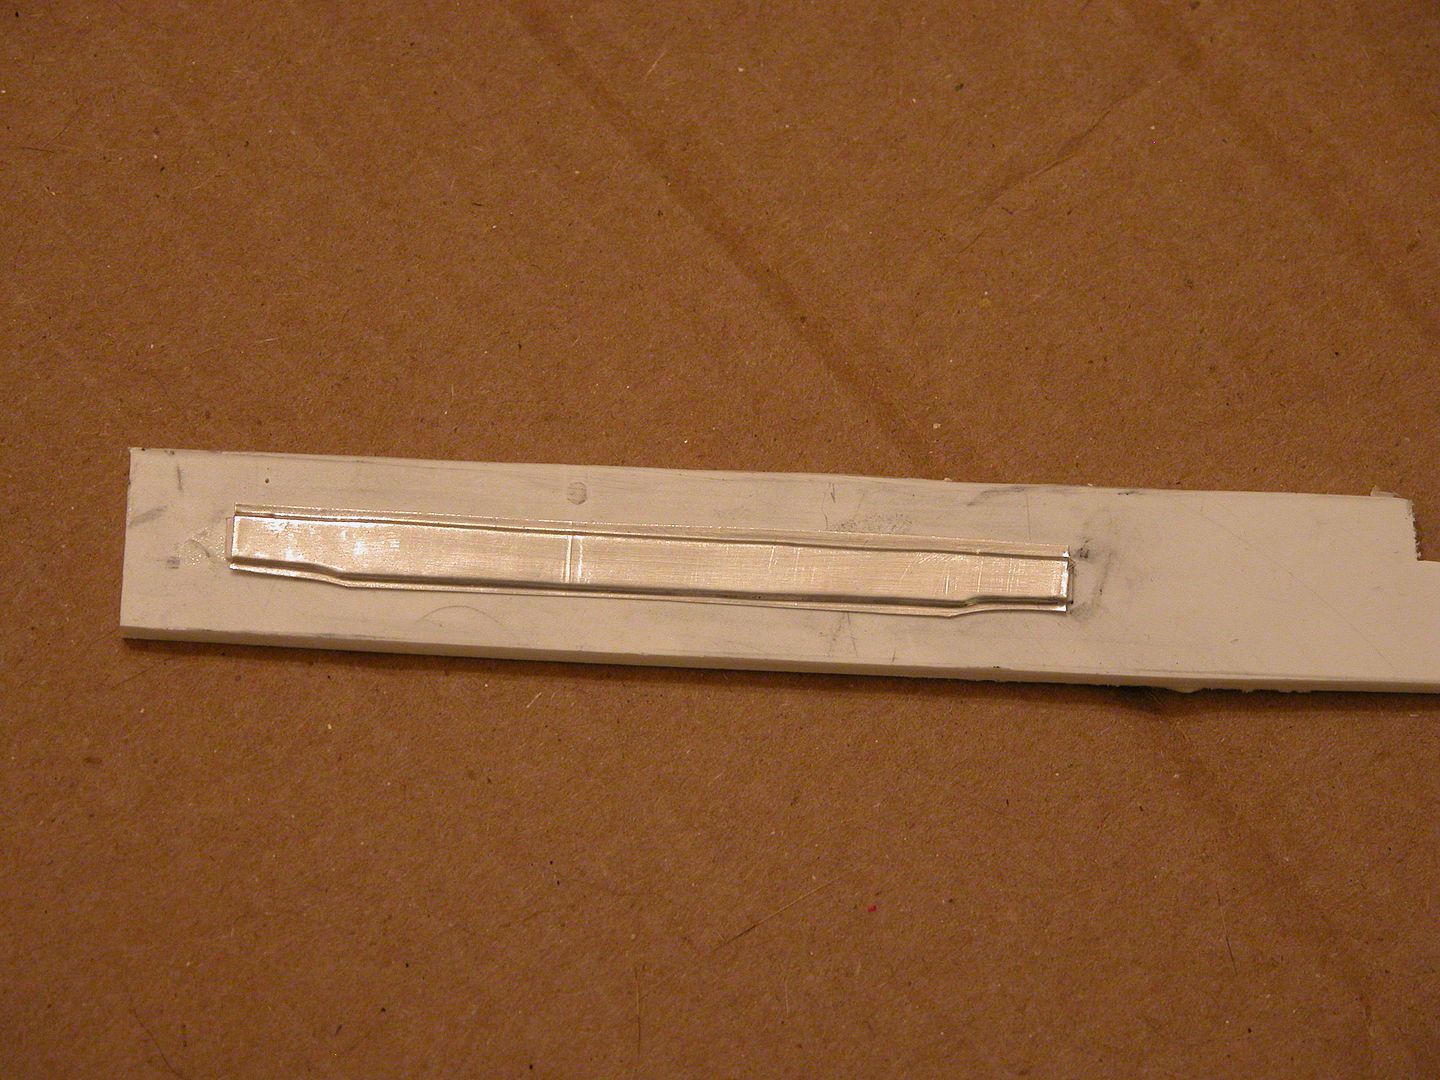 here is how it will be mounted 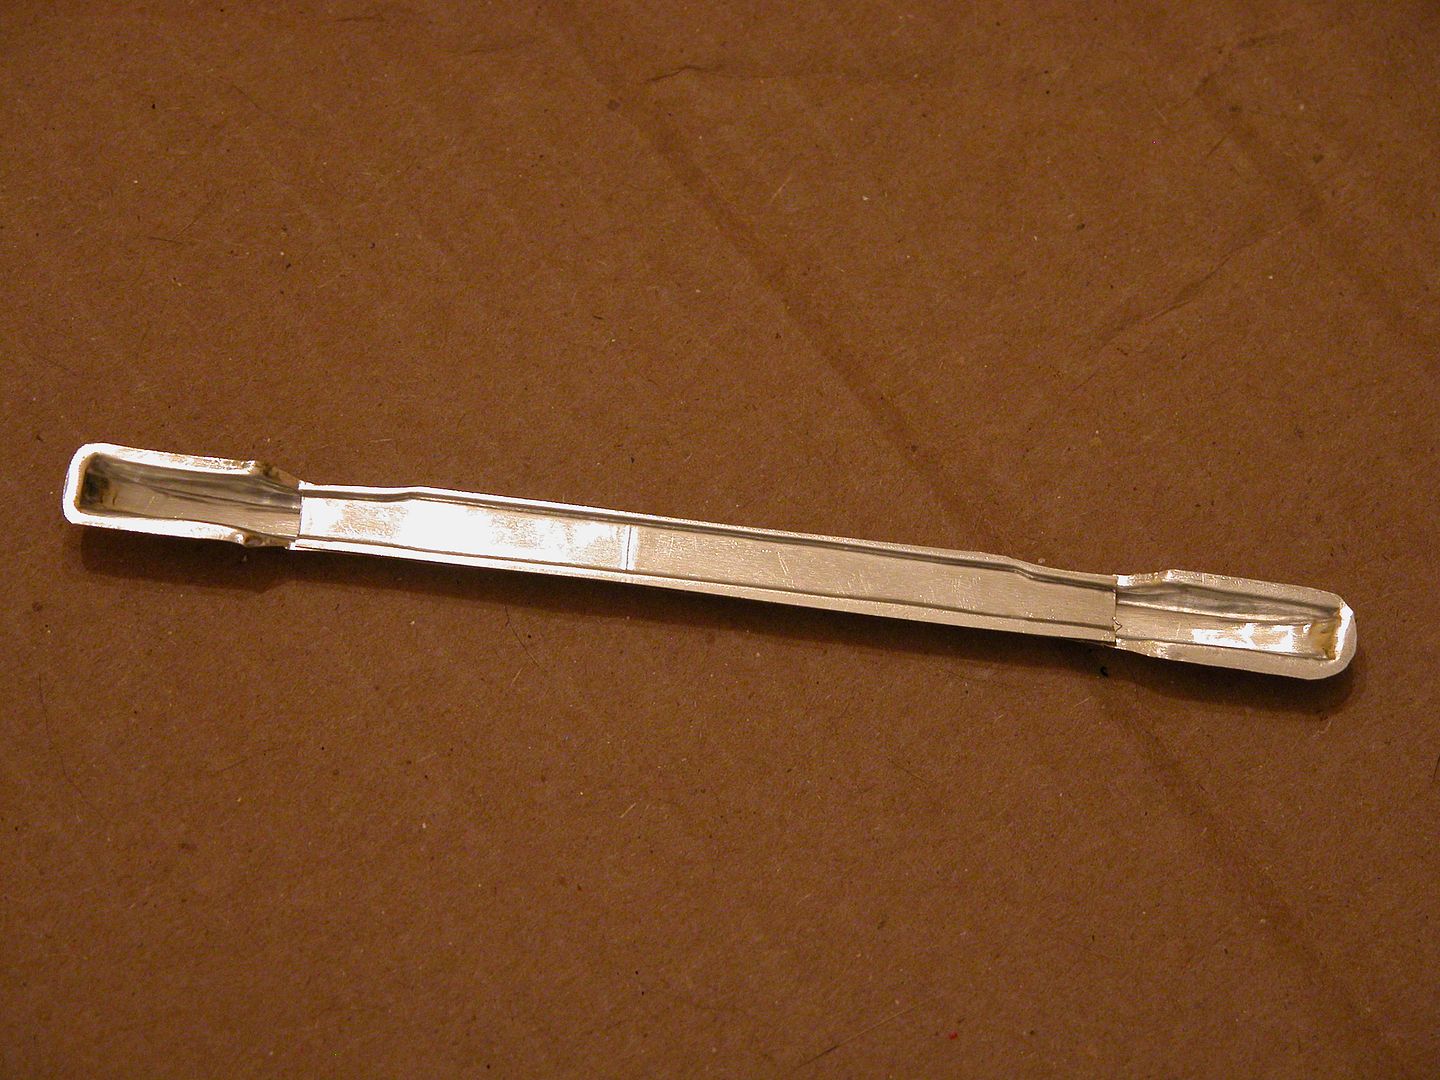  I don't want to miss any detail Here is the front all mocked up 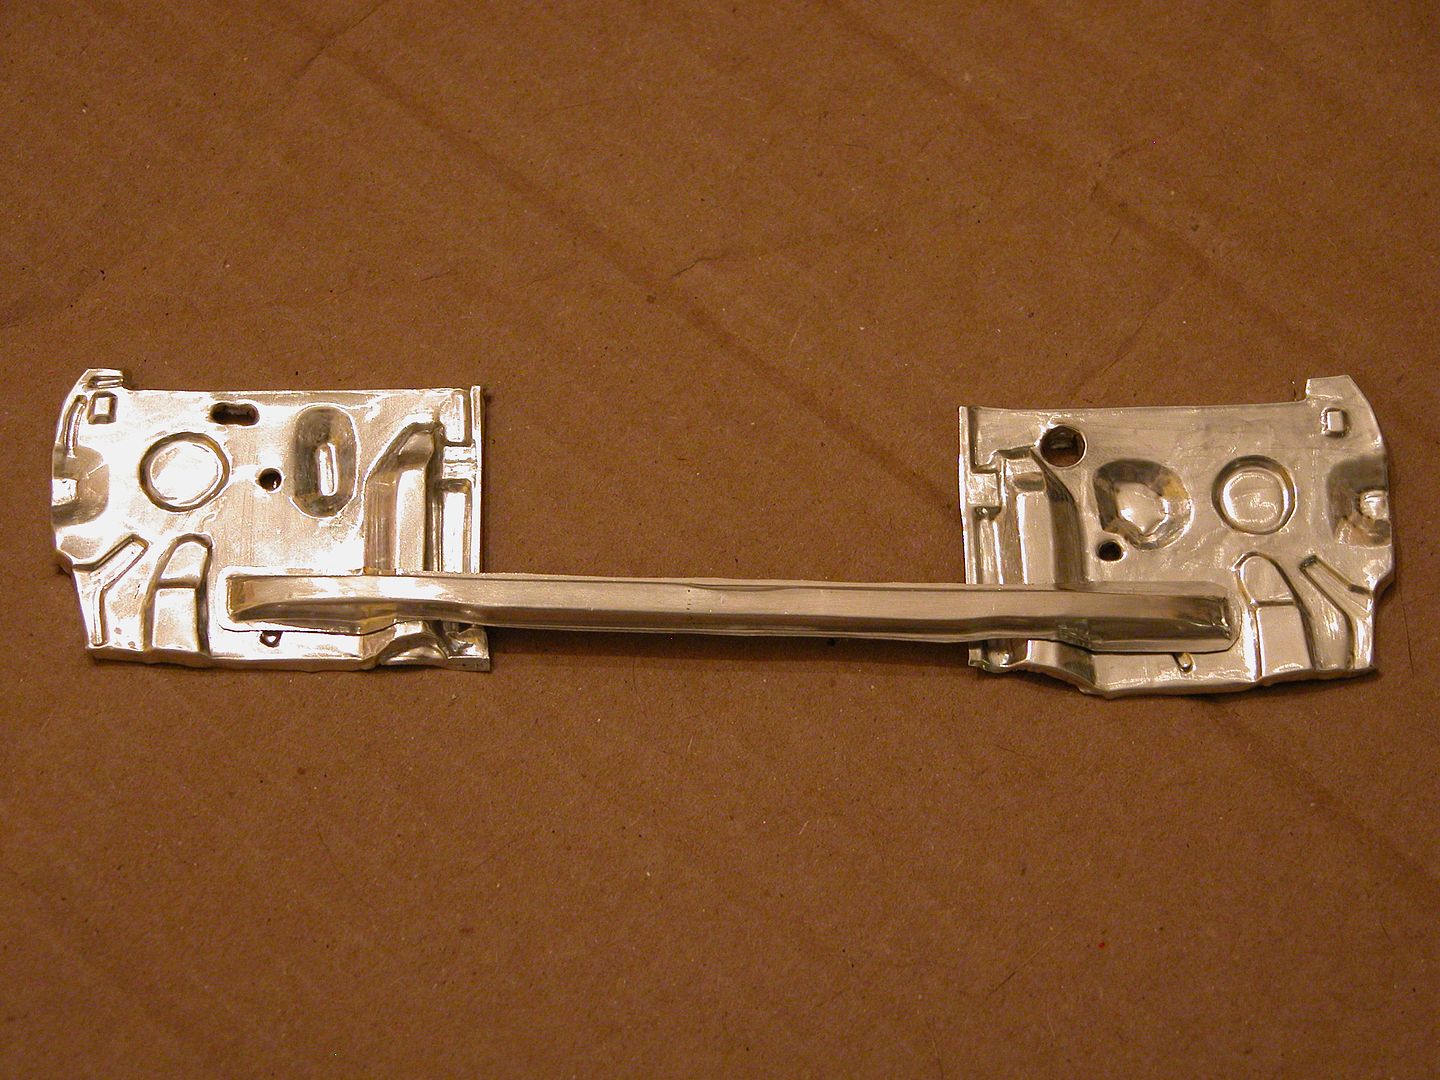 lastly i had a bit of time to throw some filler in the floor mold 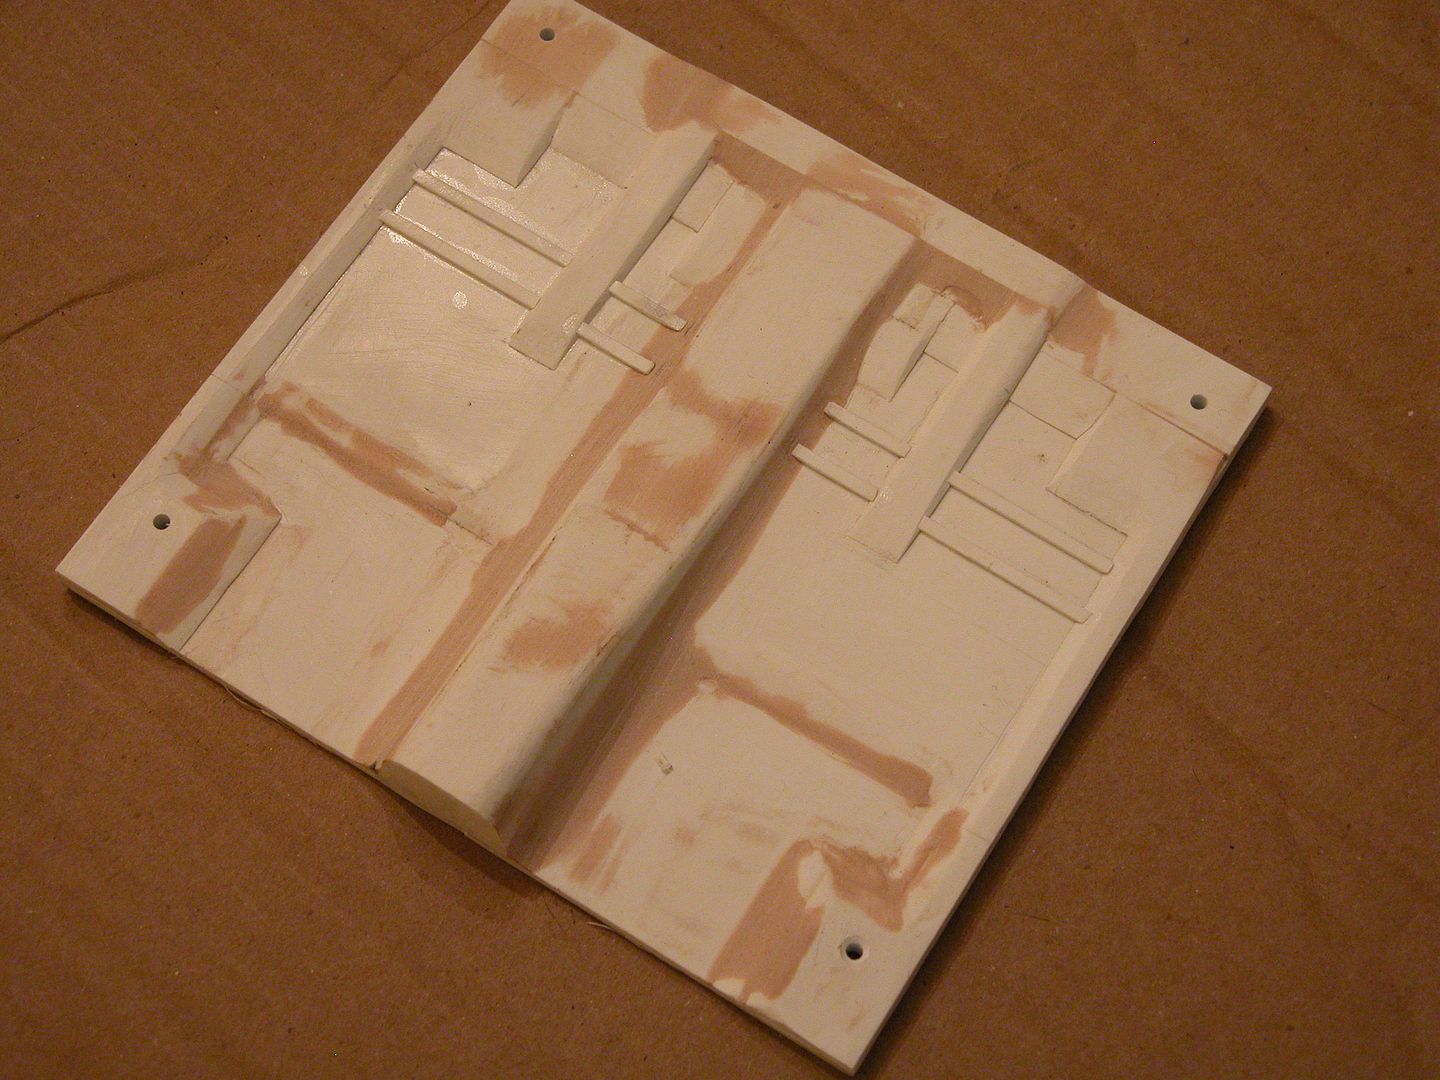 i also whipped up a test piece to see how it worked 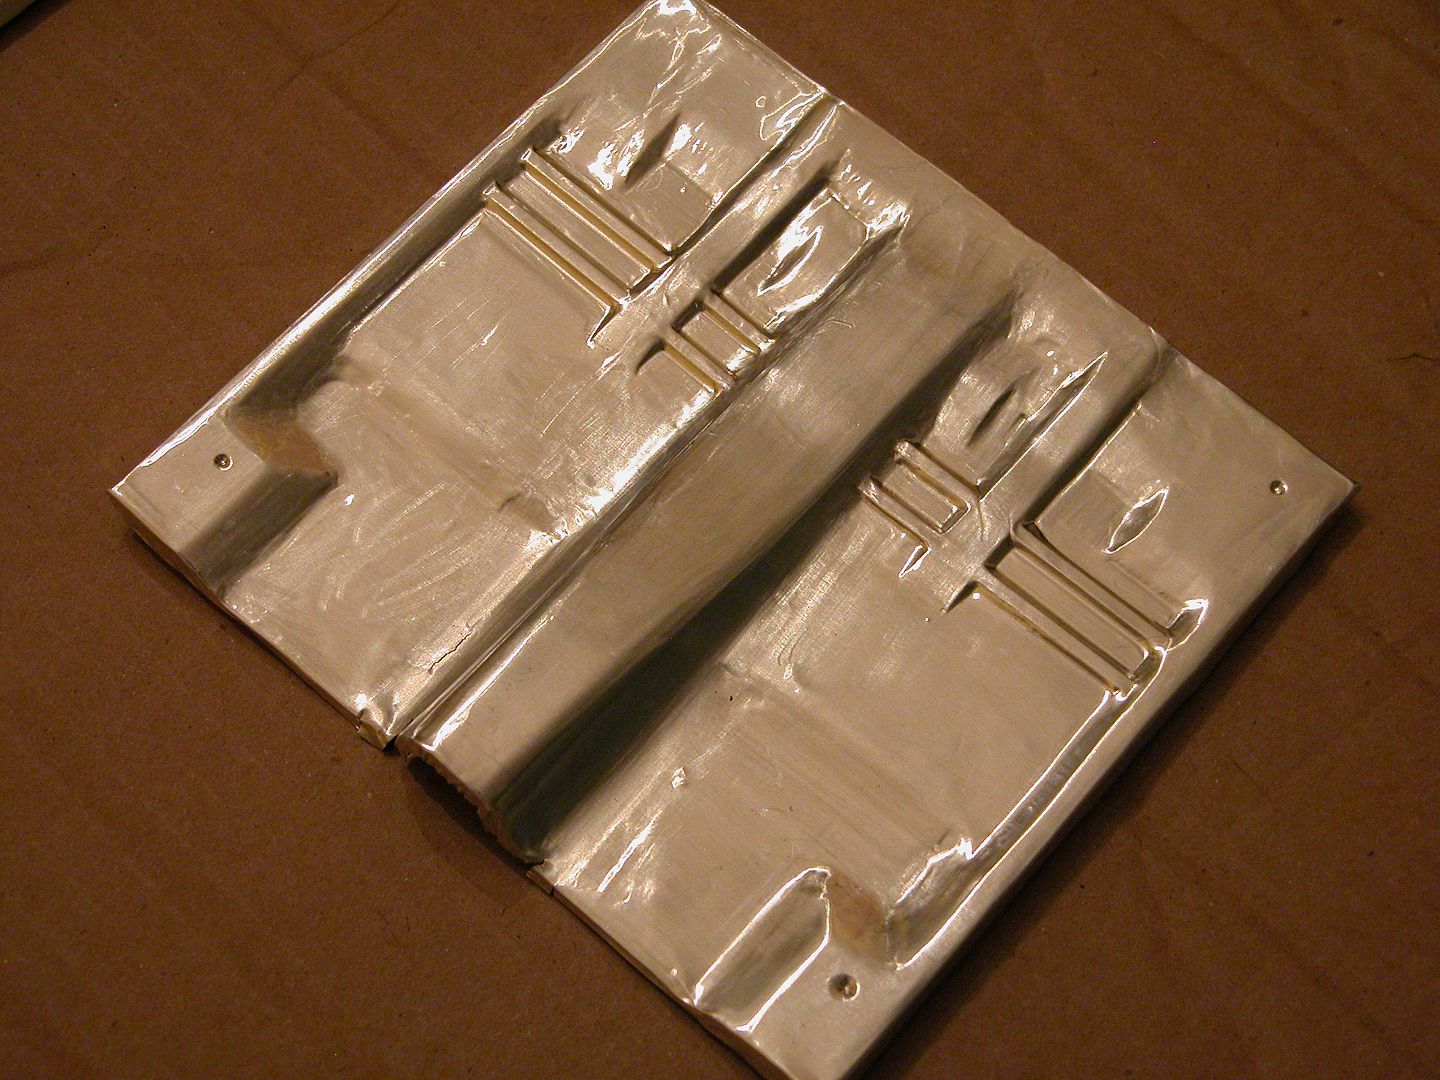 It was tough getting the metal to stretch around the hump but it looks pretty good. i need to add some more ribbing and open the pickets for the cab mounts and it will be done. that's all for now! |
|
| |
|
12-07-2009, 09:15 PM
| #156 |
| Tire&Foam Extraordinaire  Join Date: Jun 2007 Location: C.I. Compound, Tyler, Texas
Posts: 5,601
|
Bro that is just awesome work .
|
|
| |
|
12-07-2009, 09:28 PM
| #157 |
| Rock Stacker Join Date: Nov 2008 Location: galena
Posts: 94
|
dang!!! your doing a great job!! how do you get the aluminum to form around your molds?
|
|
| |
|
12-08-2009, 03:40 PM
| #158 |
| Newbie Join Date: Nov 2008 Location: New Orleans
Posts: 11
|
Truely amazing!!! I have grown up in the autobody industry (33 years and 3rd gen. bodyshop owner) and your attention to detail is great I'm blown away by attention to detail of the radiator support. Are you going to make front firewall with aprons? Man I'm sure you keep your molds and I wish I could get my hands on one finished ones.
|
|
| |
|
12-08-2009, 03:53 PM
| #159 |
| Rock Crawler Join Date: Jan 2009 Location: Jacksonville FL
Posts: 975
|
how do u get it to stick do u weld or glue it ?
|
|
| |
|
12-08-2009, 04:43 PM
| #160 |
| RCC Addict Join Date: Mar 2007 Location: MS Gulf Coast
Posts: 1,949
|
Outstanding build! The attention to detail is unreal. Keep it up. |
|
| |
 |
 LinkBacks (?)
LinkBack to this Thread: http://www.rccrawler.com/forum/1-9-scale-rigs/147988-project-true-scale-aluminum-toyota-body.html | ||||
| Posted By | For | Type | Date | |
| Кузова,все о них и для них - Страница 5 | This thread | Refback | 10-05-2011 08:25 PM | |
| Wow, Amazing Scale RC Toyota - Tacoma World Forums | This thread | Refback | 10-04-2011 06:14 PM | |
| |


 Linear Mode


