| |
 07-30-2011, 02:12 PM
| #121 | |
| Rock Crawler Join Date: Apr 2011 Location: Sonoma County
Posts: 517
| Quote:
| |

|  |
| Sponsored Links | |
| | |
|
07-30-2011, 04:09 PM
| #122 |
| Rock Crawler Join Date: Apr 2011 Location: Sonoma County
Posts: 517
|
I bent the front upper links and added these little pieces that I printed. I would have rather used one screw but I don't have one that long or a little rod that is tapped on both ends that would go in the middle... I wonder if these parts are actually making the axle mounts MORE likely to break...  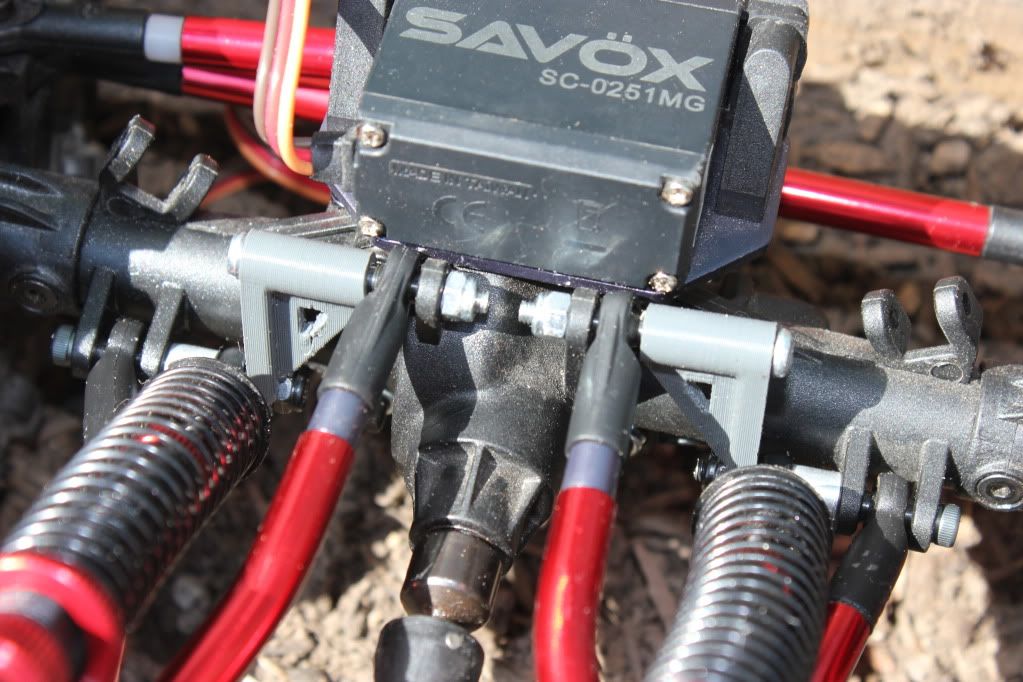 |
|
| |
|
07-30-2011, 04:53 PM
| #123 | |
| I wanna be Dave Join Date: Jan 2006 Location: ...the burning end of the rope.
Posts: 5,013
| Quote:
| |
|
| |
|
07-30-2011, 05:21 PM
| #124 |
| Yashua   Join Date: Sep 2010 Location: Learn the parable of the fig tree
Posts: 3,661
|
YES YOU DEFINATLEY NEED A 15mm SPACER BETWEEN THE UPPER LINK TABS. IF ITS THREADED ALL THE WAY THROUGH YOU CAN USE A BOLT ON EACH SIDE  |
|
| |
|
07-30-2011, 07:27 PM
| #125 |
| Rock Crawler Join Date: Apr 2011 Location: Sonoma County
Posts: 517
|
Is this: http://www.rcplanet.com/Associated_F..._p/asc1105.htm The same as this: http://www.sears.com/shc/s/p_10153_1...u=07124228000P Just wondering... My shocks leak a lot and supposedly this help. |
|
| |
|
07-30-2011, 07:31 PM
| #126 | |
| Yashua Join Date: Sep 2010 Location: Learn the parable of the fig tree
Posts: 3,661
| Quote:
NO THEY ARE NOT THE SAME. | |
|
| |
|
07-30-2011, 07:56 PM
| #127 | ||
| Rock Crawler Join Date: Feb 2010 Location: eugene
Posts: 549
| Quote:
Quote:
| ||
|
| |
|
07-30-2011, 08:00 PM
| #128 |
| Pebble Pounder Join Date: Jun 2011 Location: Port Charlotte
Posts: 180
|
I used Axial 7x15mm spacers, they're threaded on both ends so you can use a shorter bolt. The part no. is AXIAXA grey (2) pieces for $4.19 + shipping, bought them off of ebay. Ed |
|
| |
|
07-31-2011, 02:22 PM
| #129 |
| Rock Crawler Join Date: Apr 2011 Location: Sonoma County
Posts: 517
|
I went to a crawling event this last week and got to see how the big kids do it. The place was set up for much more intense rigs. There was a competition which I entered and lost instantly but it was fun to get some tips. I was the only one with a shafty. The only one without dig. The only 'sportsman.' So I guess I both lost and won...Everyone else had berg's. Anyways, I traded my big hardcase batt for the two smaller packs here:  I want to mount the battery here in the front but I'm still not sure. I want to do the bta steering mod soon which would get in the way. Maybe I should just do that now then mount the batt on the axle next to the servo. 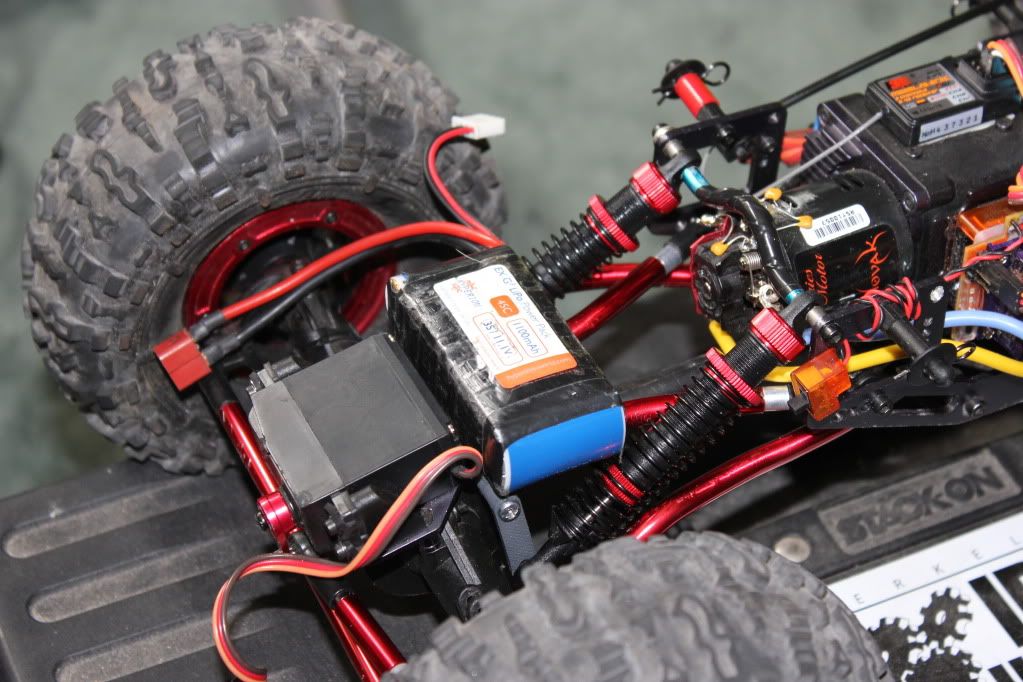 I successfully tapped both sides of some aluminum rod so the front links wont break their mounts. The 3d printed parts are going to have to be made from a stronger material asap. I hope to machine some parts soon (once I learn how to CNC) so these abs parts are basically working protos. 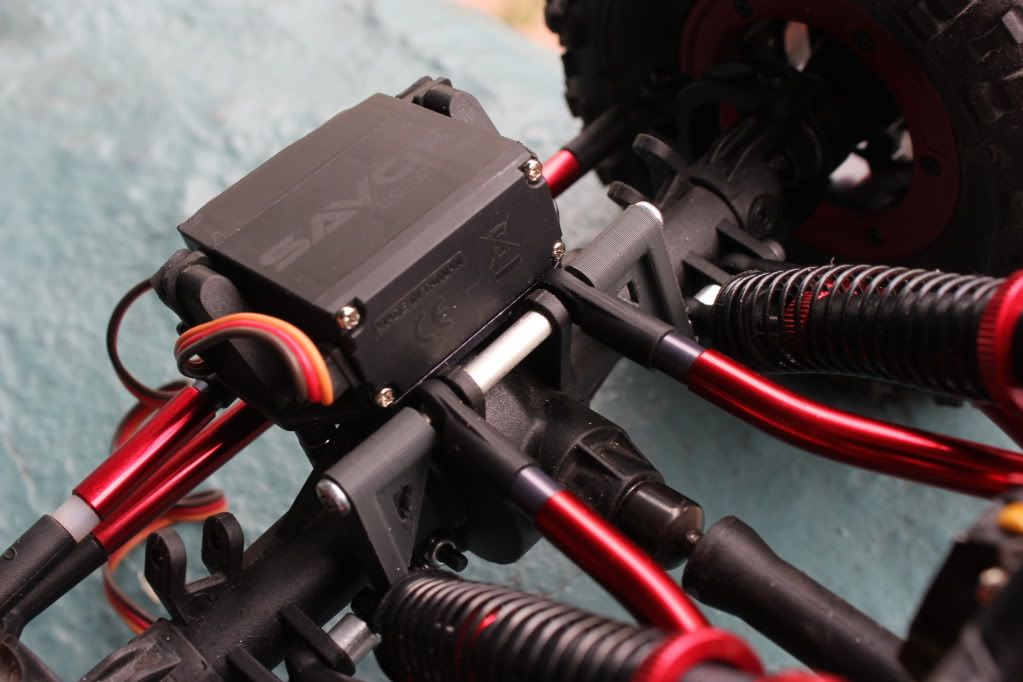 I finally sanded down the skid plate mounting bosses: 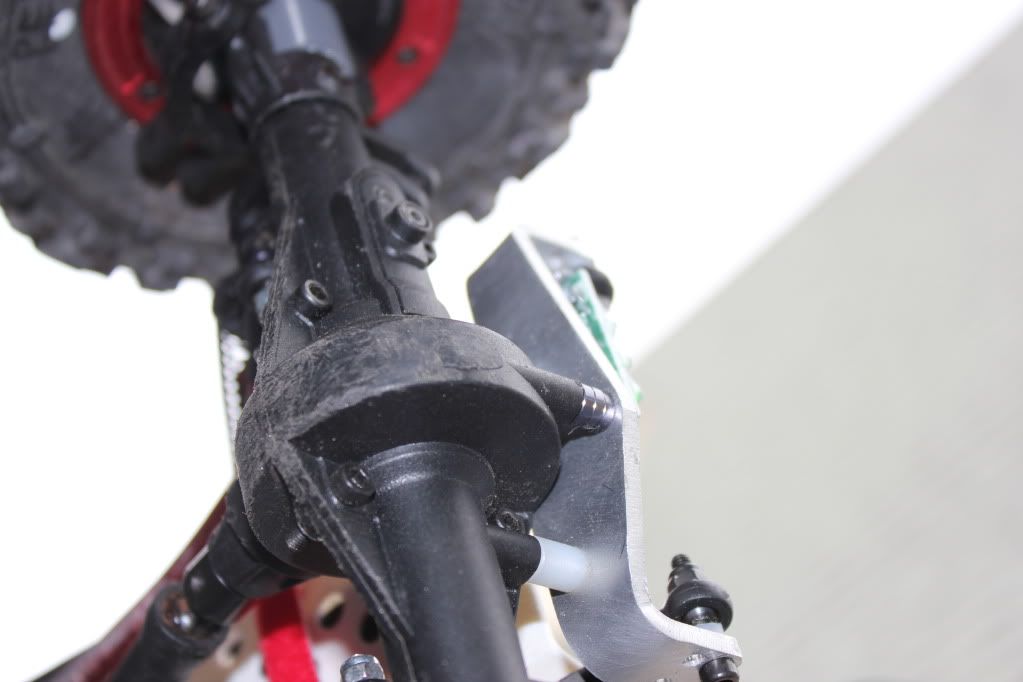 The lower links were grabbing onto rocks like velcro so I bent the lower links like you guys were suggesting: 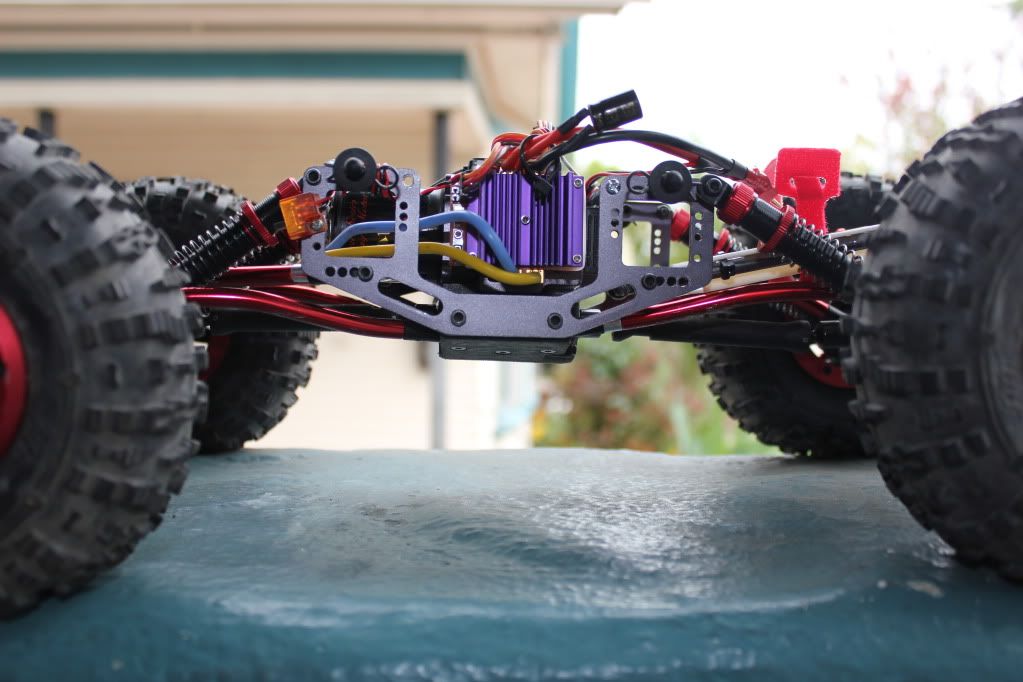 The pinion angle on the front axle is different from the back. I am going to add 6mm spacers on the front lower links so that they are as long as they need to be to get the pinion a little more horizontal. Or I could get more durable shafts... 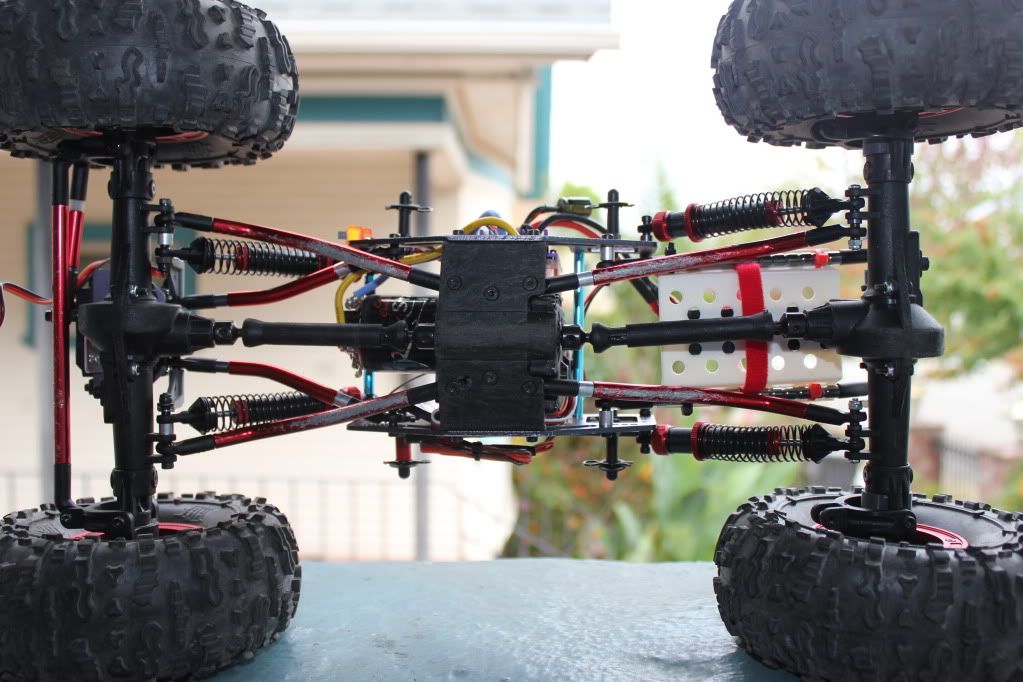 |
|
| |
|
07-31-2011, 04:18 PM
| #130 |
| Rock Crawler Join Date: Apr 2011 Location: Sonoma County
Posts: 517
|
I put new 30 wt shock oil in all of the shocks. Did some electronics rearranging. 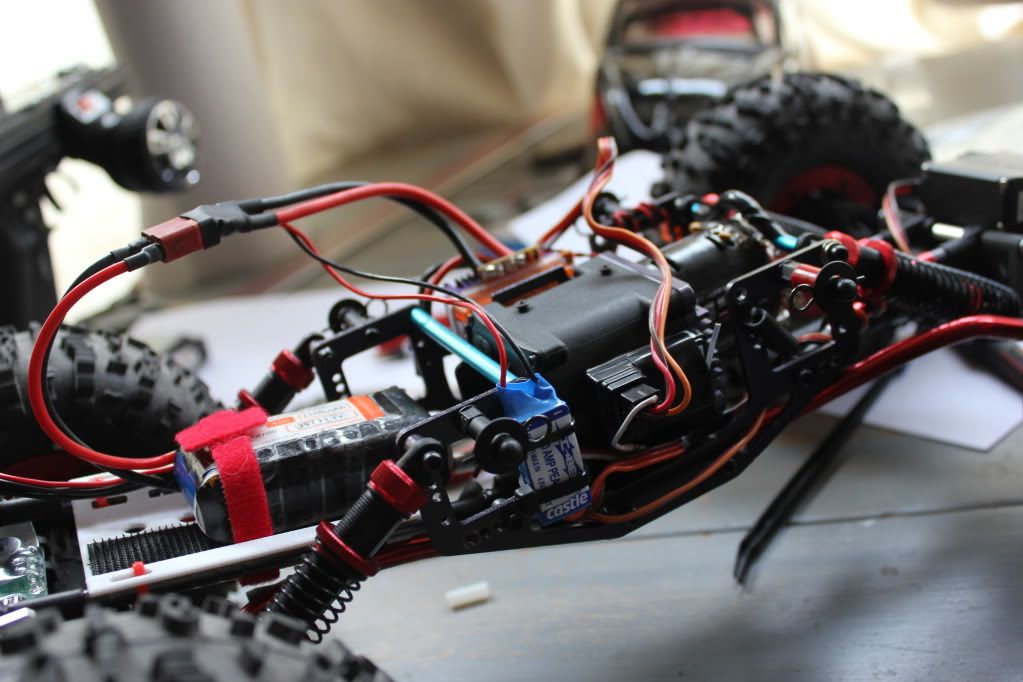 Where do people route the antenna wire? I just wrapped it up and taped it onto the receiver... 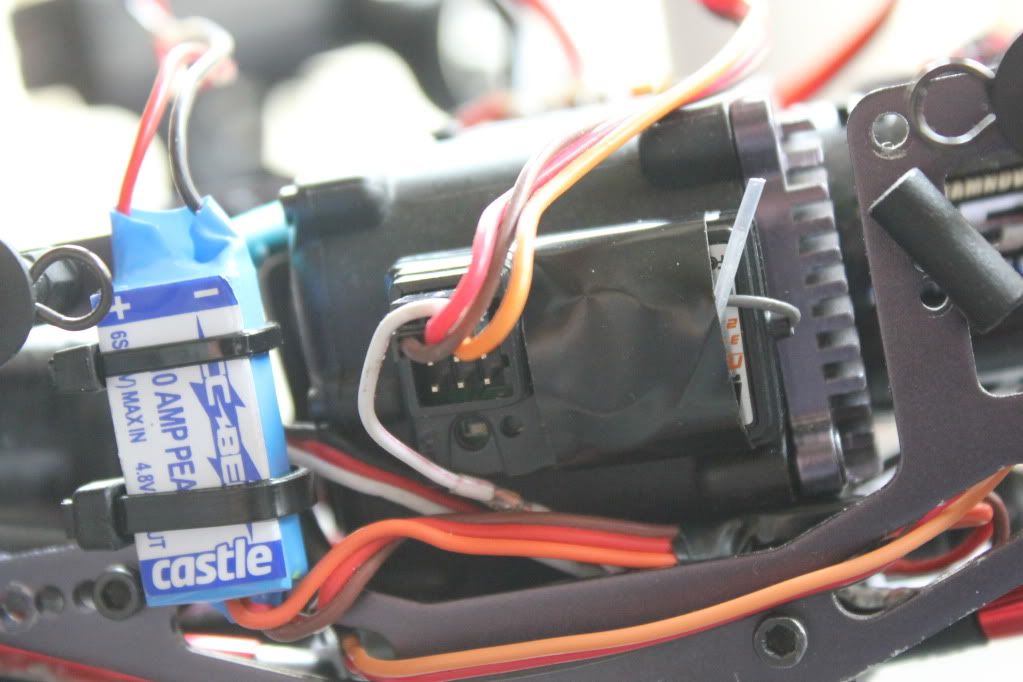 |
|
| |
|
07-31-2011, 04:27 PM
| #131 |
| Yashua Join Date: Sep 2010 Location: Learn the parable of the fig tree
Posts: 3,661
|
You can do just about anything ya want to with the 2.4 antenna, as long as ya don't cut it.
|
|
| |
|
07-31-2011, 05:33 PM
| #132 |
| Rock Crawler Join Date: Apr 2011 Location: Sonoma County
Posts: 517
|
I've been doing lots of tweaks this weekend. Ill clean the house in a minute... I cut the body a little more and lowered it overall. I don't like the more aggressive stance's looks but it helps me flip myself over a lot so whatever. 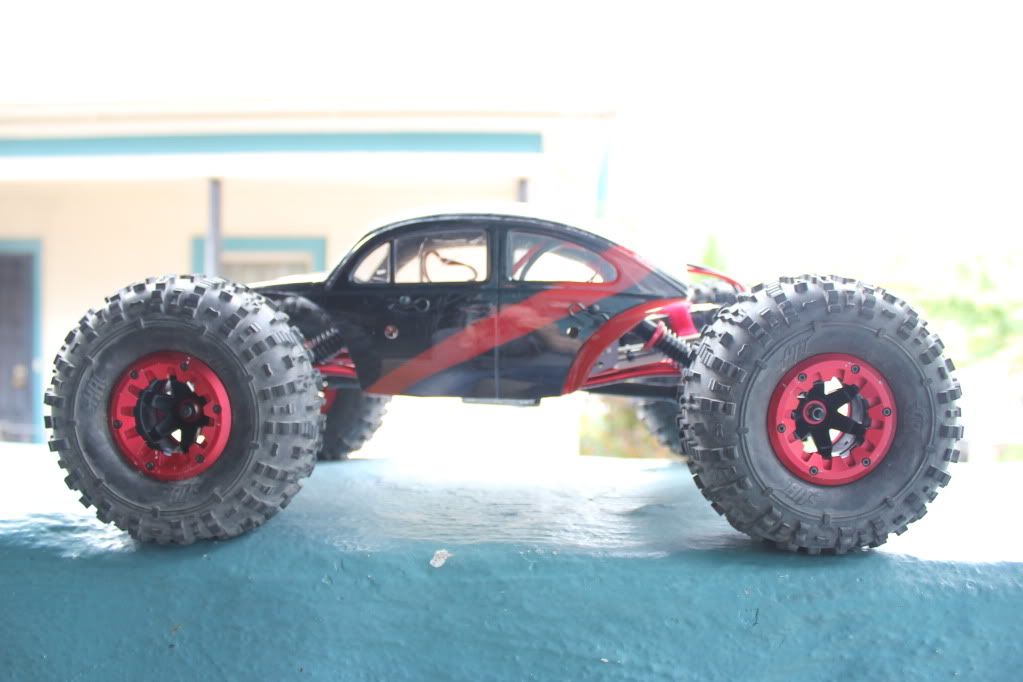 |
|
| |
|
07-31-2011, 06:52 PM
| #133 |
| Rock Crawler Join Date: Apr 2011 Location: Sonoma County
Posts: 517
|
How do people power their led lights? I took this laser out of an old contour camera and want to put it in the car (i dont really know why) 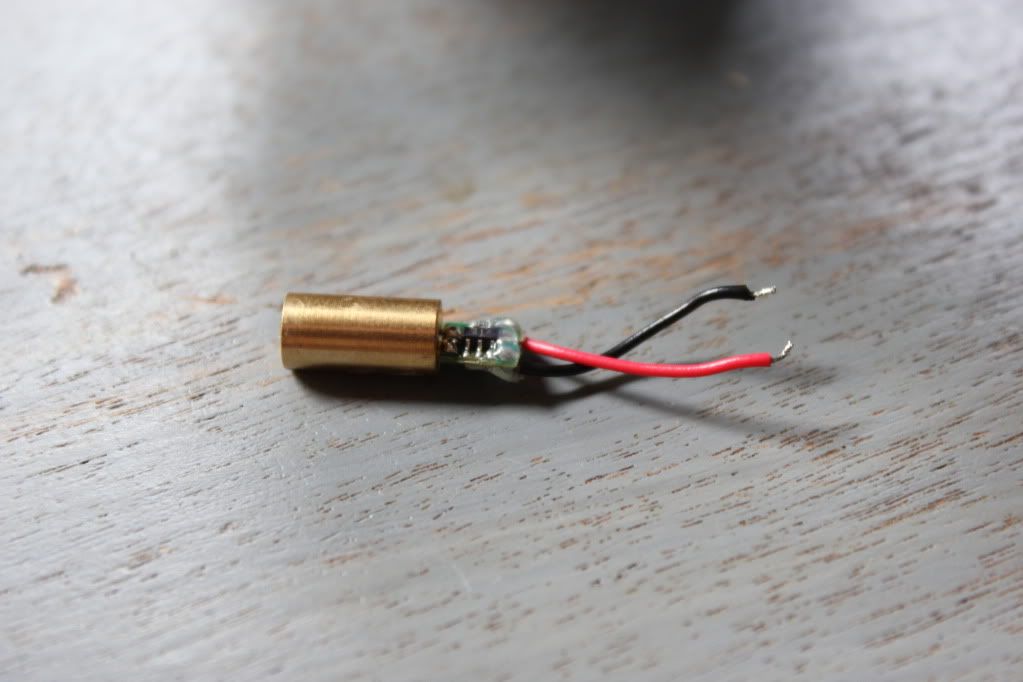 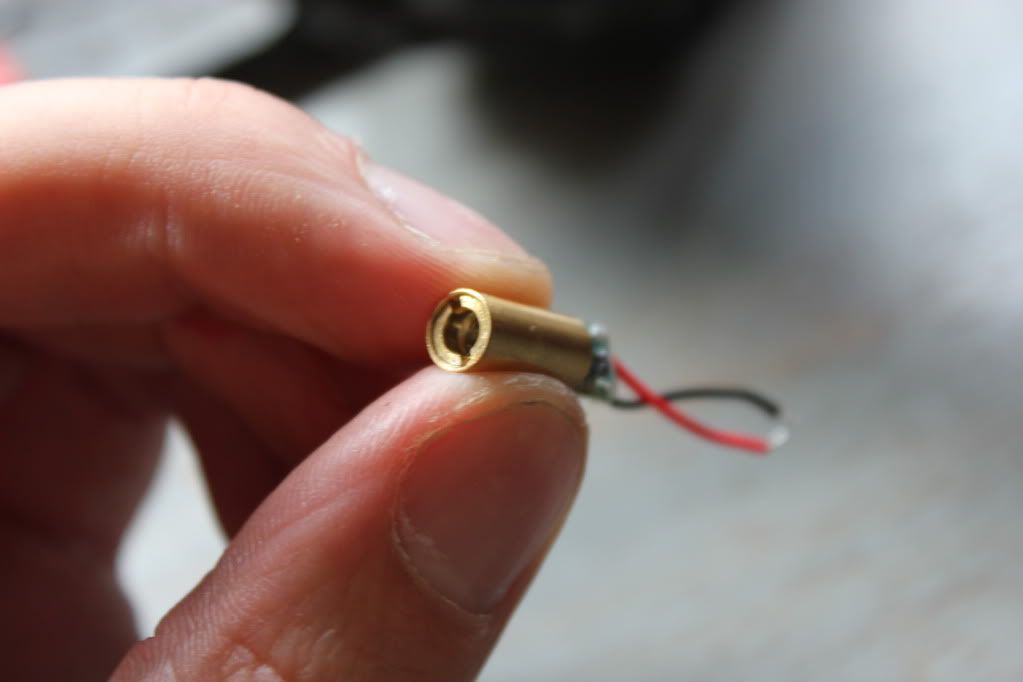 |
|
| |
|
07-31-2011, 07:41 PM
| #134 |
| I wanna be Dave Join Date: Jan 2006 Location: ...the burning end of the rope.
Posts: 5,013
|
how many vdc did the lazer have powering it originally?
|
|
| |
|
08-01-2011, 12:33 PM
| #135 |
| Rock Crawler Join Date: Apr 2011 Location: Sonoma County
Posts: 517
|
I can hook it to a power supply and run it off 3v. It works on 6v too but I don't know if it would survive on 6v very long. I'm not sure.
|
|
| |
|
08-01-2011, 05:45 PM
| #136 |
| Rock Crawler Join Date: May 2010 Location: Albuquerque
Posts: 821
|
what kind and how many batteries did the original lazer take?
|
|
| |
|
08-01-2011, 07:36 PM
| #137 | |
| I wanna be Dave Join Date: Jan 2006 Location: ...the burning end of the rope.
Posts: 5,013
| Quote:
| |
|
| |
|
08-01-2011, 11:01 PM
| #138 | |
| Rock Crawler Join Date: Apr 2011 Location: Sonoma County
Posts: 517
| Quote:
| |
|
| |
|
08-01-2011, 11:03 PM
| #139 | |
| Rock Crawler Join Date: Apr 2011 Location: Sonoma County
Posts: 517
| Quote:
| |
|
| |
|
08-02-2011, 04:54 AM
| #140 |
| I wanna be Dave Join Date: Jan 2006 Location: ...the burning end of the rope.
Posts: 5,013
|
i think I would solder in like a 2.2k resistor inline to the lazer
|
|
| |
 |
| Tags |
| 3d print, build, creeper, step by step, venom |
| |


 Linear Mode


